


 Mar 23, 2016, 02:55 PM
Last edit by: IB Advertising
See related guides and technical advice from our community experts:
- Toyota 4Runner, Tacoma, and Tundra Paint Modifications<br>Overview of popular modifications to help you customize your Toyota.

Show us your best cheap mods!
Jun 1, 2011 | 04:01 AM
#641
I took a standard cab mirror and light and added it to an extended cab. It is alot easier to reach and can see the front floorboard at nite. Plan on doing this to my 4Runner when I find a good one. I tapped into the wiring for the other dome light by the Driver side windshield post. Looks factory and works like factory. I have looked throught this thread and didnt see it elsewhere.
Not the best picture, but should give an idea.
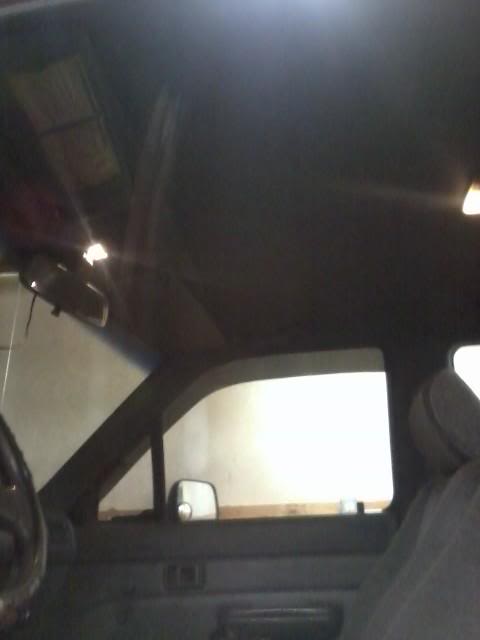
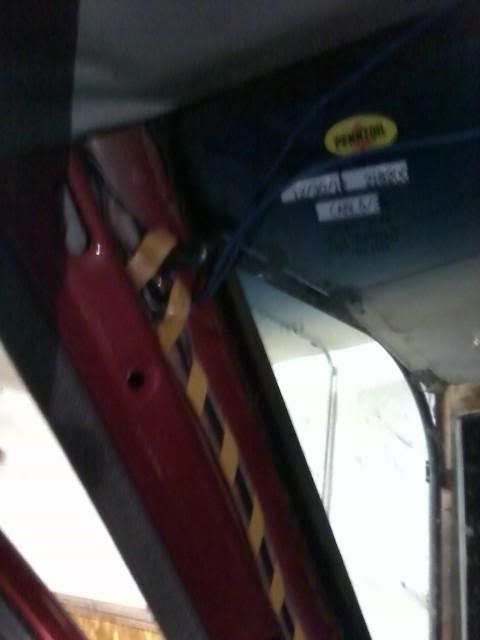
Where I tapped. Spliced, soldered and taped. Drilled a hole to get the wire from cab to windshield and then tucked it away. You can only see about a 1/4 inch of wire if you look from the front and looking at back of mirror.
Not the best picture, but should give an idea.
Where I tapped. Spliced, soldered and taped. Drilled a hole to get the wire from cab to windshield and then tucked it away. You can only see about a 1/4 inch of wire if you look from the front and looking at back of mirror.
Last edited by Terrys87; Jun 1, 2011 at 04:03 AM.
Jun 9, 2011 | 12:29 AM
#642
Registered User
Joined: Mar 2011
Posts: 79
Likes: 0
From: Albuquerque
Wii tarded. Haha yeah i had all that figured out and i took my time and even numbered each wire and wrote it down so i knew but it turns out when i was sodering the wires, some of the soder on one of the connections, leaked over to another pin so that didn't work out but I'm workin on finding a 21 pin harness already wired and everything and just connect that right to my door harness. In the meantime I'm just going door-less and i freakin love it. IDK why only jeep people can get away with it. i get people comin up all the time, "Hey why would you take your doors off, it's not a Jeep!"
Jun 9, 2011 | 03:49 AM
#643
Registered User
Joined: May 2008
Posts: 1,063
Likes: 2
From: Knoxville, TN
Yeah, I've had to build quite a few harnesses with those plugs and it's not fun. I also suggested to my wife about taking the doors off and she said the same thing. The screwy thing is that right now, due to odd circumstances, I am driving a heep. My T4R is down, and the car I was driving (93 subie impreza) got 2 flats. So mama in law is letting me drive her weekend toy. It's not modded or anything, she just wanted it to put the top down and drive through state parks. But I can't even take the doors off.....
Jun 16, 2011 | 12:48 AM
#644
Registered User
Joined: May 2011
Posts: 11
Likes: 0
From: Snyder Co., PA
Where to start.... my 91 truck and 88 runner has those cheapo blue lightbars from walmart (like $15 per set), one mounted on each lower door sill, the 4runner has blue button leds from walmart ($10), 2 at gauges, 2 at the clinometer, added the clinometer ($150 on ebay), LEDs for rear cargo lamps ($20), and red semi marker lights for when parking lights are on (FREE), mounted to the plastic behind wheel wells, CB "stuffed" between passenger seat and console (CB is one I had $150, mounting FREE) aftermarket radios in both (around $100 each) XM satellite radio (whatever that costs now for a new kit, and monthly fee) Wrangler Duratracks (NOT CHEAPO FIX, BUT DEFF WORTH IT!!! $600/ SET) On the 91 and ordered a set for 4runner, Arooga horn on the 91, and dixie horns on the 4runner (free with the 4runner)...... I thinks thats all for today
Jun 16, 2011 | 07:43 PM
#645
Registered User
Joined: May 2010
Posts: 3,120
Likes: 1
From: piney hicks nj
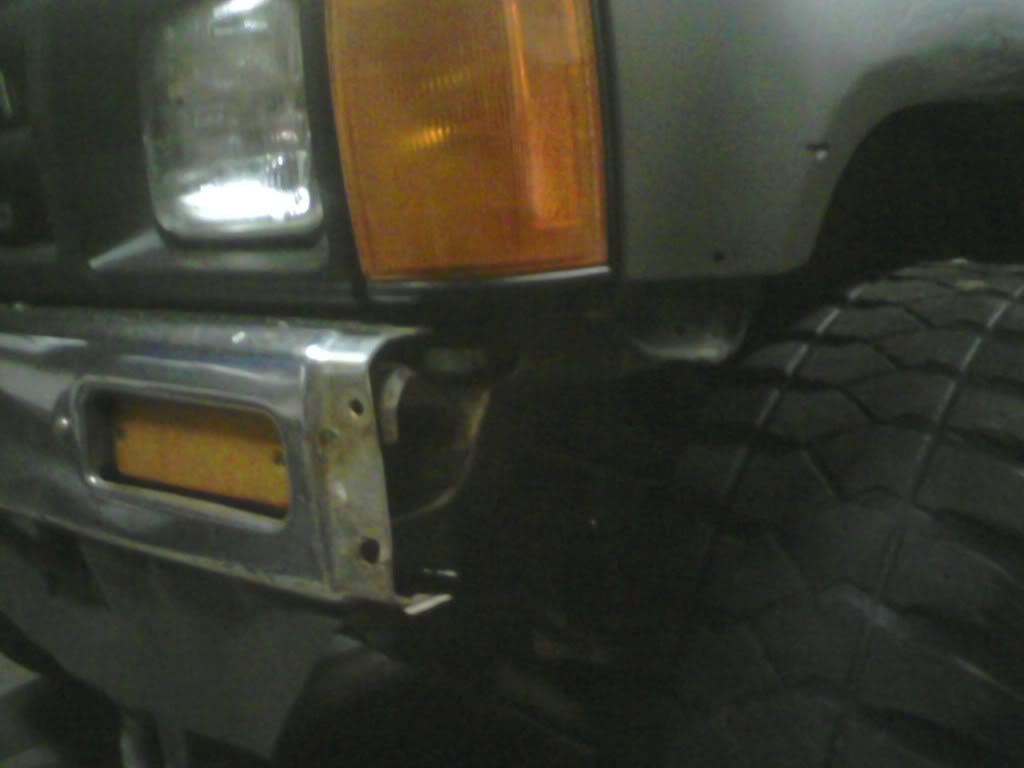
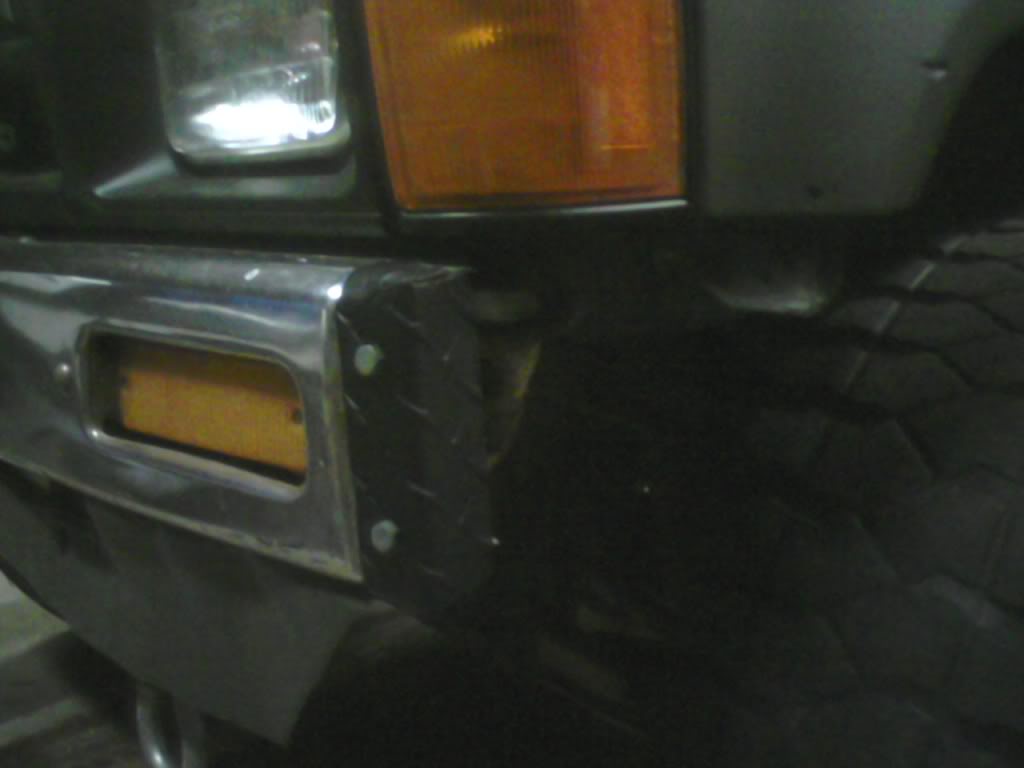
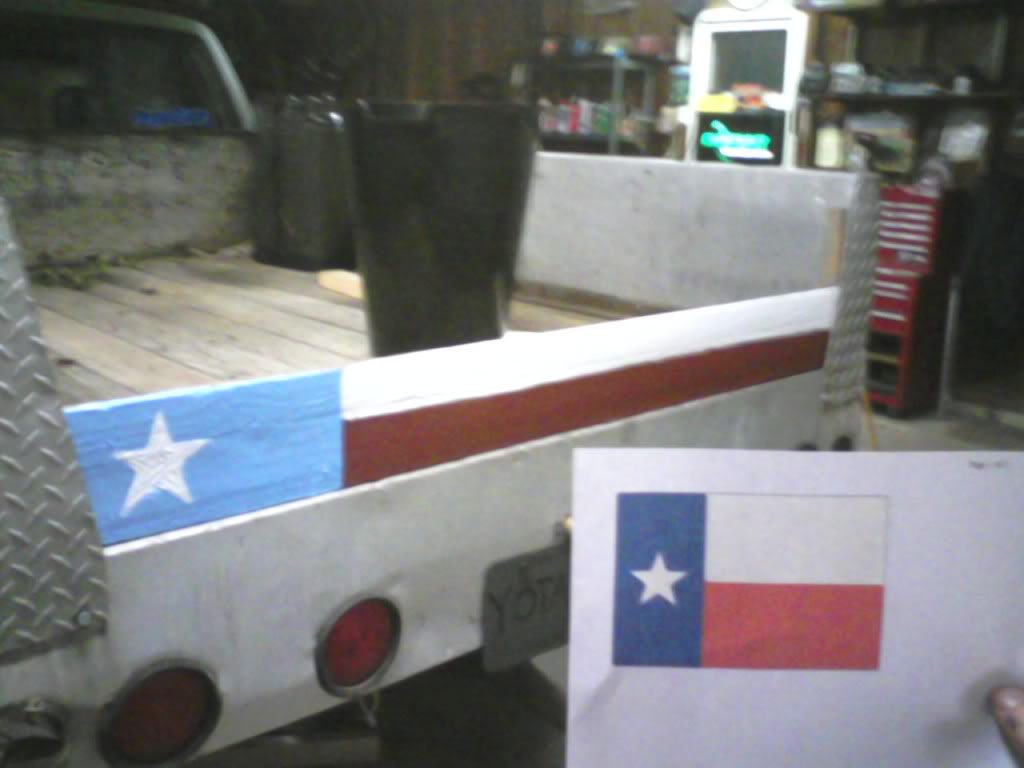
found a peice of diomand plate along the roadside (looks like it was a mudflap on a semi rig) so it was free. cut it and bent it to make "caps" for the bumper ends (since most people remove the bumper corners to run bigger tires) looks better then just having the bumper end exposed.
painted my tailgate with left over paint from my chicken coops. also free.
painted my tailgate with left over paint from my chicken coops. also free.
 Jun 18, 2011 | 03:12 PM
#647
Registered User
Joined: May 2010
Posts: 3,120
Likes: 1
From: piney hicks nj
 thanks man! i dont really like aftermarket beds either, but i kinda actually like mine alot. the previous, previous owner did a hell of a job designing the thing, it looks great yet you can break it down in 15 minites or so if you ever need to replace something. you can also take the sides off and make it a true flatbed pretty easy, i had them off not too long ago, but my pics got erased
Jun 21, 2011 | 01:56 PM
thanks man! i dont really like aftermarket beds either, but i kinda actually like mine alot. the previous, previous owner did a hell of a job designing the thing, it looks great yet you can break it down in 15 minites or so if you ever need to replace something. you can also take the sides off and make it a true flatbed pretty easy, i had them off not too long ago, but my pics got erased
Jun 21, 2011 | 01:56 PM
#648
Registered User
Joined: Mar 2011
Posts: 79
Likes: 0
From: Albuquerque
Ok i got a question. I been going back through the door wiring getting better disconnects and actually paying attention this time, i found two wires on the big harness that have the came color combinations and on the small harness. So there are two sets of the red wire with a yellow stripe and a blue ring, and a blue wire with red stripe and a red ring. Does anyone know if these are interchangeable? Oh and i just found there is a red wire with blue stripe and a black ring on the big harness and the medium one. I wanna say since they are the same combo I should be fine but maybe i need to pull the door apart and see what they go to.
Last edited by six_stringer; Jun 21, 2011 at 01:58 PM.
Aug 5, 2011 | 08:25 PM
#650
Registered User
Joined: Nov 2010
Posts: 149
Likes: 0
From: colorado springs ,co
cheap mods
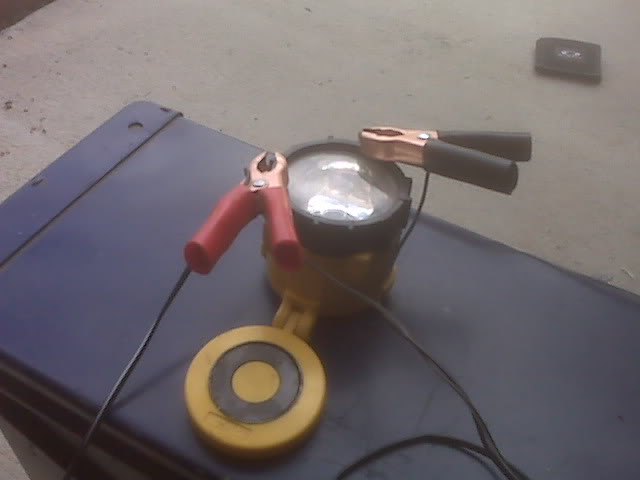
cheap harbor freight light for cigerate lighter makes a great under hood light magnet lets you mount it and as long as you have a car battery you have a light this is nothing to cool but it takes five minutes and has proven itself to be use full
cb mounted area held up to the side with Velcro i chose Velcro because its cheap and holds everything up nice and is always removable took a grinder cut a nice little slit and it fits just right total time about and hour keep the mike on the inside of the can had to cut it little more to the left as you can see to allow for the lid to be lifted and closed .
cbtop.jpg?t=1312596267
IMG00300-20110803-1413.jpg?t=1312594299
my cup holder made it out a cheap cup holder i got from auto zone about five bucks for the whole thing had to cut it in half ive seen some other ones that look the same online for a few bones but Ive seen the same thing in all the major auto store
cut one more hole in the back for the power inverter to come out picked up the power inverter for a grand total of 20 bucks its a 400 watt one plenty big enough for my needs all the wires run through a hole in the bottom of the can then under the carpet all tucked away looks real clean and nice
powerinverter.jpg?t=1312594299
only thing is you have to open the can to turn it on and off not much of a big deal for me if u wanted to u could cut a whole large enough to slip a finger through and turn it and off no bigy for me
Aug 8, 2011 | 04:52 PM
#651
Registered User
Joined: Jul 2011
Posts: 20
Likes: 0
From: Las Vegas
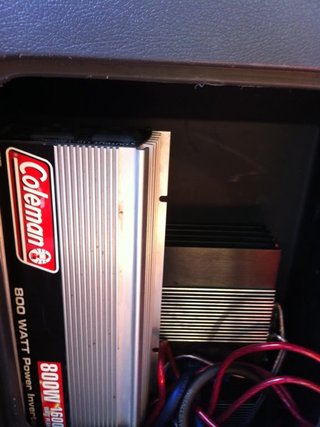
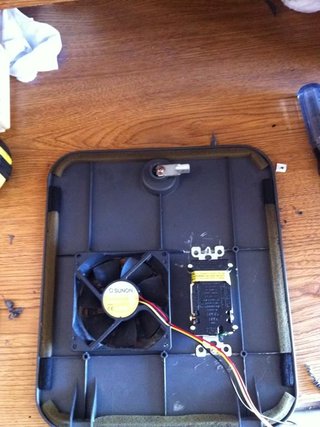
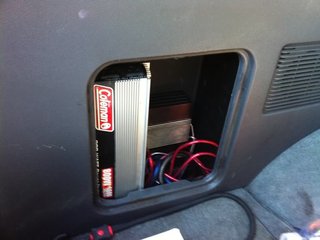
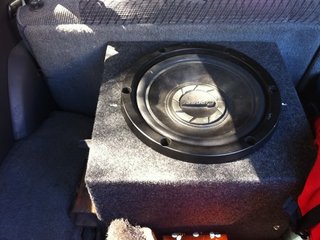
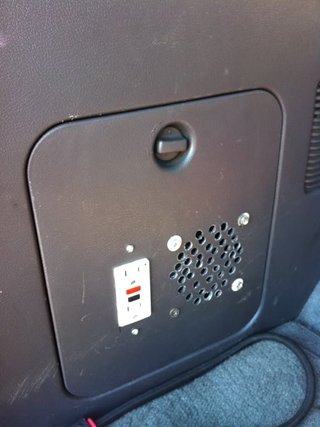
So the door mod is pretty cheap, I got the cooling fan out of an old desktop computer I had Layin around so that was free, the receptacle I got from home depot for about $8. I have an 800w inverter and a 500w amp powering the sub which I got off craigslist for $20 and the box I got on sale from Frys for $30.
11F6977D-orig.jpg?t=1312762397
B457C0EA-orig.jpg?t=1312762567
7FA3E293-orig.jpg?t=1312762262
A3853FD5-orig.jpg?t=1312762203
027A5EDF-orig.jpg?t=1312762165
11F6977D-orig.jpg?t=1312762397
B457C0EA-orig.jpg?t=1312762567
7FA3E293-orig.jpg?t=1312762262
A3853FD5-orig.jpg?t=1312762203
027A5EDF-orig.jpg?t=1312762165
Last edited by Hukill702; Aug 8, 2011 at 04:57 PM.
Aug 9, 2011 | 02:49 AM
#652
Registered User

Joined: Jan 2010
Posts: 3,795
Likes: 33
From: Bloodymore
So did you just tap into 12v for the fan? How do you turn it on and off. Do you need to open the door Everytime to turn the inverter and fan on?
I thought about adding a fan on my inverter as well, i like the idea.
I thought about adding a fan on my inverter as well, i like the idea.
Last edited by RBX; Aug 9, 2011 at 02:52 AM.
 Aug 9, 2011 | 12:56 PM
#654
Registered User
Joined: Jul 2011
Posts: 20
Likes: 0
From: Las Vegas
The fan is wired to the remote wire for the amp, since the only time I need the extra cooling is when the amp is on. Otherwise the inverter has its own built in fan that keeps it pretty cool. I do have to open the door to turn the inverter on, but I was thinkin about just removing the switch and lengthening the wires a bit and install it on the door as well. Like the idea about the load sensing actuator though. I might look into that irab.
 Aug 9, 2011 | 08:52 PM
#658
Registered User
Joined: Mar 2011
Posts: 80
Likes: 0
From: Sacramento, California
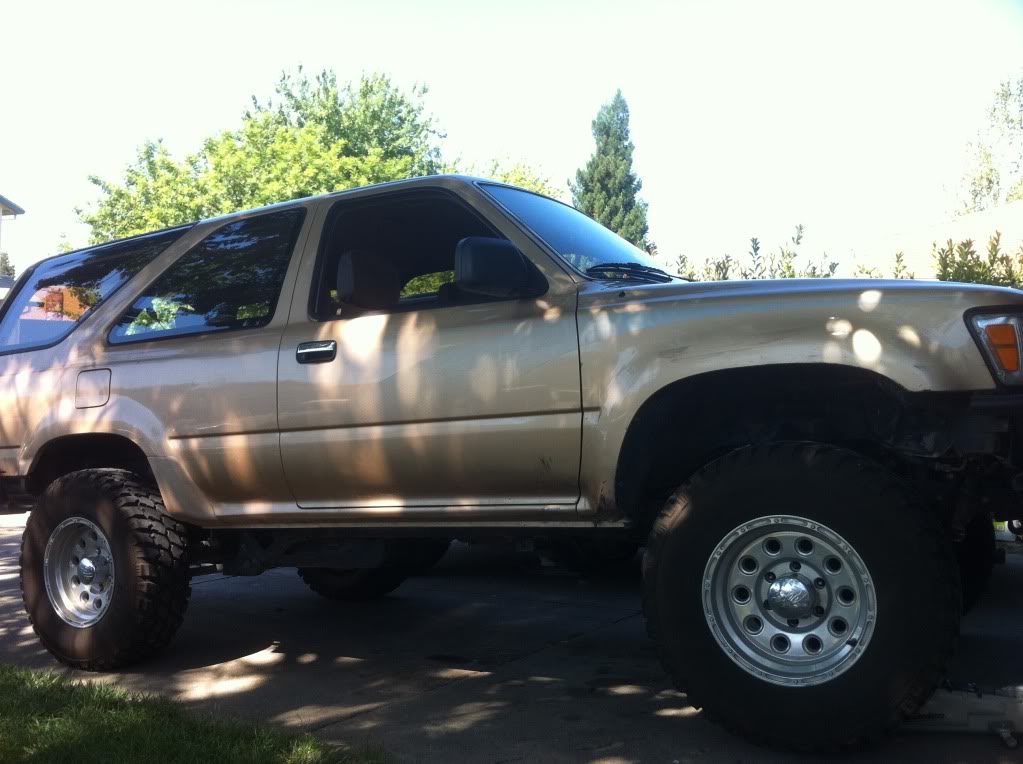
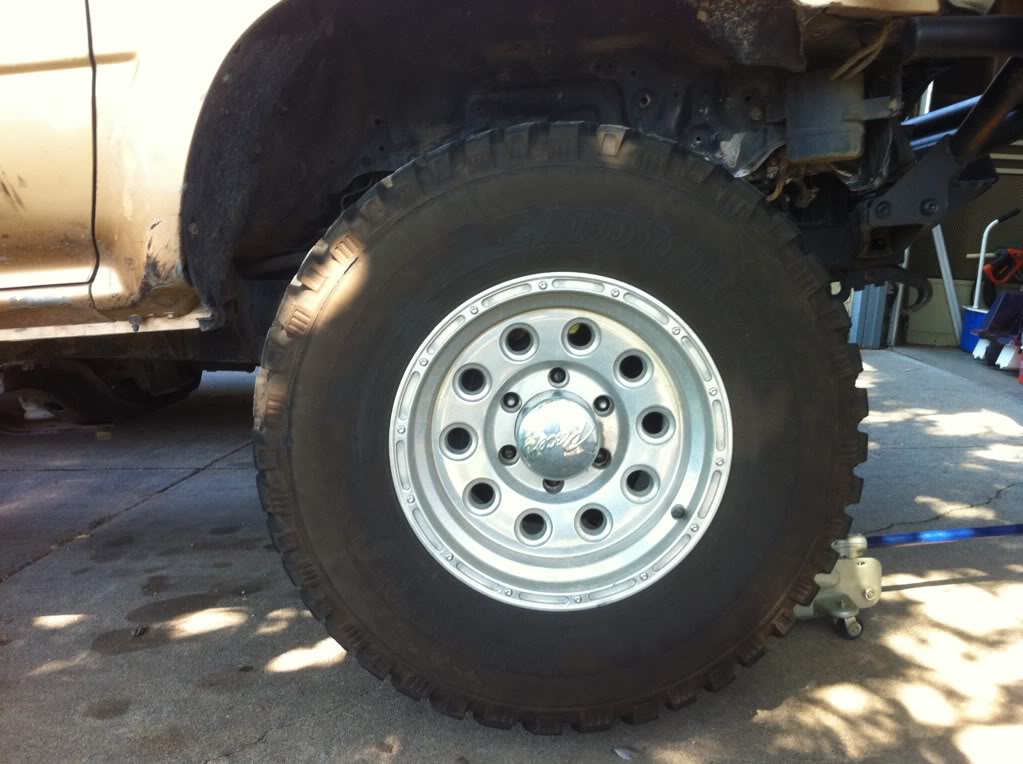
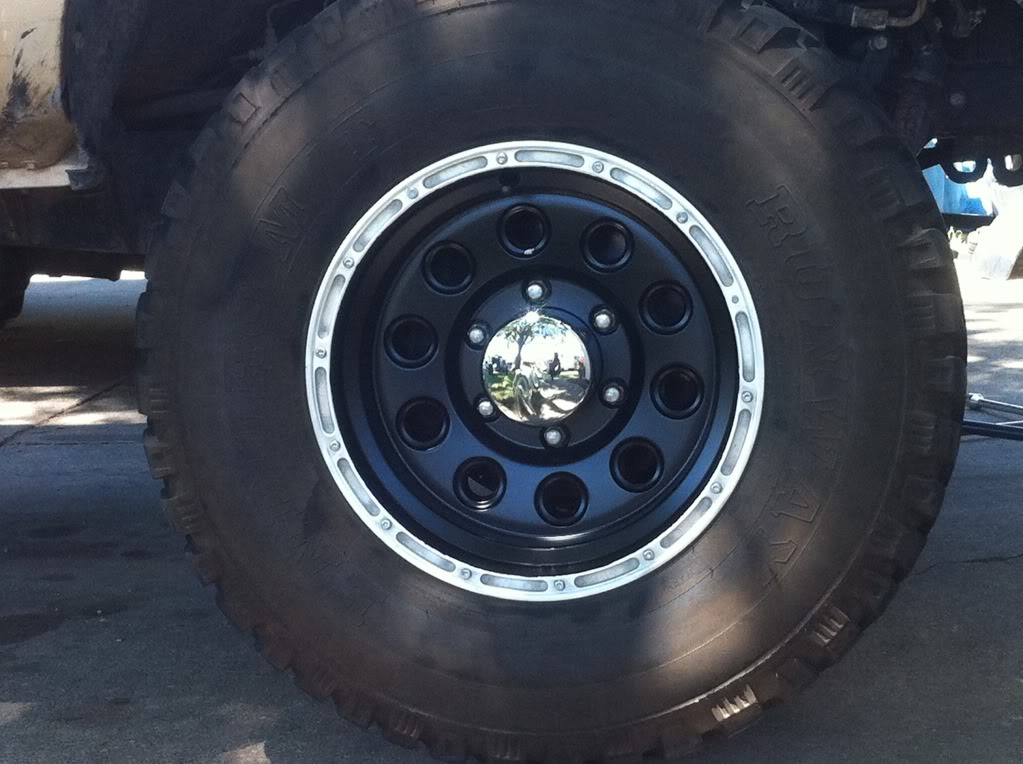
I removed the wheels, used a wire brush on a drill to clean/scuff them. Then just masked the outer face of the wheel and sprayed the inside with a few coats of Roll Bar/Chassis Satin black.
Aug 12, 2011 | 08:38 PM
#659

Registered User
Joined: Aug 2011
Posts: 1
Likes: 0
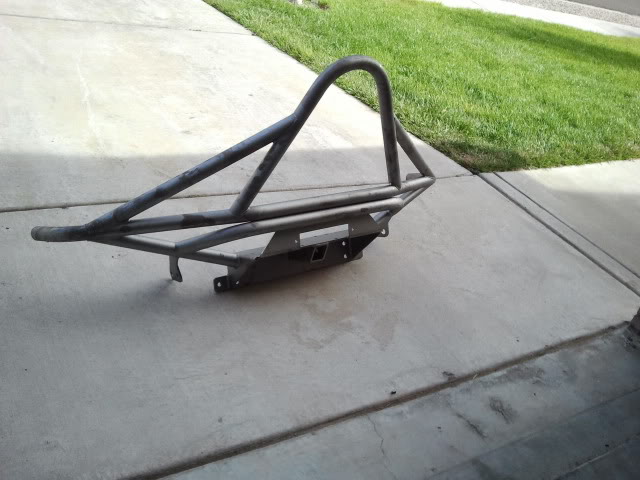
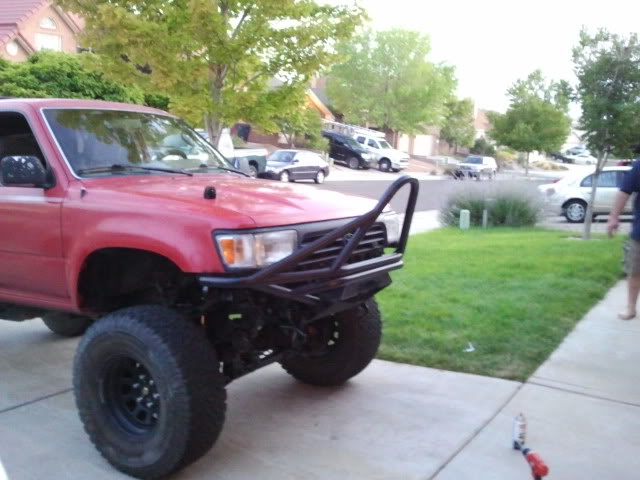
Mine was a Roll Bar I found in the woods, it came off an old Chevy my uncle had. So I cut it and welded on it. All in all it cost about 35 dollars for me. I'm working on it now and I don't know if it's gonna look good so I'll take a picture tomorrow and put it on here and let ya'll see so I can get some prfesstional imput.


