When you click on links to various merchants on this site and make a purchase, this can result in this site earning a commission. Affiliate programs and affiliations include, but are not limited to, the eBay Partner Network.
Runner88, thanks for the advice it worked! I was able to fit it on by using that method.
Sorry to reply to such an old post but I'm struggling with getting my windshield gasket installed and can find no videos or info on procedure. I got mine in from Thailand the other day but I could barely get it stretched around the glass. Now I'm letting it sit/stretch, going on 3 days now. It was so hard to do I was afraid I'd break the glass. My question is so do I now remove it from glass and insert back into truck then set glass in bottom channel working my way up maybe with rope in some portion? I'd really like clarification on exactly where to start and end please.
Runner88, thanks for the advice it worked! I was able to fit it on by using that method.
I got my gasket in a few days ago from Thailand, I think it's where the Aussies get it, and I'm having the same problem, was barely able to get the gasket onto the glass feeling like it was close to breaking but then not able to get into frame. I read in some other post that you have to trim the glass 1/4" on one side??? Sitting in limbo now with glass out and terrible weather Portland, Or. Did you have to trim your glass? Do you take the rubber back off and put it into frame then insert glass? If so where do you start and end? Any advice much appreciated.
I got my gasket in a few days ago from Thailand, I think it's where the Aussies get it, and I'm having the same problem, was barely able to get the gasket onto the glass feeling like it was close to breaking but then not able to get into frame. I read in some other post that you have to trim the glass 1/4" on one side??? Sitting in limbo now with glass out and terrible weather Portland, Or. Did you have to trim your glass? Do you take the rubber back off and put it into frame then insert glass? If so where do you start and end? Any advice much appreciated.
have not done it myself, my understanding is you get a rope soapy, loop it around the notch in the gasket, one person pushes the windshield against the truck while the other pulls the rope from the inside
As the rope is pulled, it pulls the gasket flap over the metal lip
have not done it myself, my understanding is you get a rope soapy, loop it around the notch in the gasket, one person pushes the windshield against the truck while the other pulls the rope from the inside. As the rope is pulled, it pulls the gasket flap over the metal lip
Yes, it's on Youtube...
However...
Originally Posted by Troyota68
... Any advice much appreciated.
My advice would be to clean the pinch-weld to bare metal, rust-proof and seal seams (whichever comes first depends on recommended process for seal and finish used), get glass re-installed with proper primer and urethane adhesive.
See Magnet18's, charchee's and my threads for ideas. Urethane windshield adhesive is so strong so really think and research about having as little as possible between it and the bare metal; less layers to fail.
Get rid of the retarded trim. If you do not already know what it does:
Last edited by RAD4Runner; Apr 27, 2017 at 02:39 PM.
I wanted to give some details about what I did because I had to research far and wide to get my windshield replacement accomplished. I ordered a rubber gasket from Thailand. I forget if I went with Ebay or a site but I used info from here: http://www.4x4world.com.au/shopping/...roduct_id=5996 and/or here: http://www.advanceauto.co.th/toyota-...121-89117.html to get the right part number. I found that anywhere you order they are about the same when factoring in shipping.
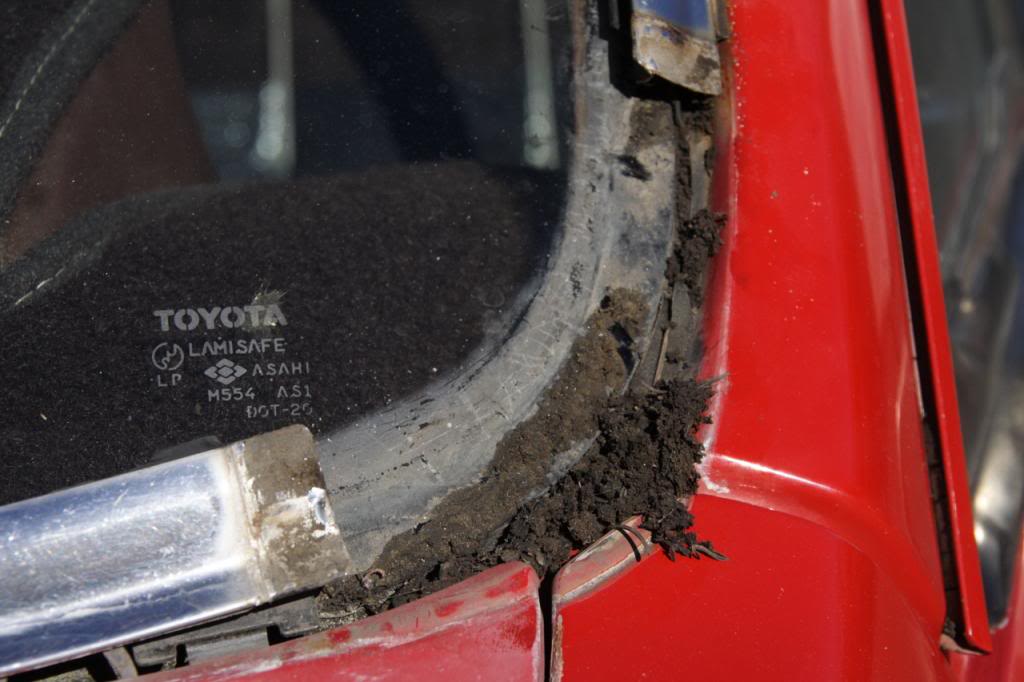
The windshield looked pretty good and had black hard trim covering the adhesive. I have done a lot of work on the truck. My stupid perfectionism gnaws at my soul and prevented me from leaving anything in an 'unknown' state. I tried to convince myself that there wouldn't be any rust under there and all would be fine. The combination of 'aka rust maker' and seeing a drop of water inside the cab when it was raining forced my hand. Here is a photo before any action was taken where you can see it doesn't look bad:
Here are some pictures after cracking off that trim:
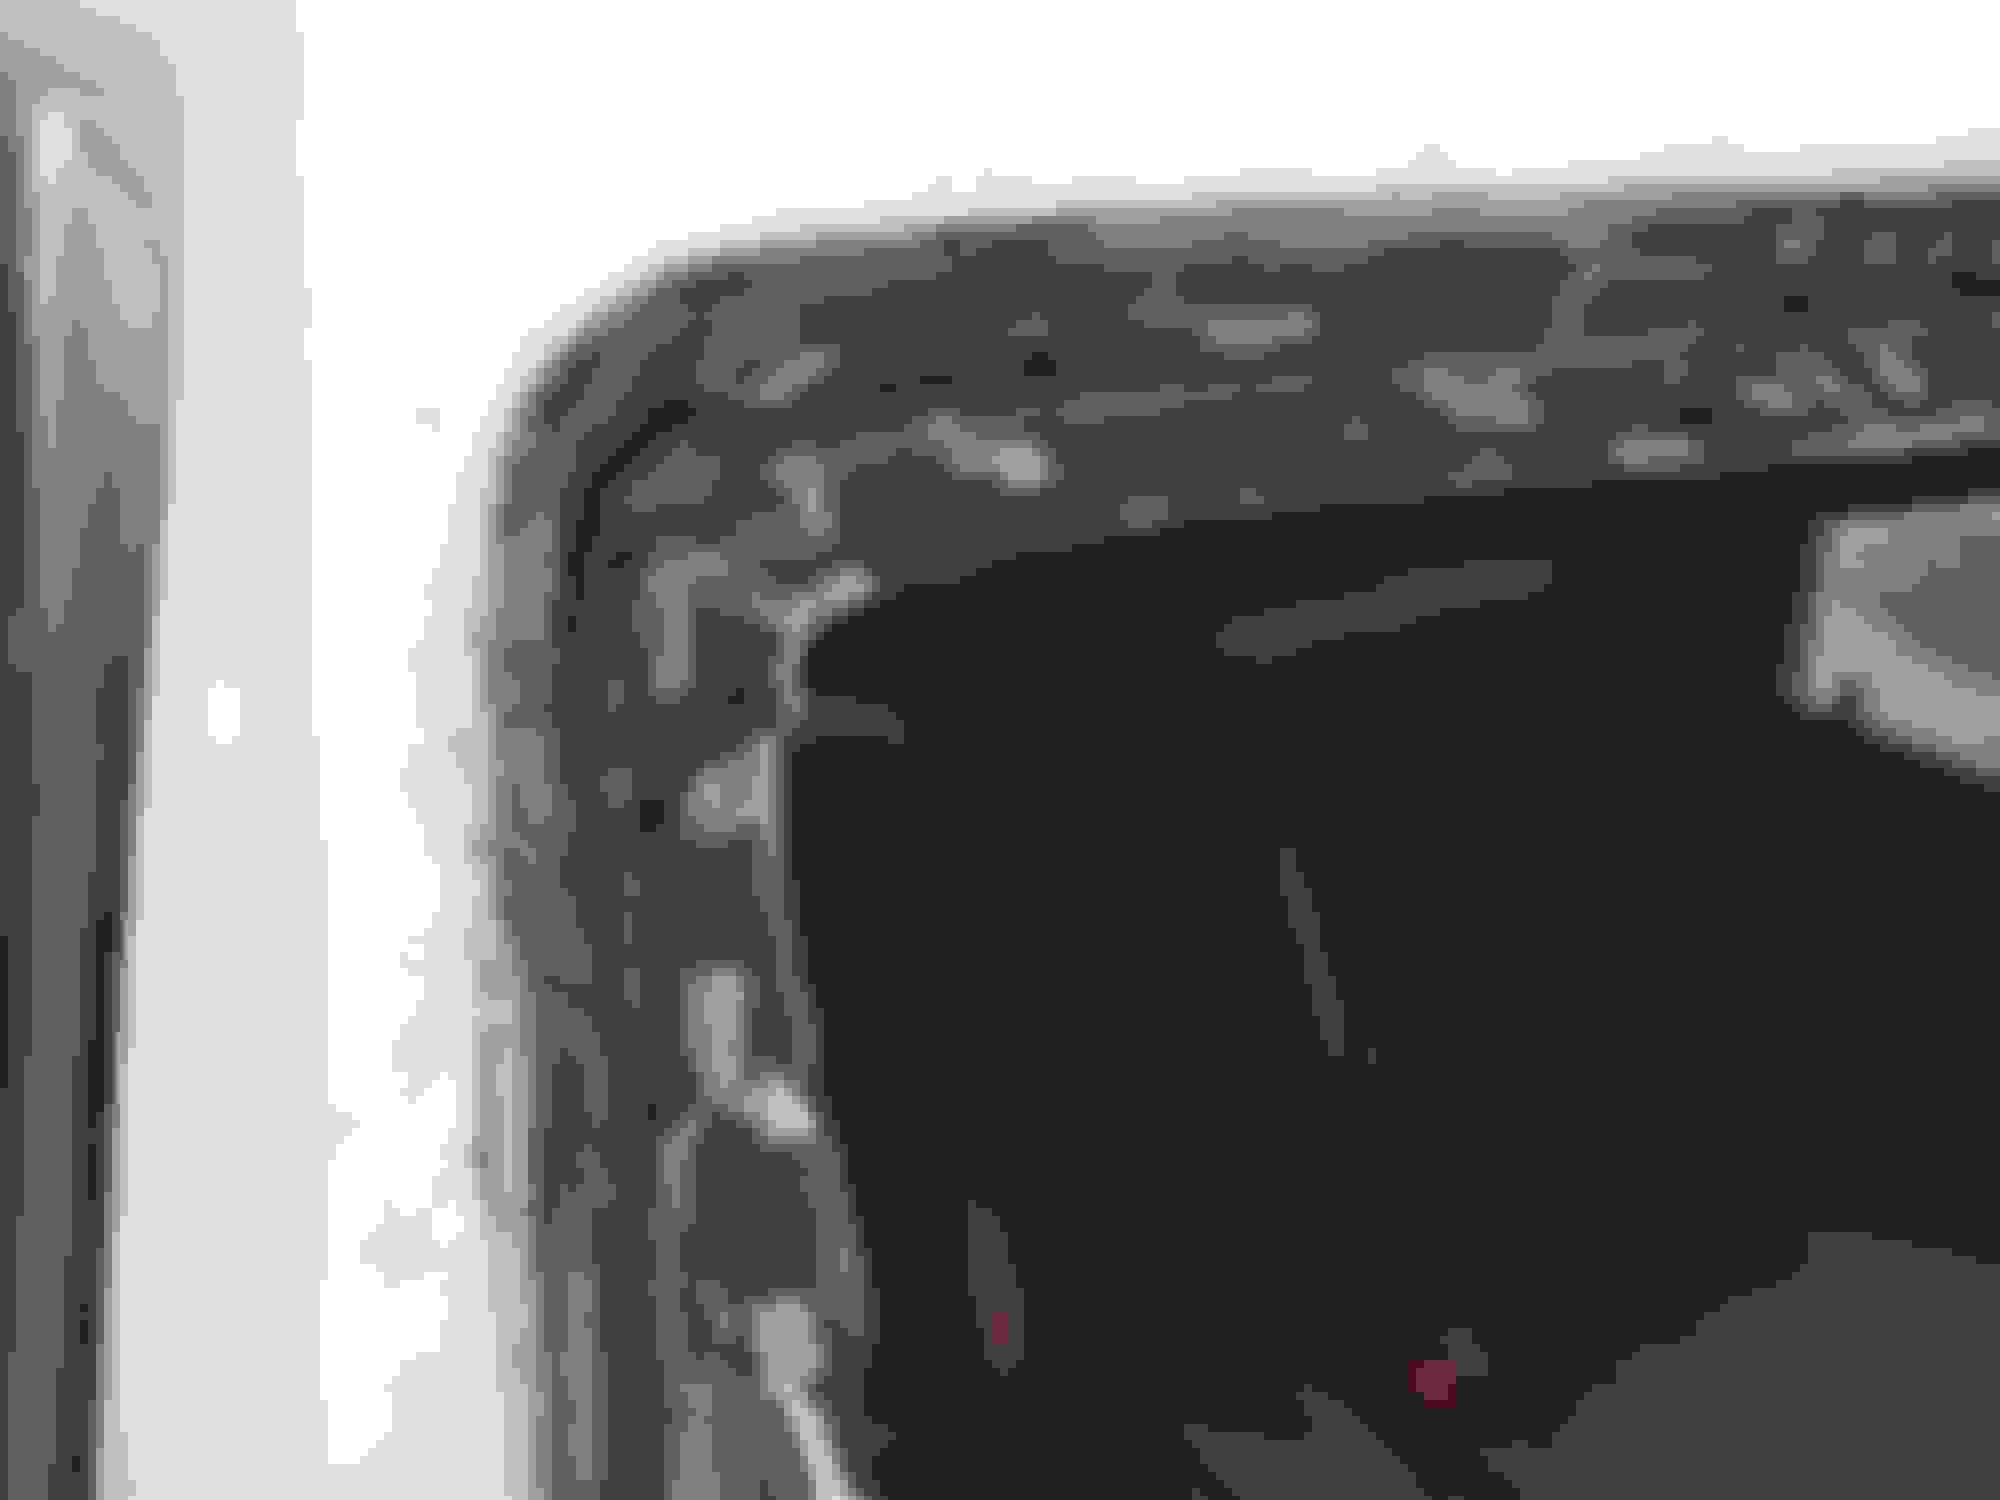
And here are some photos after getting out the windshield (never done a windshield before, I got a kit and tried the square wire, picks, curved knives, etc. etc. Ended up smashing the living daylights out of it and cutting it out with huge tin snips, removing windshields sucks):
Definitely rust in there. Most was surface but there were two small pin holes on the passenger side. My method to clean it all up was 3M red rust disc on my angle grinder. This worked very very well compared to my first go with picks and scrapers. I ground it all out to bare metal:
After it was all cleaned I soaked the bare metal in a rust converter to make sure every last molecule of hiding rust was taken out. Then I used a 2k/2 part epoxy primer. I applied 3 coats leaving the amount of time between coats that the product specified. I found a rattle can that has a button on the bottom that mixes the 2 components when pressed. That product is awesome--a true 2 part epoxy that doesn't require air to dry but cures through chemical reaction. I forgot to take photos of that but it was your standard primer color. I then top coated that with a black epoxy paint which I have a few photos of:
So then comes the fun part. Unfortunately fitting the glass was a very hands-on process that involved me, my brother, and my wife. Next time I will make it easier by gluing the gasket onto the glass. This time around I used nothing but the gasket and glass to get it on the car. The top of the glass is curved concave from the inside perspective so the tension of the rubber gasket is enough to pull it off the glass--very annoying. Tape from one side of the glass over the rubber and to the opposite side works OK but urethane on the inside glass seam would make it a hell of a lot easier. Anyways, once the gasket is on the glass I stuck an orange poly rope about the same diameter as a pencil into the pinch weld seam. I did this with a slotted screw driver just tucking it in along the entire length. The two ends of the rope overlapped at the bottom as I had seen in videos on YouTube about VW golf/bug window work, as well as some old muscle car and truck rear window installations. Same process. Now I seated the glass and gasket with rope in place where the bottom gasket seam hung over the bottom pinch weld. I had my wife spray small amounts of very dilute soapy water in the seam and on the pinch weld and keep it wet throughout. Now my brother had two window suction cups on the front with which he variously tugged down. He alternated between tugging down to seat it on the bottom with using both hands in one spot on the glass to push the window down/in towards me on the inside. He would do that in single motions that would have the effect of rocking the car, if that makes sense. Like hitting the window with lots of force but very slowly in comparison to a normal hit. As he was doing this I was slowly pulling each end of the rope out and causing the rubber to fold out over the pinch. Every little length I would manually adjust the rubber to get the rest of it over the pinch and direct my brother to add more force to a spot to get the gasket to seat completely. This method all around and it just worked itself in. I was surprised it worked so well having never replaced a windshield before using either urethane or this old school method.
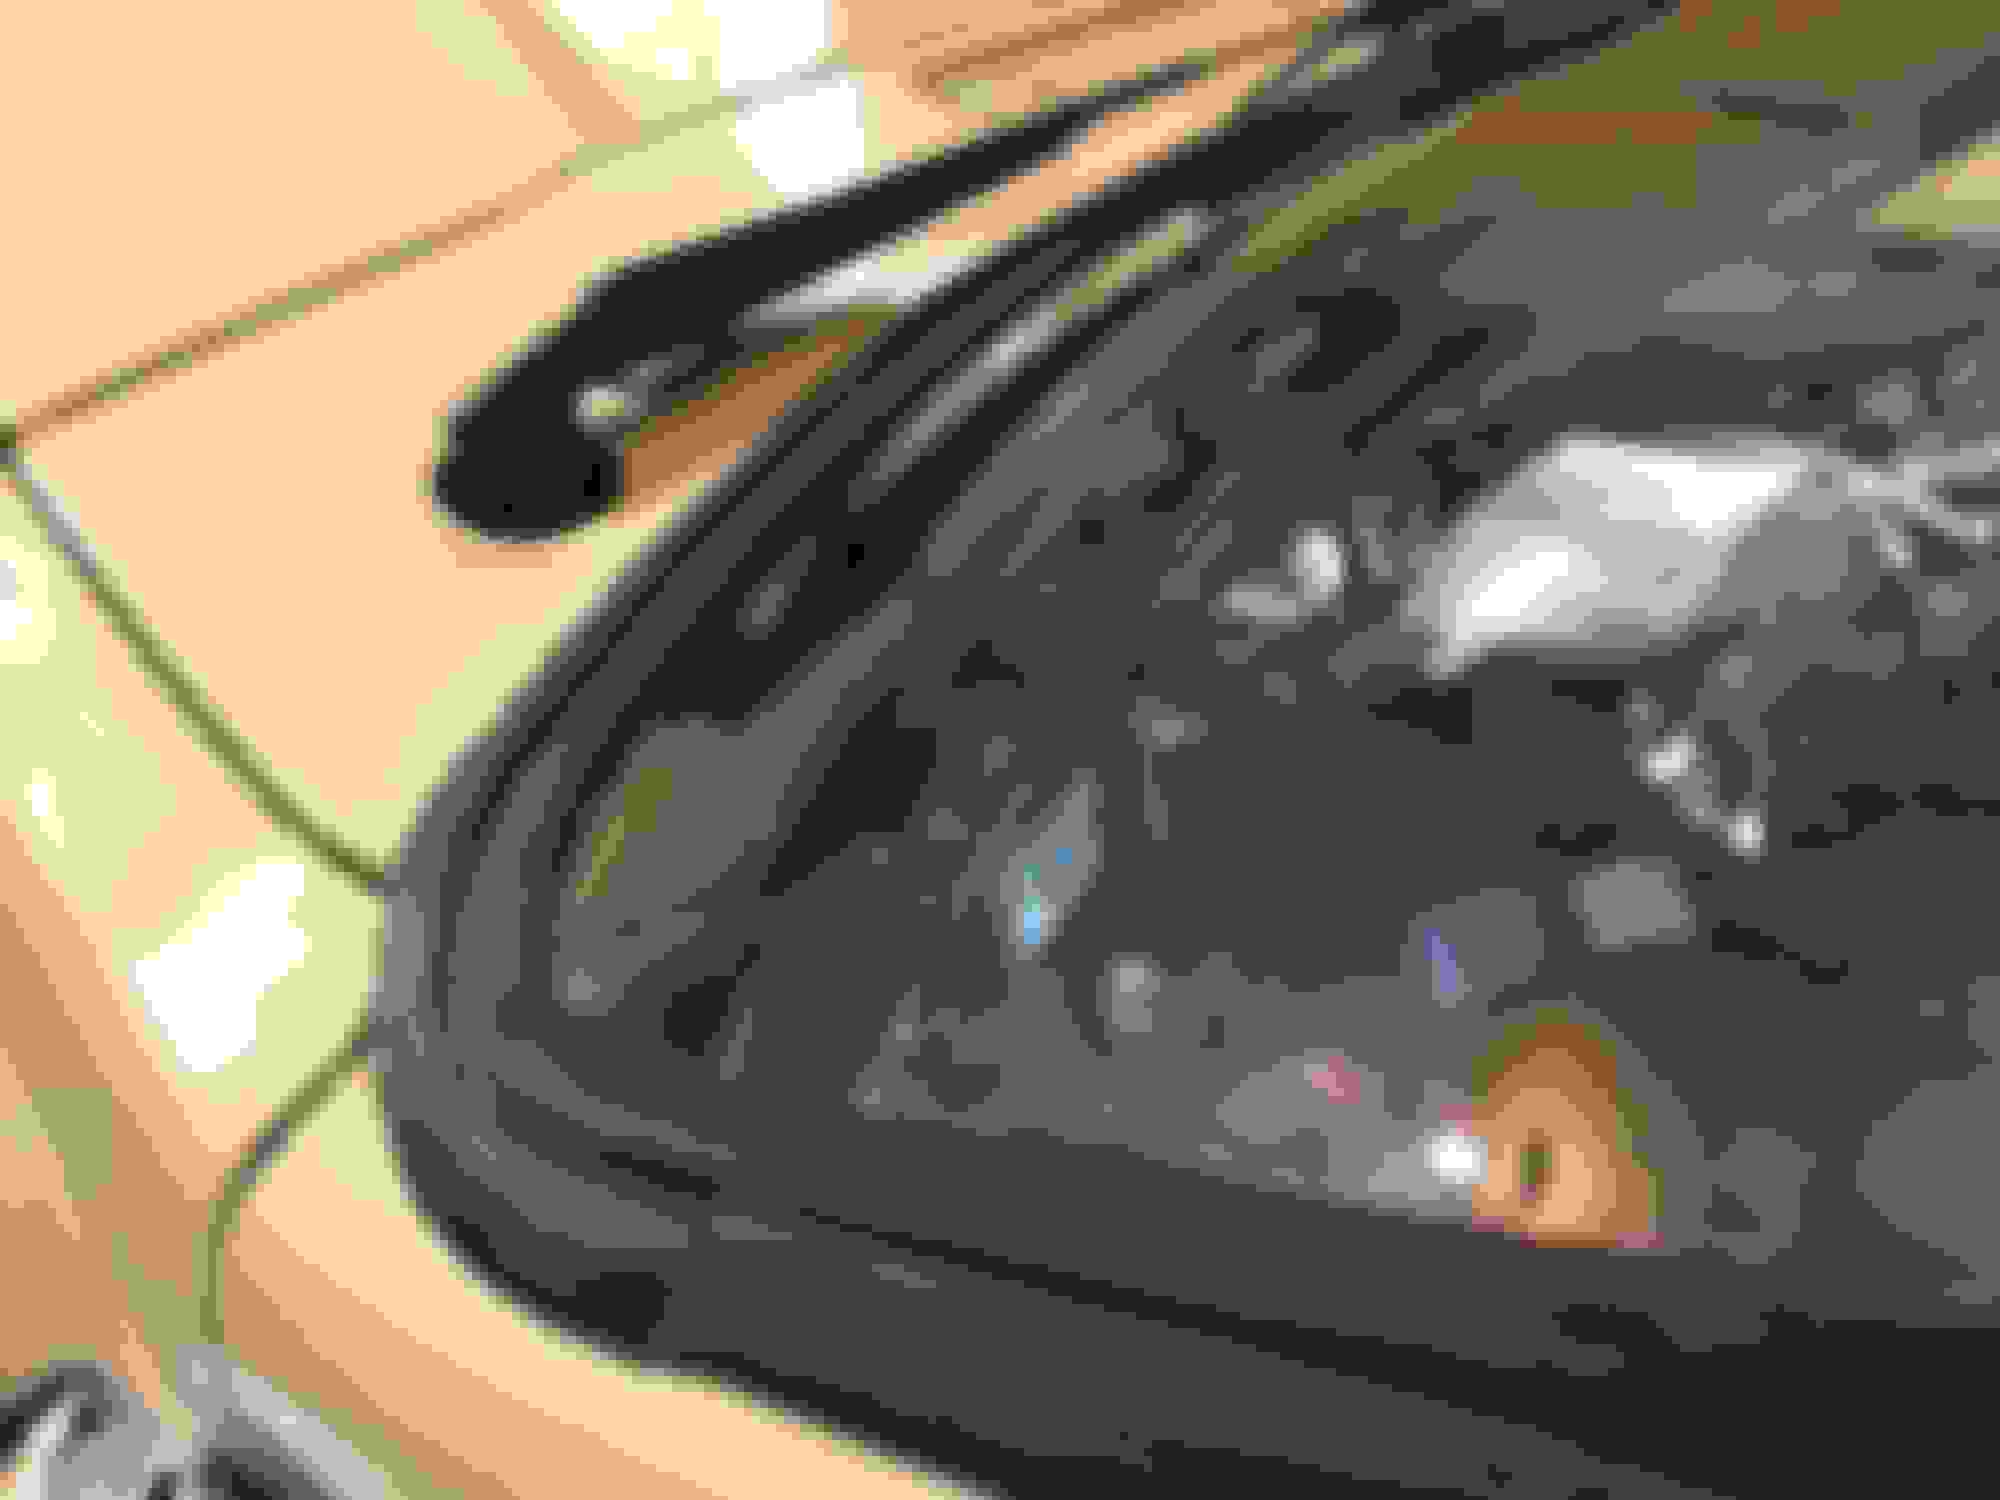
The rubber gasket looks great and seals great. It also has a nice all-in-one fit for the wiper cowl as you can see in some of the photos below:
As you will notice from the photos I had a good bit of the dash out. This was out so I could clean and inspect everything underneath and I think replace or repair a few items. I forget exactly what at this point. I did repaint all the black metal components like the metal piece behind the bottom of the windshield so that is probably why they were out. I do think now that this piece has to be out to clear the gasket. Then the vertical strip of metal has to be mushed into the gasket and the entire thing re-bolted in place. I would definitely take the top parts of the dash out at the very least. I will not guarantee this job is possible without taking anything out. You can kind of judge it by the photos I took from inside.
Anyways, my truck is doing great with this new gasket. I think it helps with vibration and noise but that could be totally psychosomatic or whatever word I'm searching for. Cost was 125 for the glass from Rock Auto and I think $100 for the gasket. The 2k epoxy primer was $25. If anyone has questions let me know I'd be glad to help. This forum has helped me like crazy I'd like to think this post is paying back a little.
Bump. I'm really hoping some of you guys can lend advice. First of all, I need to know if the rubber gasket everyone is referencing will work on the 89-95 Trucks too and secondly, if not used and I just urethane seal the glass without the added gasket, what else could be used to fill the extra void around the glass perimieter? (black silicone of some type or just more urethane and a putty knife?). I say this because I'm going to raptor-line the truck in the next few months after the windshield repair and my thoughts are that I'd rather be able to mask off the windshield and spray the liner onto the windshield perimeter, either right up to the glass edge or possibly even 1/4" onto the top of the glass to protect the glass edges.
I just know that I didn't really want to risk using a rubber gasket and then have to pry it up and carefully add some sort of additional urethane or silicone up under it, then go back and tape it off for the raptor liner, which if so, would in fact leave a seam and crack to the roof surface between the rubber gasket and spray on liner for water and rust to possibly penetrate over time. So I feel that coating with raptor liner directly onto the secondarily sealer (such as additional silicone or urethane) would be much better than sealing it right up against a rubber gasket because of the "micro-crack" issue where they meet. I hope I'm making sense here. I also live in the hot southern California sun (and don't have a garage) so my thoughts are the less rubber the better.
Regardless, I really need to do my windshield in the next few weeks due to some major rust at the bottom of the pillars from you guessed it, the damn OEM chrome trim. I pulled all of it off last week and cut out the plastic clips. I'm going to have to weld in some new metal. Once I started scraping off the bubbled paint I have a few pencil eraser sized holes. I'm also starting to source a new windshield this week since I unfortunately cracked my otherwise perfect window while trying to excavate the last and final clip and got a little overzealous prying it out. I was really hoping to reuse the glass because it WAS in excellent shape. $200 down the drain, not to mention all the other supplies I'll need.
So far I'm thinking:
--100lb braided fishing line (for windshield removal trick on YouTube)
--POR-15 for painting over bare metal once prepped
--Sheet steel for welding (how thick is needed and any specific type???)
--Dremel tool (for tight spaces my angle grinder might be too big for)
--Sanding discs / flap discs for dremel and 4-1/2" grinder.
--Adhesive remover for OLD urethane (..anything for this???)
--Primer for NEW urethane and glass (..do I need this or is POR-15 ok???)
As for the new glass install I will probably have a company come to my house to do it while I watch and provide overly annoying scrutiny lol. I'd rather do it myself as I know they sell nice suction cups on Amazon but not having ever done this I don't know if I should risk it. I'm very detail oriented but get the feeling this is something you really only have one single shot to get right the first time as far as setting it on with proper alignment, just the right amount of urethane, and then appropriate amount of push or pressure to seal the perimeter. I assume that's the right process but again..all new to me.
Last edited by MudWaspSR5; Apr 16, 2018 at 07:17 PM.
By all means get rid of that trim unless you want it pretty outside rusty inside; It is purely superficial and even rubber will trap moisture.
Originally Posted by MudWaspSR5
...just urethane seal the glass without the added gasket, what else could be used to fill the extra void around the glass perimieter? (black silicone of some type or just more urethane and a putty knife?....
NOTE: Paint will not stick on top of silicone. It may stick better to urethane.
Easy alternative like I did:
POR, Urethane glass adhesive (with primer/activator) as glass shop installs it, leave gap alone, but paint/bedliner over THE EXPOSED POR-15 because that is not UV-resistant. Option to fill the gap later with silicone (see my thread for the Dow-Corning number I used.) Silicone will stick on top of paint but not vice-versa.
OR:
POR-15, install glass as shop does it, Fill gap with Urethane. Gotta mask well because excess urethane is difficult to remove. Paint/bedliner over urethane.
Filling the gap has advantage of protecting edge of glass.
100lb braided fishing line (for windshield removal trick on YouTube)
Or piano wire / guitar string.
--POR-15 for painting over bare metal once prepped
This is what I did and it works well. However, I like minimal layers; I would research if OK to have the urethane adhesive directly on bare metal. Then paint exposed areas.
--Adhesive remover for OLD urethane
Not aware of any. I did Old fashioned scraping.
Primer for NEW urethane and glass (..do I need this or is POR-15 ok???)
Leave the glass install to the experts.
There are plastic pieces on bottom of glass to hold it in position until adhesive is cured. Make sure you put those back.
Glass tech WILL use primer/activator on body and on glass in order for urethane adhesive to work. Make sure you scuff the POR-15 well before glass tech arrives to makes sure it is done right.
Last edited by RAD4Runner; Apr 16, 2018 at 08:39 PM.
I wanted to give some details about what I did because I had to research far and wide to get my windshield replacement accomplished. I ordered a rubber gasket from Thailand. I forget if I went with Ebay or a site but I used info from here: http://www.4x4world.com.au/shopping/...roduct_id=5996 and/or here: http://www.advanceauto.co.th/toyota-...121-89117.html to get the right part number. I found that anywhere you order they are about the same when factoring in shipping.
The windshield looked pretty good and had black hard trim covering the adhesive. I have done a lot of work on the truck. My stupid perfectionism gnaws at my soul and prevented me from leaving anything in an 'unknown' state. I tried to convince myself that there wouldn't be any rust under there and all would be fine. The combination of 'aka rust maker' and seeing a drop of water inside the cab when it was raining forced my hand. Here is a photo before any action was taken where you can see it doesn't look bad:
Here are some pictures after cracking off that trim:
And here are some photos after getting out the windshield (never done a windshield before, I got a kit and tried the square wire, picks, curved knives, etc. etc. Ended up smashing the living daylights out of it and cutting it out with huge tin snips, removing windshields sucks):
Definitely rust in there. Most was surface but there were two small pin holes on the passenger side. My method to clean it all up was 3M red rust disc on my angle grinder. This worked very very well compared to my first go with picks and scrapers. I ground it all out to bare metal:
After it was all cleaned I soaked the bare metal in a rust converter to make sure every last molecule of hiding rust was taken out. Then I used a 2k/2 part epoxy primer. I applied 3 coats leaving the amount of time between coats that the product specified. I found a rattle can that has a button on the bottom that mixes the 2 components when pressed. That product is awesome--a true 2 part epoxy that doesn't require air to dry but cures through chemical reaction. I forgot to take photos of that but it was your standard primer color. I then top coated that with a black epoxy paint which I have a few photos of:
So then comes the fun part. Unfortunately fitting the glass was a very hands-on process that involved me, my brother, and my wife. Next time I will make it easier by gluing the gasket onto the glass. This time around I used nothing but the gasket and glass to get it on the car. The top of the glass is curved concave from the inside perspective so the tension of the rubber gasket is enough to pull it off the glass--very annoying. Tape from one side of the glass over the rubber and to the opposite side works OK but urethane on the inside glass seam would make it a hell of a lot easier. Anyways, once the gasket is on the glass I stuck an orange poly rope about the same diameter as a pencil into the pinch weld seam. I did this with a slotted screw driver just tucking it in along the entire length. The two ends of the rope overlapped at the bottom as I had seen in videos on YouTube about VW golf/bug window work, as well as some old muscle car and truck rear window installations. Same process. Now I seated the glass and gasket with rope in place where the bottom gasket seam hung over the bottom pinch weld. I had my wife spray small amounts of very dilute soapy water in the seam and on the pinch weld and keep it wet throughout. Now my brother had two window suction cups on the front with which he variously tugged down. He alternated between tugging down to seat it on the bottom with using both hands in one spot on the glass to push the window down/in towards me on the inside. He would do that in single motions that would have the effect of rocking the car, if that makes sense. Like hitting the window with lots of force but very slowly in comparison to a normal hit. As he was doing this I was slowly pulling each end of the rope out and causing the rubber to fold out over the pinch. Every little length I would manually adjust the rubber to get the rest of it over the pinch and direct my brother to add more force to a spot to get the gasket to seat completely. This method all around and it just worked itself in. I was surprised it worked so well having never replaced a windshield before using either urethane or this old school method.
The rubber gasket looks great and seals great. It also has a nice all-in-one fit for the wiper cowl as you can see in some of the photos below:
As you will notice from the photos I had a good bit of the dash out. This was out so I could clean and inspect everything underneath and I think replace or repair a few items. I forget exactly what at this point. I did repaint all the black metal components like the metal piece behind the bottom of the windshield so that is probably why they were out. I do think now that this piece has to be out to clear the gasket. Then the vertical strip of metal has to be mushed into the gasket and the entire thing re-bolted in place. I would definitely take the top parts of the dash out at the very least. I will not guarantee this job is possible without taking anything out. You can kind of judge it by the photos I took from inside.
Anyways, my truck is doing great with this new gasket. I think it helps with vibration and noise but that could be totally psychosomatic or whatever word I'm searching for. Cost was 125 for the glass from Rock Auto and I think $100 for the gasket. The 2k epoxy primer was $25. If anyone has questions let me know I'd be glad to help. This forum has helped me like crazy I'd like to think this post is paying back a little.
thanks for the great write up / pics.
So you used just the gasket...no extra liquid sealers?
Notice any leaks so far?
Rad4Runner, thanks for the quick reply! I'm definitely going to give the POR-15 a try and will just urethane glue direct to that (with the added primer from installer). I've never used POR-15 and also have a small trailer to restore this summer so it will be good to get familiar with it. I see that clean-up requires Xylol or Xylene so I know it's serious stuff. I've used a lot of Hammerite from MasterChem in the past but didn't think it would be good for this application. I did also save the two large plastic base clips knowing they would be useful if not crucial for realignment.
And Yota81, I realize you are trying to help but there was really no need to fully requote all the great pictures and entire post from Shudak. I already saw them earlier (as they are just a few replies back toward the top of this same page) and he did the full gasket seal method which I specifically said I want to avoid for specific reasons with how the gasket will make a crack next to the spray-on bed liner I will be using instead of paint. He also never detailed how exactly he removed the old urethane (via just sanding or chemical too) nor did he say the exact name of the 2-part epoxy he used to coat the metal, hence all my added questions.
Regardless, thanks for the help guys.
Last edited by MudWaspSR5; Apr 17, 2018 at 08:52 AM.
Last winter (16-17) i used 18 or 20 gauge steel and a harbor freight shrinker stretcher set and mig welder and was very happy with the results
Regarding the install, the Safelite guy actually had me hold one of the suction cups and he just slapped it on there, there was literally nothing to it and im pretty sure me and another warm body could have done a better job. Next time I'd do it myself.
Por, sikaflex, and whatever activator it uses and some cleanup rags, a nice thick bead and theres nothing to it.
I put generic rubber trim around it, see if you can find some that is just a u to protect the edge of the glass
...I see that clean-up requires Xylol or Xylene ...
I try to stay away from those nasty chems. I just scraped urethane. For the rust, I used steel brush wheel for loose stuff, and abrasive wheel for the hard rust. You see, the steel brush simply puts a silvery sheen on hard rust, you would think you got down to bare metal but did not.
Originally Posted by magnet18
... the Safelite guy actually had me hold one of the suction cups and he just slapped it on there, there was literally nothing to it ...
Yeah, installer puts a very thick inverted V-shaped bead, so MudWasp, I suggest you NOT use body filler to smooth out dips and bumps on mounting surface. That would only add more layers to fail/delaminate. The thick urethane bead will be enough to compensate for dips and bumps.
I put generic rubber trim around it, see if you can find some that is just a u to protect the edge of the glass
Yes, U-shaped you can stick to glass before it is installed, OR standard rubber trim but trim the flap before installing glass:
RUBBER TRIM TRIMMED.
OR L-shaped if applied after glass is installed.
See one thing that Jeep did right; No trim, just adhesive
Here's what Safelite Glass Tech Used on Mine. Would be good to use to flll gap, but might be expensive and hard to rework if one messes up.
Last edited by RAD4Runner; Apr 17, 2018 at 11:59 AM.
Regarding the POR-15 do I really need their cleaner and or degreaser too?? I was thinking of getting the $22 "all in 1" kit on Amazon but would rather just get a single pint of the stuff at $45 since you really get a lot more per ounce and then just use denatured alcohol or acetone or vinegar for the final metal cleaning before brushing on the POR. And I know what you mean about wire brushing. It really just surface cleans to a bright sheen. You've really got to sand and grind rust out. I'll post pictures of my nightmare later this week.
Also, thanks for thumb-upping on the DIY glass install. I think you're right. If I can just buy the glass I should do it myself. I have a full home shop, caulk guns, etc. I used to be a painting contractor so I could caulk in my sleep lol. And I have the lower plastic clips for positioning. I'm also going to measure the distance of the gap on both sides (maybe 3/8" at most) and can make some small spacers out of wood to pop in when first installing, then immediately pull them back out once the glass is set in place. After that I think I will caulk the gap with additional urethane, then spray the raptor liner right over it. And I will look for some edge trim. I do agree the edge should be protected which is why I also considered even spraying the raptor liner right onto maybe 1/4" to 1/2" of the glass. I was thinking tape it all off (obviously) then maybe acid etch-prime the glass or something like that for best adhesion. I just want to seal the piss out this and not deal with rust again lol.
Last edited by MudWaspSR5; Apr 17, 2018 at 12:05 PM.
Regarding the POR-15 do I really need their cleaner and or degreaser too. I was thinking of getting the $22 "all in 1" kit on Amazon but would rather just get a single pint of the stuff at $45 since you really get a lot more per ounce and then just use denatured alcohol or acetone or vinegar for the final metal cleaning before brushing on the POR. Also, thanks for thumb-upping on the DIY glass install. I think you're right. If I can just buy the glass I should do it myself. I have a full home shop, caulk guns, etc. I used to be a painting contractor so I could caulk in my sleep lol. And I have the lower plastic clips for positioning. I'm also going to measure the distance of the gap on both sides (maybe 3/8" at most) and can make some small spacers out of wood to pop in when first installing, then immediately pull them back out once the glass is set in place. After that I think I will caulk the gap with additional urethane, then spray the raptor liner right over it. And I will look for some edge trim. I do agree the edge should be protected which is why I also considered even spraying the raptor liner right onto maybe 1/4" to 1/2" of the glass. I was thinking tape it all off obviously then etch-prime the glass or something like that for best adhesion.
Mine went back on with no trim clips at all. He had some great silver painters tape that doesn't stretch to hold the windshield in place so it didn't sag while curing. You will have to figure out how to hold the cowl up though.
If you're brave, i would just sand the edges of the glass so it's rounded. Look at a lot of new cars, that's what they do, no protection


 Feb 9, 2016, 09:59 AM