
Another 88 rebuild/questions thread (in Hawaii)
 Mar 18, 2010 | 05:10 PM
#41
Thread Starter
Registered User
Joined: Jul 2005
Posts: 195
Likes: 0
From: Currently Hilo Hawaii, Saipan 670 Is Home
Hey guys thanks for all the tips! 92 I just read that crankshaft thread. Good info. I just bought my 30+dollar craftsman breaker bar in 1/2. I was going to get the socket but blanked out and couldn't remember the size.
quick questions off the top of my head:
- was it difficult to remove the camshaft bolt? (do I do that first? like put it in gear and 4 Low and remove it?)
- Once the crankshaft bolt is off, how had is it to remove the crankshaft pulley? Do I really need a puller?
- Is red rtv sufficient for the oil pan or should I pony up for black FIPG?
All I can really think of right now. I'm going to start PB blasting everything tonight haha!
I was gonna start work Saturday but the damn GF decided to put off her community service project till this sunday. :|
Mar 18, 2010 | 05:22 PM
#42
YotaTech Milestone-Two Millionth Post
Joined: Jan 2009
Posts: 12,009
Likes: 122
From: Northeast Pennsylvania
FIPG is what I will be using.
The pulley came off with a little awkward pulling....don't pry it. get a pulley puller if you have to.
Camshaft bolt.....I bought a little Y-shaped tool for that from Harbor Freight....hold it steady with one hand while doing the push-pull thing.....was not all that hard (58 ft/lbs as per FSM versus 116 ft/lbs for the crankshaft bolt).
Mar 18, 2010 | 11:22 PM
#44
Thread Starter
Registered User
Joined: Jul 2005
Posts: 195
Likes: 0
From: Currently Hilo Hawaii, Saipan 670 Is Home
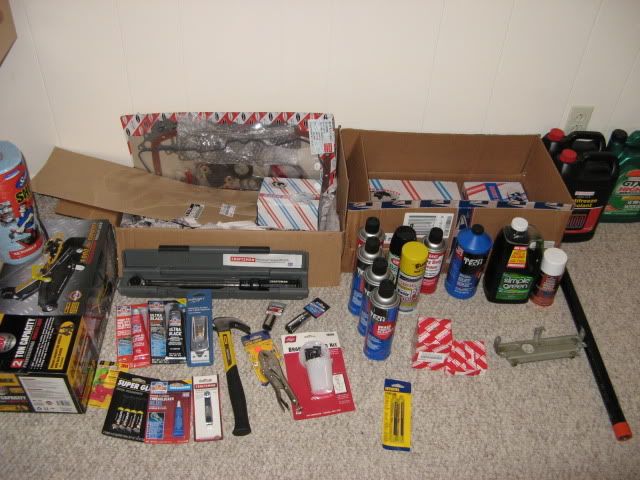
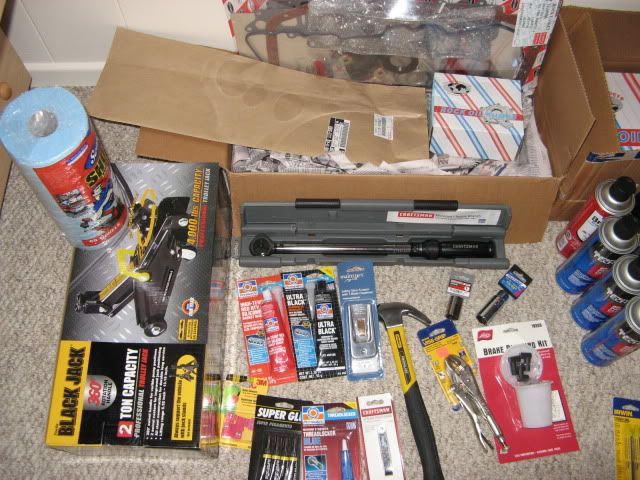
Oh boy just spent another small fortune tonight.
-1/2" 19mm shallow socket (regular, didn't have impact)
- Brake bleed cup thing
- Feeler gauge for rocker arms
- Fiberglass hammer
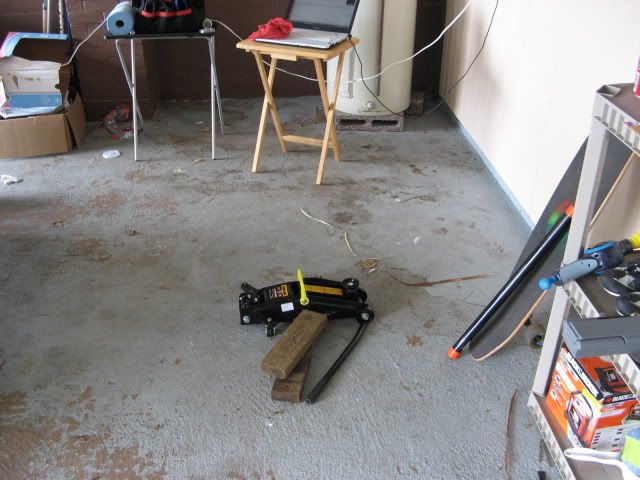
- 2 ton floor jack (cheap walmart one)
- more pb blaster
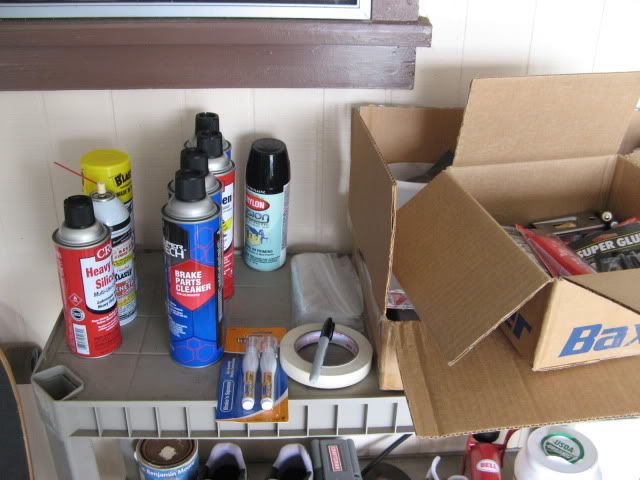
- Black gasket maker ( Idk if toyota here has it and I don't feel like spending more $$)
- copper spray a gasket (saw my cousin use it when we rebuilt my 92)
I think all I need now is an oil filter, snow pec, 2x4, cheater bar and I think I'm pretty much set..
Side note: Can you believe they want 20.99 for a 10mm/12.mm Flare nut wrench at sears?! holy hell I blurted out and the stocker started laughing.
-1/2" 19mm shallow socket (regular, didn't have impact)
- Brake bleed cup thing
- Feeler gauge for rocker arms
- Fiberglass hammer
- 2 ton floor jack (cheap walmart one)
- more pb blaster
- Black gasket maker ( Idk if toyota here has it and I don't feel like spending more $$)
- copper spray a gasket (saw my cousin use it when we rebuilt my 92)
I think all I need now is an oil filter, snow pec, 2x4, cheater bar and I think I'm pretty much set..
Side note: Can you believe they want 20.99 for a 10mm/12.mm Flare nut wrench at sears?! holy hell I blurted out and the stocker started laughing.
Mar 19, 2010 | 06:32 AM
#45
Registered User
iTrader: (2)
Joined: Dec 2009
Posts: 2,159
Likes: 7
From: Pleasanton, CA - SF Bay Area
Wow - I got my sears flare wrench set for like $40 on sale a few weeks back...you don't want to skip using those ----you'll be sorry you did!
there are a couple great DIYs online for the timing chain job, which address a lot of what you're going through - I used them and studied them for weeks before my job. Here are the ones I found:
http://www.4x4wire.com/toyota/maintenance/timingchain/
AND
http://www.4crawler.com/4x4/CheapTri...ingChain.shtml
and here's a good link for an FSM:http://personal.utulsa.edu/~nathan-b...sm/engine.html
Mar 19, 2010 | 10:02 AM
#46
Thread Starter
Registered User
Joined: Jul 2005
Posts: 195
Likes: 0
From: Currently Hilo Hawaii, Saipan 670 Is Home
Thanks phil I've been reading them too but neither cover taking the cam shaft bolt off.
oh well just looked at fsm briefly and you don't have to support it by any device haha. I'm off to a very fun filled anatomy and phys lab woo... then spring break!
oh well just looked at fsm briefly and you don't have to support it by any device haha. I'm off to a very fun filled anatomy and phys lab woo... then spring break!
Mar 19, 2010 | 10:16 AM
#47
Registered User
iTrader: (2)
Joined: Dec 2009
Posts: 2,159
Likes: 7
From: Pleasanton, CA - SF Bay Area
I'm pretty sure that I did it this way:
1) break crank bolt as described above
2) Remove crank pulley (mine slid off just fine, lucky me!)
3) thread the crank bolt back on the snout
4) with truck in gear use 19mm socket to break the cam bolt
The torque on the cam bolt is much lower than the crank bolt so it should be relatively easier to get loose.
If i'm way off guys, chime in, but this is how I remember doing it...
Sounds like you have a really fun spring break with this project - wish I had spring breaks still.
Mar 19, 2010 | 03:49 PM
#48
YotaTech Milestone-Two Millionth Post
Joined: Jan 2009
Posts: 12,009
Likes: 122
From: Northeast Pennsylvania
as far as the camshaft bolt....no biggie, like I said it comes off with too much effort.
Mar 19, 2010 | 05:13 PM
#49
Thread Starter
Registered User
Joined: Jul 2005
Posts: 195
Likes: 0
From: Currently Hilo Hawaii, Saipan 670 Is Home
Sweet I just spent the last of my rebuild fund today. 4 spark plugs for 13 BUCKS! and a 7 dollar tundra oil filter! Damn it hate the toyota parts store here. Then I realized that I don't have the 13/16 spark plug socket so I went to car quest then got sucked into buying a little rare made in usa 7' vice grip which I couldn't let slip away. That trip came out to 18 bucks. Lastly I got my cheater pipe at home depot 1"x 24". I'm going to start PB blasting tonight then Get started nice and early tomorrow. I'll be posting pictures so stay tuned!
 Mar 19, 2010 | 10:24 PM
#52
Thread Starter
Registered User
Joined: Jul 2005
Posts: 195
Likes: 0
From: Currently Hilo Hawaii, Saipan 670 Is Home
http://www.expeditionportal.com/foru...ad.php?t=35037
Damnit! I gotta buy new v6 rotors now. I should have read more. aii. any suggestions as to where I can get some for a decent price?
Damnit! I gotta buy new v6 rotors now. I should have read more. aii. any suggestions as to where I can get some for a decent price?
Mar 20, 2010 | 01:51 AM
#53
YotaTech Milestone-Two Millionth Post
Joined: Jan 2009
Posts: 12,009
Likes: 122
From: Northeast Pennsylvania
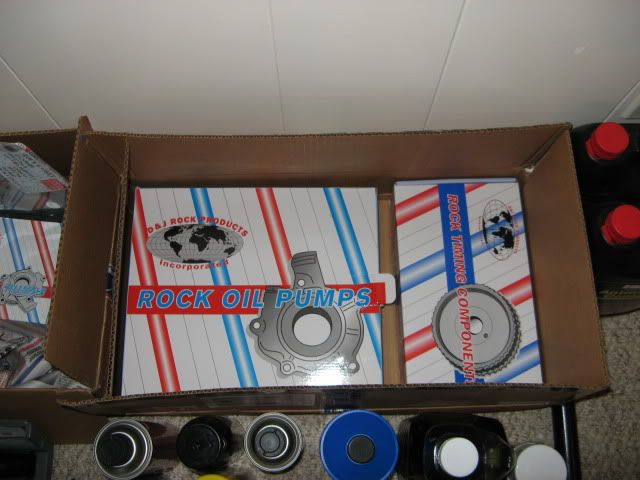
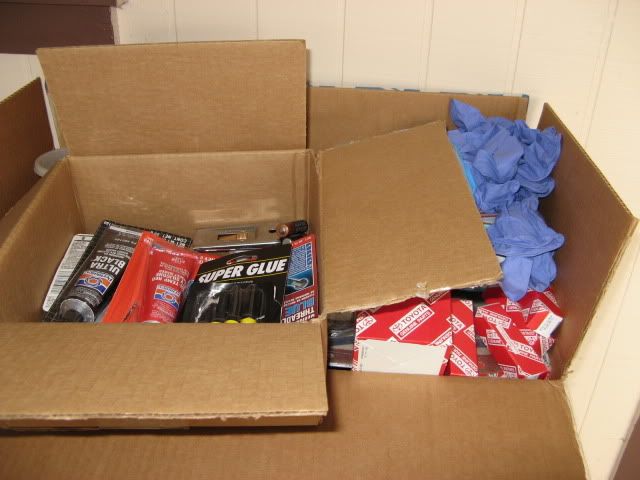
that stack of stuff from TED looks the same as mine. That's funny. And that breaker bar extension (aka black pipe) is the exact same as mine....mines longer(hahaha), but has the orange caps too....funny.
But you still need and in/lb torque wrench...just sayin..
But you still need and in/lb torque wrench...just sayin..
Mar 20, 2010 | 12:16 PM
#54
Thread Starter
Registered User
Joined: Jul 2005
Posts: 195
Likes: 0
From: Currently Hilo Hawaii, Saipan 670 Is Home
I would get an in/lb torque wrench but I'm all out of money... I pray my 22re is forgiving..
and it's not the length of the pipe that matters, it's how you use it hahaha!
and it's not the length of the pipe that matters, it's how you use it hahaha!
Mar 20, 2010 | 12:31 PM
#55
YotaTech Milestone-Two Millionth Post
Joined: Jan 2009
Posts: 12,009
Likes: 122
From: Northeast Pennsylvania
true true.
as far as I can see, the in/lb wrench is needed for the water pump placement and to get the proper torque and the valve cover.
might be others but that's all I know of.
Mar 20, 2010 | 03:05 PM
#56
Thread Starter
Registered User
Joined: Jul 2005
Posts: 195
Likes: 0
From: Currently Hilo Hawaii, Saipan 670 Is Home
pictures to follow:
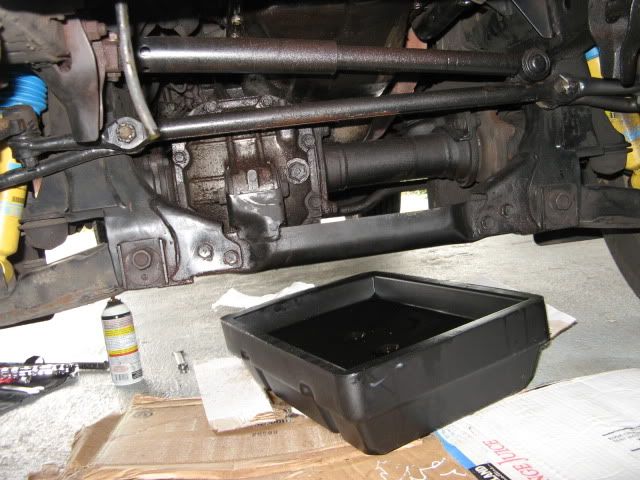
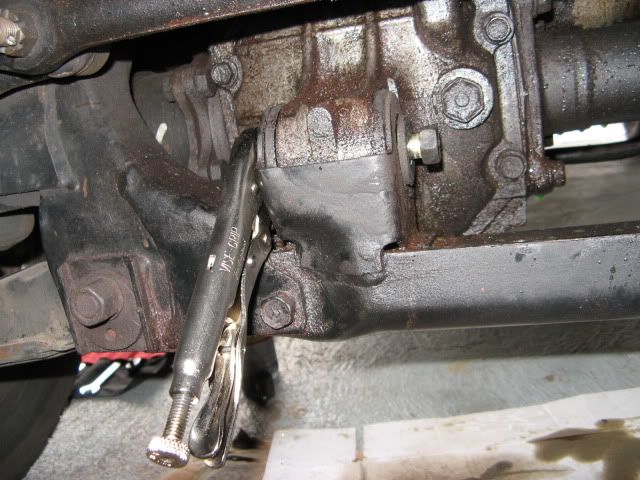
i got started an hour ago. the drive shaft bolts are proving to be much more difficult than anticipated. pb blasting them. and to prevent more problems i'm moving to other things to clear my mind, like drain the oil and remove other stuff.
i got started an hour ago. the drive shaft bolts are proving to be much more difficult than anticipated. pb blasting them. and to prevent more problems i'm moving to other things to clear my mind, like drain the oil and remove other stuff.
Mar 20, 2010 | 04:46 PM
#57
Thread Starter
Registered User
Joined: Jul 2005
Posts: 195
Likes: 0
From: Currently Hilo Hawaii, Saipan 670 Is Home
I started off right this time and set up a work space and organized some things


I ended up not using the gloves...
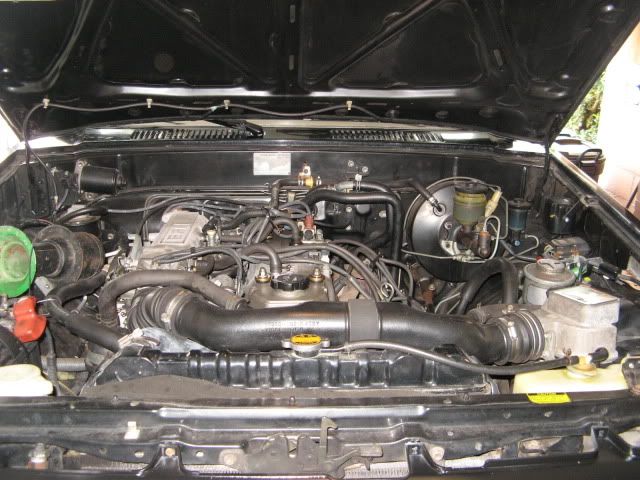
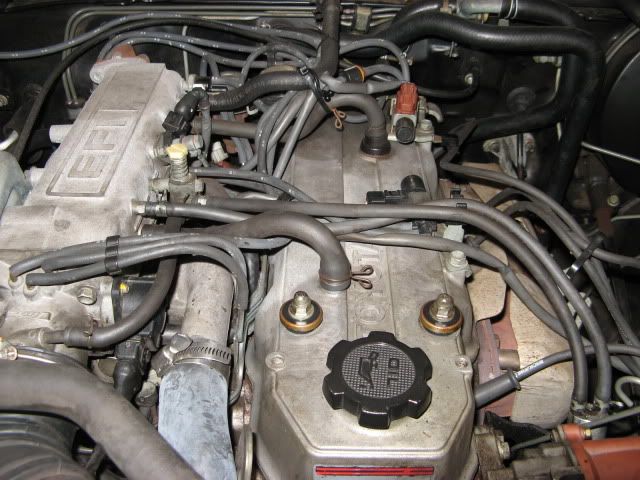
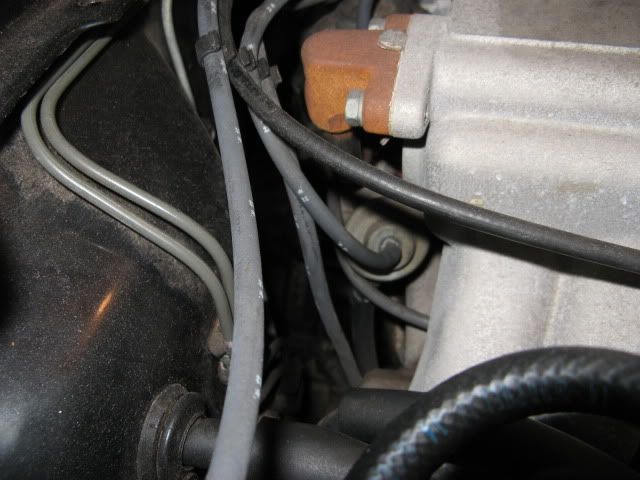
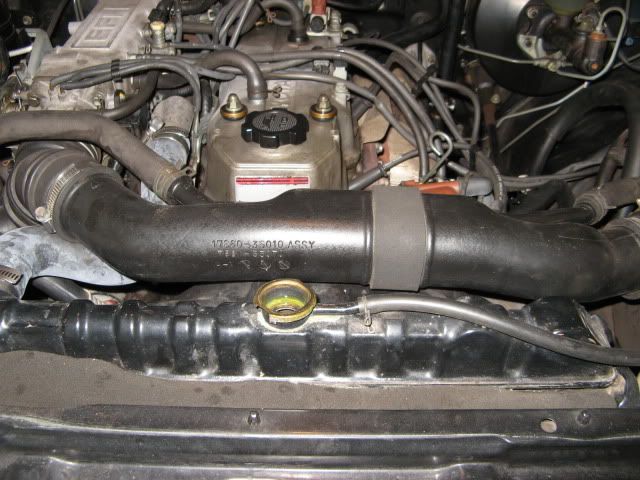
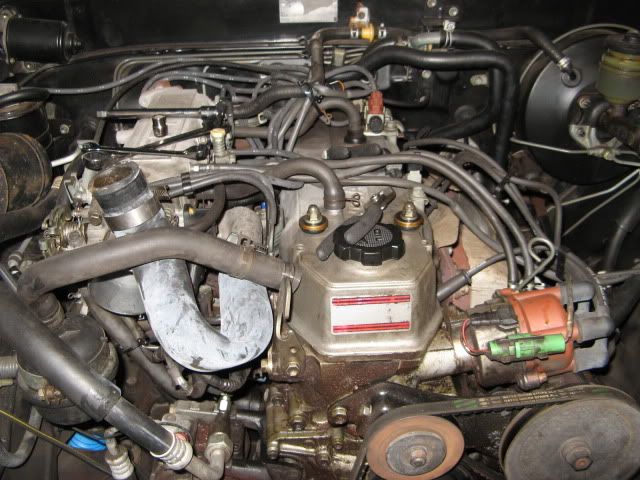
engine bay shots


Started with draining the radiator
Then I said to myself "I'm gonna follow the FSM"
I attempted to loosen the driveshaft bolts... Let's say i got pretty heated and pb blasted them then need to chill out before I screw things up.
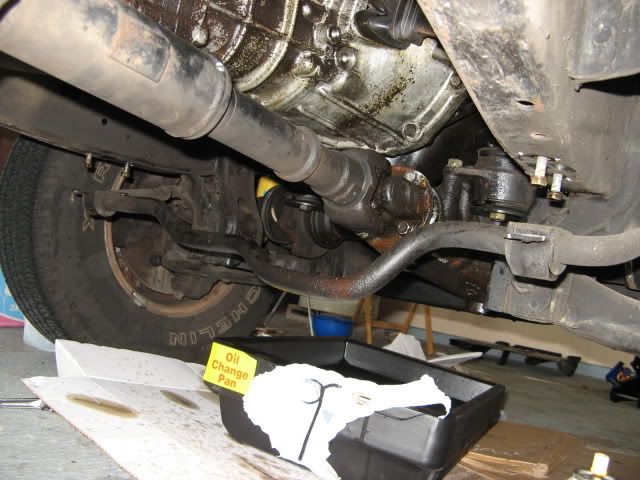
Any tips as to how to take these damn things off?
I then started to do other things. I first drained the oil then started removing the crossover tube, airbox, and radiator.

After removing my radiator I was disapointed to find out that it's on it's way out. Now i need to get new radiator... I mean the rad is 21 years old but hell. Radiatorbarn will be getting a call from me when I have moneyyyy unless someone wants to sell me a decent one for good price XD
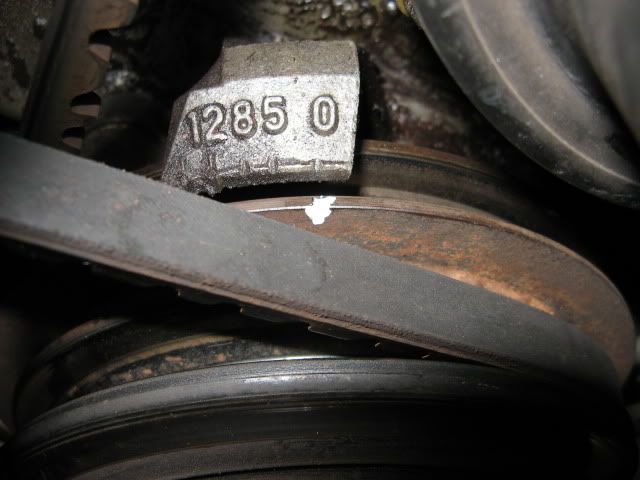
Here is where I blanked out and realized I needed food. I couldn't figure out if i as in TDC. Hell I forgot which way everything rotates
I still had simple thinking and drew a line on the fan belt and a line on a bracket. I then bumped the started and looked at which way it went, then drew and arrow. yay roger. I moved to what I believe is TDC, if it's now please let me know!

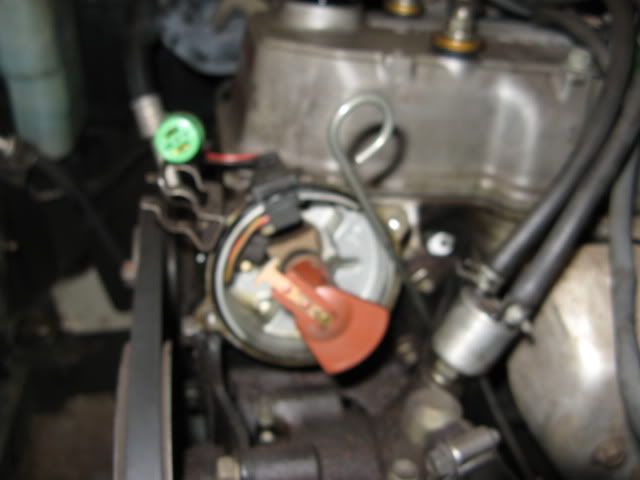
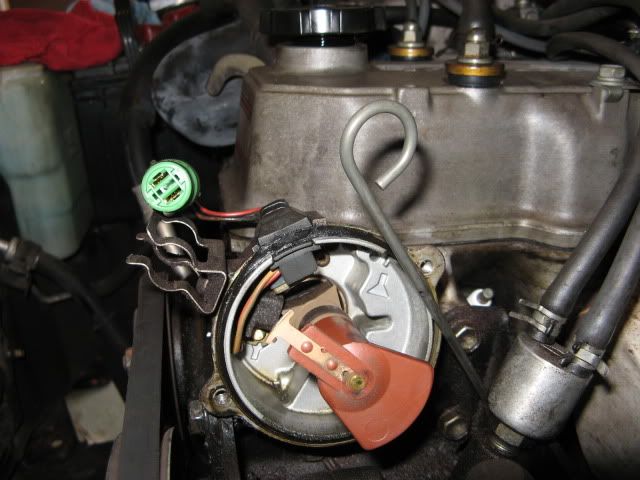

I also realized that now I need a cap and rotor. damn.
I ended up not using the gloves...
engine bay shots
Started with draining the radiator
Then I said to myself "I'm gonna follow the FSM"
I attempted to loosen the driveshaft bolts... Let's say i got pretty heated and pb blasted them then need to chill out before I screw things up.
Any tips as to how to take these damn things off?
I then started to do other things. I first drained the oil then started removing the crossover tube, airbox, and radiator.
After removing my radiator I was disapointed to find out that it's on it's way out. Now i need to get new radiator... I mean the rad is 21 years old but hell. Radiatorbarn will be getting a call from me when I have moneyyyy unless someone wants to sell me a decent one for good price XD
Here is where I blanked out and realized I needed food. I couldn't figure out if i as in TDC. Hell I forgot which way everything rotates
I still had simple thinking and drew a line on the fan belt and a line on a bracket. I then bumped the started and looked at which way it went, then drew and arrow. yay roger. I moved to what I believe is TDC, if it's now please let me know!
I also realized that now I need a cap and rotor. damn.
Mar 20, 2010 | 06:38 PM
#58
Thread Starter
Registered User
Joined: Jul 2005
Posts: 195
Likes: 0
From: Currently Hilo Hawaii, Saipan 670 Is Home
success!!
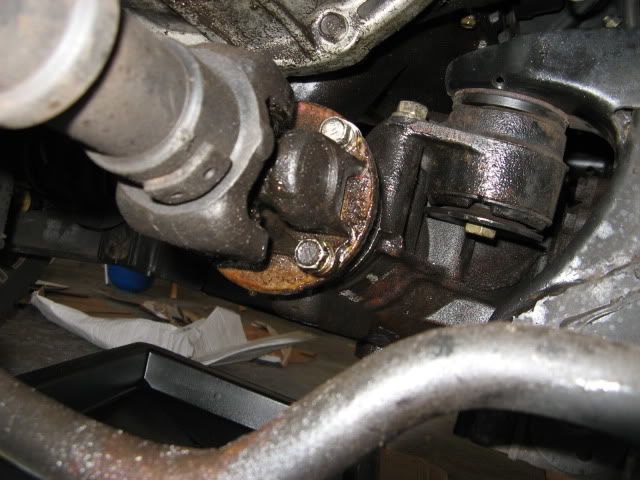
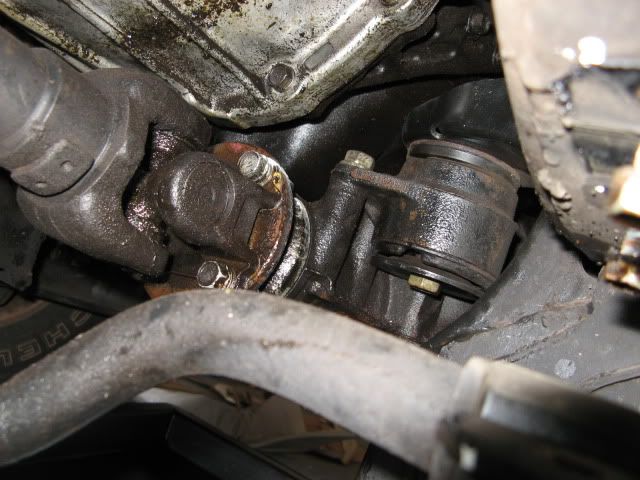
I got the damn drive shaft bolts off!!!
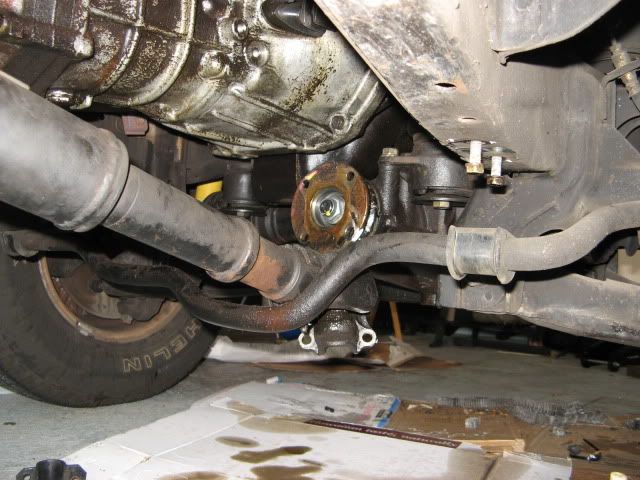

Thank god I followed my gut feeling and bought that vice grips. I don't have another 19mm combo wrench or socket so it came in real handy removing the Front diff bolt.

Another success was getting the front diff bolts off I felt like I was doing frontdiffjitsu getting those bad boys off.

Thats all for today folks. I closed shop early and cleaned up. I'm starving now.
Questions of the day:
-How do I find TDC? Am I already in it?
- Should I take the oil pan off first or get the head off?
ANY tips or suggestions or criticism is more than welcome.
I got the damn drive shaft bolts off!!!
Thank god I followed my gut feeling and bought that vice grips. I don't have another 19mm combo wrench or socket so it came in real handy removing the Front diff bolt.
Another success was getting the front diff bolts off I felt like I was doing frontdiffjitsu getting those bad boys off.
Thats all for today folks. I closed shop early and cleaned up. I'm starving now.
Questions of the day:
-How do I find TDC? Am I already in it?
- Should I take the oil pan off first or get the head off?
ANY tips or suggestions or criticism is more than welcome.
Mar 21, 2010 | 02:33 AM
#59
YotaTech Milestone-Two Millionth Post
Joined: Jan 2009
Posts: 12,009
Likes: 122
From: Northeast Pennsylvania
I had my head off before I took my pan off, no reason, except it;s loads easier working from the top than the bottom.
In my sig , at the bottom is a link to oil pan removal. you have done everything except remove the cross piece,,,,,4 more bolts as I recall.
my truck is up on 2 jack stands placed under the frame just at the front of each door (but at the frame), the diff is supported by my floor jack and the lower control arms (look like A's) are supported by bottle jacks where they meet at just outside the cross member.
read that thread https://www.yotatech.com/forums/f116...re-4wd-206089/ and see what you come up with.....you have already done the hard things there.
TDC looks like where you have it...a little indentation on the top of the pulley denotes TDC in relation to the "0" on the timing cover
Mar 21, 2010 | 12:50 PM
#60
Thread Starter
Registered User
Joined: Jul 2005
Posts: 195
Likes: 0
From: Currently Hilo Hawaii, Saipan 670 Is Home
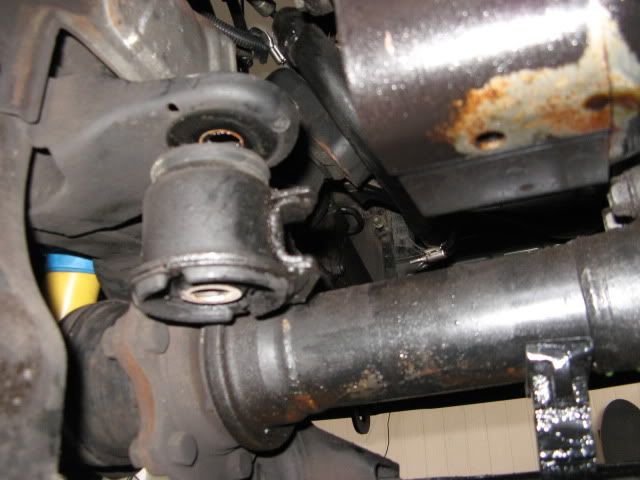
oh boy the cross piece? in the front that has the front diff attachment? was that hard to remove?? My situation is lames, I have two 2 ton floor jacks but only a set of small floor jacks. I wish I had cool neighbors who had this stuff.


