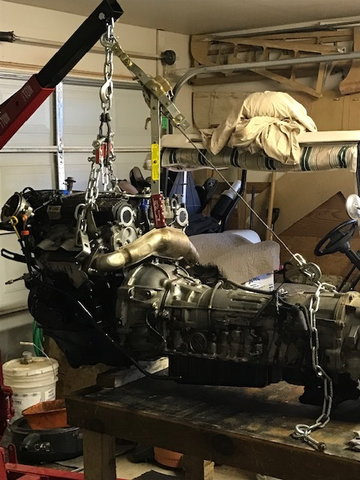
3.0 rebuild begins
#61
Registered User
Join Date: Sep 2007
Location: San Francisco East Bay
Posts: 8,252
Likes: 0
Received 820 Likes
on
648 Posts
UNLESS: you have had oil starvation in the valve train. Then the cam CAN grind the top of the shim into a "cup." I see you're replacing the cams; if the old ones were damaged, there's a good chance ALL of your shims are trashed.
Shuffling the shims to save money doesn't have a lot to do with how far OFF they are. Let's say valve 1 and valve 2 are BOTH at 0.13 (too tight by at least 0.05). But the current shim in #1 is 2.50, and the shim in #2 is 2.40 (since the printed number is gone, you have to use a micrometer or calipers to measure this https://www.harborfreight.com/6-in-d...per-61585.html) Just move the 2.40 shim to valve #1, and buy a new 2.30 shim for #2. Got it? Now list out the current size of all 12 shims and exactly how far you have to move each one to get it into spec, and I'll bet you'll need significantly fewer than 9 shims.
#62
Registered User
I did the above shim swapping for my last 3.0 and took the remaining ones to a local machine shop with a surface grinder. Had everything back the same day and for a reasonable price. You can also swap shims without the SSTs by removing camshafts, although for that price I'd get the tools as well.
Scope, do you know if the tools you linked work for a 5vz as well? That's 1/4 the price of any that I found in a quick search for the 5vz SST part number when looking recently.
Scope, do you know if the tools you linked work for a 5vz as well? That's 1/4 the price of any that I found in a quick search for the 5vz SST part number when looking recently.
#65
Registered User
Thread Starter
I had ordered the tool and it worked great when I used it. Measured the shims, rechecked the clearance then ordered the shims i needed. I should be getting them middle next week. I am working on having everything done except the shims and the exhaust. No busted camshaft or stripped bearing cap bolt threads to worry about.
#66
Registered User
Thread Starter
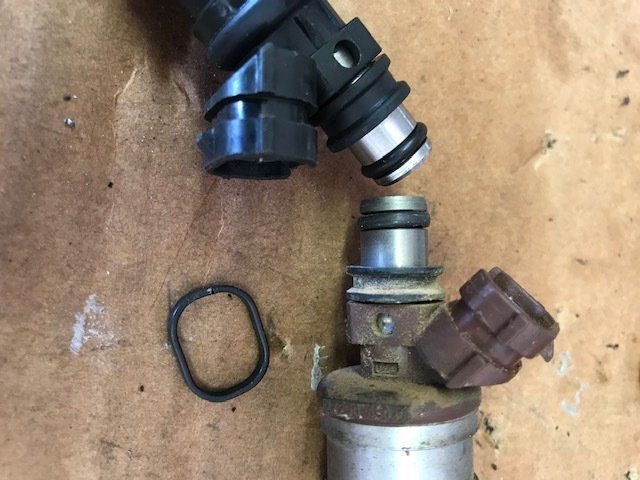
My new injectors did not come with a seal. I'm thinking a thin o'ring might work. Any better ideas?
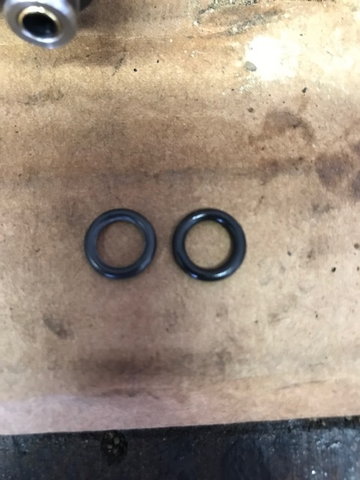
Had to change the top o'ring on all the new injectors as they were to big to go in the fuel rails
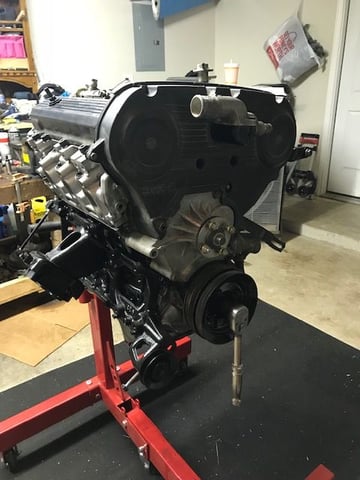
Covers on and crank pulley torqued.
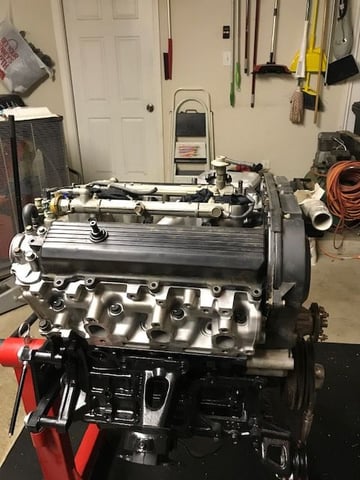
Side view.

Fuel injectors installed.
All cleaned up and ready to go
#67
Registered User
Thread Starter
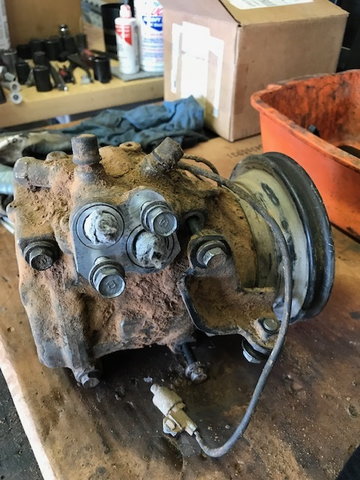
Years of dirt. It quit working years ago. never got around to replacing it. Then when pulling the engine I found the plug had been disconnected. So I will clean it up and see if it still works.
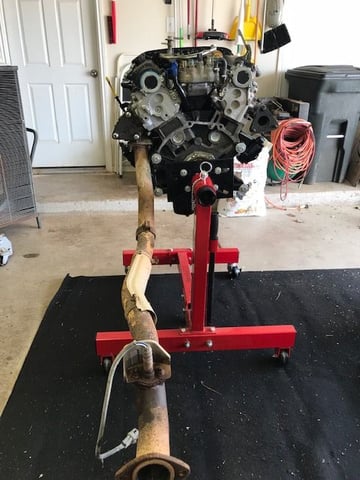
Oxygen sensor nuts rusted bad and nuts rounding off. Original to truck. Plus getting ideas on where to install a wye pipe before the oxy sensor.
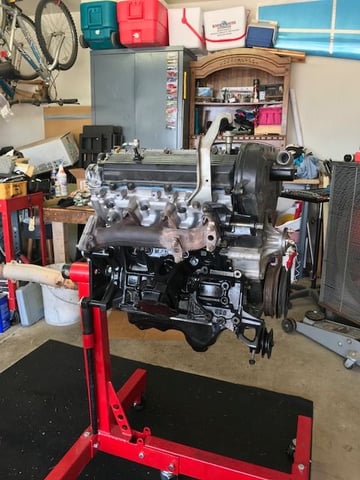
Left side
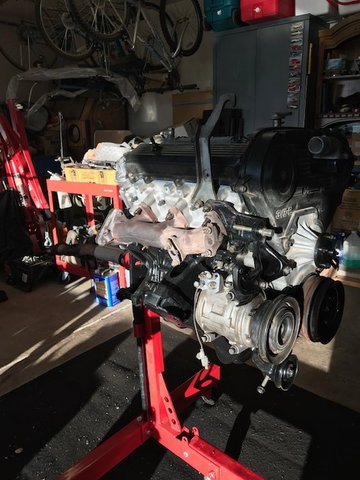
A/c compressor cleaned up and installed.
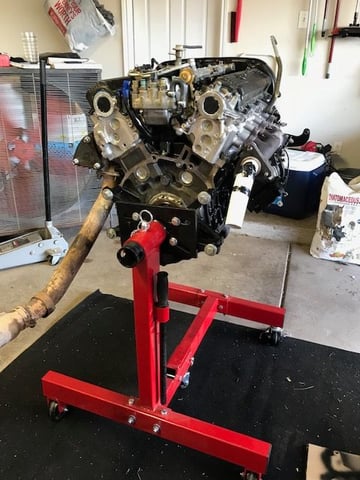
Getting an idea of how I am wanting to run my exhaust. Wont really know until in the truck.
#68
Registered User
Join Date: Sep 2007
Location: San Francisco East Bay
Posts: 8,252
Likes: 0
Received 820 Likes
on
648 Posts
Before you heft that beast back in, put 12v to the clutch lead on the A/C to see if the clutch even moves. Then turn the shaft to confirm it isn't frozen.
You'll probably find that clutch does work (if it didn't, there would be no point to disconnecting it). But you might find the compressor frozen, so that as soon as you pull the clutch you'll fry the belt. That would be a good reason to disconnect the clutch lead..
Of course, you don't really want to re-install a free-turning but leaky/nonpumping compressor. Unfortunately, I don't know a simple test for that.
What is your plan on the exhaust? You mentioned trying to avoid the crossover. I see a blocking plate on the left side. Do you plan on custom fabricated pieces from the right side back to a wye somewhere?
#69
Registered User
Thread Starter
scope , the clutch lead was not disconnected on purpose. I might have done it rebuilding the P/S pump years ago and did not notice it. I will do the checks you mentioned and if it passes I 'll give it a shot. My plan for the exhaust is to eliminate the crossover pipe completely. I will fab up a custom pipe down the right side crossing over somewhere to wye back into the left side exhaust before the oxygen sensor. About a week away from that as still waiting on my valve shims to arrive.
#70
Registered User
Thread Starter

Left side exhaust manifold is on. Had to helicoil 3 studs.
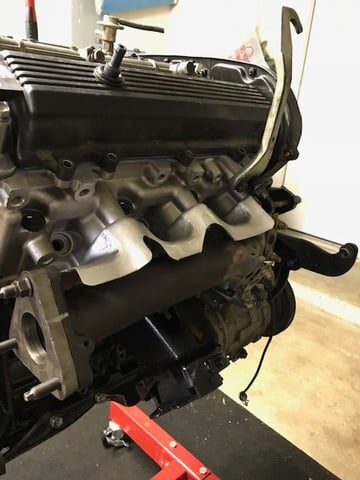
Right side manifold on.
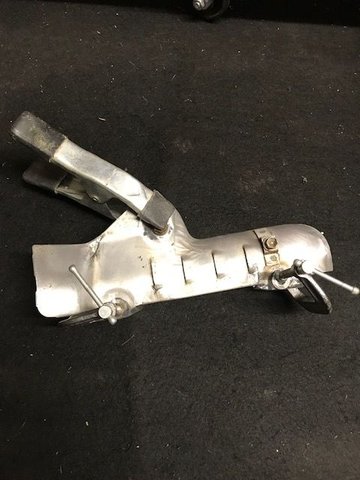
Heat shield repair
I have all the new valve shims in except for 2 that have not arrived yet. I had 3 exhaust studs in the left head strip out when i tried to torque them down. Applied the helicoils ( Damm these things are expensive when you don't want to wait. LOL), manifold on and torqued. I am down to cleaning and repairing small parts while waiting on parts.I am hoping the weather holds off till i can get it back in.
Last edited by amamike91; 10-14-2018 at 06:19 PM. Reason: Labeled wrong
#71
Registered User
Thread Starter
HA HA Guess I have right on the brain... labeled left side exhaust picture wrong. Note to self Proof read before posting.
I corrected my mistakes. sorry for the confusion.
I corrected my mistakes. sorry for the confusion.
Last edited by amamike91; 10-14-2018 at 06:22 PM. Reason: correcting my errors.
#72
Registered User
Thread Starter

This is a very handy tool. Makes changing valve shims painless.
I added the o'rings to the handle to keep the two pieces together when stored.
#73
Registered User
Join Date: Sep 2007
Location: San Francisco East Bay
Posts: 8,252
Likes: 0
Received 820 Likes
on
648 Posts
You can edit your own posts, even after you've posted them. If you do it as quickly as you noticed your error here (5 minutes), probably no one will have noticed. If you make your correction after someone points it out (it's still worth doing), you might consider acknowledging that you are fixing an error. Otherwise, there is a post where someone is asking about something, which something is no longer there!
#74
Registered User
Thread Starter
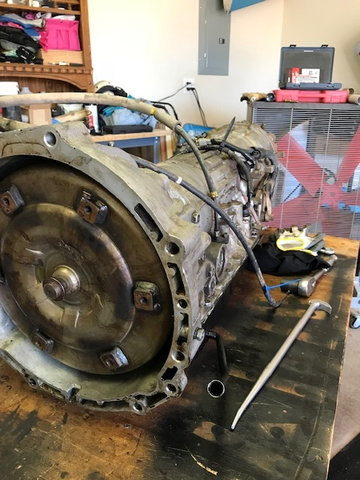
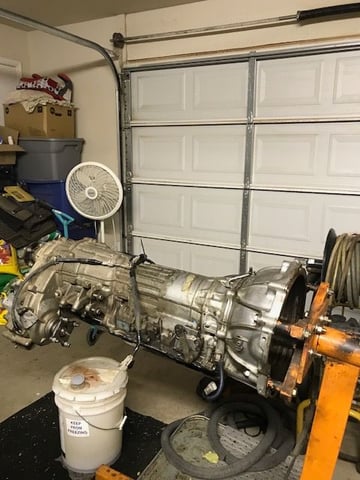
Trans ready
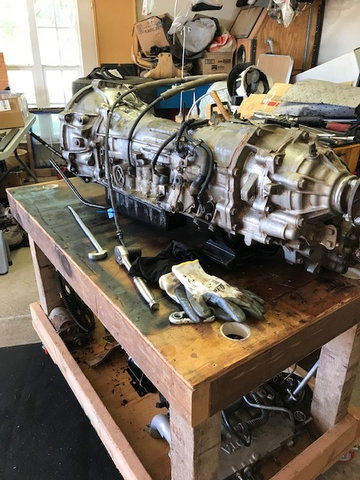
thinking about using the table to mate the eng and trans
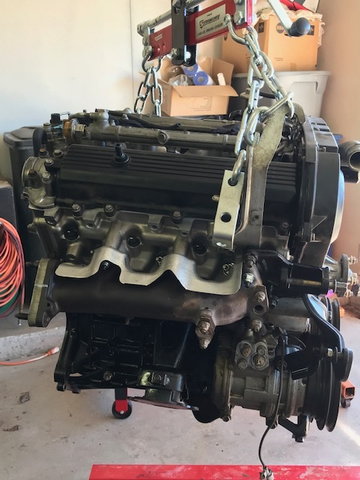
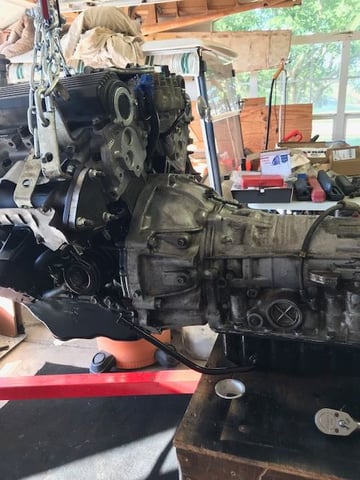
Had it but had to pull it apart
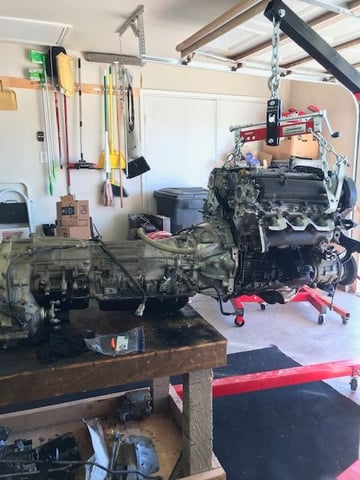
it did go to together with out too much trouble. Did not feel like wrestling with them on the floor.
#76
Registered User
Thread Starter

Back together, now putting on the accessories
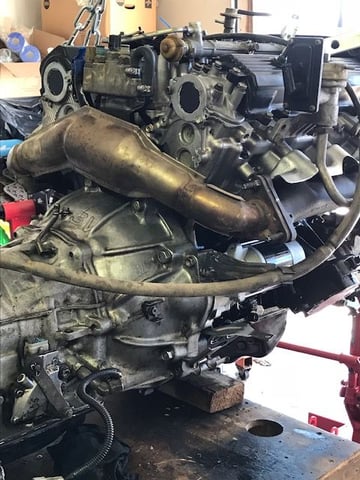
I made the decision to go back with the crossover pipe for now.
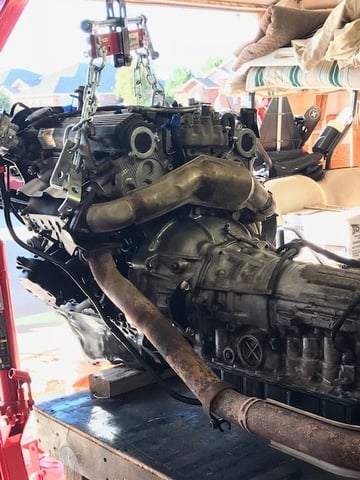
I am wanting to get it running first and broke in before I redo the exhaust system.
It has been sitting for 5 years and I want to get it running before winter gets here.
#78
Registered User
Thread Starter
The last week I have been going over the wiring loom cleaning and replacing broken looming. Replaced the positive cable cause it had corrosion into the insulation. Flushed out the heater core. If I missed something feel free to speak up. With the front tires aired up I will need about 43 inches to clear the core support. I think I will get at least 3 inches when I let out the air. I am using a come along this time. I am hoping it will keep me from bustin a nut lifting it over the core support. It aint really that heavy, just wanting to see if it helps.
#80
Registered User
Join Date: Jan 2011
Location: exo-reality -wave if you see me; Front Range, CO
Posts: 650
Received 93 Likes
on
73 Posts
New Starter : Check!
The last time I did this, I had difficulty with that length and angle. So what I ended up doing was raise up the rear of the runner so my absolute angle (juxapositioned with the floor) with the drivetrain wasn't so extreme. Seemed to work better, at least I didn't flex my vocabulary (as much).
The last time I did this, I had difficulty with that length and angle. So what I ended up doing was raise up the rear of the runner so my absolute angle (juxapositioned with the floor) with the drivetrain wasn't so extreme. Seemed to work better, at least I didn't flex my vocabulary (as much).


