When you click on links to various merchants on this site and make a purchase, this can result in this site earning a commission. Affiliate programs and affiliations include, but are not limited to, the eBay Partner Network.
I purchased a '90 pickup in Montana. When I got back to Nebraska I fixed all the engine problems and A clogged diff breather. I fitted a clear hose over the threads on the diff and ran it up to the bottom of the bed and fit the other end of the hose over the breather itself. Did the same thing to the front but ran it into the engine bay,you may call it over kill. I later coated the wheel wells with a rubber liner to prevent the salt from eating up everything, that's put down in the winter. Later I figured that the rear bumper had to go, its was rusted so bad if I was hit that it had no purpose. I decided to make my own.
I was given two side steps from a chevy, these are VERY thick tubes
Once I cut the tubes to the correct length, I cut spacers to separate and support itself
I then cut the spacers so that it would properly fit on top of the side steps
The outcome
After, I welded caps onto the end, this was my first time welding tube so don't give me too hard of time!
I then grinded down high points and got everything aligned and tacked everything well in place
Here's a good pic the whole bumper
After welding everything, I bolted her on and here she is on the truck with primer, I plan on put a tough rubber coating on it soon. And yes I am stuck high centered...Sometimes my stupidity gets the best of me. But I was eventually pulled out from the bumper and she held like a tank!! If you have any suggestions on what I should do next, let me know. Please know I am learning so again, don't give me too hard of time. Just give me advice and how I can do better!
Welcome to Yotatech! Nice looking truck! The rear bumper turned out really good, and you obviously did a great job building it since it held up so well after getting pulled out! I envy the tools that you have, I wish I had a tubing bender and notcher, I've had to just use a grinder for making notches in the past, very slow and tedious process, and not very accurate, lol. To comment on you getting stuck, we've all been there, you won't know your trucks limitations, and what you need to upgrade if you don't test it's capabilities!
From the messing around i've been doing, it seems that my transfer case is very low and has been hitting a lot of snow. Thus not being able to go over certain piles. Would best way to increase the height to buy a set of 33" or to buy a suspension lift?
Hey Montana, thought I'd check out your thread since you dropped by mine. That bumper looks awesome! And it sounds like it was free which is even better. Have you coated it yet? You should post some more truck pics. Idk if you've solved your xfr case clearance probs yet, but it looks like you may have the skills and tools to make your own low profile skid or mount. There is also another design of mount by "fror" that I like here: http://frontrangeoffroadfab.com/t-case-crossmember/
I purchased a '90 pickup in Montana. When I got back to Nebraska I fixed all the engine problems and A clogged diff breather. I fitted a clear hose over the threads on the diff and ran it up to the bottom of the bed and fit the other end of the hose over the breather itself. Did the same thing to the front but ran it into the engine bay,you may call it over kill. I later coated the wheel wells with a rubber liner to prevent the salt from eating up everything, that's put down in the winter. Later I figured that the rear bumper had to go, its was rusted so bad if I was hit that it had no purpose. I decided to make my own.
I was given two side steps from a chevy, these are VERY thick tubes
Once I cut the tubes to the correct length, I cut spacers to separate and support itself
I then cut the spacers so that it would properly fit on top of the side steps
The outcome
After, I welded caps onto the end, this was my first time welding tube so don't give me too hard of time!
I then grinded down high points and got everything aligned and tacked everything well in place
Here's a good pic the whole bumper
After welding everything, I bolted her on and here she is on the truck with primer, I plan on put a tough rubber coating on it soon. And yes I am stuck high centered...Sometimes my stupidity gets the best of me. But I was eventually pulled out from the bumper and she held like a tank!! If you have any suggestions on what I should do next, let me know. Please know I am learning so again, don't give me too hard of time. Just give me advice and how I can do better!
IMO I would pud some steel D ringd on that bumper to make an easier pull out for you and the person pulling you, alltogether you did a fine job.
Well It's been a while since I've posted anything so I though i'd do a little update. About 4 months ago I went up to Wyoming for a little vacation and I just had to take the ol' girl up there. I got myself 31" TA KO and steelies for the trails but I had to make sure if I got stuck then I could get myself out. I had only 5 days until the trip so I couldn't order a stinger bumper that would hold a winch, so I had to build one.
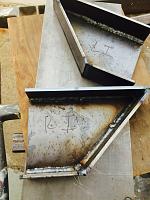
Unfortunately I didn't get any pictures of how I marked it all out and cutting it out with a plasma cutter but at least I got something I thought I would share. This is a view of the bottom that would be facing the back. It will all make sense once we reach the end.
Here's a view of top side but upside down. The plate with the holes will be bolted up underneath the truck into the frame using stock locations. I finished the welds once I knew everything lined up.
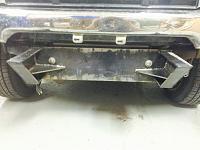
And here are these bad boys. These are welded onto the plate of the mount. These hold the "universal" winch mount from Harbor Freight. I had to get something with little time!
Here you can see it all come together. I used a gusset on each side of those brackets to support it. I don't think this is going anywhere!
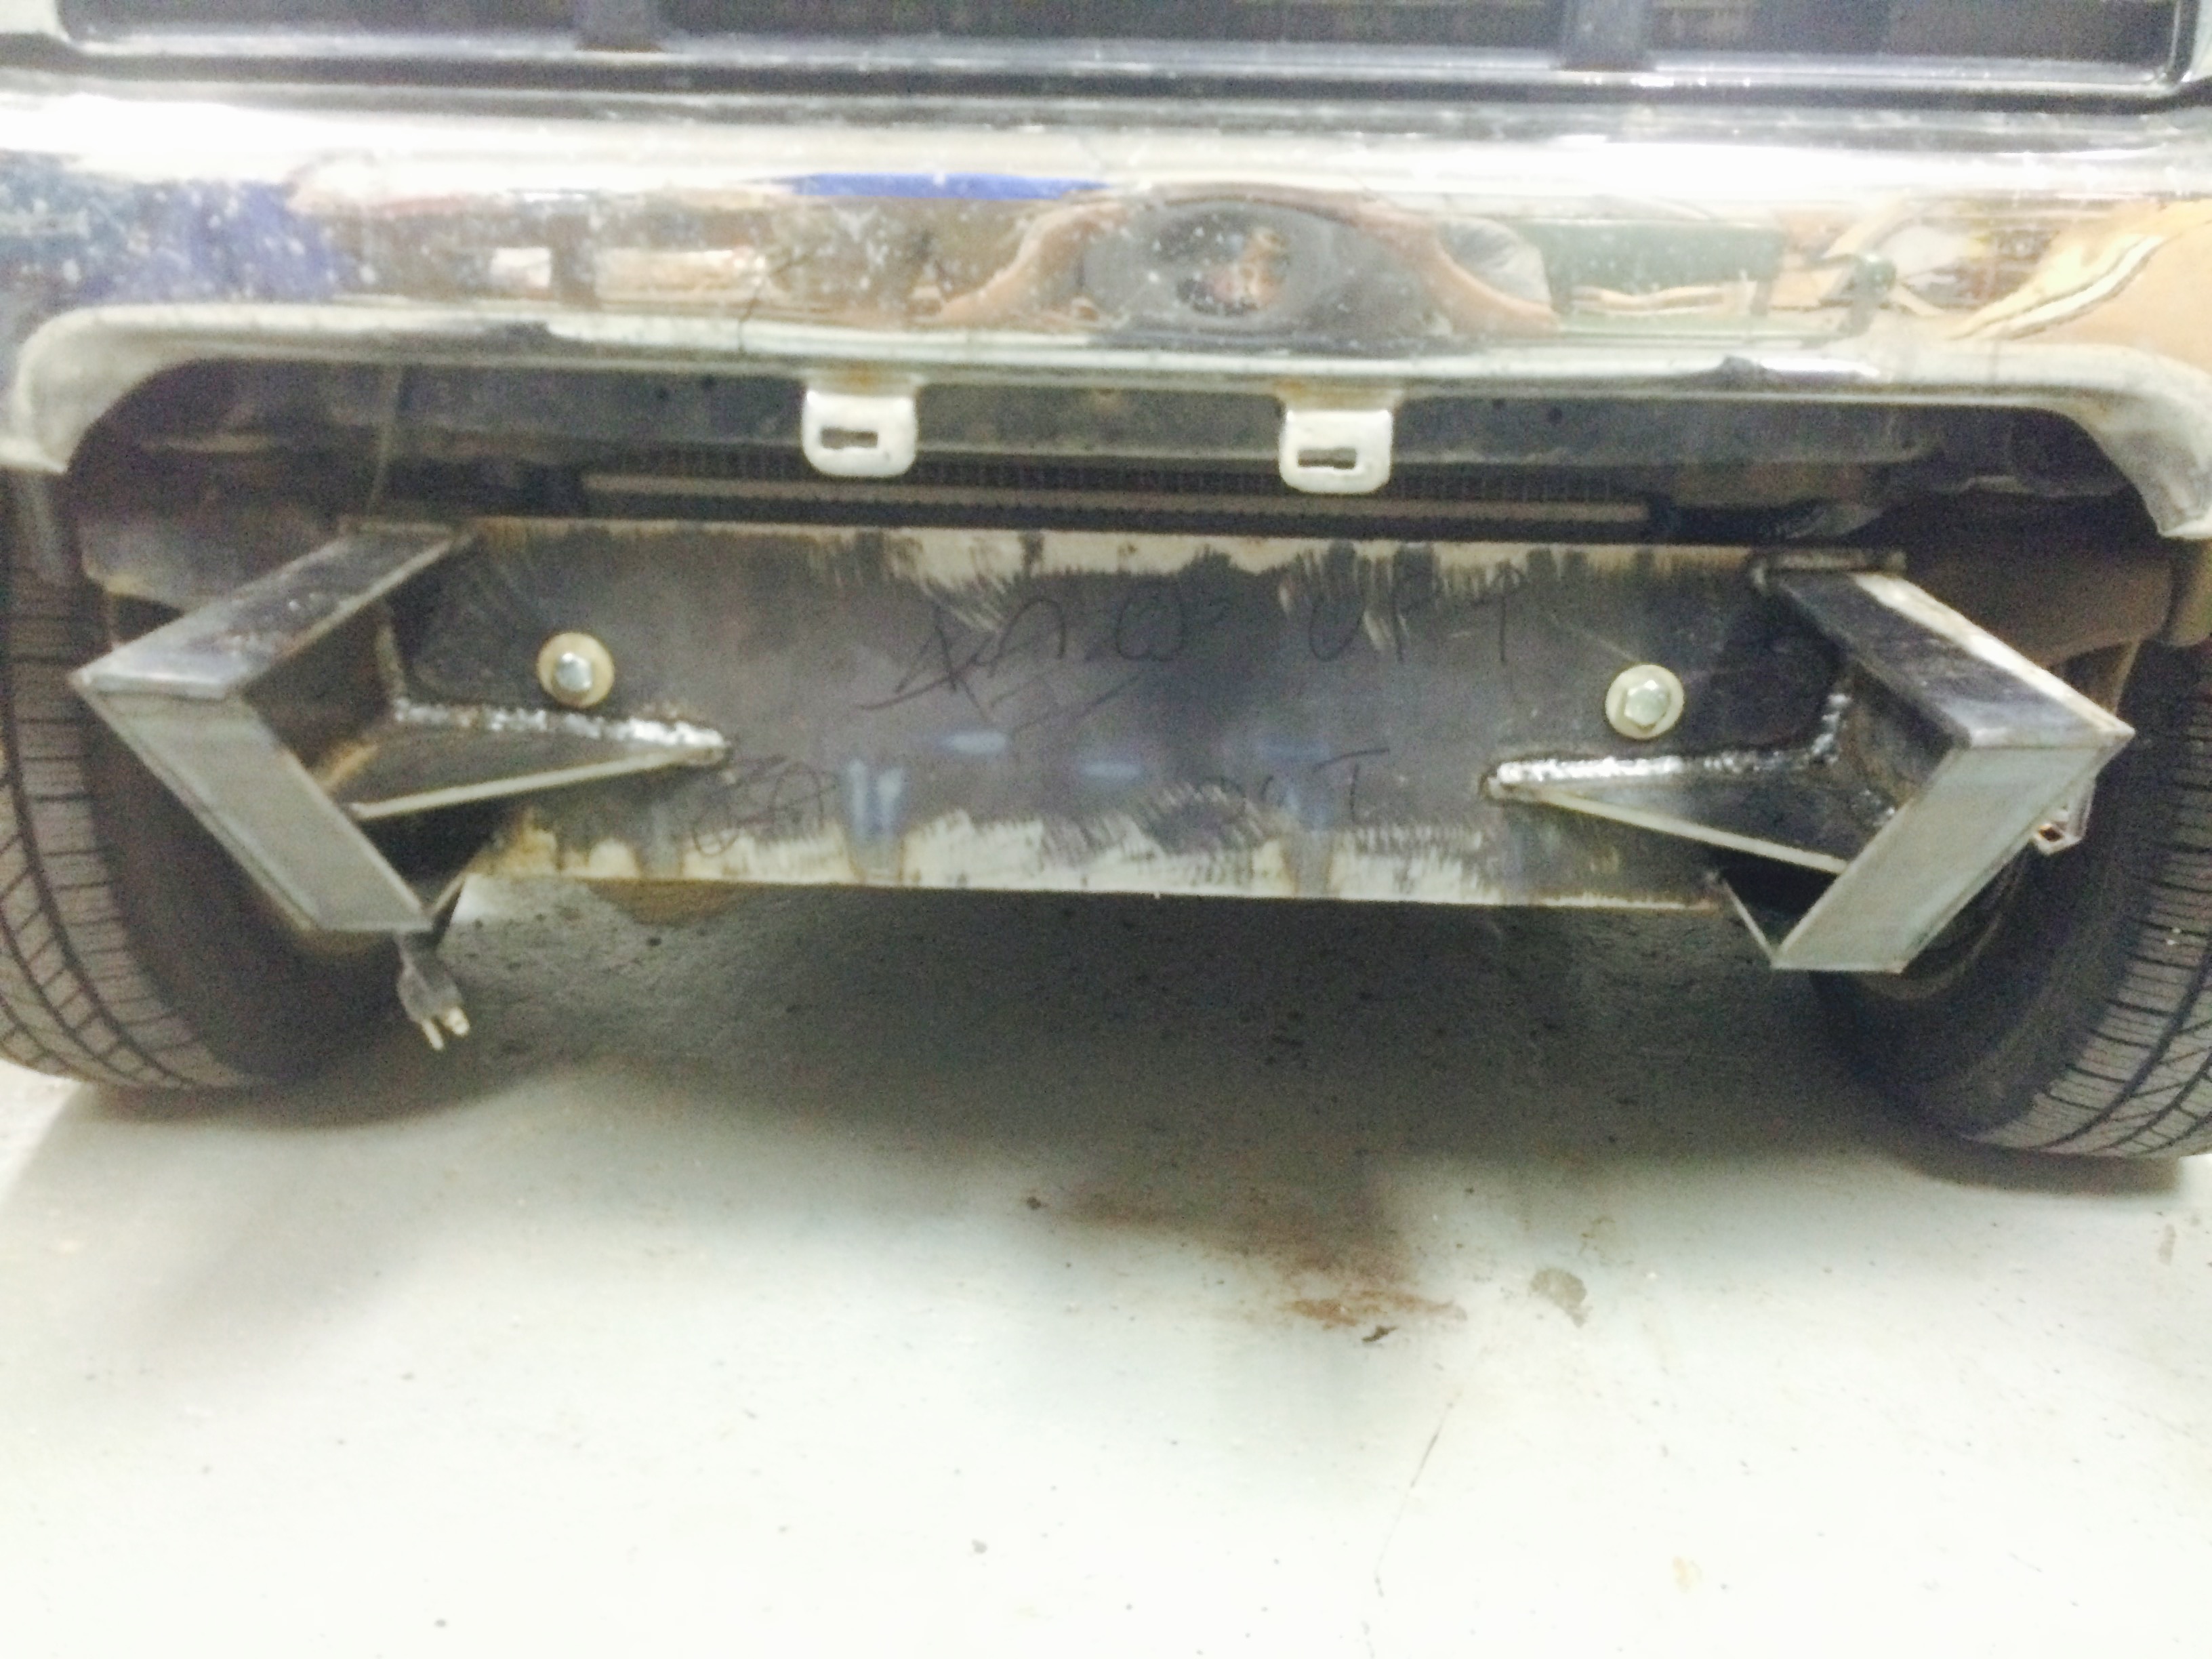
More of a close up here. You can see that 2 holes were drilled from the universal mount to my brackets on each side. Once I knew everything lined up I took it off and painted it. That sucker is heavy, I wouldn't want to be hit by that thing.
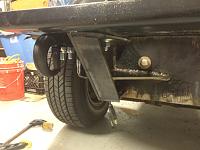
And here it is all bolted on and ready for action. Fortunately I didn't have to use the winch in Wyoming, she just crawled along. But I know i'll being using it once winter comes around.
Unfortunately I ran into a problem. For a while my motor would surge everyone in a while but recently it has been doing it a lot. When I'm at a stop light idling it would surge. But if I took my foot off the break then it would go back to normal. This isn't always the case though, sometimes it would continue to surge. Another symptom is that the surging would start out slow then get faster and faster until it would go back to normal idle. I've searched everywhere and I haven't found anything exactly like mine. I do have engine light on and it gives me 41 and 21. After some research they say the TPS(41) can cause the 21, so I'm hoping I can knock out two birds with one stone. I took off my TPS and took a voltmeter and it checks out, the spring also returns very well. I did buy a new Denso TPS just in case. Anyone have any thoughts on what it could be?
An even larger problem has occurred. While I was trying everything to solve my TPS(CODE 42) I replaced the TPS and sprayed carb cleaner in the throttle body. Right after I sprayed the carb cleaner in the throttle body, It started to smoke out the tail pipe and fluid was being sprayed out in the area of the exhaust manifold area.
I located the fluid from coming out of the gasket in between the head and the exhaust manifold. I know that the head has been resurfaced by the previous owner so I assumed that the head couldn't be an option. The gasket I pulled out had nothing left of it, just honey comb pattern. So I then got a gasket kit and installed it. And thats when the smoke got even worse. Coolant has started to force itself out of the top of the exhaust manifold gasket and smoke poured out more than ever.
My conclusion is that coolant is that coolant is getting into one of the cylinder(s) in the back and that is why coolant is only forcing itself out of only one side of the manifold. It is then being recirculated through the pipes that leads to the EGR. I also noticed that my brand new oil has been contaminated.
I have no clue how coolant is getting in. Could it be that the Head is cracked or warped again and is being let in through the intake valve and being burnt?
Update: Turned out to be the head gasket. I wanted to knock out all possibilities so I got the head checked and surfaced down a bit. I purchased OEM head gasket and OEM bolts and made a mistake by buying an incomplete gasket set so I had to go buy ANOTHER one. If I was to do it over again I would buy a kit from ENGBLDR(has everything you will need).
Although it fixed the coolant leak I still have surging. The CEL also turns and turns off frequently...
If anyone has any questions about how to perform the gasket replacement then feel free to ask( I could not find a complete thread about how to do it for my life).
 01-08-2015, 06:51 PM