Toyota Tundra: How to Install Rear-view Backup Camera
Learn how to install a rear-view back up camera with the help of this article.
This article applies to the Toyota Tundra (2000-present).
Most modern cars come with a ton of features and amenities that most drivers hardly need, but there's one feature that has always come in handy—the rear-view backup camera. Most cars five years to a decade old didn't feature backup cameras as standard equipment like they do now, so if you want one, you have to go aftermarket. This install is based on having a stock screen unit in your Tundra, and simply adding a camera unit. If you don't have a stock screen, the steps are similar but with the addition of an aftermarket screen of your choice. Follow these steps to get started.

Materials Needed
- Drill and hole saw
- Electrical tape or zip ties
- Flathead screwdriver
- Rear-view backup camera
Step 1 – Determine camera location
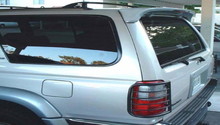
There are various places where you can mount your new backup camera, but depending on your Tundra's equipment like aftermarket bumpers, trailer hitch, etc., the location may vary. Make sure to consider all these factors before drilling into your bumper. For this guide, we will follow mounting style 1.

Figure 1. Camera mounted below the bumper.
Step 2 – Prep the camera mount
Now that you've found your desired mounting location, it's time to prep the spot to mount the camera. Follow these steps:
- Locate the bumper step cover right in front of the license plate.
- Use a flathead screwdriver to pop the plastic screws up.
- Carefully remove plastic screws on both sides.
- Remove plastic cover.
- Lay plastic cover on a flat surface and position the camera mount on the desired spot.
- Drill holes on the correct location for the mount screws.
- Use appropriate screwdriver to screw in the camera mount.

Figure 2. Use flathead to pop up screws. 
Figure 3. Pop up plastic screws. 
Figure 4. Remove screws.

Figure 5. Remove plastic cover. 
Figure 6. Screw in mount.
Step 3 – Mount the camera
With the mount in place, it's time to position and mount the camera. Follow these steps:
- Position the plastic bumper piece previously removed back in its place (do not screw in yet).
- Insert camera into mount.
- Make sure the camera, mount, and all wires are clear of any moving objects, or anything that could damage the equipment.

Figure 7. Position bumper piece back on. 
Figure 8. Mount camera.
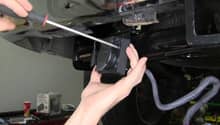
Step 4 – Wire the camera
With the camera mounted in place, it's time to wire the camera and make sure it activates when reverse gear is engaged. Follow these steps:
- Locate the tail light and reverse light wiring running along the truck frame.
- Reverse light is typically a yellow wire with a red stripe across.
- Use provided wiring diagram to tap into the reverse light.
- Run wiring along with the rest of the harness into the cabin.
- Connect camera to power source (typically, the fuse box).

Figure 9. Wiring. 
Figure 10. Make sure to neatly organize the wires. 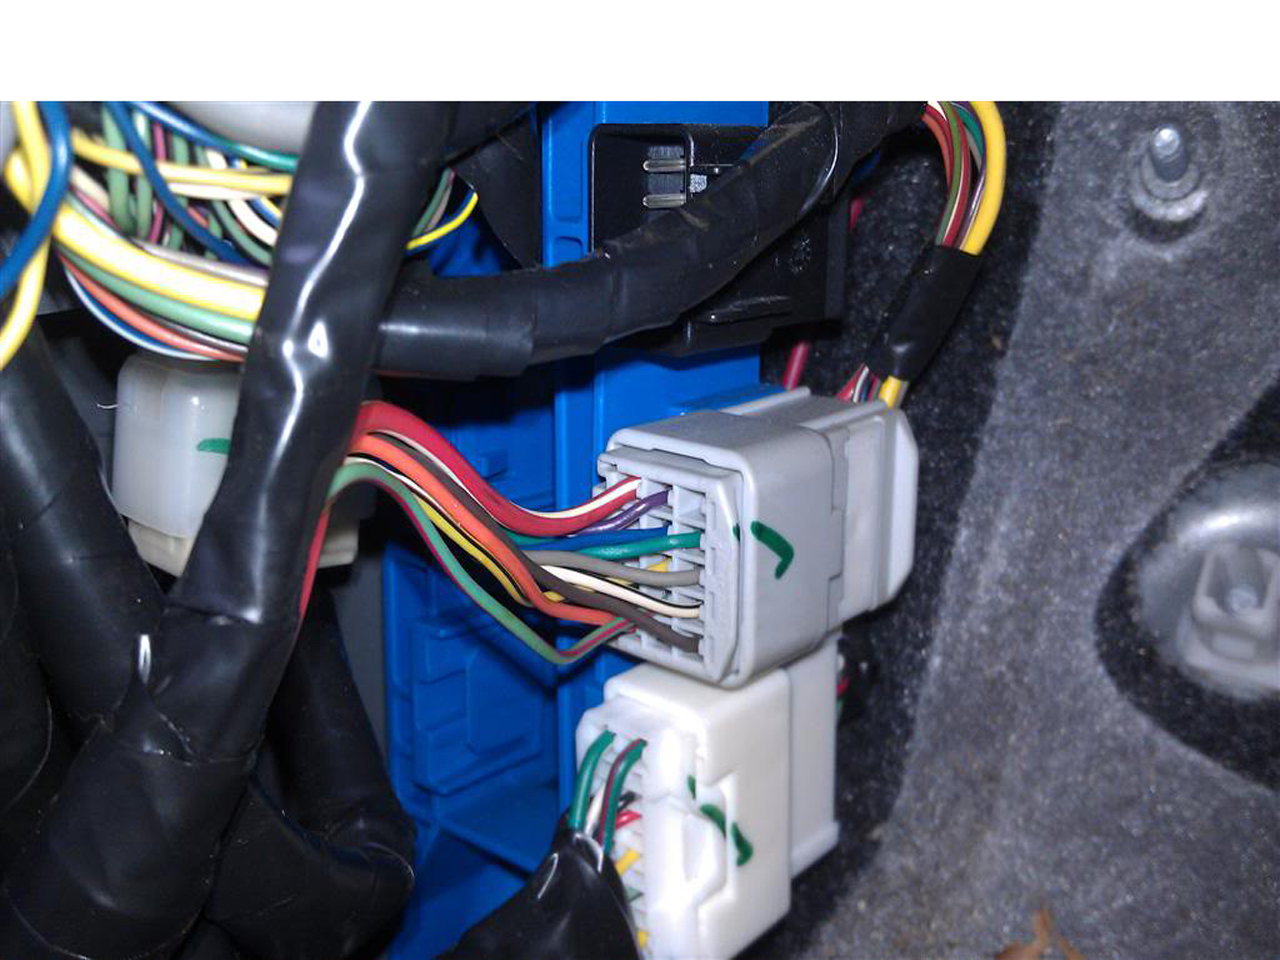
Figure 11. Find power source.
Step 5 – Wrap up
Make sure to replace everything as it was originally. Follow these steps:
- Insert back plastic screws on plastic bumper step.
- Clean up and arrange any wiring left with electrical tape or zip ties.
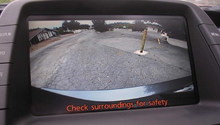
- Power up and test camera.

Related Discussions
- Backup Camera Install - Yotatech.com
- Tacoma Reverse Camera Install - Yotatech.com