Toyota 4Runner: Spoiler Modifications and How to Install Spoiler
Learn about the different options available to you when it comes to installing spoilers on your 4Runner!
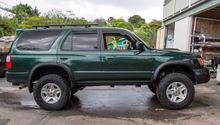
This article applies to the Toyota 4Runner (1985-2002).
If you like the look of spoilers on vehicles in general, then this modification is for you. The main purpose of a spoiler on any vehicle is to provide "downforce.” Vehicles experience this at speed due its aerodynamic design. However, a spoiler on your 4Runner can be more than just an aesthetic mod, as it can help keep exhaust fumes out as well as help to deter the elements from covering up the rear window. This article will portray the differences between spoilers through different model years. Also, this article will demonstrate how to install a spoiler on your 4Runner, while providing information for those wanting to remove their spoiler altogether.
Table of Contents
Rear Spoiler Upgrades
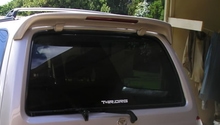
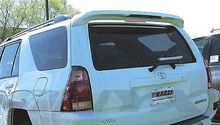
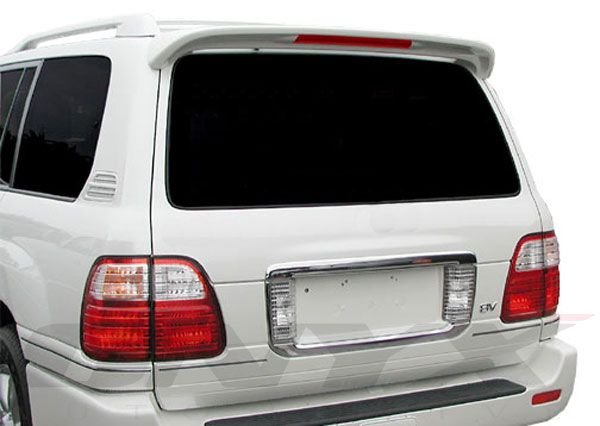
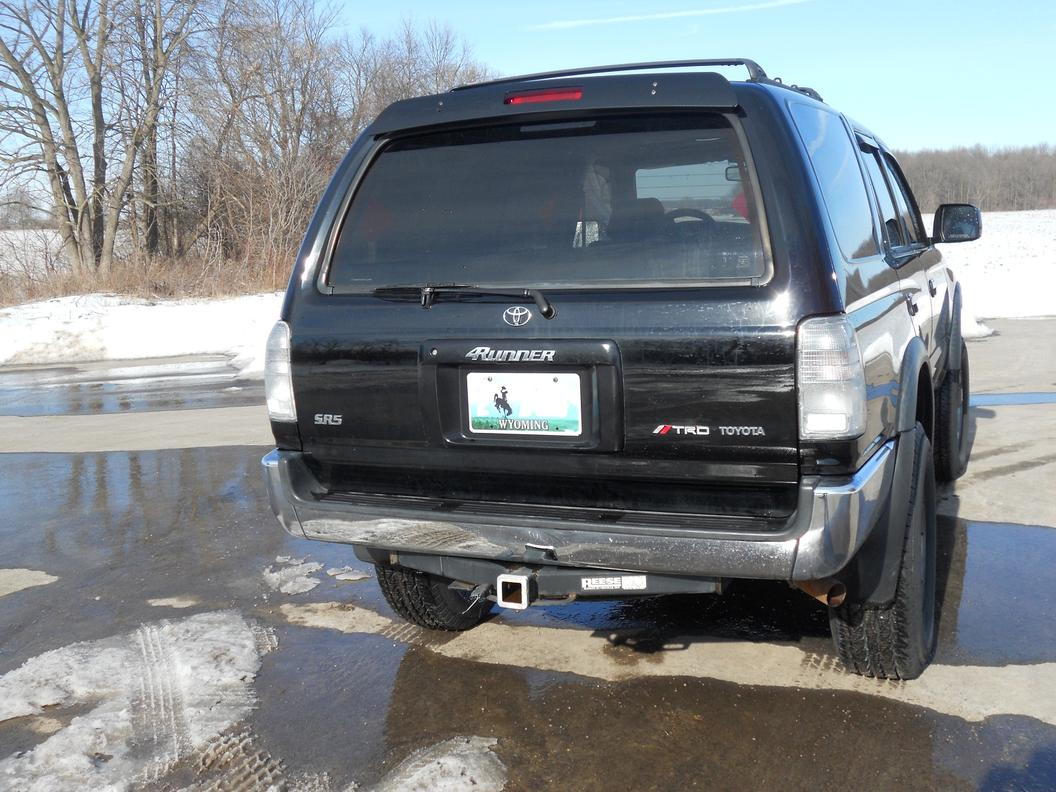
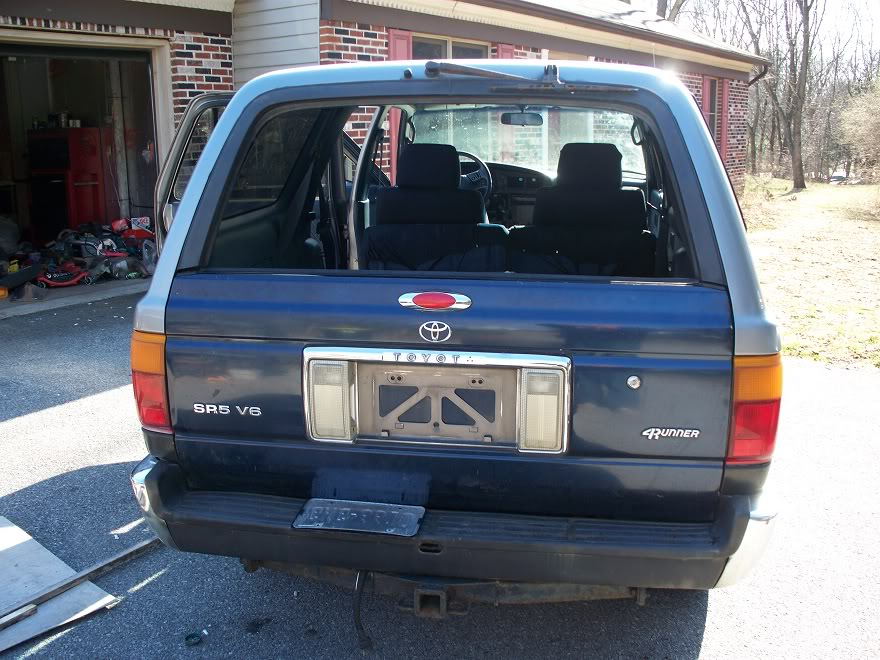
On many model 4Runners the factory had installed both non-third brake light spoilers as well as ones that had the 3rd brake light incorporated. Years '90 to 93 had the solid ones, while the '94 to 95 model ones had the cut out or "opening" to accommodate the 3rd brake light. It is also worth mentioning that some years had these available in metal, while others had them in plastic. The plastic ones looked very similar to the "rain guard" deflectors seen on some vehicles today as an aftermarket option.
Metal
DIY Cost – $75
Professional Cost – 1-2 hours labor, plus paint
Skill Level – Moderate
These were usually found on the later model 4Runners. Typically found in body color and often had a 3rd brake light integrated into them. They are held in with two to three screws per side. If your vehicle doesn't have one, half the challenge will be finding one in a junkyard or aftermarket dealer. But, the second challenge will be getting it to match the color of your vehicle.
Plastic
DIY Cost – $50
Professional Cost – 1-2 hours labor
Skill Level – Moderate
This part was found across the various years the 4Runners were produced. They resemble the aftermarket wind deflectors seen on some vehicles' passenger windows. The material is a black plastic. Some enthusiasts have opted to repainting the units using a material called "Plasti Dip." Luckily, once you can source one at a junkyard or an aftermarket "universal" unit, it's a matter of measurement and screws. Additionally, brackets can be used and found at your local Home Depot.
Spoiler Removed
DIY Cost – $2.00
Professional Cost – 1 hour labor
Skill Level – Easy
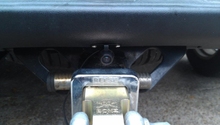
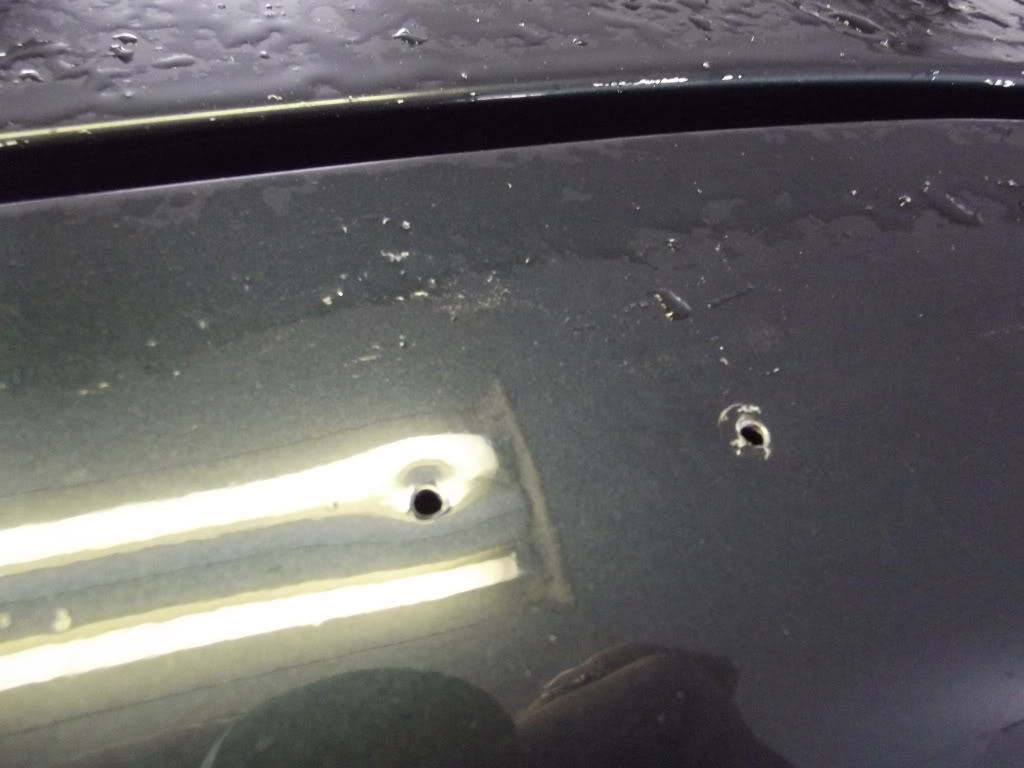
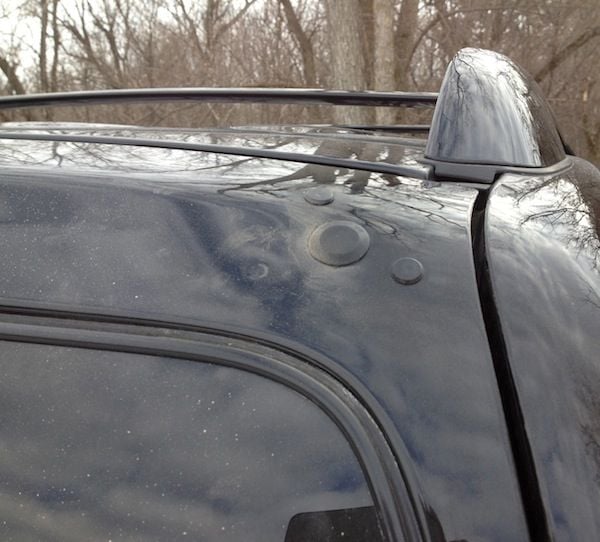
Some models came without a spoiler. For those wanting to remove the factory spoiler, it is a fairly easy ordeal. Just remove the screws from behind the tailgate. The holes can be filled with epoxy or automotive plastic caps for a "clean" look.
Pro Tip
If you plan on keeping the 3rd brake light and need/want to replace the bulb, it is the 921 bulb made by Sylvania.
How to Install Spoiler
Now that we have outlined the differences in spoilers and have also shown the option without the spoiler, you can decide to go either way. The following section of this article will explain how one can install a spoiler. The process is fairly simple and can be cost-effective depending on which option you choose. Ultimately, removing the spoiler will be the easiest and least costly option.

Materials Needed
- Various wrenches (Allen, crescent, ratchet)
- Rivet tool
- Punch tool
- Drill with various bits
- Soap and water
- 3M double-sided tape
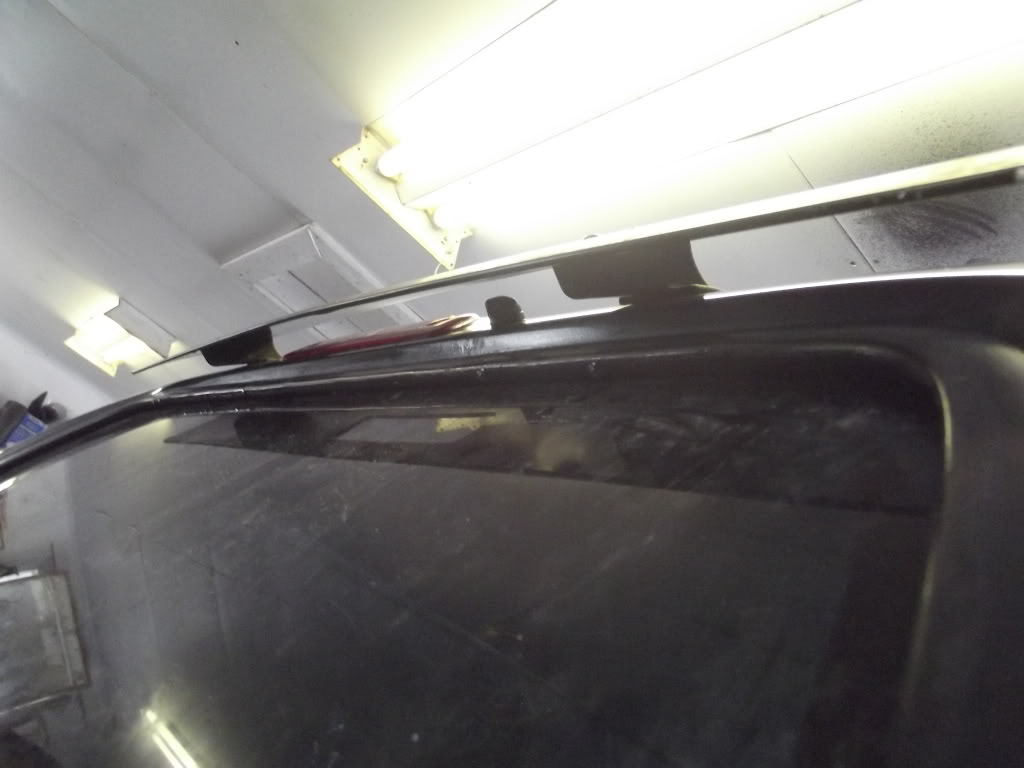
Step 1 – Drill holes
In order to mount a spoiler on a vehicle that has not had one before, you will need to drill holes.
- Mount the spoiler and mark the areas where you will plan to drill.
- Use the punch tool to create holes.
- Use the drill bit that is similar size to the hardware you will use to drill pilot holes.
Step 2 – Secure spoiler
Now that the necessary holes have been created, the spoiler can be mounted.
- Apply 3M double-sided tape to the "feet" of the spoiler.
- Secure spoiler to body with rivets and proper rivet tool.
Pro Tip
If you do not want to use rivets or purchase/rent a rivet tool, you can use nut and bolt combination hardware found at your local parts store or Home Depot.
Step 3 – If removing spoiler
If you were following this article to remove the spoiler, follow the next steps:
- Open tailgate and look up at the underside of the tailgate.
- Locate bolts and use Allen, crescent or ratchet wrench to remove bolts.
- Disconnect 3rd brake light plug (if applicable).
- Remove spoiler.
- Clean bolt hole areas thoroughly.
- Cover exposed bolt holes with automotive plastic caps.
Pro Tip
The button head screws removed from the underside of the tailgate holding the backside of the spoiler can also be used to fill the holes.
Related Discussions
- Different Spoilers - YotaTech.com
- Plastic Spoiler Install - YotaTech.com
- Spoiler Removal - YotaTech.com
- Replacing 3rd Brake Light Bulb - YotaTech.com