Toyota 4Runner 1996-2002: How to Install Rearview Backup Camera
Learn how to install an aftermarket rearview backup camera on your Toyota 4Runner with the help of this article.
This article applies to the Toyota 4Runner (1996-2002).
Rearview backup cameras are single-handedly one of the simplest but also most convenient features in modern cars. At first a luxury, but now a common standard item in many vehicles, backup cameras engage when you put your vehicle in reverse, and a tailgate mounted camera feeds images into your center console monitor. Depending on the year and trim of your 4Runner, it may not come with one. Use the following steps to learn how to install a rear view backup camera to your 4Runner.

Materials Needed
- Backup camera kit
- Flat head and Phillips screwdriver
- Drill with drill bits
- Anti-rust grease
Step 1 – Prep for mounting
There are several places to mount the camera, but the most common one is below the 4Runner emblem over the license plate. Follow these steps:
- Using the appropriate screwdriver, remove the license plate.
- If there is no hole, use the drill and drill bit to drill one.
- If there is an existing hole on the body behind the plate, feed your camera wire into it.
- Open the tailgate.
- Remove tailgate panel with the help of a flat head screwdriver.
- Find the camera wire, pull it and route it toward either taillight.
- Remove taillight and expose the wiring.
- Wire backup camera to the reverse light wiring.
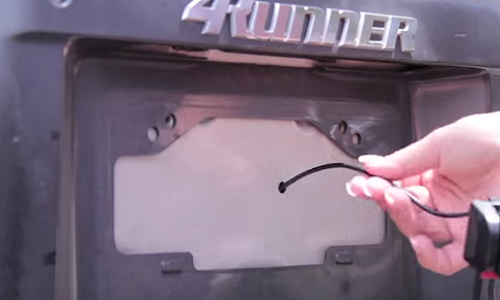
Figure 1. Hole behind license plate. 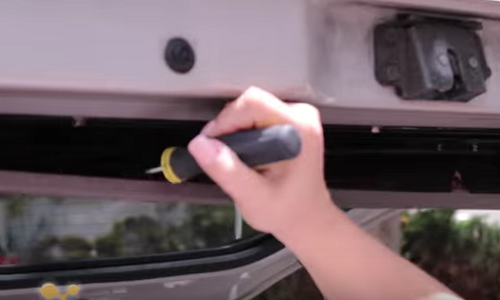
Figure 2. Remove tailgate panel. 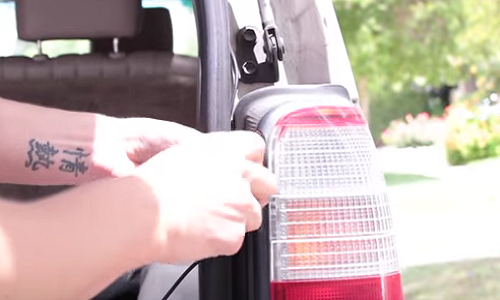
Figure 3. Remove taillight. 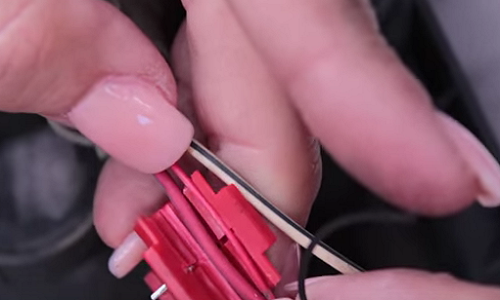
Figure 4. Wire camera to reverse light wiring.
Pro Tip
Apply anti-rust grease to any holes you drill on the body.
Step 2 – Mount camera
This step could vary depending on the model, brand, or style backup camera purchased. Follow these steps for a general reference of how to mount the camera itself:
- Use the drill to drill two holes adjacent to the license plate light bulbs.
- Use screws to mount camera mount to the holes drilled.
- If mounting on license plate directly, simply slide camera onto the license plate itself.
- If mounting elsewhere, repeat Step 1 similarly.
- Run wiring through body along taillight wiring.
- Wire to desired source of power.
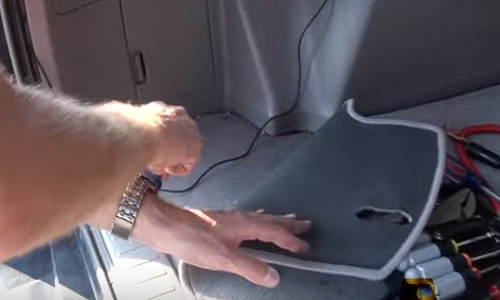
Figure 5. Run wiring to power source. 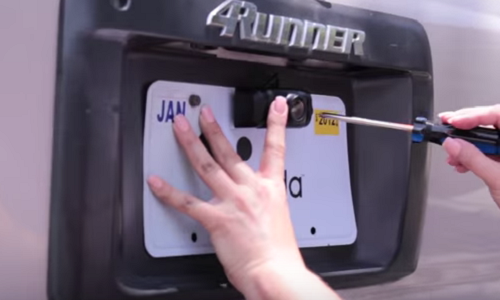
Figure 6. Mount directly on license plate. 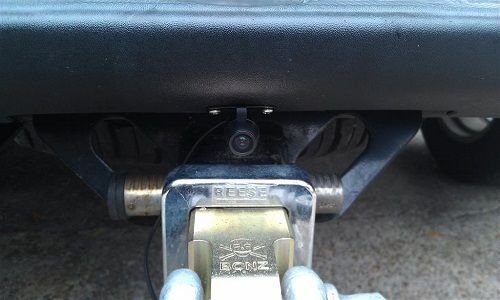
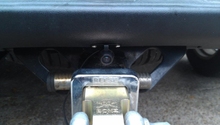
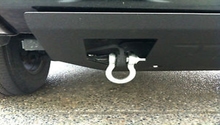
Figure 7. Bumper mounting position. 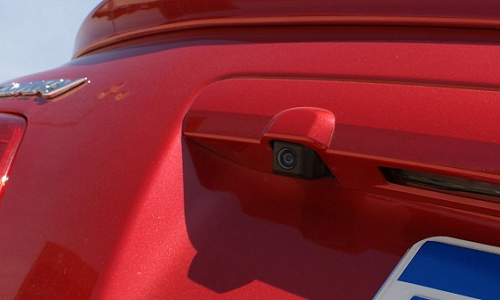
Figure 8. Trunk handle mounting position.
Step 3 – Wrap up
Once your camera is plugged in to a power source and your monitor of choice, follow these steps to finish the install:
- Make sure all wiring is properly tied down and organized.
- Remount taillight if haven't done so.
- Snap inner tailgate body panel back on.
- Remount license plate.
- Test camera.
Featured Video: 4Runner Rear View Backup Camera Install
Related Discussions
- Tacoma Reverse Camera Install - YotaTech.com
- DVD Monitor and Backup Camera - YotaTech.com
- Backup Camera in 4th Gen - YotaTech.com
- Aftermarket Stereo with Backup Camera Install - YotaTech.com
- Backup Camera Install - YotaTech.com