Toyota 4Runner 1984-1995: How to Replace Thermostat
A bad thermostat is an extremely common cause of overheating and cooling system issues. Toyota made it easy to replace the thermostat on your 4Runner, find out how by reading more below!
This article applies to the Toyota 4Runner (1984-1995).
The thermostat is a simple device that is temperature activated. When you start your car and the engine is cold, the flow of coolant is stopped by the thermostat so that the engine warms up and reaches maximum efficiency faster. Once the coolant temperature passes the thermostat temperature, the thermostat opens and allows coolant to flow around the engine block, radiator, etc. If the thermostat is bad, the engine will continue to heat up indefinitely, which can lead to major engine damage. Replacing your thermostat can easily be attempted by an amateur mechanic. Find out how below!

Materials Needed
- 12mm socket and ratchet
- New thermostat and gasket
- New coolant
- Screwdriver
- Drain pan and rags
- Razor blade or gasket scraper
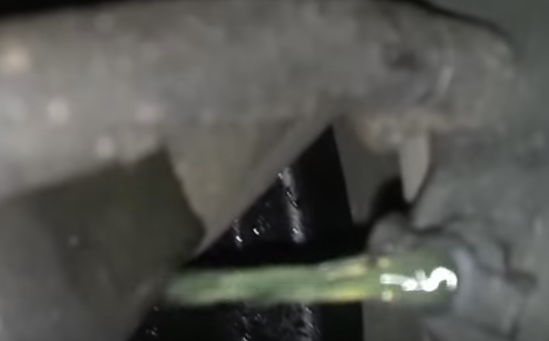
Step 1 – Drain coolant
On the driver's side of the bottom of the radiator, you will see a stopcock that you can open to drain the coolant. Make sure your drain pan is underneath the stopcock. If your coolant is clean or newly flushed, then only drain enough coolant to bring the system level under the thermostat. If you plan on replacing the coolant, then drain all of it.
Pro Tip
Do not reuse old coolant in your drain pan, as it can damage your cooling system with contaminants.
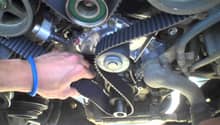
Step 2 – Remove upper radiator hose and thermostat housing
To remove the upper radiator hose, loosen the hose clamp connecting the upper radiator hose and thermostat housing, then pull away. Have a small bowl ready to catch any remaining coolant at the thermostat housing. Then, remove the two 12mm bolts on the thermostat housing and remove the thermostat housing.
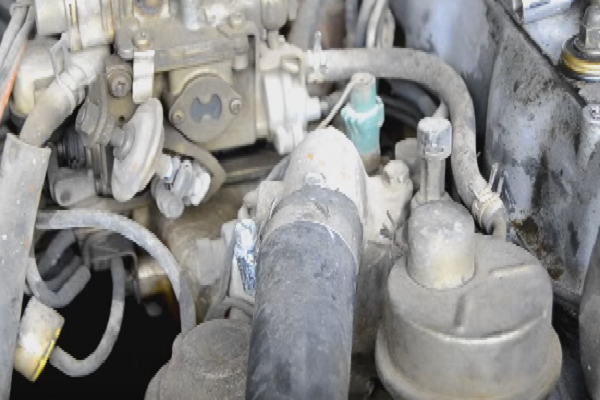
Figure 2. Upper radiator hose location. 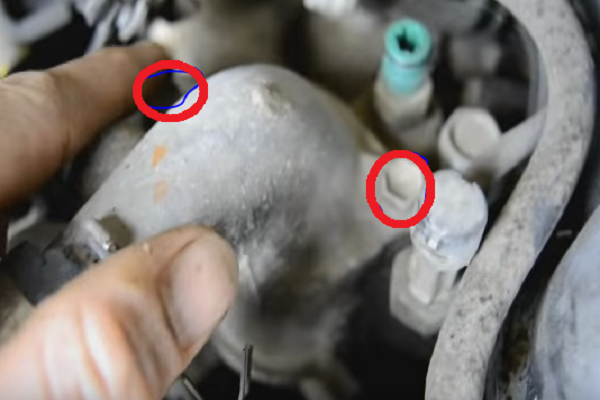
Figure 3. Thermostat housing removal.
Pro Tip
Clean the inside of the thermostat housing thoroughly to get rid of the rust.
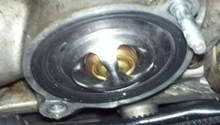
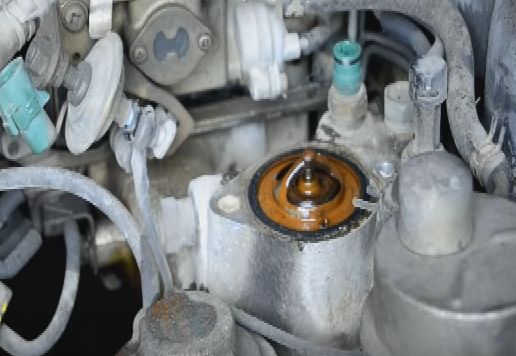
Step 3 – Remove/replace thermostat and gasket
Remove the thermostat by pulling up with your fingers or a screwdriver. Then, remove the rubber gasket around the thermostat, which will be replaced. Use a razor blade or gasket scraper to clean the surface for the installation of the thermostat housing. Now, take your new thermostat as well as gasket and set it in place in the same orientation as the original. That's it, now you just have to button everything up.
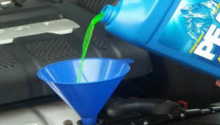
Step 4 – Install thermostat housing and radiator hose
Install your thermostat housing and gasket, making sure not to over-tighten the bolts. Then, install the radiator hose on the thermostat housing and tighten the clamp back on. That's it! You are done. Now, add coolant and follow the proper procedures to make sure no air is in the system. Your cooling system should be working great now!
(Related Article: How to Flush Radiator - YotaTech.com)
Featured Video: How to Change a Thermostat
Related Discussions
- Thermostat Location - YotaTech.com
- 22RE Thermostat Replacement - YotaTech.com
- Mixing Red and Green Coolant - YotaTech.com