Toyota 4Runner 1984-1995: How to Replace Radiator
Replacing your radiator is straightforward and easy enough to be attempted by anyone! Get your 4Runner back on the road today.
This article applies to the Toyota 4Runner (1984-1995).
The Toyota 4Runner is designed extremely well, which makes it easy to maintain! The radiator is extremely essential to the efficiency of your cooling system. As hot coolant runs through the radiator fins, heat is displaced from the coolant and keeps your engine at running temperature. If the radiator stops working right, you will notice overheating problems right away! Through thousands of miles of driving and rough terrain, the radiator sees a lot of abuse, including rocks and rust. Eventually, the radiator will start to leak or become very inefficient. When your decide to replace your radiator, make sure you take the proper precautions like making sure your car is cool! Follow along to find out how to replace your radiator!

Materials Needed
- 12mm socket and ratchet
- Screwdriver
- Rags and bucket
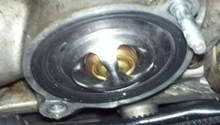
Step 1 – Drain coolant
Drain your coolant by opening the stopcock on the driver's side of the radiator. Make sure your have rags and a bucket ready to capture the coolant.

Pro Tip
The radiator fins are very sharp, so be careful when you are handling it!
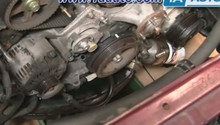
Step 2 – Remove upper radiator hose and intake tube
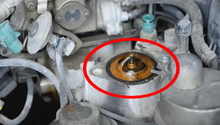
The upper radiator hose can now be removed by loosening the hose clamp with a screwdriver. Pull the upper radiator hose off the radiator and set it to the side. Then, remove the intake tube by removing the hose clamps on both sides and putting the tube aside to create clearance for the removal of the radiator. Also, you can pull off the small hose near the radiator cap going to the overflow tank.
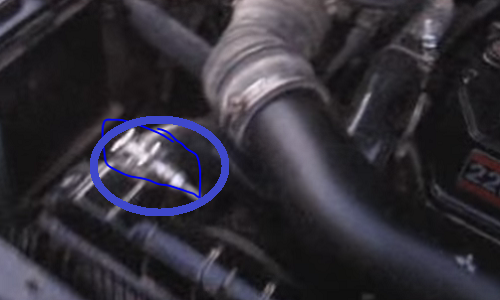
Figure 2. Upper radiator hose clamp. 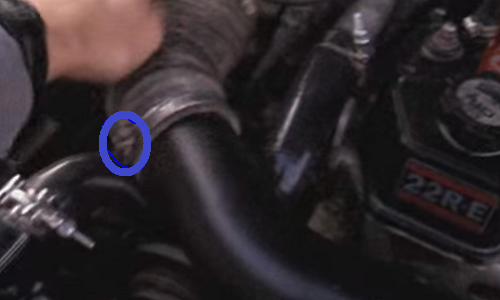
Figure 3. Removal of intake tube. 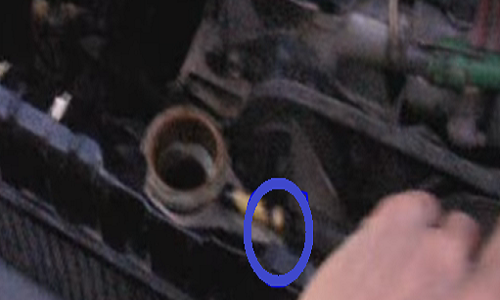
Figure 4. Removal of small tube.
Pro Tip
Make sure the coolant is drained enough before removing any hoses.
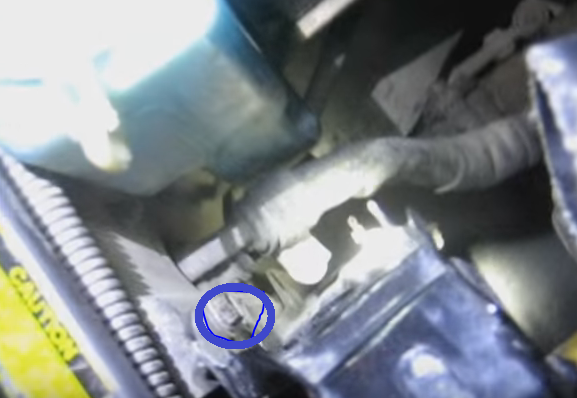
Step 3 – Remove the lower radiator hose and bolts
Remove the lower radiator hose by removing the hose clamp and pulling the hose off the radiator. Be ready to catch some coolant left in this hose. Then, remove the bottom two 12mm radiator bolts to begin the removal of the radiator.

Step 4 – Remove upper radiator bolts and radiator
Remove the two 12mm radiator bolts while supporting the radiator, as it will be free to remove. Then, slowly pull out the radiator and set it aside.
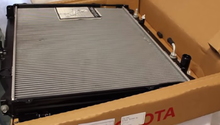
Step 5 – Install new radiator
You are done with the hard part! Now, drop in the new radiator and connect all of the hoses and install everything that you removed in the removal process. Then, add coolant to your engine and follow proper procedures to make sure that there are no air bubbles in your cooling system. That's it, you have replaced your radiator.
(Related Article: How to Flush Radiator - YotaTech.com)
Pro Tip
Inspect your radiator for leaks when you add coolant and make sure all of your connections are secure!
Featured Video: How to Replace Radiator on 4Runner
Related Discussions
- 4Runner Radiator - YotaTech.com
- 22RE Radiator Replacement - YotaTech.com