Toyota Tundra: How to Replace Radiator
The radiator is an integral part of the Toyota Tundra's engine. If it fails, your engine could overheat. Learn how to replace it here.
This article applies to the Toyota Tundra (2000-Present).
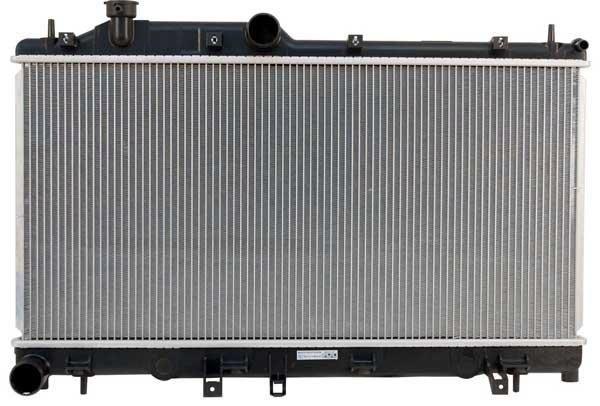
The radiator is designed to keep your Toyota Tundra's engine cool. Sometimes it could start leaking or failing in various ways, which can cause the engine to overheat and get damaged. Replacing it isn't hard, it just requires some patience, draining the coolant, and removing a bunch of parts. Labor can get rather costly when it comes to such DIY, so replacing it yourself can save you hundreds of dollars. If you're ready to get your hands dirty, then read on to learn how to replace the radiator in your Toyota Tundra.

Materials Needed
- Pliers
- Drain pan
- Socket with extension (10mm and 12mm)
- Phillips screwdriver
Step 1 – Disconnect battery
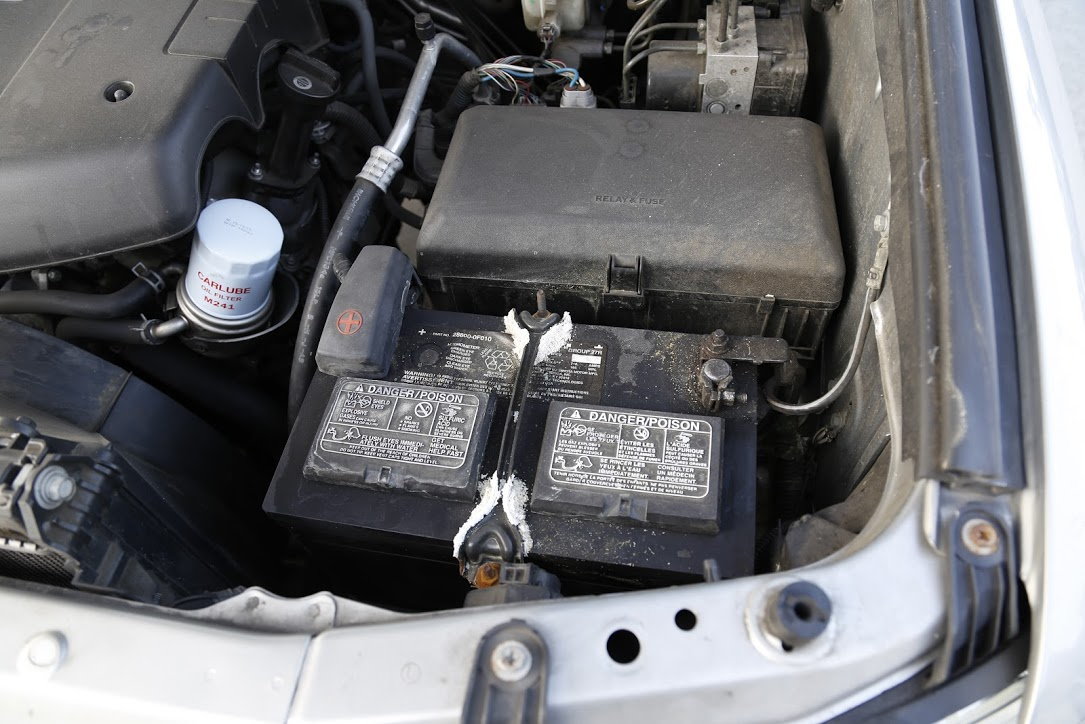
Using your 10mm wrench, disconnect the negative (black) battery terminal from your battery. Wrap it in a towel so it doesn't touch any metal and create a spark.
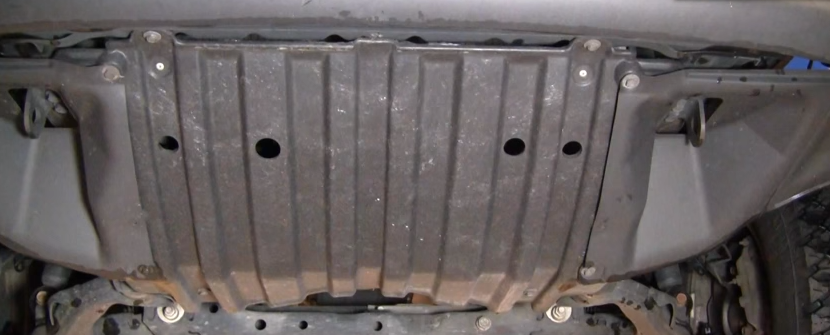
Step 2 – Remove radiator skid plate
The radiator's skid plate is held in place by a series of 12mm bolts. Remove them, then remove the skid plate and set it aside.
Step 3 – Drain radiator
Place a drain pan under the radiator's drain plug, which is on the bottom of the radiator. Then with your hand, turn the plug counterclockwise to loosen it. Let the radiator drain.

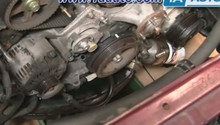
Step 4 – Remove top engine components
While your radiator drains, start removing engine components that needs to be removed.
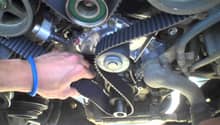
Remove the engine cover, upper radiator hose clamp, and air filter tube. Use pliers to pull the upper radiator hose clamp back so it can come off the radiator, then pull it away and off the radiator. Do the same procedure for the other radiator hose on the passenger's side.
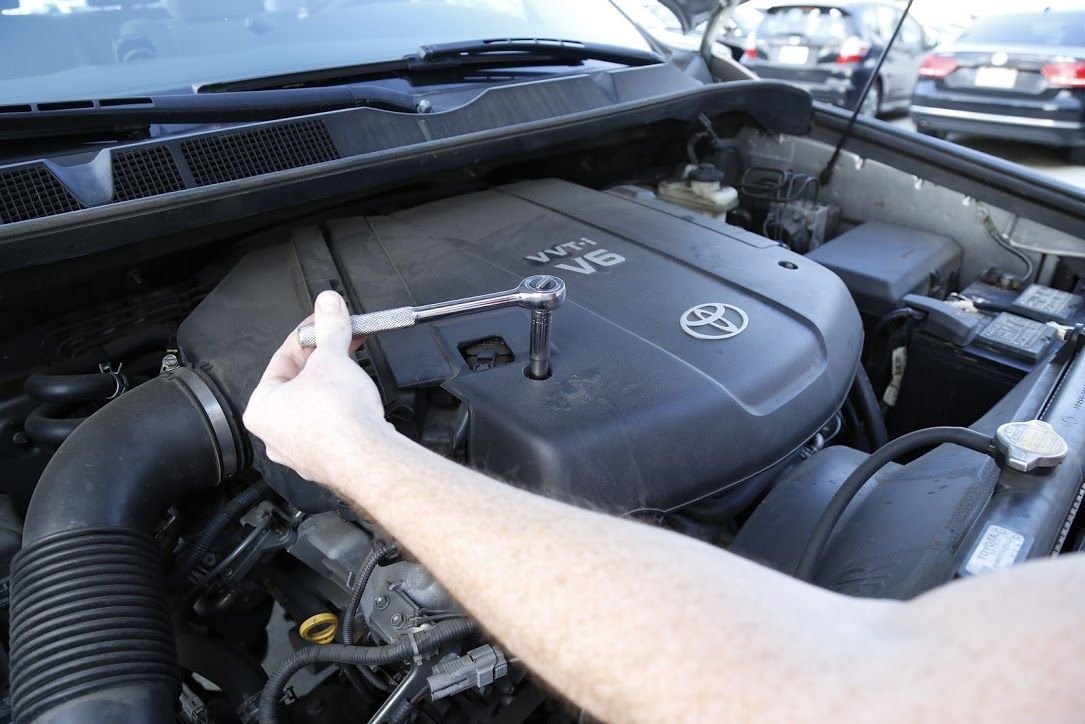
Figure 5. Remove cover. 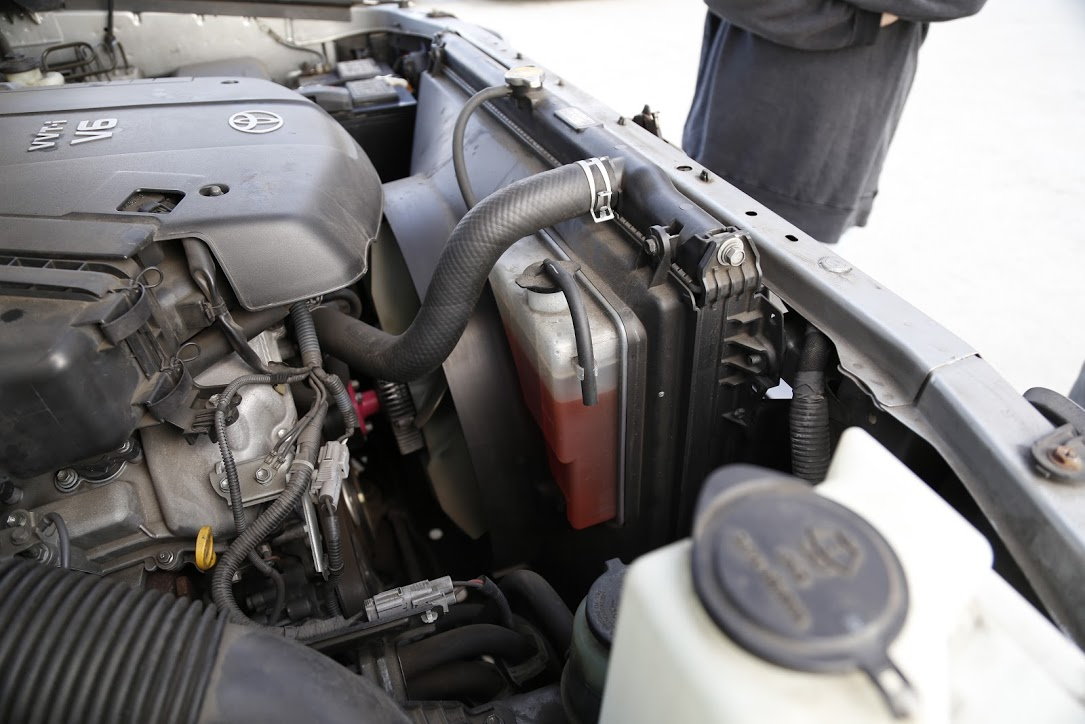
Figure 6. Remove radiator hoses. 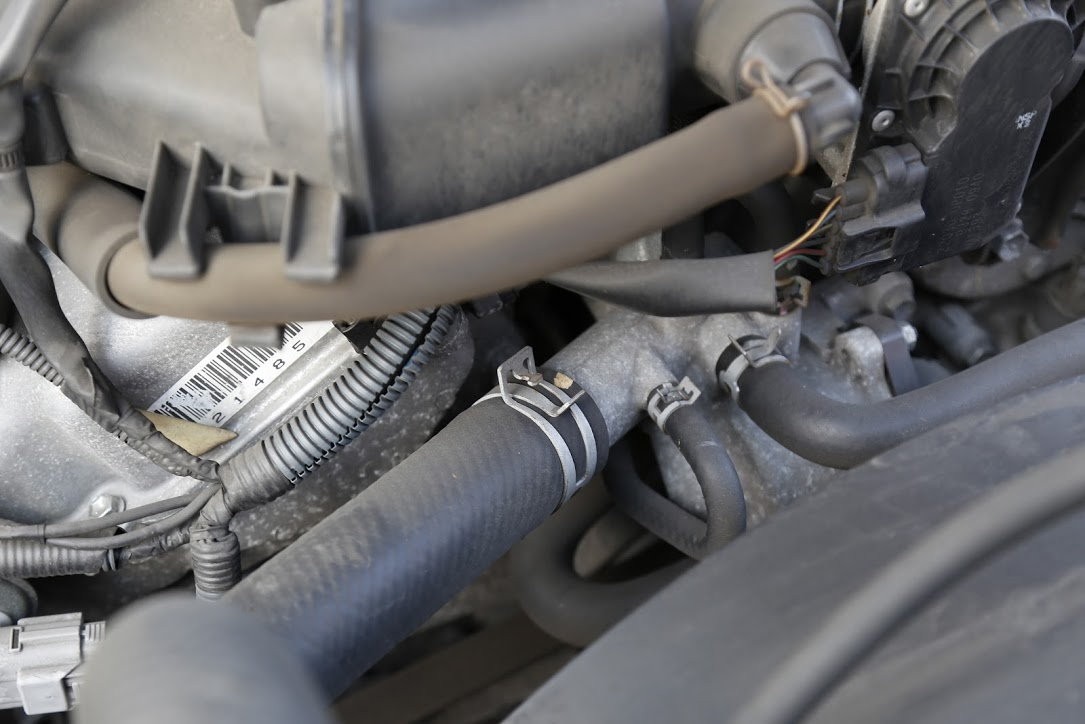
Figure 7. Remove radiator hoses. 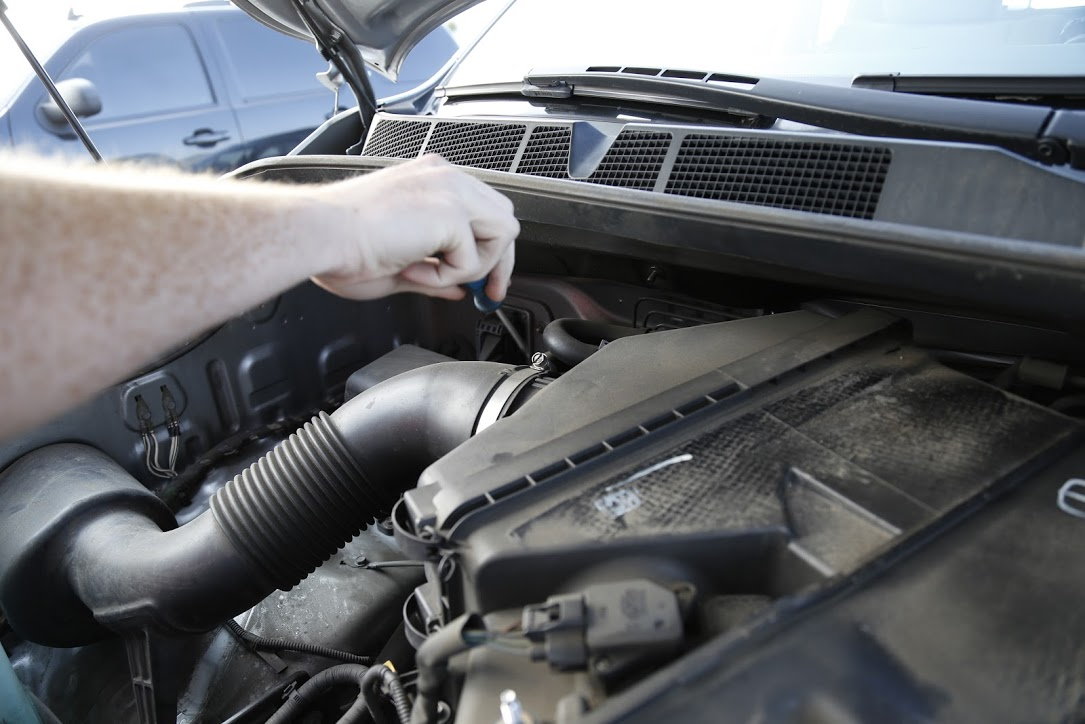
Figure 8. Remove air tube.
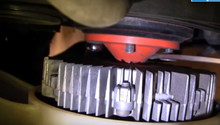
Step 5 – Loosen fan shroud
The fan shroud is connected to the radiator with a series of 10mm bolts. Remove them, then leave the shroud in place.

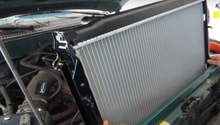
Step 6 – Remove radiator
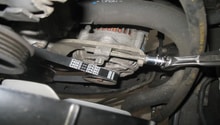
From the front, remove the four bolts holding the radiator to the body. The radiator will not fall when you remove those.
Remove the lower radiator hoses from the radiator.
Push your fan shroud inwards, towards the truck, then pull the radiator straight up to remove it.
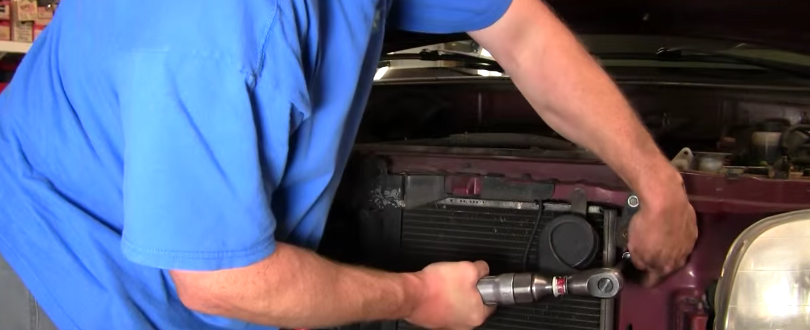
Figure 10. Remove radiator bolts. 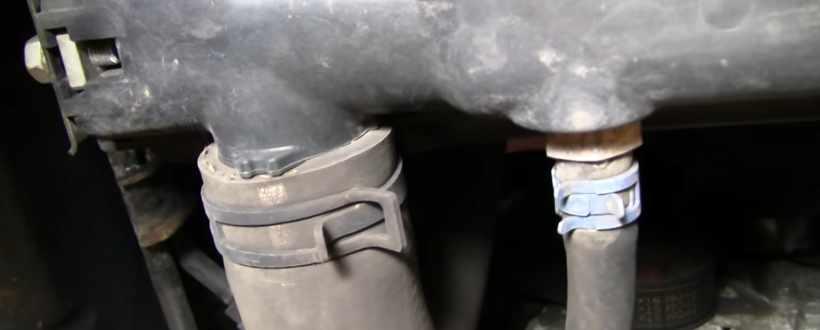
Figure 11. Remove lower hoses.
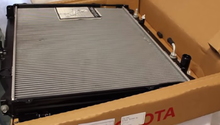
Step 7 – Install new radiator
Installation is the reverse of removal.
- Push the fan shroud and install the radiator in place.
- Tighten the radiator bolts from the outside, then connect the lower hoses.
- Tighten the fan shroud to the new radiator.
- Install all upper radiator hoses.
- Install air filter tube.
- Install engine cover.
- Refill the radiator, start the car with the cap off and let it run for a minute or two, then recheck the coolant level. Refill if needed.
Featured Video: How to Replace Radiator
Related Discussions
- Aftermarket Radiator - YotaTech.com
- How Hard to Flush Radiator - YotaTech.com
- Tips and Tricks for Burping Cooling System - YotaTech.com
- New Hoses and Thermostat, Still Overheats - YotaTech.com