Toyota 4Runner 1984-1995: How to Replace Engine Accessory Belts
With the right tools, changing your 4Runner’s accessory belts isn’t all that difficult, but getting to the belts is a challenge.
This article applies to the Toyota 4Runner (1984-1995).
The standard engine in the first (1984-1989) and second (1990-1995) Generation of the Toyota 4Runner was the venerable 2.4L I4, with (starting in 1987) a 3.0L V6 available as an option.
Virtually all of today’s vehicles use a single belt to drive the alternator, water pump, air conditioner compressor, and power steering vane pump off of the crankshaft pulley/harmonic balancer. Because the loops of this single belt must wind around multiple pulleys, idler wheels, and a tensioner, these belts are called “serpentine” belts. Most earlier vehicles, including the 1984 to 1995 4Runners, used multiple accessory belts to accomplish the same thing; as many as three. The main reason most automobile manufacturers moved to a serpentine belt design was to reduce the overall length of belt travel. This is because a shorter belt path stretches the belt less, plus can reduce friction as it requires fewer idler pulleys along its path. And although it may not look like it, a serpentine belt will have less overall belt length than three accessory belts.
According to Gates Corporation (a seller of drive belts), Toyota’s 4Runner didn’t switch over to a single serpentine belt design until the 2003 model year (fourth generation). Unless air conditioning wasn’t included, the first and second generation of 4Runners with the 2.4L 22R/22R-E I4 engine used three accessory belts for:
- The fan/water pump and alternator,
- the air conditioner compressor, and
- for the power steering vane pump.

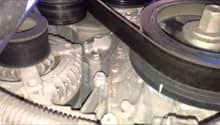
The power steering belt is the furthest from the engine block. And although Serpentine belts typically have one tensioning device situated along the belt path, as we’ll see with the three-belt set up, first and second generation vehicles required a tensioning adjustment apparatus for each belt.
Accessory belts typically can last from between 45,000 and 75,000 miles, or three to five years of driving, for passenger cars. But off-road use and hauling heavy loads can shorten their lives significantly. As a belt wears, it may emit a squeaking or chirping noise, and a badly-worn belt can end up splitting apart or simply breaking in two. And when one belt fails, it’s always a good idea to replace all of the belts with new belts at the same time.
The fan/water pump to alternator belt is the closest to the engine block. If you need to replace this belt, the other two belts will have to be removed first, starting with the belt furthest from the engine block (the power steering vane pump belt), then the A/C compressor belt before you can finally get to the alternator belt. Because the belts have to be removed anyway, it's another good reason the replace all three belts with new belts. Also, the three belts have different lengths: make sure they don’t get mixed up.
All three drive belts can be changed from under the hood with the 4Runner at floor level. Some DIYers, however, recommend raising the front end up on jacks or risers and removing the front skid plate to help with access to the A/C’s adjustable idler pulley, and the alternator’s bottom pivot bolt. If done from the top, more than one wrench extension, as well as a second set of hands for the pivot bolt, may be required.

Materials Needed
- Socket set with 3/8" and 1/2" drive stud
- 6mm, 10mm, 12mm, 14mm socket and box wrench
- Socket wrench extensions (3-inch and 6-inch)
- 3/8-inch torque wrench
- PB Blaster or WD-40
Step 1 – Prep the vehicle
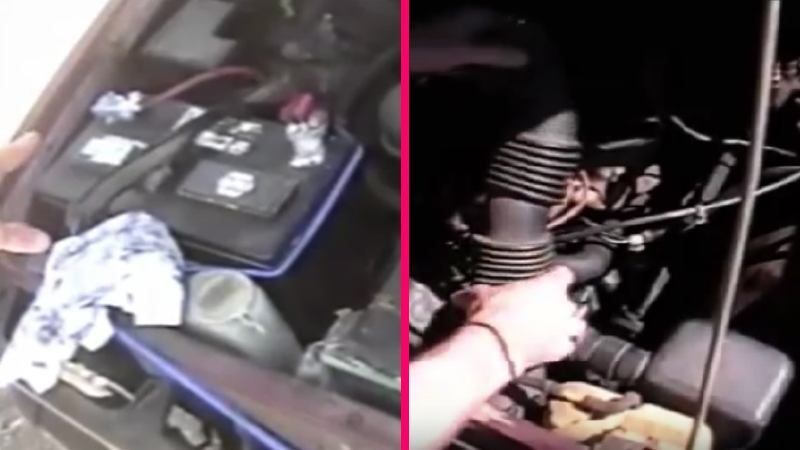
Disconnect the battery, and remove the front air input hose that runs across the top of the radiator.
To make as much space for belt removal and replacement as possible, also remove the fan shroud. To be able to pull the shroud up and out, the top radiator hose will also need to be removed. Place a pan beneath the radiator to catch any spilled coolant. The shroud is attached to the radiator with 6mm screws. There are two 6mm screws on the shroud’s top, and four 6mm screws on the sides. Some shrouds were two-piece units, with four clips holding a half-moon bottom section.

Because space is tight where the belts are, it’s also a good idea to remove the radiator hose connecting the top of the radiator and the radiator shroud. Taking off the fan at this point (it’s held in with four 10mm nuts) is also a good idea, as two of the three drive belts will need to go around the fan.
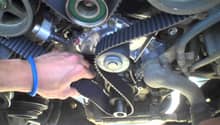
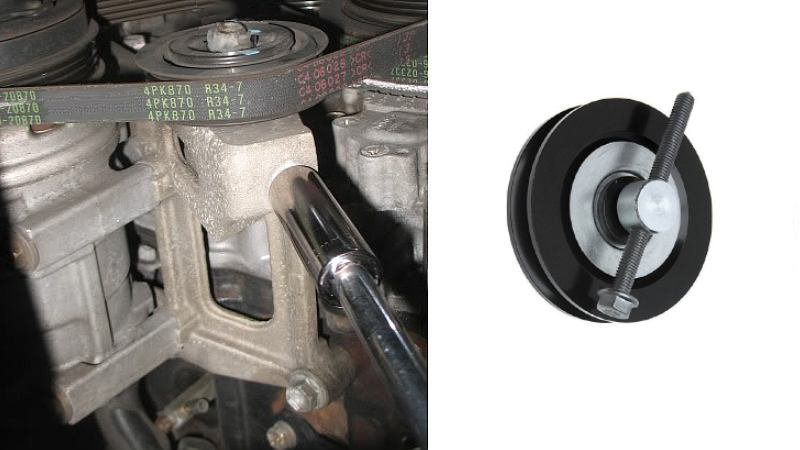
Step 2 – Remove/replace the power steering belt
Working with the belt furthest from the the engine block first, the power steering vane pump belt is tensioned with, as we'll see, a mechanism similar to the one used by the A/C compressor.
Loosen but don’t remove the 14mm locking bolt on the face of pulley, then loosen the belt by turning the 14mm adjustment bolt atop this pulley (turn it counterclockwise), which forces the pulley down to loosen the belt. Remove the belt and install the new belt.
Tighten the 14mm adjustment bolt to the point where there is only about 1/4-inch flex in the belt between pulleys. Tighten the 14mm locking bolt on the face of the pulley to 14 lb-ft (18 Nm).
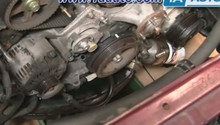
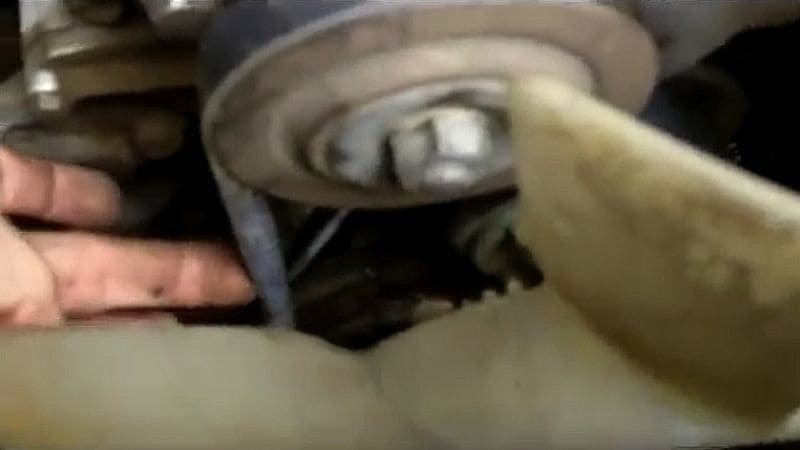
Step 3 – Remove/replace the A/C belt
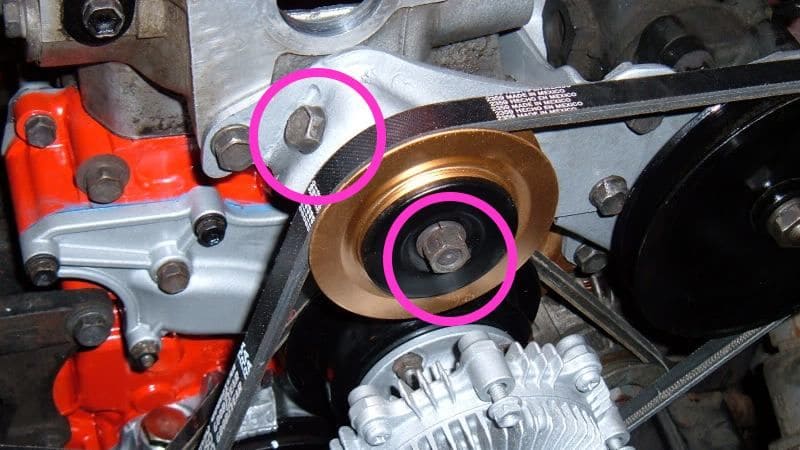
The A/C belt is tensioned with an adjustable idler pulley located just below it. The 14mm locking bolt on the face of this pulley that holds the center of the bearing in place is first loosened (not removed).
Then the long, 14mm adjustment bolt underneath this pulley is loosened (turned counterclockwise), which forces the pulley up to loosen the belt. Remove the belt and install the new belt.
Tighten the 14mm adjustment bolt to the point where there is only about 1/4-inch flex in the belt between pulleys. Tighten the 14mm locking bolt on the face of the pulley to 14 lb-ft (18 Nm).
With a new belt in place, tighten the intercepting bolt (turned clockwise) to lower the idler pulley to the point where there is only about 1/4-inch flex in the belt running between the A/C compressor pulley and the crankshaft/harmonic balancer pulley.
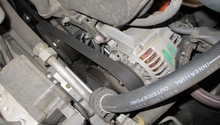
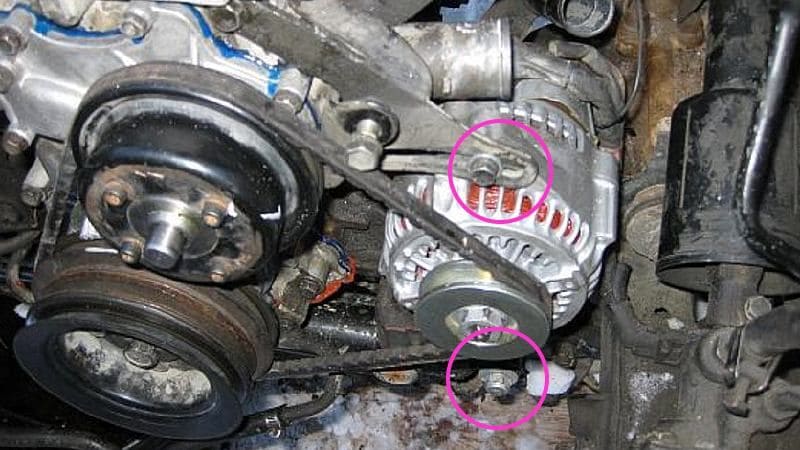
Step 4 – Remove/replace the alternator belt
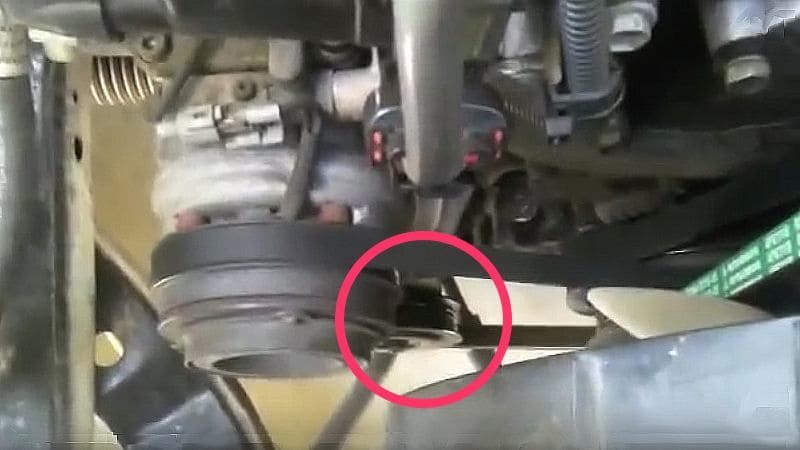
The alternator must be pivoted toward the fan to remove or add a new belt. To accomplish this, the pivot bolt on the bottom of the alternator must first be loosened. This will require two 12mm wrenches, otherwise the bolt will simply spin in place. Before attempting to loosen the pivot bolt, apply PB Blaster or WD-40 and let it soak in. Then, with a 12mm wrench with extensions for the nut on the rear of the bolt, and another for the head of the bolt at the front. The nut doesn’t need to be completely removed, just loosened.
Next, loosen the locking bolt atop the alternator. This bolt travels along a curved groove to add or remove tension to the accessory belt. With both attachment points loose, the alternator can then be pivoted toward the engine block, allowing the belt to be removed and a new belt installed. With the new belt in place, pivot the alternator away from the engine block to tension the belt to a 1/4-inch flex and tighten the locking bolt, then tighten the pivot bolt.
Torque the locking bolt to 21 lb-ft (28 Nm), and the pivot bolt to 43 lb-ft (58 Nm).
With a new belt in place, pivot the alternator away from the engine block to the point where there is only about 1/4-inch flex in the belt between pulleys.
Now with all three new belts in place, reattach the radiator hose and refill the radiator with coolant. If you took off the fan, reattach it. Connect the battery. Start the 4Runner and listen to the belts at idle and different RPM's. If you hear no chattering or screeching of belts, shut off the engine, let the vehicle cool down, then disconnect the battery again and reinstall the radiator shroud.
Featured Videos: Drive Belt Replacement Procedure
-
How to Change Belts on 22RE
-
How to Change Idler Pulley
-
Alternator Removal on 22RE
Related Discussions
- Help with Fan Belt Change - YotaTech.com
- '89-22re Drive Belt Info/Part Number - YotaTech.com
- 22re Question About Belt Tensioner - YotaTech.com
- 22re-Tensioner-Pulley - YotaTech.com
- Replacing Drive Belt on '94 - YotaTech.com
- A/C Belt Idler Pulley - YotaTech.com