Toyota 4Runner 1996-2002: How to Replace Radiator
The radiator is responsible for keeping your Toyota 4Runner's engine cool. Read on to learn how to replace it.
This article applies to the Toyota 4Runner (1996-2002).
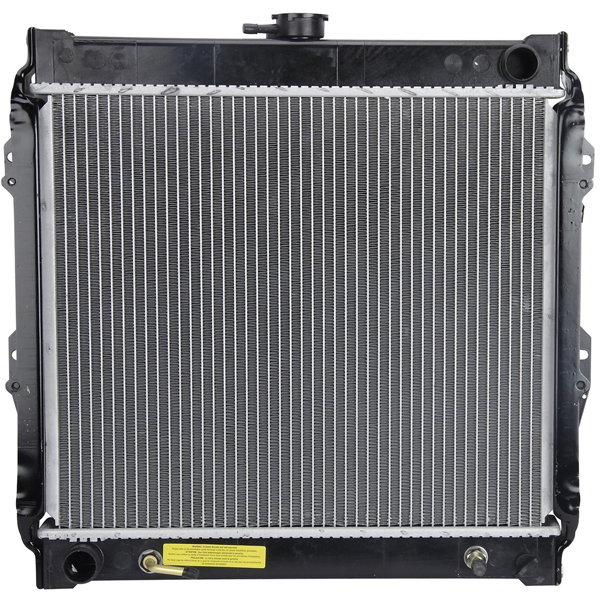
The radiator is designed to cool down the antifreeze, which goes around to cool your engine down. Like any other component, the Toyota 4Runner's radiator could go bad, leak, or clog up, so replacing it is the best thing you can do to save your engine. When you're looking for a new radiator, you will be faced with many options; some are high performance radiators and others are stock replacements. Once you decide what you want and what you want to spend, read this guide to learn how to remove the old radiator and install the new one in your Toyota 4Runner.

Materials Needed
- Socket set
- Drain pan
- Flat head screwdriver
- Phillips screwdriver
- New radiator
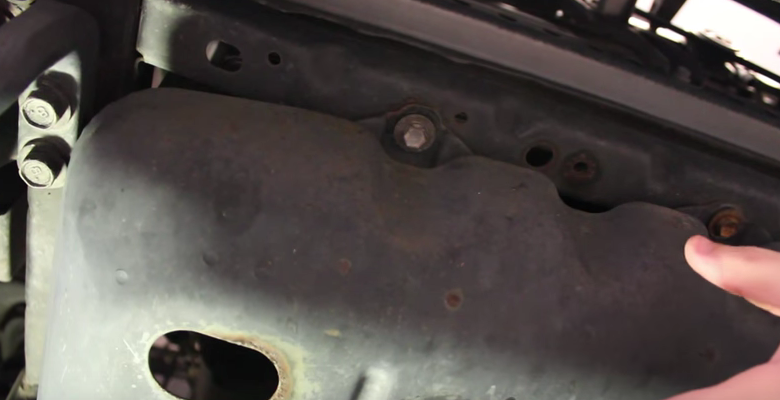
Step 1 – Remove skid plate
Remove the skid plate on the bottom, under the radiator. You can do so by removing the bolts holding it in place.
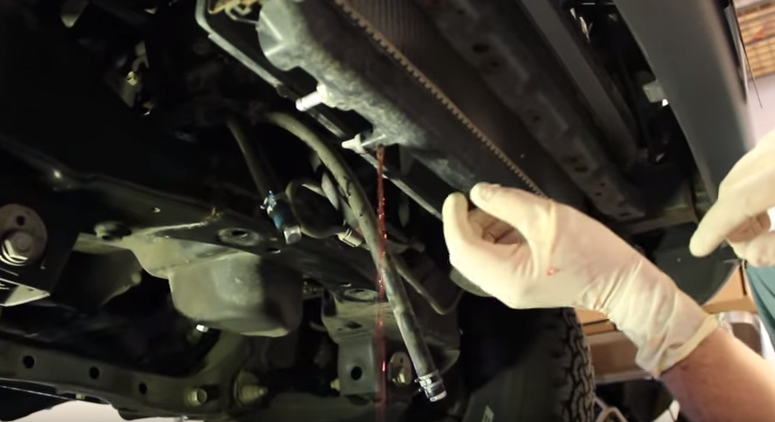
Step 2 – Drain the radiator
To drain the radiator, place the drain pan under the radiator's drain valve. Turn the drain valve counterclockwise to drain the coolant. Open the radiator's cap on the top to let it breathe, so it drains faster.
Step 3 – Remove radiator hoses
Remove the upper radiator hose. You can do so by loosening the clamps on them, sliding them onto the hose, and pulling the hose off. Remove the lower radiator hose on the bottom. Finally, remove the two transmission fluid hoses on the bottom of the radiator. Be prepared with a rag, because every hose will have some fluid in them.
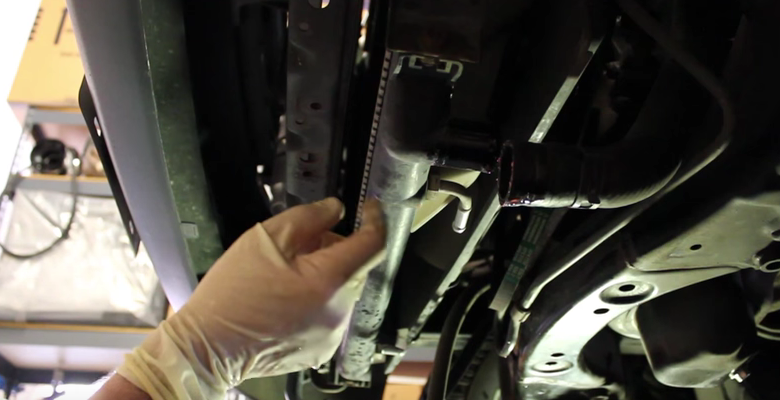
Figure 4. Remove lower hoses. 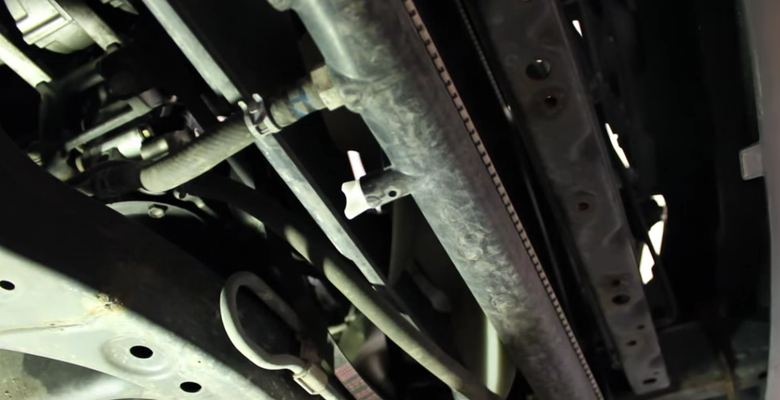
Figure 5. Remove trans hoses. 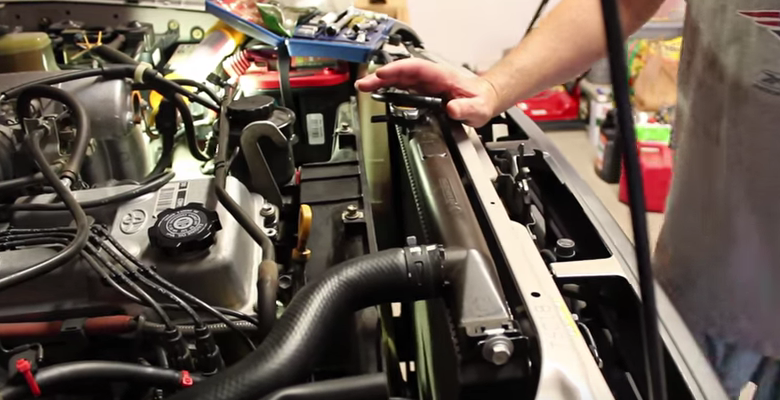
Figure 6. Remove upper hoses.
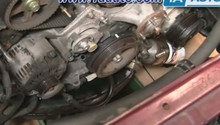
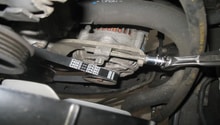
Step 4 – Loosen the fan shroud
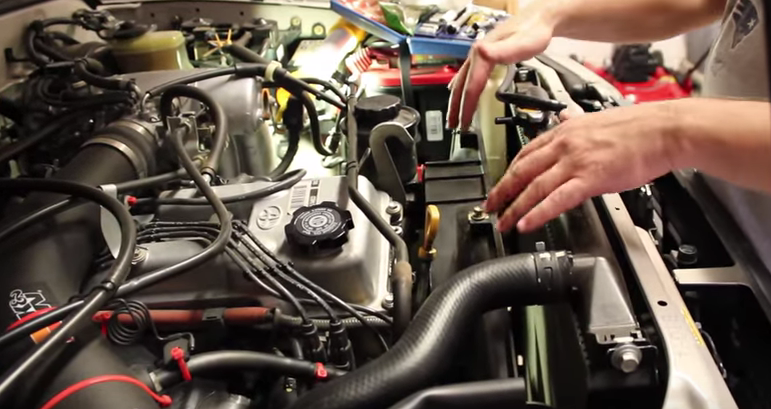
The fan shroud is connected to the radiator with four bolts. Remove the four 10mm bolts, two on each side, then move the fan shroud away from the radiator, but don't take it out.
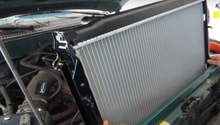
Step 5 – Remove radiator
The radiator is held in place with four bolts. You can remove them from the front of the car. Once they are removed, the radiator can be lifted straight up, while pushing the fan shroud away towards the car.
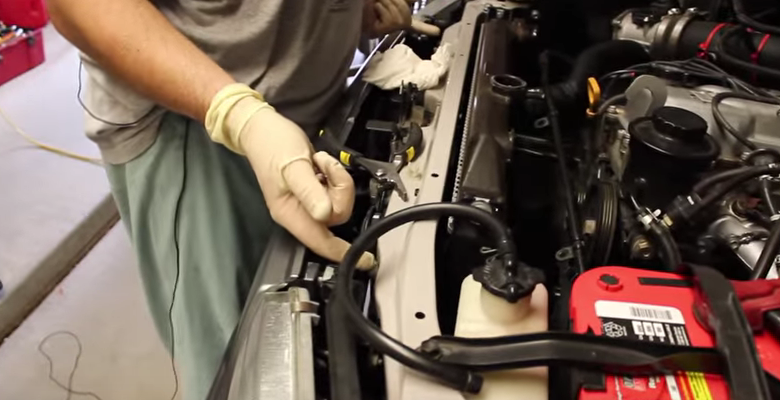
Figure 8. Remove radiator bolts. 
Figure 9. Remove radiator straight up.
Step 6 – Install new radiator
Installation is the reverse of removal.
- Install the radiator in place, and tighten its four bolts.
- Tighten the fan shroud in place.
- Connect the upper radiator hose, the lower radiator hose, as well as the trans hoses, and tighten all their clamps.
- Refill the radiator with antifreeze, and be sure the drain plug is tight first.
- With the overflow cap removed, start the car and let the cooling system bleed itself of any air bubbles. This should take about 10 minutes.
Featured Video: Radiator Install
Related Discussions
- 4Runner Radiator - YotaTech.com
- Radiator Replacement - YotaTech.com
- Radiator Longevity - YotaTech.com