When you click on links to various merchants on this site and make a purchase, this can result in this site earning a commission. Affiliate programs and affiliations include, but are not limited to, the eBay Partner Network.
Hey all, my current project is swapping out my original 60/40 bench seat for bucket seats. I've already done the sr5 gauge cluster swap and put a better hood on my truck ( my original hood was beat up by a hailstorm ). Both of those projects were posted in the introductions and new arrivals section. I did a lot of reasearch in this forum for bucket seats that would fit in my '88 extra-cab 4X4 but it all came down to taking some basic dimensions from the cab and then going out to my local Pull & Pay and searching for a really decent pair of bucket seats. I found an excellent pair in a '91 Toyota Corolla. attached are pictures of my original bench seat and one of the 'new' bucket seats. The biggest reason for doing the swap is because the bench seat is litterally coming apart at the seams. It would be way to costly to just have it reupholstered.
Here is the R H seat with the 'new' mounting feet attached. The inside rear mount is yet to be finished. I need to place the seat in the cab to figure the best way to make that mount fit properly along with the seat belt buckle for that side.
Here is a picture of the L H seat ready to be set in place.
The blue seats should make a good contrast in the all gray interior. I just have to wait for the right weather pattern to make the actual swap.
So, the weather cleared up for the weekend and I decided it's time to swap the seats. This job took two days to complete. Because I'm not in any big rush. Nor is there a need to do it all in one day. Plus, if there are further modifications to be done, I can do them and still have plenty of time to get the seat(s) put in. On Friday, I installed the drivers seat. First things first, the bench seat comes out. It is heavier than it looks!
Originally Posted by bswarm
Here's my swap, picked up the seat brackets at Summit, seats are brand new for Mustangs. Got them cheap on craigslist.
Old benchseat...
New buckets...
I also installed a digital tach next to the panel dimmer control.
There was a big coffee stain on the carpet, so the next step is vacuming and scrubbing the stain out. 5 times. It was an old stain.
I had to grind out the outside front bolt hole a bit to get the bolt in.
Then I was able to drill through the floor for the inside front bracket. I used oversized washers underneath the truck to reinforce the floor when I bolted this bracket in place.
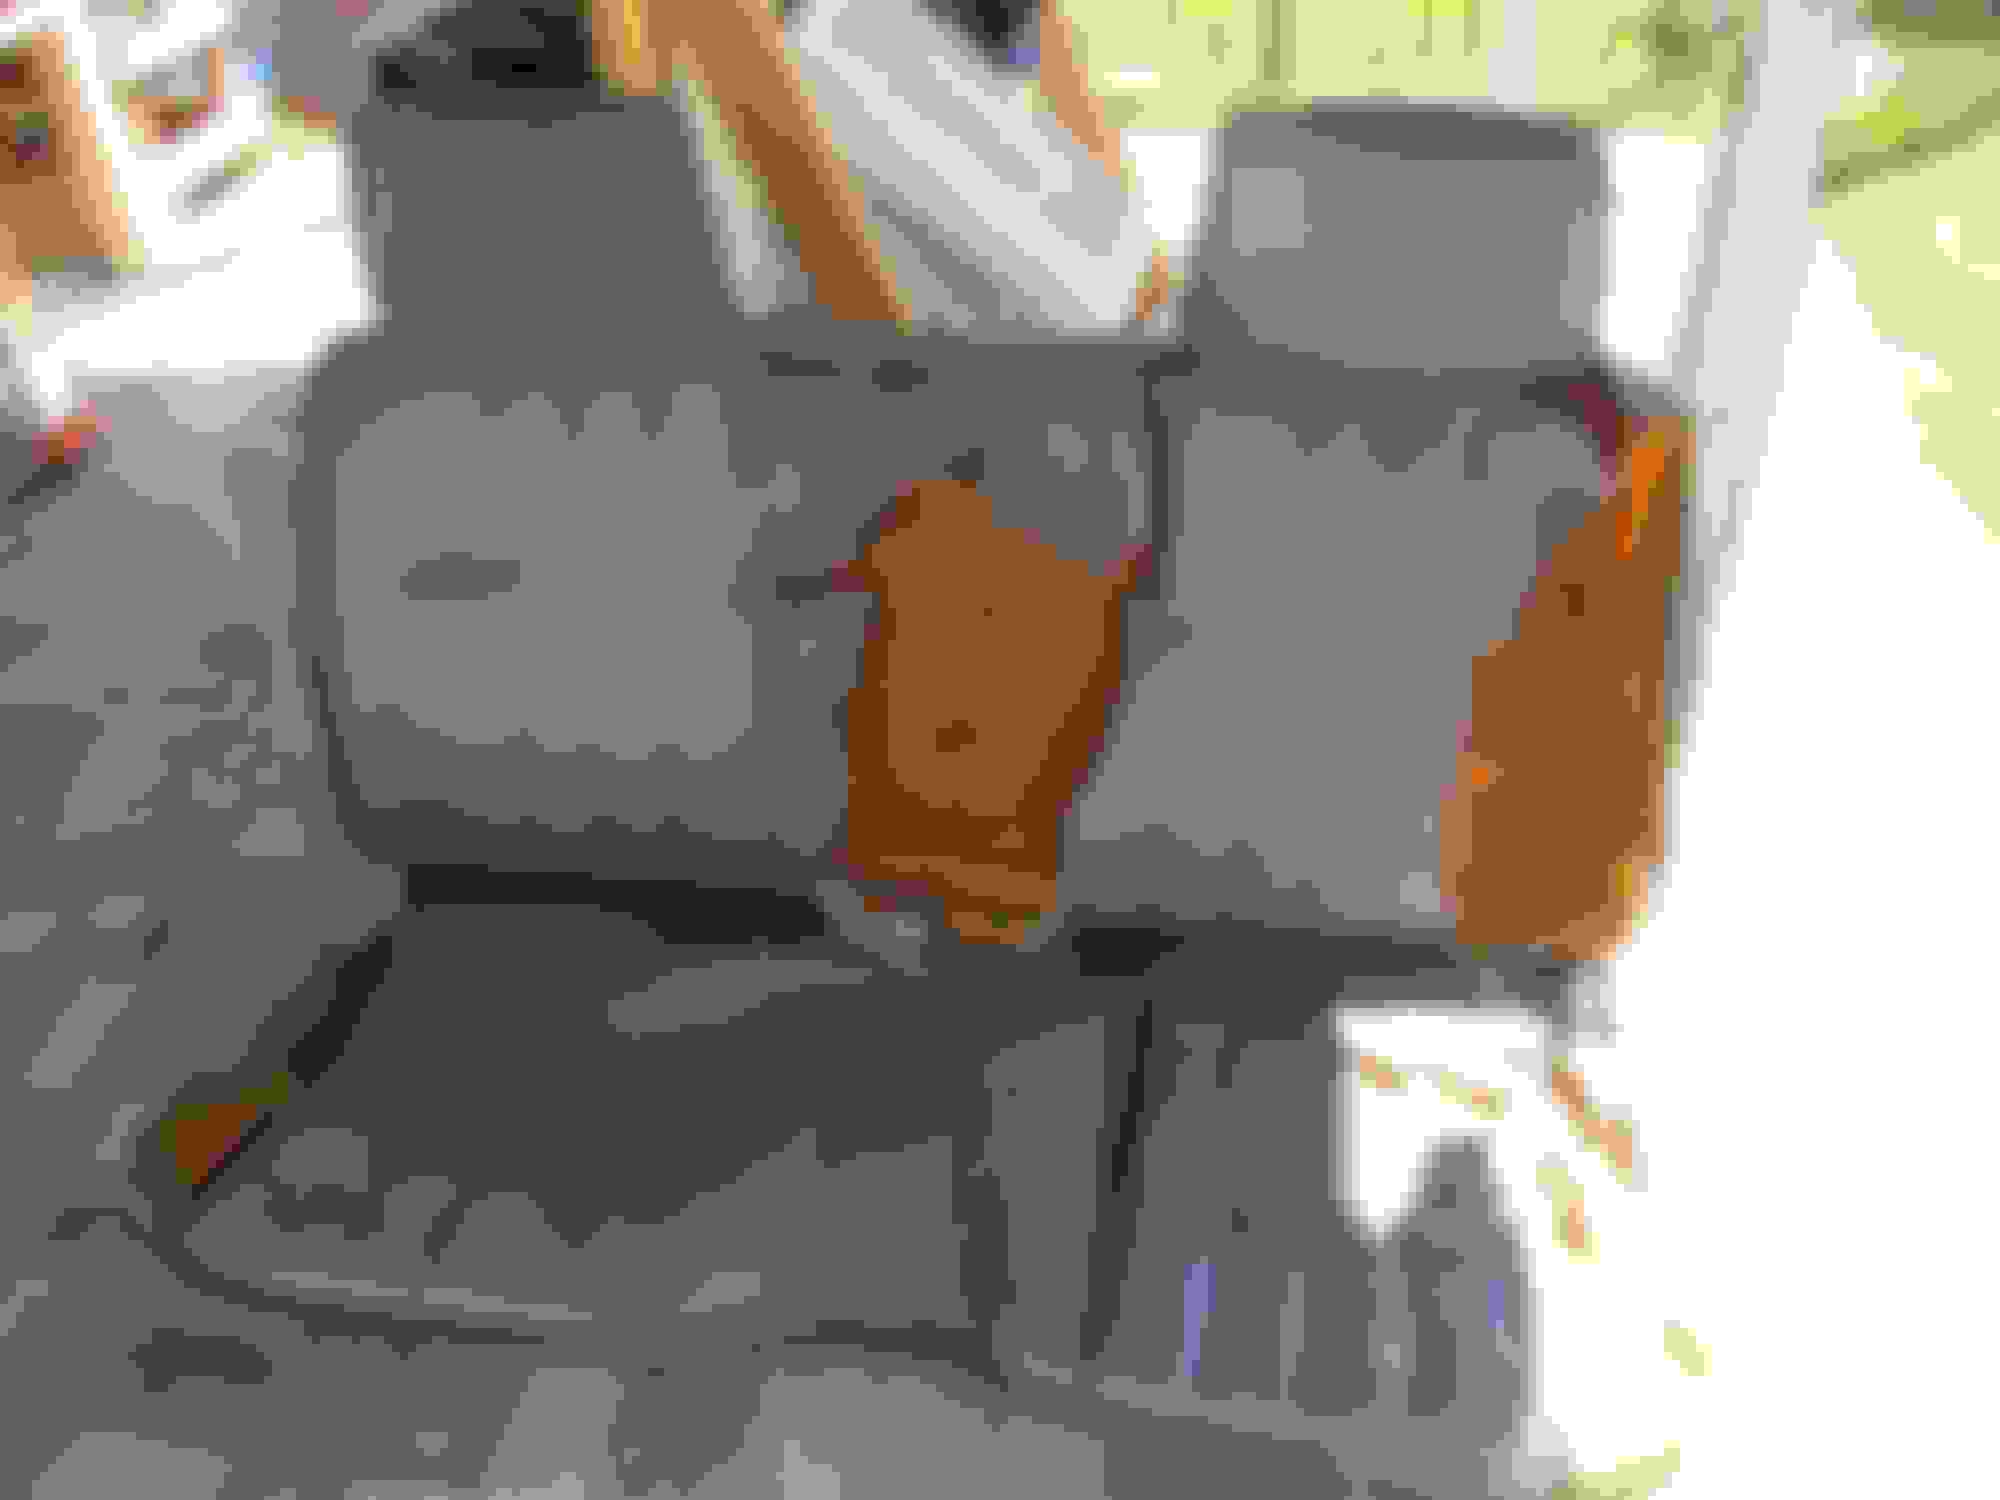
No changes were needed on the outside rear bracket. It bolted right down. I did have to fabricate a bracket extension for the inside rear mount.
This completes the L H bucket seat install. I did not have to do anything for the seat belt because the female buckle on the seat matched up perfectly with the male end of the belt already in the truck.
I had to fabricate a bracket extension for the inside rear bracket on this seat also. Because of the broken buckle on this seat I mounted one of the original seat belt buckles that came in the truck. This spot is where the buckle was originally mounted .
This finishes the seat installation in this truck. There may be some more minor modification on my interior to balance out the gray and blue. But not for a while as this is my daily driver.
This is what I have used for the last ten years as my coffee mug platform. It looks like it could fall off of the shifter console after installing the bucket seats.
So, after making plans, I went to Home Depot for materials. Total cost under $10.00.
These are the plans for a basic cup holder that will also serve as a base for my coffee mug too.
Mounting tabs were cut, drilled, and welded onto the cup holder front for mounting on the shifter console.
Test fit to the shifter console. The console had open screw holes at the rear that allowed me to push a piece of all-thread through both the cup holder mounts and console
Then the cup holder was bolted down using acorn nuts so there will not be any cuts or scratches due to ragged ends hanging out.
The front hole will accomodate a soda can or small to medium fountain drink cup. The rear hole will hold a larger fountain drink cup. It also allows me to set my travel coffee cup down without spillage. This unit can be removed easily for cleaning when needed. I will paint it later this week. Blue. Or dark gray.

 Mar 16, 2015 | 10:37 AM