
Chris514Scott's 1990 4x4 Pickup 22RE Build Up
 May 24, 2012 | 09:11 AM
#1
Thread Starter
Registered User
Joined: Apr 2012
Posts: 69
Likes: 0
Chris514Scott's 1990 4x4 Pickup 22RE Build Up
Well Guys a friend of mine had a 1990 Pickup that his mother had blown the motor in when she borrowed it to move furniture. My buddy let it sit in his garage for over a year with the intention to build it up for rock crawling. One day i offered my old 55" TV to him for $800 and he said He would trade me his truck instead. The wife and I were looking for a new hobby and decided to take him up on it.
The First step was pulling the motor and sending it off to have it rebuilt. We sent if to 22RE performance and are have the stage two rebuild done along with all new sending units, rebuilding fuel injectors, cleaning up intakes... the whole nine yards.
Now Im just trying to patiently wait for my motor.
 May 24, 2012 | 09:19 AM
#3
Thread Starter
Registered User
Joined: Apr 2012
Posts: 69
Likes: 0
Well since I dont have anything to do while I wait for my motor I seem to spend most my time searching this site trying to find ways to blow all of my money before Ive even earned it  I decided that while the motor was away i would go ahead and do something about the crapy alternator and do the big three while I was at it. Well I got the alternator done but have not started my big three because i want to swap my battery and air at the some time and i need to find out what battery box i want to use.
Below is a write up i posted about the alt upgrade. (SUPER EASY)
link to thread about the upgrade
https://www.yotatech.com/forums/f116...ow-too-253689/
I decided that while the motor was away i would go ahead and do something about the crapy alternator and do the big three while I was at it. Well I got the alternator done but have not started my big three because i want to swap my battery and air at the some time and i need to find out what battery box i want to use.Below is a write up i posted about the alt upgrade. (SUPER EASY)
link to thread about the upgrade
https://www.yotatech.com/forums/f116...ow-too-253689/
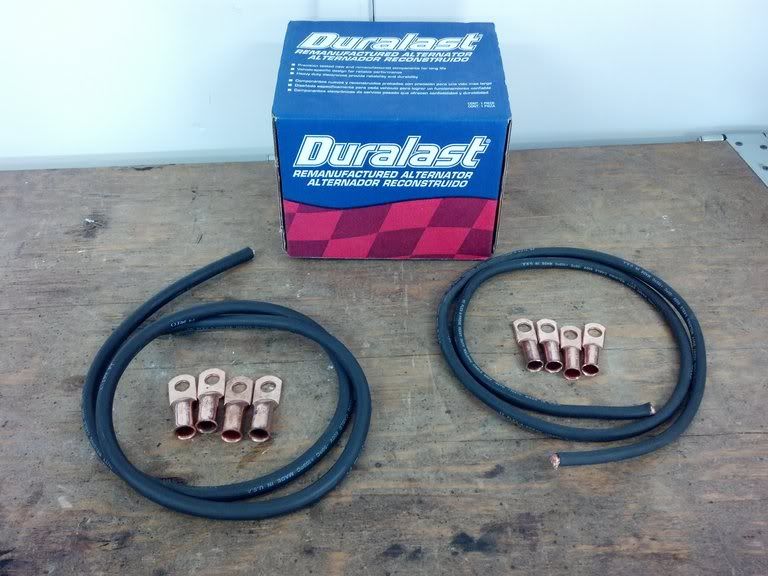
For the last few weeks I�ve been looking at doing the Big 3 upgrade and getting a better alternator. I already purchased the 0/1 and #2 wire and ends for the Big 3 upgrade but the jury was still out on what I was going to do about the alternator.
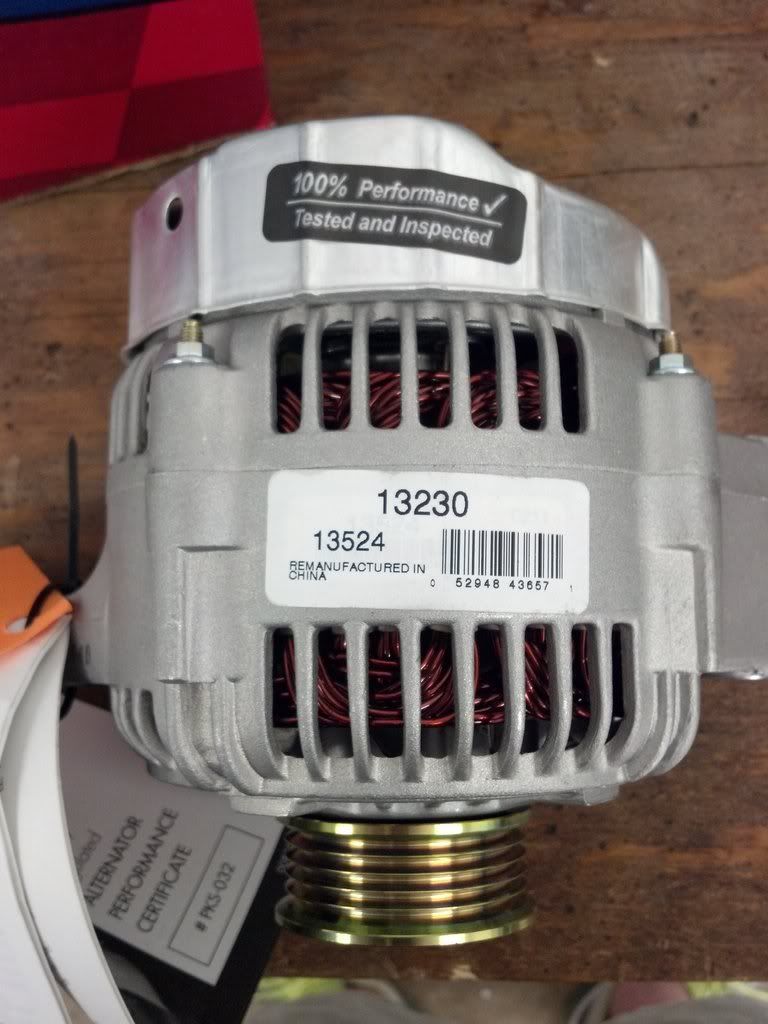
Well yesterday I found on this site that a Jaguar Alternator off a a 1993-97 XJ6 will plug right up to our stock harness and bolt right up to the stock mount by just slightly bending it. Also you have to swap over your v-belt pulley.
This intrigued me so I thought I would swing by the parts store and pick one up and give it a try. That proved to be slightly harder than I thought. Out of three parts companies (with multiple stores) only one had one (autozone) and it was at their warehouse on the other side of town. So I got the alternator for $142.99 + $90 core with lifetime warranty. I asked the manager about the core since the alternator I would have to bring back would not be the same, His reply was, �Just make sure there is an alternator in there and I�m happy�.
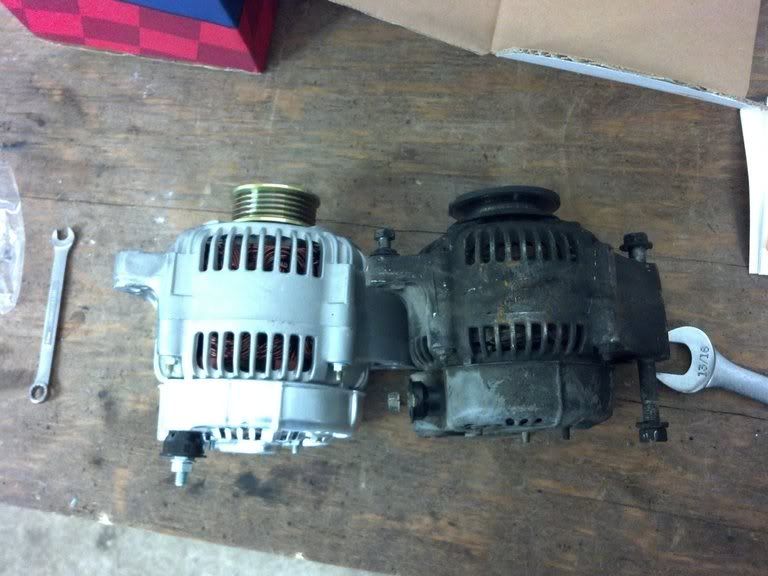
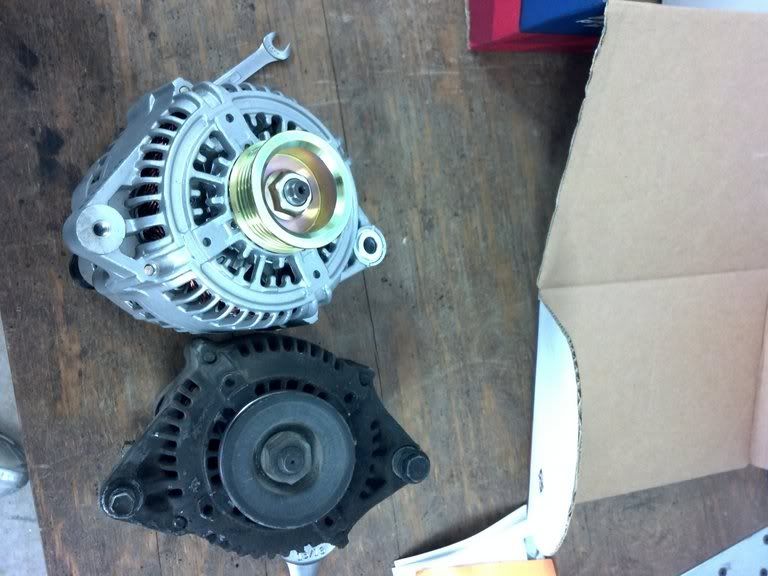
So, I get home and get to work taking the pulley off of each and moving the v-belt pulley over to the new Jag Alt. The Toyota pulley really is easy to get off with basic tools. All you need is a 10mm socket on a 3/8 breaker bar or wratchet and a 22mm wrench. As seen below I just slipped the wrench over the nut and rested it on the workbench and then just bounced full upper body weight on the breaker bar and�� Presto the nut comes loose and you just take it right off.
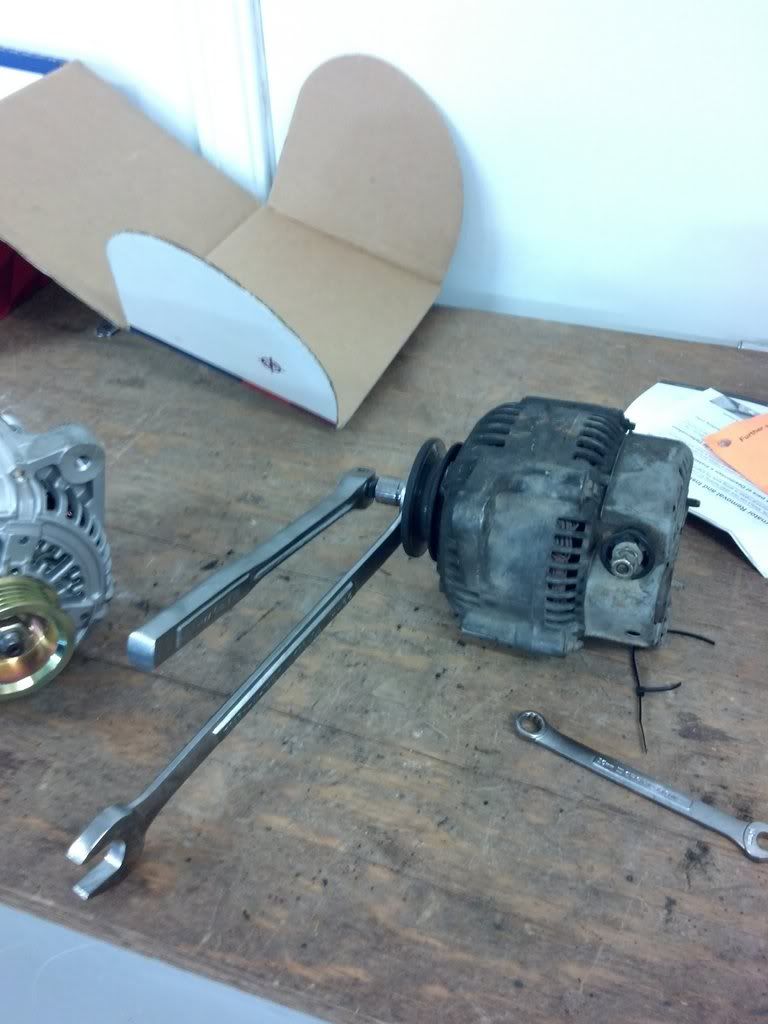
Now taking the pulley off of the new Jag Alt is easy if you have the right tools, otherwise I don�t know how I could have got it to break loose. I tried to do the same as above with the Toyota Alt but the nut is to far recessed to get a good bite on it with a wrench. So I figured that since im not going to be using this stock Jag Pulley I can just grab it with large pliers and the hit the nut with an impact. Bam right off she came� easy a pie.
Now time to put the toyota pulley on the Jag Alt.
***NOTE*** The first alternator that i got would not allow the pulley to fully center itself on the taper of the shaft. I returned the Alt and got a new one. The new one worked just fine ****
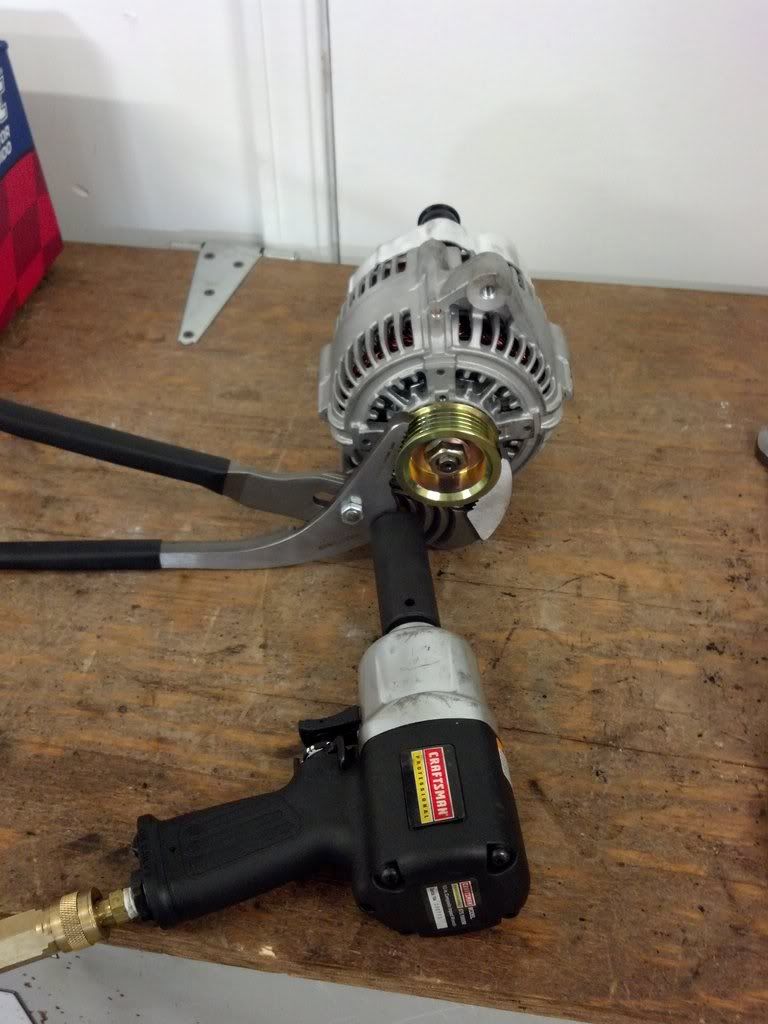
All you have to do here is place the toyota pulley on the Alt shaft with the shaft facing up and slowly hand tighten the nut so the pulley can center itself on the taper. Now since it is damn near impossible to get enough torque with two wrenches to get the nut tightened on the shaft well enough i decided to do the following
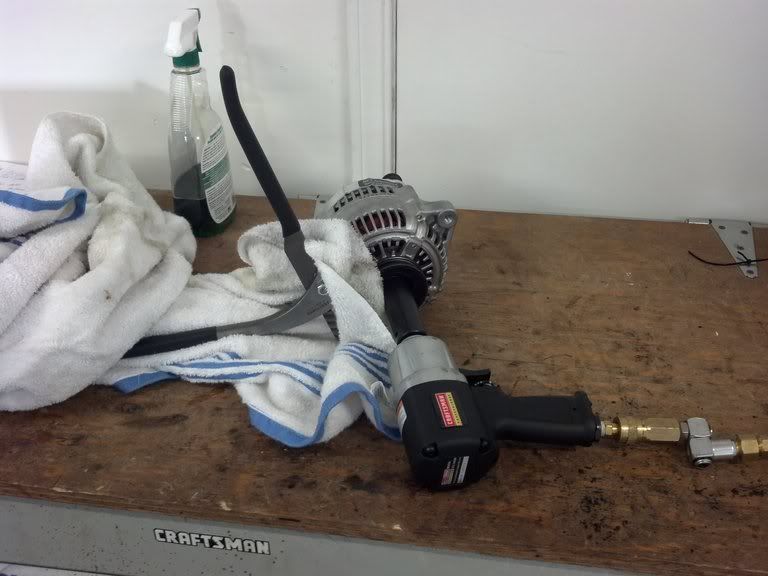
i wrapped the pulley with a towel and grab it gently with the pliers and then hit it with the impact with two quick bursts. The impact hits the nut so fast that you barely have to hold the pliers so you arent going to hurt or scar the pulley at all.
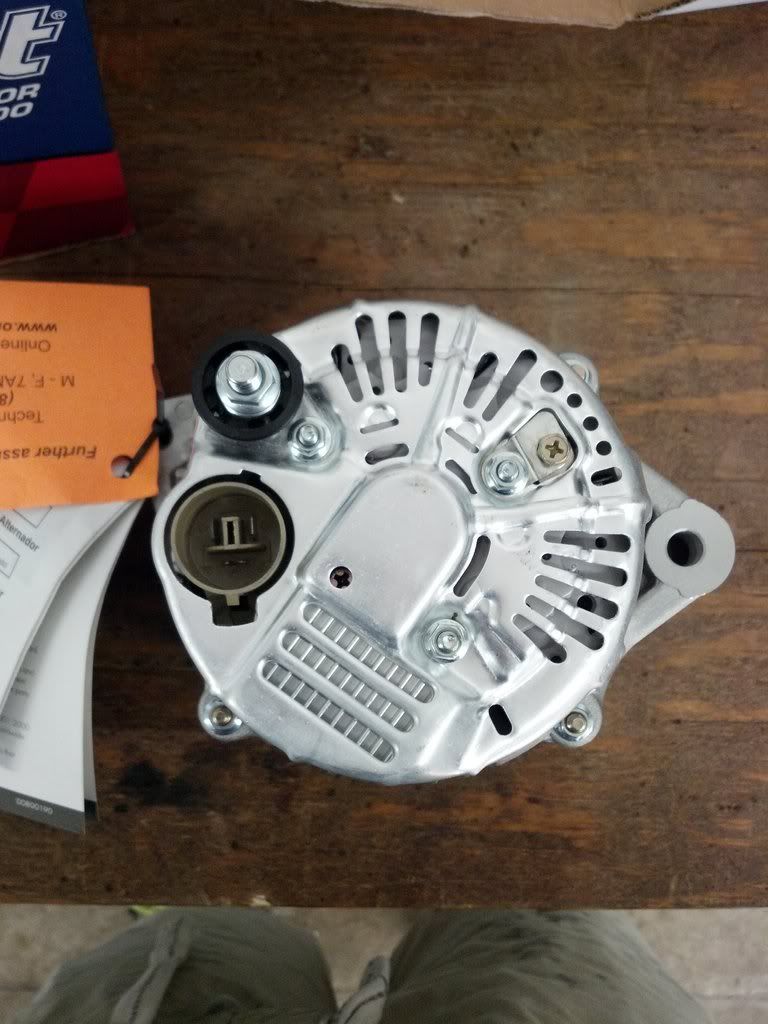
Here is the final product
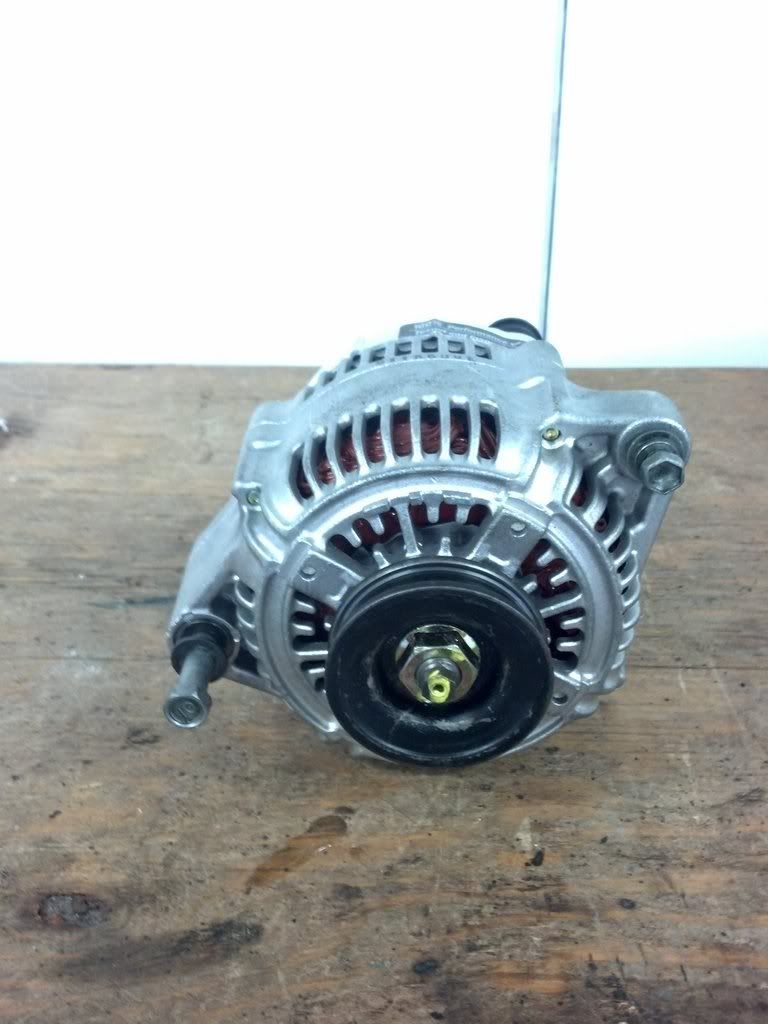
*** NOTE *** after i got the pulley tightened onto the shaft i attached a socket onto my drill and put the drill on high and ran the Alt to make sure the pulley wasn't off center and didn vibrate. Everything was fine.
Now I would show you how it all bolts back to the truck but my motor is currently out and being rebuilt by 22RE Performance. I will continue this write up when i get the motor back but it is supposed to just bolt right up like stock after slightly bending the upper arm of the mount.
I hope this might help someone. I know there are other options for a hight output Alt but with this route you don't have to buy any brackets and you have a hight output Alt with a lifetime warranty.
Let me know if you have any questions
-Chris-
Well yesterday I found on this site that a Jaguar Alternator off a a 1993-97 XJ6 will plug right up to our stock harness and bolt right up to the stock mount by just slightly bending it. Also you have to swap over your v-belt pulley.
This intrigued me so I thought I would swing by the parts store and pick one up and give it a try. That proved to be slightly harder than I thought. Out of three parts companies (with multiple stores) only one had one (autozone) and it was at their warehouse on the other side of town. So I got the alternator for $142.99 + $90 core with lifetime warranty. I asked the manager about the core since the alternator I would have to bring back would not be the same, His reply was, �Just make sure there is an alternator in there and I�m happy�.
So, I get home and get to work taking the pulley off of each and moving the v-belt pulley over to the new Jag Alt. The Toyota pulley really is easy to get off with basic tools. All you need is a 10mm socket on a 3/8 breaker bar or wratchet and a 22mm wrench. As seen below I just slipped the wrench over the nut and rested it on the workbench and then just bounced full upper body weight on the breaker bar and�� Presto the nut comes loose and you just take it right off.
Now taking the pulley off of the new Jag Alt is easy if you have the right tools, otherwise I don�t know how I could have got it to break loose. I tried to do the same as above with the Toyota Alt but the nut is to far recessed to get a good bite on it with a wrench. So I figured that since im not going to be using this stock Jag Pulley I can just grab it with large pliers and the hit the nut with an impact. Bam right off she came� easy a pie.
Now time to put the toyota pulley on the Jag Alt.
***NOTE*** The first alternator that i got would not allow the pulley to fully center itself on the taper of the shaft. I returned the Alt and got a new one. The new one worked just fine ****
All you have to do here is place the toyota pulley on the Alt shaft with the shaft facing up and slowly hand tighten the nut so the pulley can center itself on the taper. Now since it is damn near impossible to get enough torque with two wrenches to get the nut tightened on the shaft well enough i decided to do the following
i wrapped the pulley with a towel and grab it gently with the pliers and then hit it with the impact with two quick bursts. The impact hits the nut so fast that you barely have to hold the pliers so you arent going to hurt or scar the pulley at all.
Here is the final product
*** NOTE *** after i got the pulley tightened onto the shaft i attached a socket onto my drill and put the drill on high and ran the Alt to make sure the pulley wasn't off center and didn vibrate. Everything was fine.
Now I would show you how it all bolts back to the truck but my motor is currently out and being rebuilt by 22RE Performance. I will continue this write up when i get the motor back but it is supposed to just bolt right up like stock after slightly bending the upper arm of the mount.
I hope this might help someone. I know there are other options for a hight output Alt but with this route you don't have to buy any brackets and you have a hight output Alt with a lifetime warranty.
Let me know if you have any questions
-Chris-
May 24, 2012 | 09:51 AM
#4
Thread Starter
Registered User
Joined: Apr 2012
Posts: 69
Likes: 0
Well I decided after more reading that I want to eventually go with dual transfer cases and read that if you do that you have to get rid of the bench seat. Well that was cool with me because our bench seat was all torn up and not tall enough for my wife anyway.
Well a few days ago we went to the salvage yard to look for little things that the truck needed and came across some killer deals
I needed a bunch of door hardware and wanted to eventually get new glass and didnt know what i was going to do about the huge dent in the passenger side that was keeping the window from rolling all the way up.
Well while at the salvage yard i started pricing all the parts i needed it an it was getting $$ for this stuff. I asked the guy how much for a whole door.. he said $125.. I asked if that was a complete door or just the frame. he said if i could find a complete door he would not charge extra.
My wife and i found a truck with no damage to the door and the doors were complete. We went ahead and bough both.
While talking to the guy i mentioned about wanting to swap out the seat and he said that he had some 2000 celica seats that he would cut me a deal on if i got the doors.
So we walked out with two complete doors w/glass and celica seats for only $350
I was happy.
Here are the new doors
May 24, 2012 | 09:57 AM
#5
Thread Starter
Registered User
Joined: Apr 2012
Posts: 69
Likes: 0
Now that the doors where on (one of which my wife did... i was so proud of her) it was time to work on the seats.
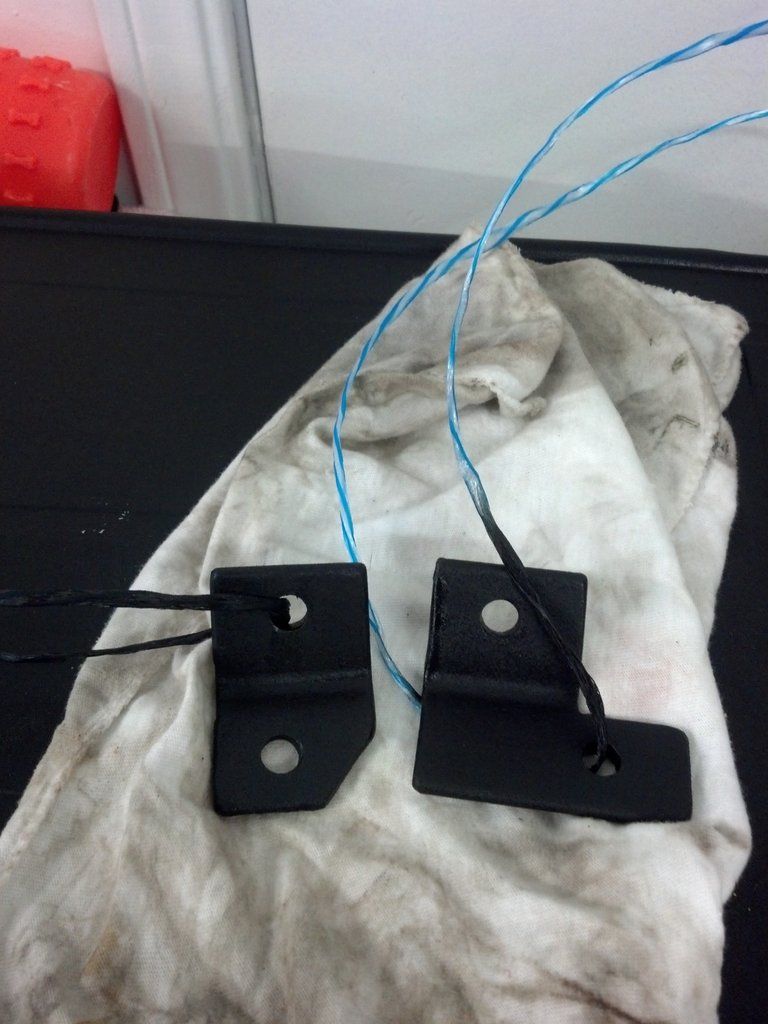
The seats took little modification. Drilling a few new holes and making two brackets out of angle iron. Overall it took me about a half a day.
Seats re fullly adjustable and by far my favorite mod so far.
Below are pics. If anyone wants more specific details about them i will be more than happy to take pics of the exact mounting.


Custom mounting brackets.
The seats took little modification. Drilling a few new holes and making two brackets out of angle iron. Overall it took me about a half a day.
Seats re fullly adjustable and by far my favorite mod so far.
Below are pics. If anyone wants more specific details about them i will be more than happy to take pics of the exact mounting.
Custom mounting brackets.
May 24, 2012 | 10:09 AM
#6
Thread Starter
Registered User
Joined: Apr 2012
Posts: 69
Likes: 0
Next i wanted to put in a cheap stereo since it didnt have one. My buddy had already purchased some new speaker for the dash so we just went with those and a $80 Pioneer deck from walmart. We are going be mounting an amplified bazooka tube between the seat at a later time.
Below are pics of the deck and the power switch that we added so we can run the stereo without have the key in the ignition and all the other accessories on.


Below are pics of the deck and the power switch that we added so we can run the stereo without have the key in the ignition and all the other accessories on.

Thread
Thread Starter
Forum
Replies
Last Post
rondogracing
86-95 Trucks & 4Runners (Build-Up Section)
25
Dec 11, 2015 07:26 AM


