
Redeth's 89 4Runner custom front plate bumper fab.
 Oct 23, 2013 | 11:46 AM
#81
Thread Starter
Registered User
Joined: Apr 2012
Posts: 2,817
Likes: 2
From: Los Angeles CA
I still gotta add the supports for the side corners down to the sides of the winch plate.
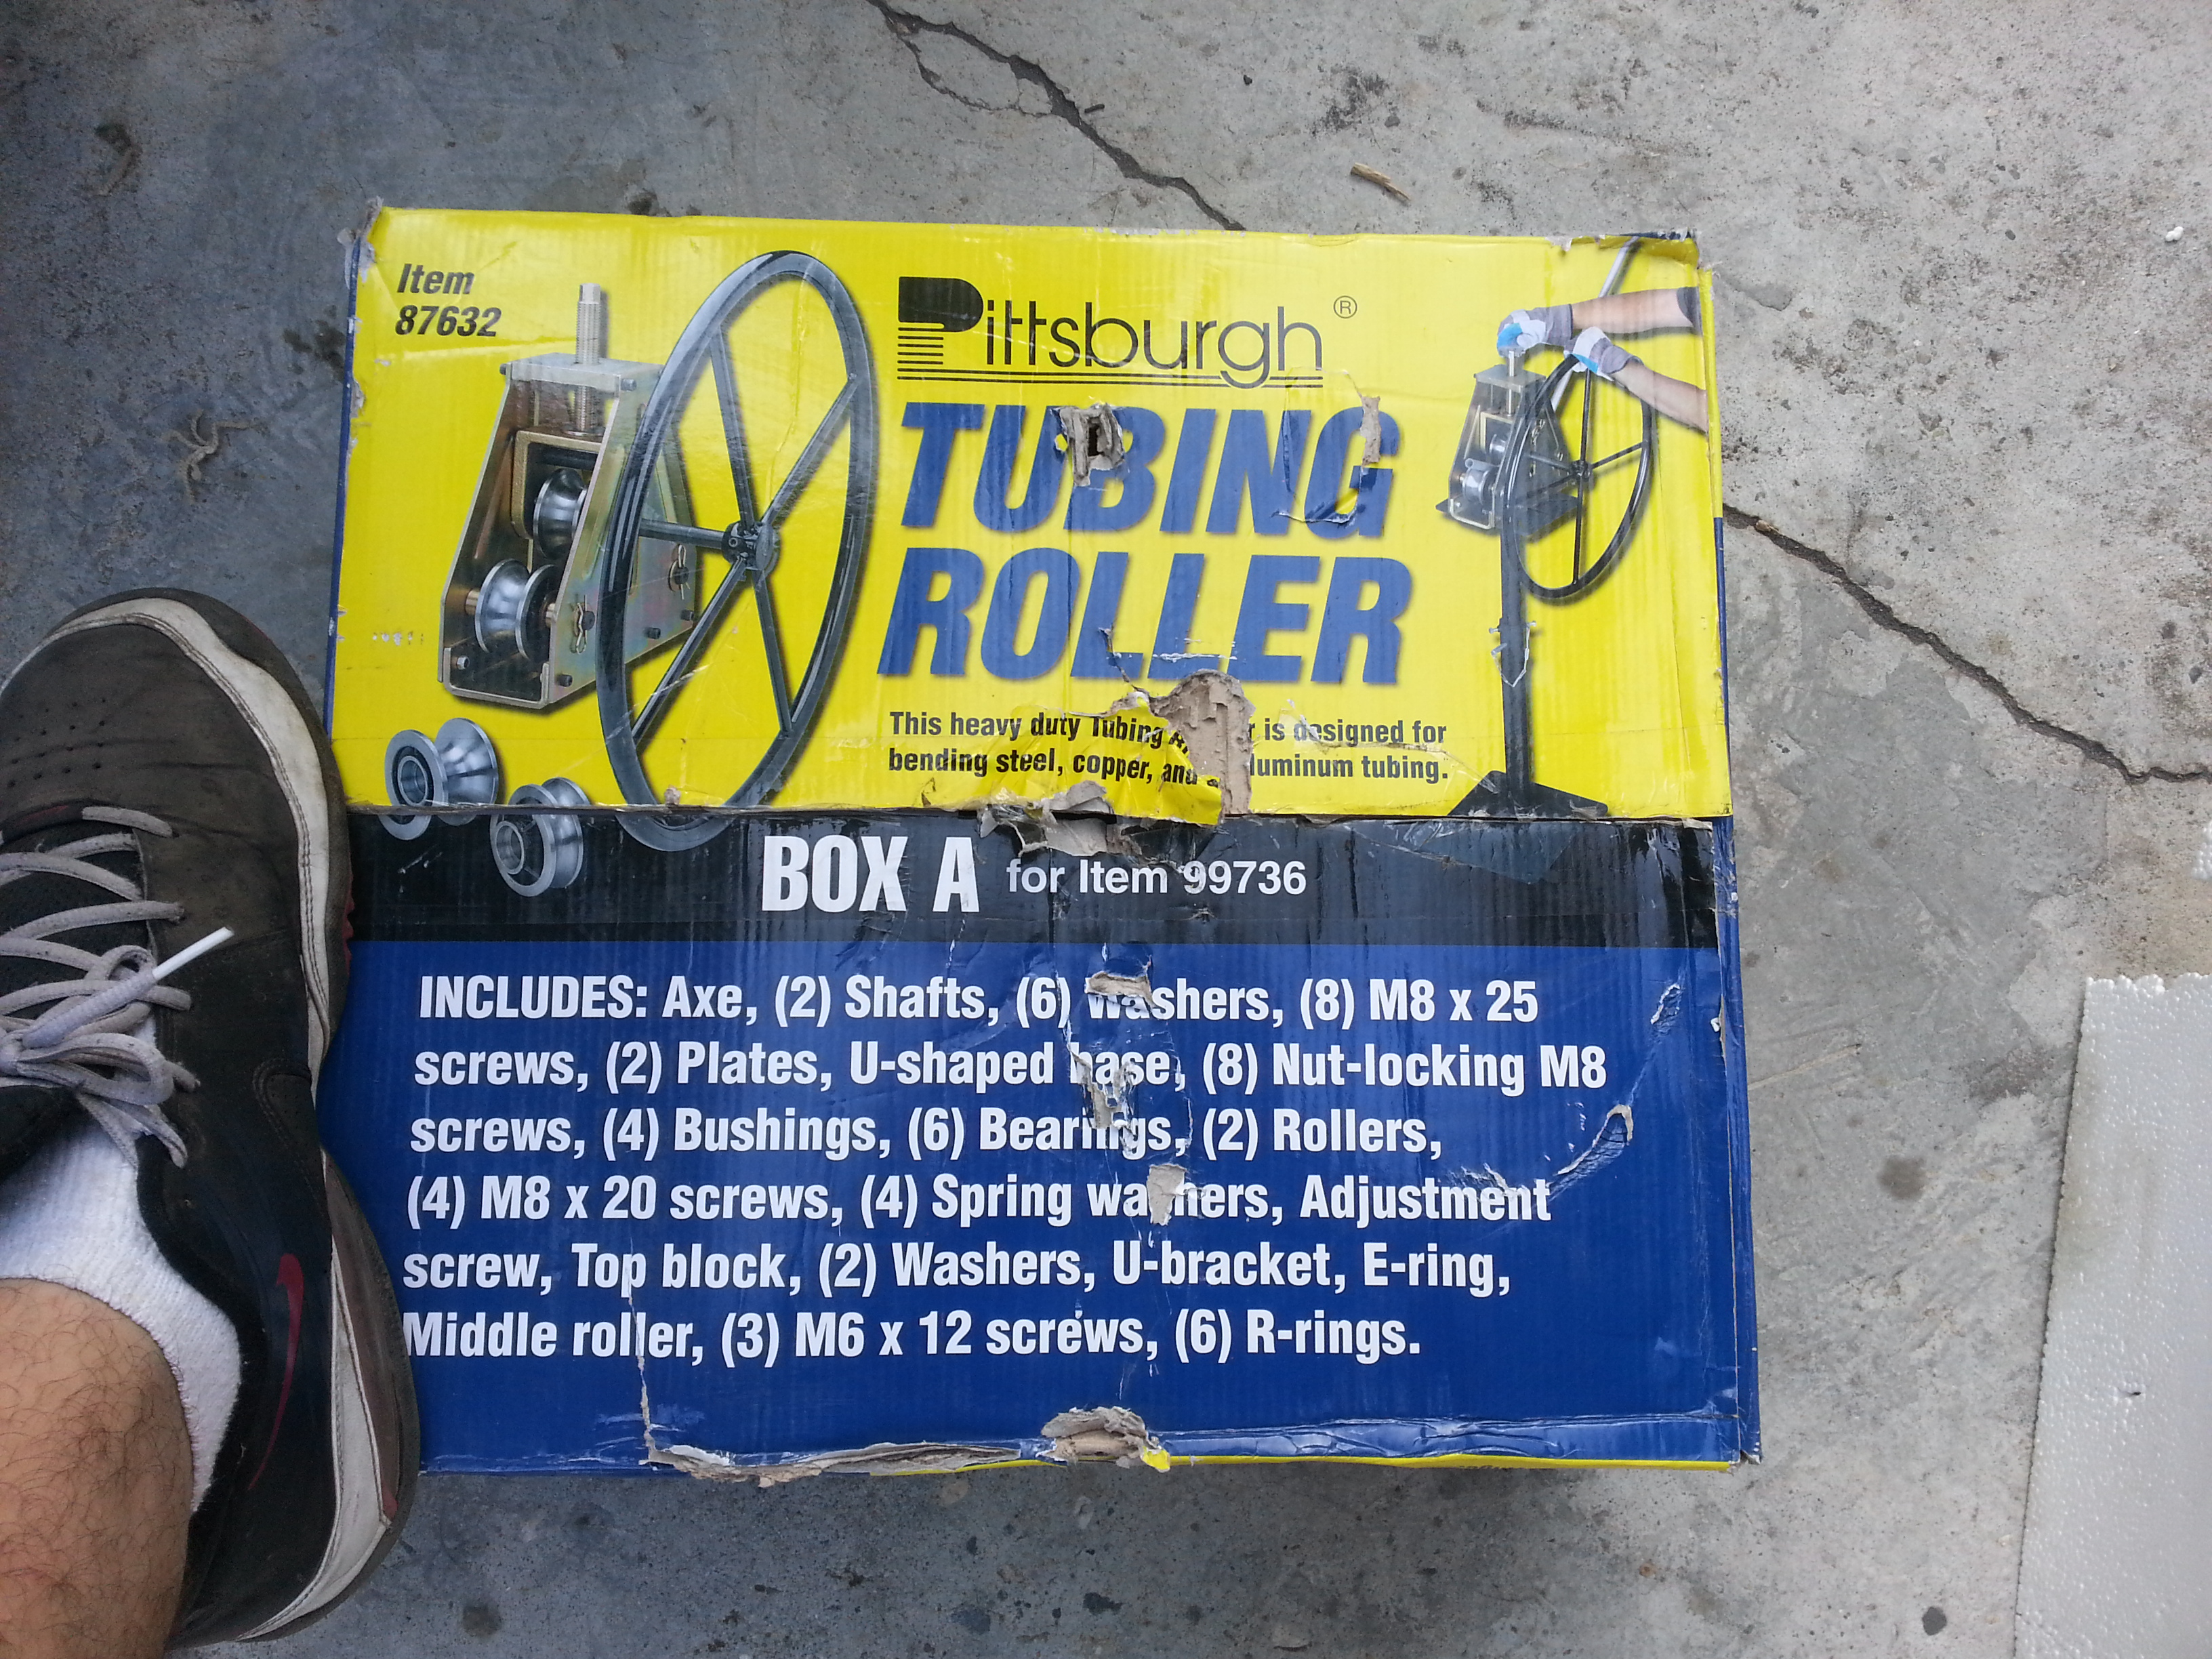
And I'm going to check the local Harbor Freight store and see if we can buy the tube roller they sell. Gonna need it because these local fab shops are quoting me $160-250 plus tax just fir 2 bends.... I'm like wtf..... really??? The tube roller cost about $180 with tax included. Lol
Oct 23, 2013 | 11:49 AM
#82
The tube bender in Harbor Freight is on sale this month , if I remember correctly. It might have been Sears or Lowes, my brains a little oatmeal right now... Lol. But I believe I was reading through the harbor freight monthly just yesterday & saw it?
Oct 23, 2013 | 11:56 AM
#83
Registered User
Joined: Feb 2013
Posts: 22
Likes: 0
From: Colorado Springs, CO
Man alive! the price they charge to make two bends is nuttier than squirrel turds. I would buy my own bender too then you can help others out that may need it. Or, use it and take it back.
 Oct 24, 2013 | 07:46 PM
#87
Thread Starter
Registered User
Joined: Apr 2012
Posts: 2,817
Likes: 2
From: Los Angeles CA
I do like the idea of possibly reusing the tube bender. maybe some time in the future. im not sure. but it's a nice idea.
I bought the tube bender today. I think we're gonna keep it. My dad said he would pay for 1/2 of the expense since he also wanted it because he wants to make himself a roof rack for his work truck.
 Oct 24, 2013 | 08:05 PM
#88
Thread Starter
Registered User
Joined: Apr 2012
Posts: 2,817
Likes: 2
From: Los Angeles CA
Update!
I bought the tube bender yesterday for $186. Then while at work received a complimentary email from Harbor Freight with his month's coupons. one including a 20% off coupon. So Today i returned the unopened boxes then re-bought them at the discounted price of approx $165ish. 
Went digging in my dads pile of metal in our back yard and found two 21ft pipes that were about 3/16 or 1/4" thick. This sucker was super heavy! and to top it off it was rusted to hell all over the exterior! and im sure inside too. but the steel is still good underneath. Nothing that cant me sanded off with the wire wheel.
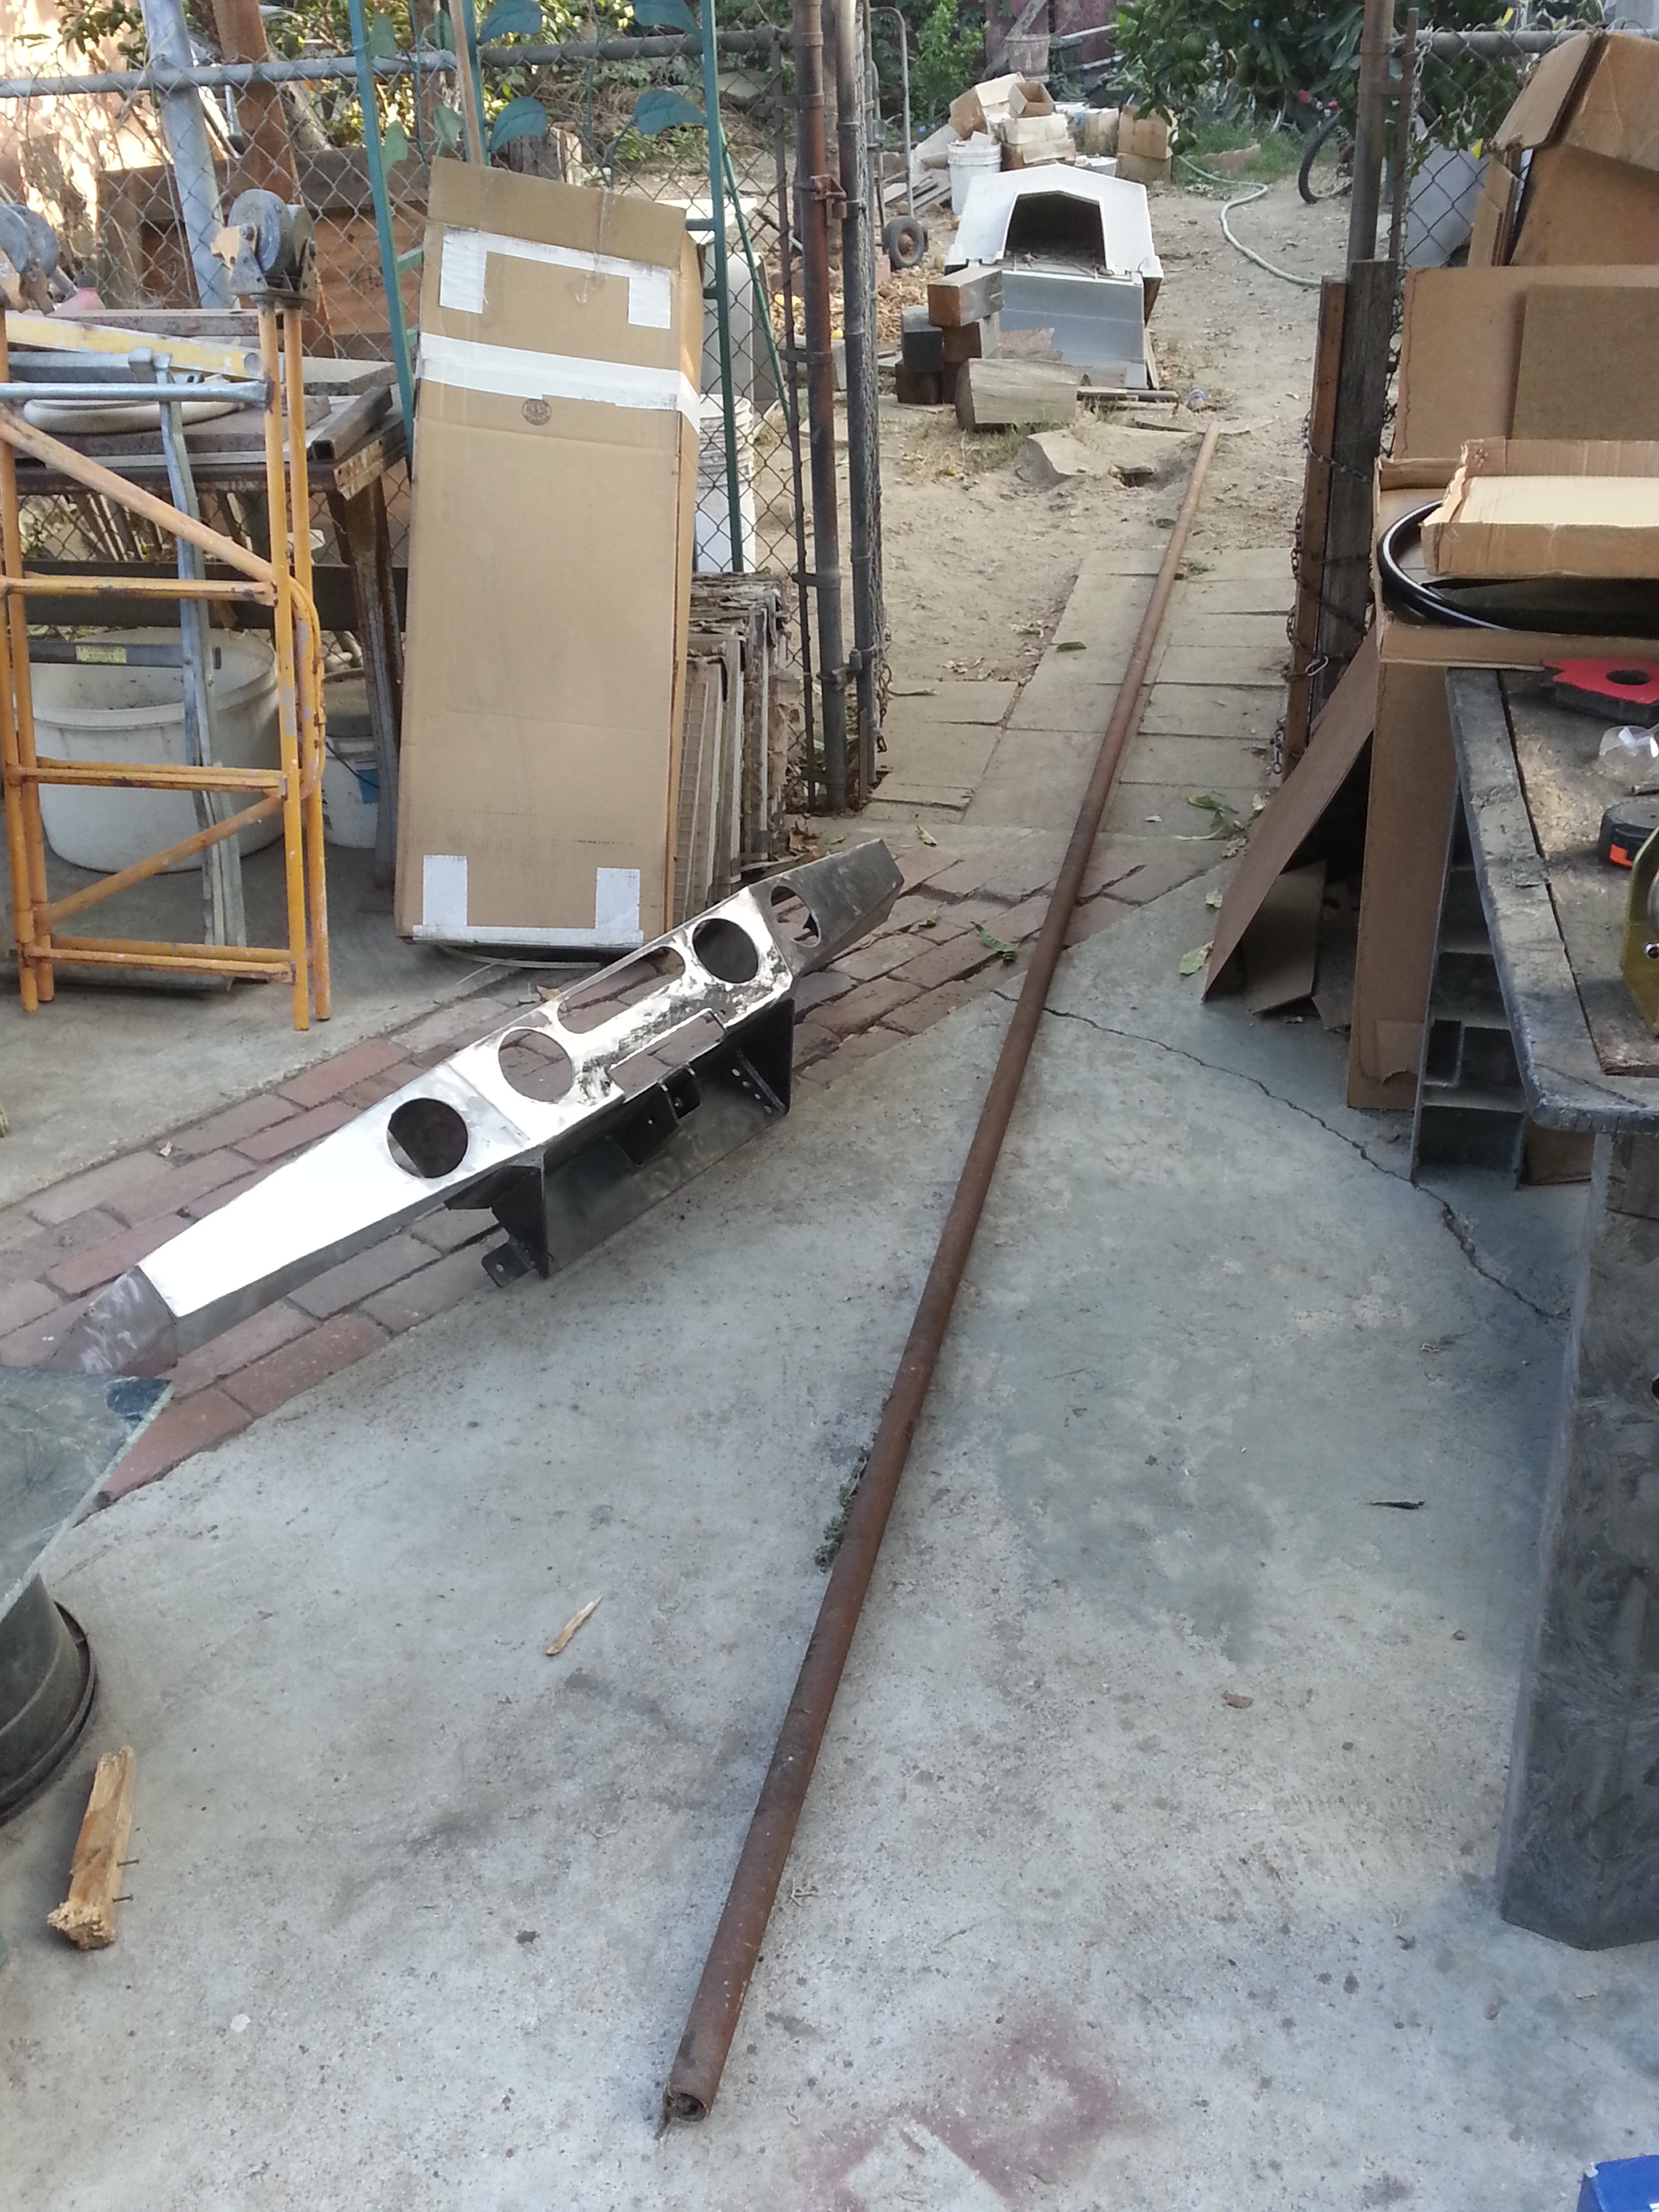
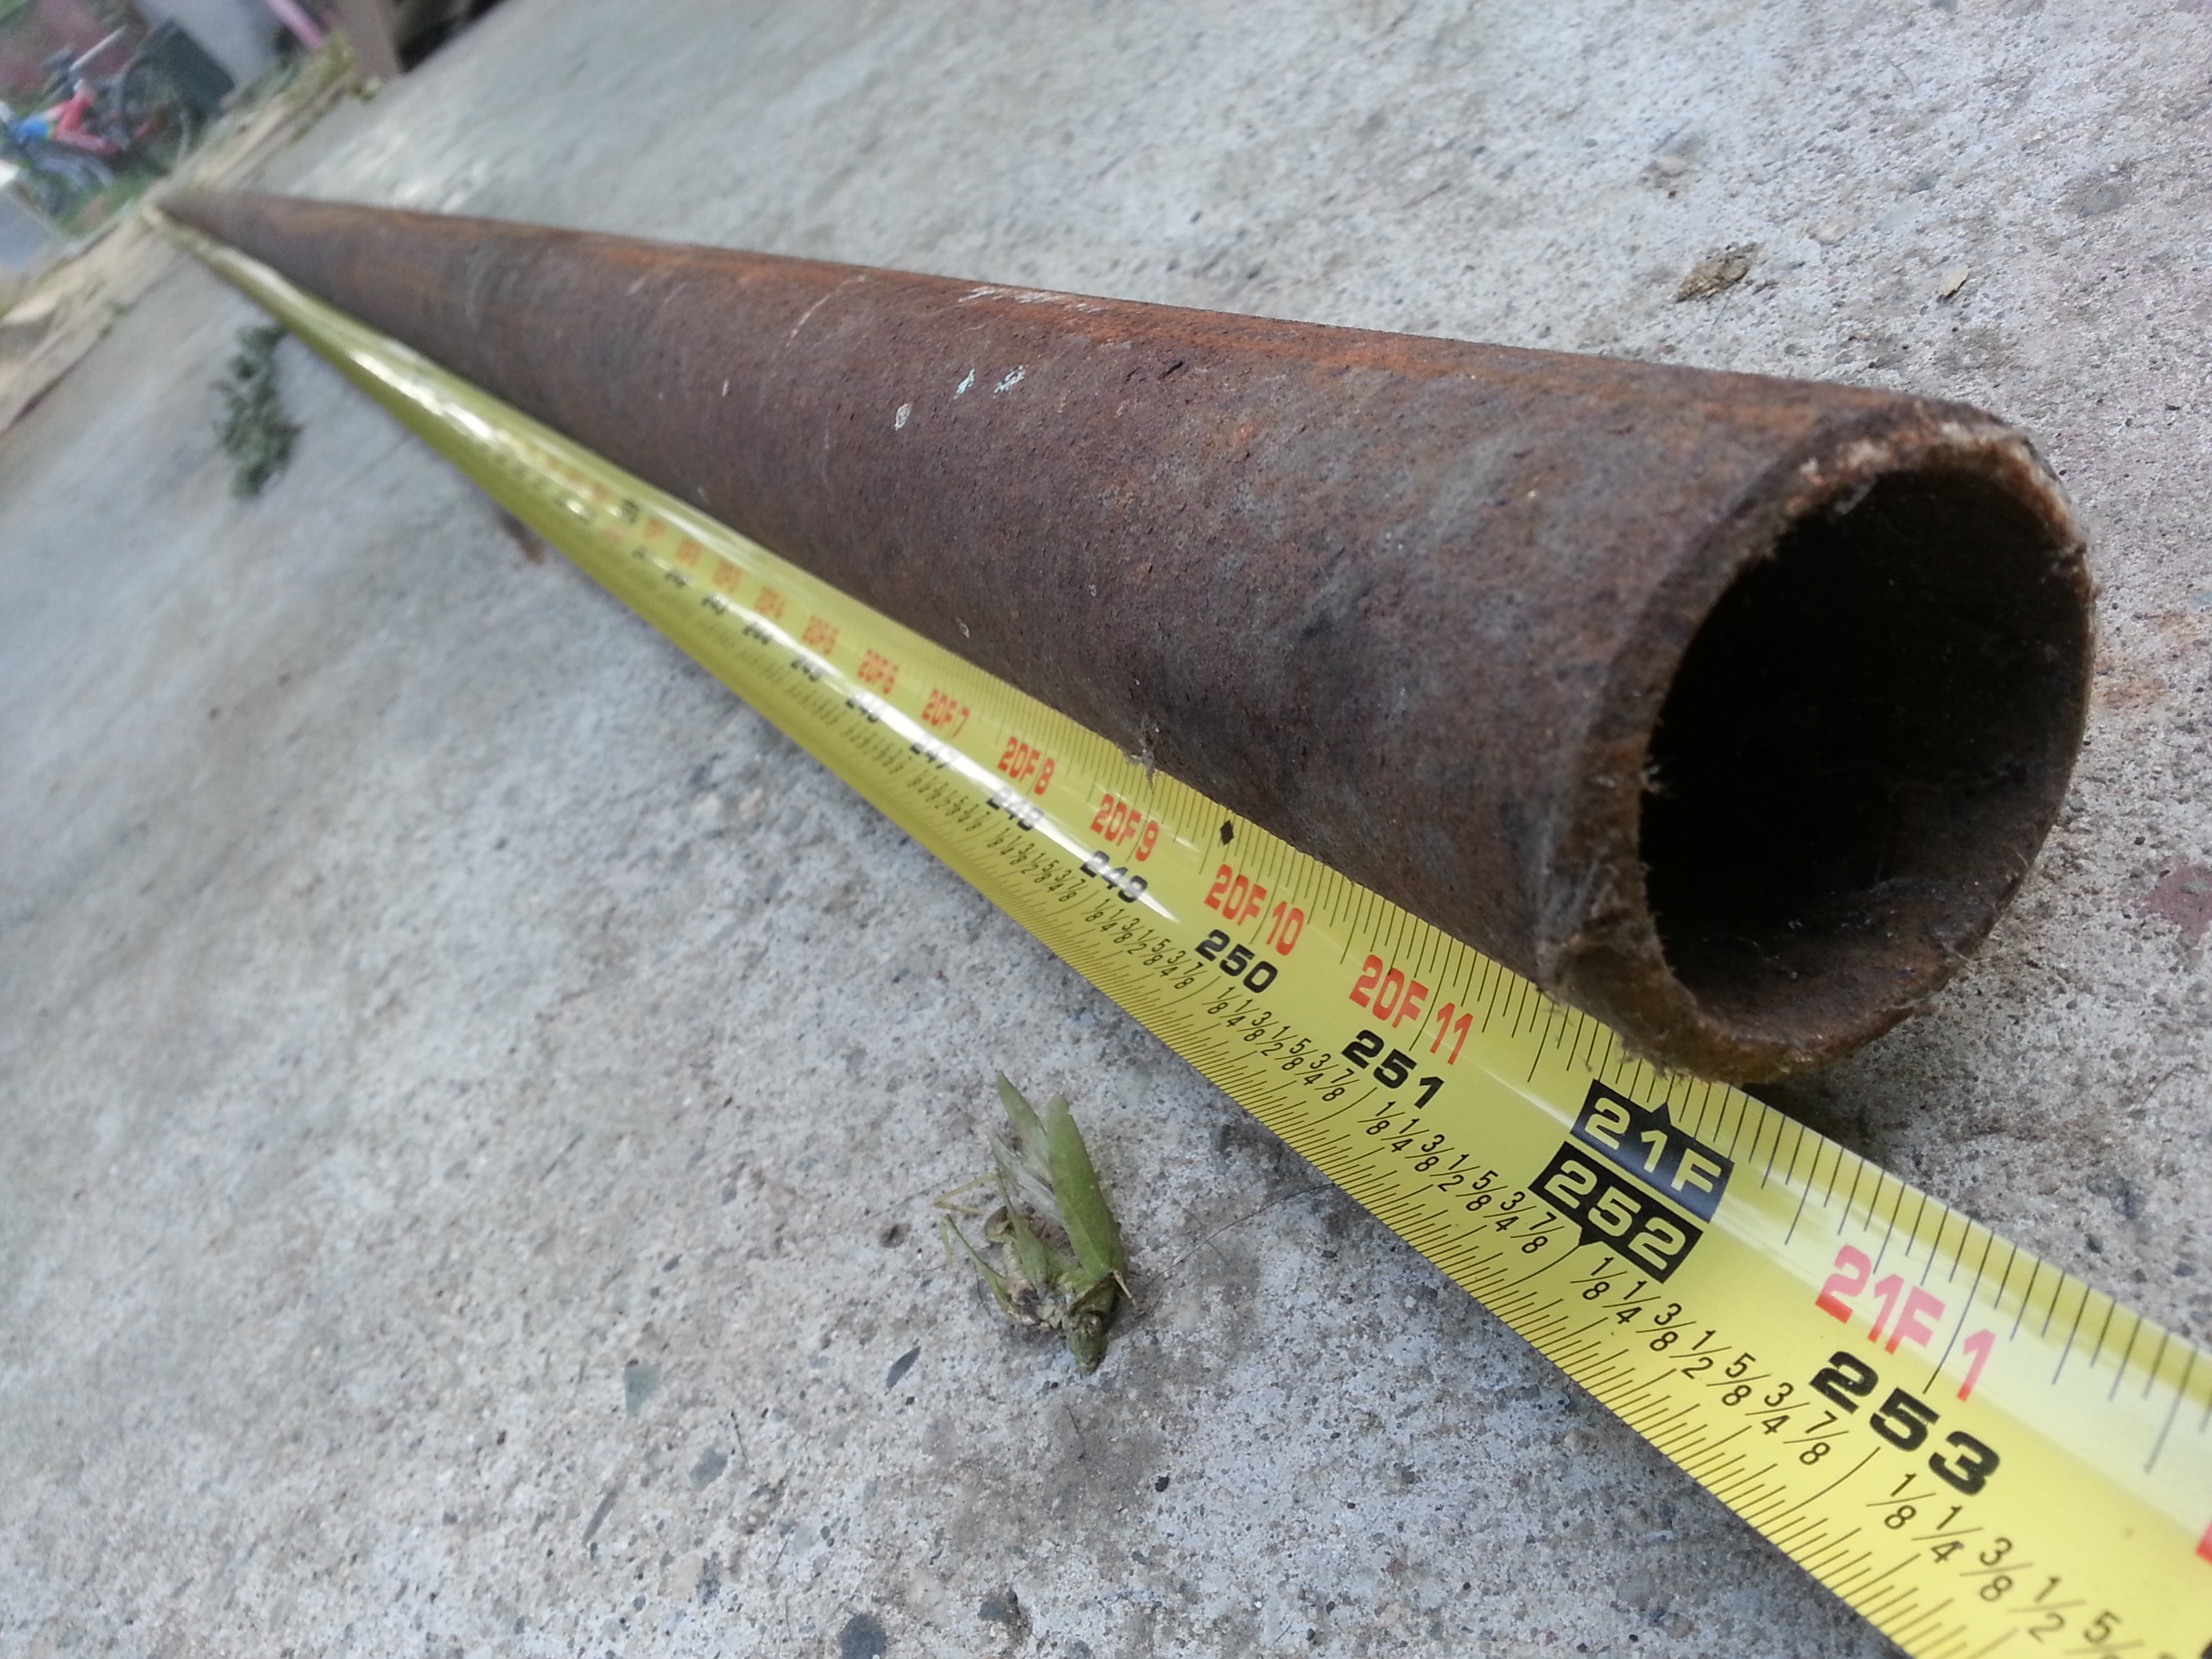
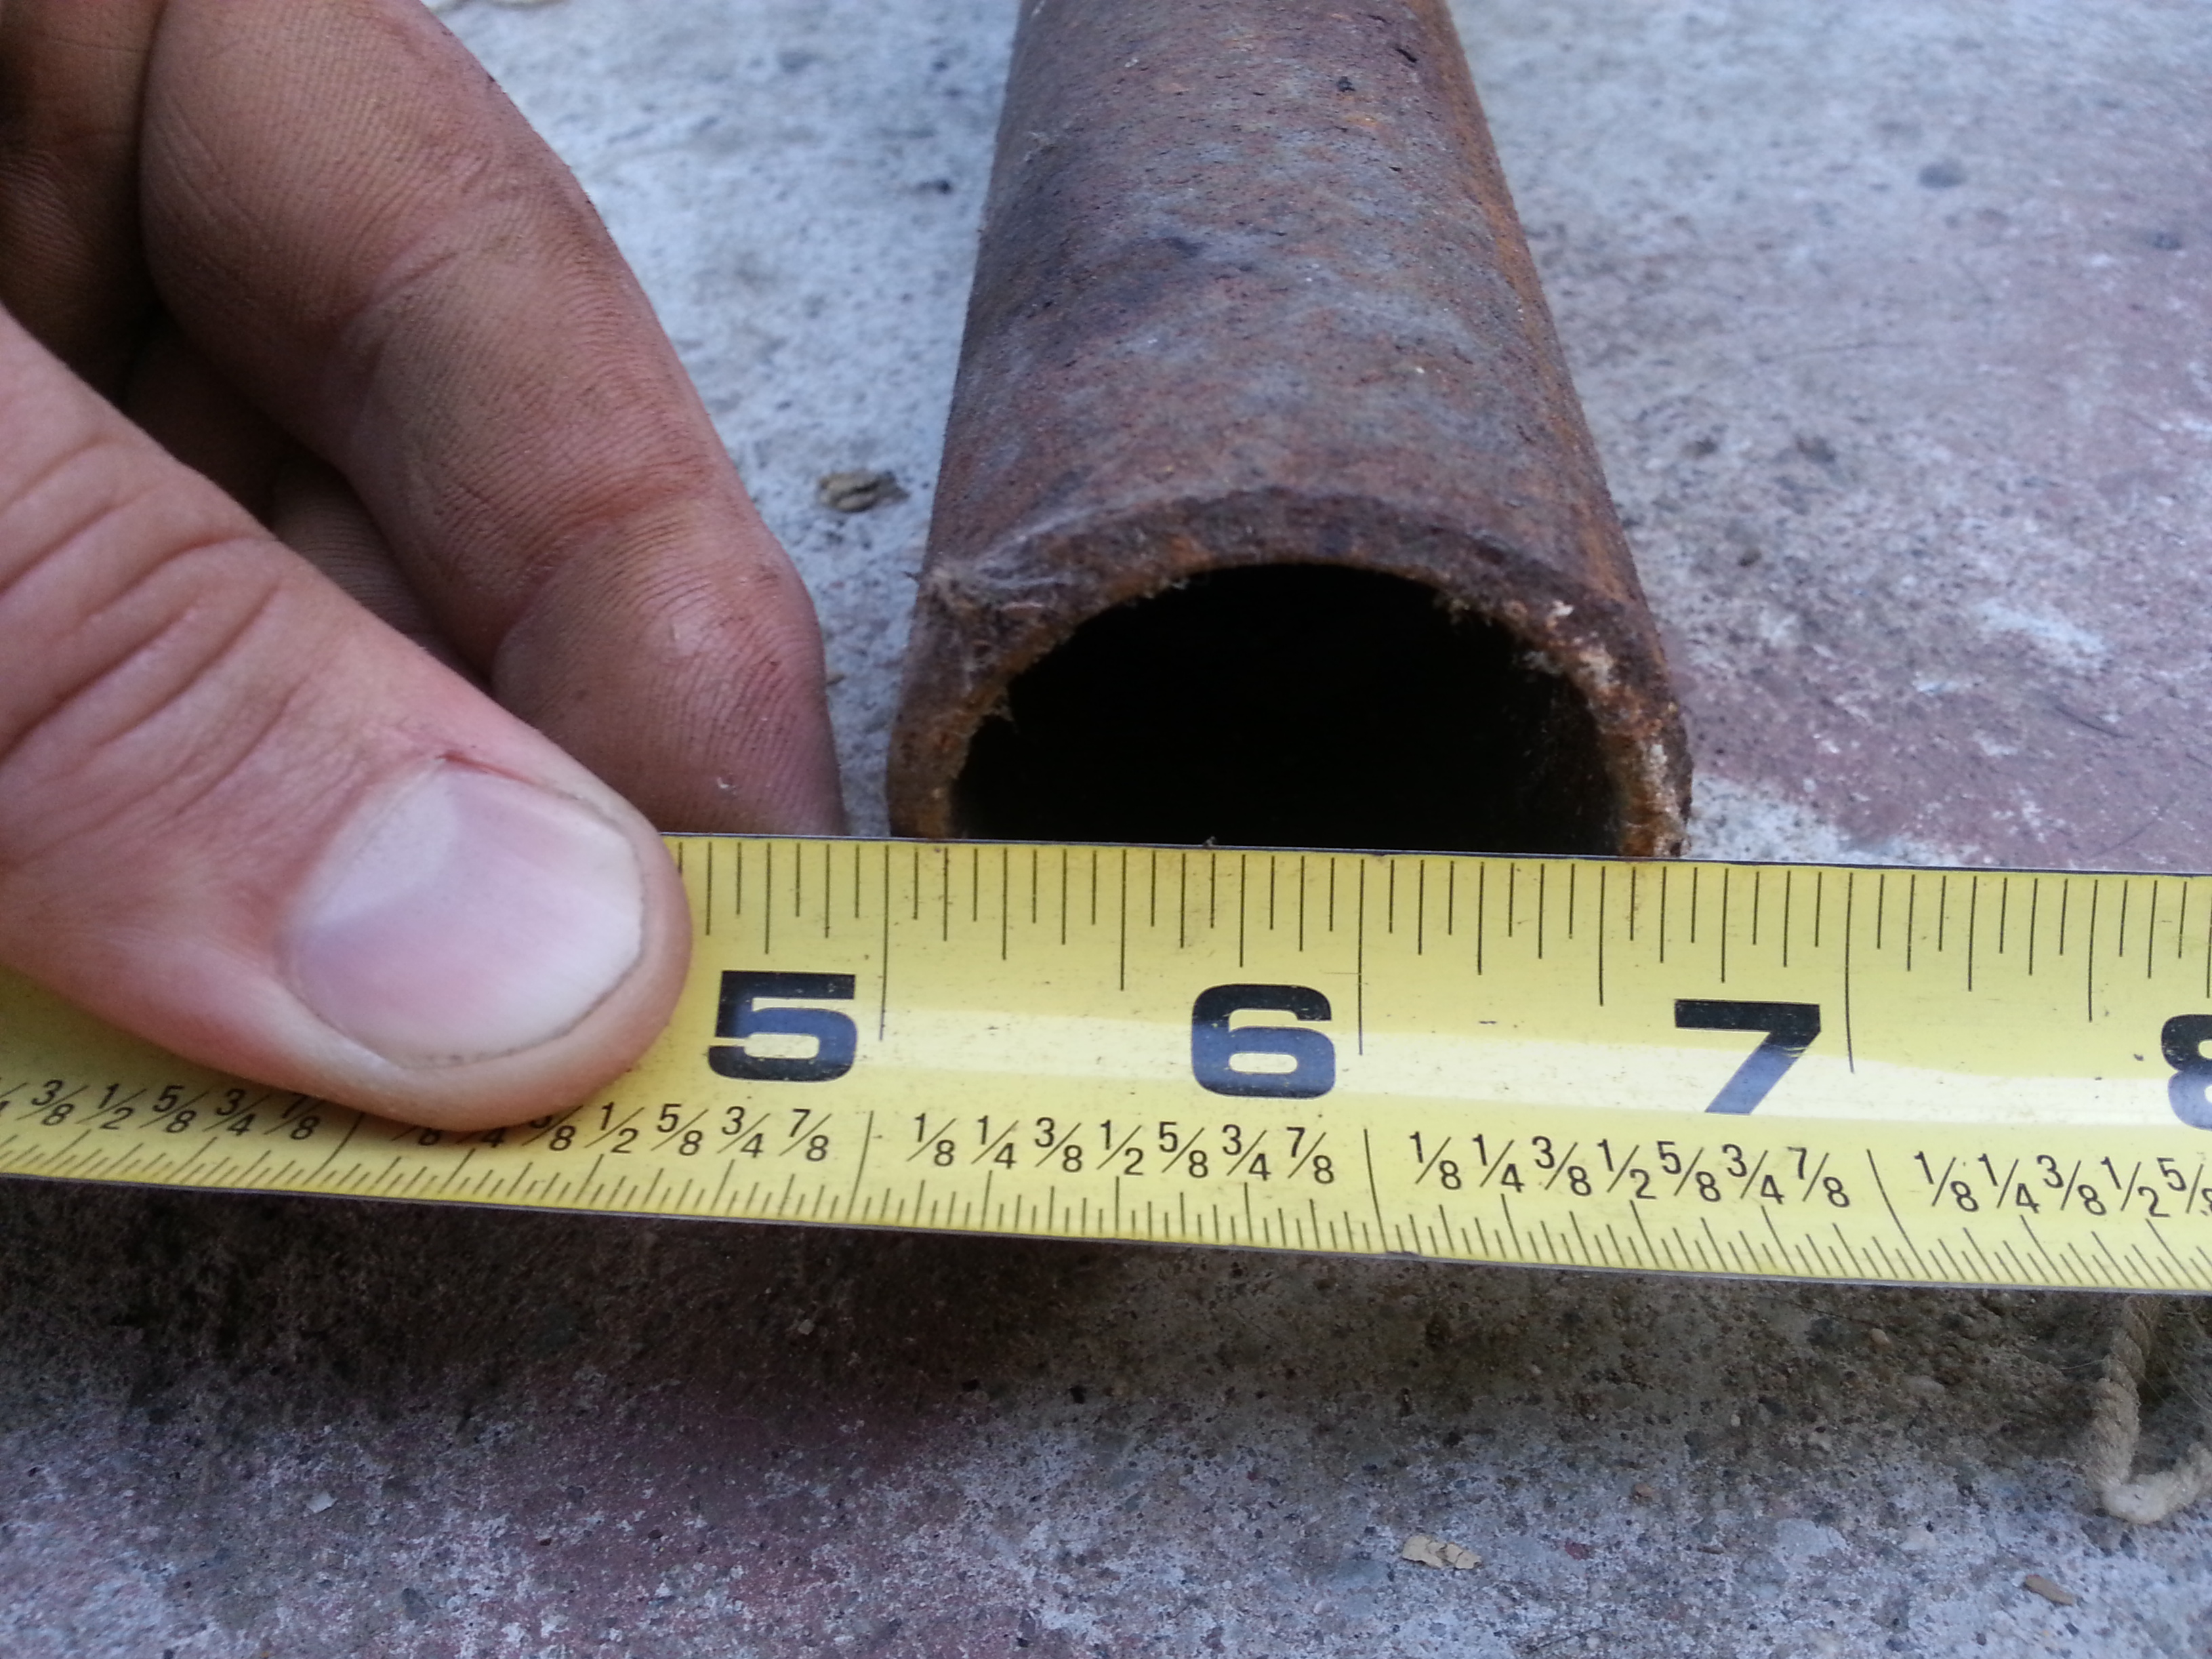
Dad says the tube is 1&1/2" thick but it looks more like 1&5/8" to me lol
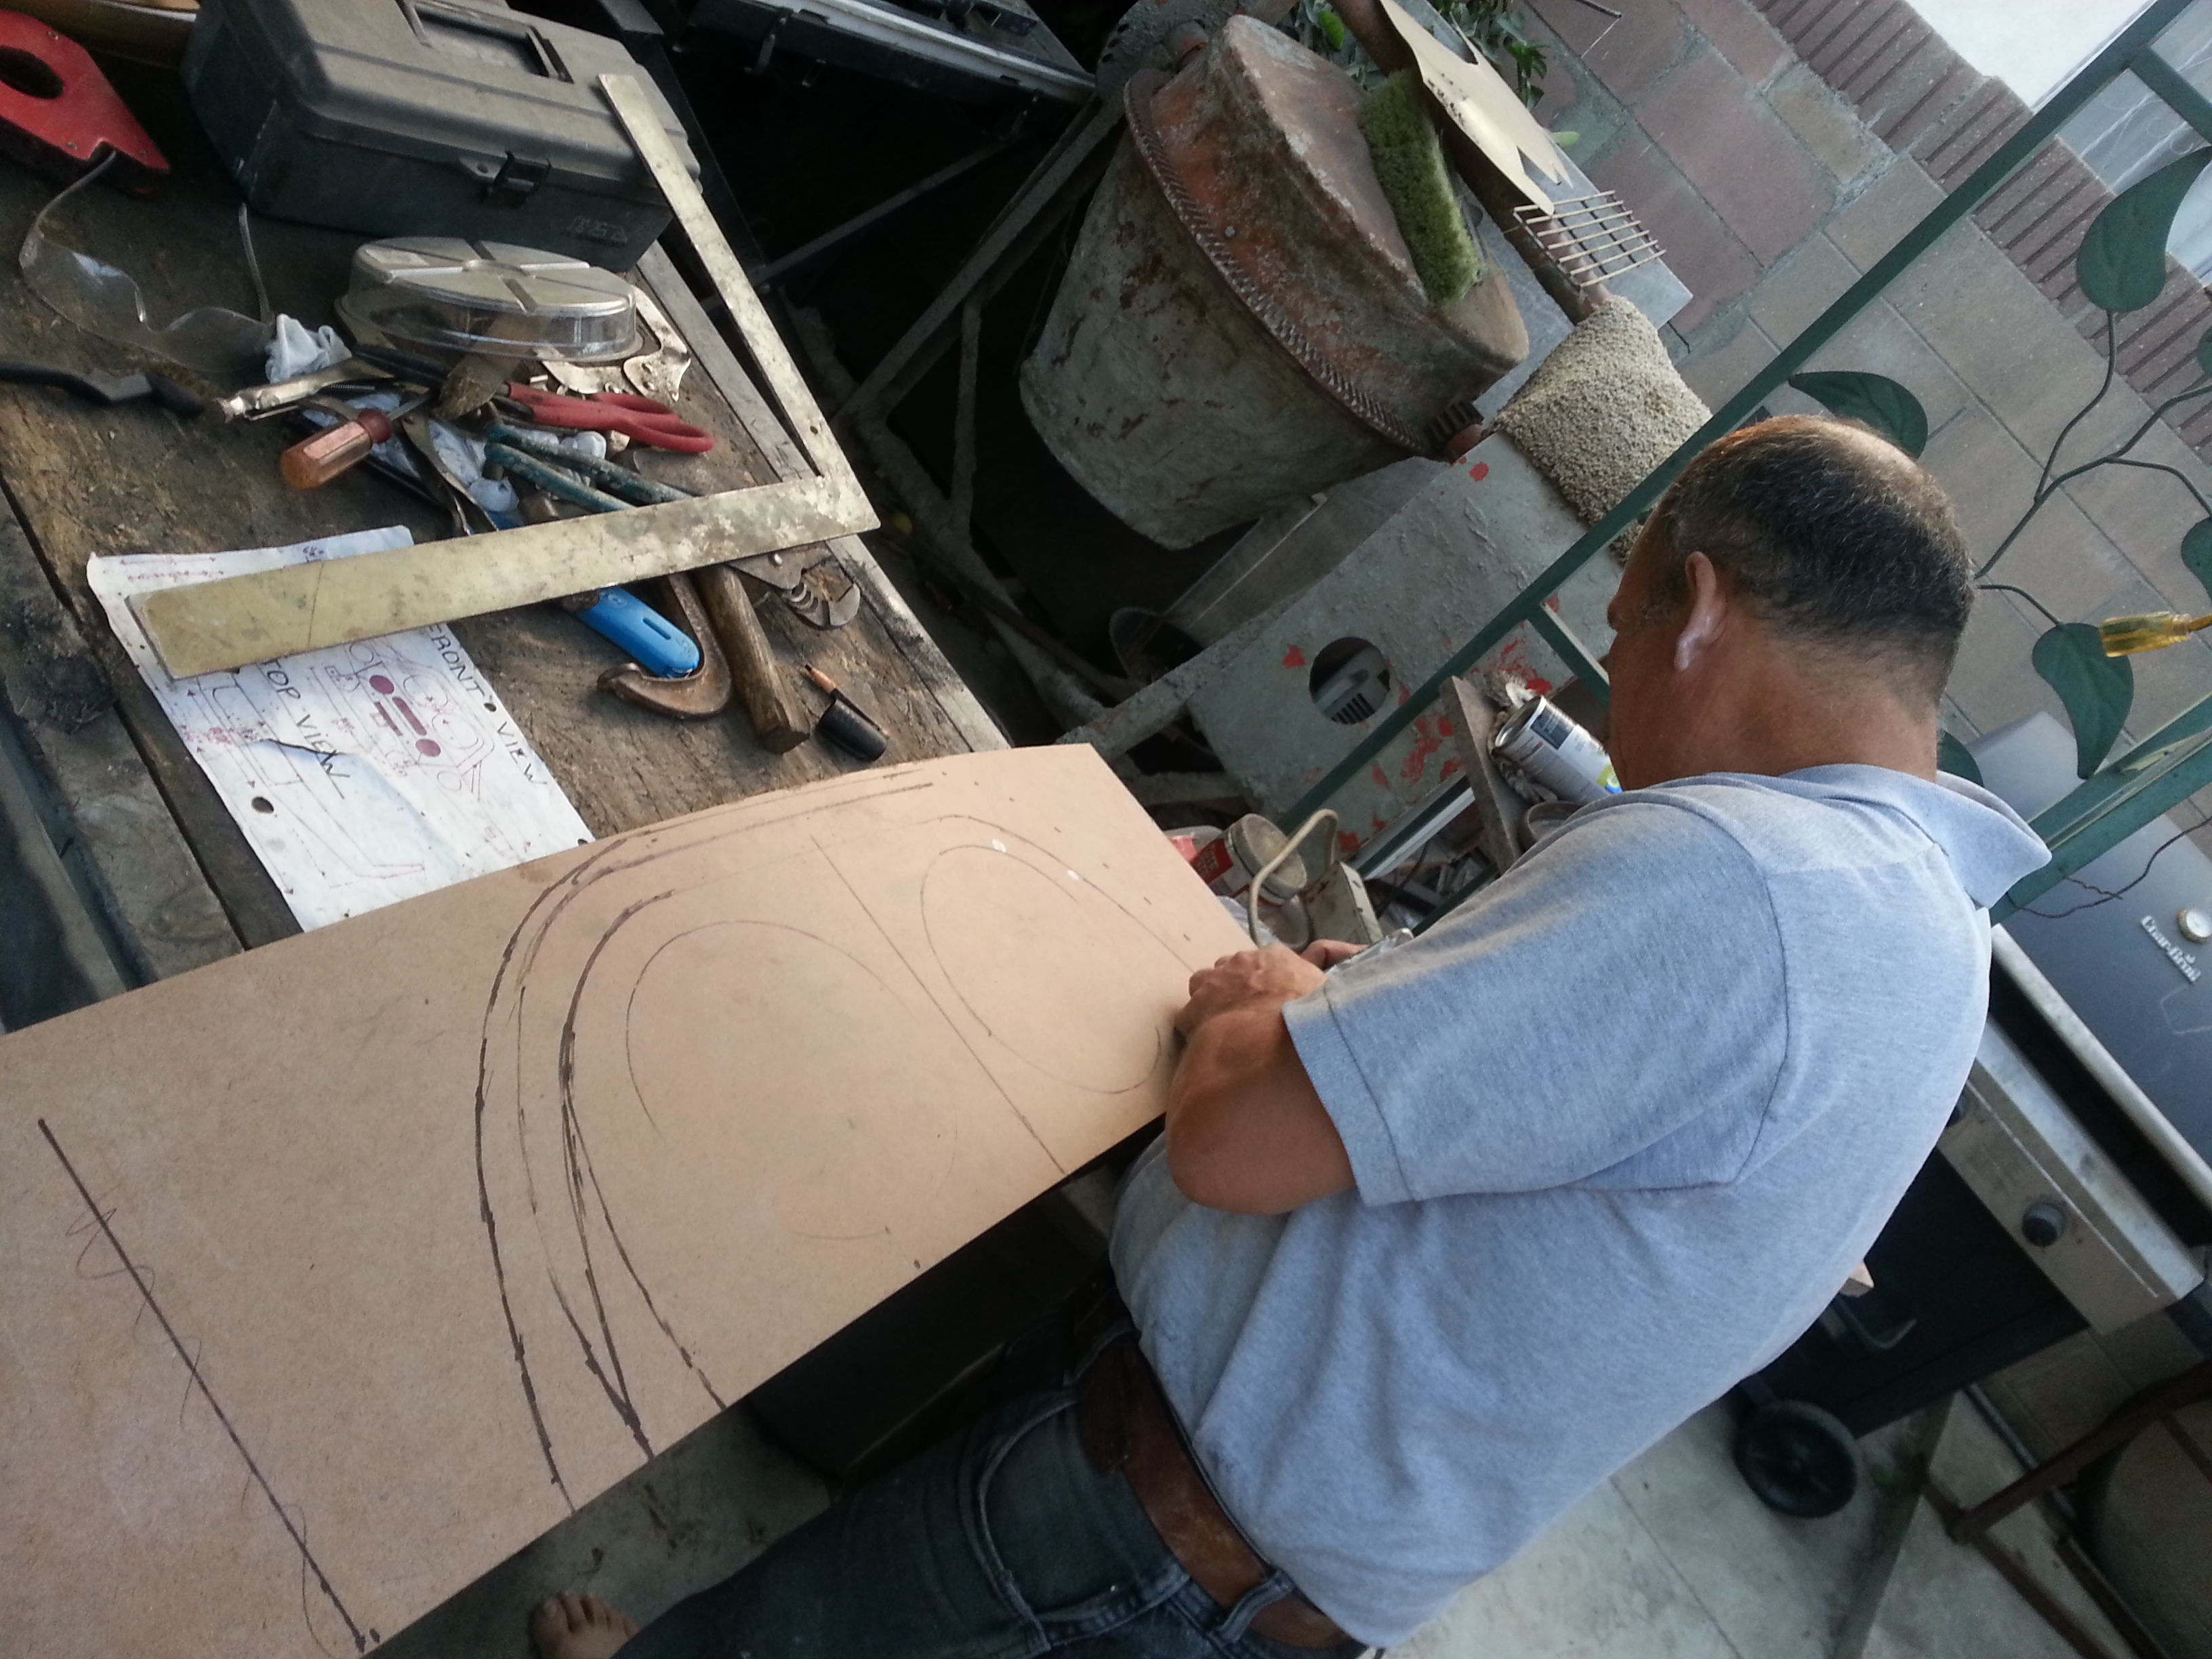
Gave my dad my design blueprint and let him work his magic with his mathematical skills. lol
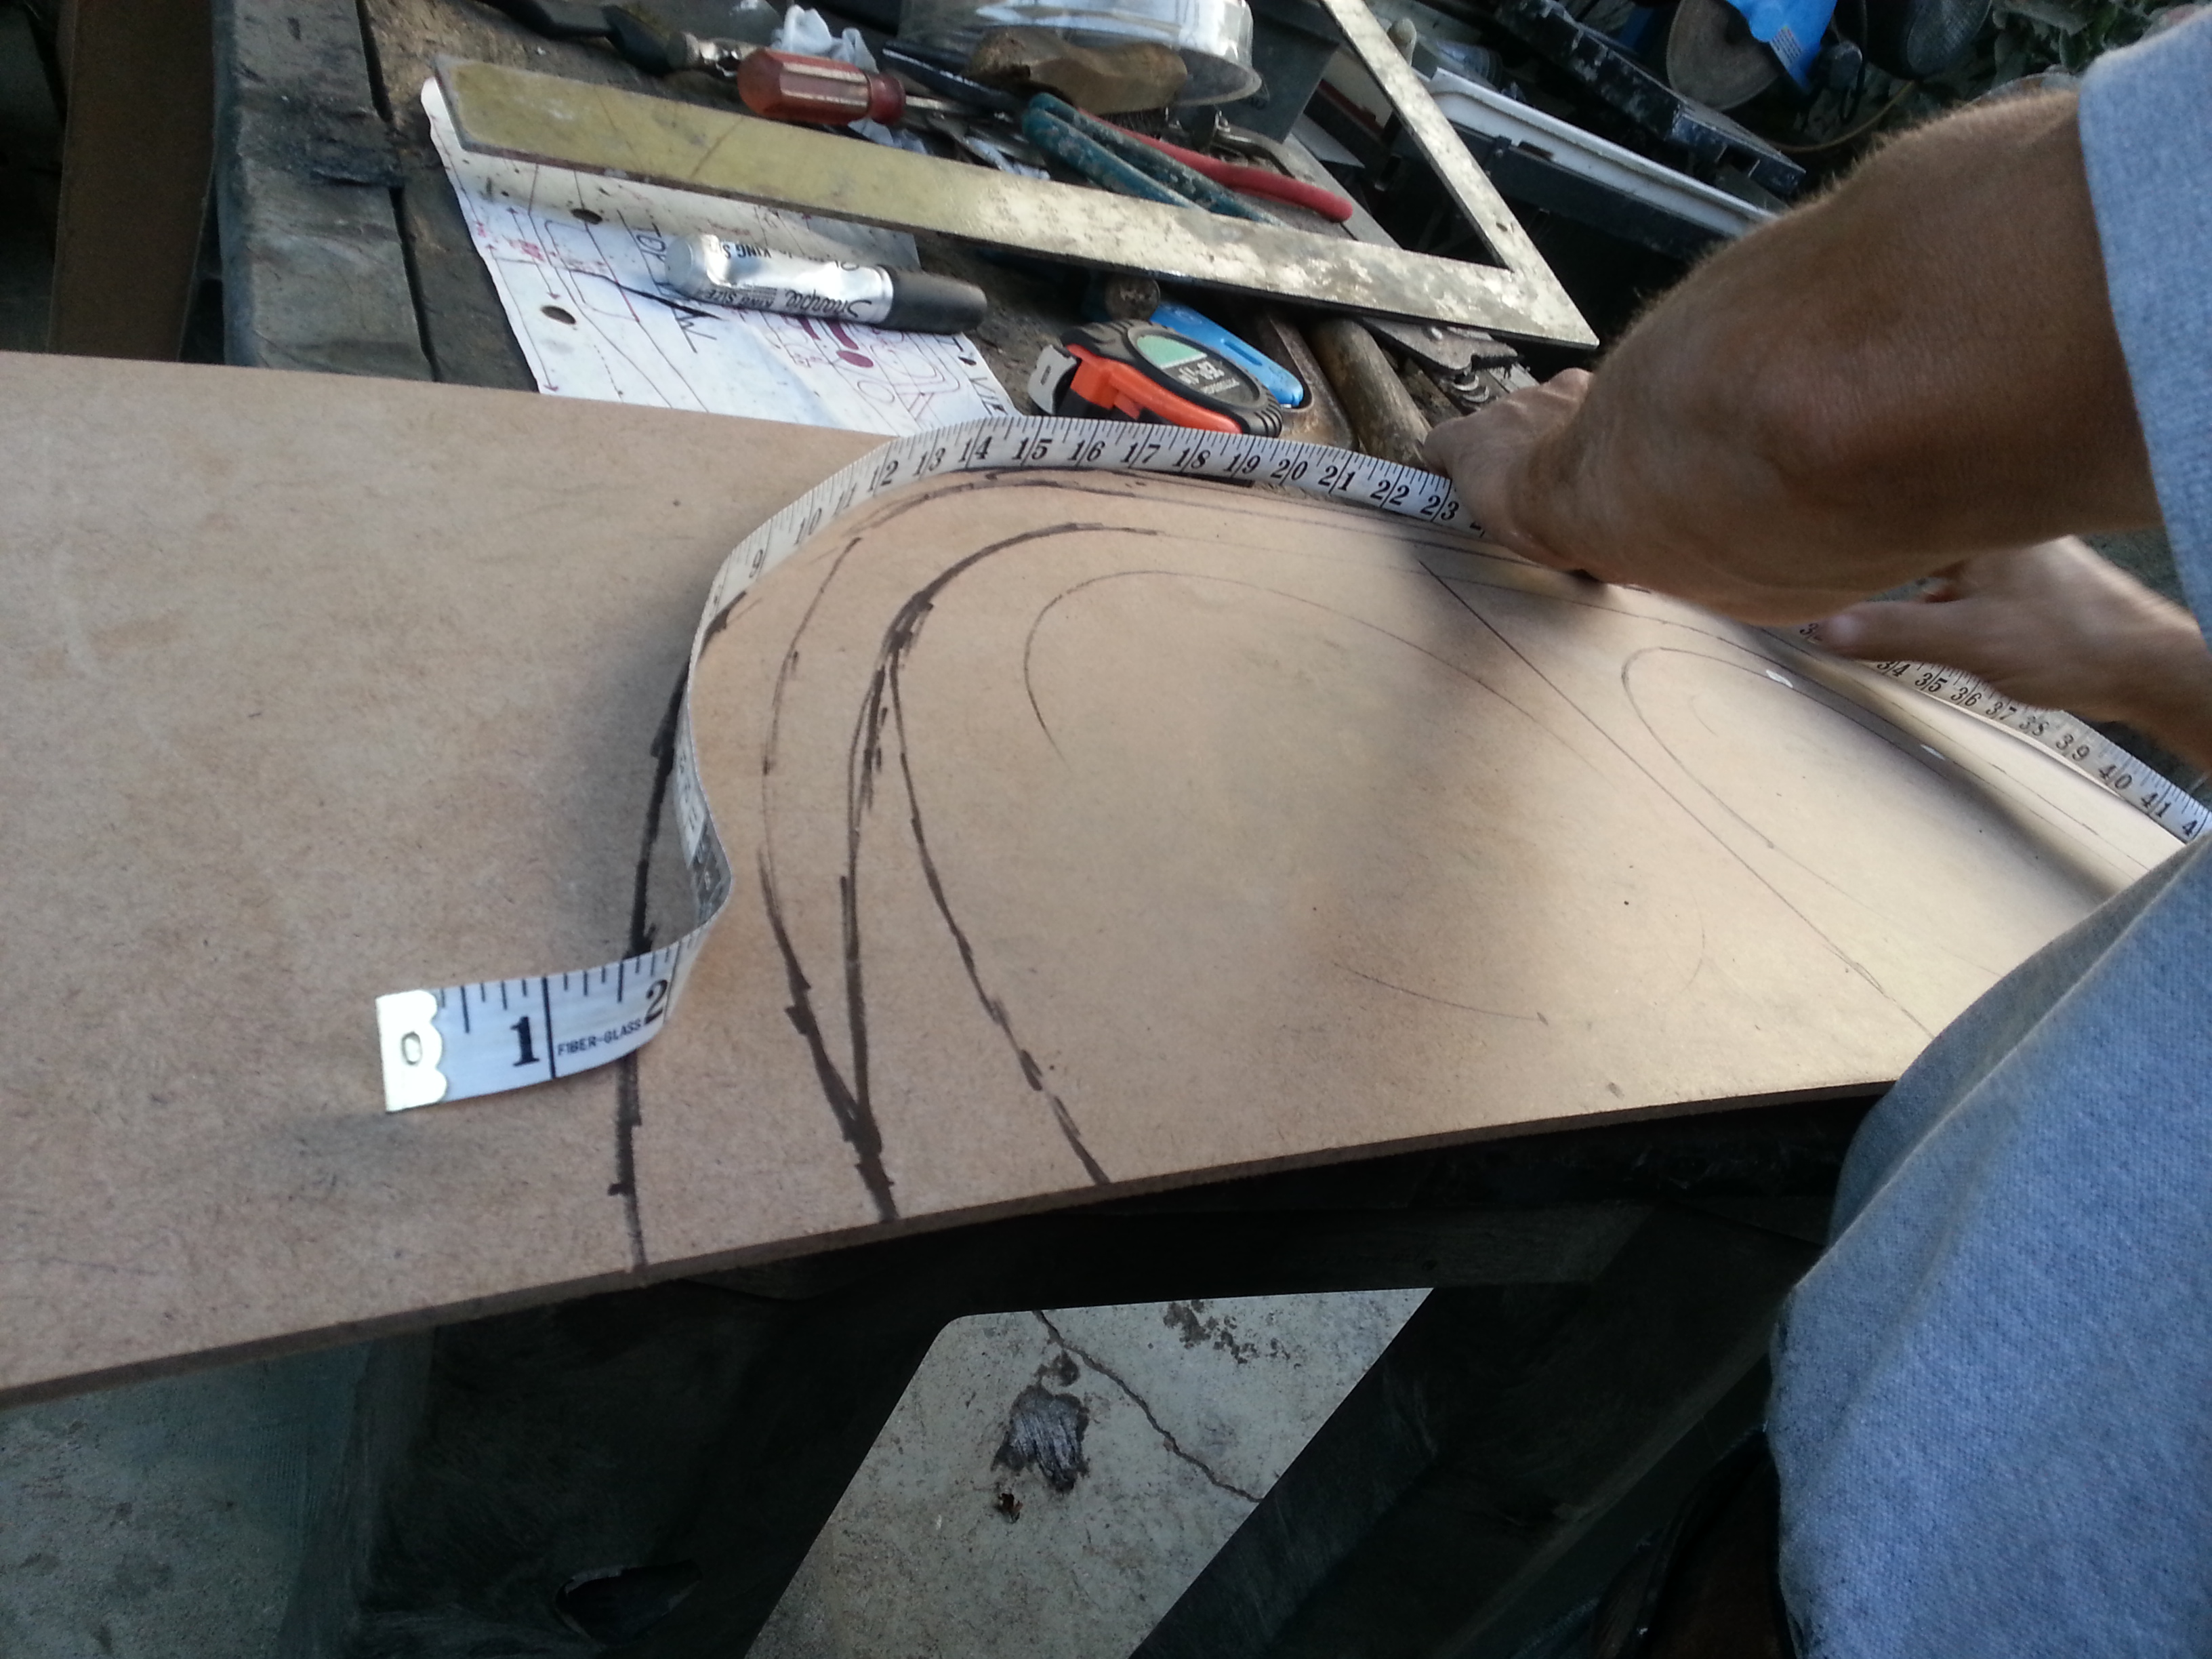
We measured the exterior line with a tailor's measuring tape. came out to be 43".
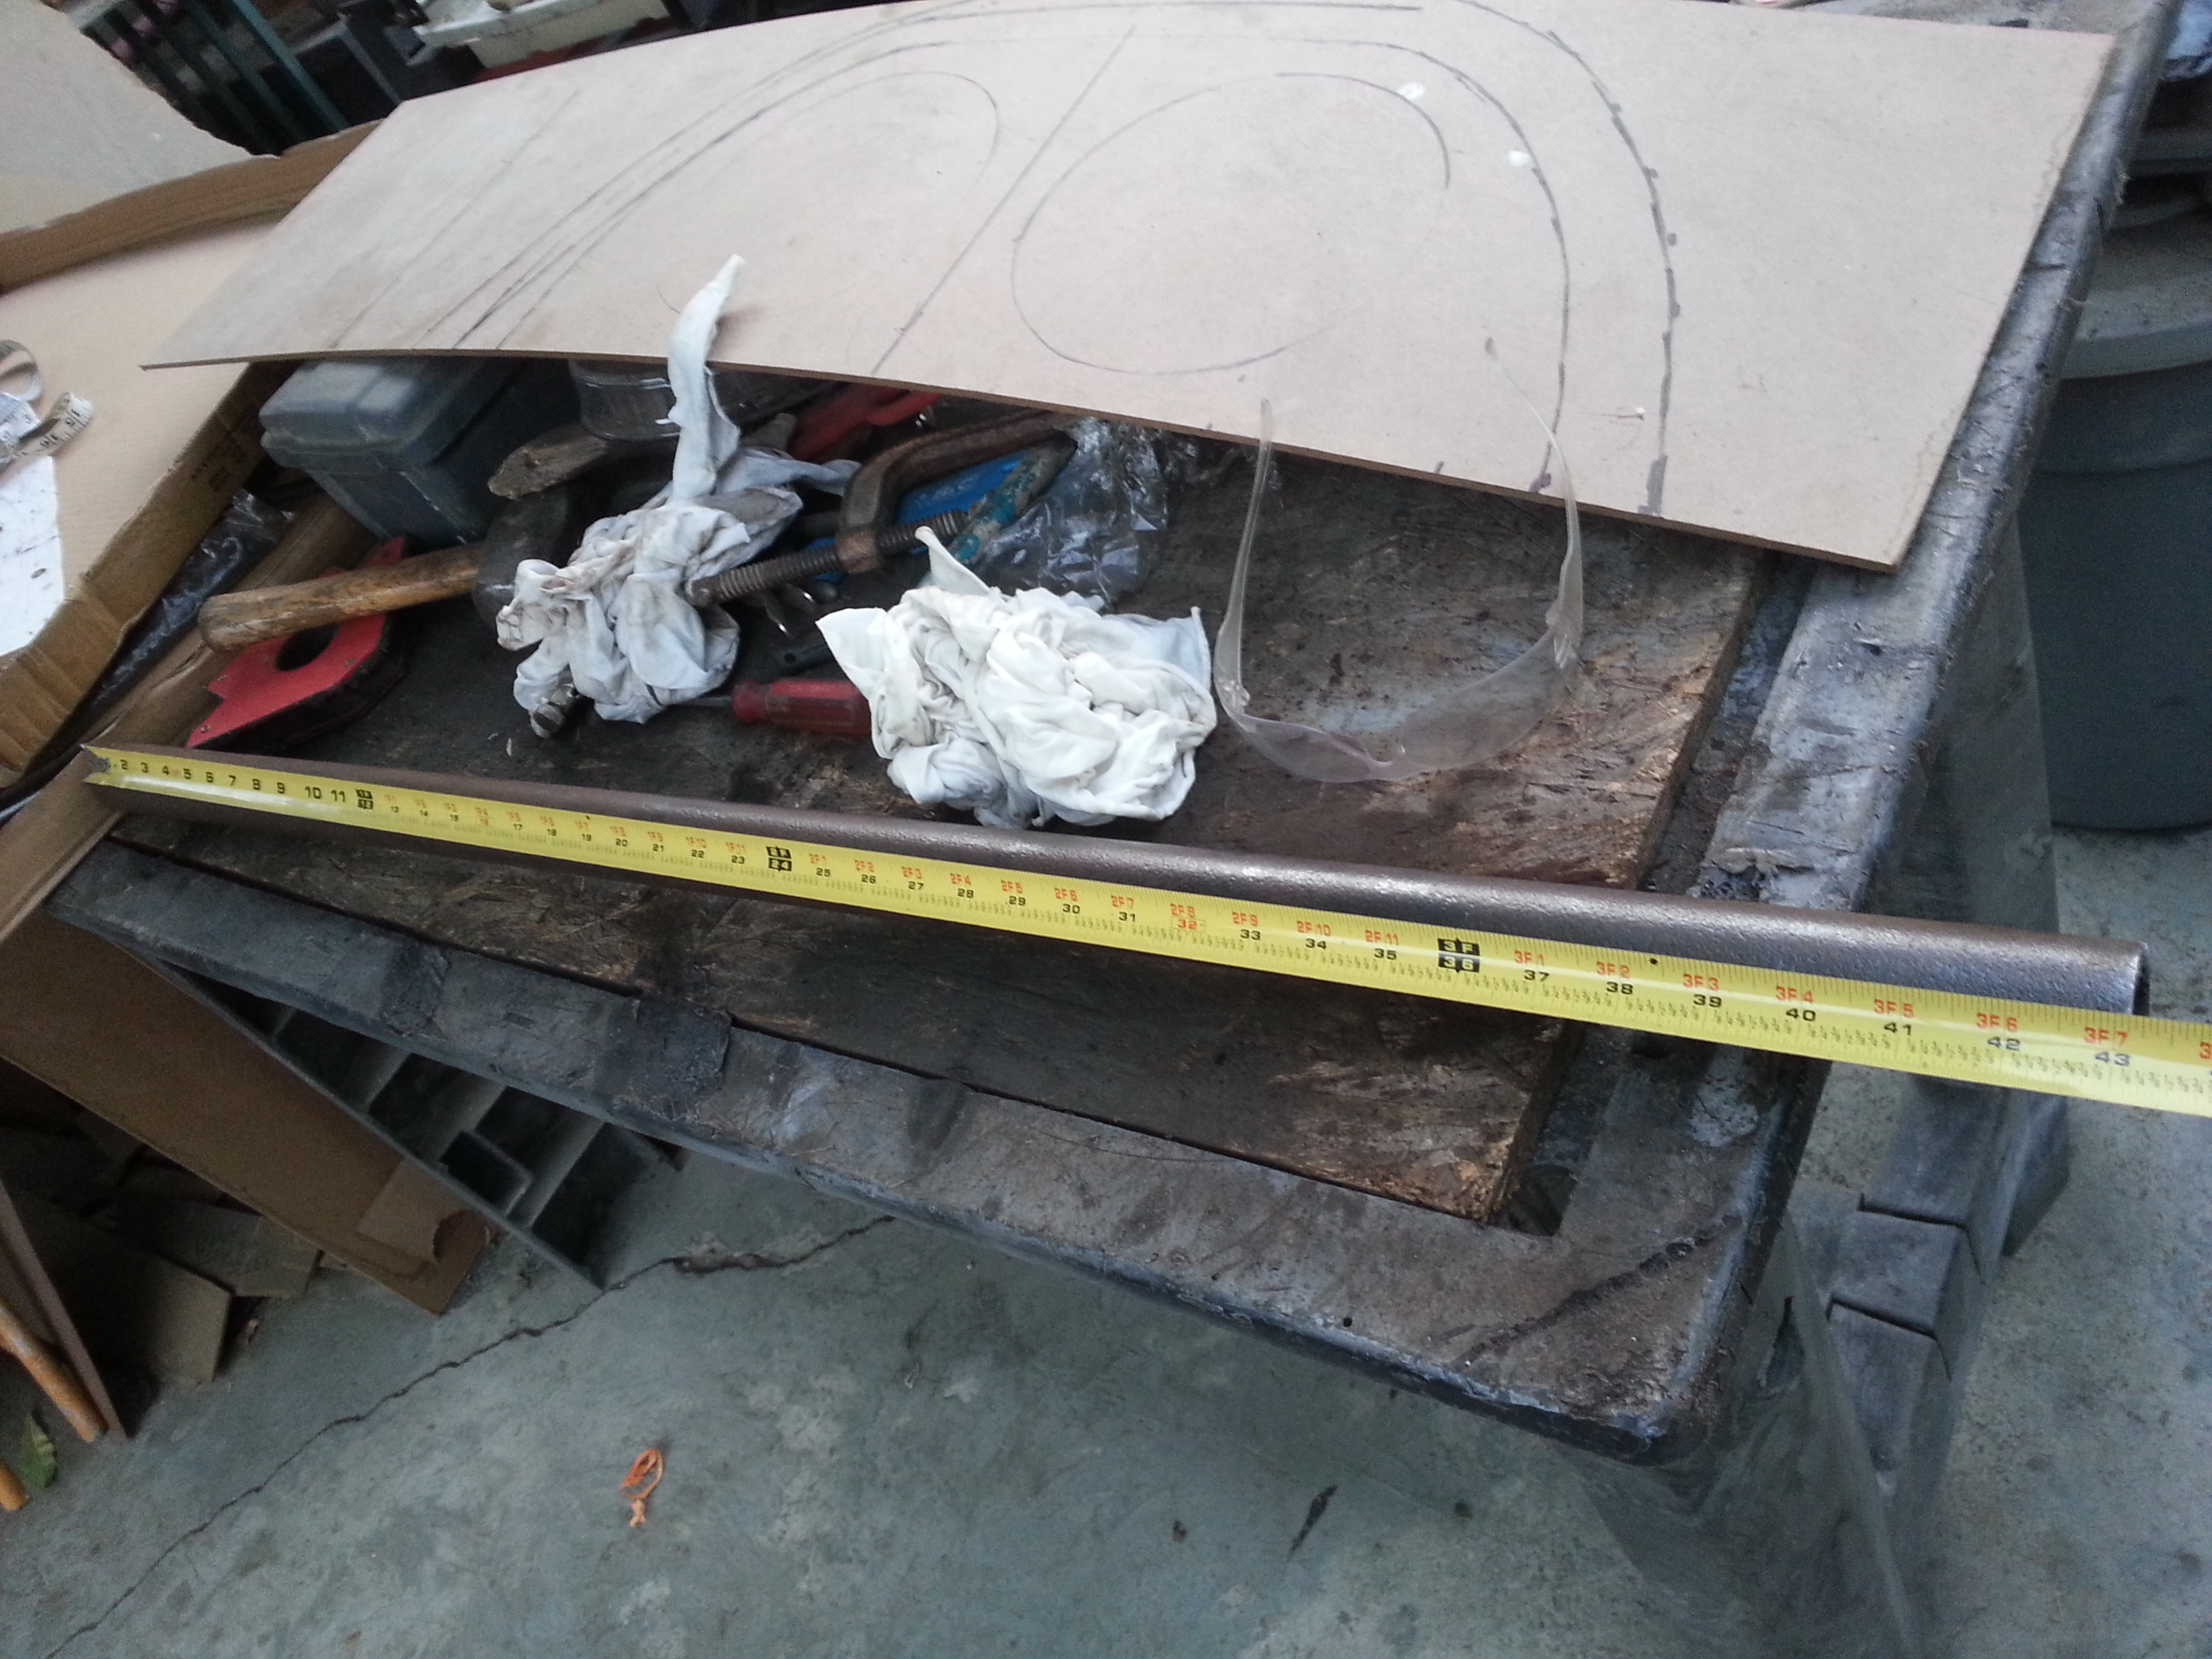
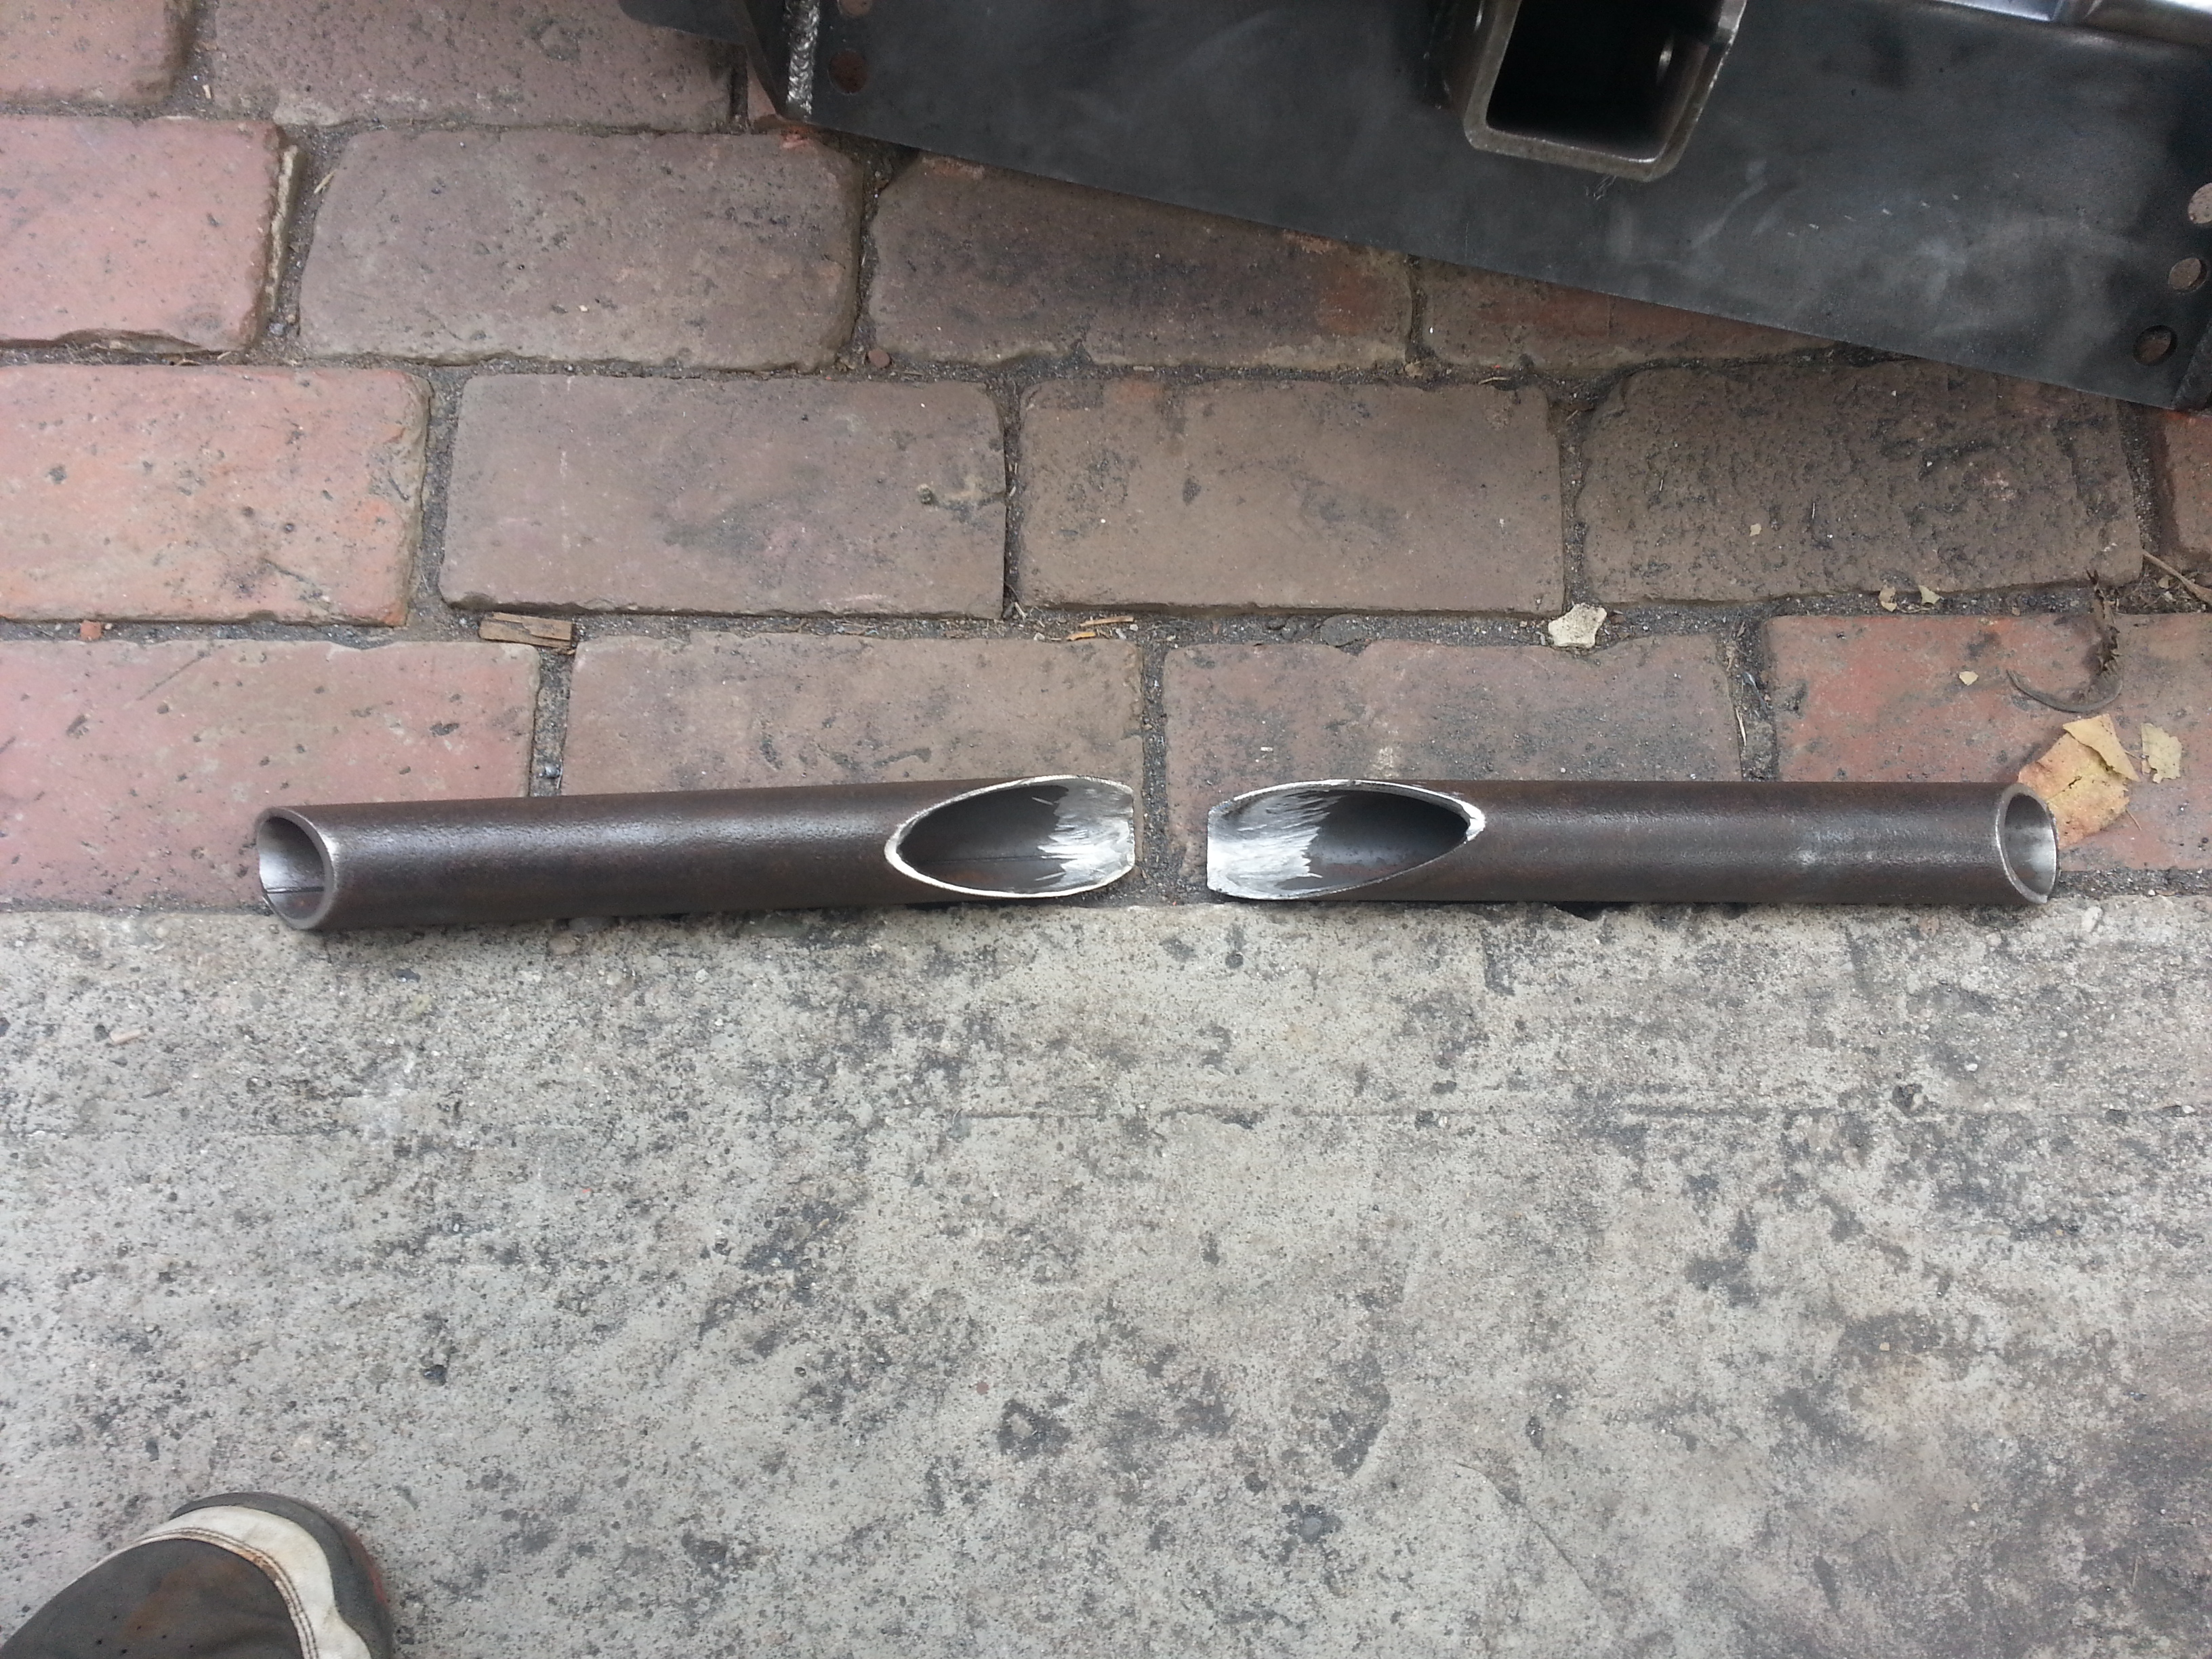
Grabbed the chop saw and cut the measured piece

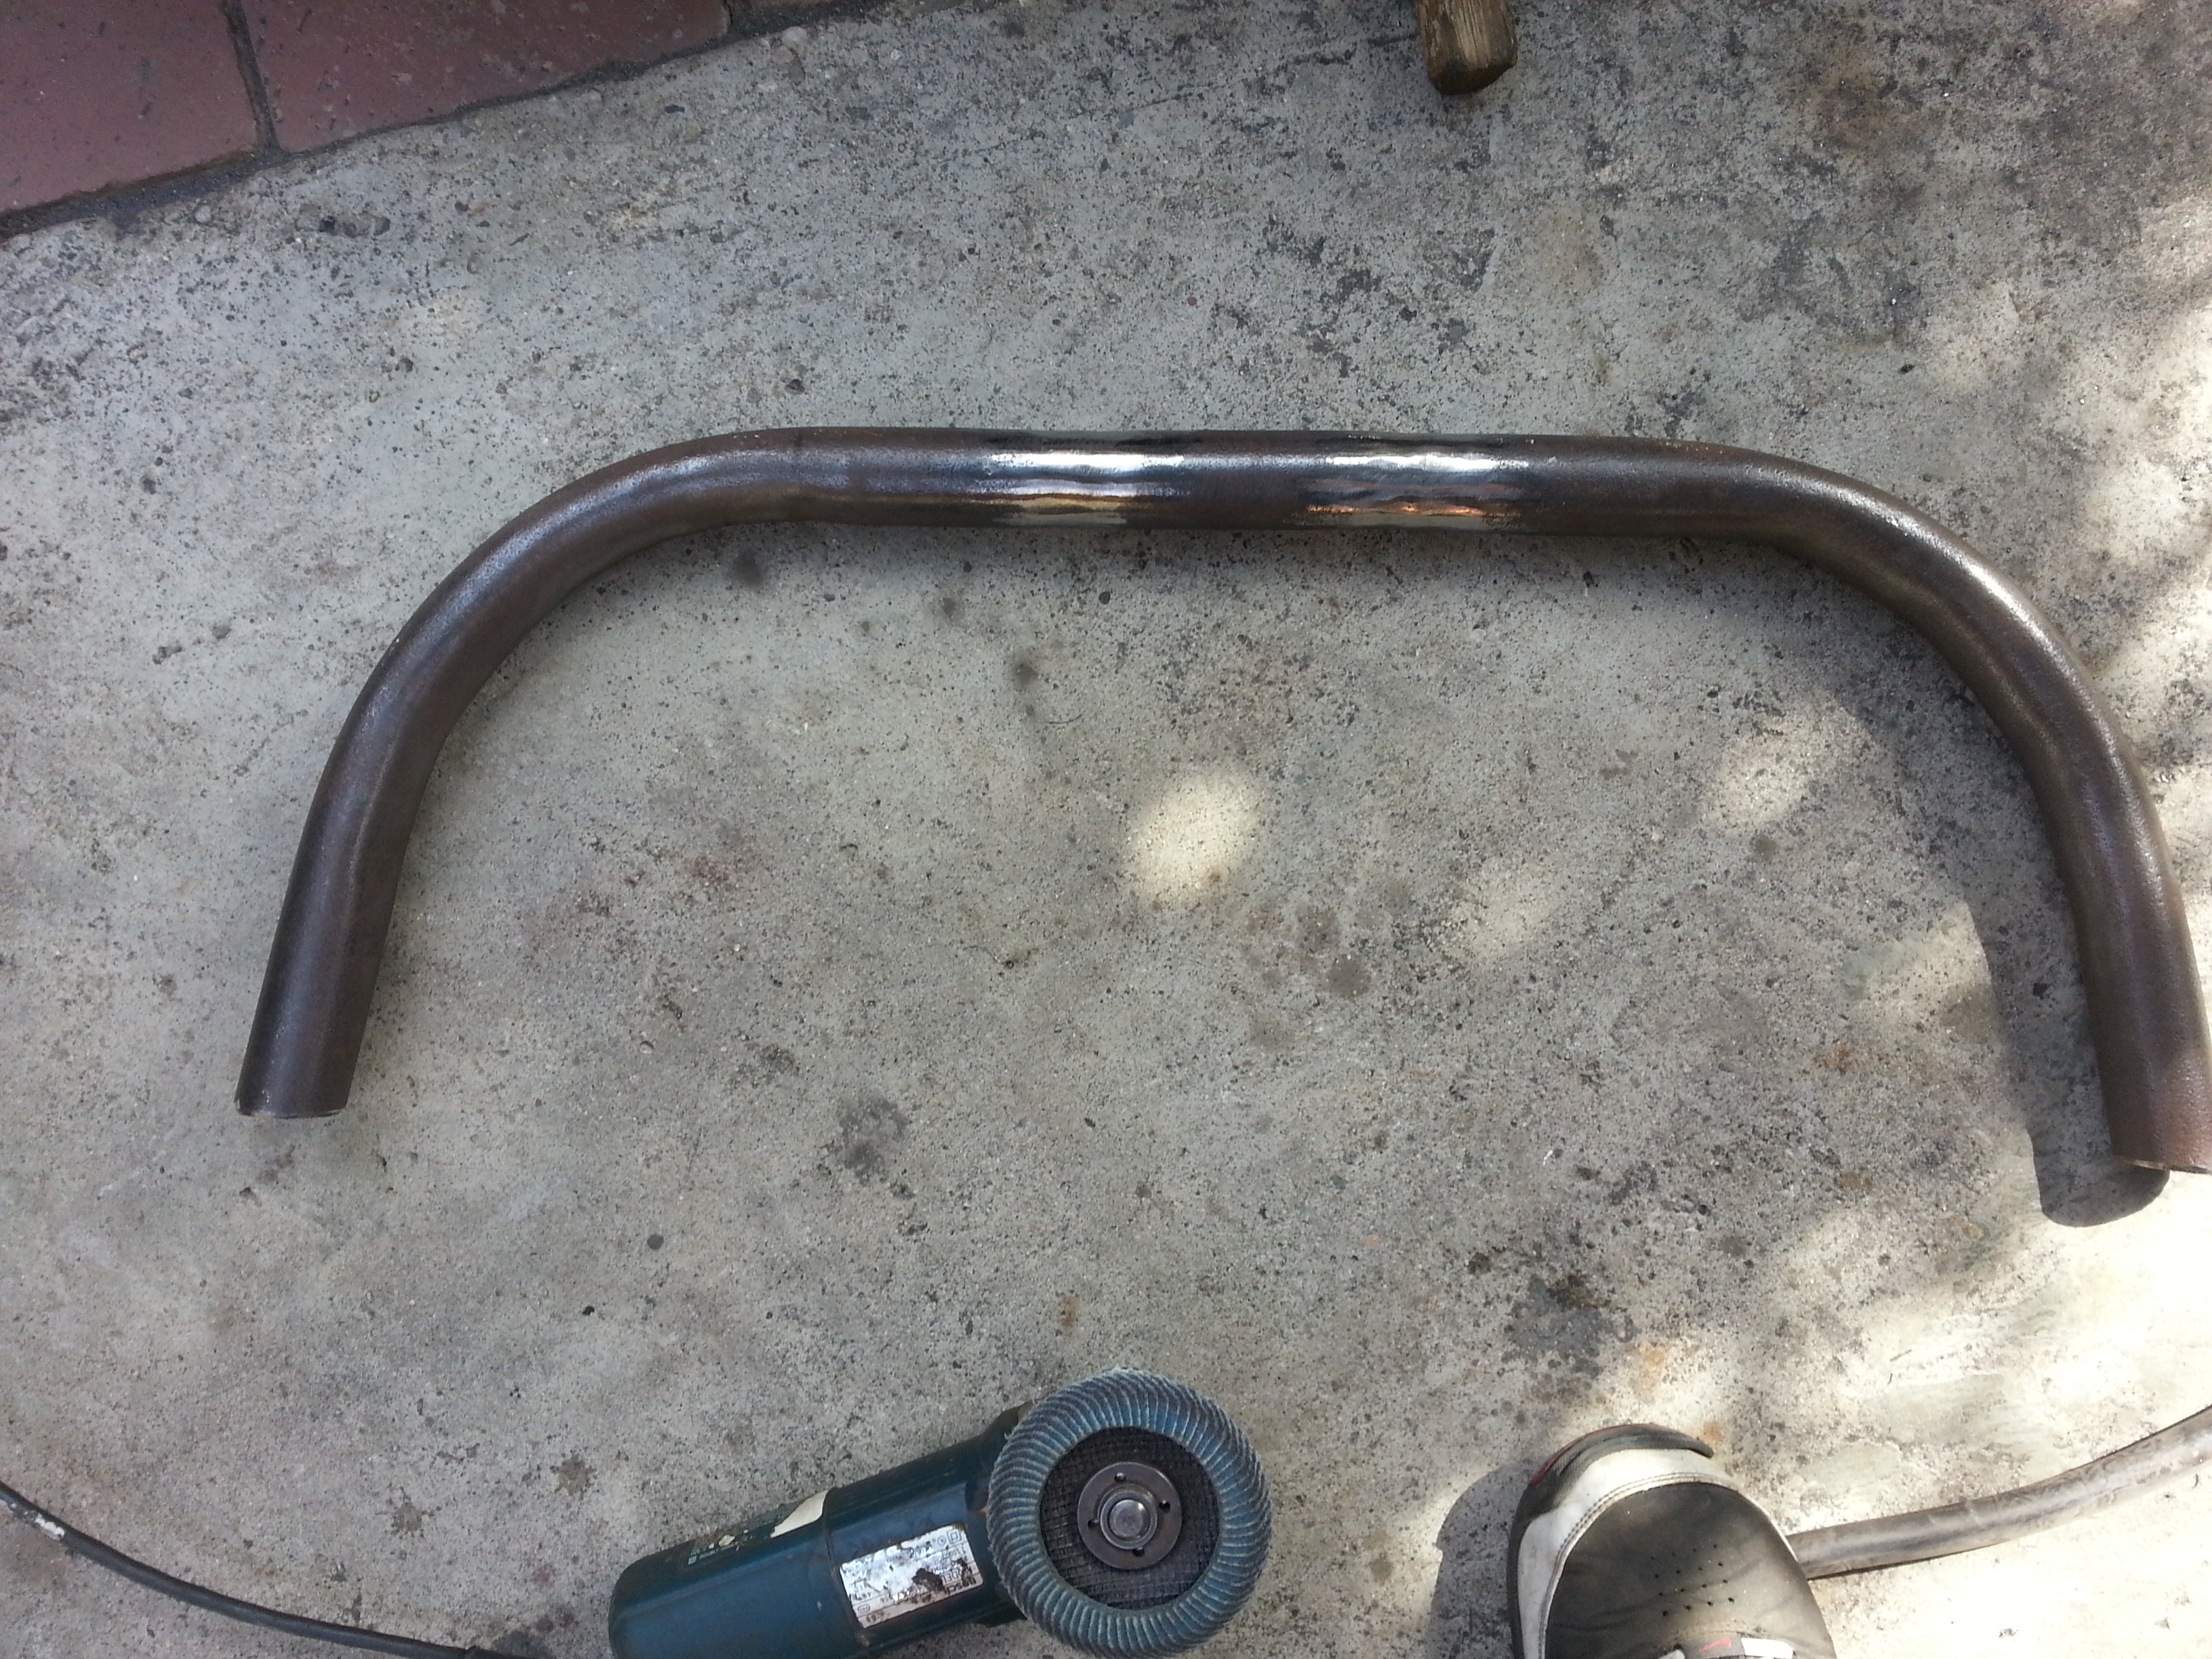
43" tube cut already and i passed the wire wheel all throughout the surface.
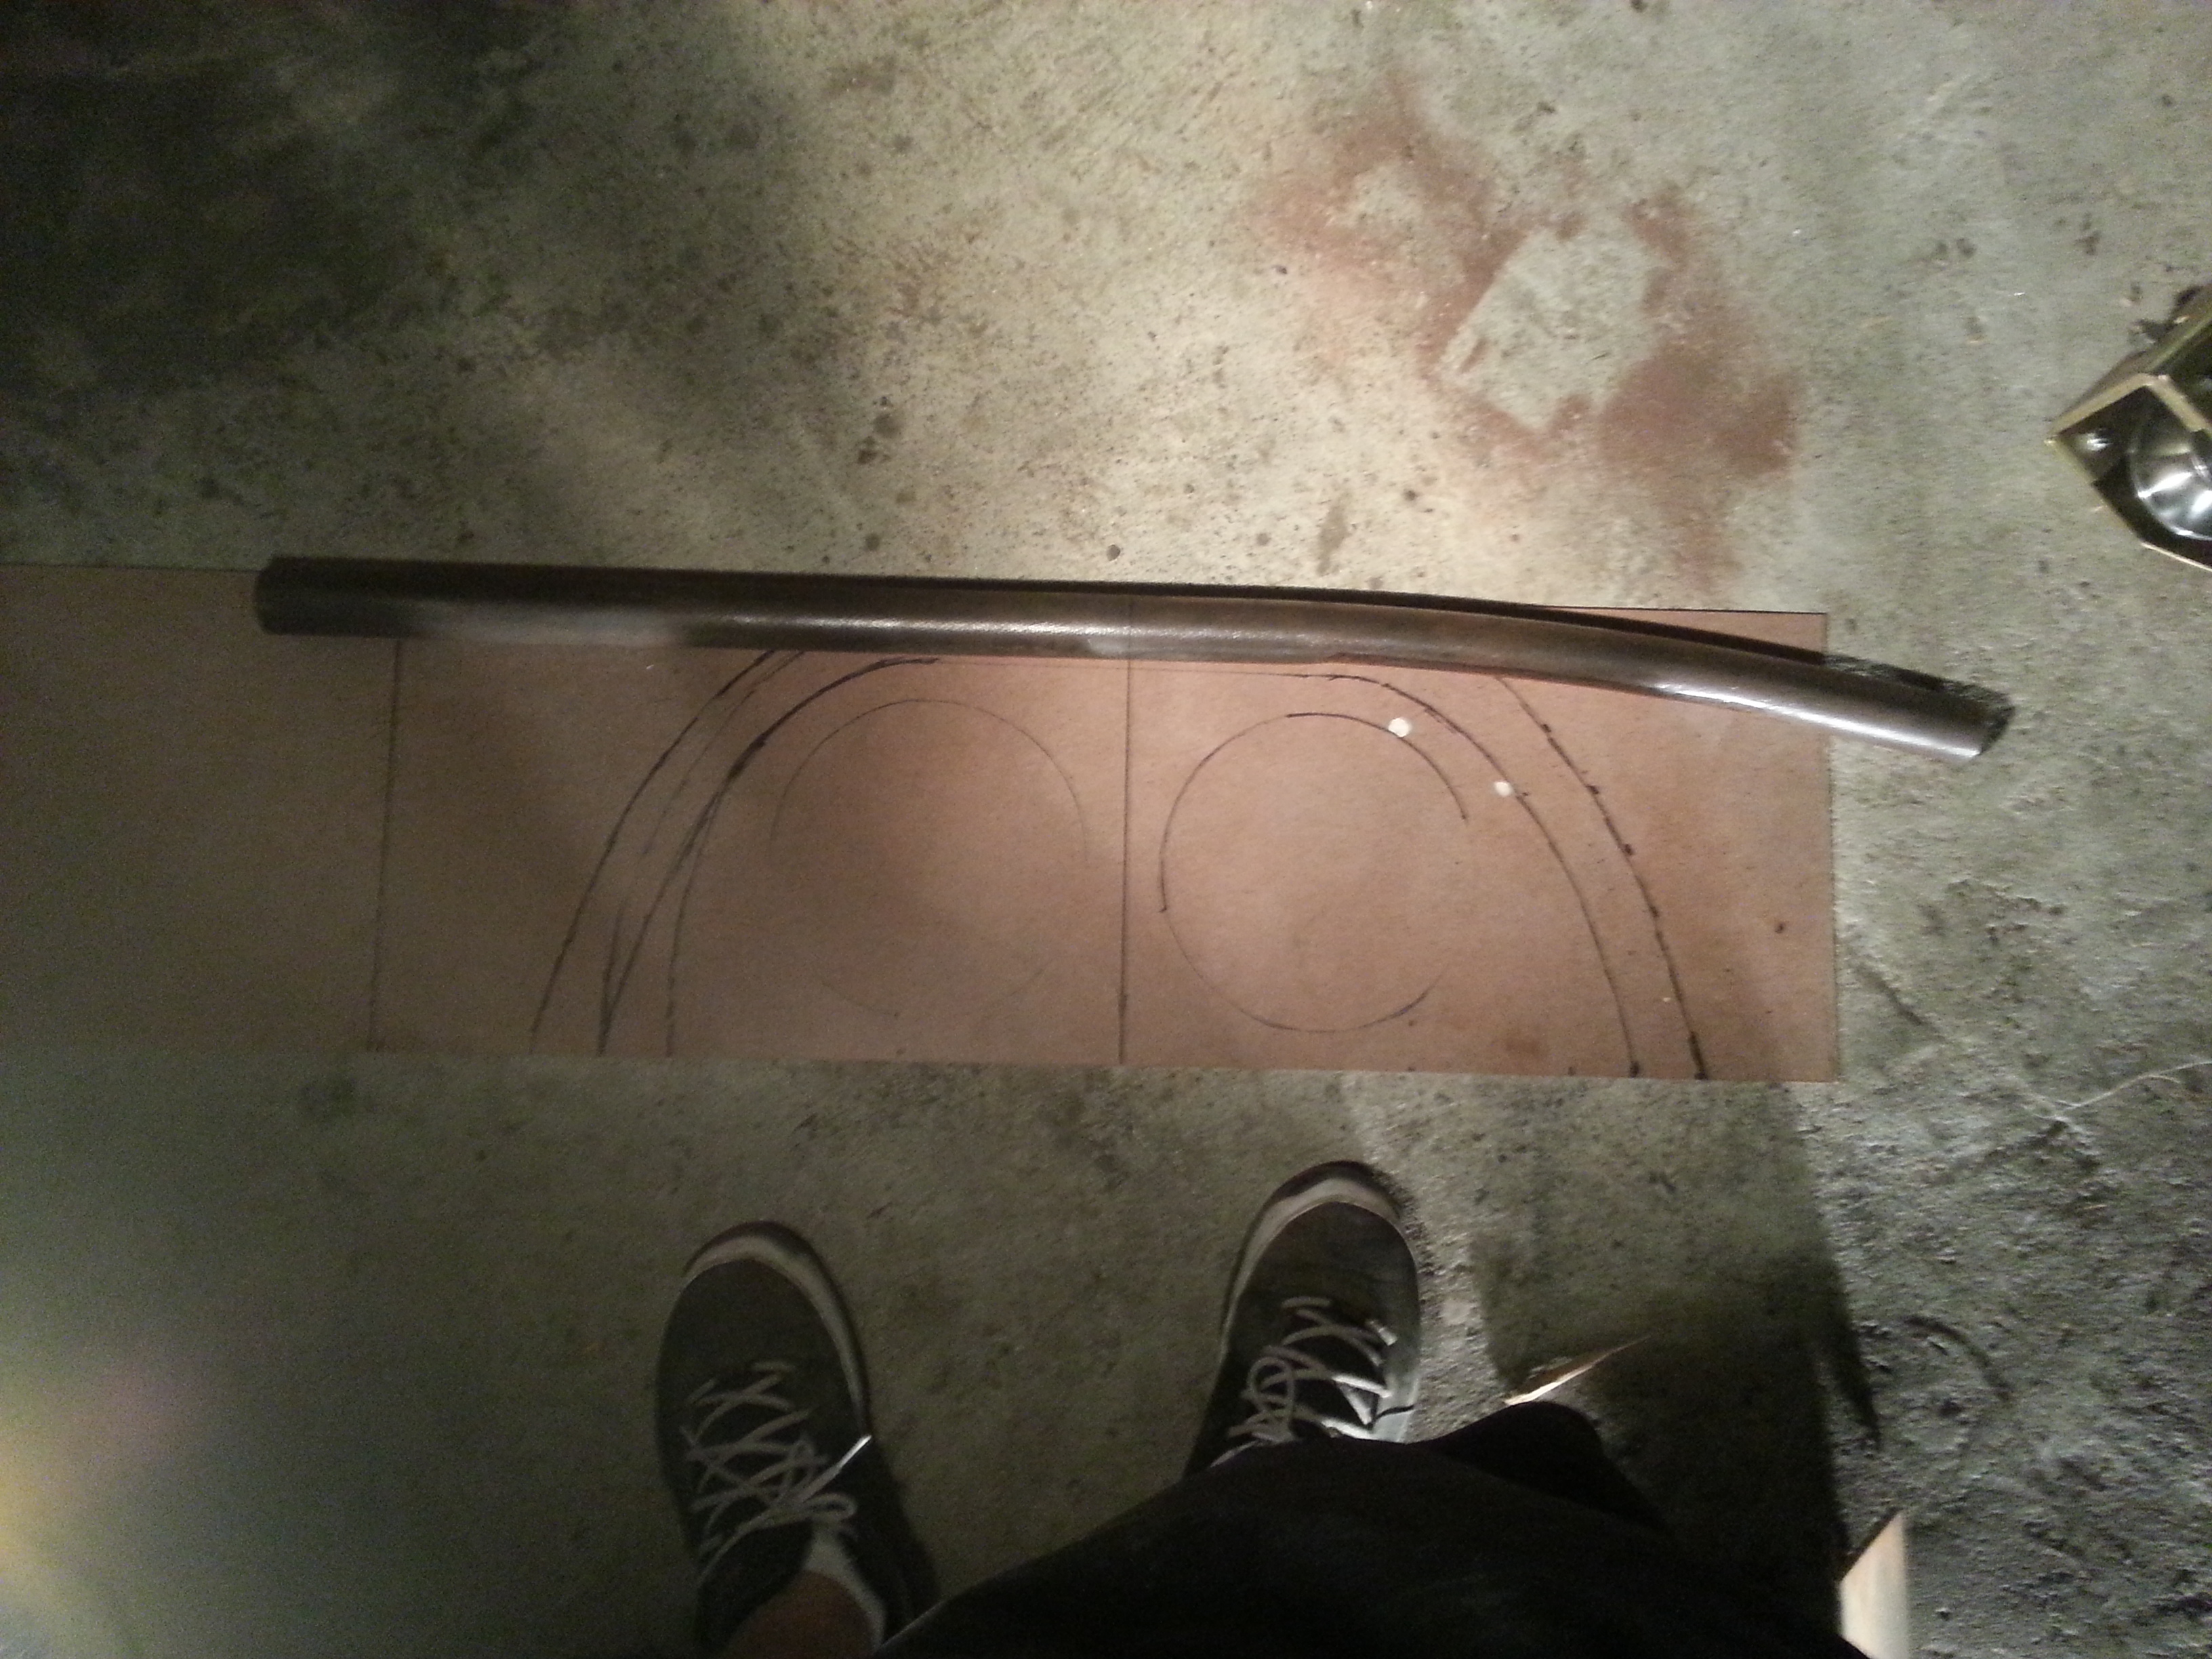
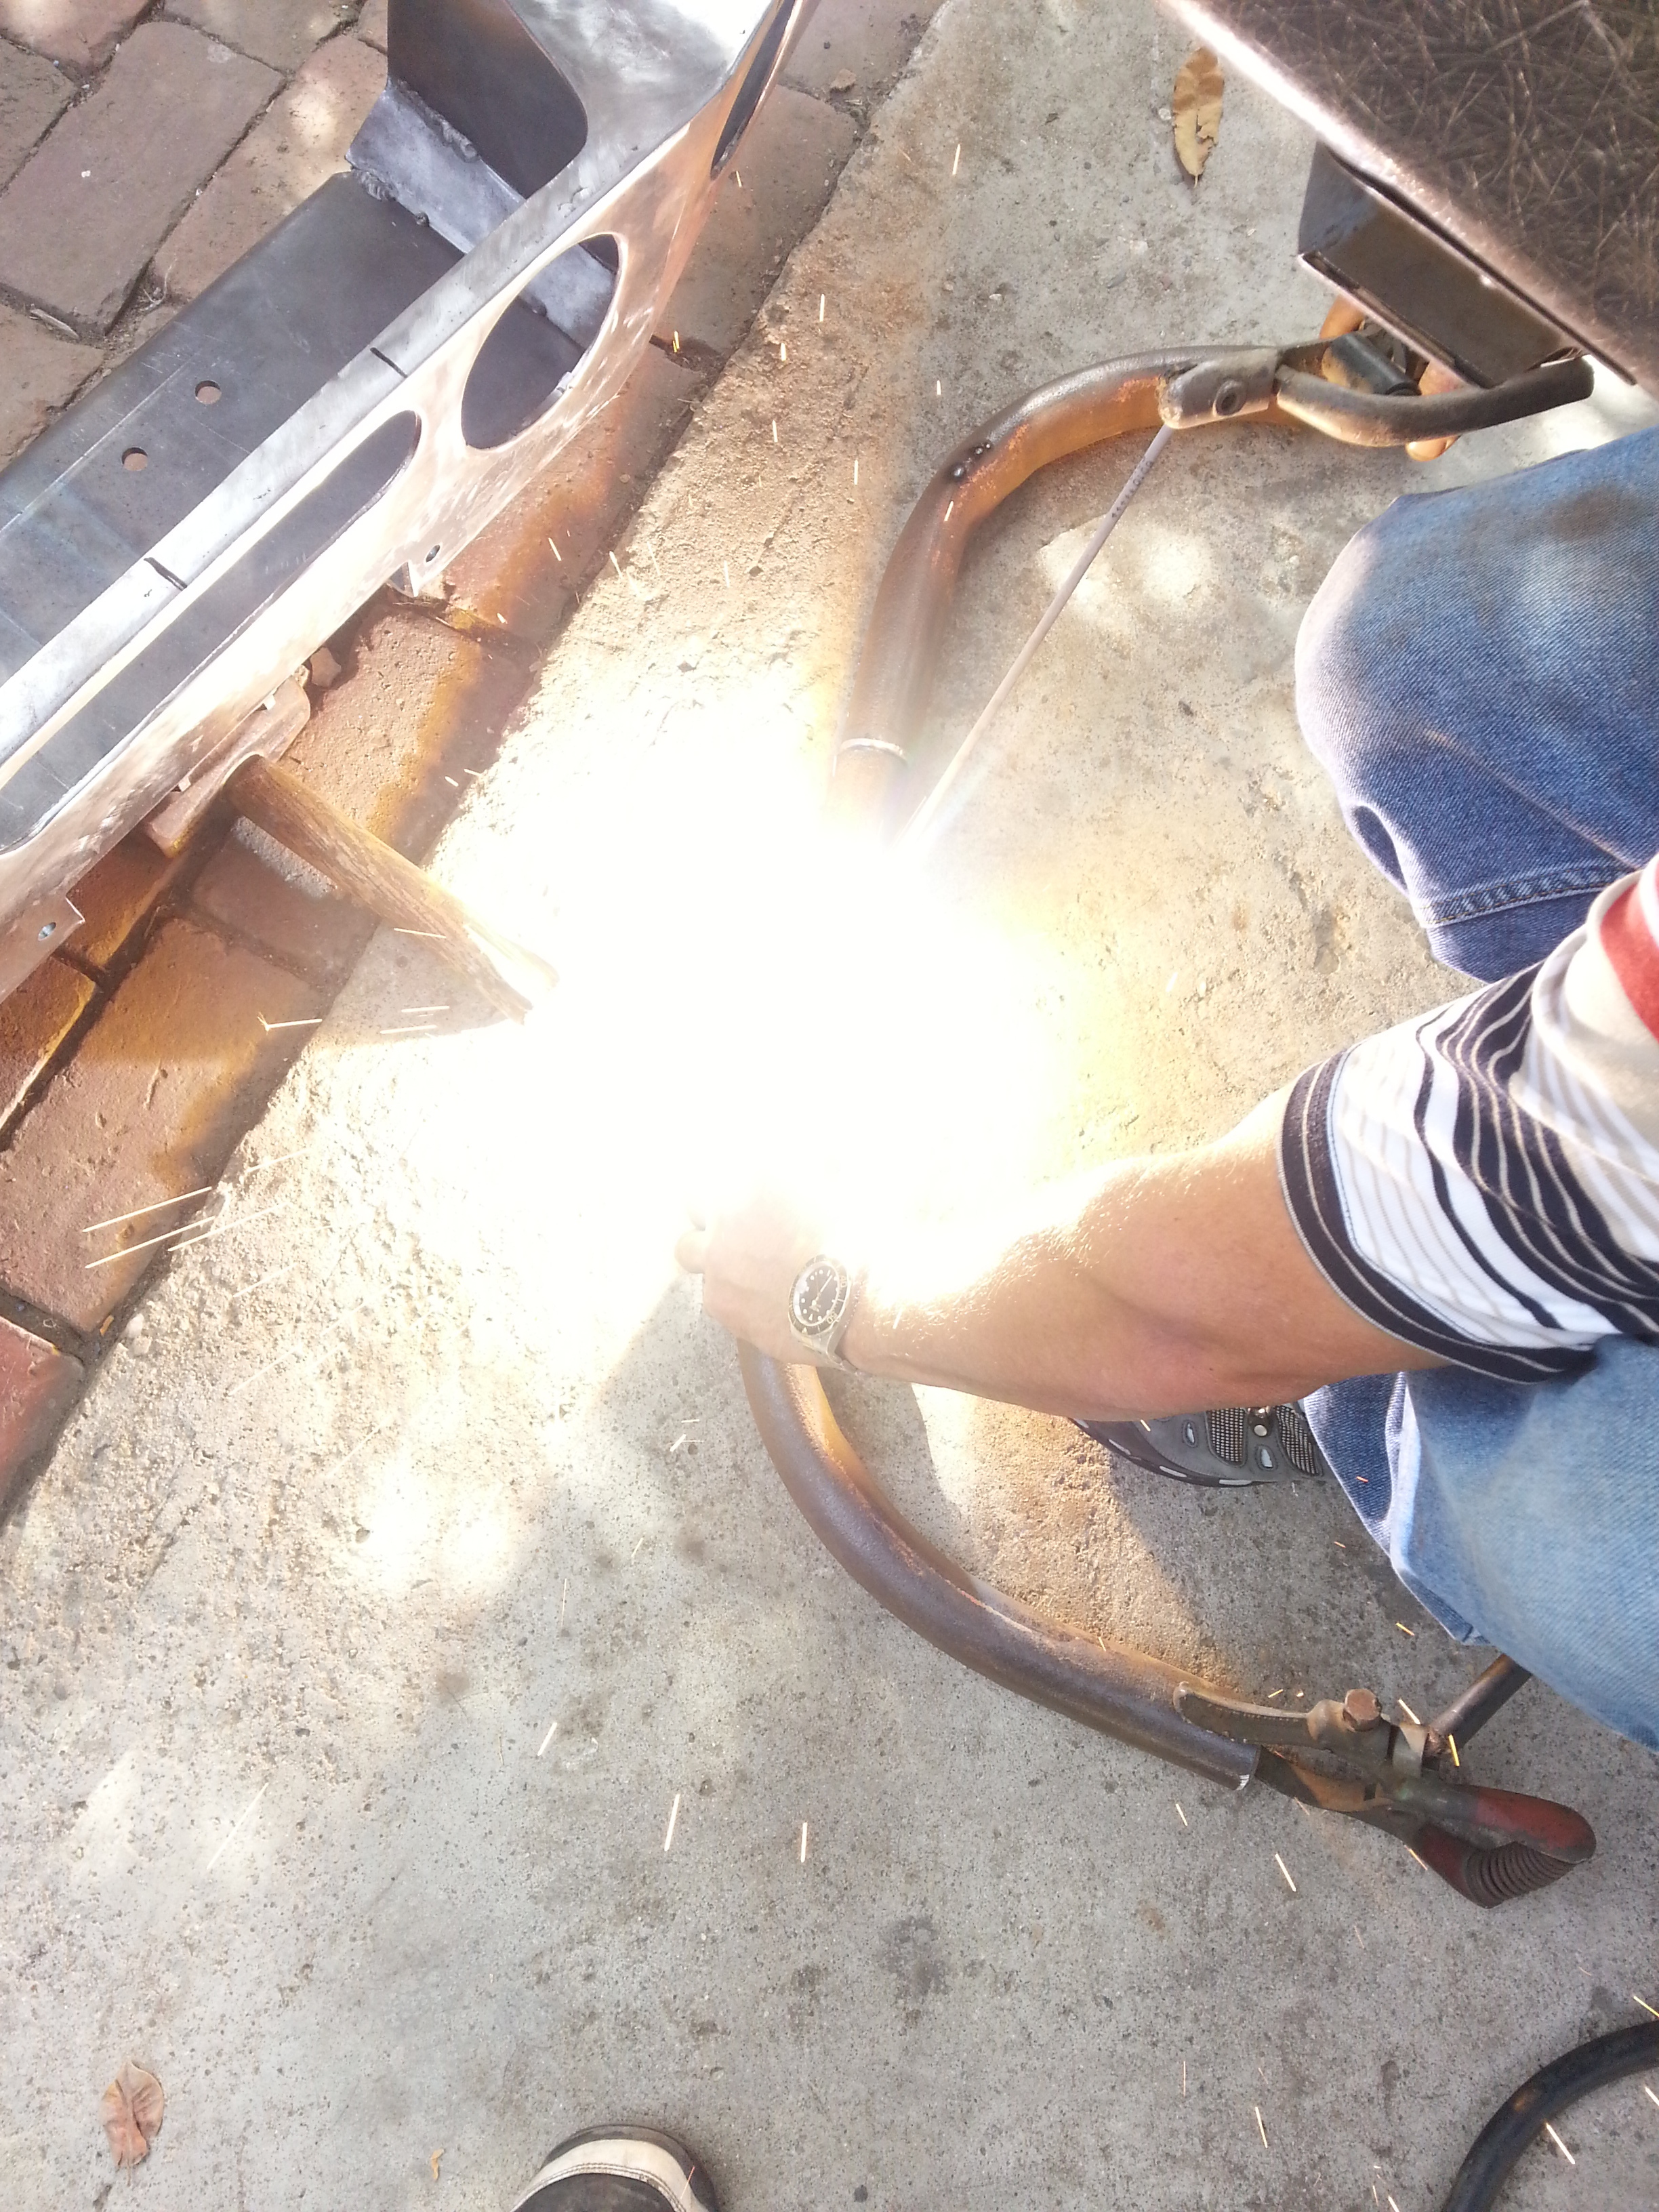
After 20 minutes of working that tube bender this is all we could do. lol I have to admit the tube bender works. but this product isn't very good for bending thick tube like this one. I'm sure it would work flawlessly for something thinner. But i want to make sure this grill guard isn't going to bend straight through my grill and through my radiator if i am ever to get into an accident. I want to make sure it will take a hit like a champ. And protect my front end. that's the whole point of making this bumper. So We are gonna skip working on this for tomorrow and jump back on it Saturday. We are going to use the Acetylene torch to heat up the metal then bend the tube. We are both sure that once the metal has been heated up the tube shouldn't have any problem bending anymore.
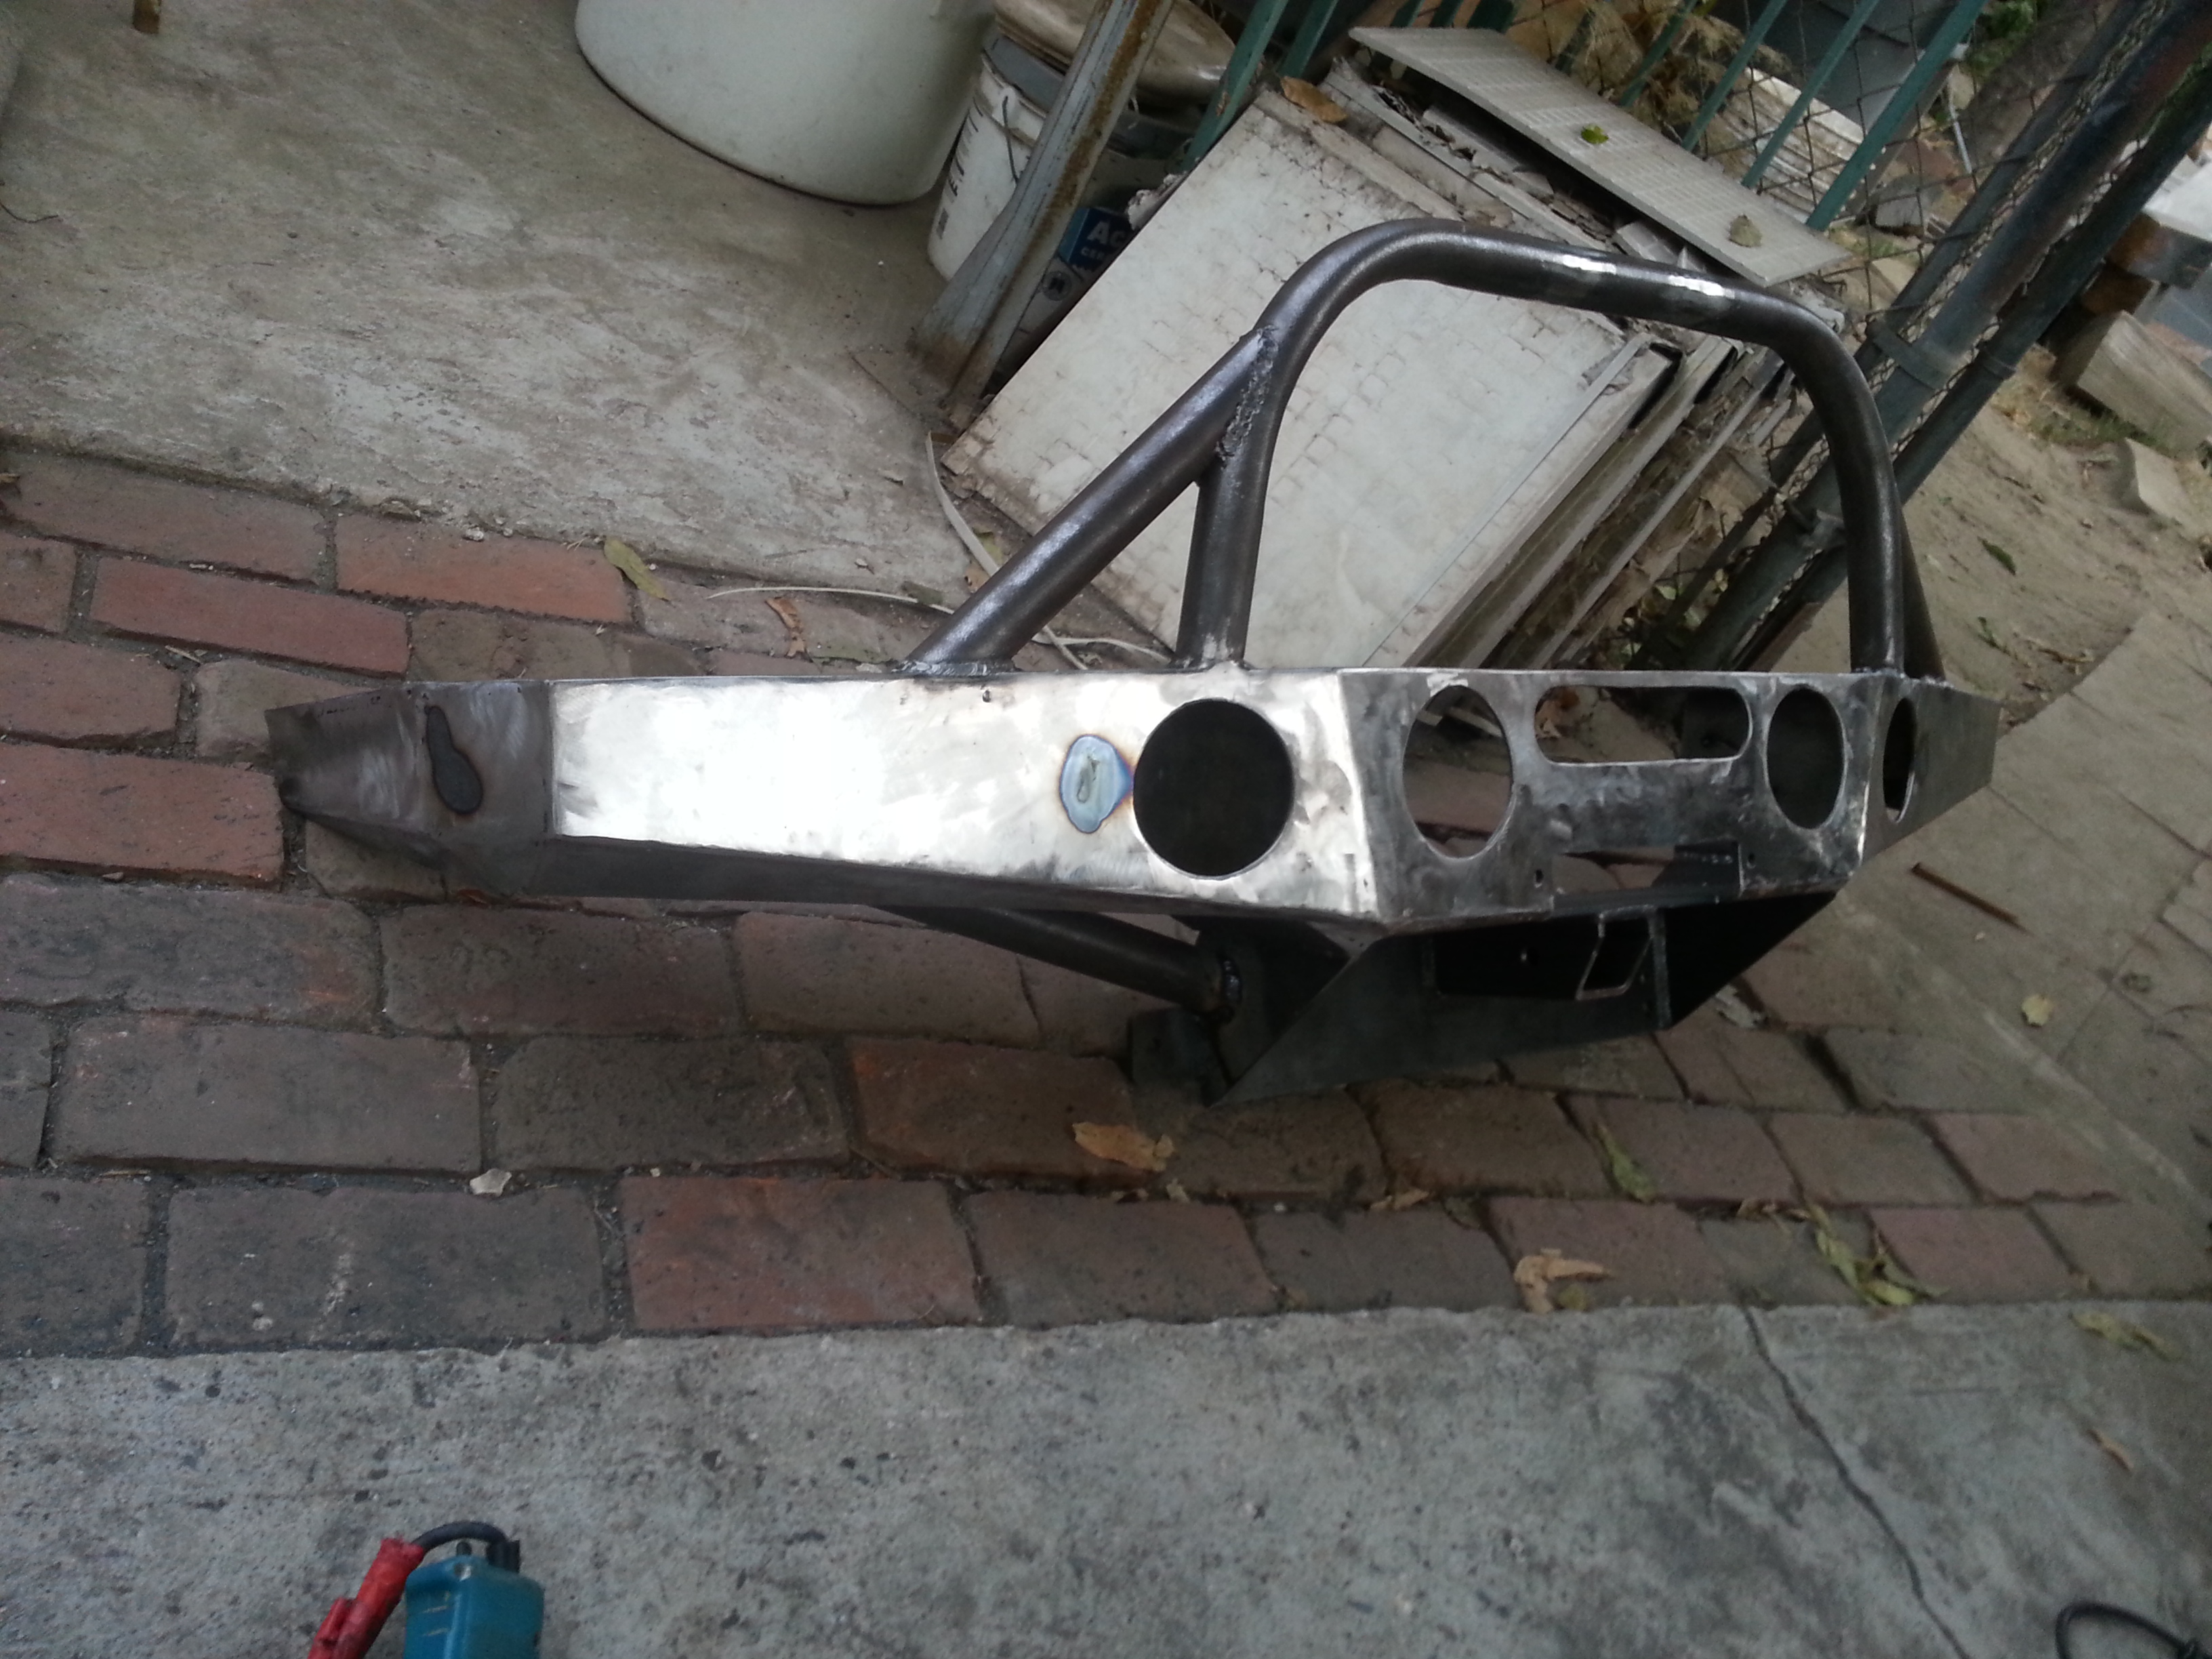
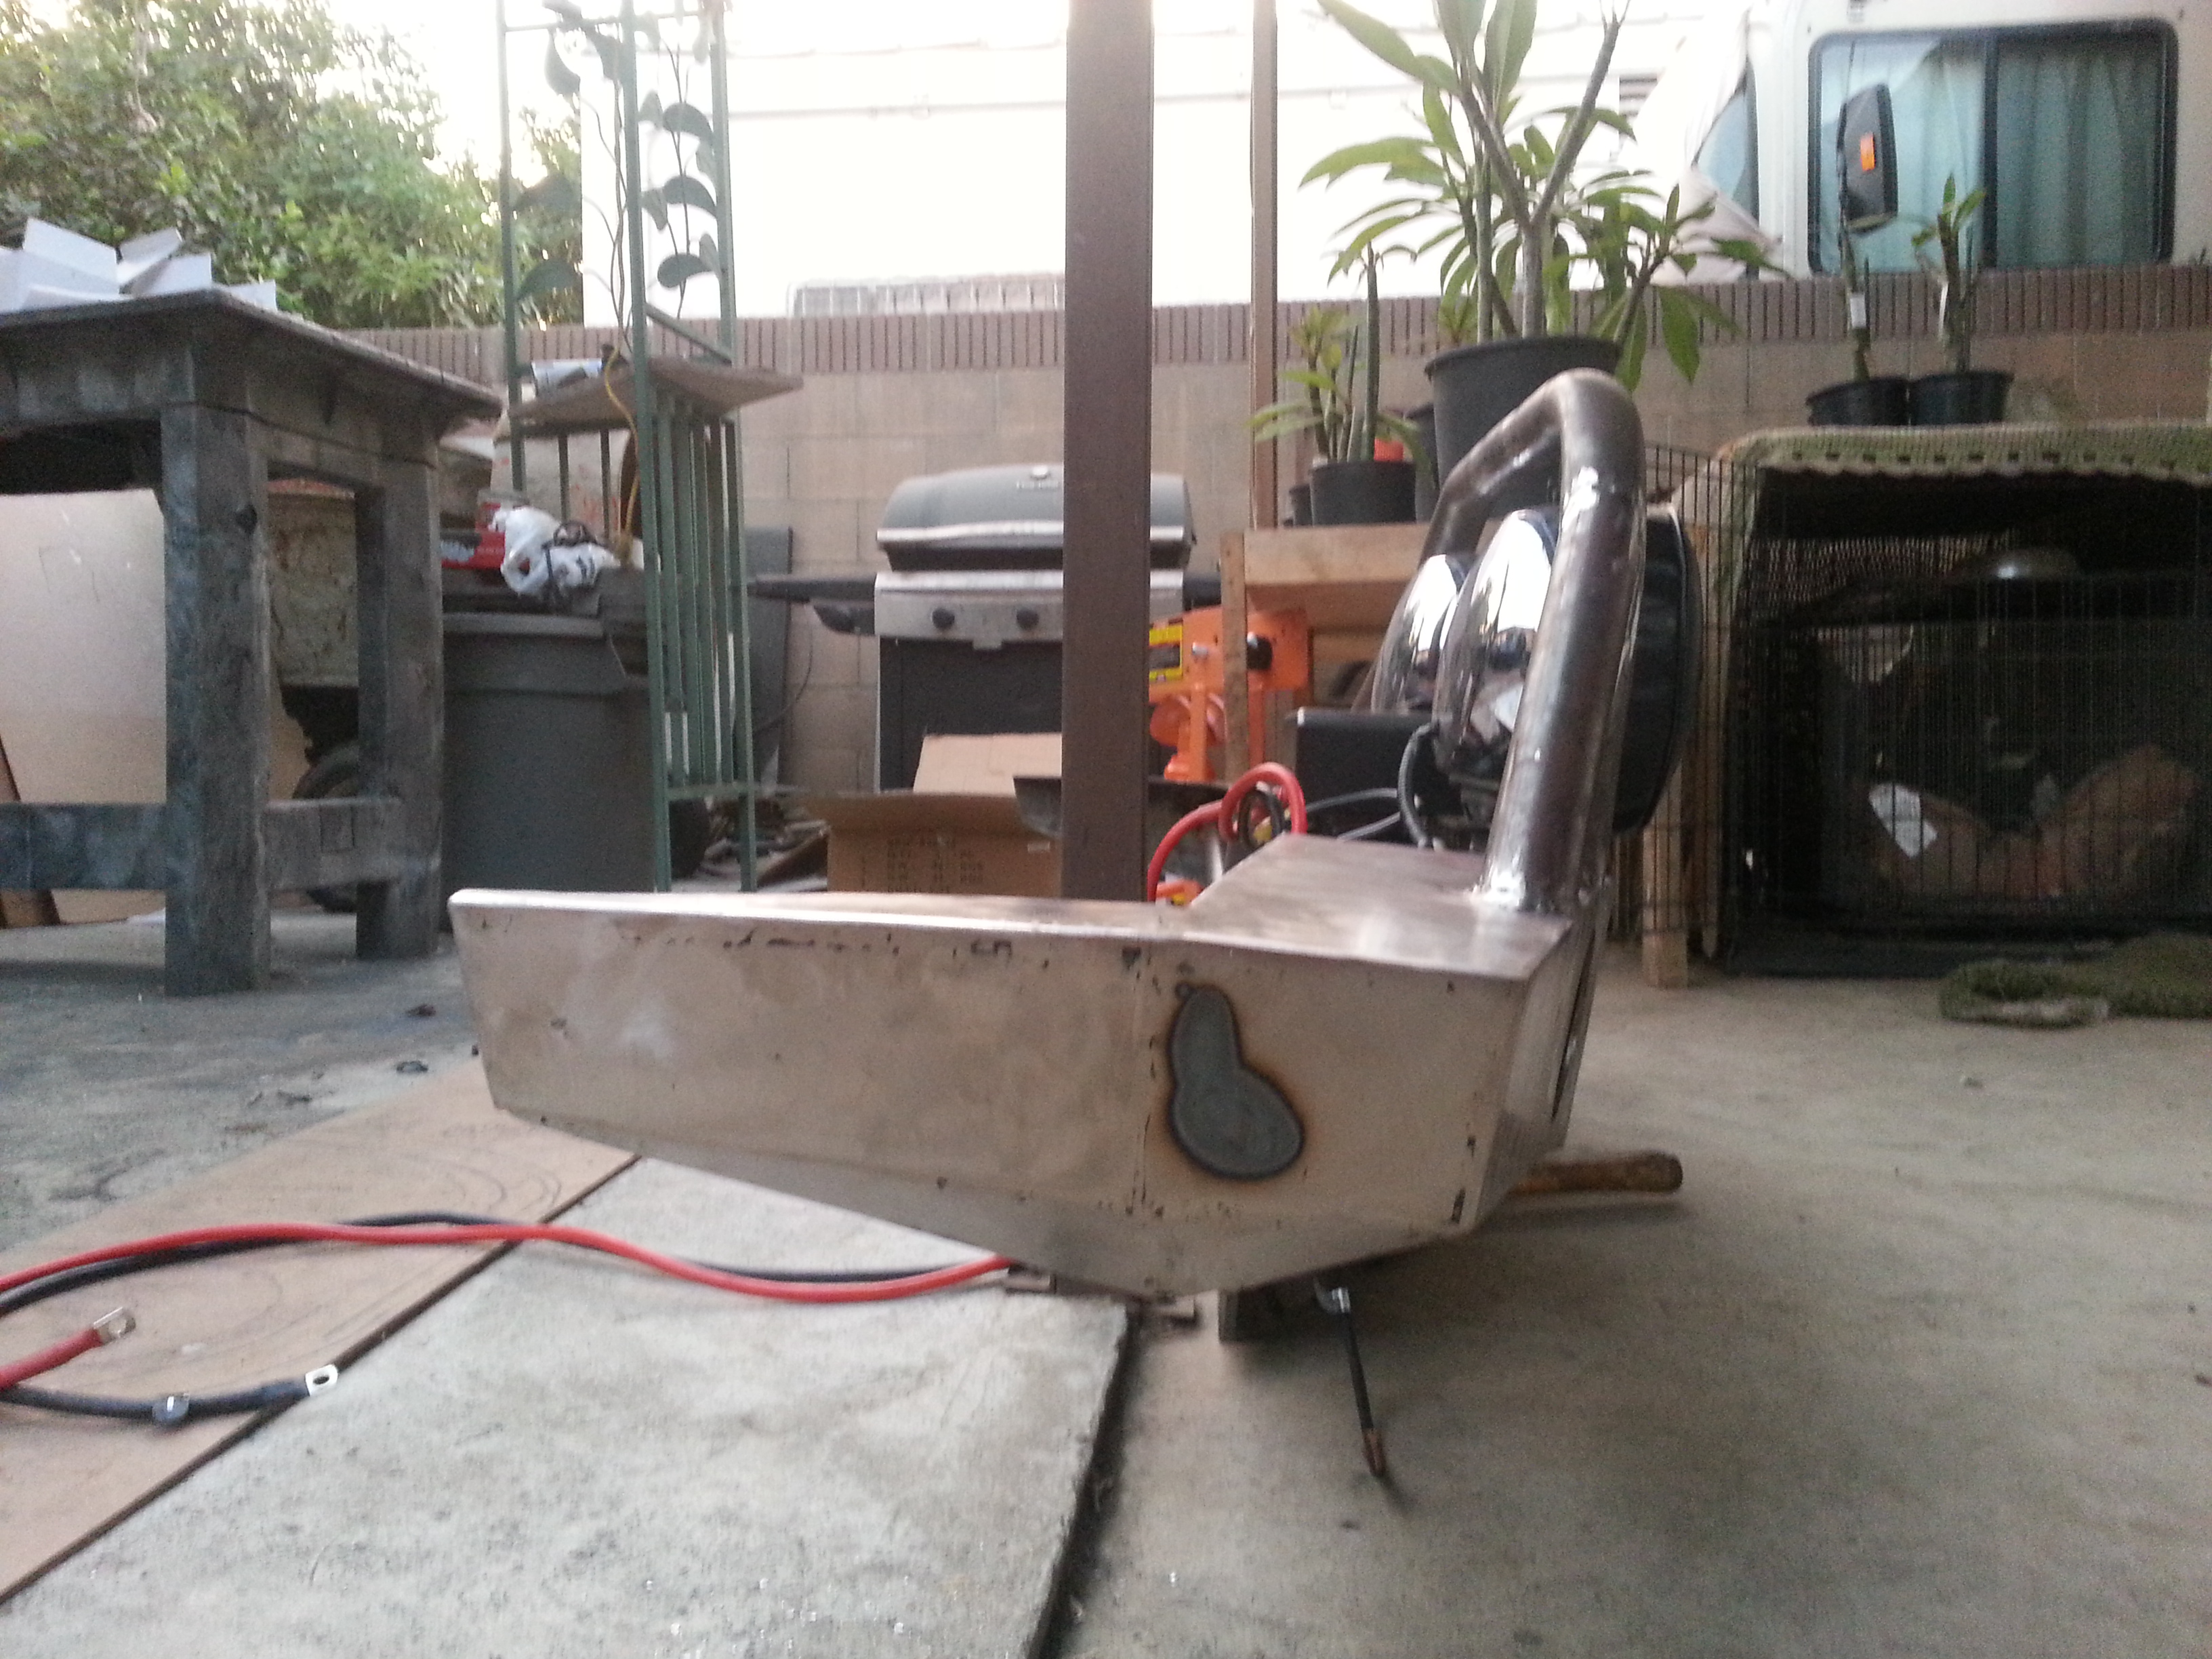
Btw don't let the curves scare you. Once the gussets are installed on the sides the center pipe wont look so funny. And in case you are wondering the center hole area where the 8" lights are gonna be is going to have a height of 10" from the top of the bumper to the bottom of the tube. So the top of this grill guard will not be much taller then the front of my hood. Will probably pass it up by 0.5-1" if any.
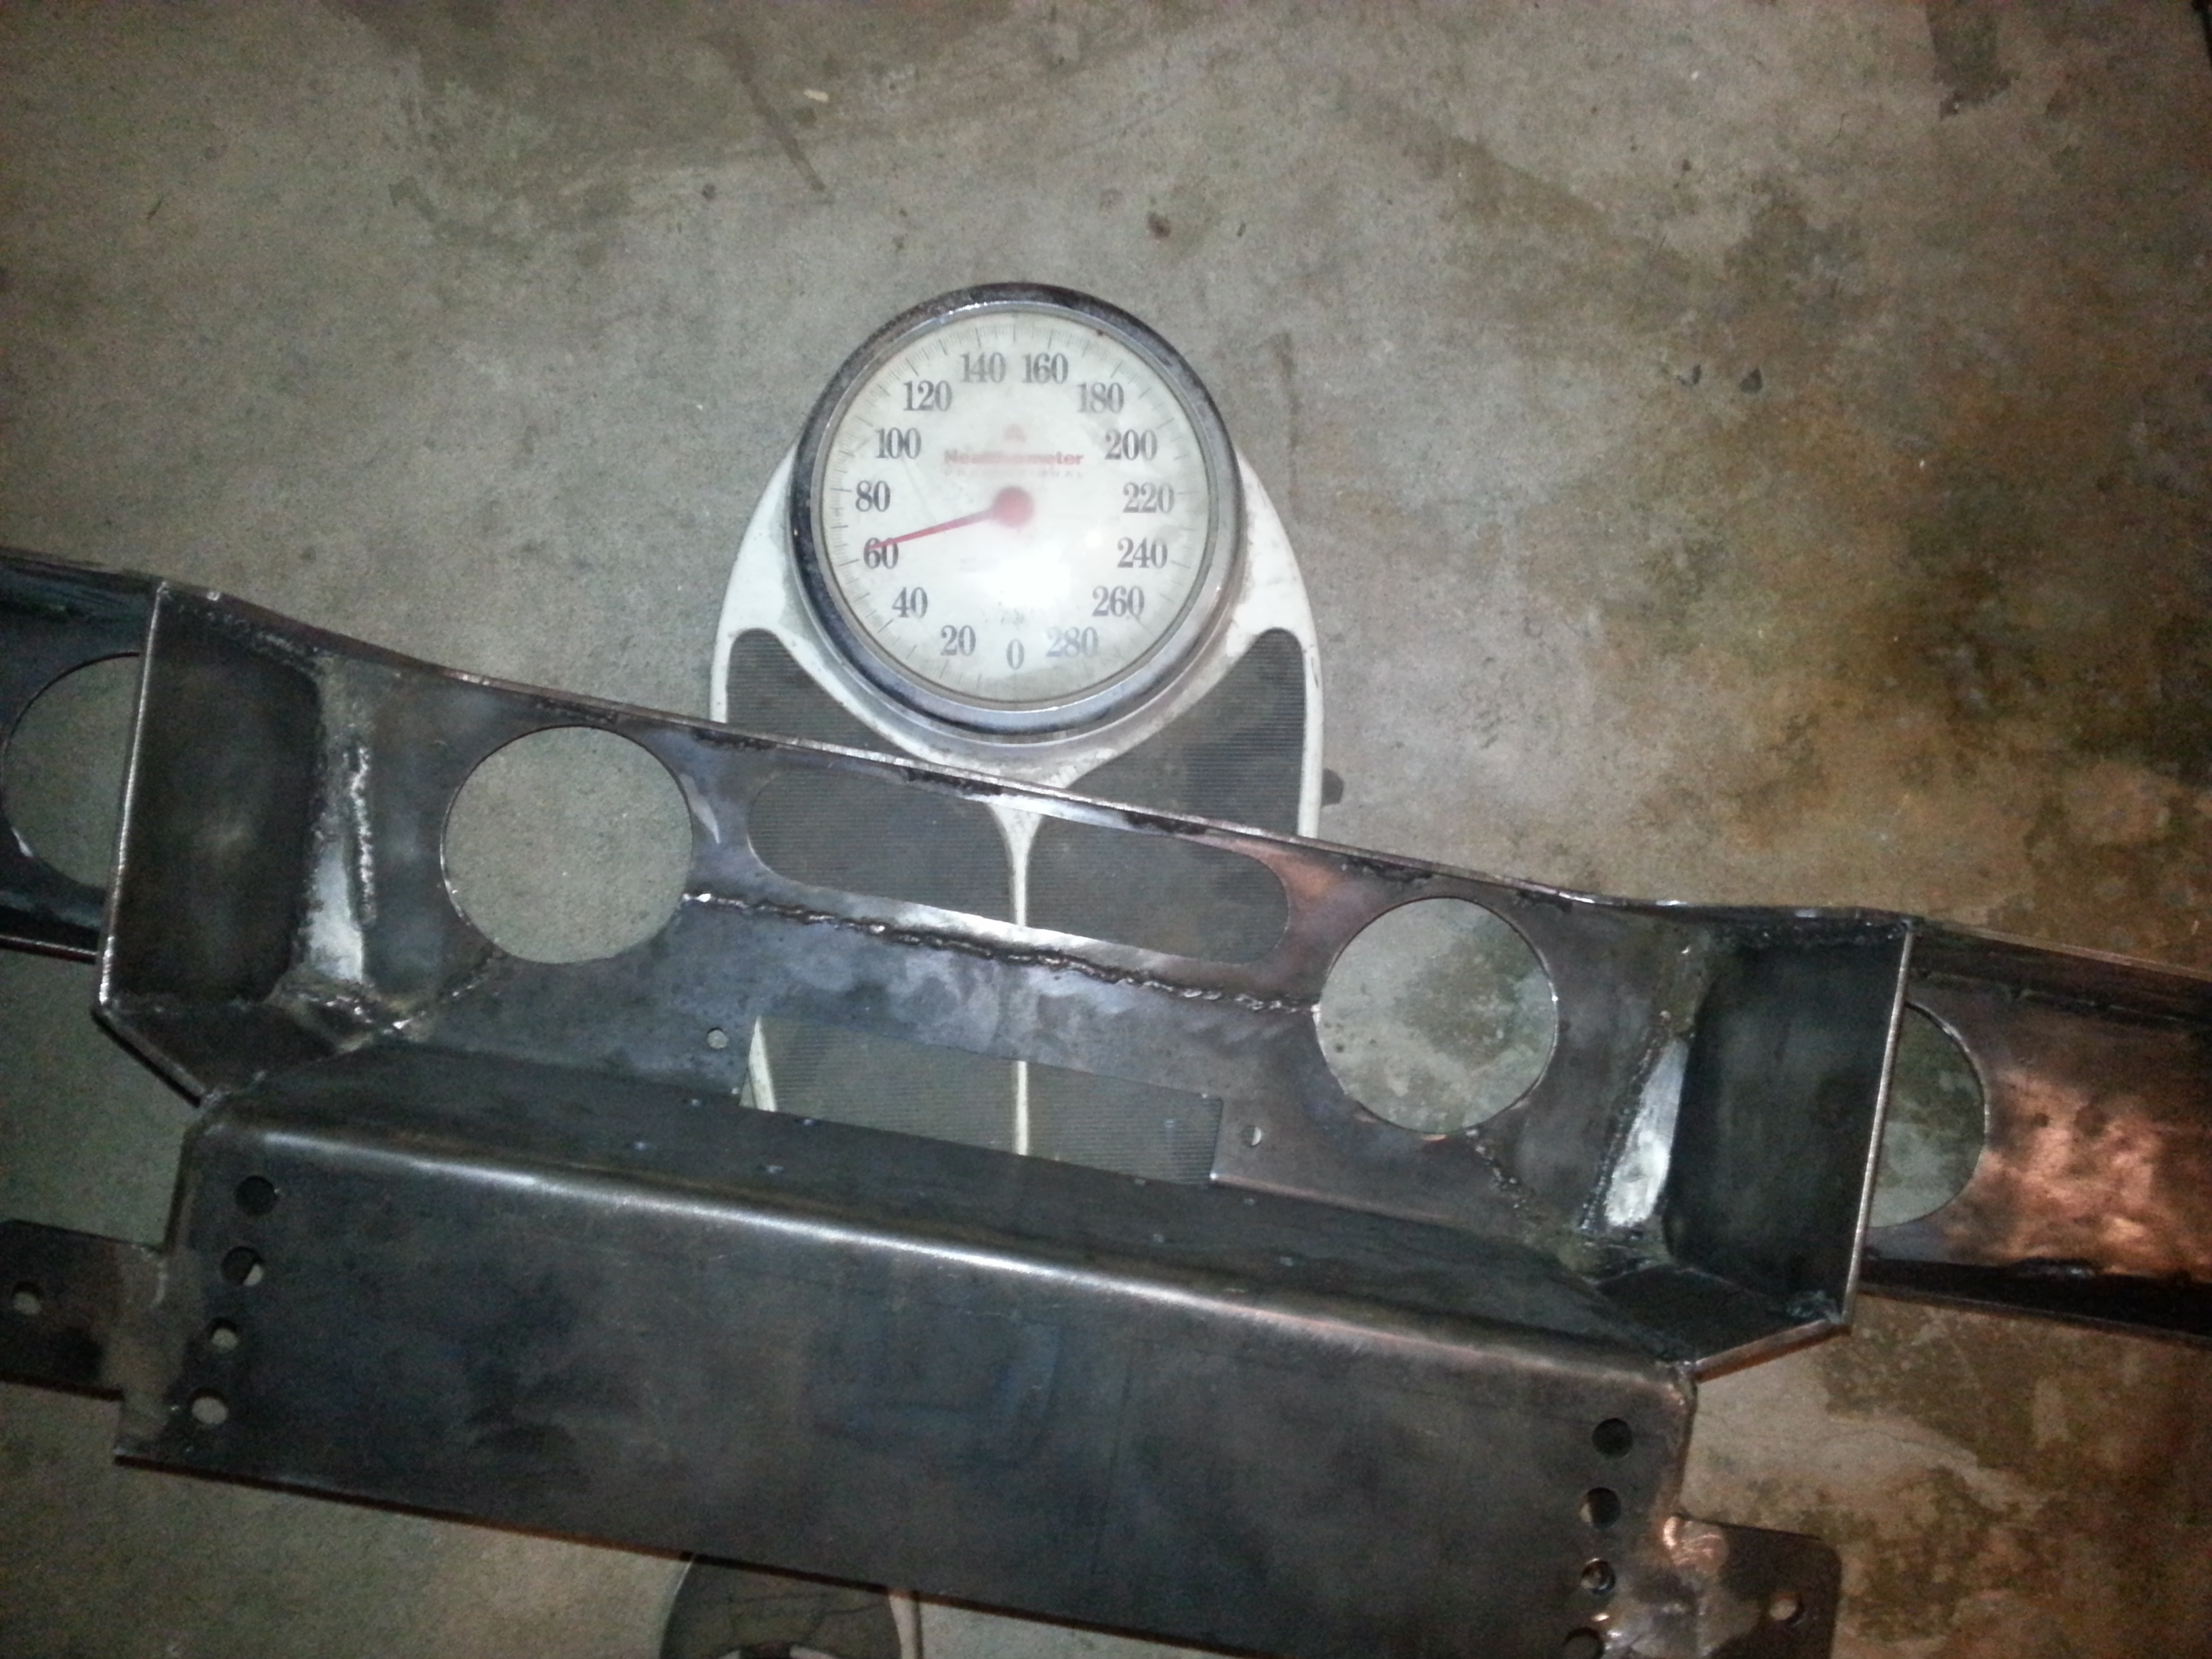
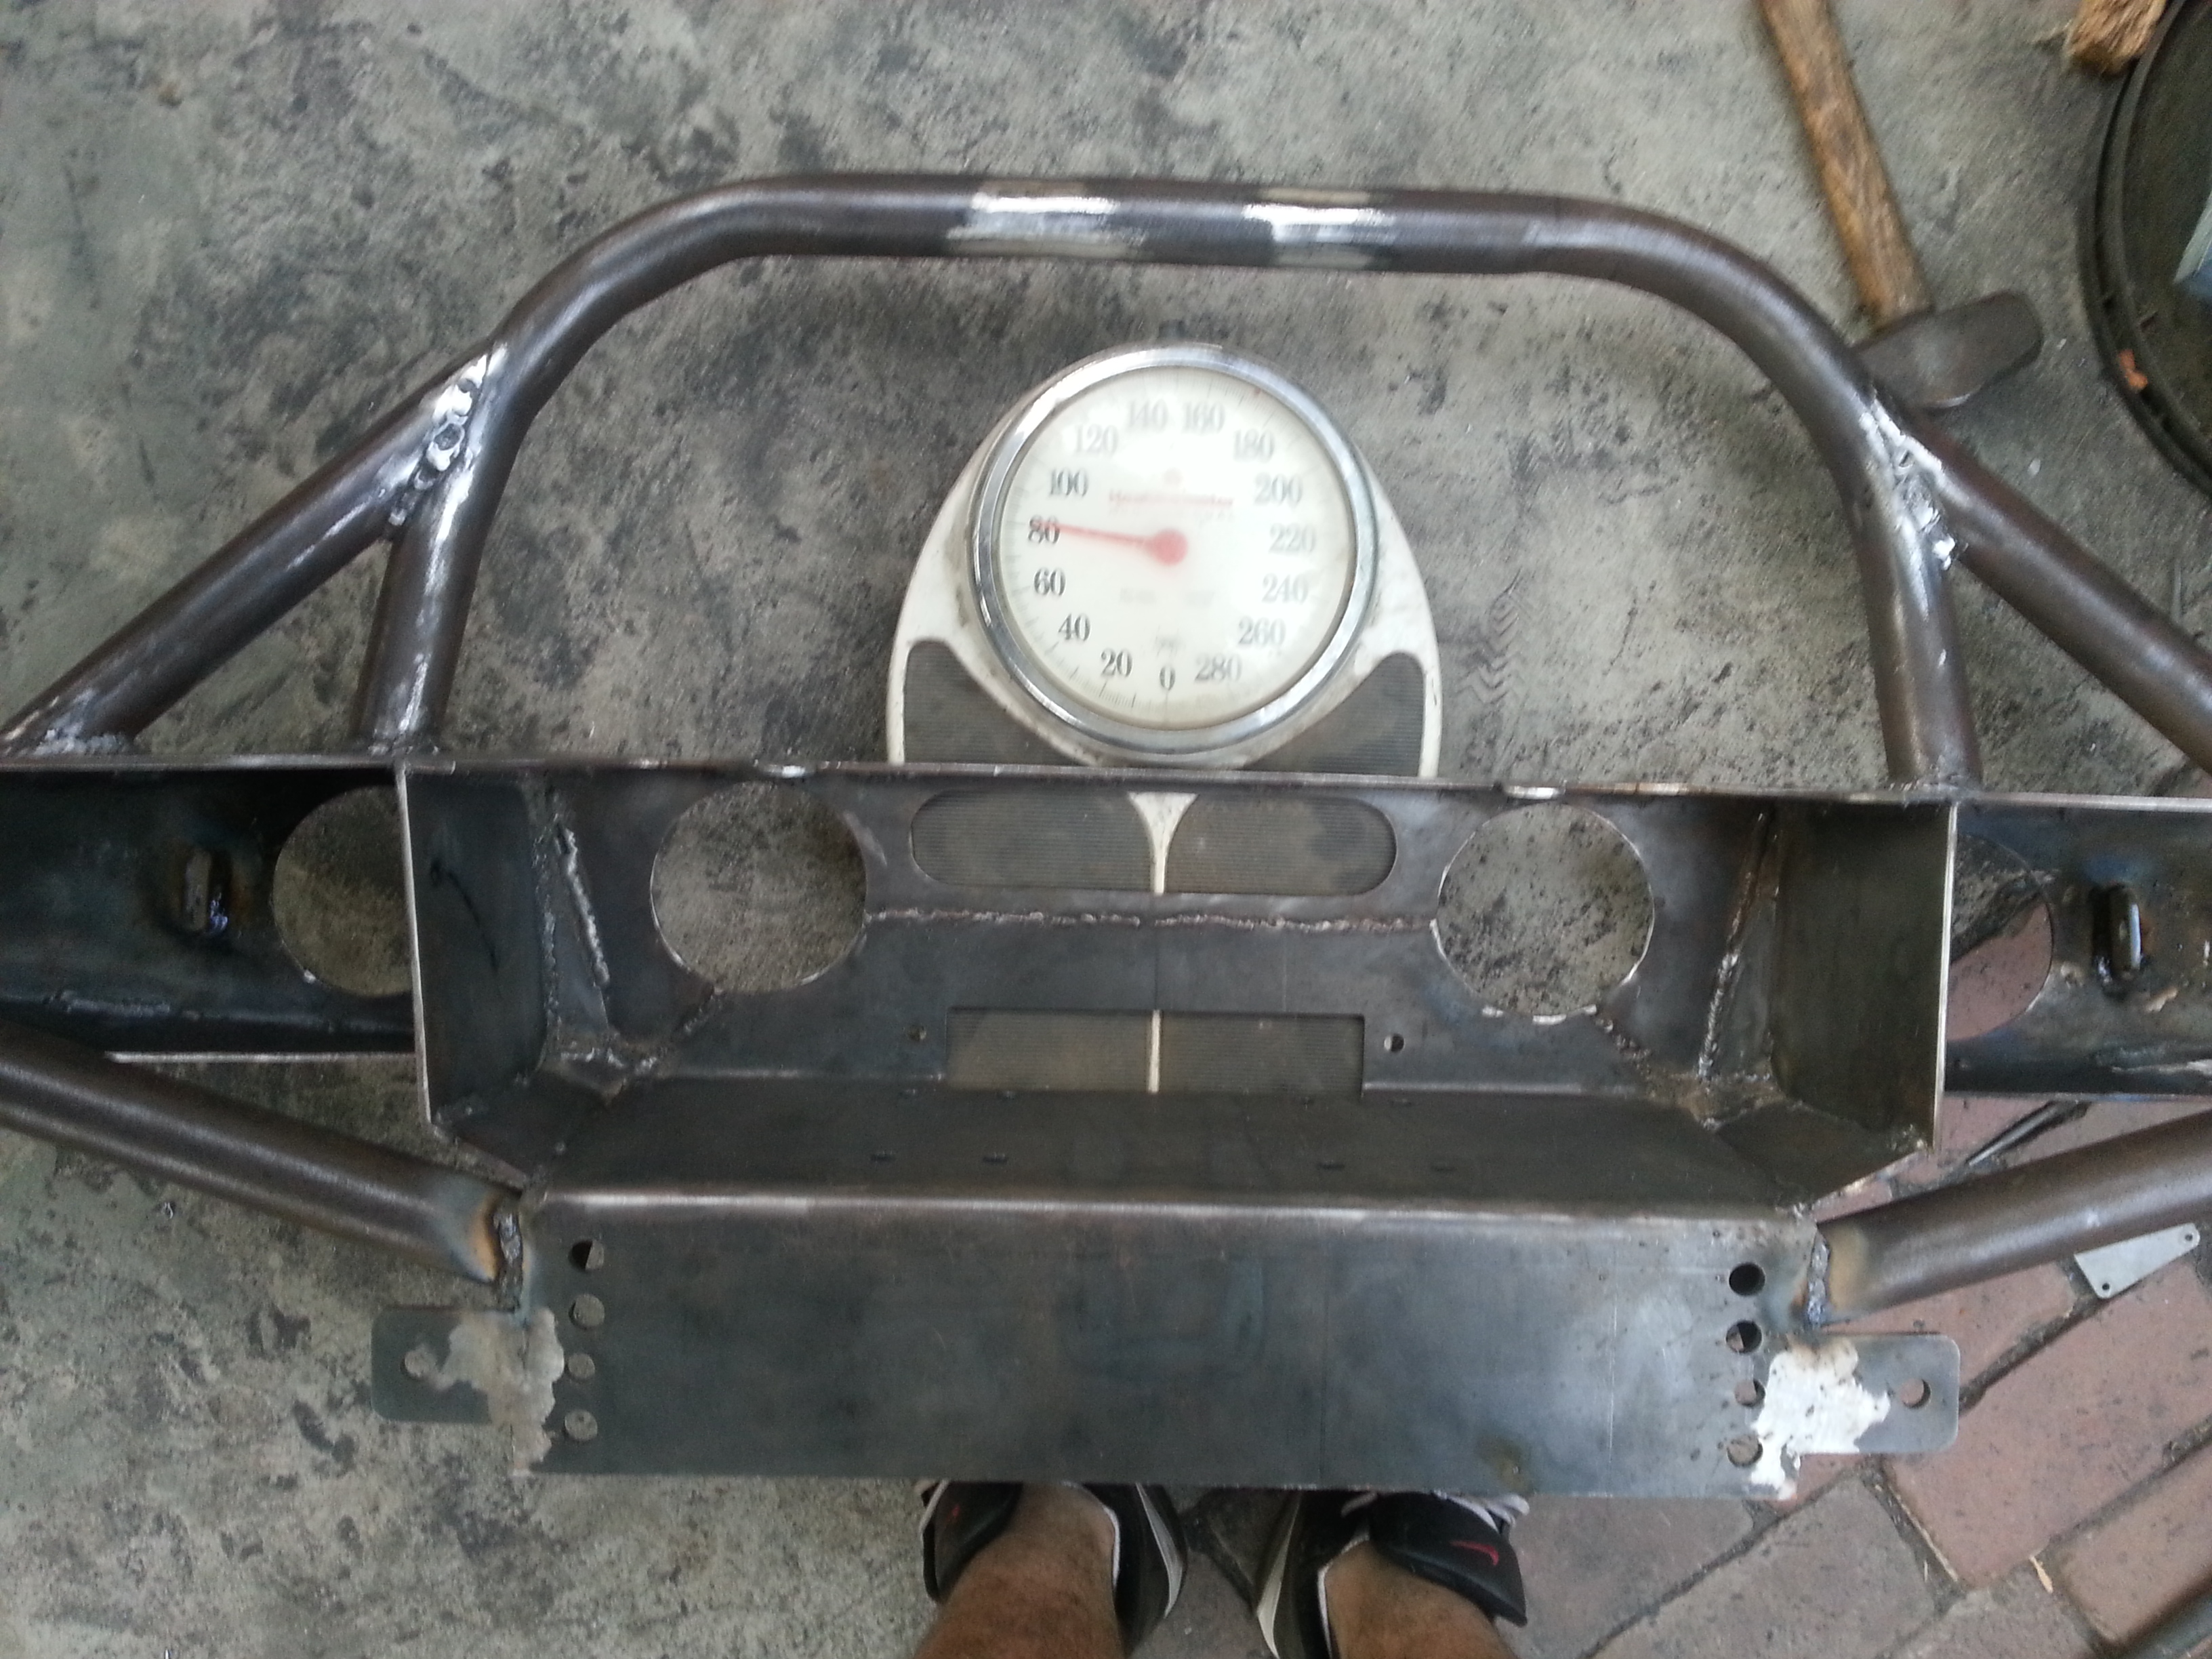
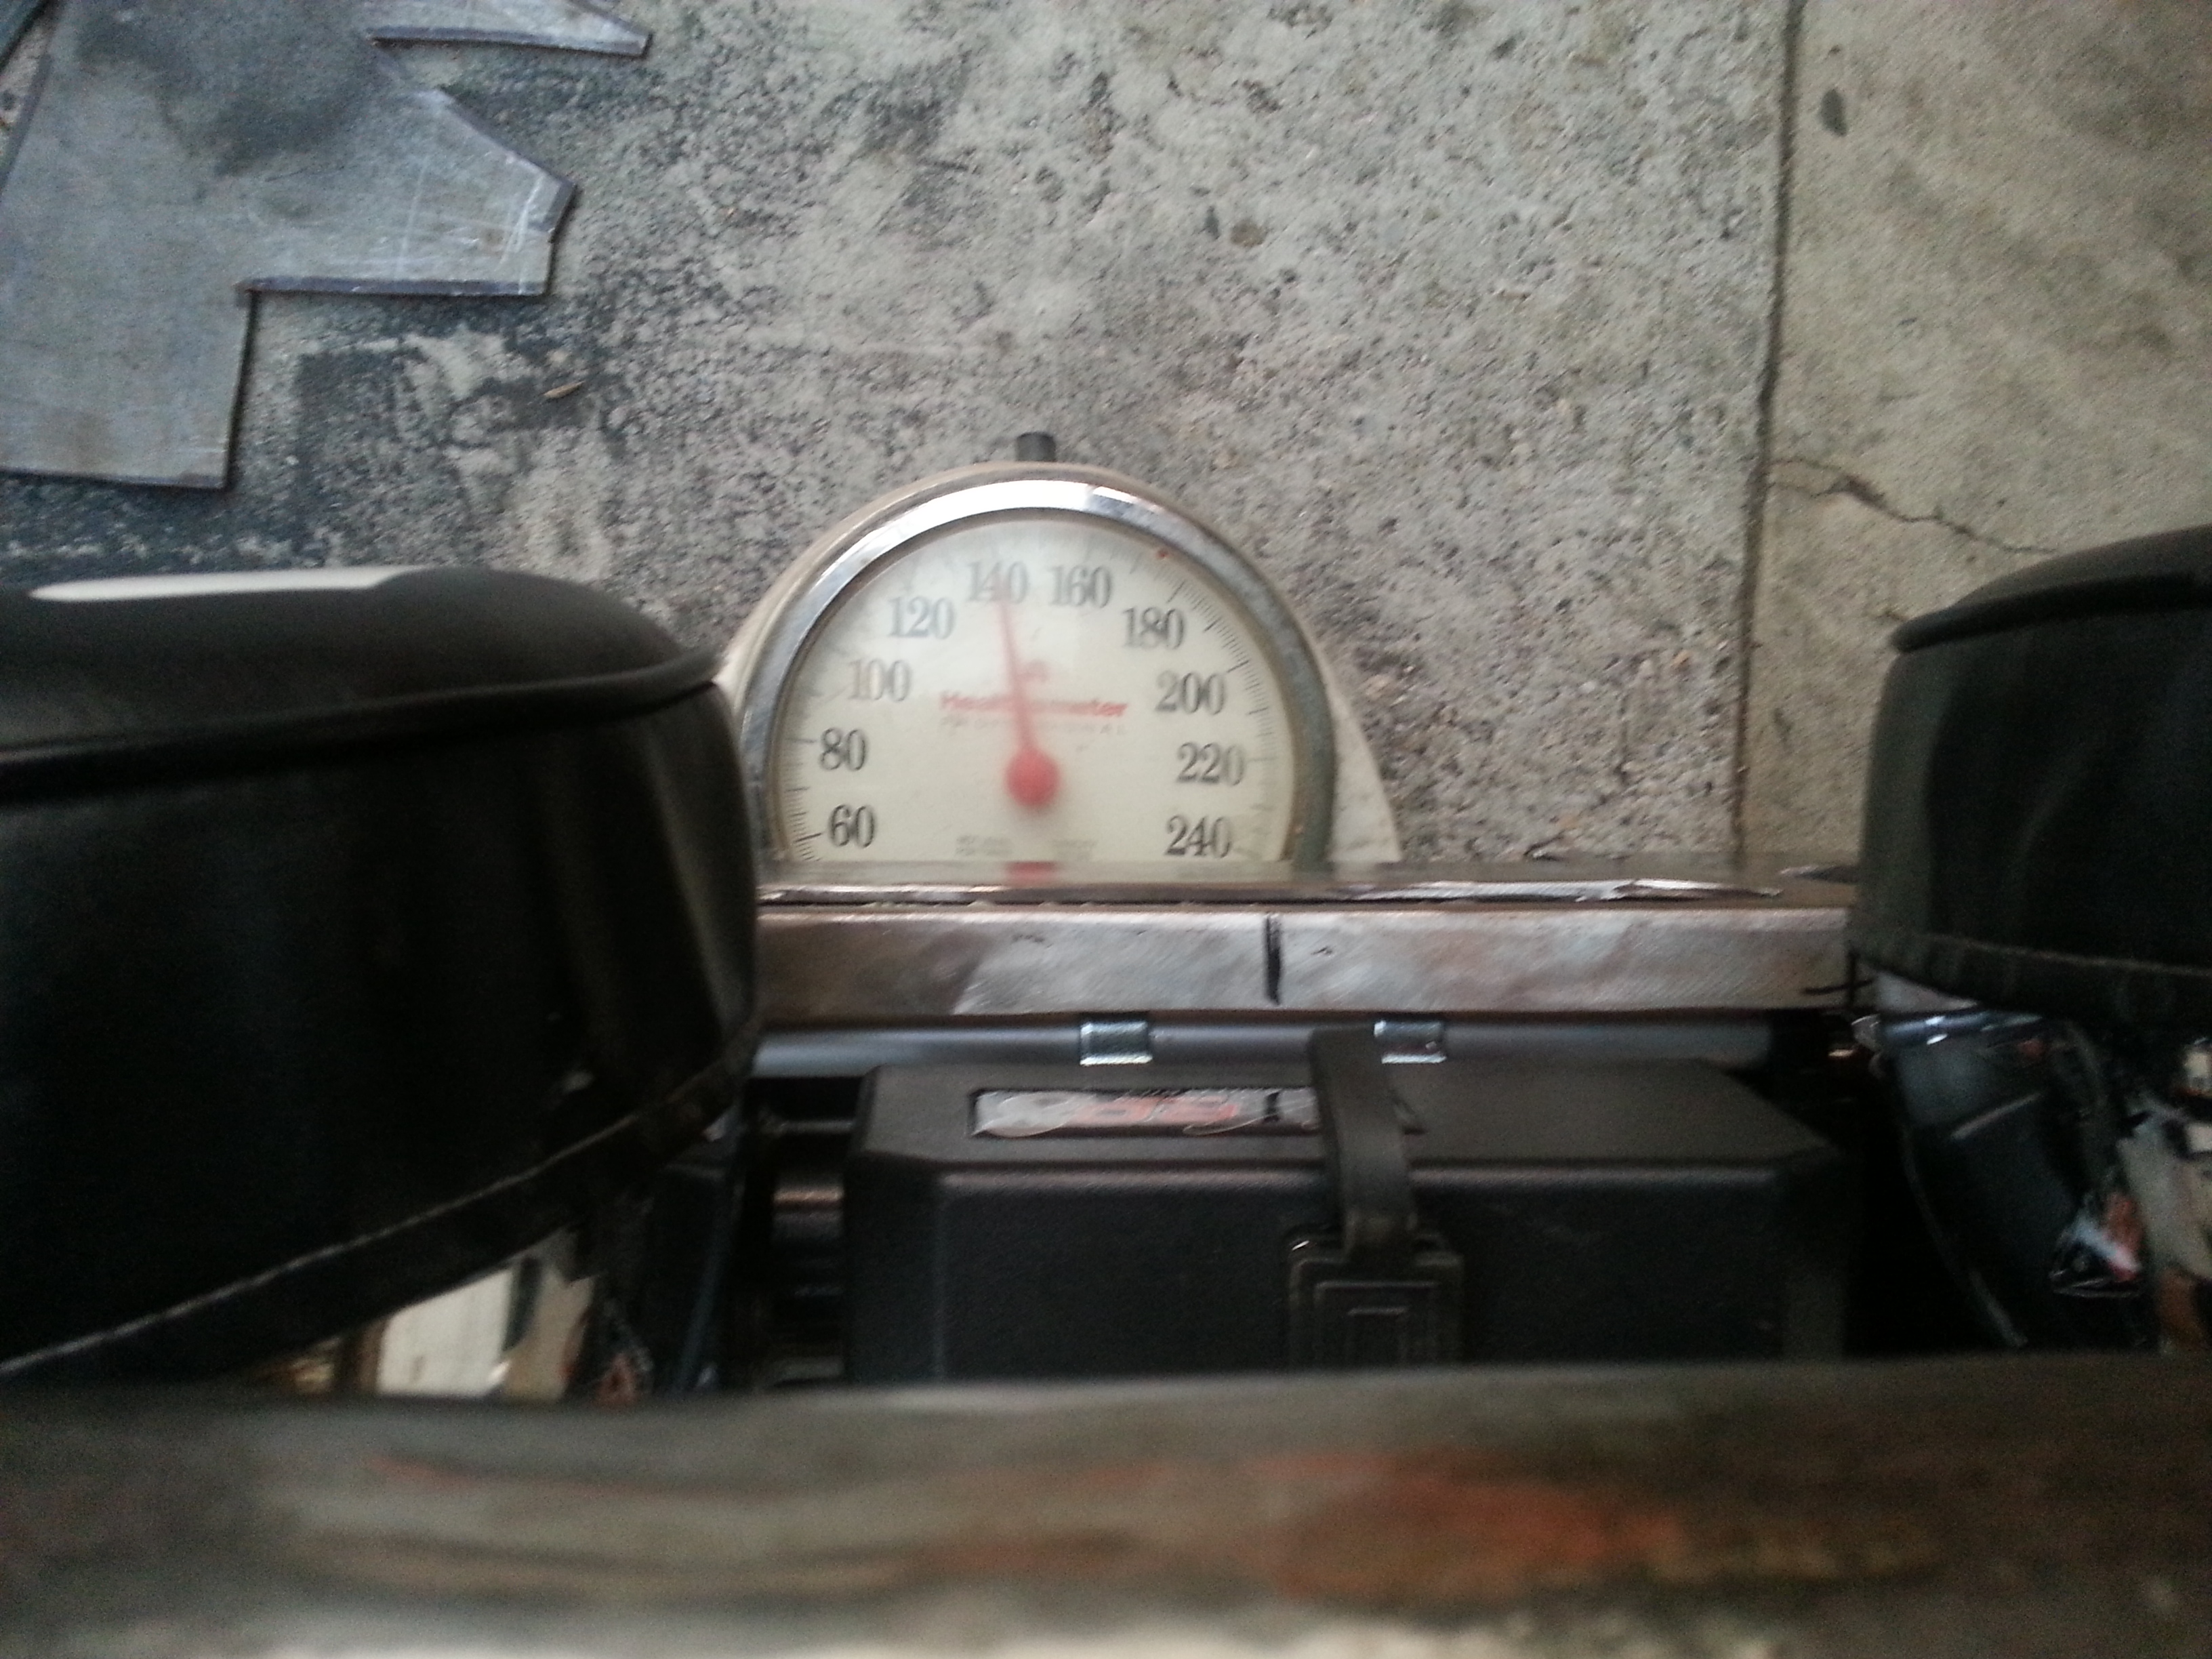
Also decided to weigh the bumper as it currently sits for you guys. I know i had a couple of friends/family and yotatech people ask me on my build thread how heavy this is.
So it's currently weighing at about 63 pounds.

Went digging in my dads pile of metal in our back yard and found two 21ft pipes that were about 3/16 or 1/4" thick. This sucker was super heavy! and to top it off it was rusted to hell all over the exterior! and im sure inside too. but the steel is still good underneath. Nothing that cant me sanded off with the wire wheel.


Dad says the tube is 1&1/2" thick but it looks more like 1&5/8" to me lol

Gave my dad my design blueprint and let him work his magic with his mathematical skills. lol

We measured the exterior line with a tailor's measuring tape. came out to be 43".

Grabbed the chop saw and cut the measured piece

43" tube cut already and i passed the wire wheel all throughout the surface.

After 20 minutes of working that tube bender this is all we could do. lol I have to admit the tube bender works. but this product isn't very good for bending thick tube like this one. I'm sure it would work flawlessly for something thinner. But i want to make sure this grill guard isn't going to bend straight through my grill and through my radiator if i am ever to get into an accident. I want to make sure it will take a hit like a champ. And protect my front end. that's the whole point of making this bumper. So We are gonna skip working on this for tomorrow and jump back on it Saturday. We are going to use the Acetylene torch to heat up the metal then bend the tube. We are both sure that once the metal has been heated up the tube shouldn't have any problem bending anymore.
Btw don't let the curves scare you. Once the gussets are installed on the sides the center pipe wont look so funny. And in case you are wondering the center hole area where the 8" lights are gonna be is going to have a height of 10" from the top of the bumper to the bottom of the tube. So the top of this grill guard will not be much taller then the front of my hood. Will probably pass it up by 0.5-1" if any.

Also decided to weigh the bumper as it currently sits for you guys. I know i had a couple of friends/family and yotatech people ask me on my build thread how heavy this is.
So it's currently weighing at about 63 pounds.

Last edited by Redeth005; Oct 24, 2013 at 08:10 PM.


 Oct 26, 2013 | 08:27 PM
#91
Thread Starter
Registered User
Joined: Apr 2012
Posts: 2,817
Likes: 2
From: Los Angeles CA
Damn guys I have a massive update awaiting to post. Gonna be 33 pictures. Unfortunately for you guys I've got a Halloween party I'm getting ready for so you guys are all gonna have to wait muahahahahaaa lol
All I can say is that the bunper is all finished as far as bends and welds go. Still need to do touch ups here and there. But the grill gaurd, grill gaurd gussets 8" dick cepek mounting tabs and 4&1/4" led light mounting tabs and the supports for the sides to the winch plate have all been welded on already. This baby is near ready to go already. Anyway thanks for checking up on the thread. Please check back on the thread tomorrow afternoon. I should have everyhing posted by then.
All I can say is that the bunper is all finished as far as bends and welds go. Still need to do touch ups here and there. But the grill gaurd, grill gaurd gussets 8" dick cepek mounting tabs and 4&1/4" led light mounting tabs and the supports for the sides to the winch plate have all been welded on already. This baby is near ready to go already. Anyway thanks for checking up on the thread. Please check back on the thread tomorrow afternoon. I should have everyhing posted by then.
Oct 27, 2013 | 12:46 PM
#92
Thread Starter
Registered User
Joined: Apr 2012
Posts: 2,817
Likes: 2
From: Los Angeles CA
Alright guys here is the update! 
After seeing Bump530's picture on my truck's build thread and all of your guys's inputs, recommendations, personal experiences and such on this thread and on my build thread i was pretty much sold on getting the tube bender instead. So the following day after reading all your posts i took the Tube roller back to harbor freights and exchanged it for the 12,000 tube bender. http://www.harborfreight.com/12-ton-...der-32888.html
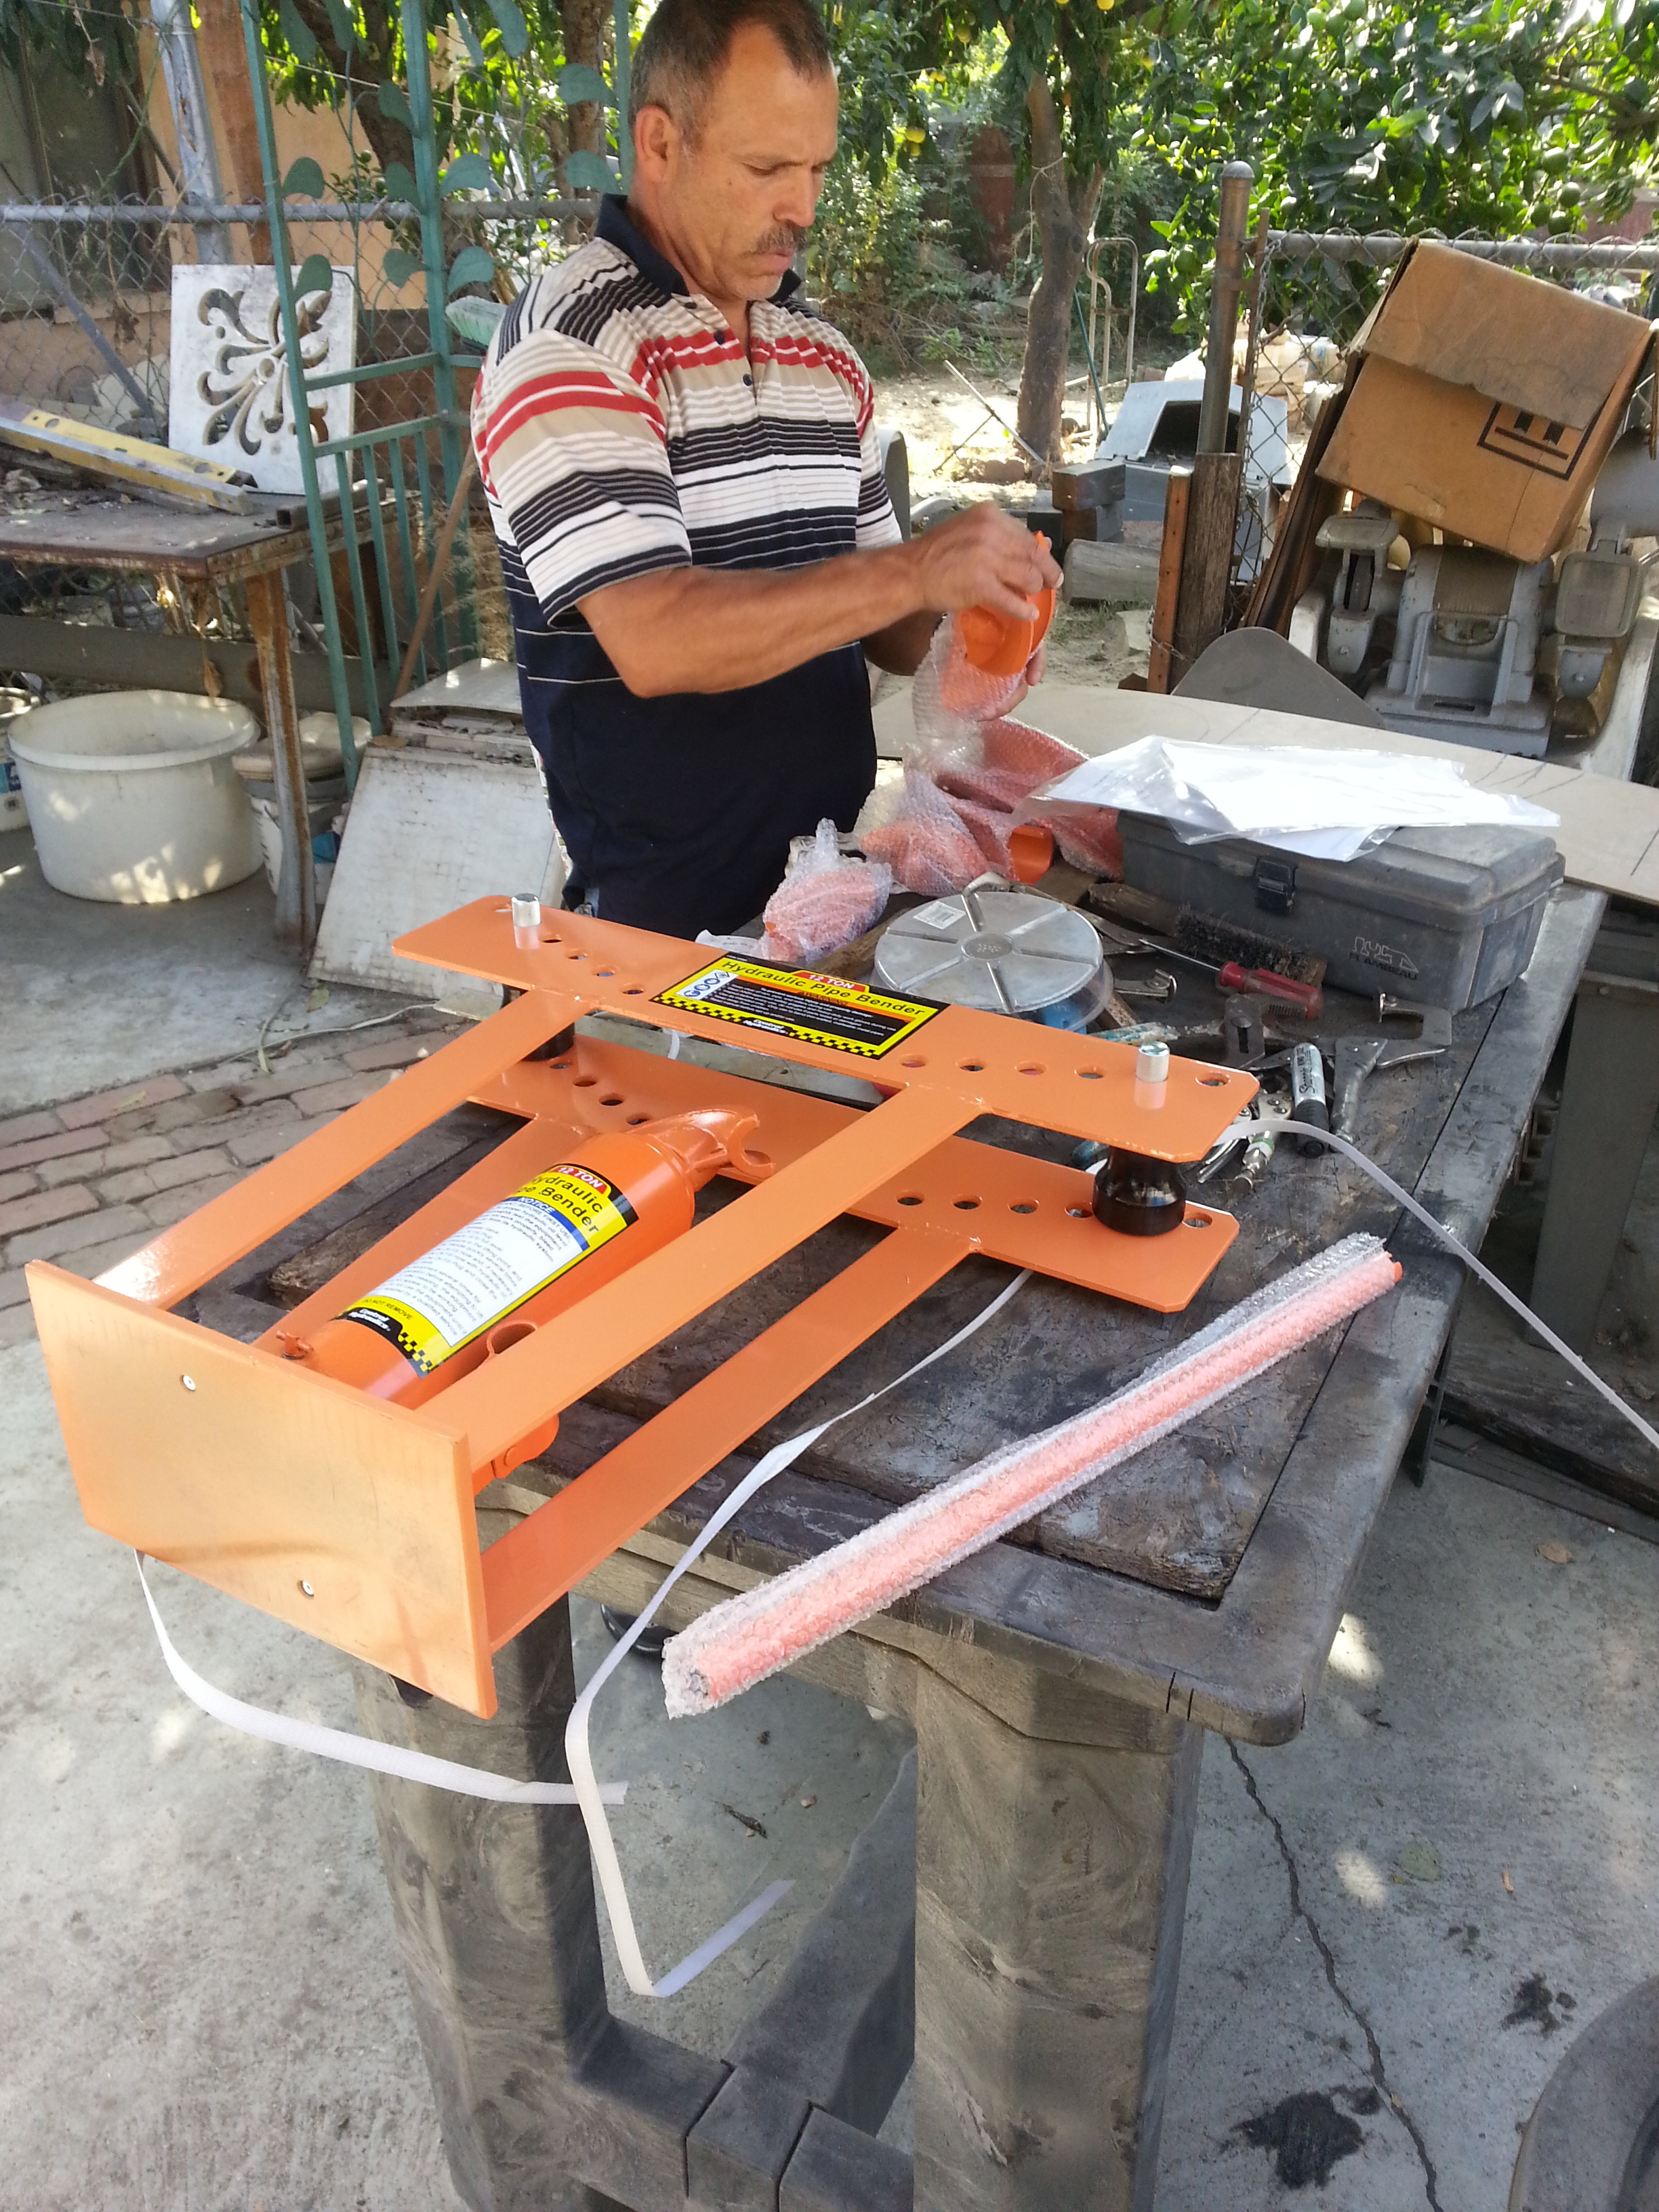
Here we are unwrapping our new product.
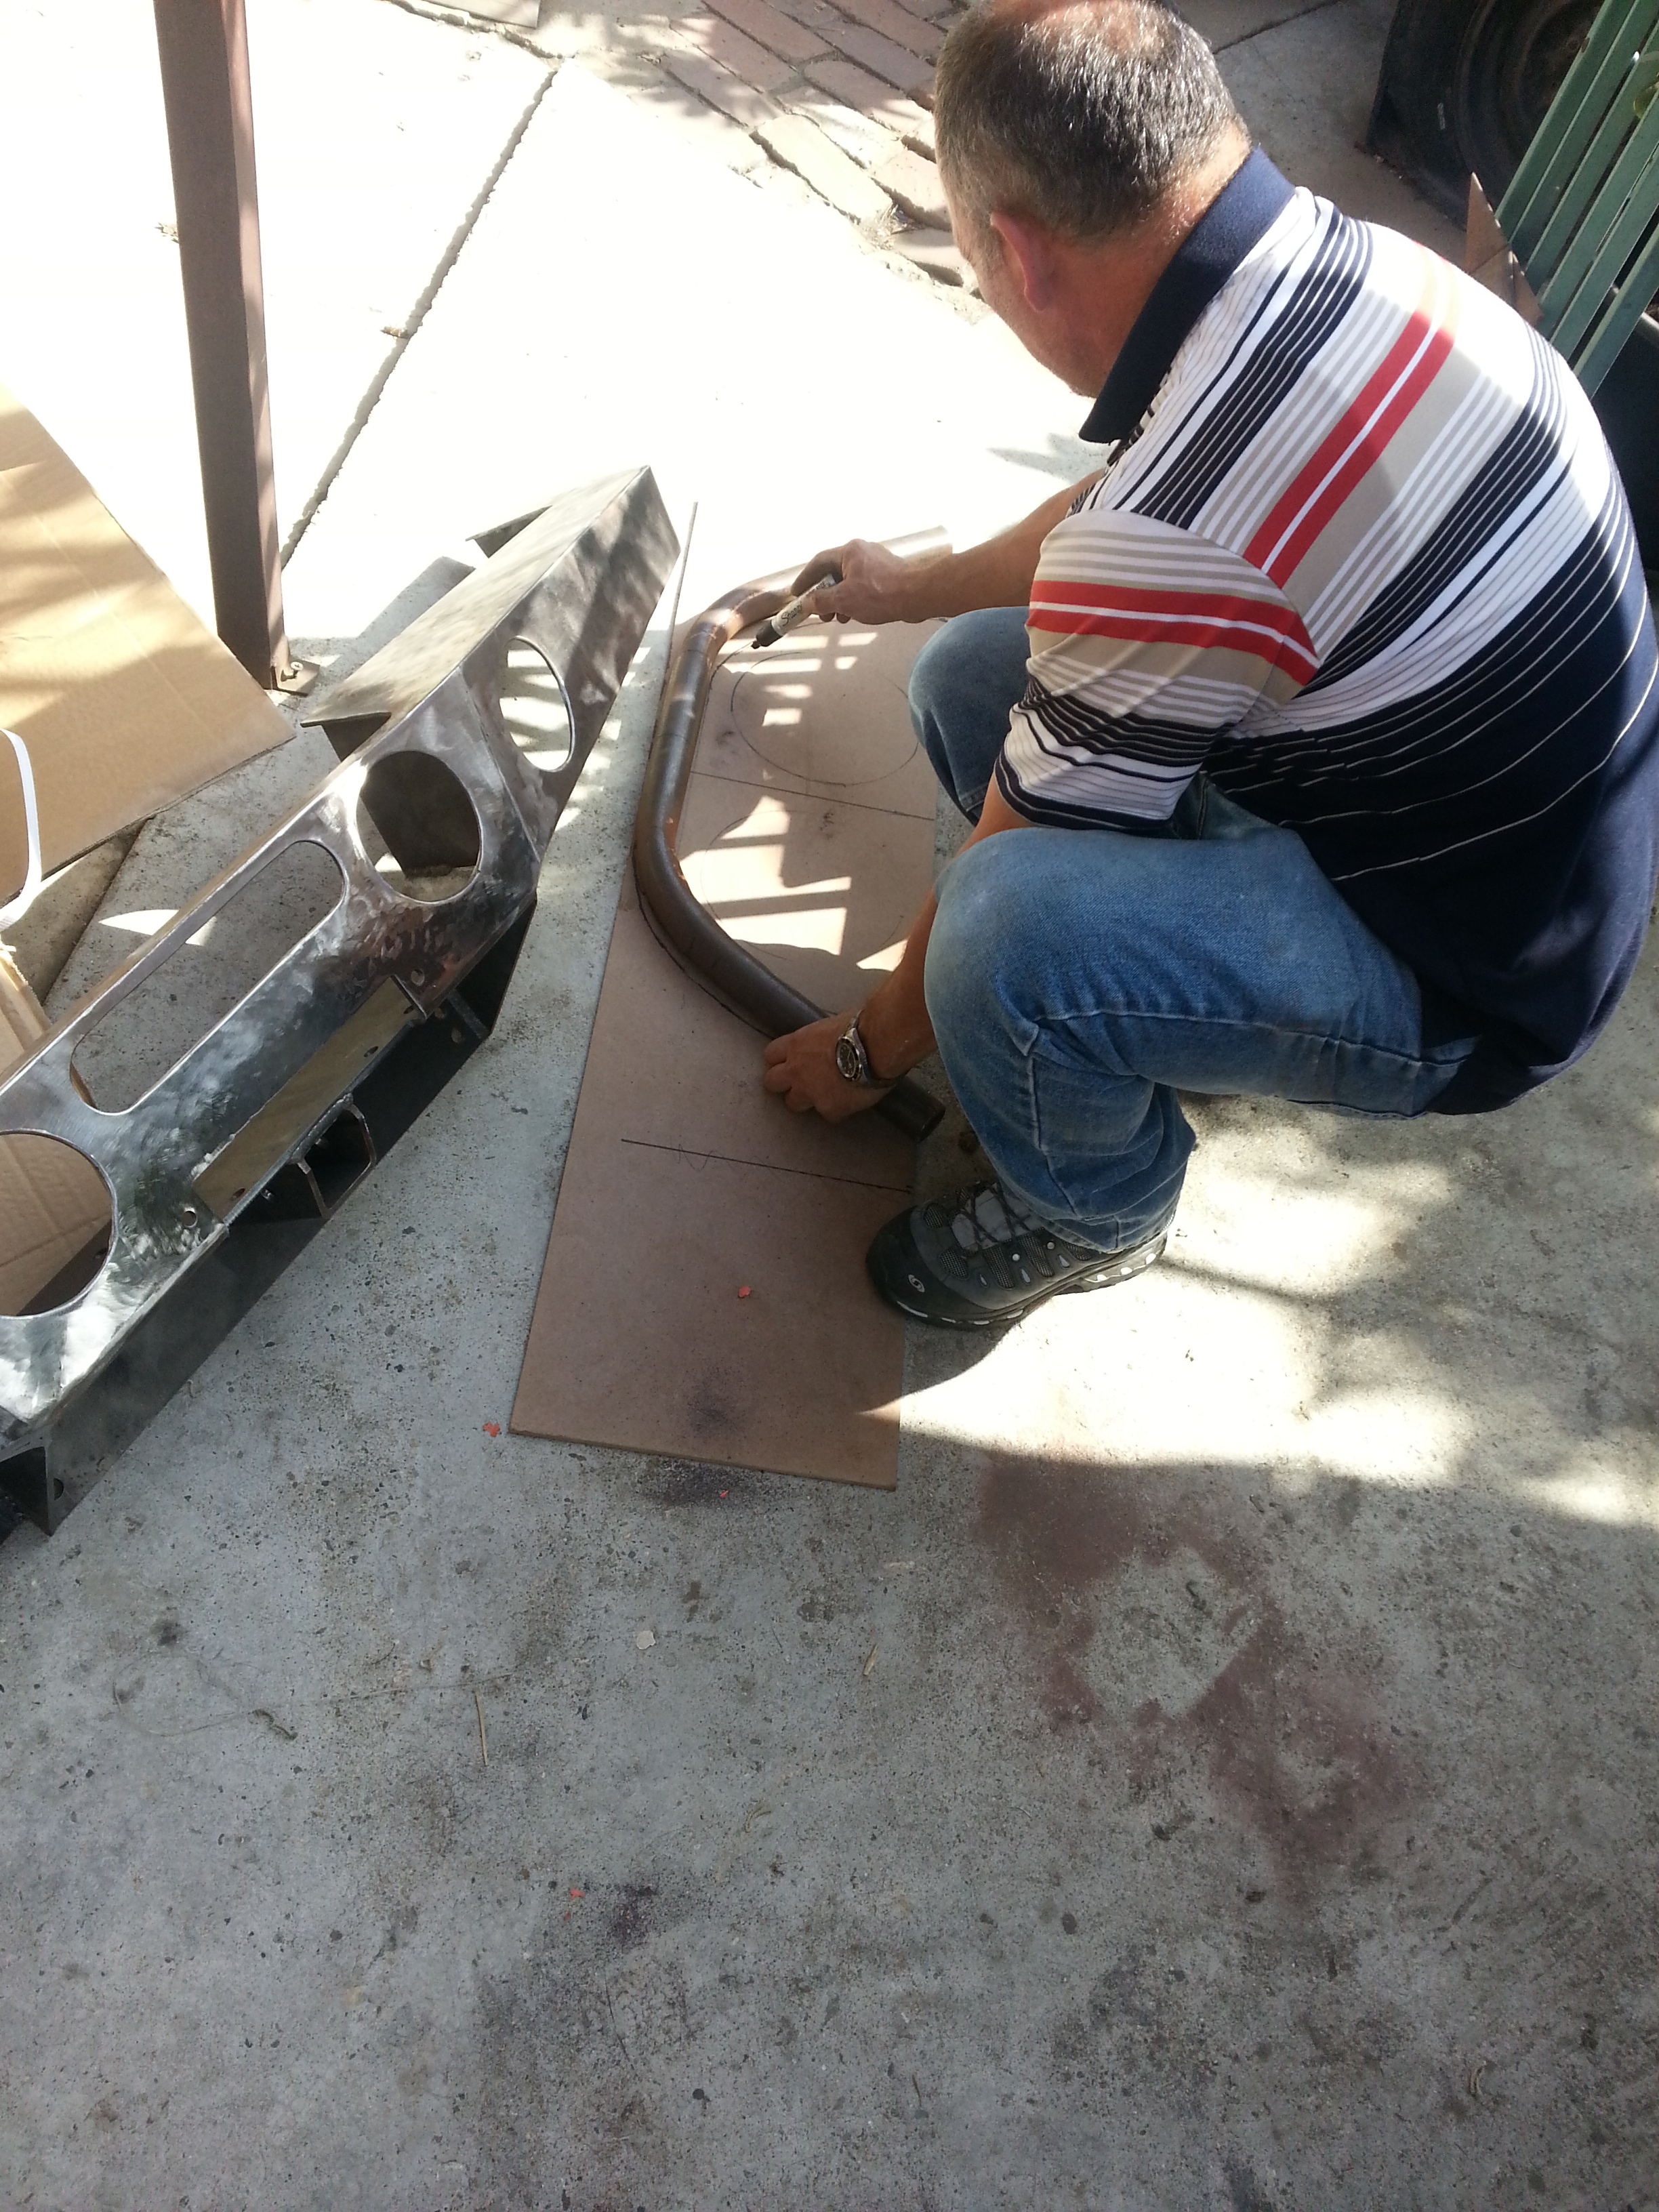
Marking up where to make our bends to match the template my dad drew for the grill guard.
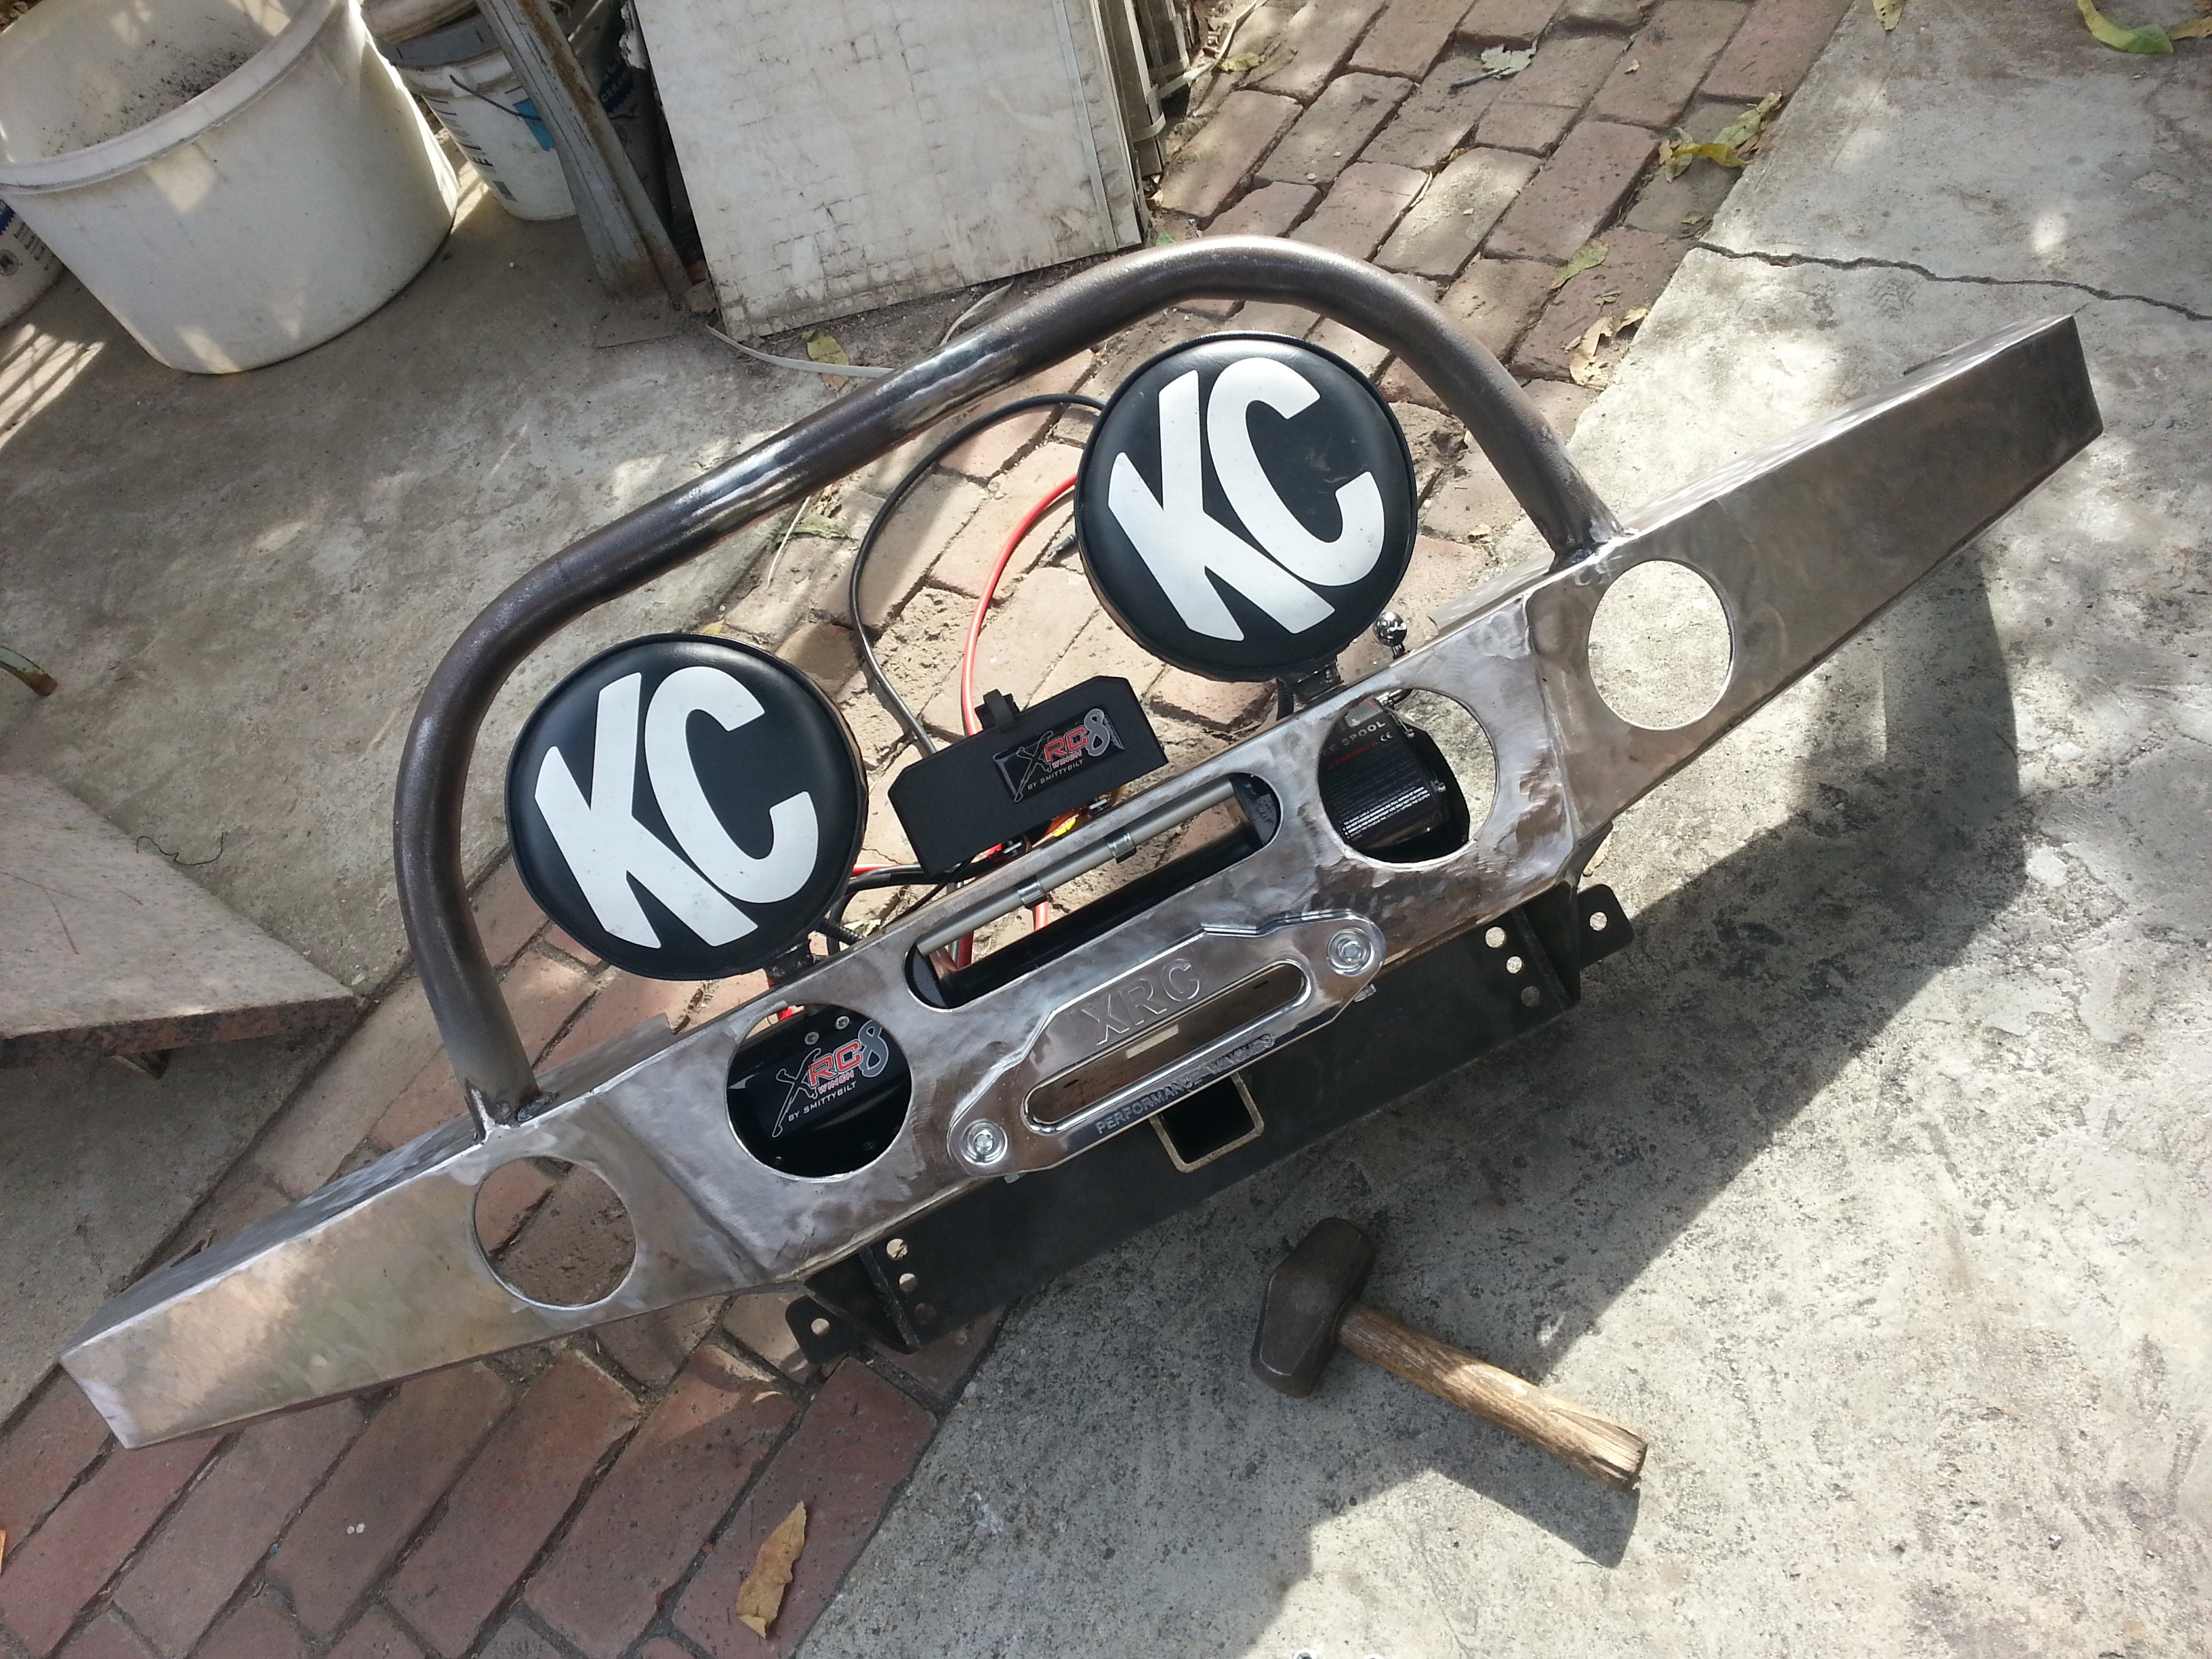
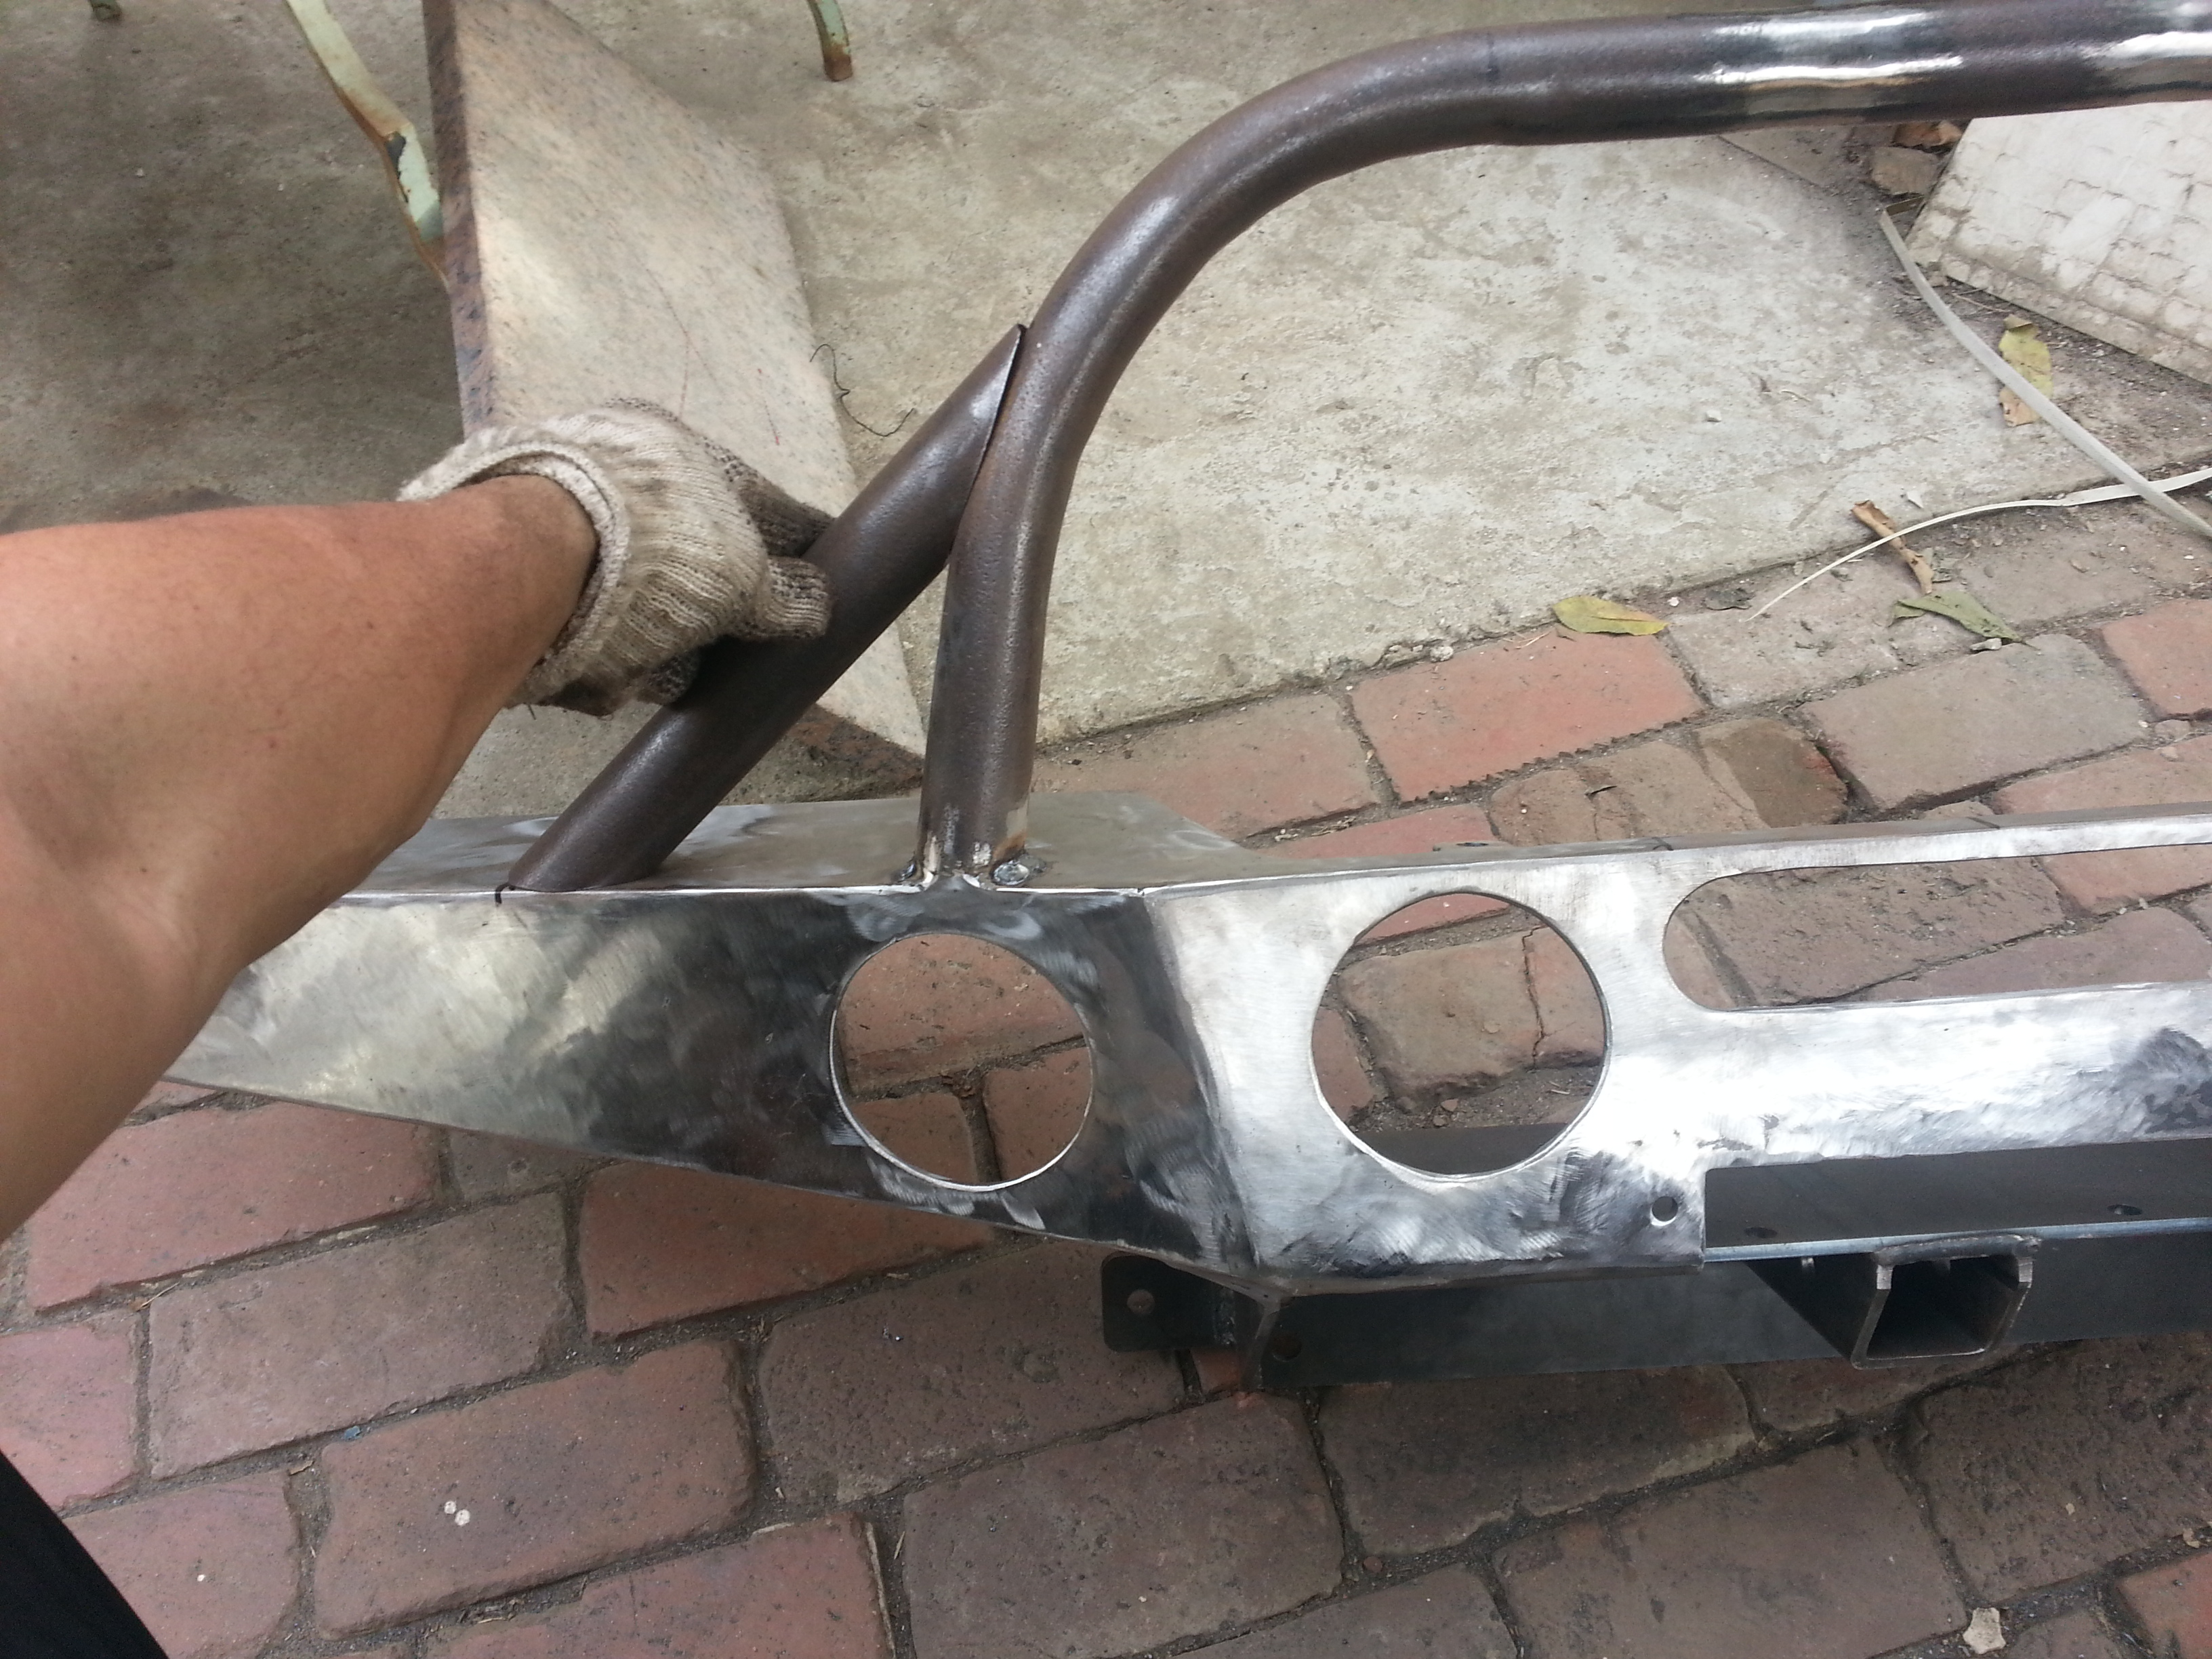
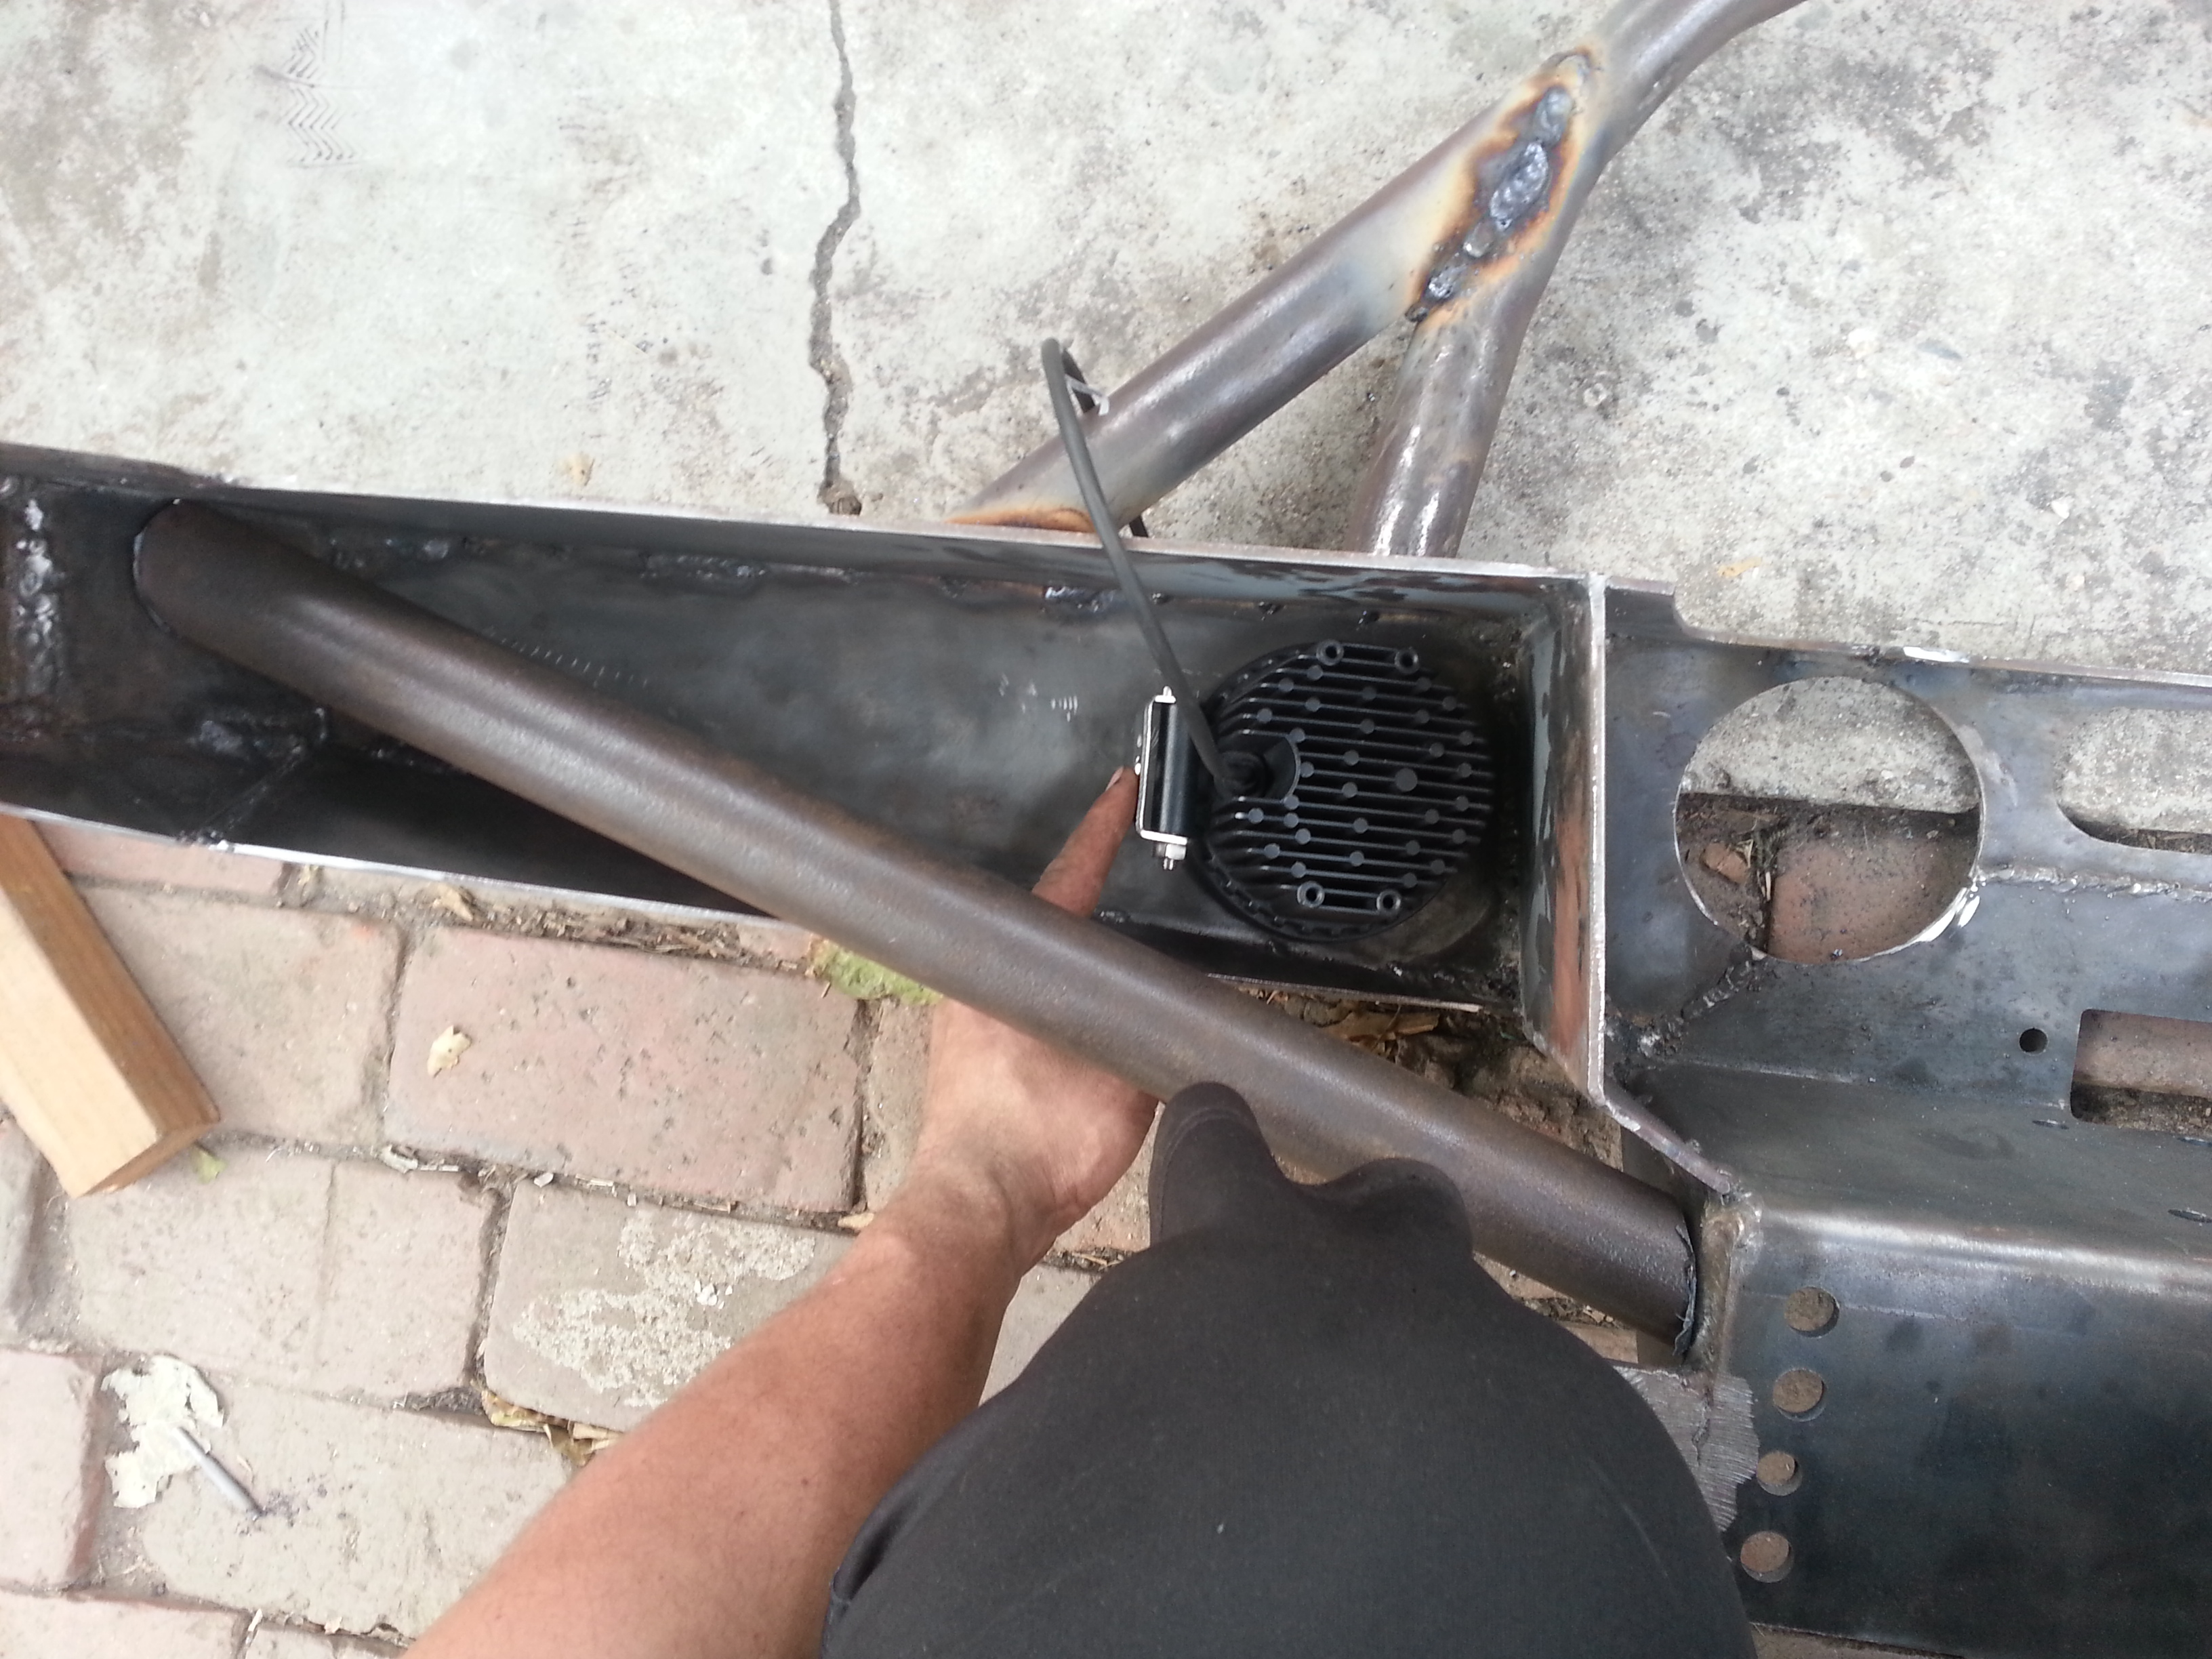
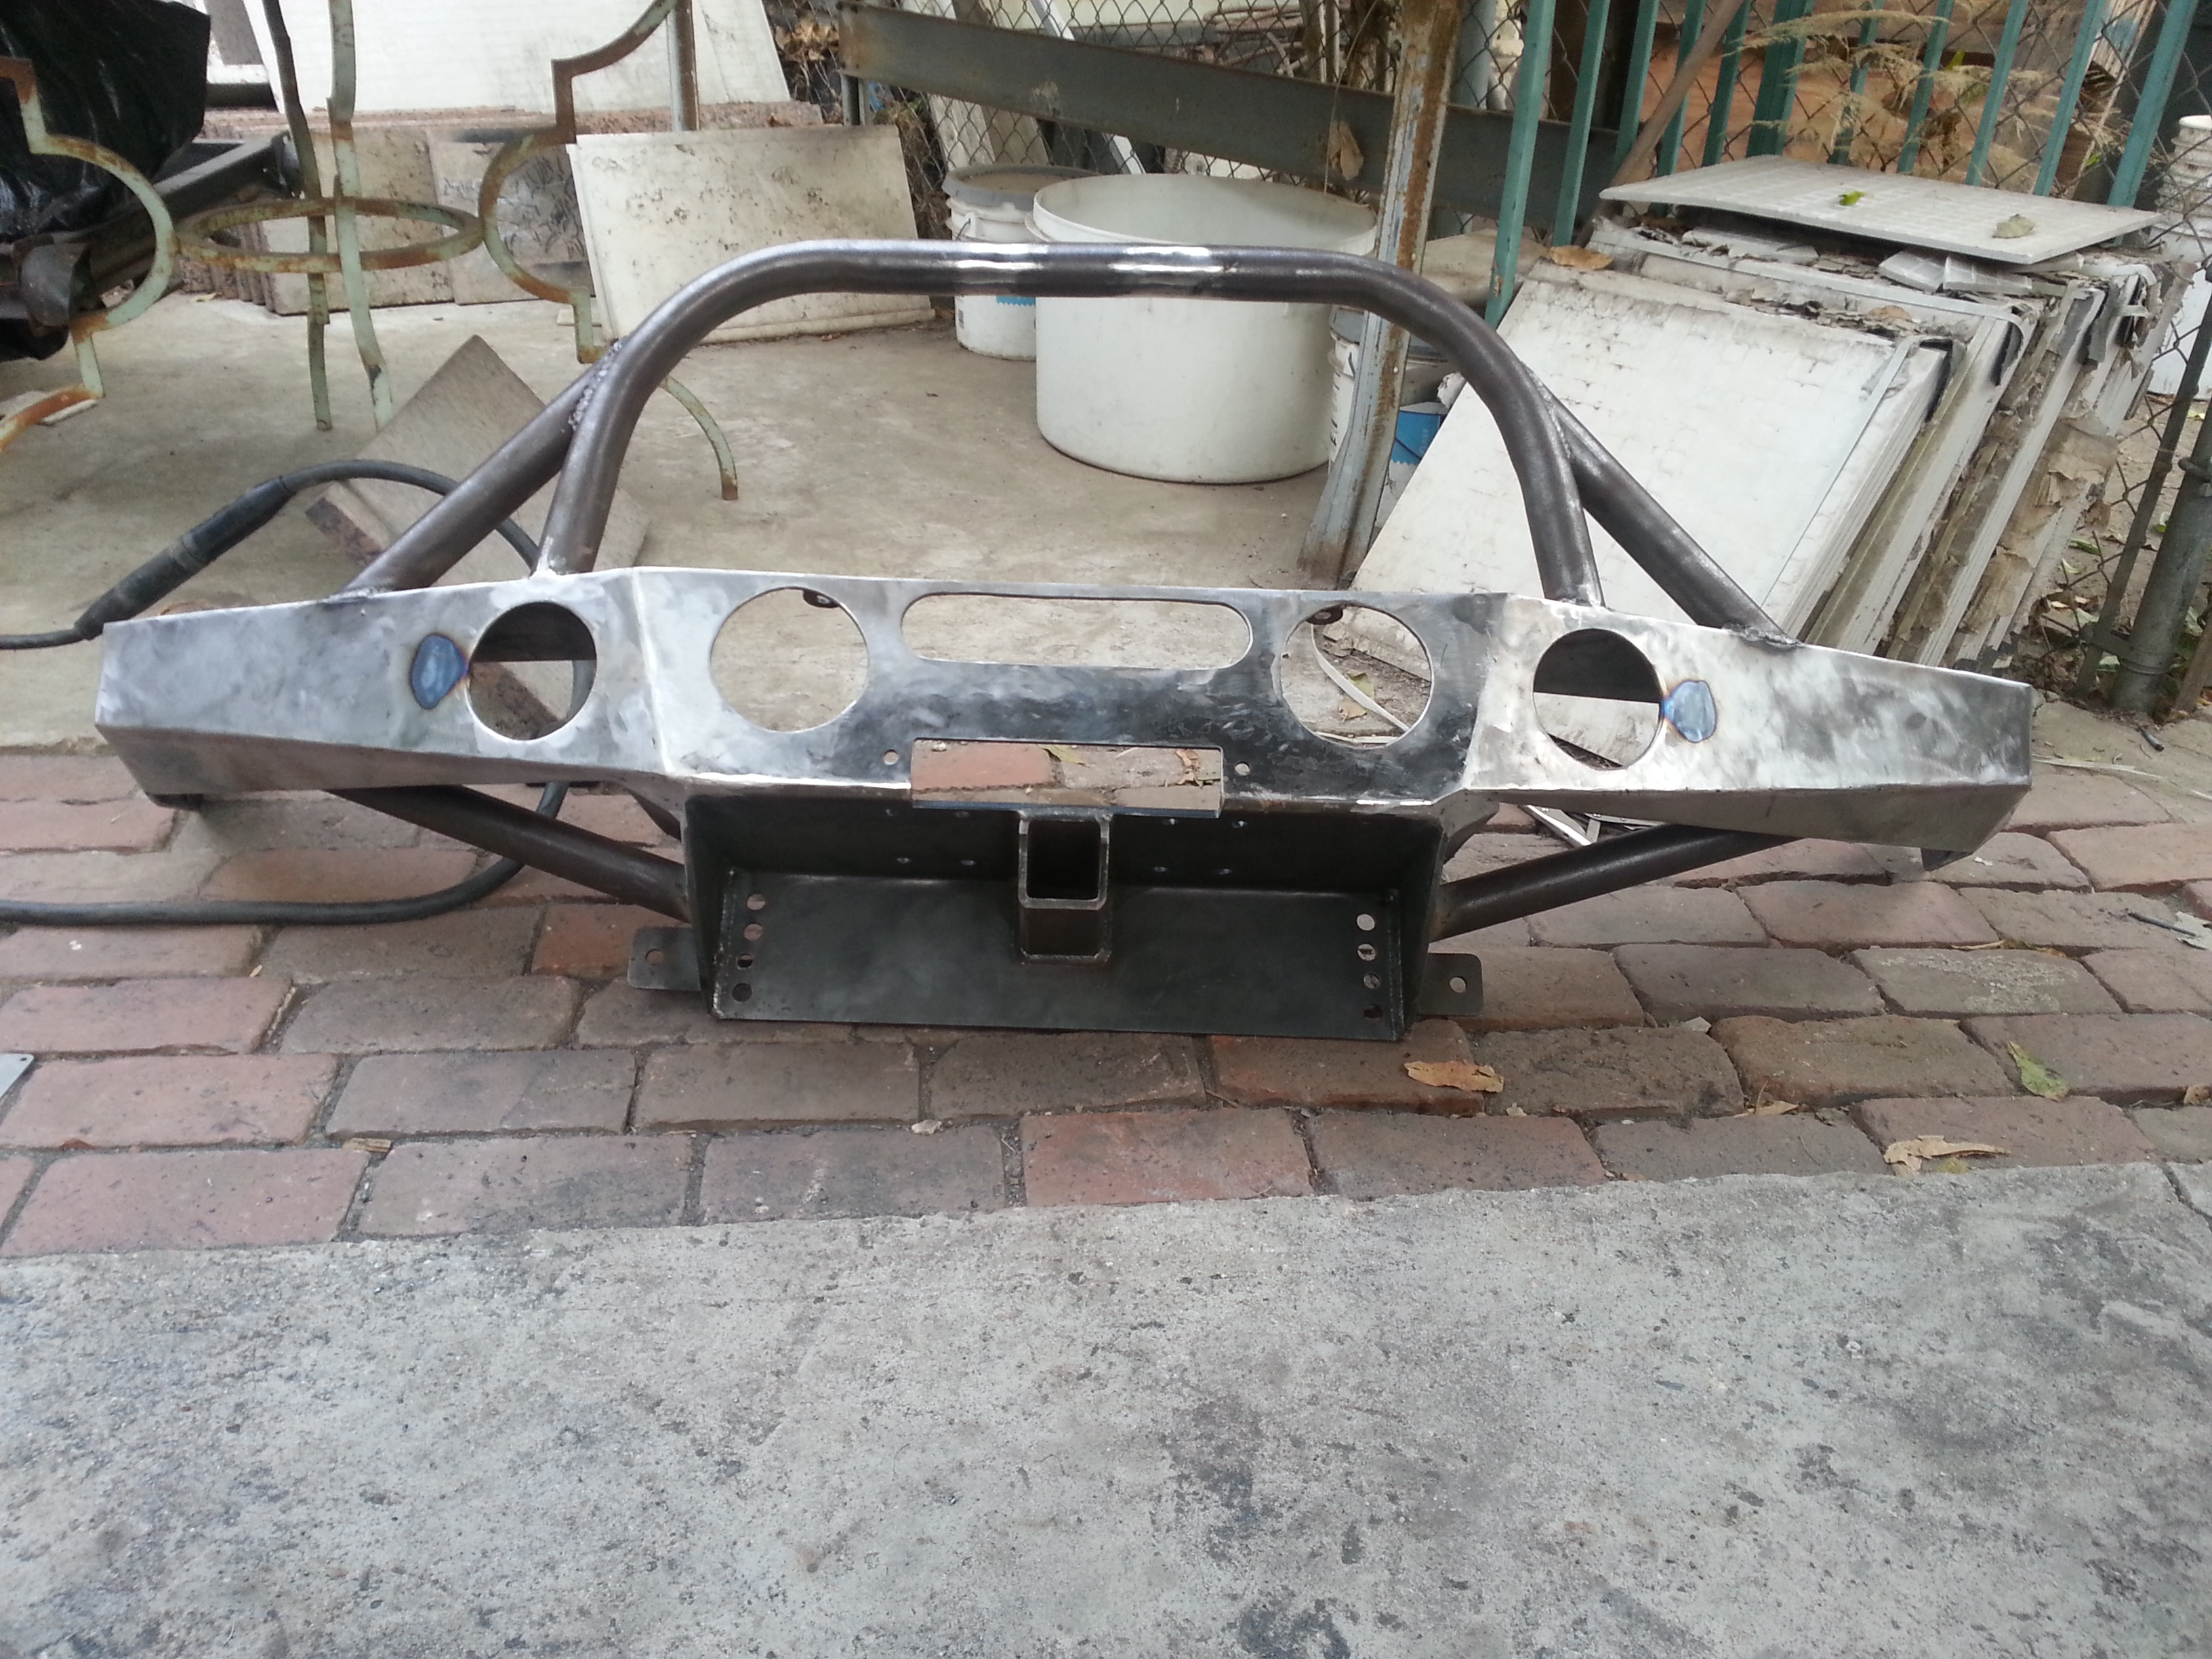
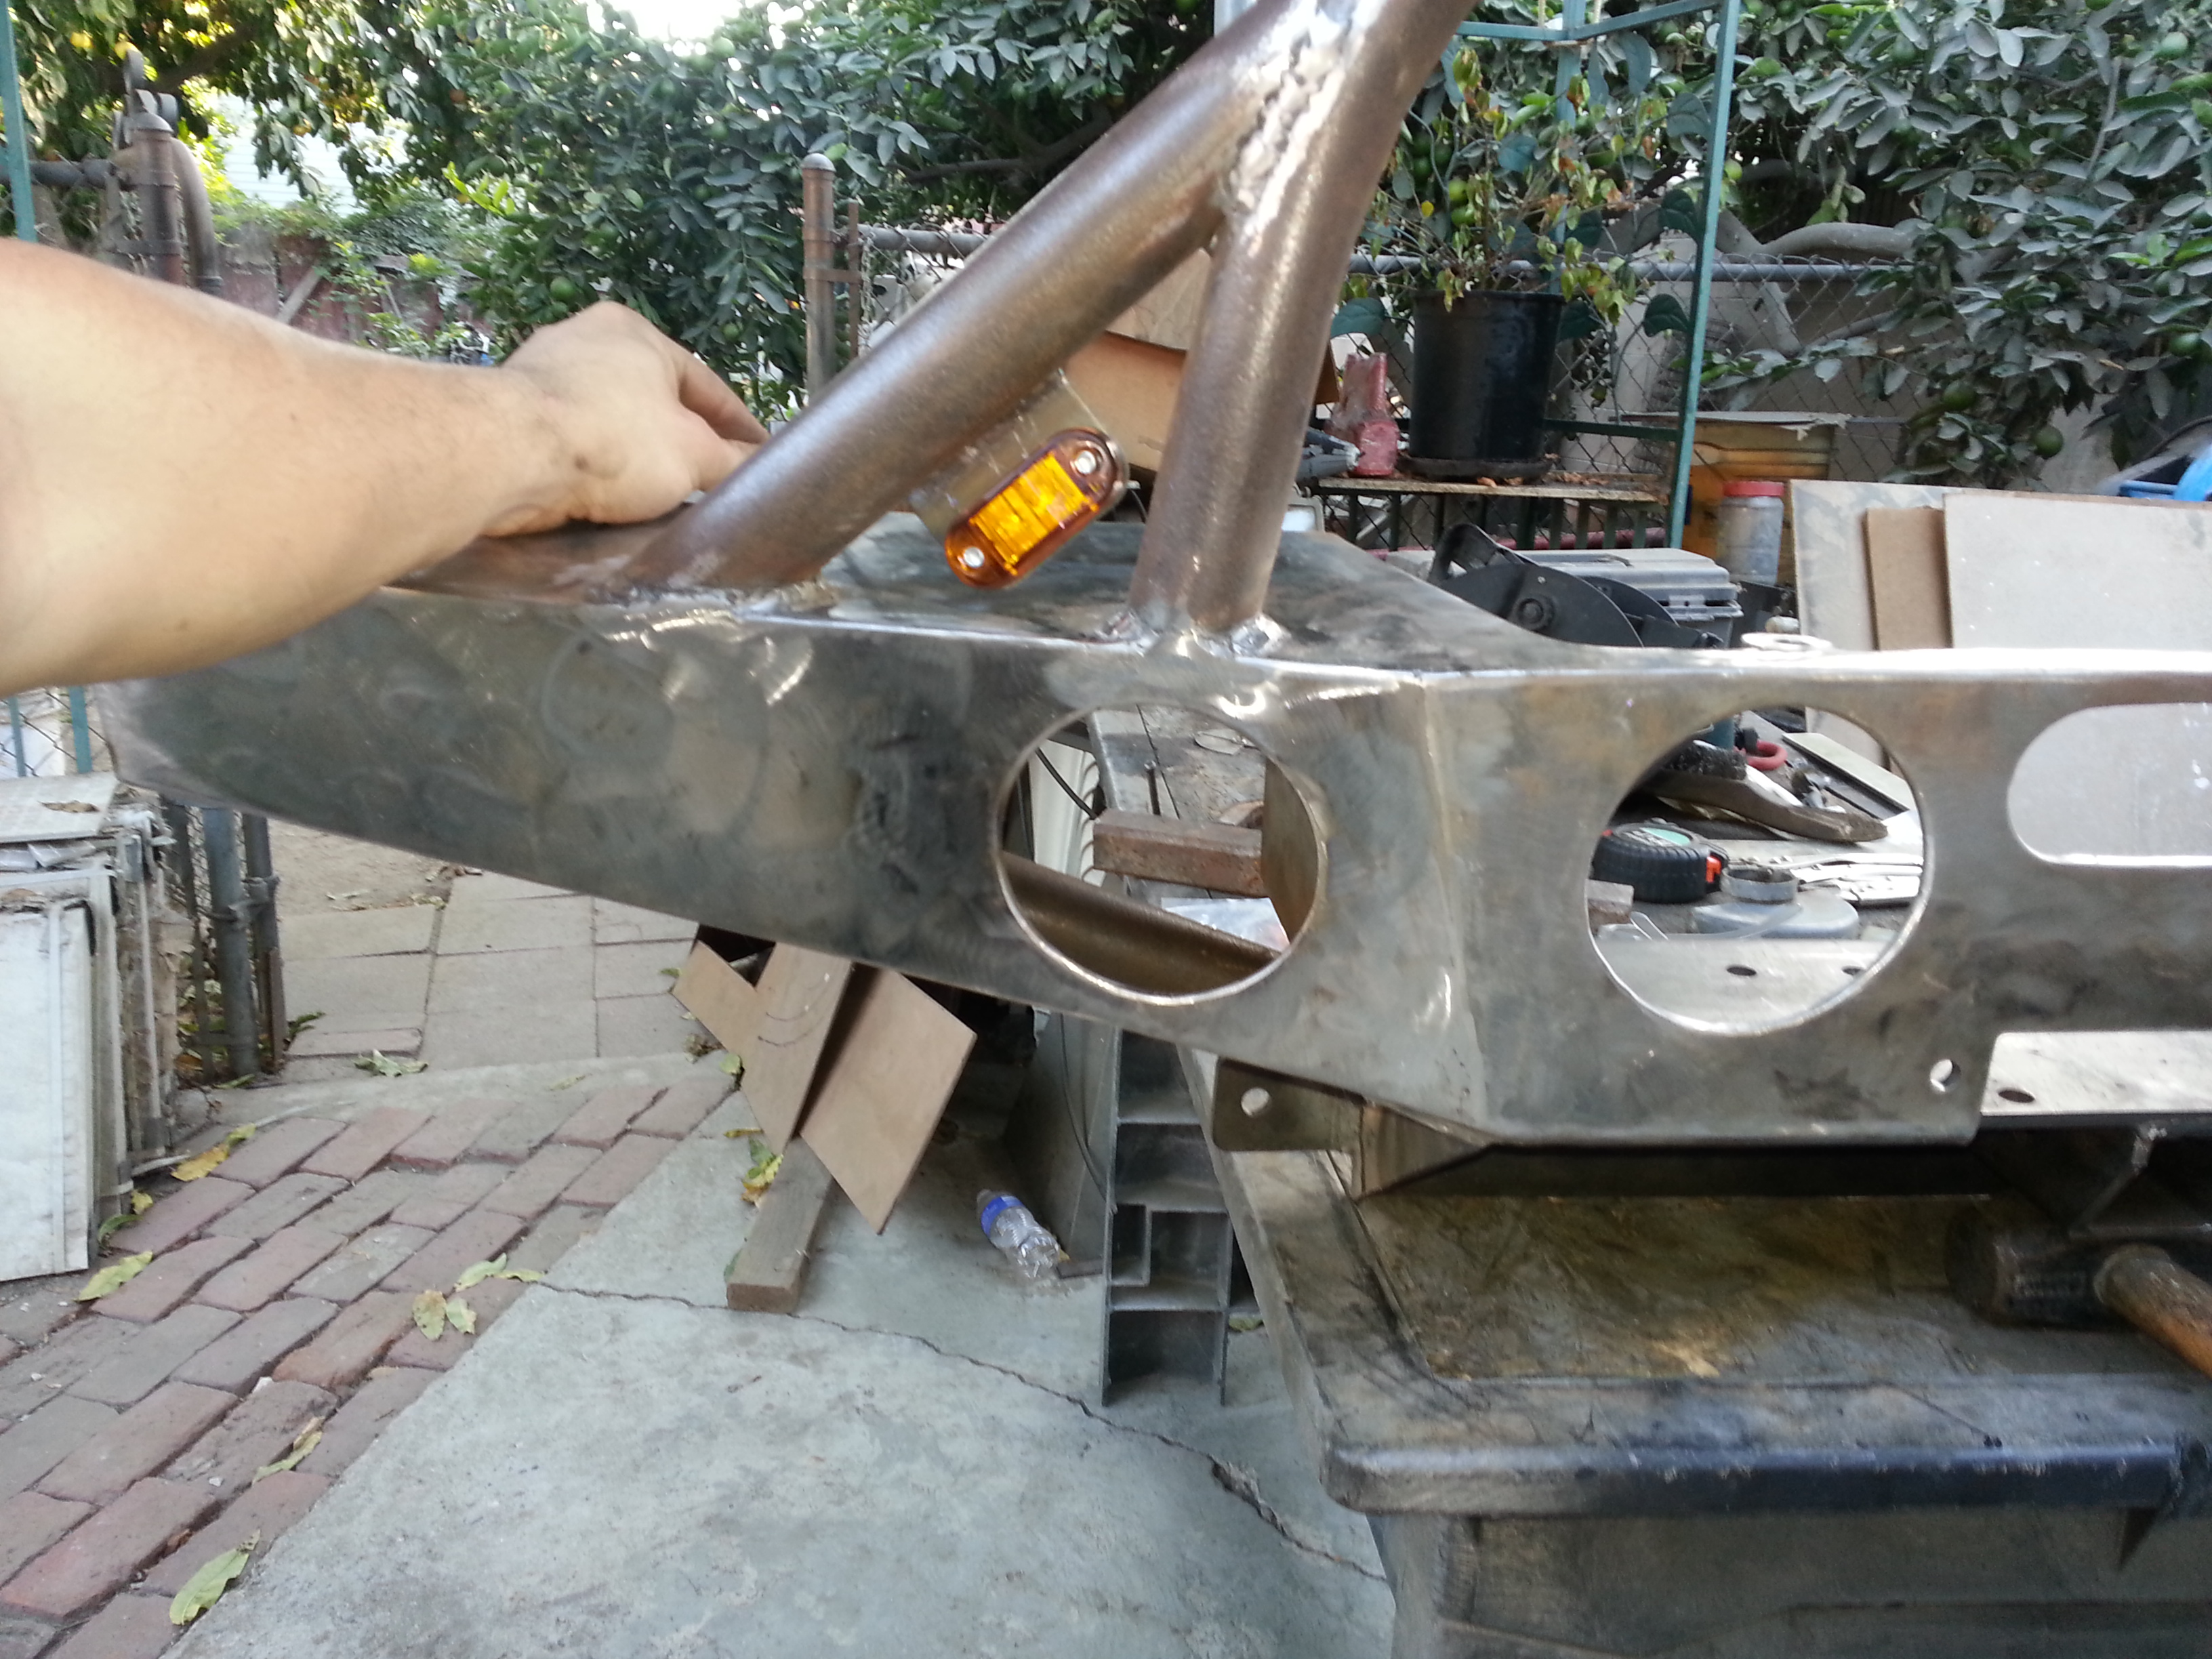
after the grill guard we immediately ran into a problem. I drew out my design according so Mark's 8" Dick Cepek offroad lights would fit. but i didnt take into consideration the Smittybilt xrc8 winch control box. It didnt matter where i placed the box it would continue to be in the way of the lights. So we ha to cut the center hoop to the grillguard in half and add another 6" to the width so we could fit the winch correctly and add the two 8" lights.
See what i mean:


Cleaned it up all nice.
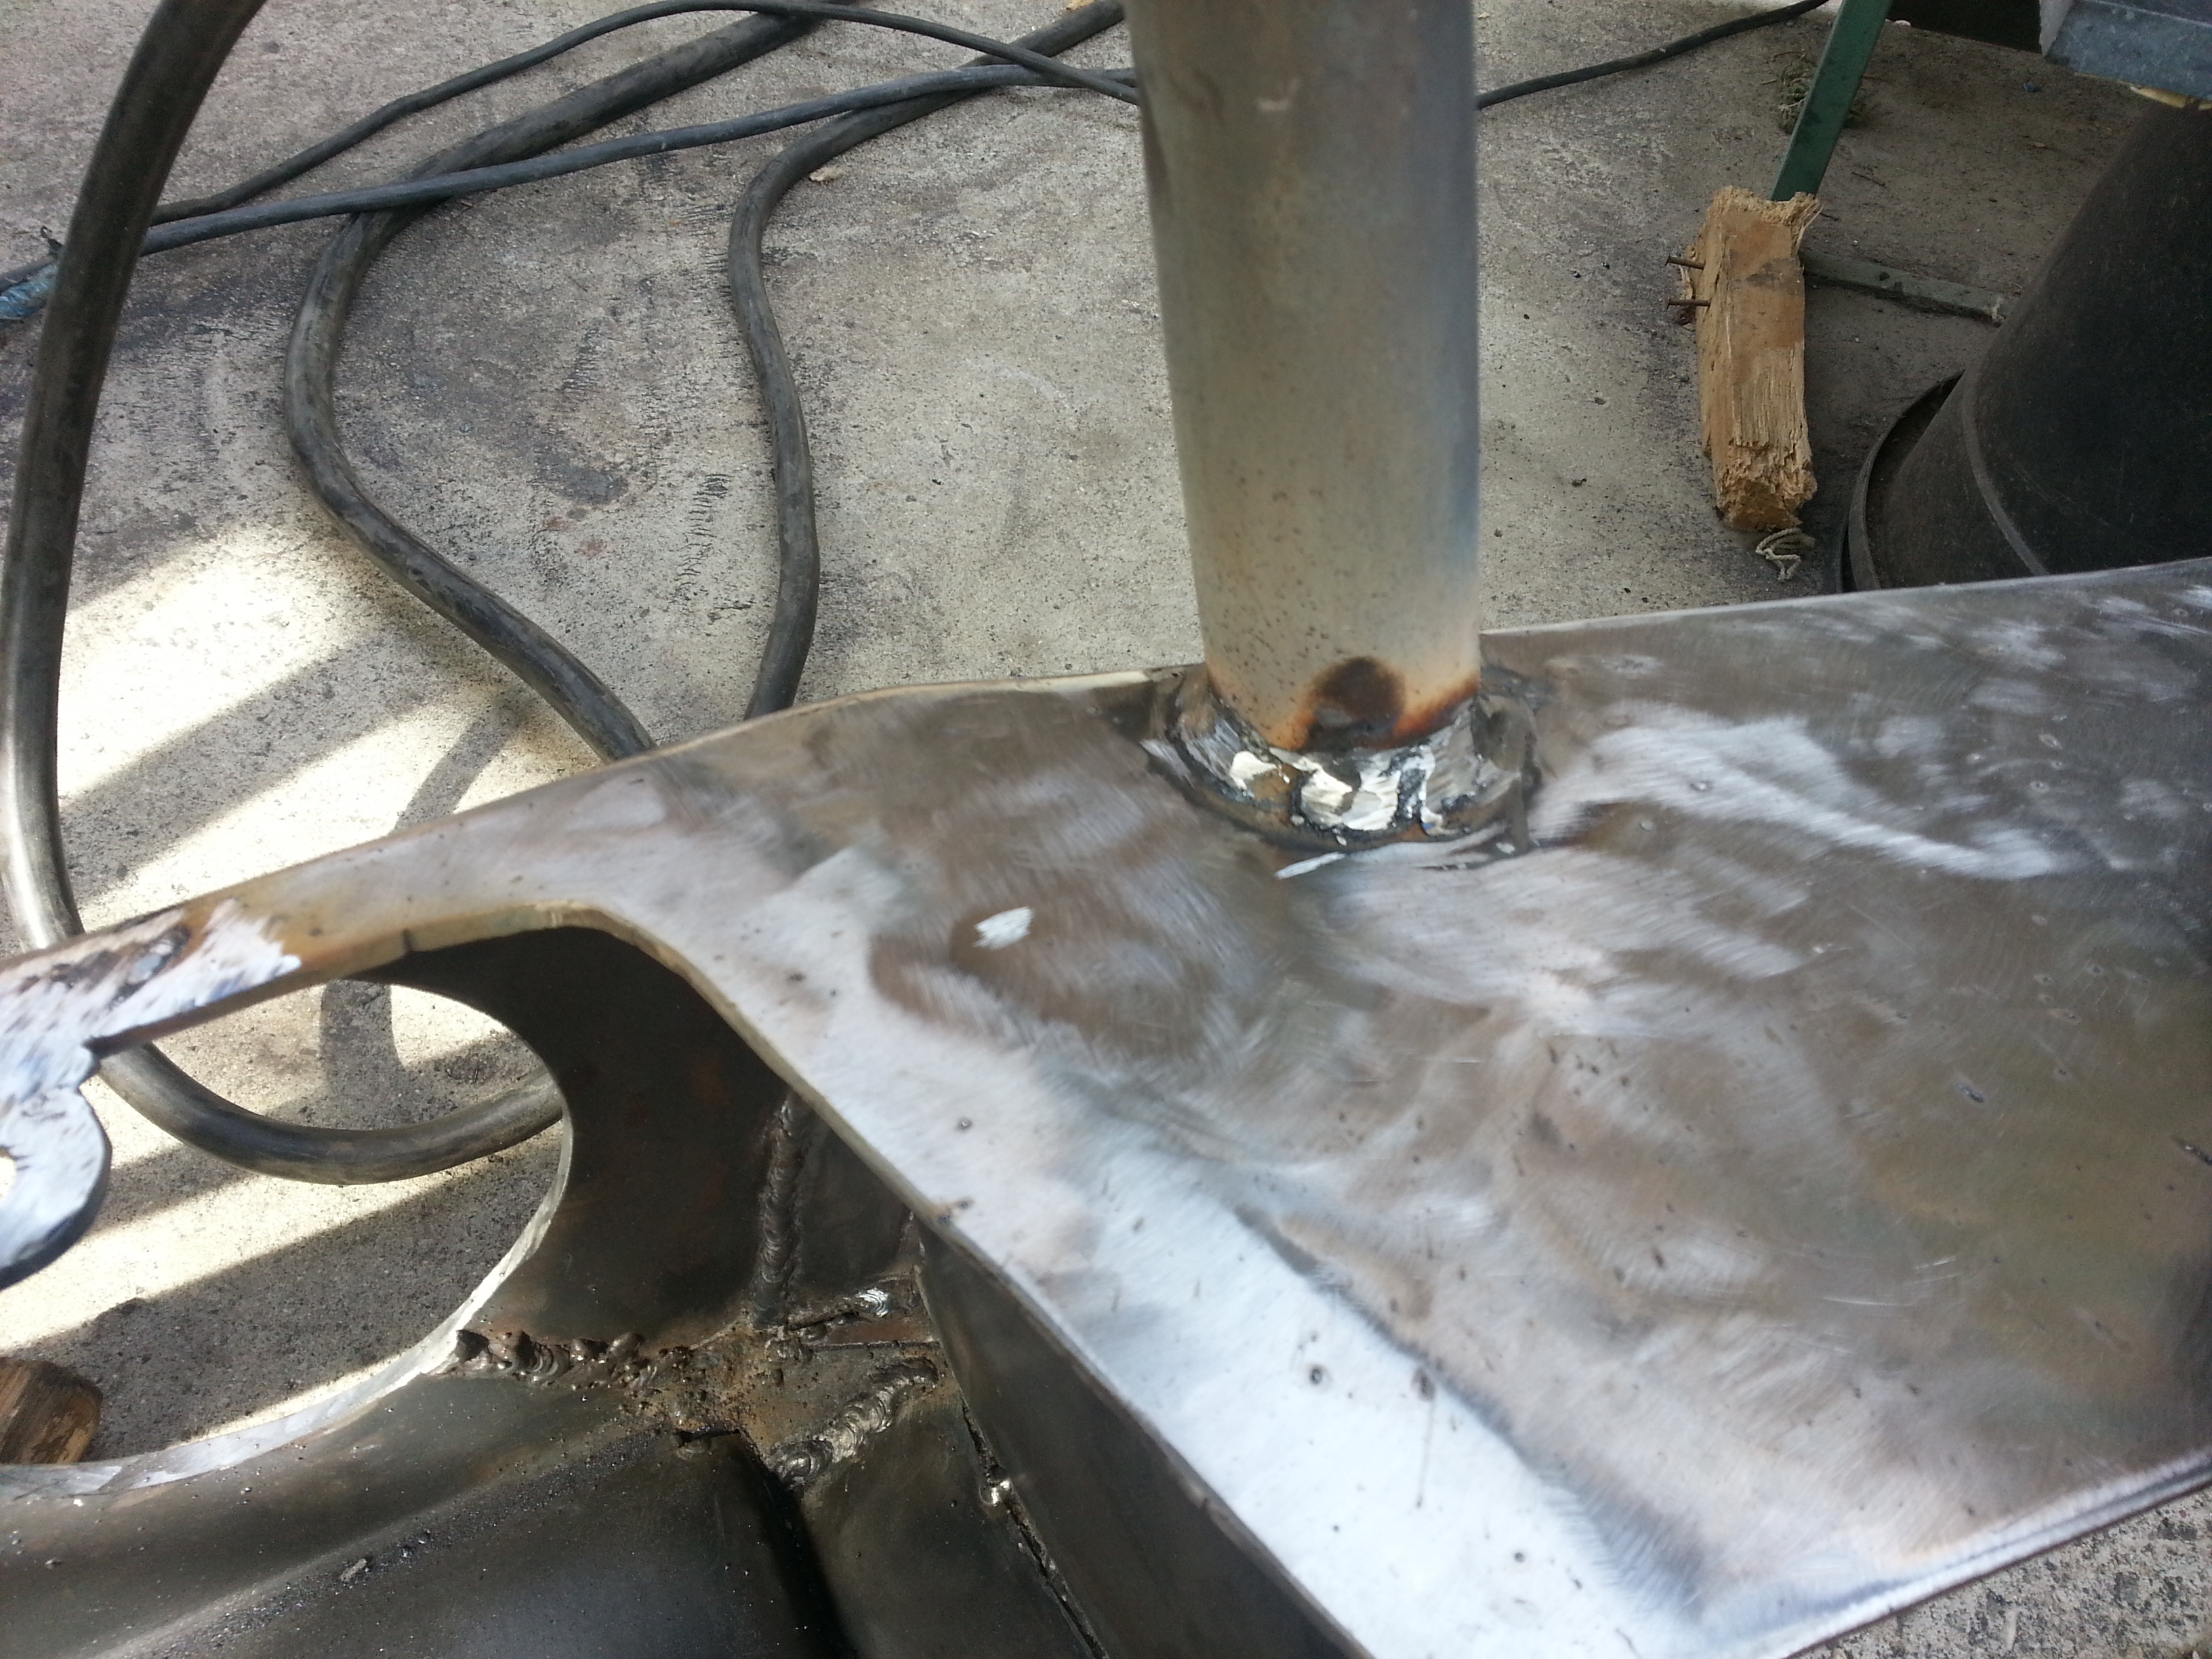
We welded on the center grill gaurd then ground it down a bit to prep for another weld layer.
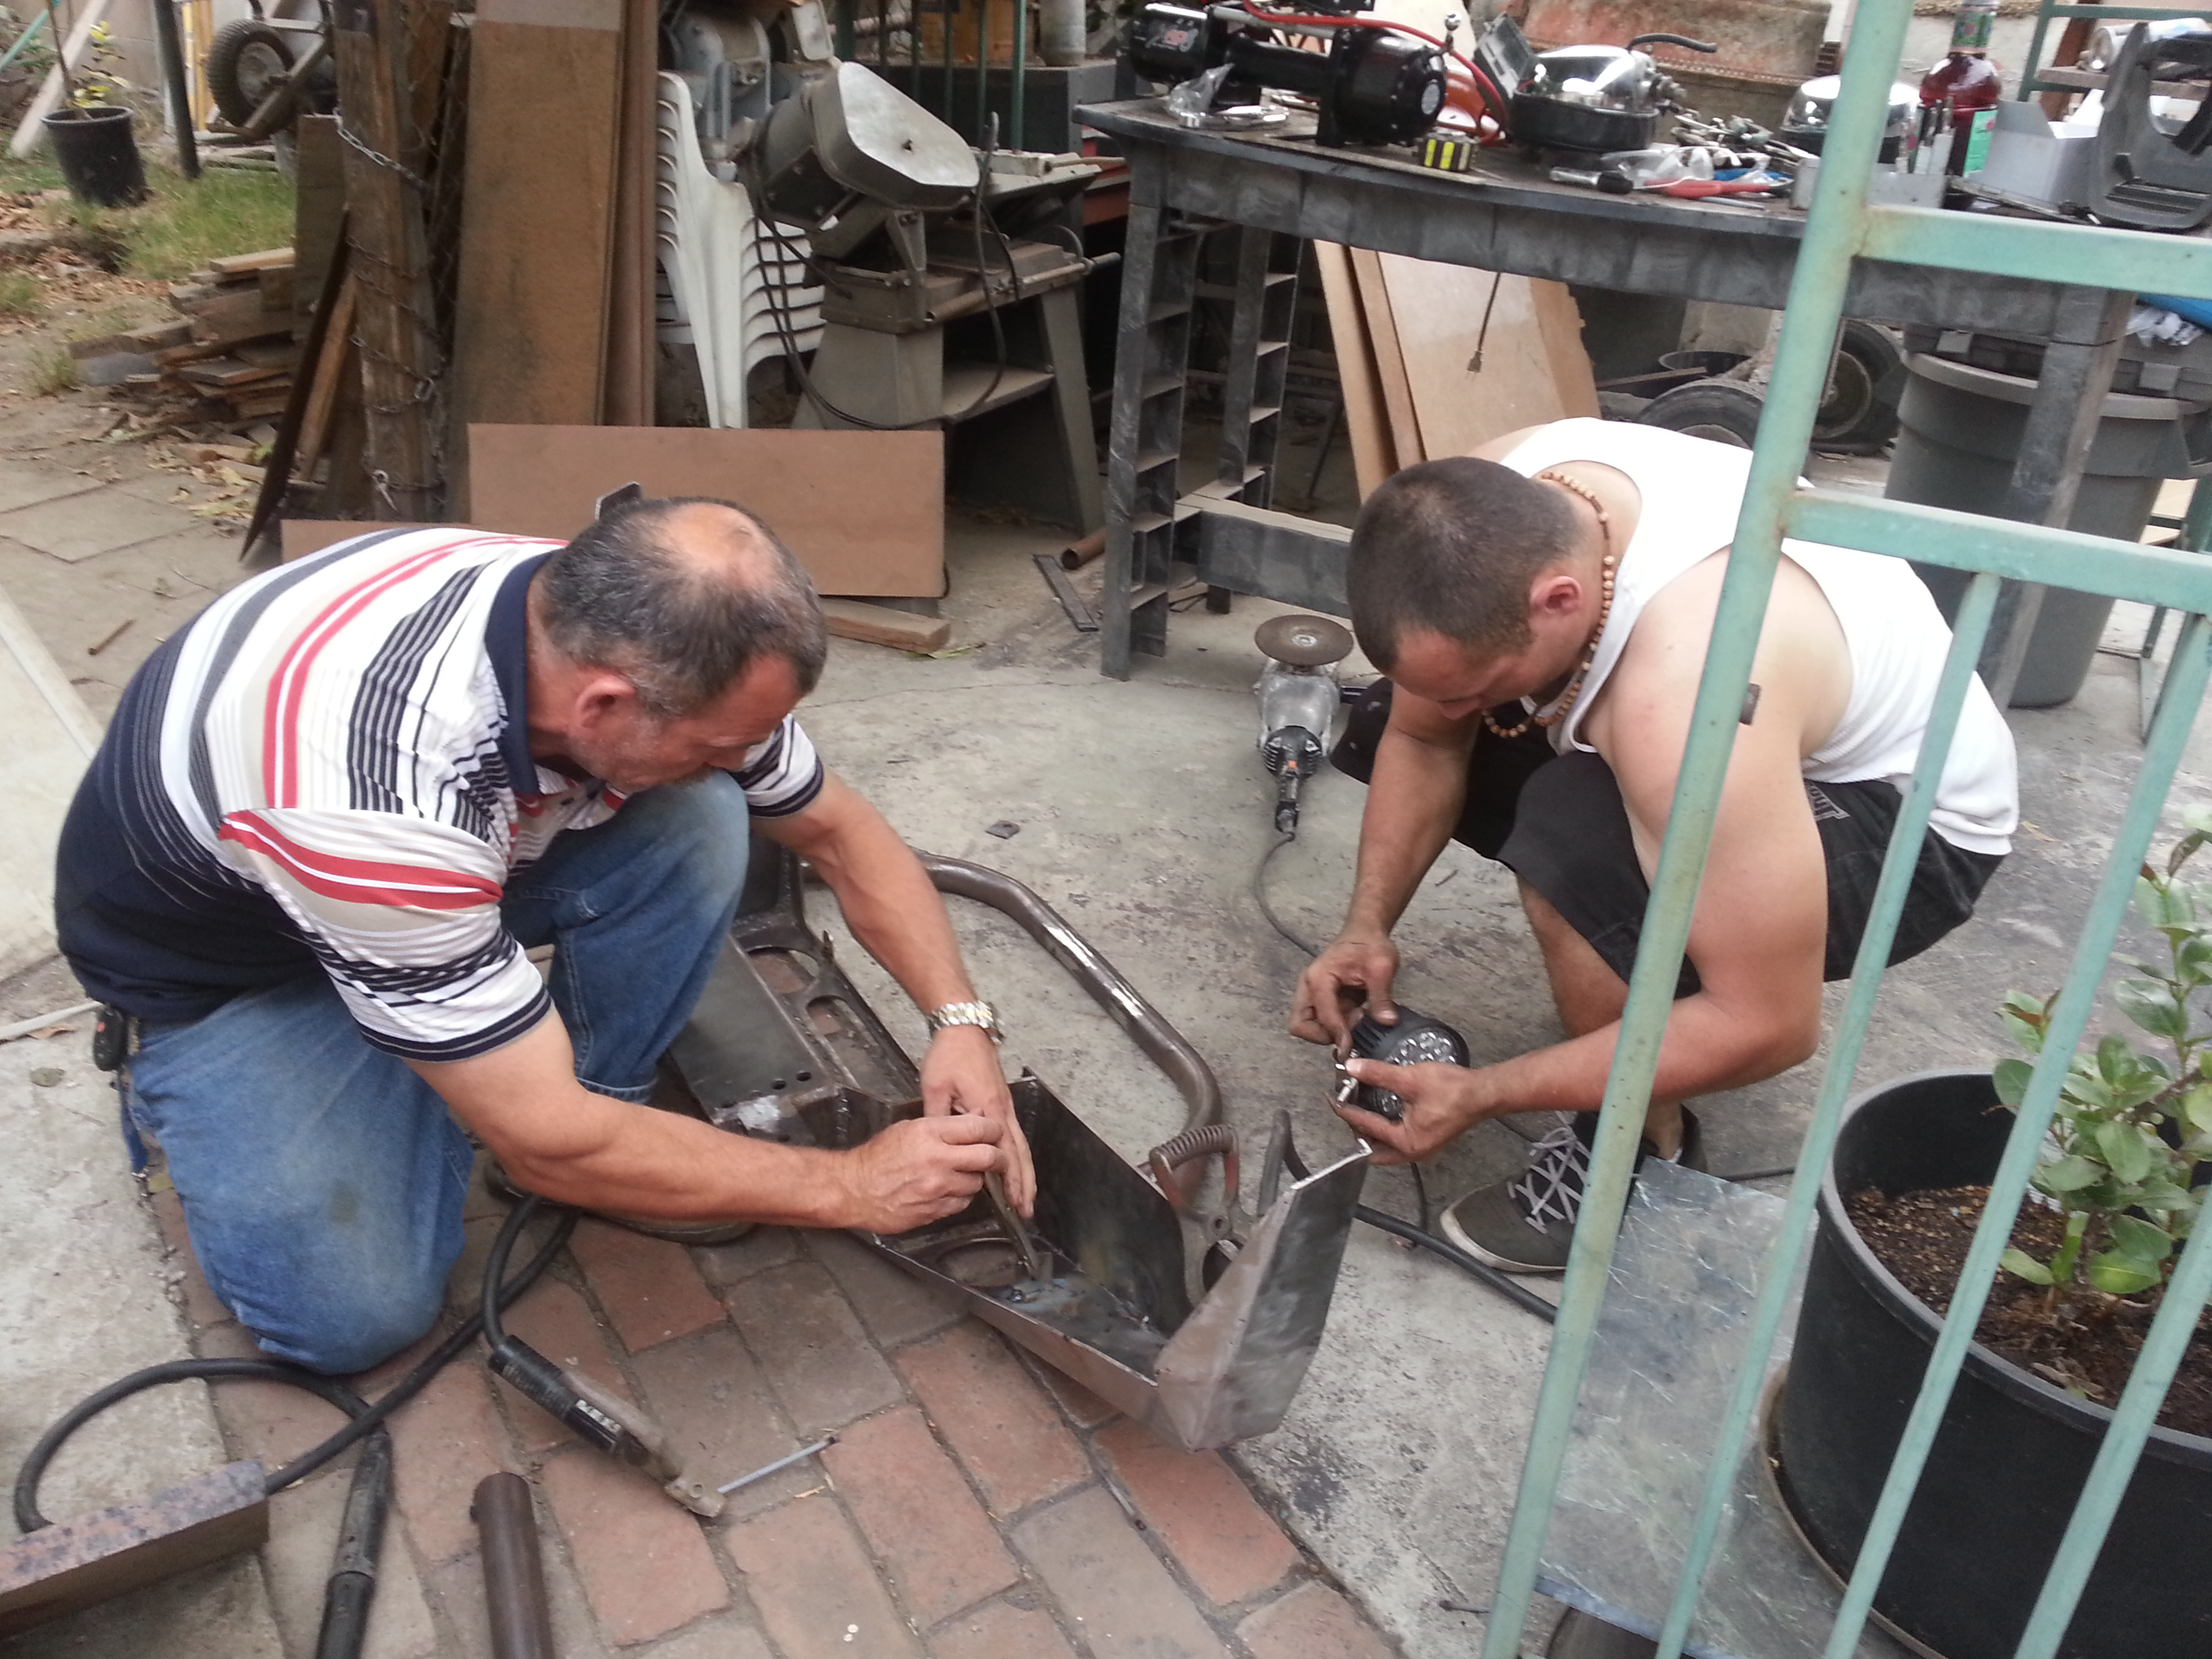
Made some light tabs for Mark's 8" Lights

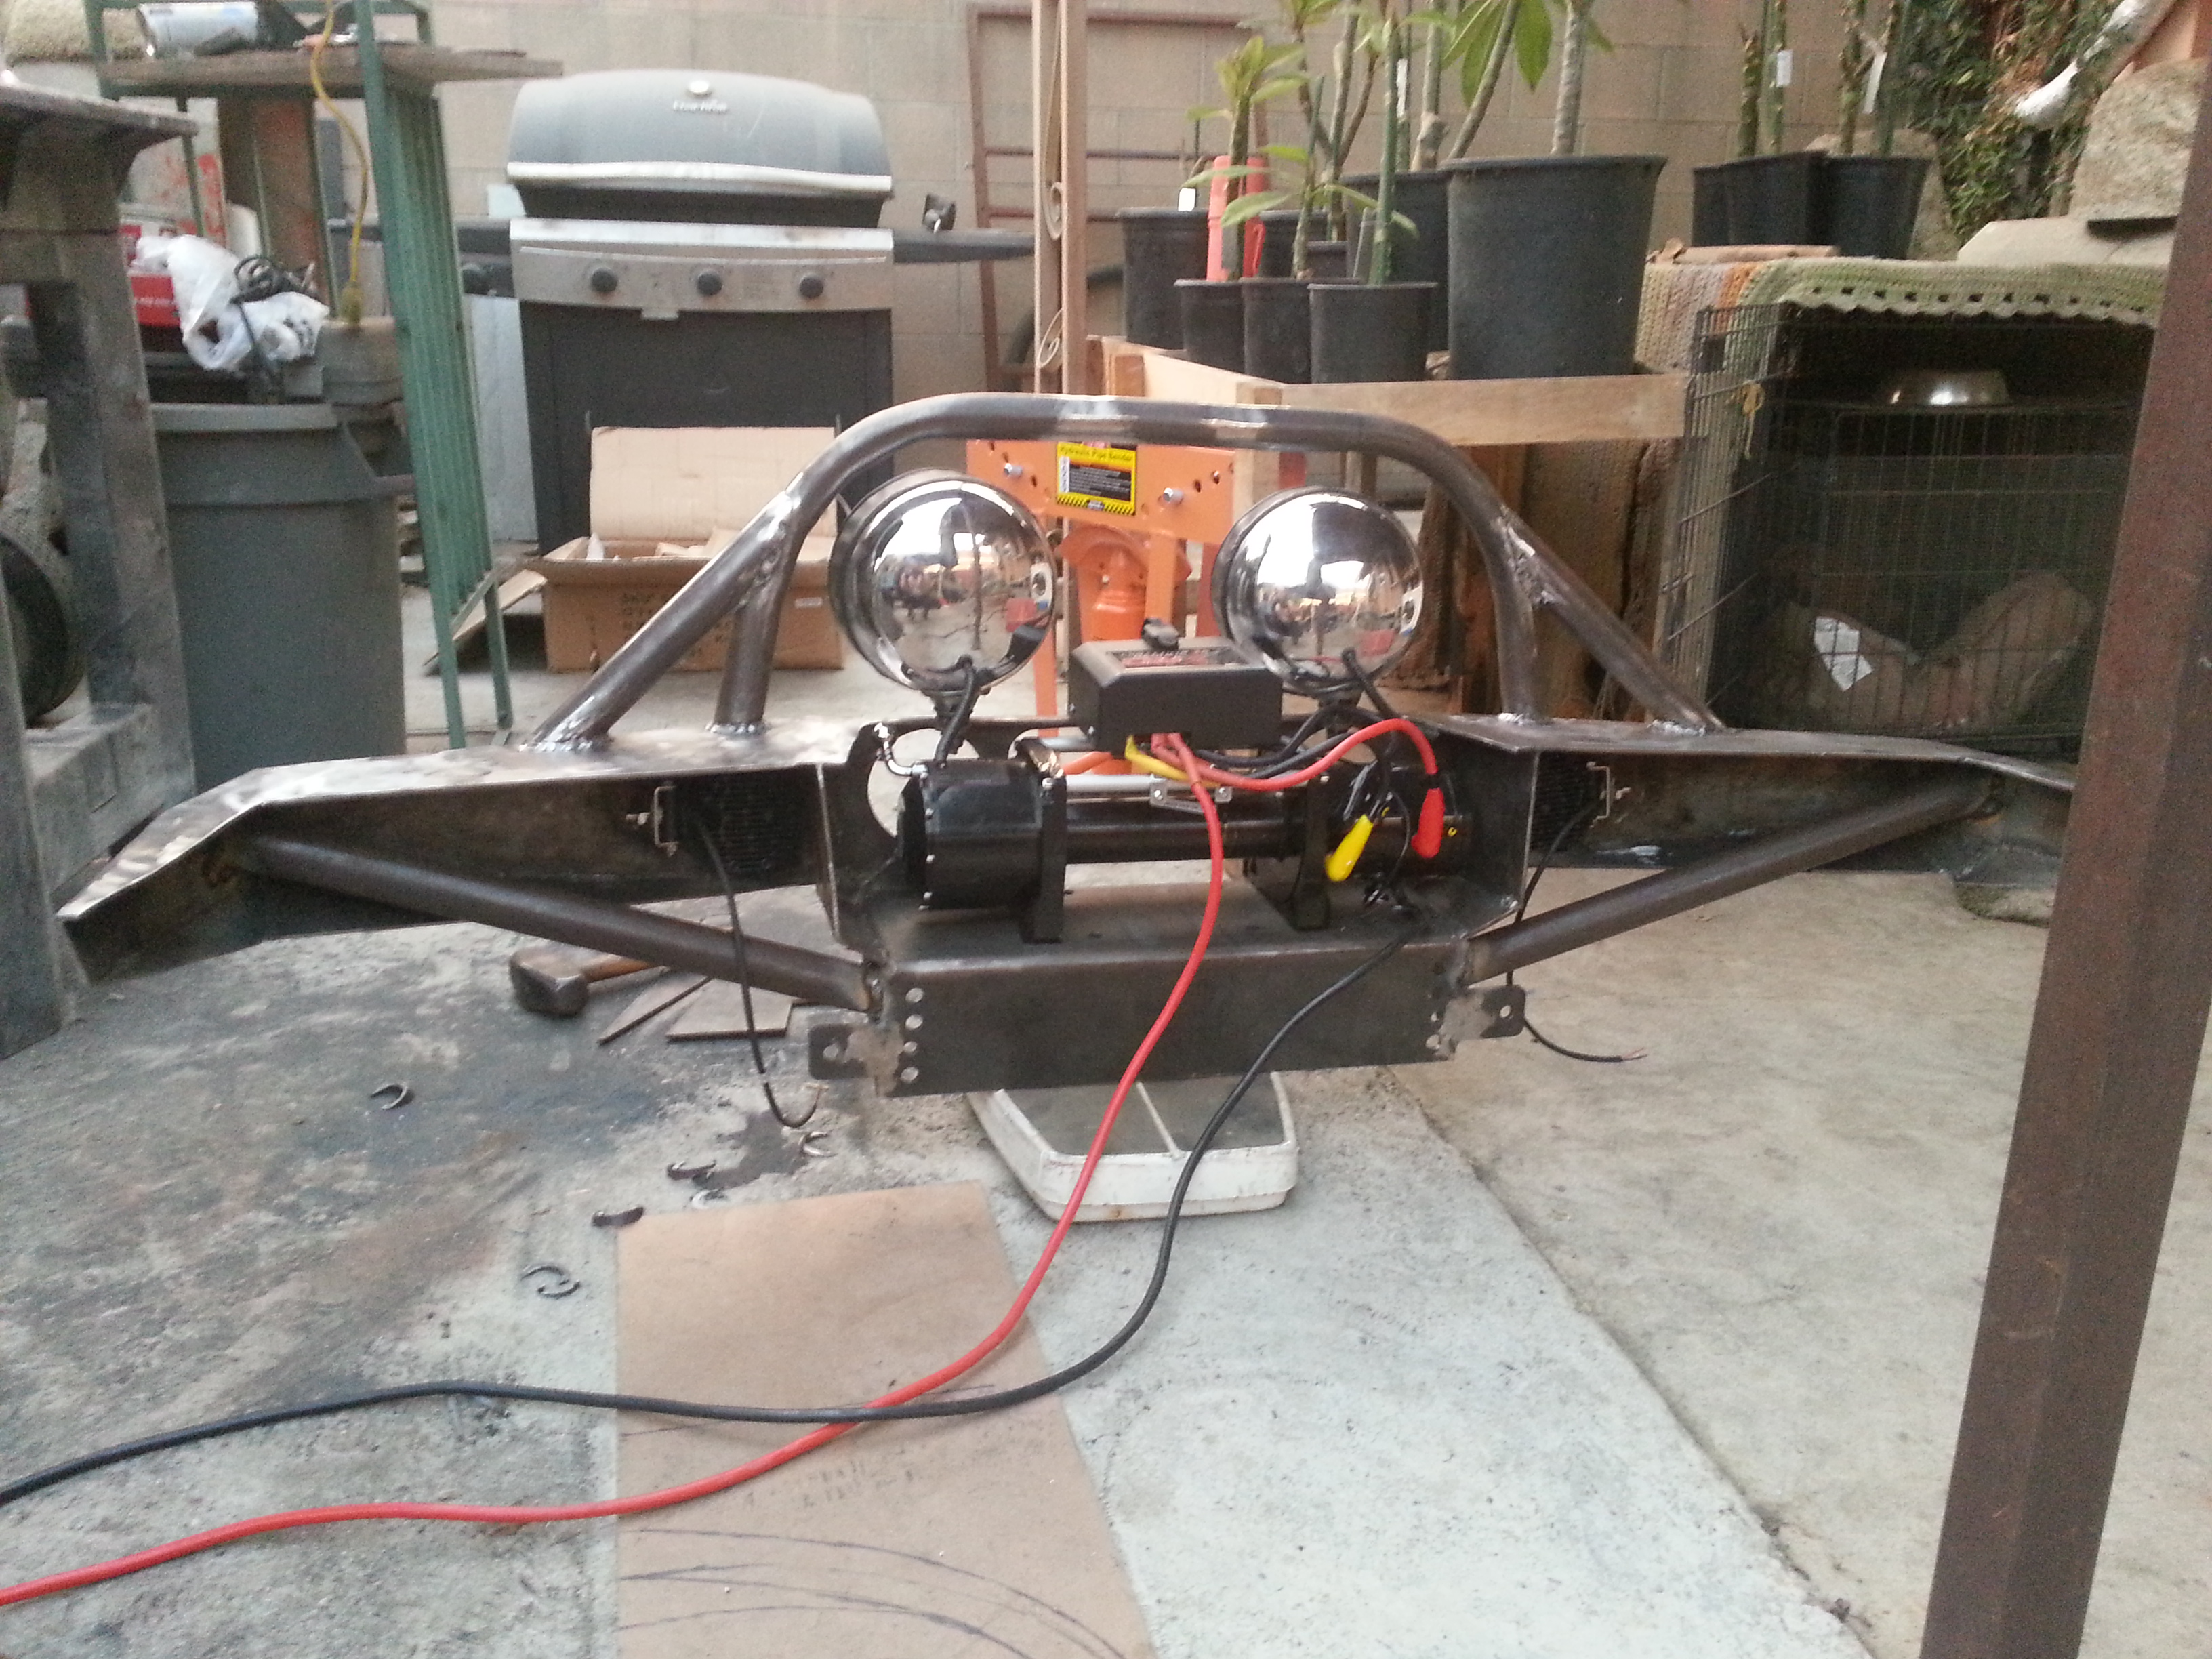
I got anxious and couldnt wait to see what it looked like so i added on the winch and Mark's lights.
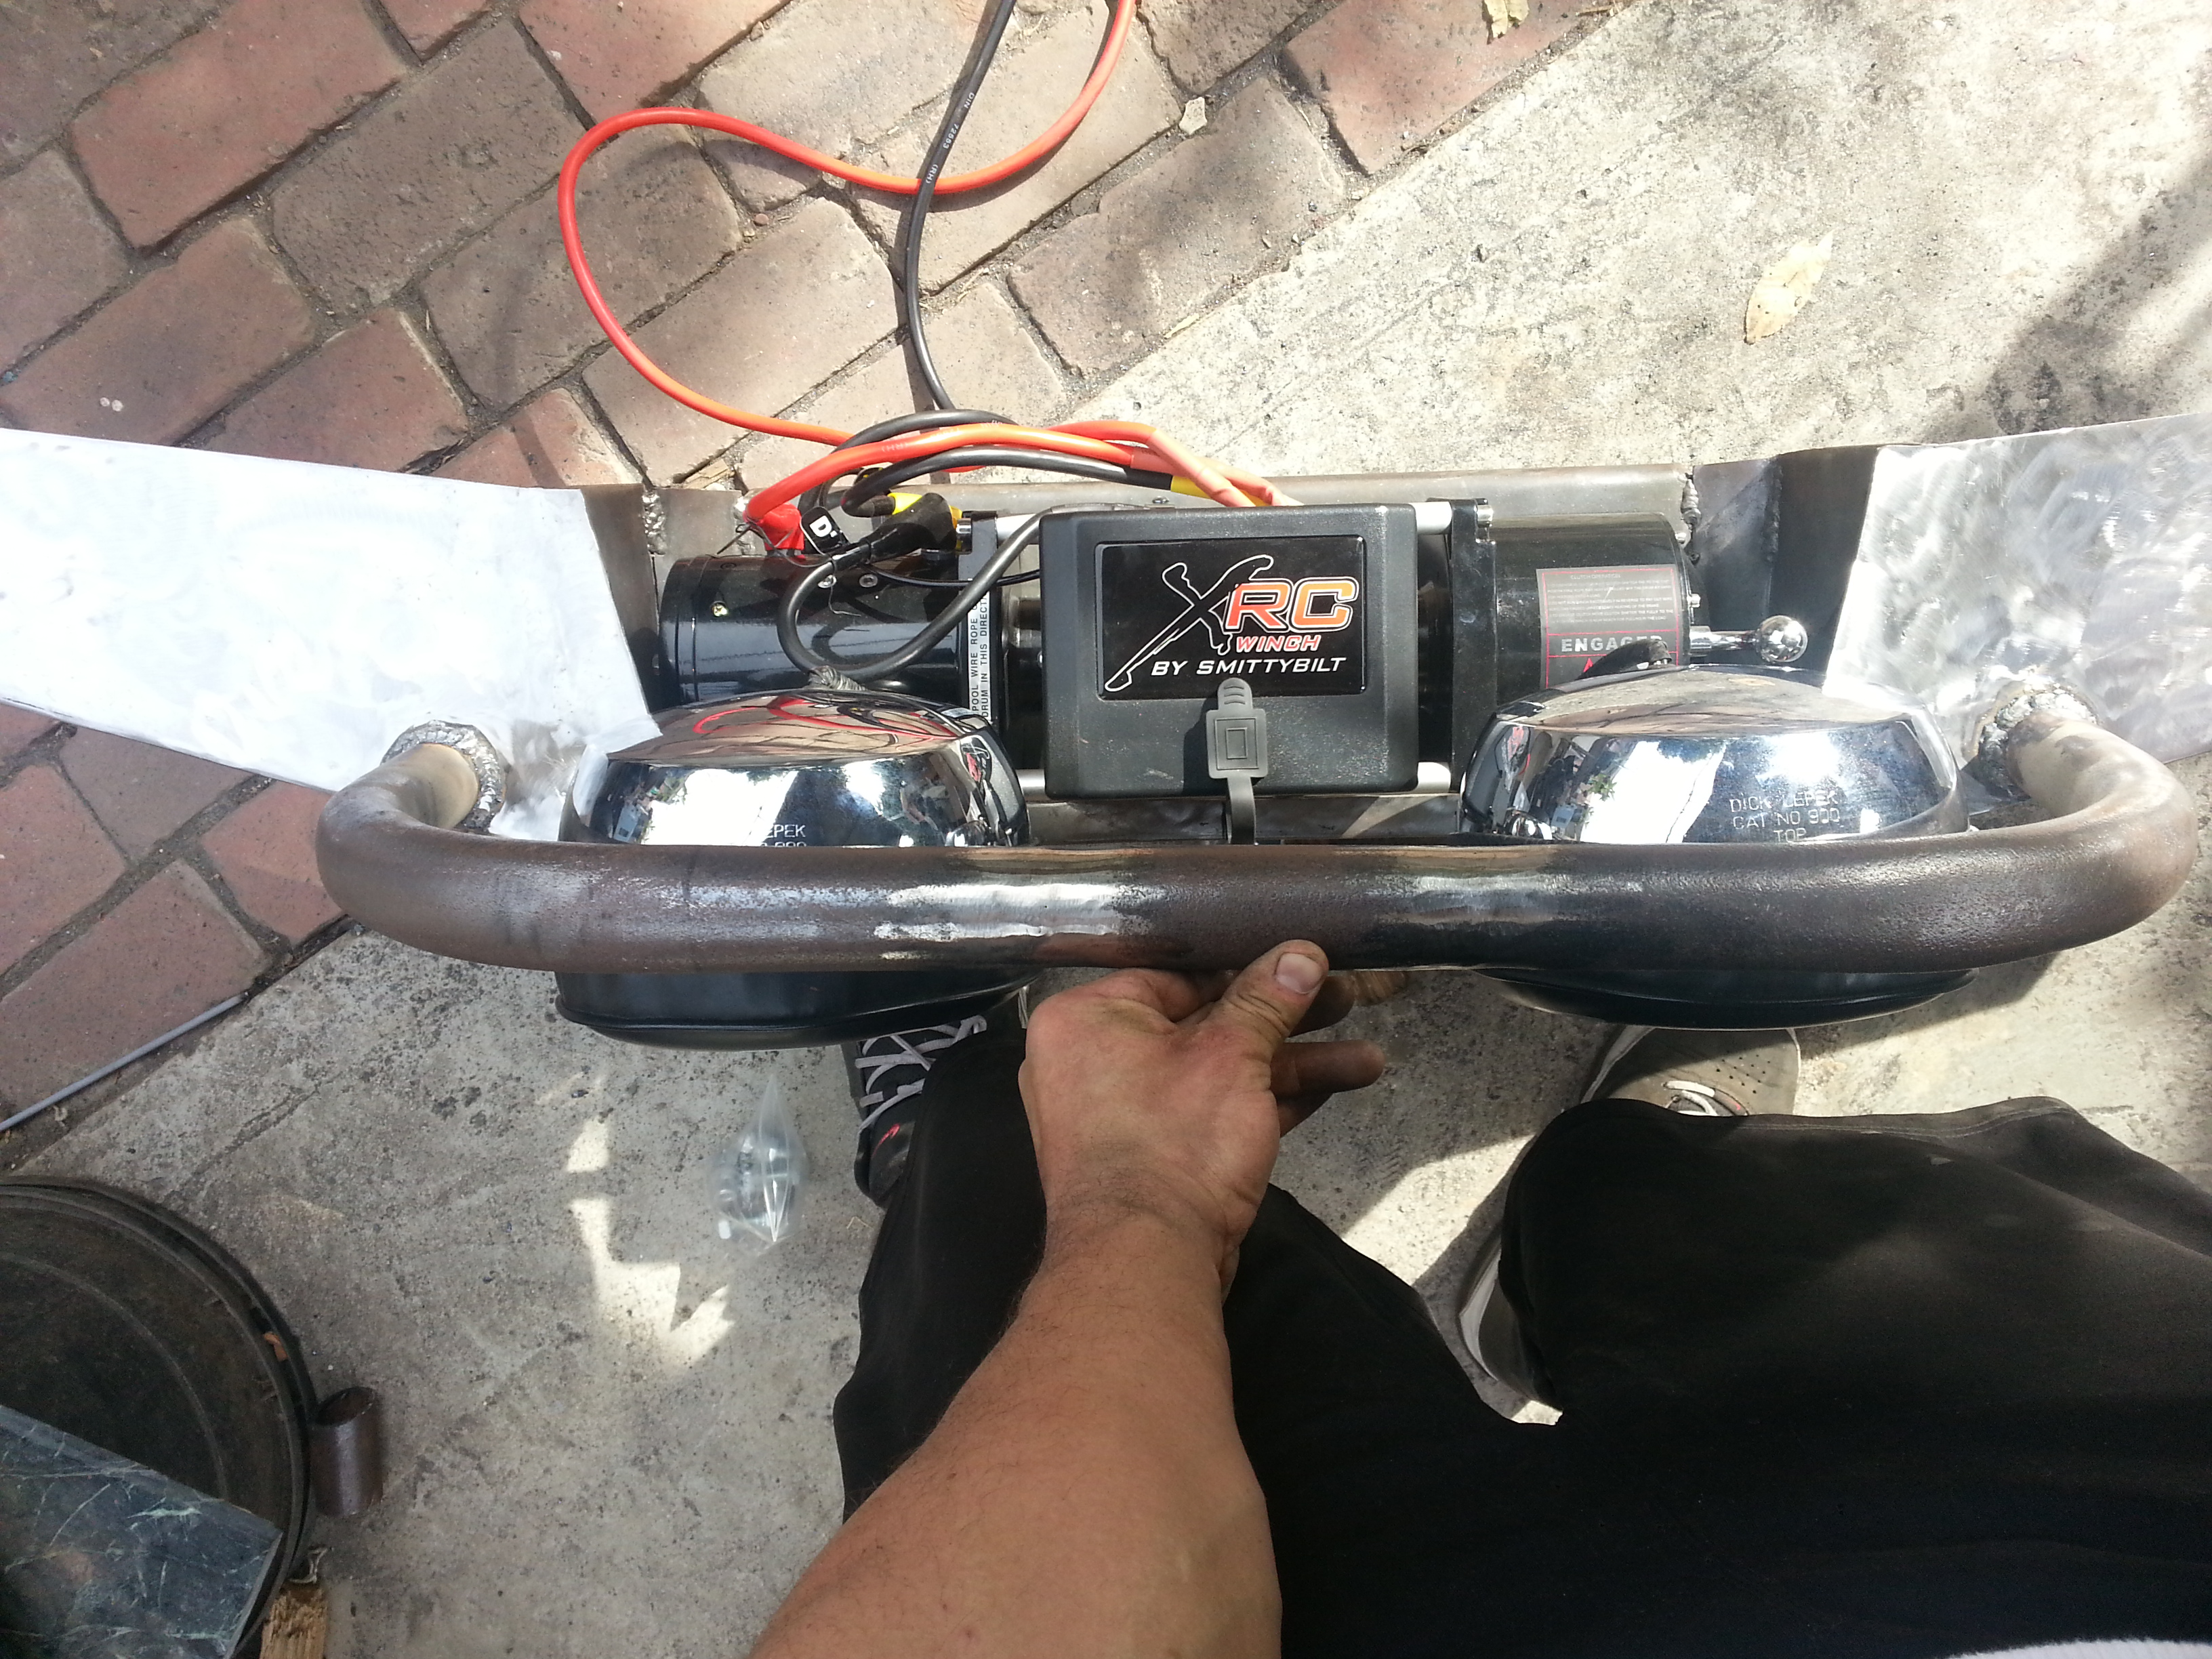
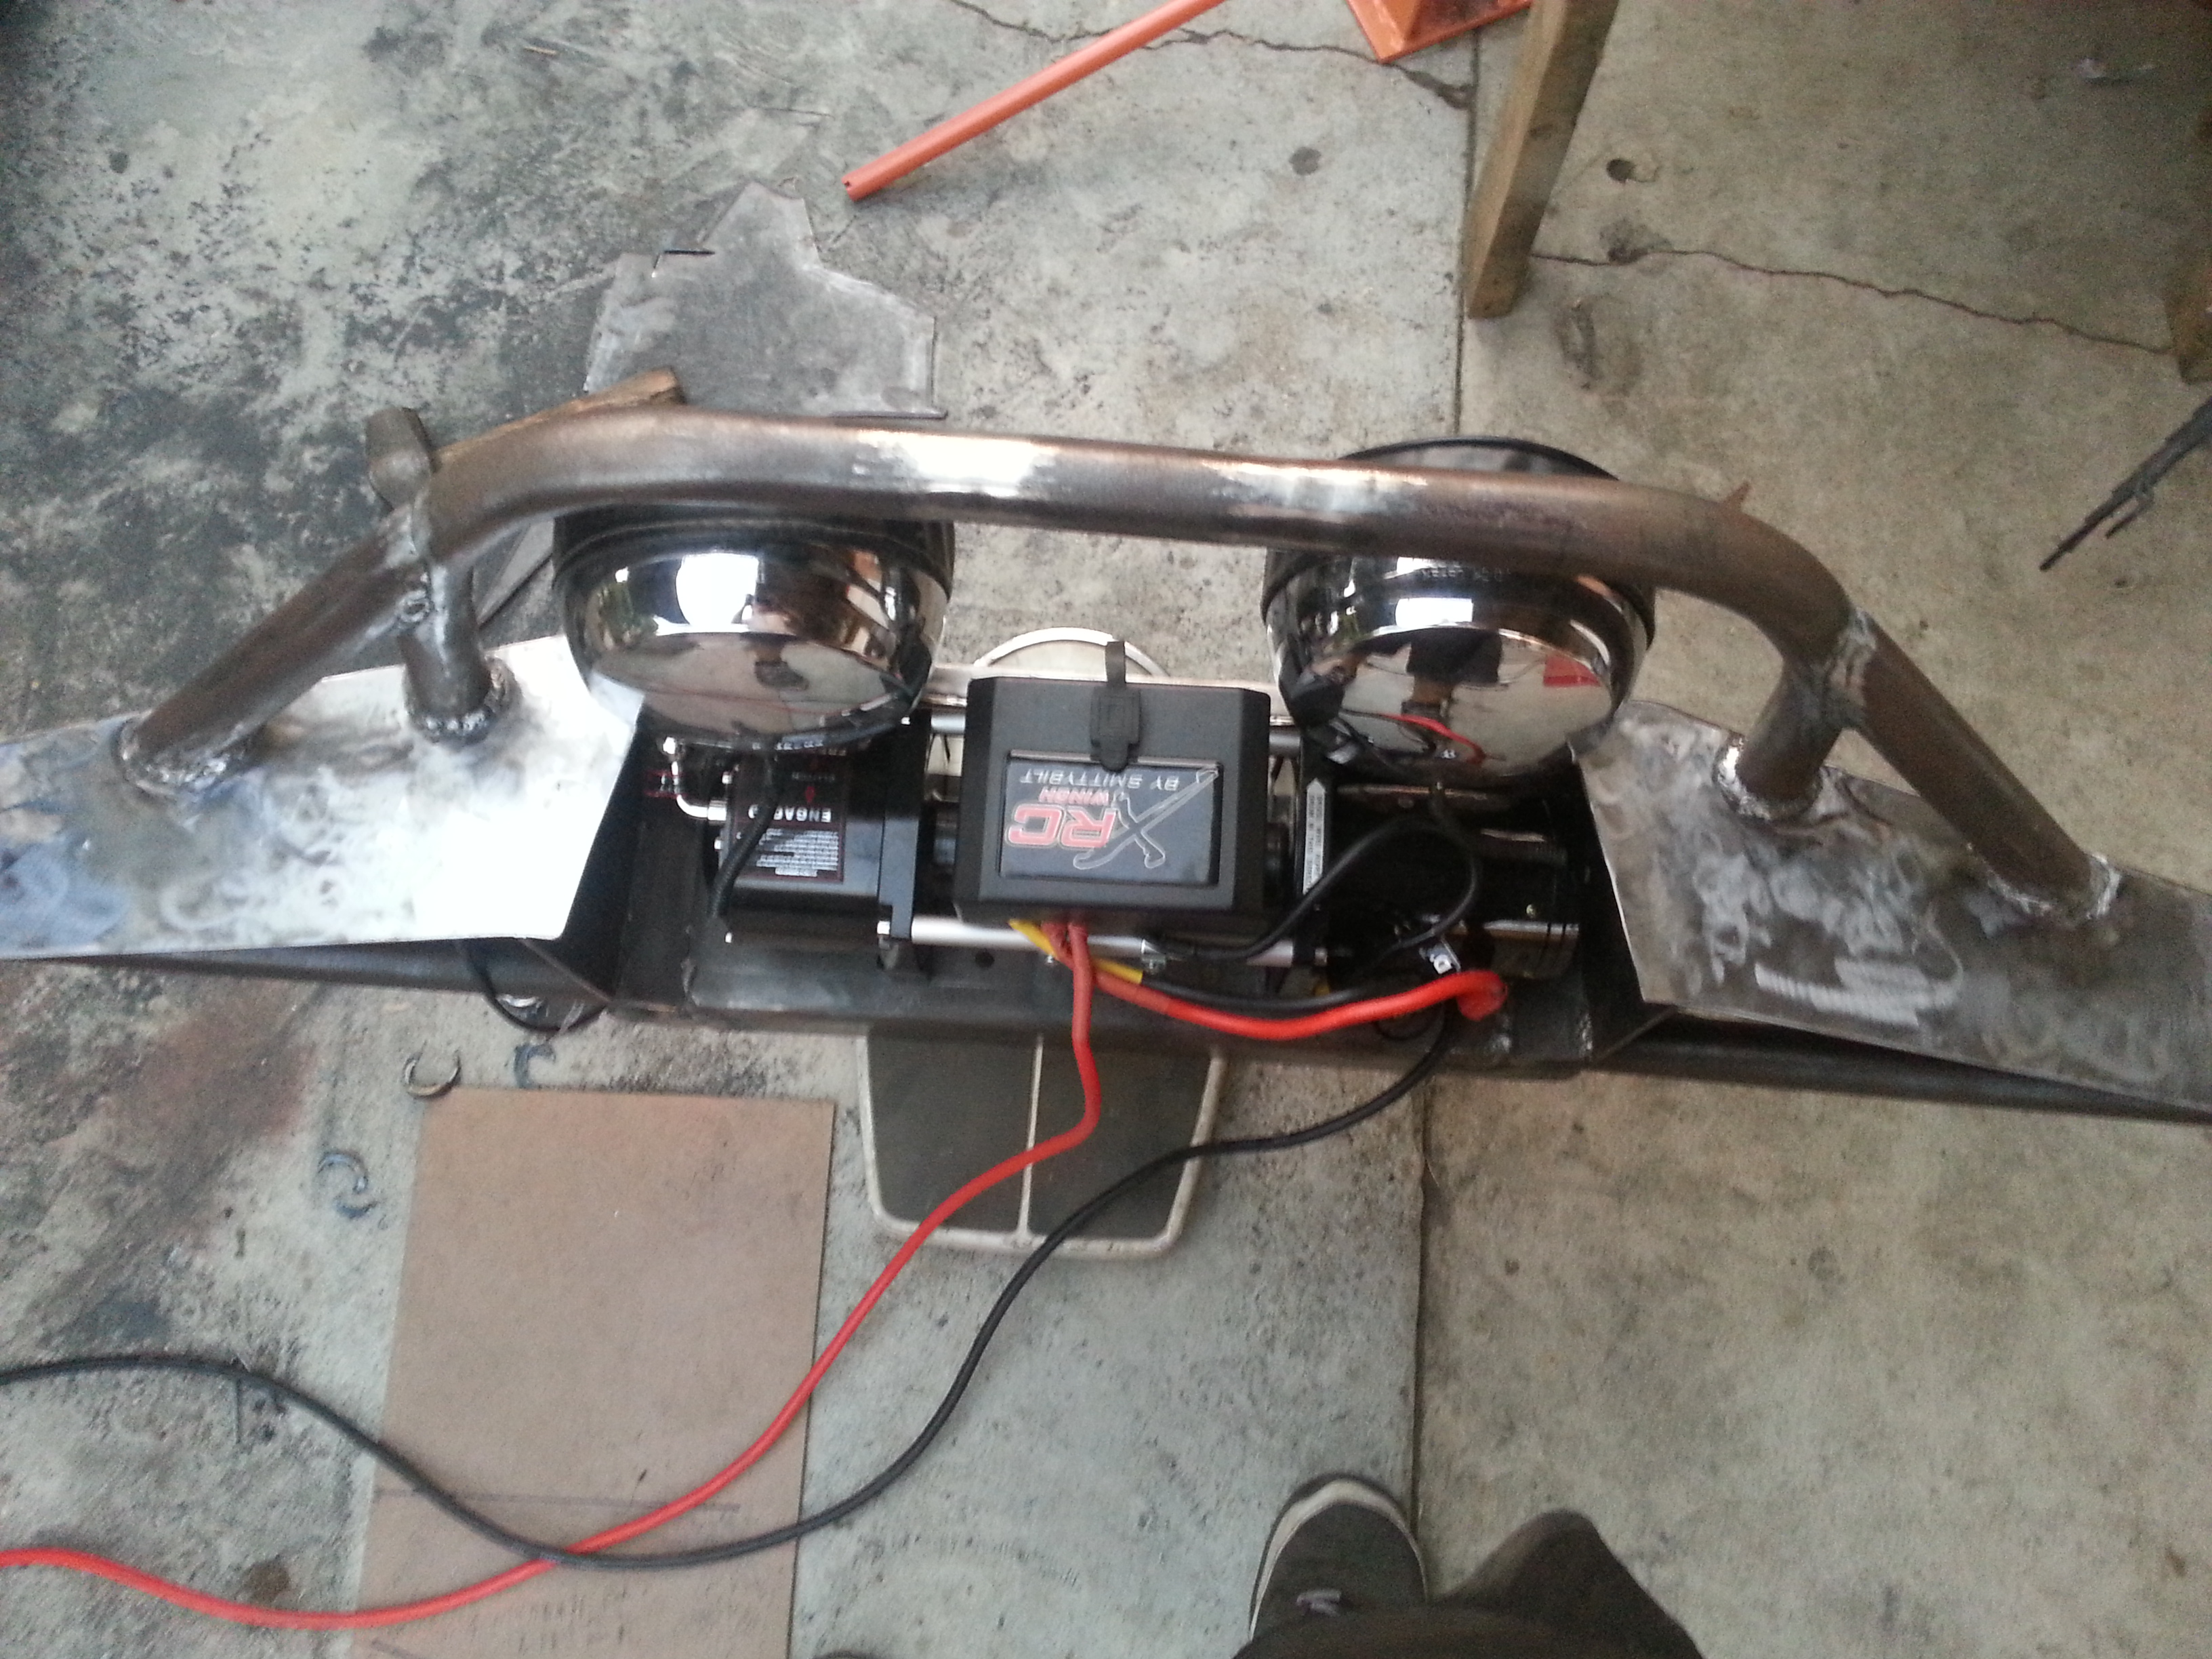
We cleared the Winch control box.
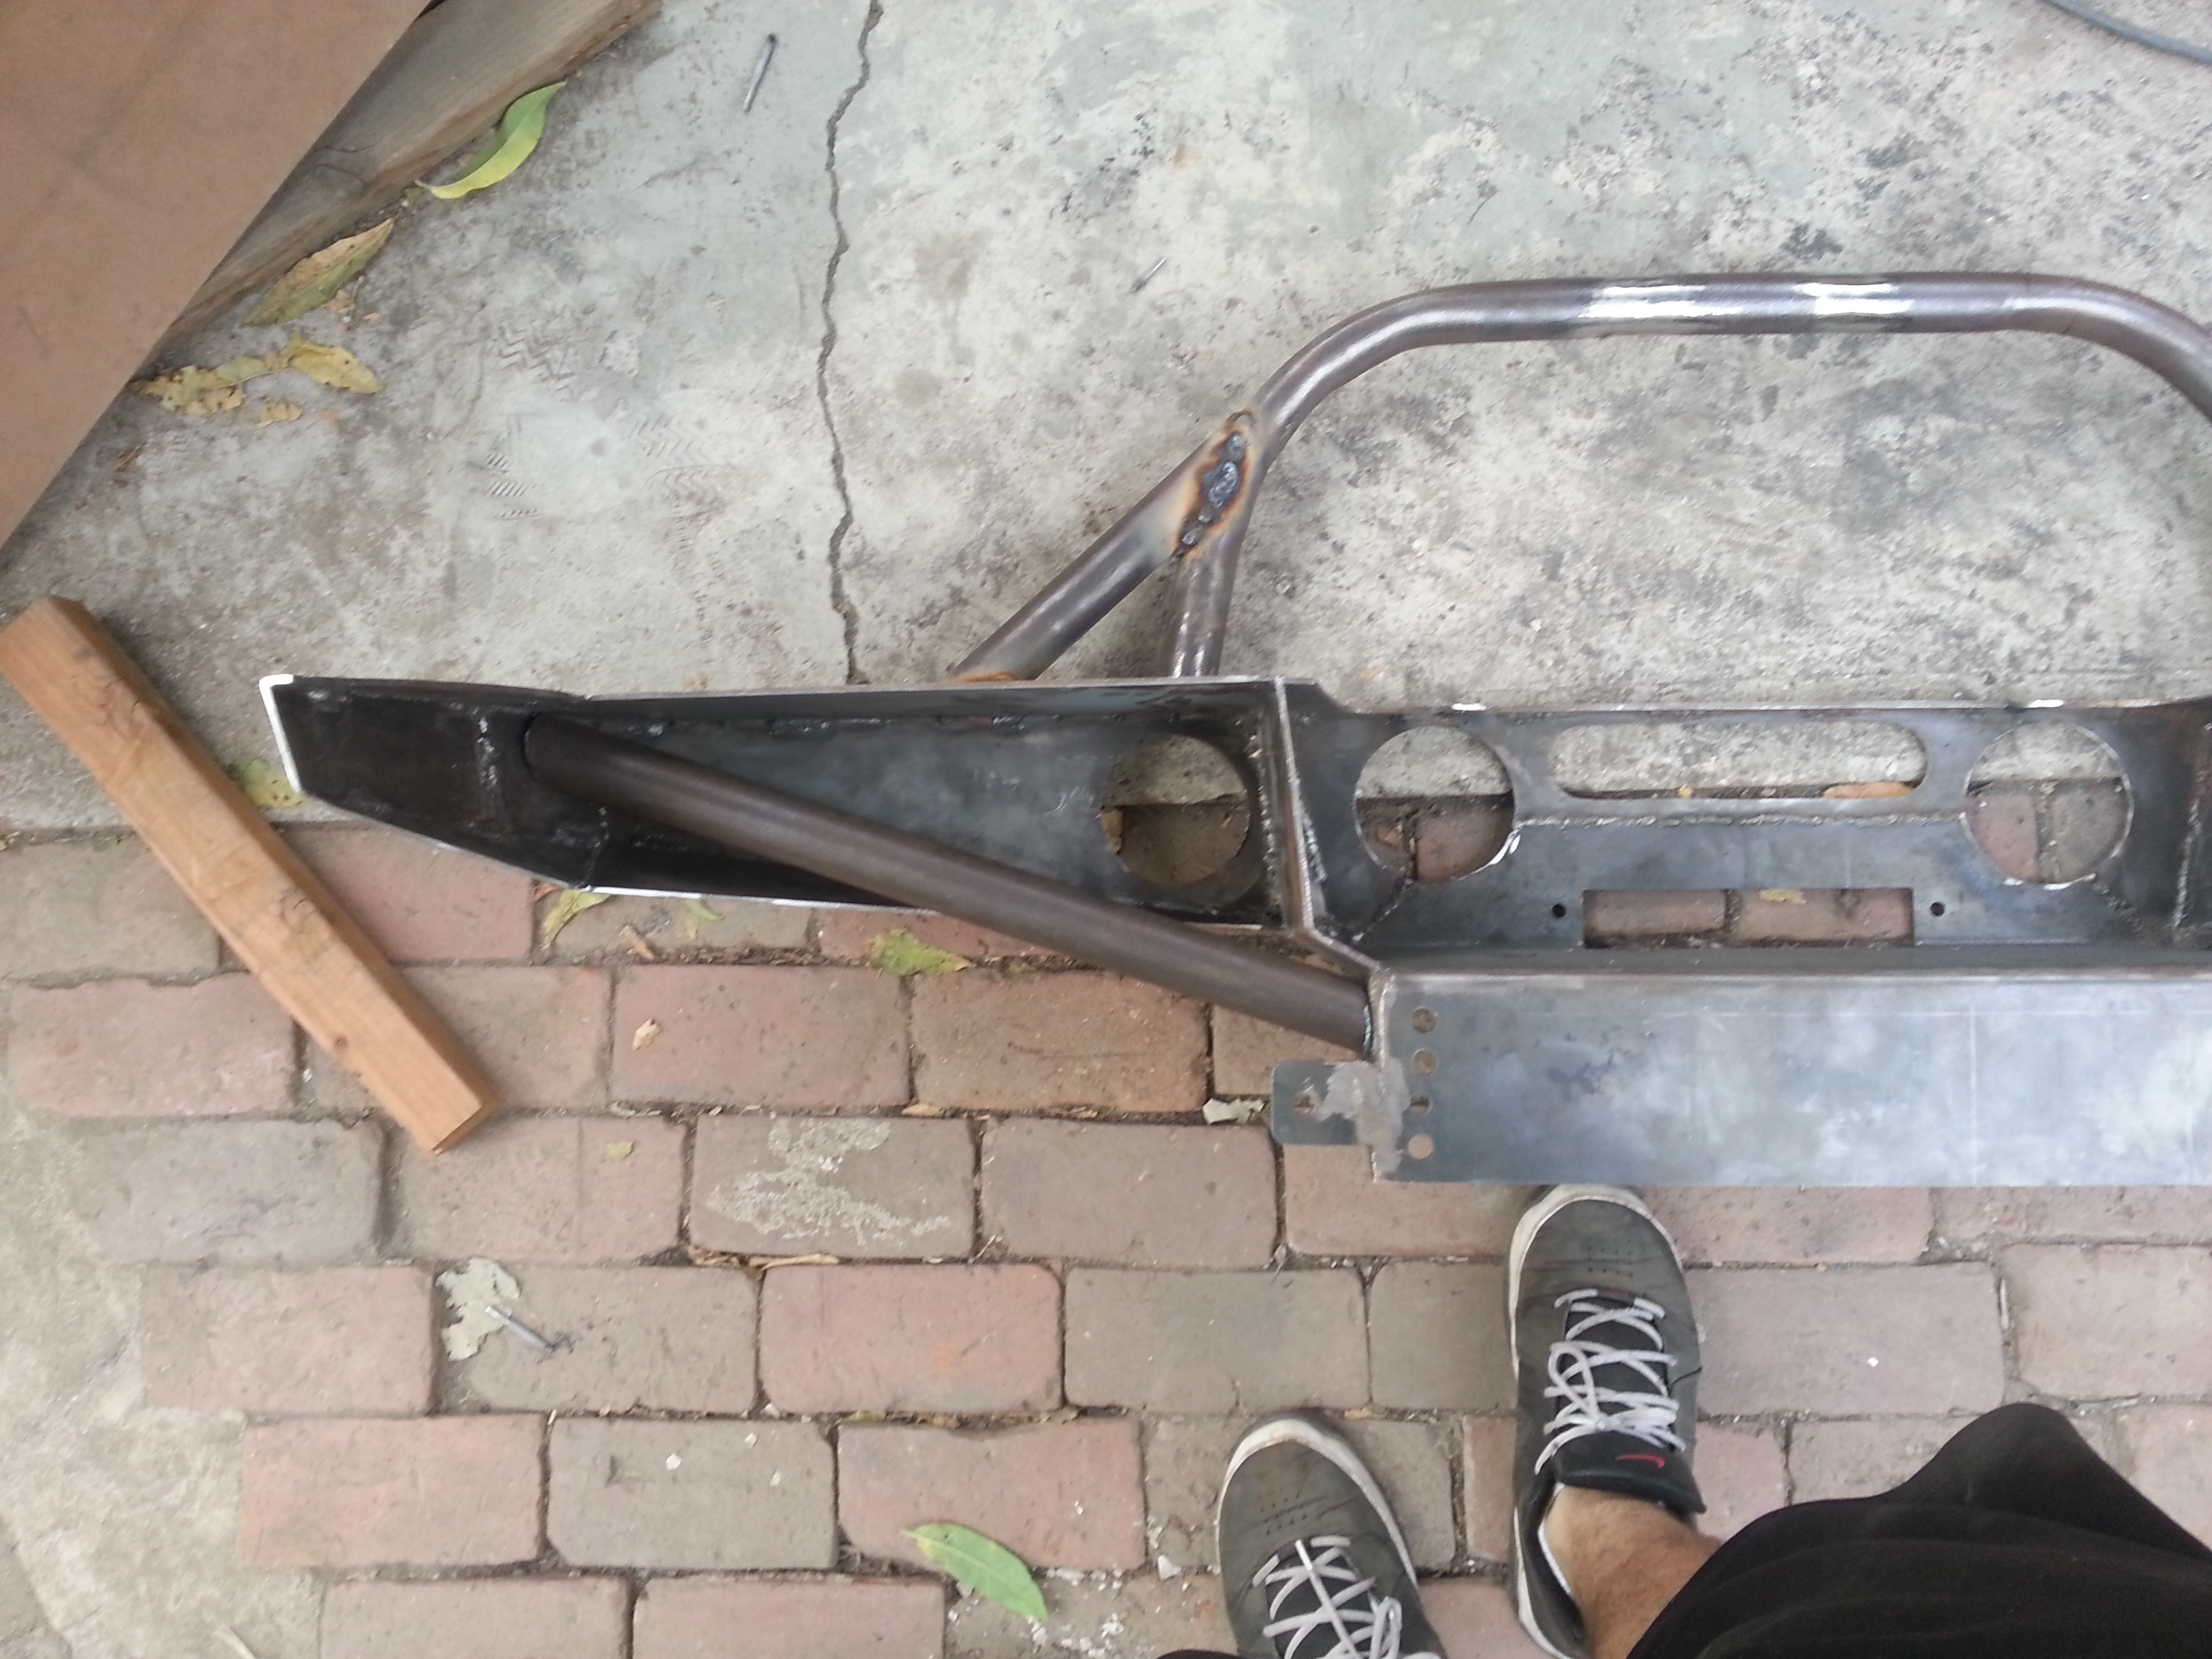
I cut out the grill guard gussets
That's about where i want them.
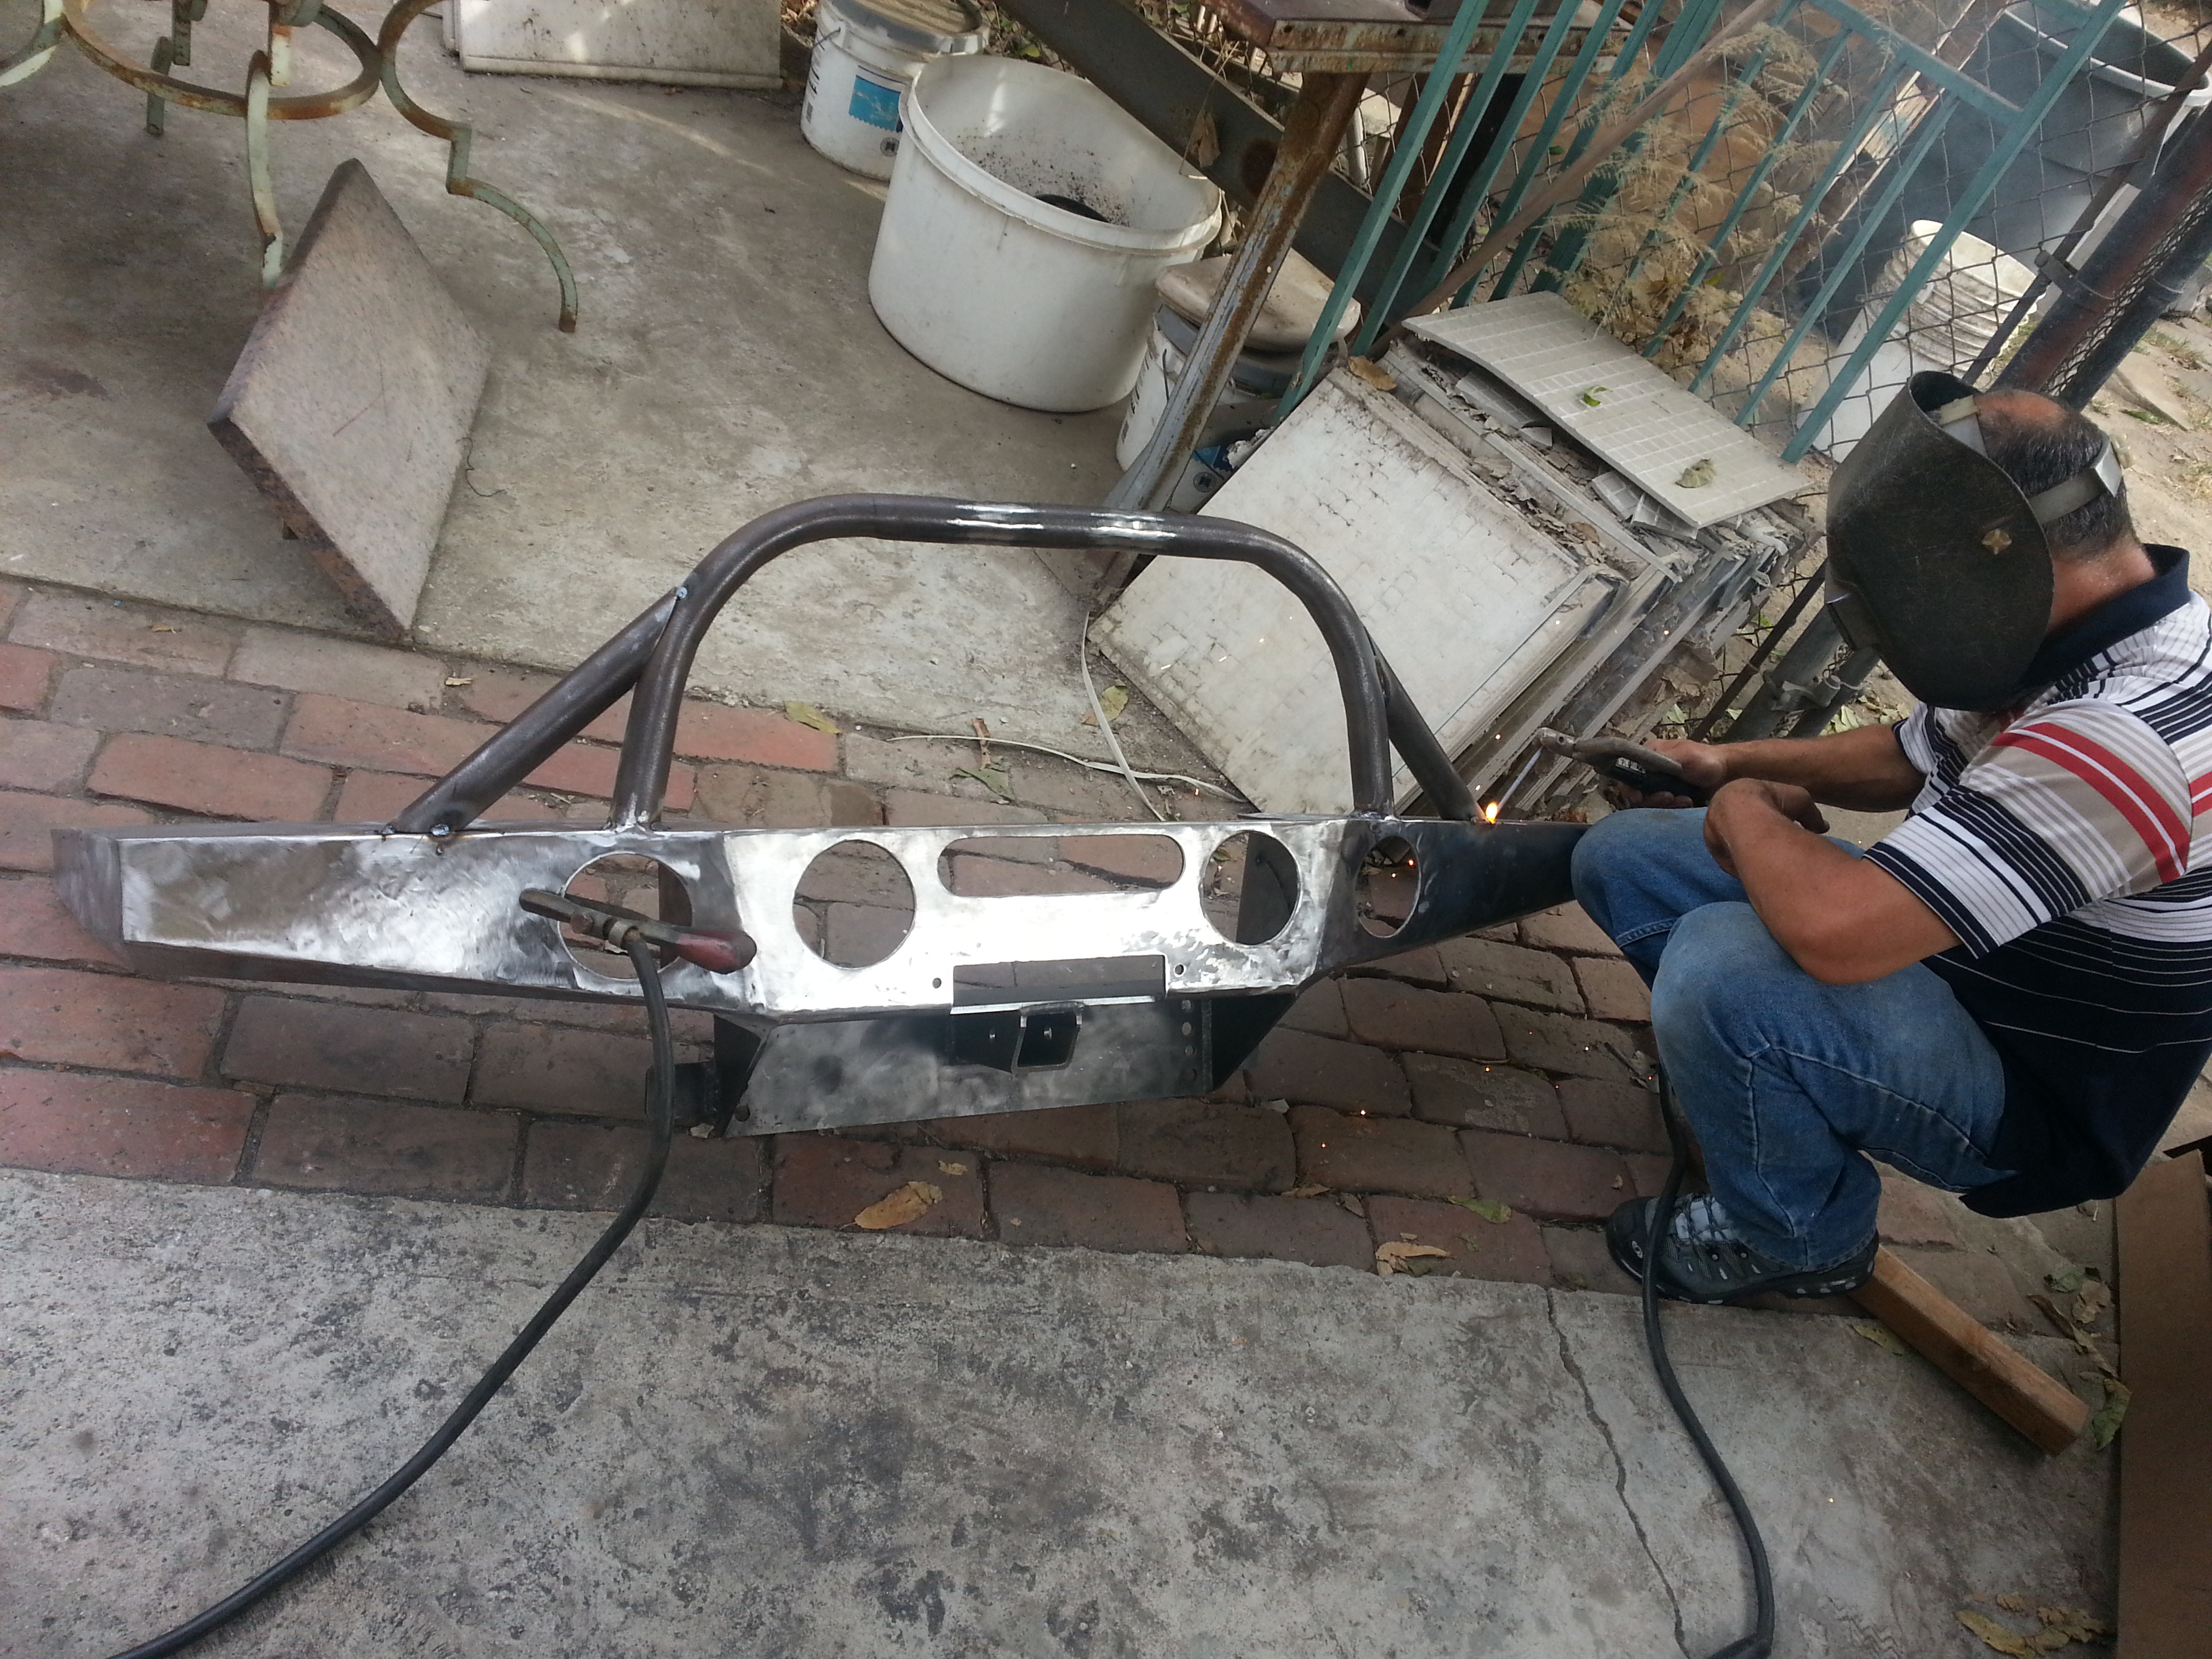
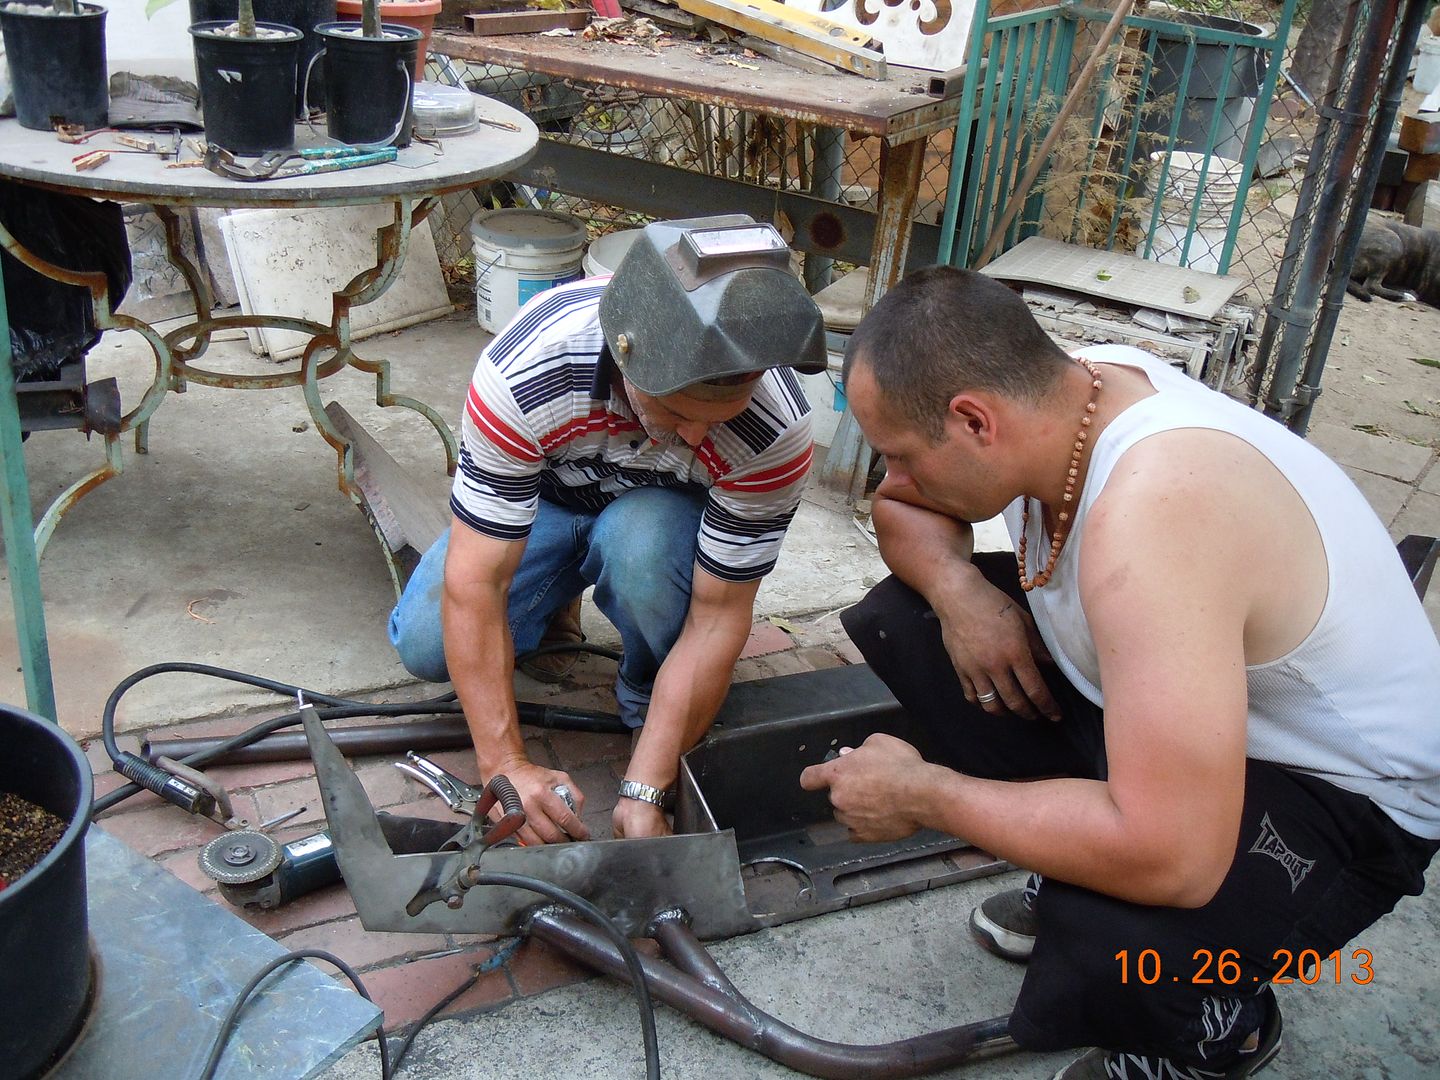
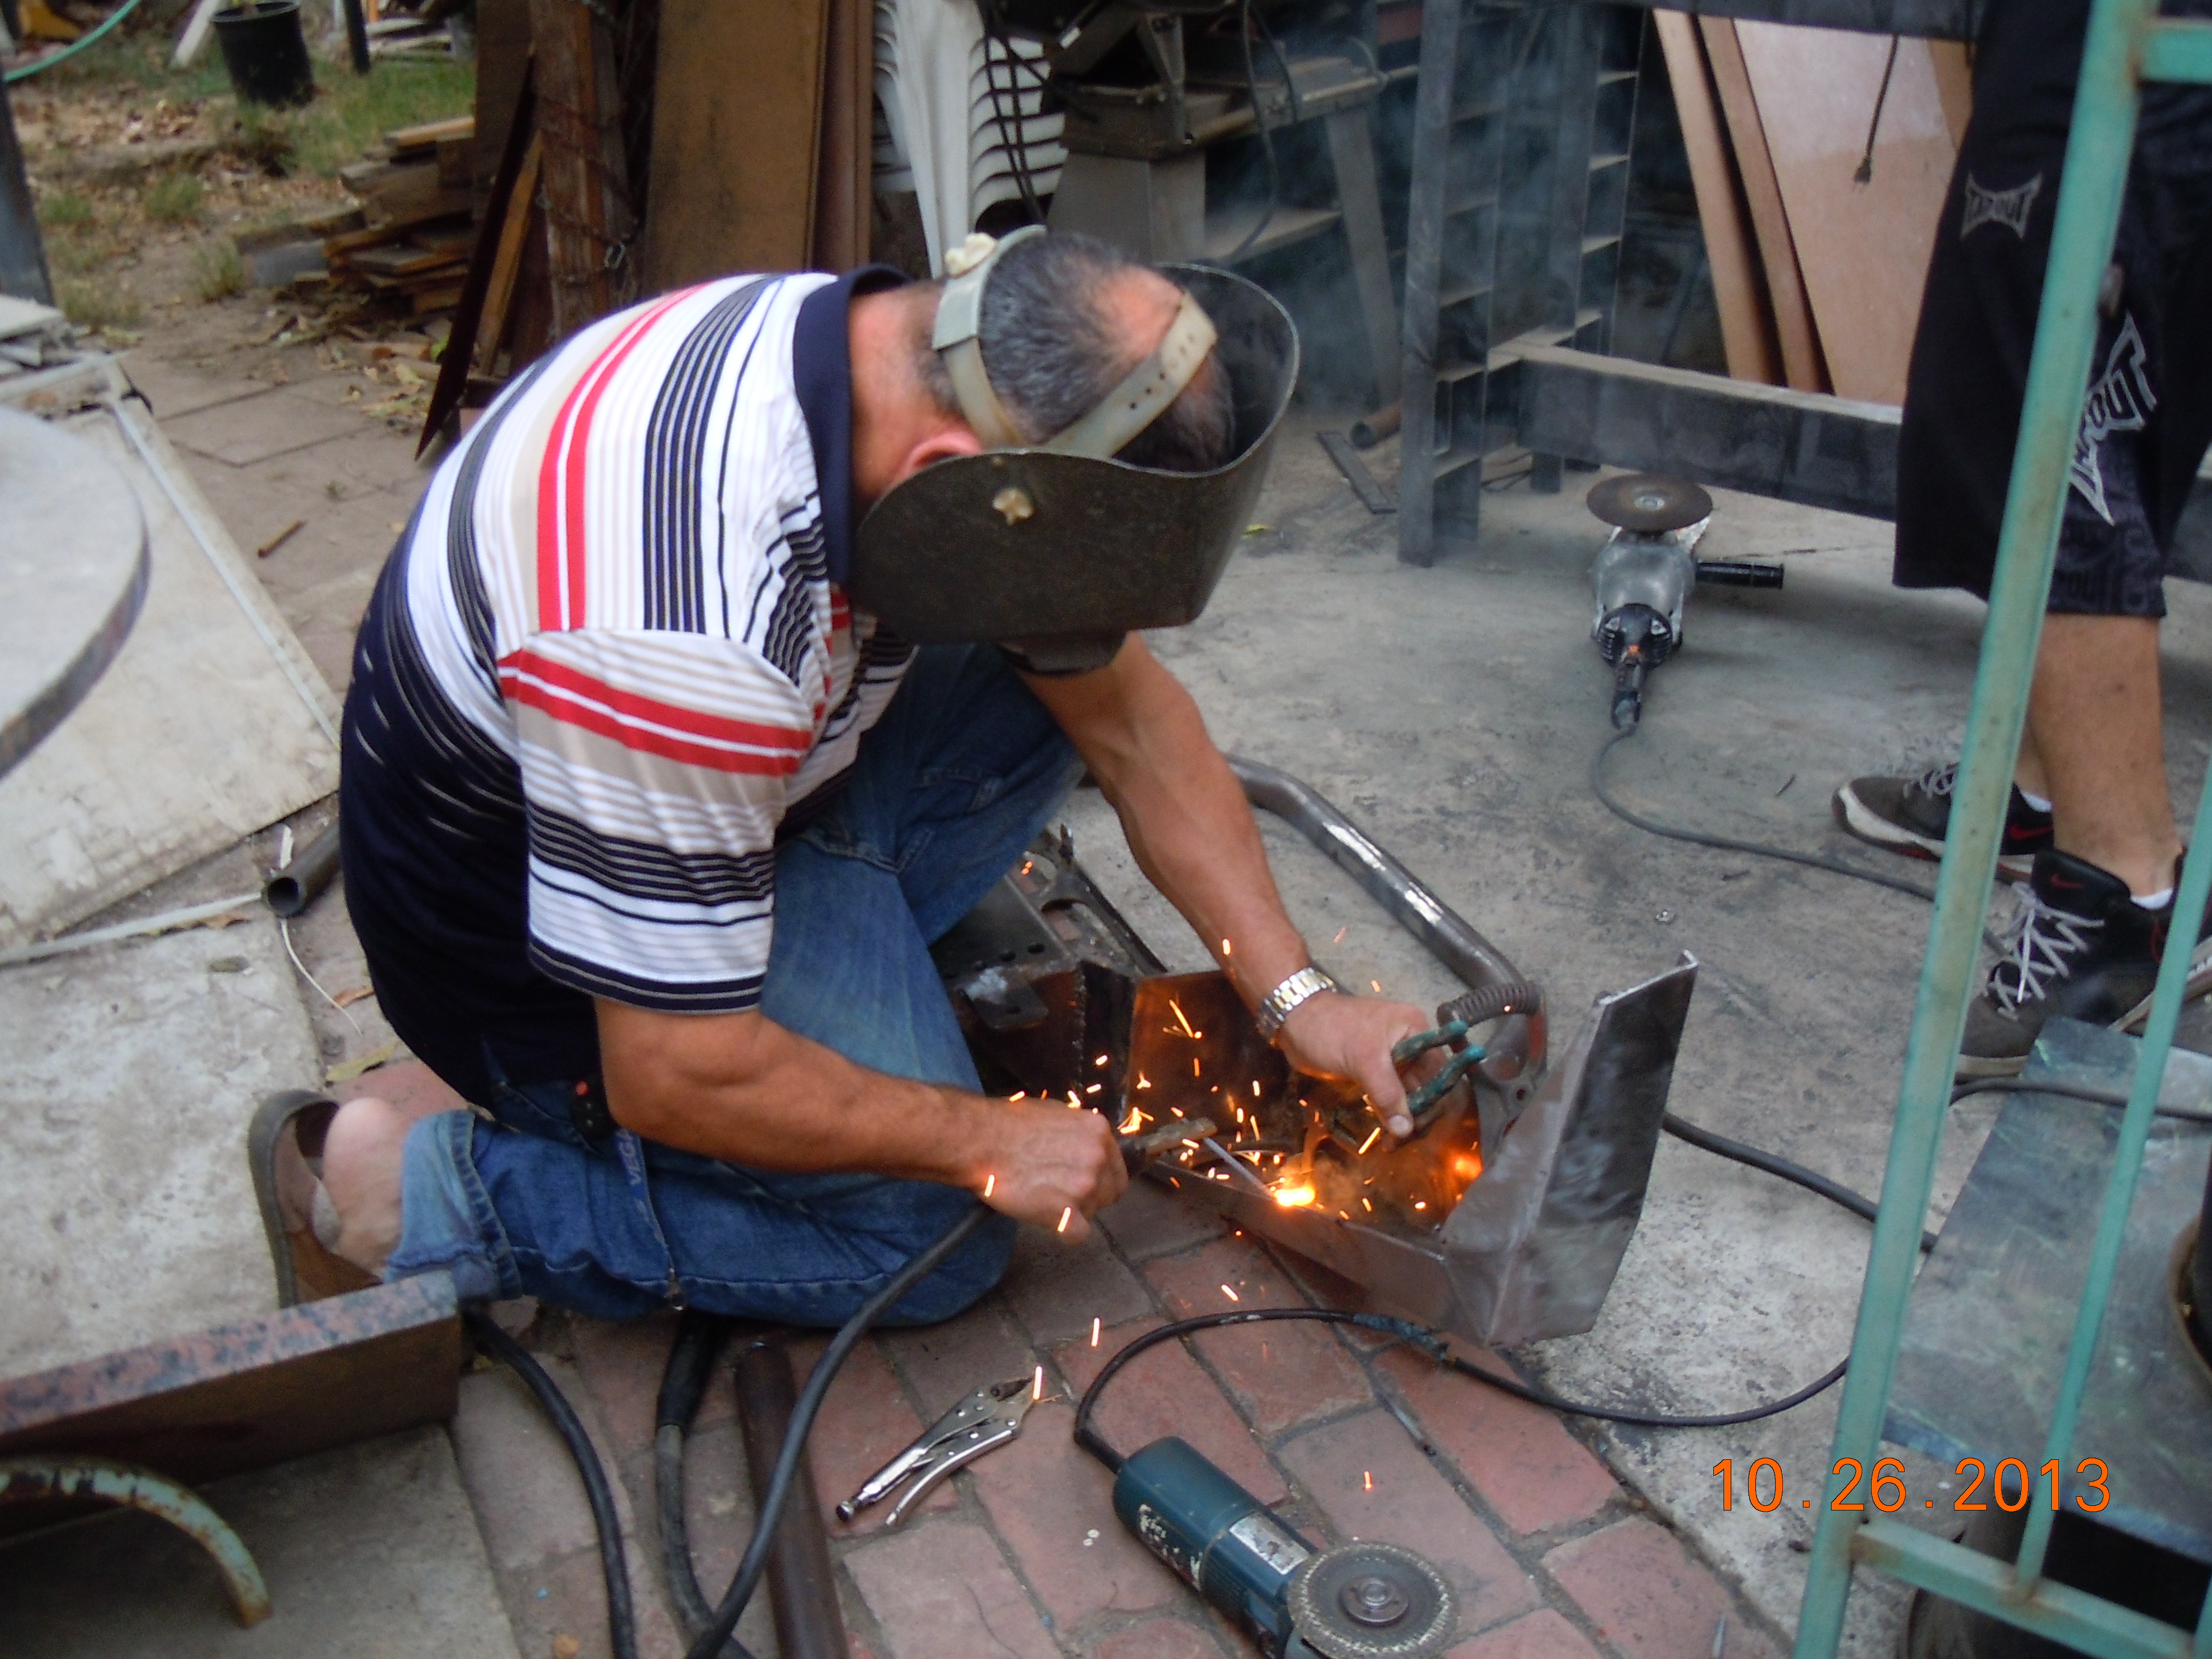
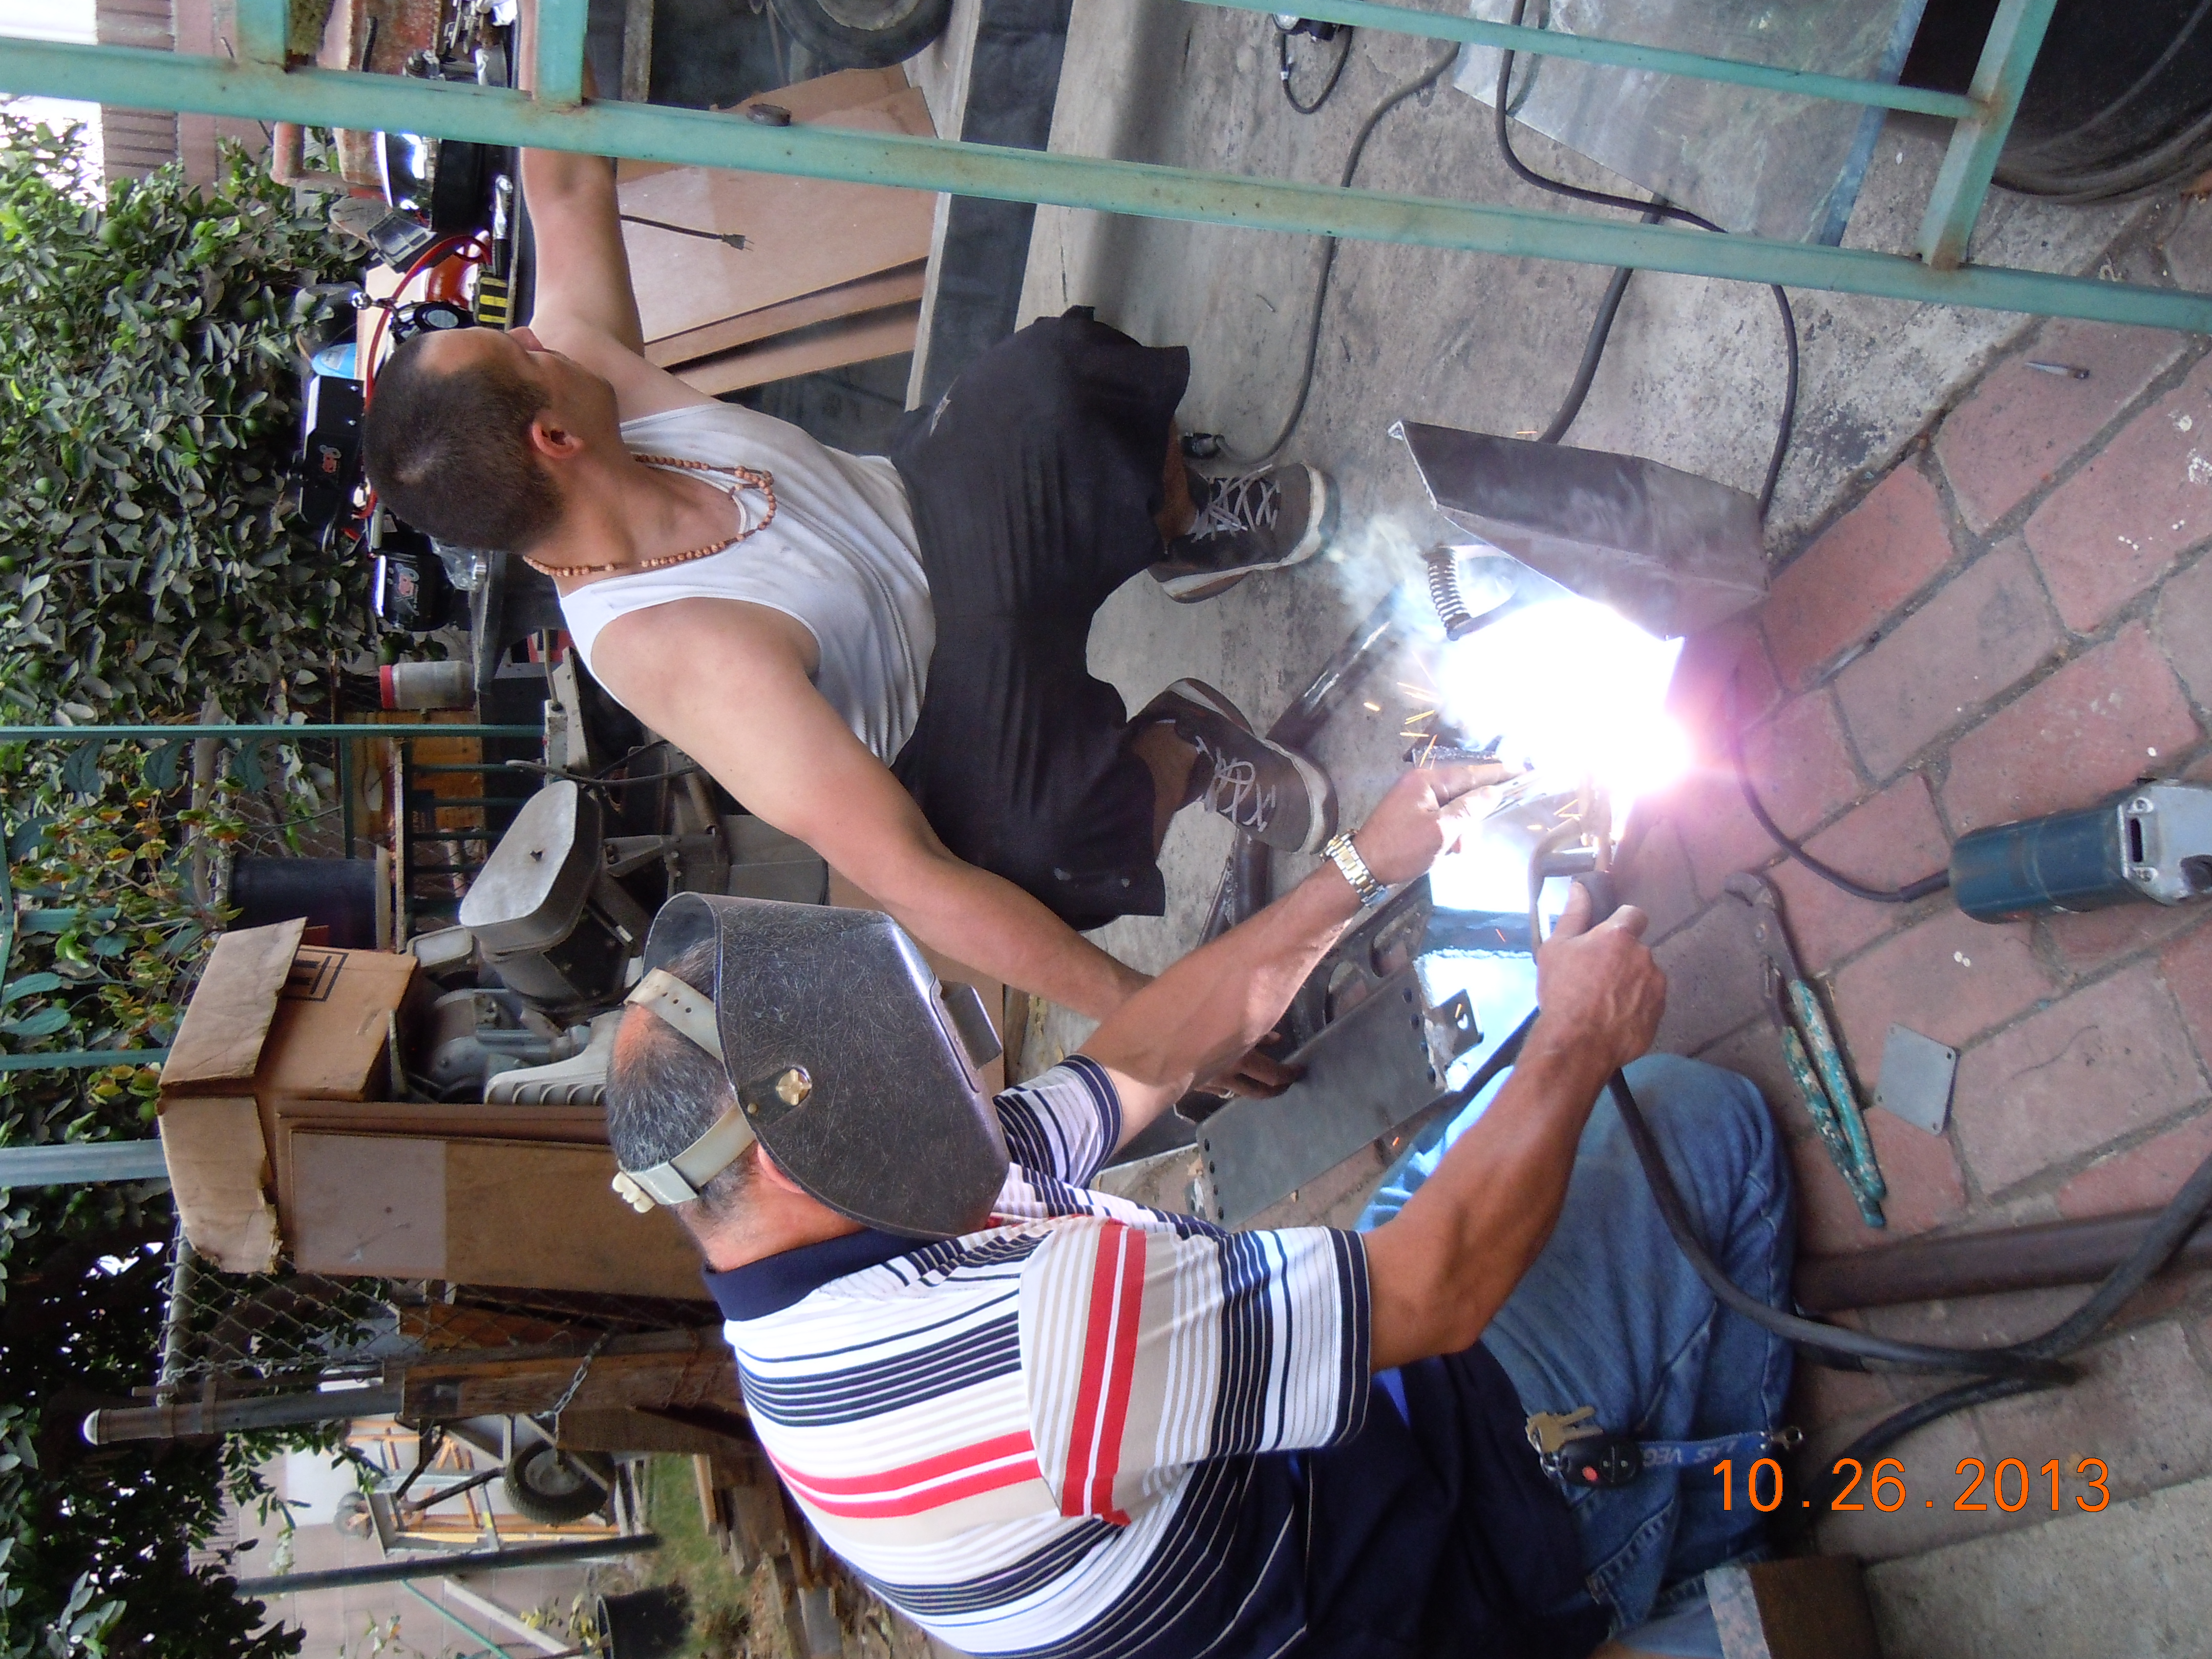
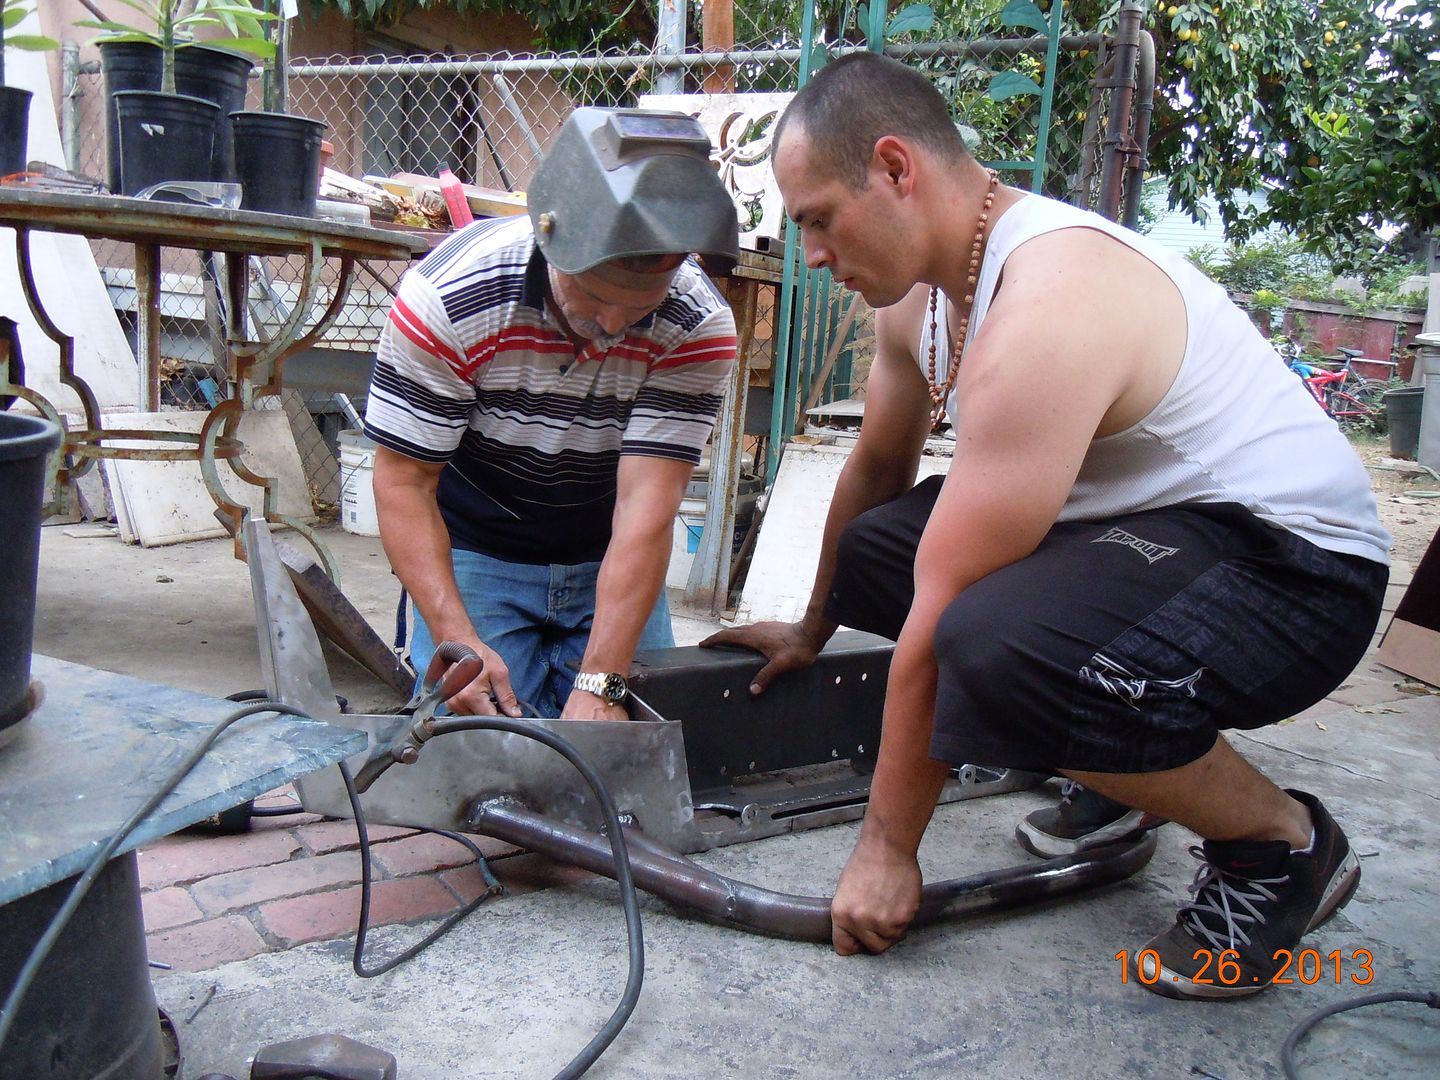
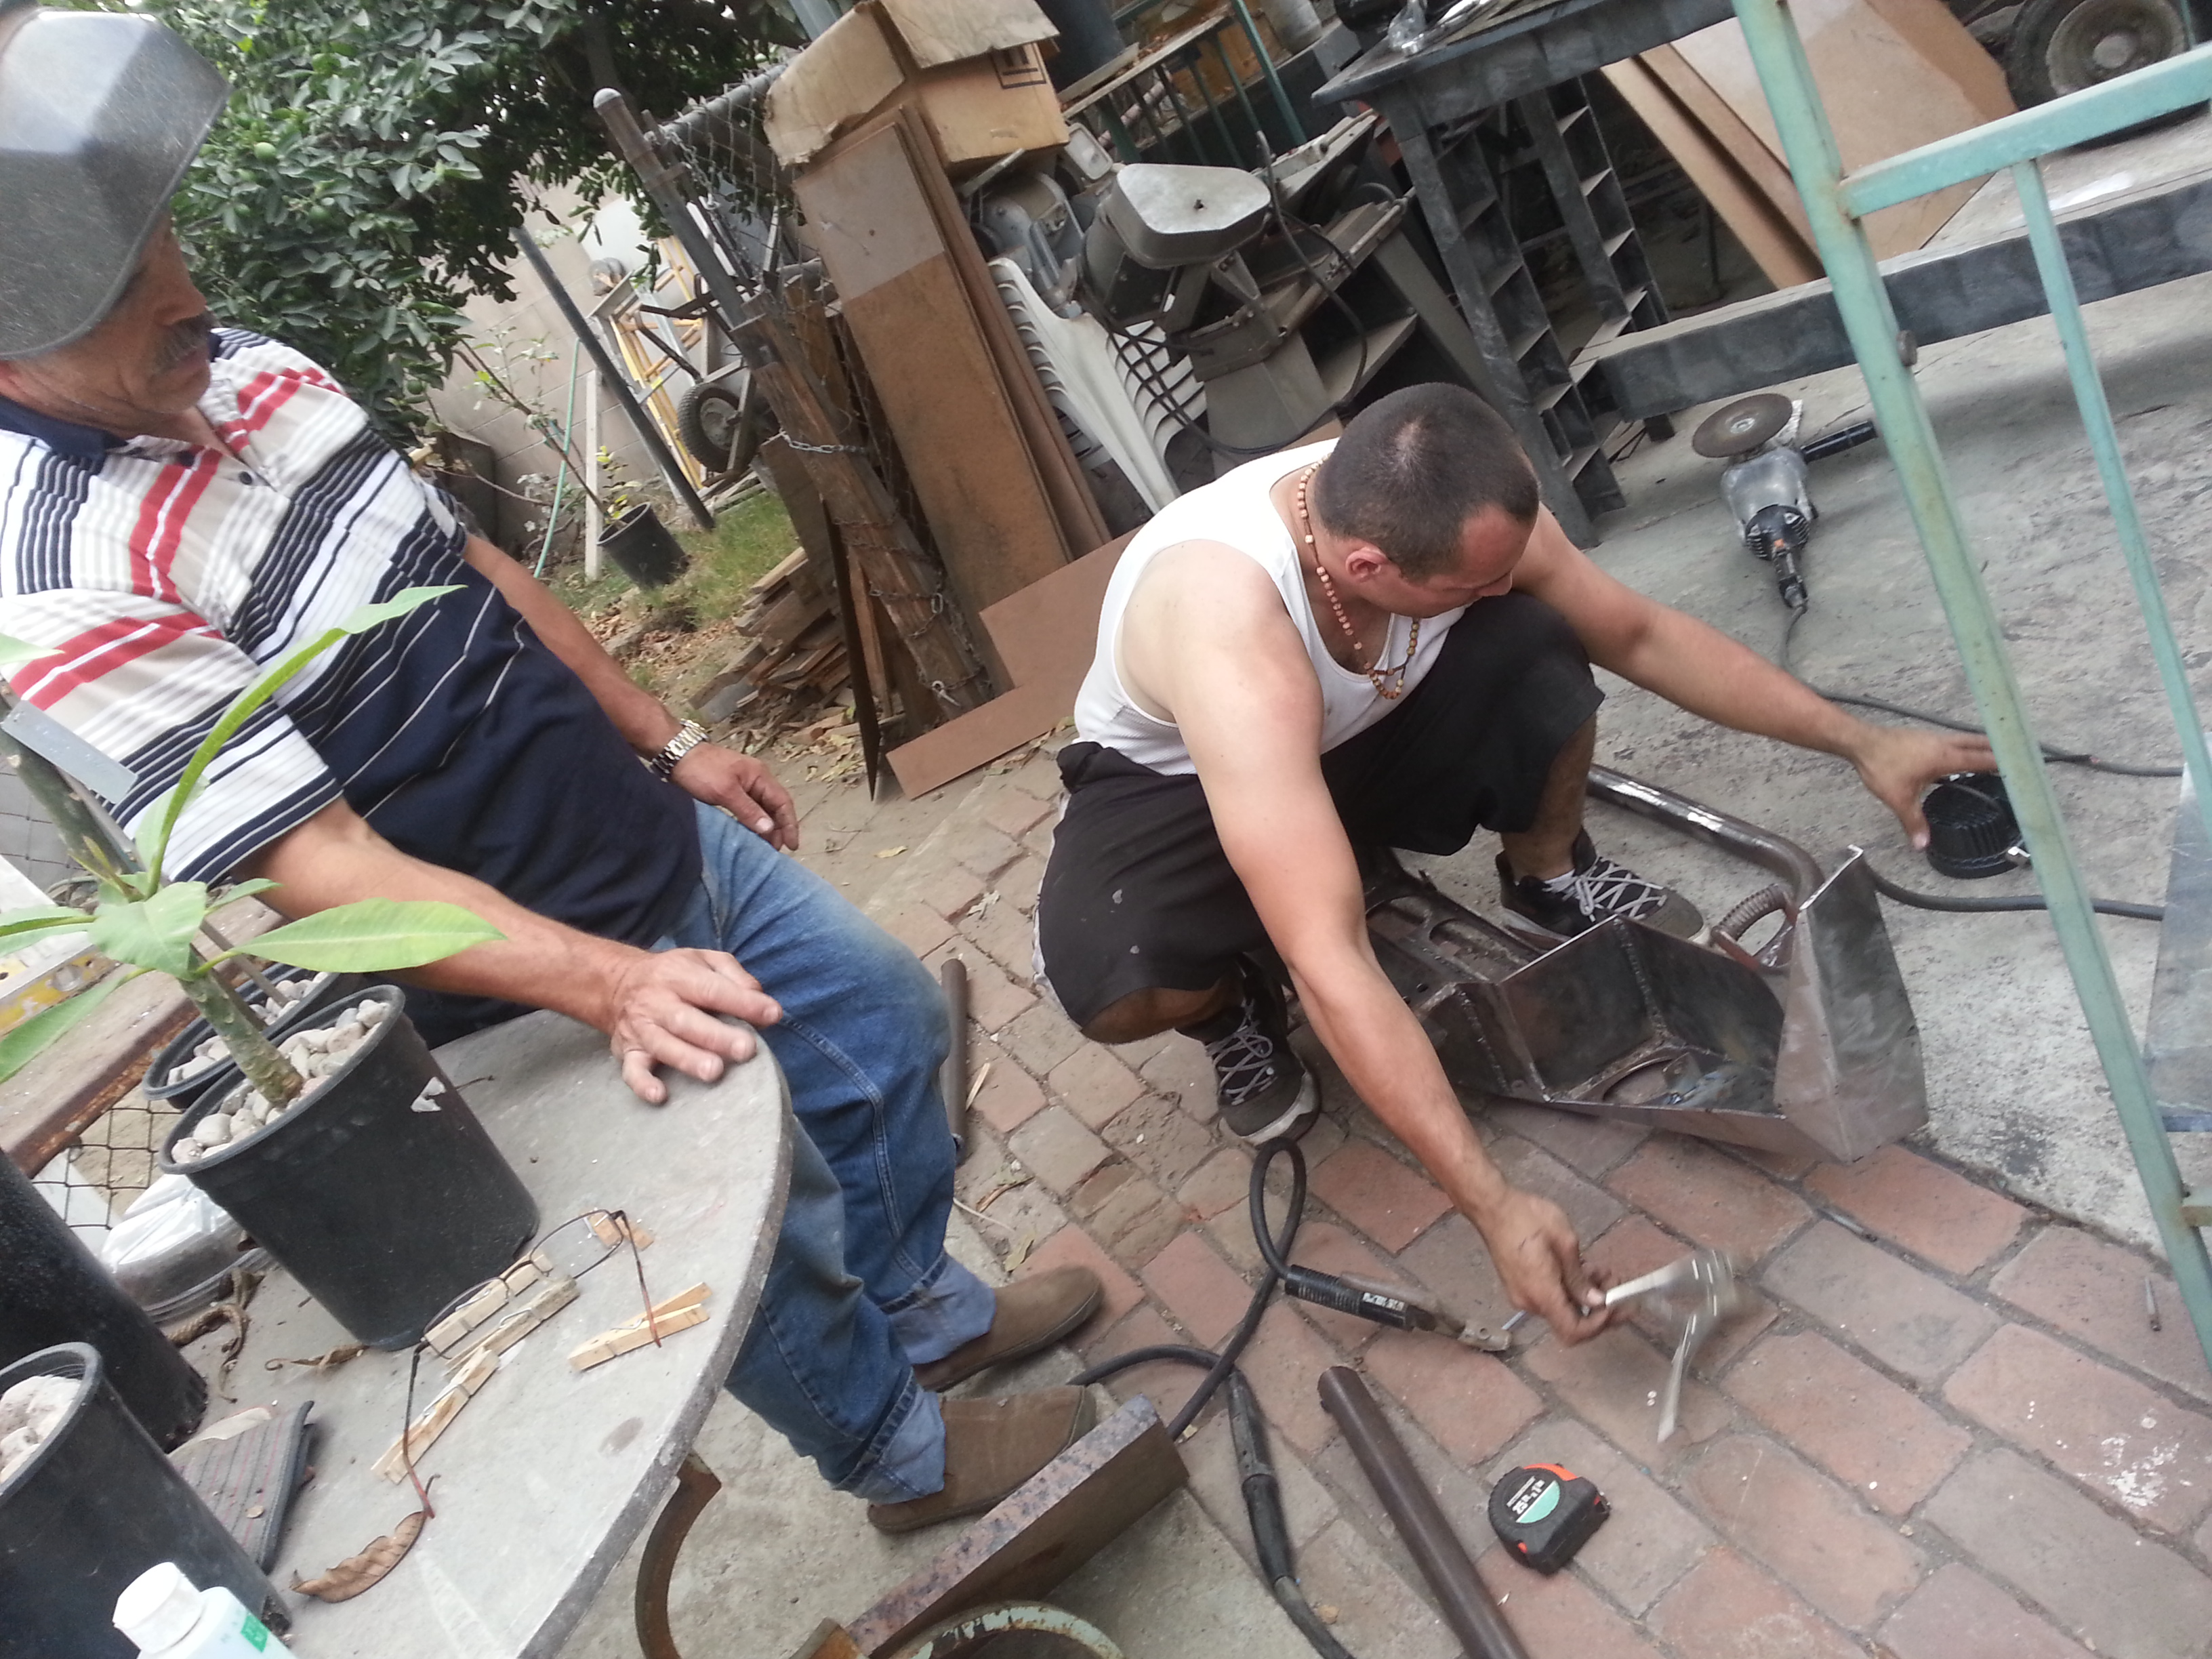
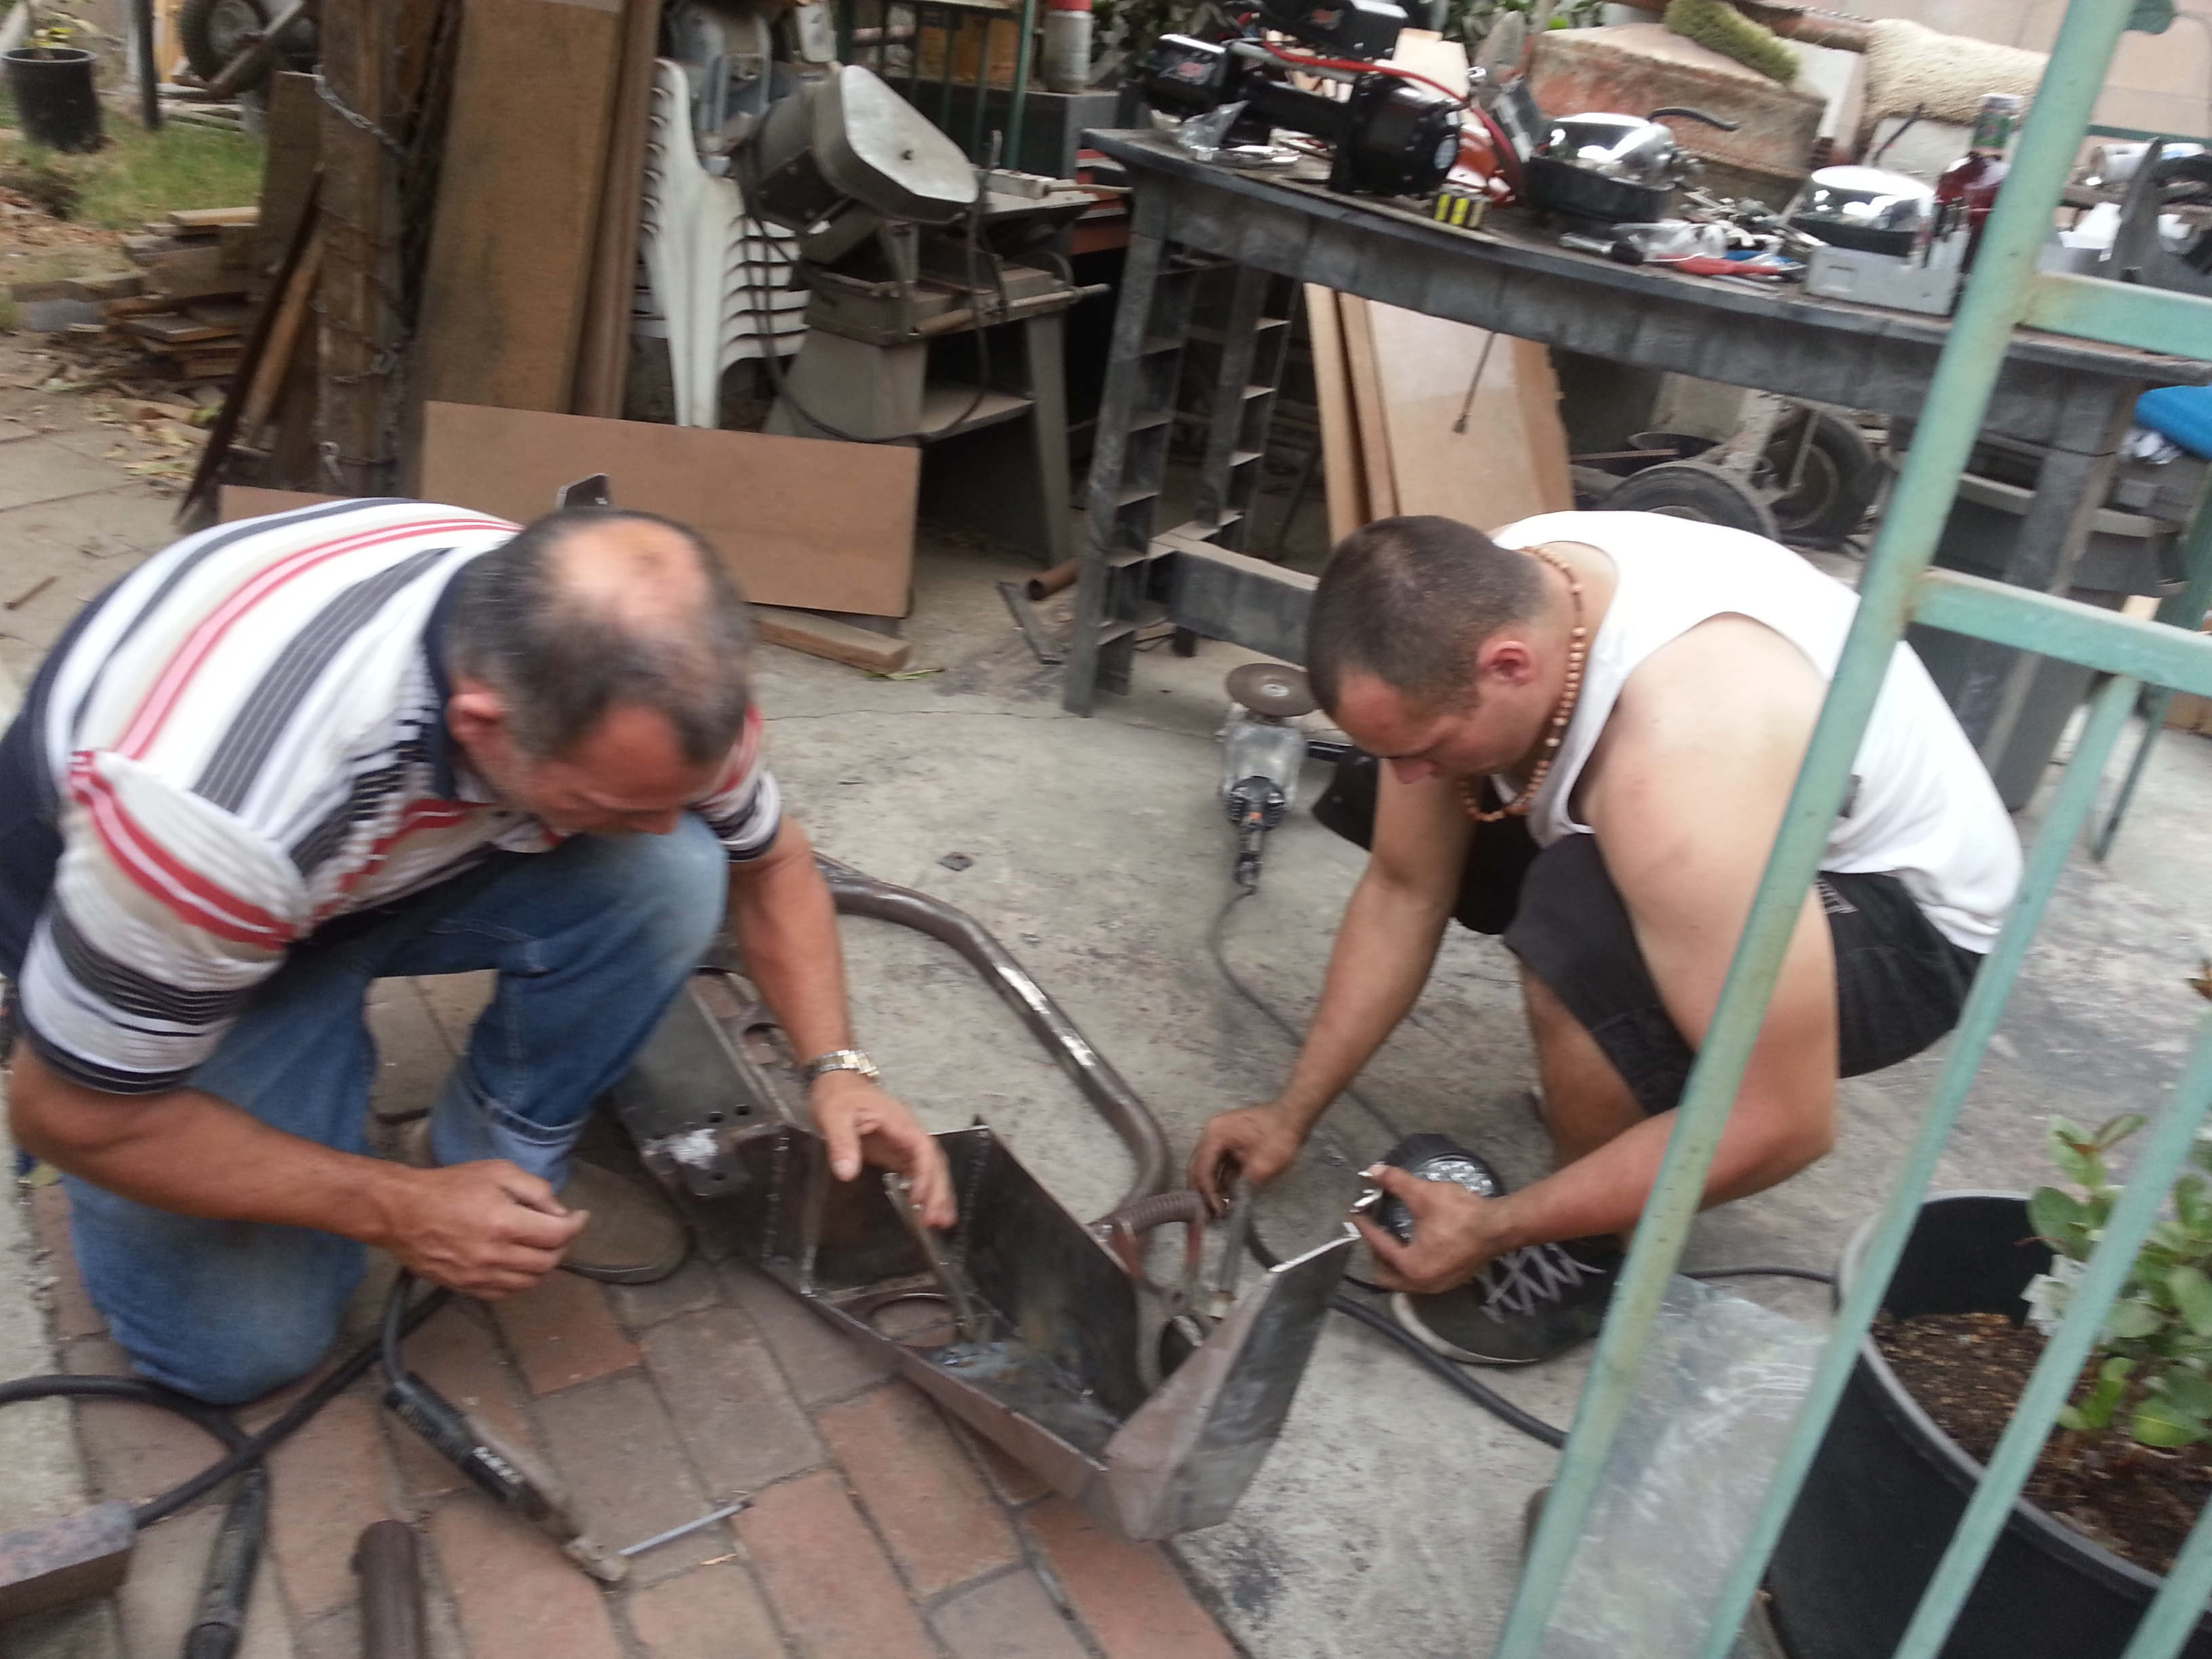
Dad at work welding the gussets on for me.
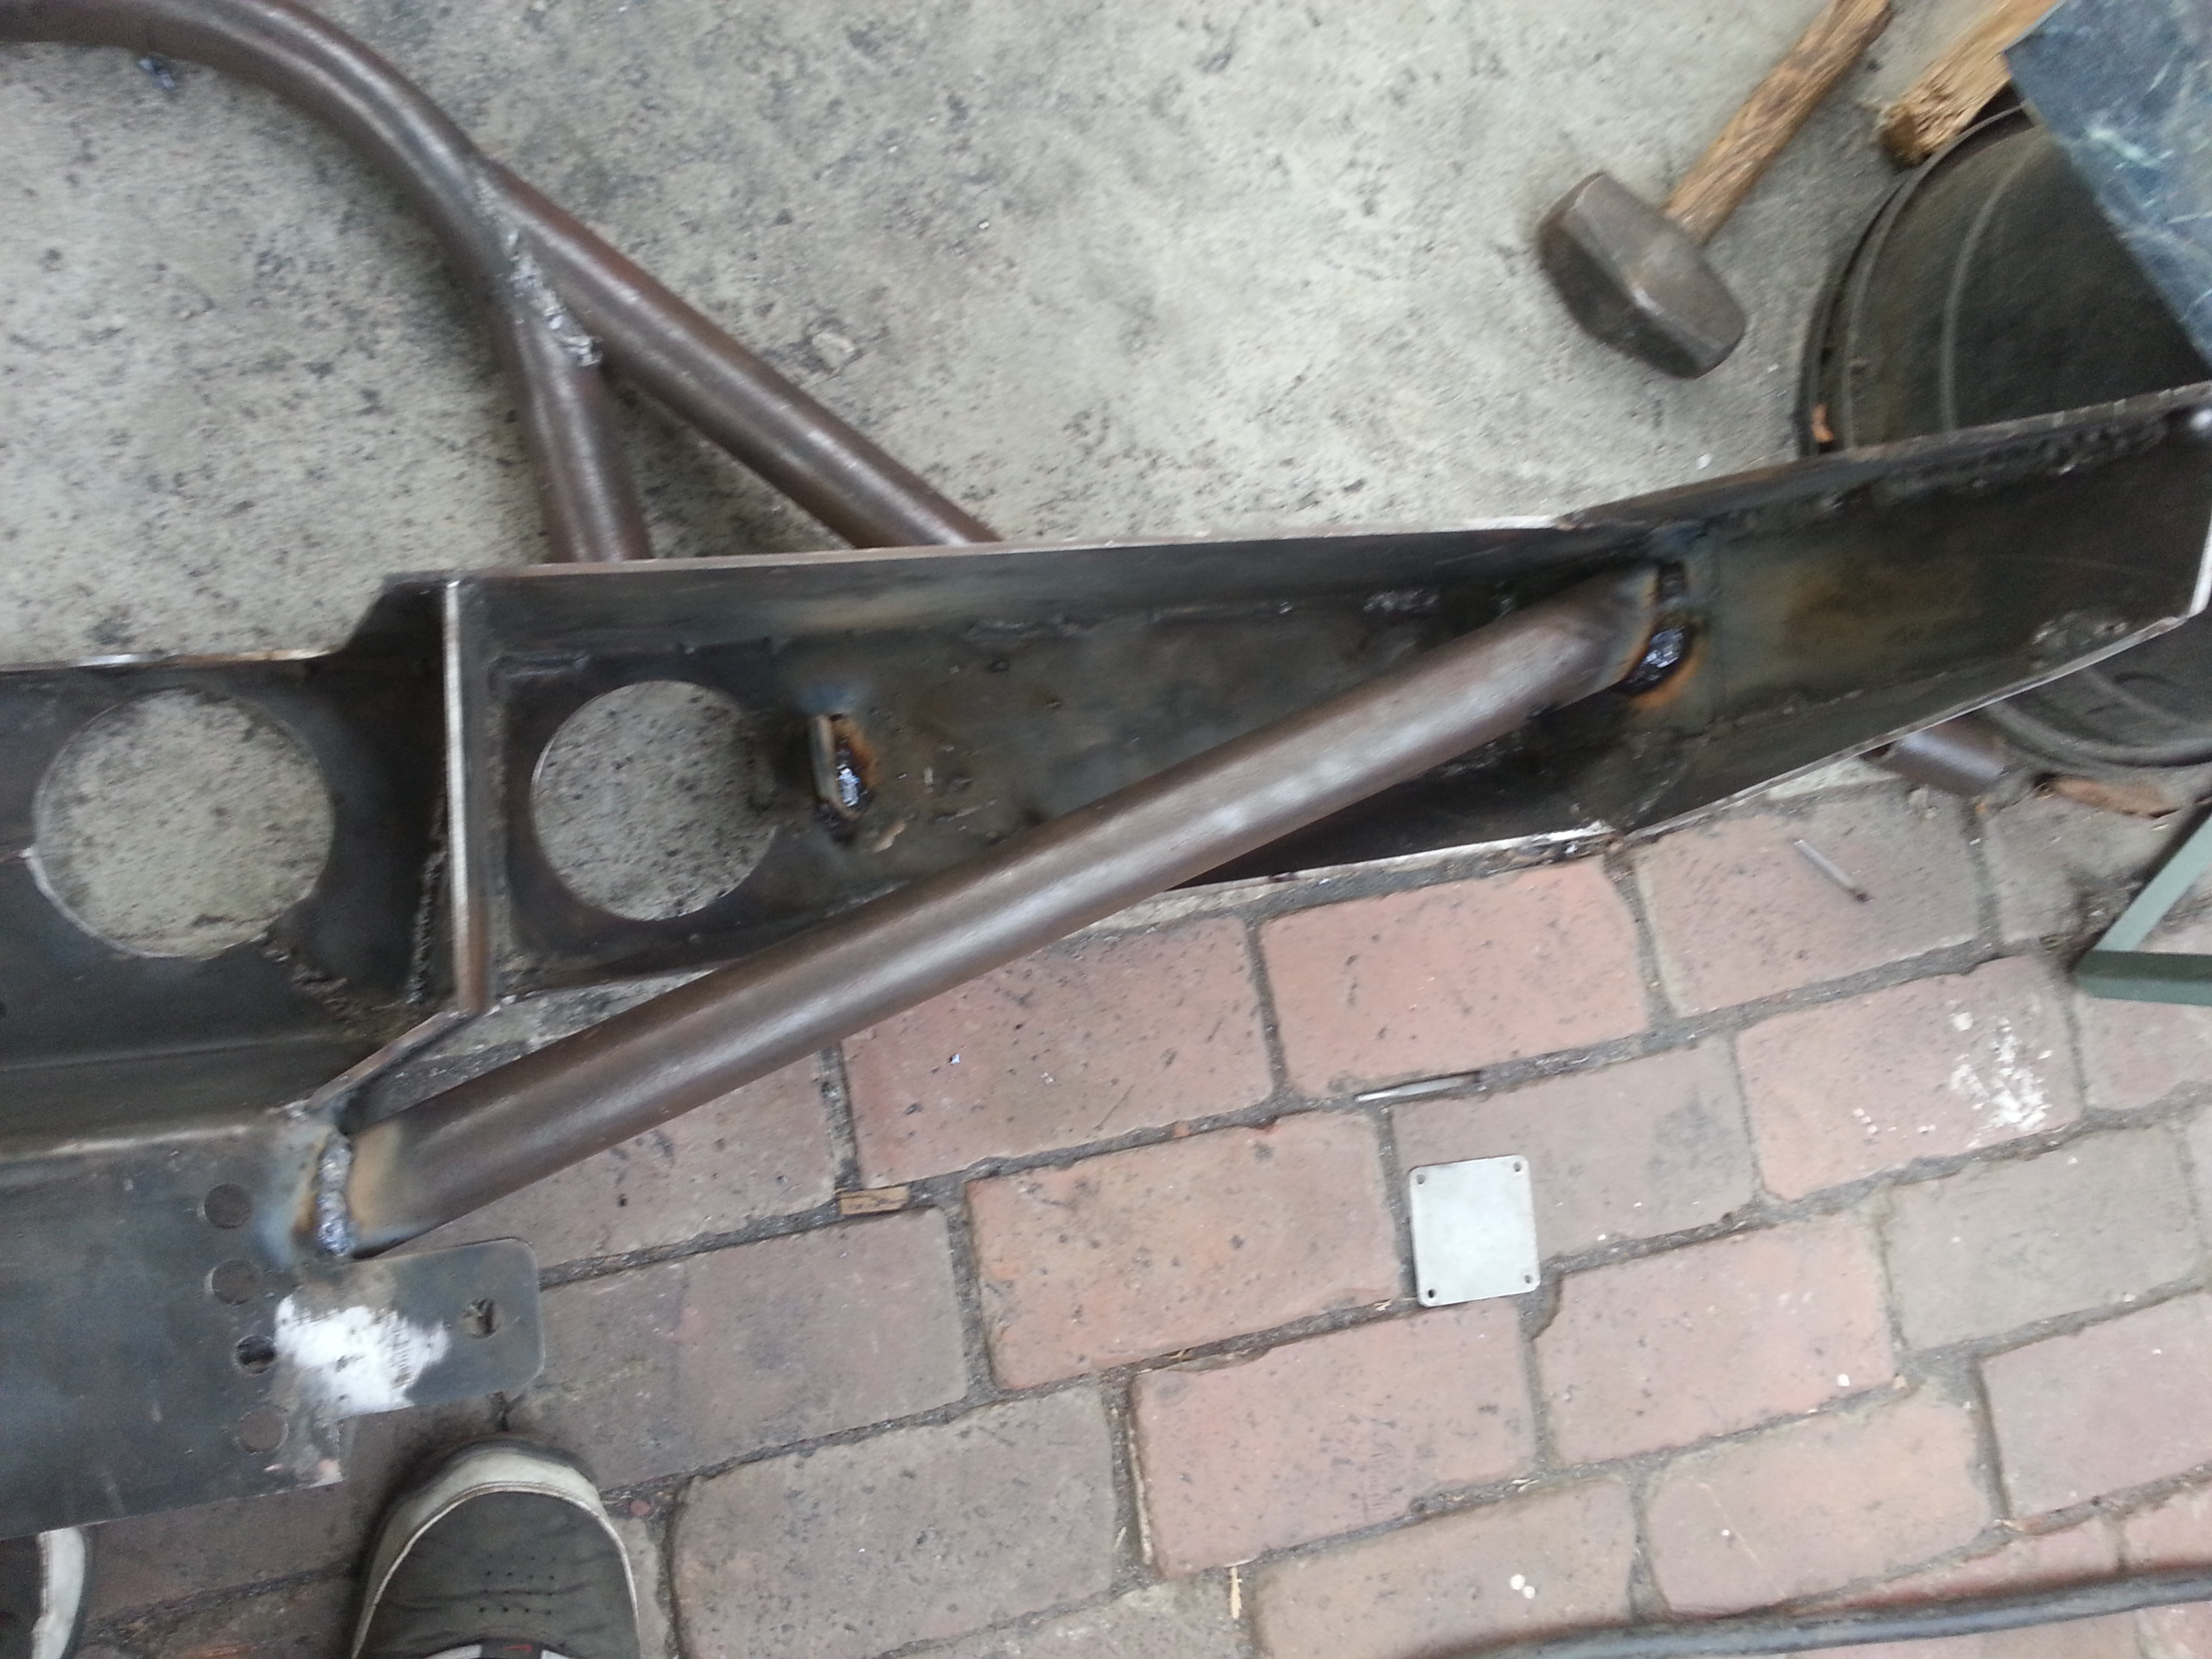
Cut out the side reinforcements. I took this idea off of Mark's AddictedOffroad bumper. Thanks for letting me get a closer look at your bumper man. im positive this will definitely hold up those sides.
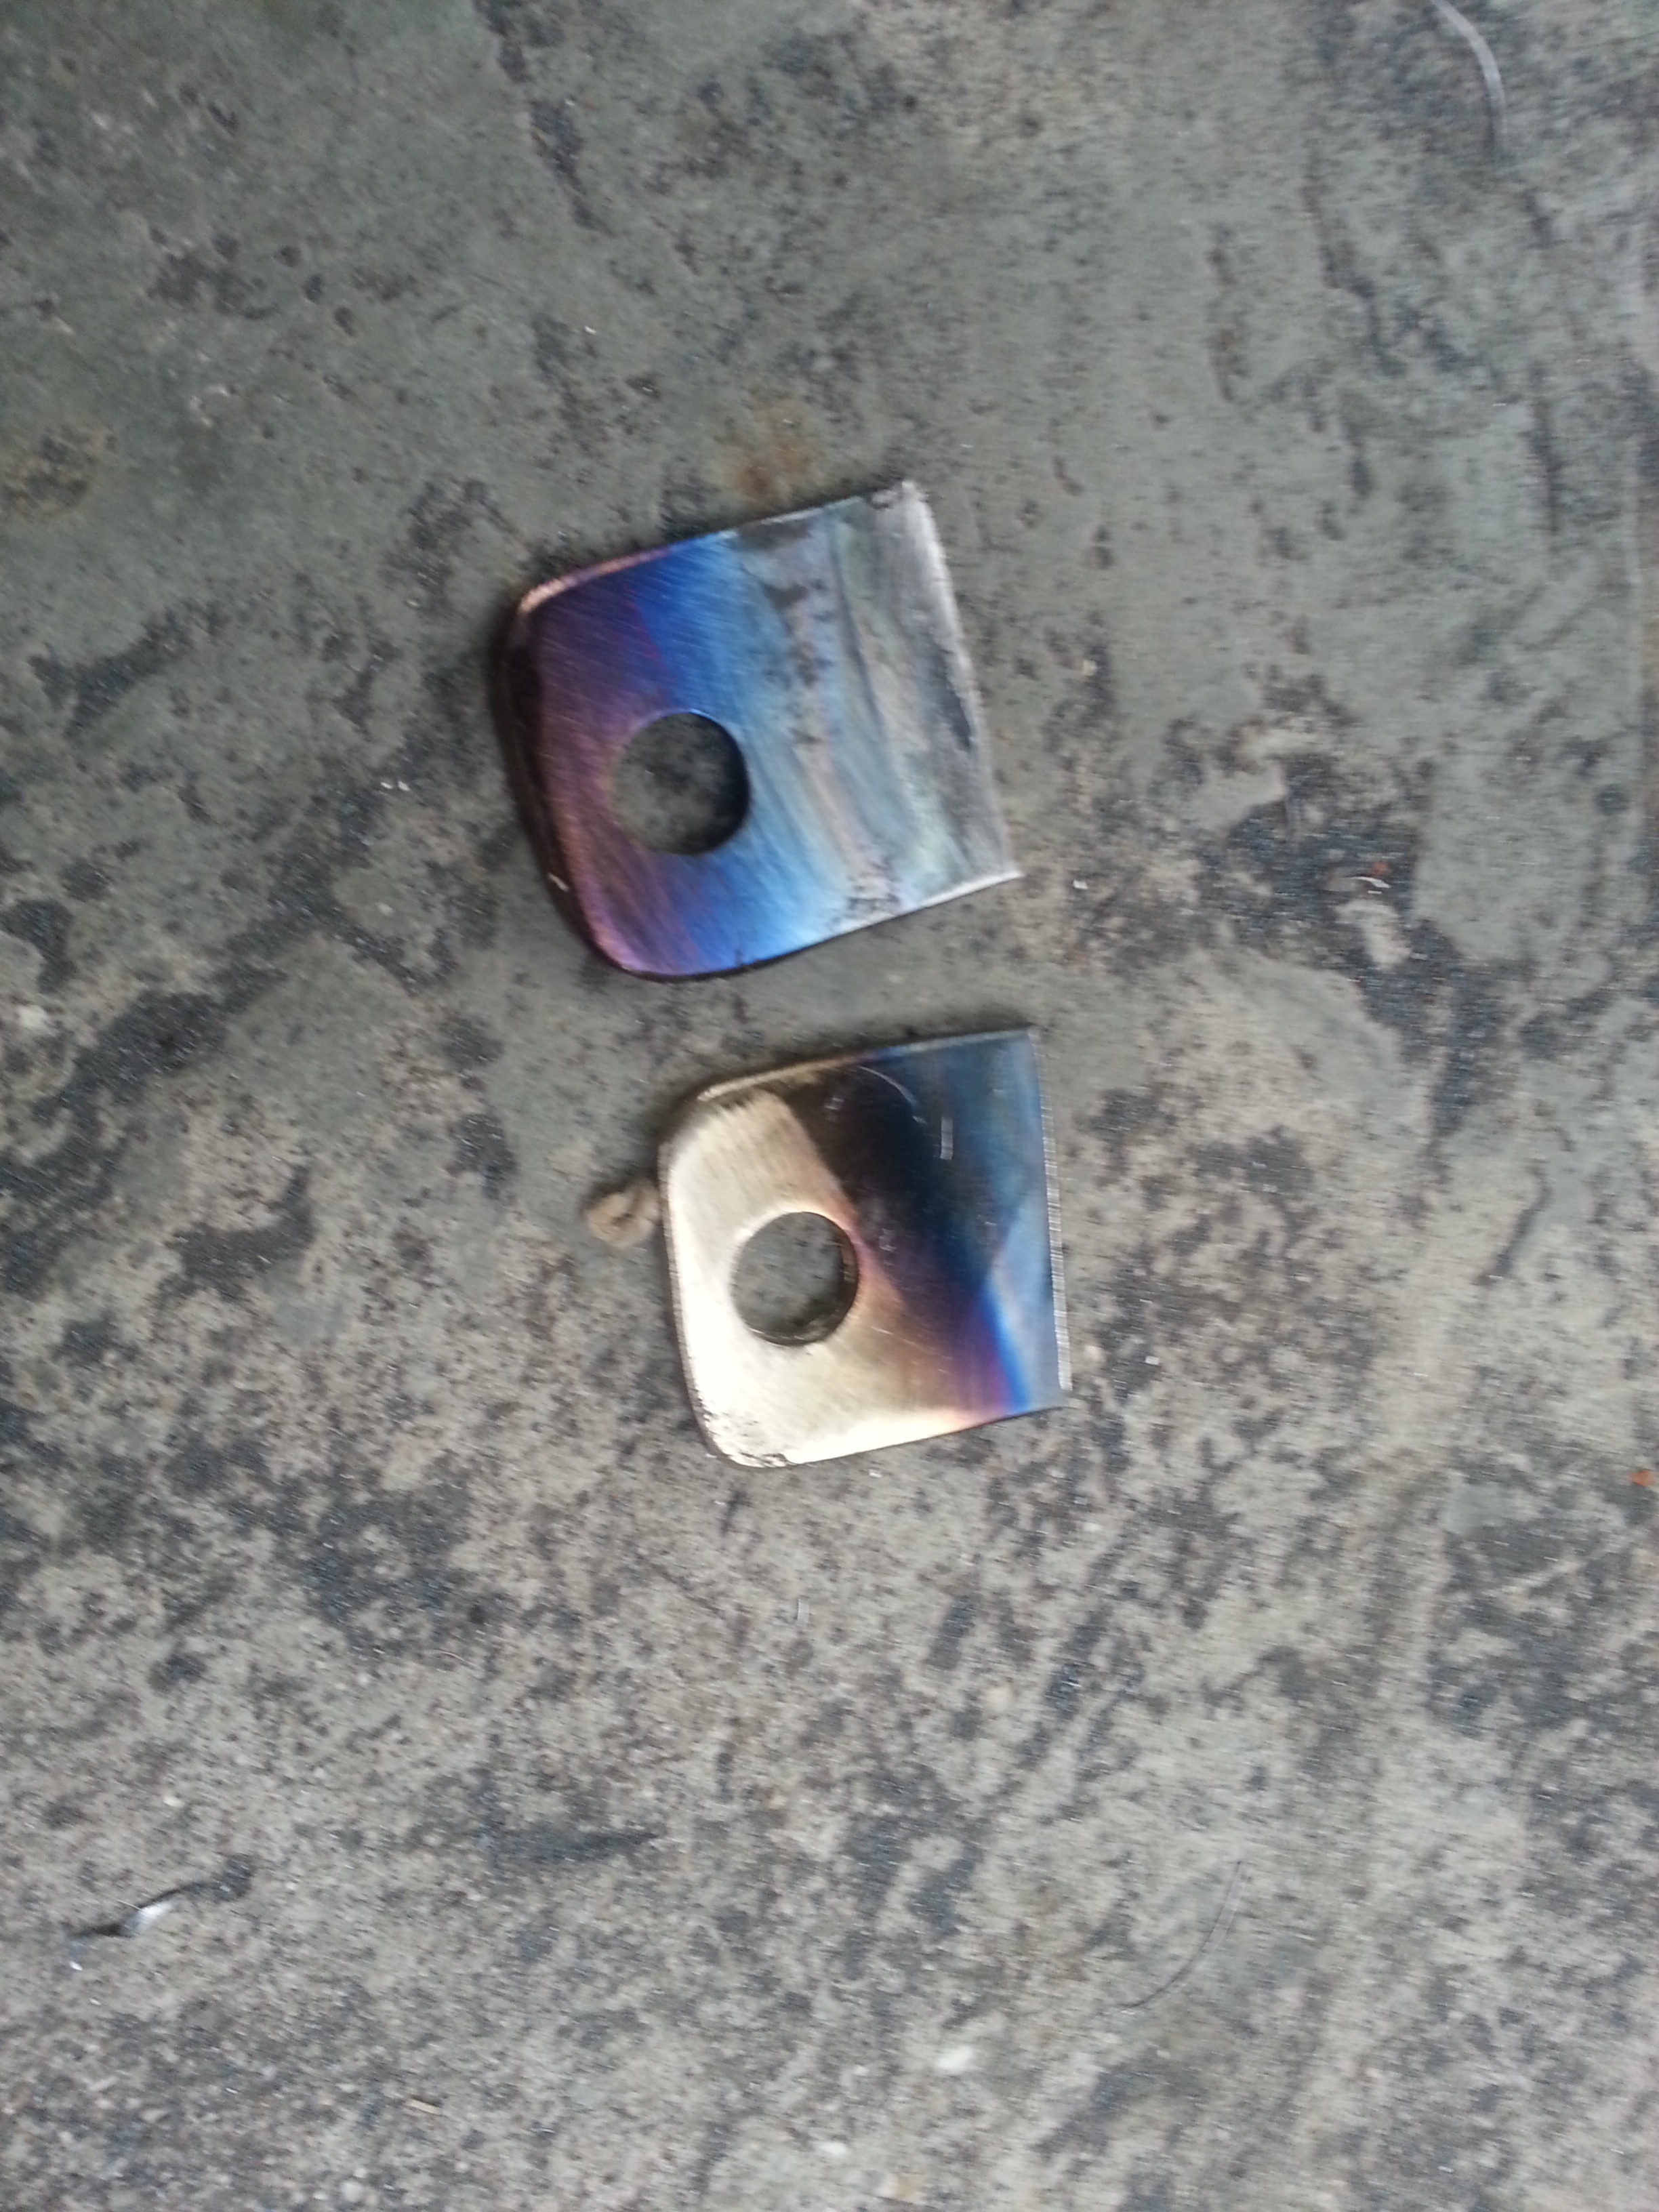
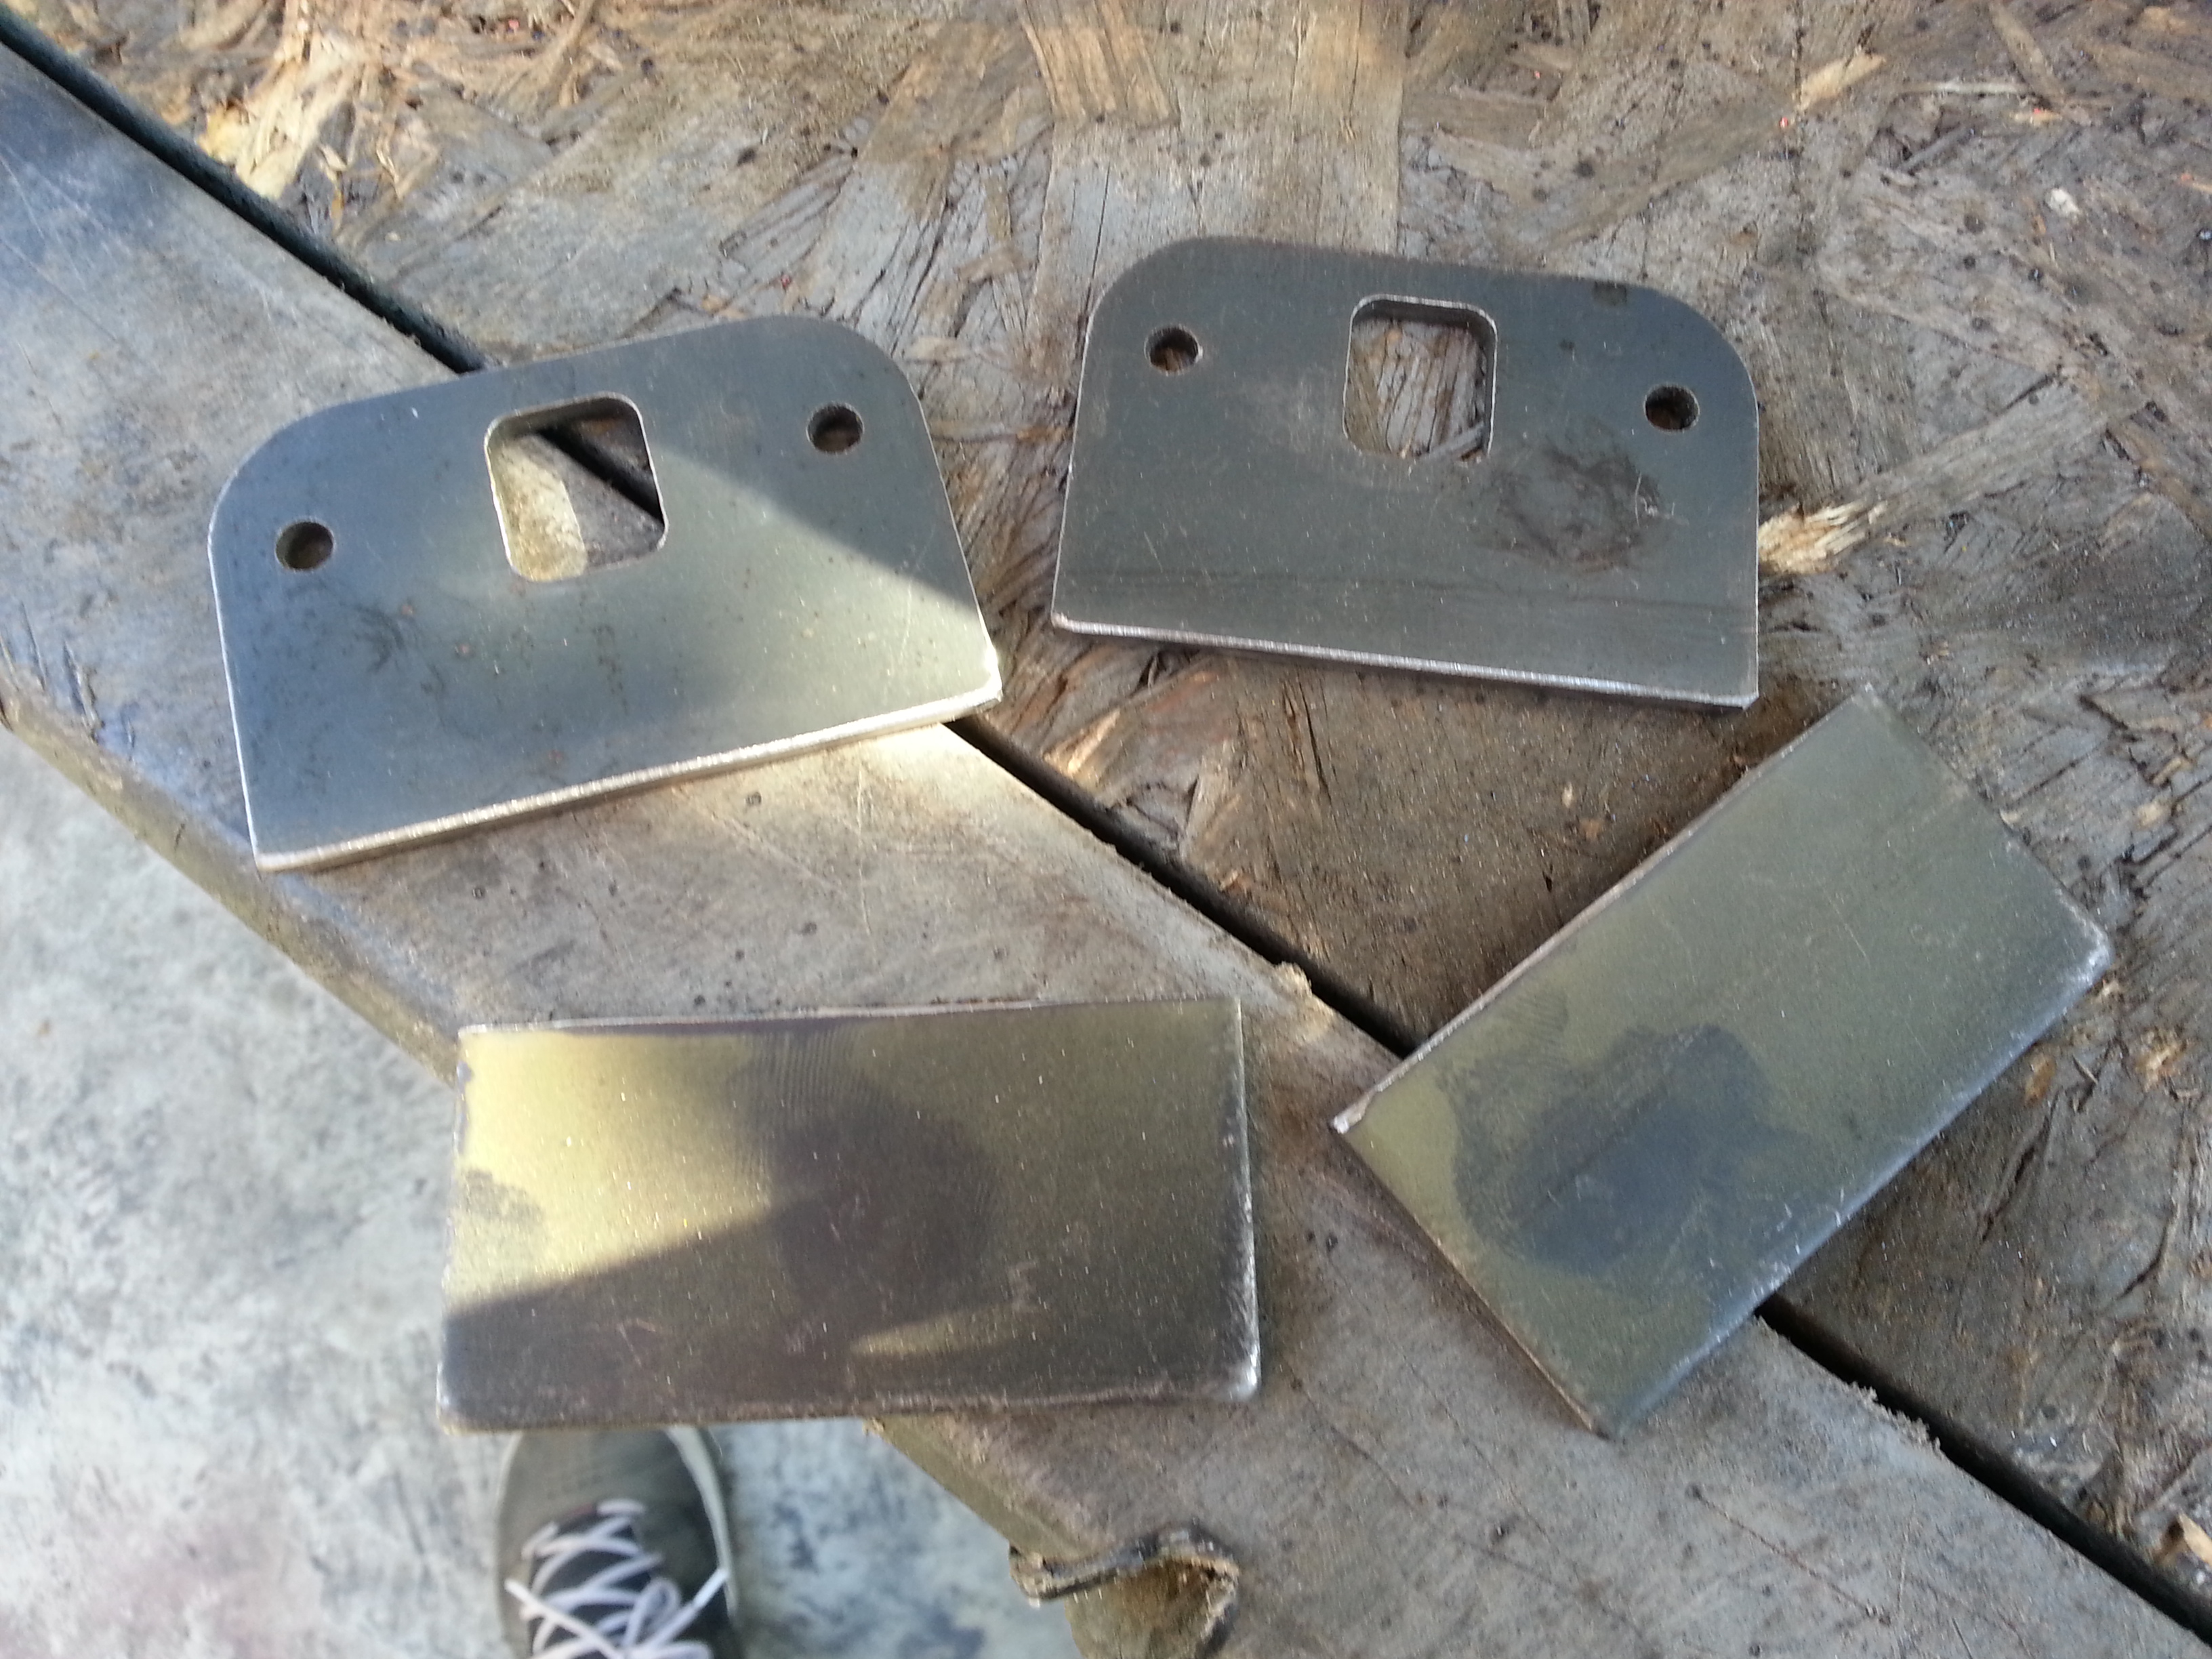
Gotta fab up some tabs for my 4&1/4" LED lights
Here are my Light tabs that will hold up my LED lights
Here are a bunch of pictures my mom took of us working together. I decided to keep them so i can look back on all the father son time we had brainstorming exactly how these darn lights were gonna fit in the bumper without being in the way of the the side reinforcements.
Side reinforcements are all welded on now. And so are the LED light tabs.
Figured i'd show a close up in case you guys were curious to see how it looked.
Re weighed the bumper again after we were done and it seems to have gained 20pounds. wow. tube can get heavy!
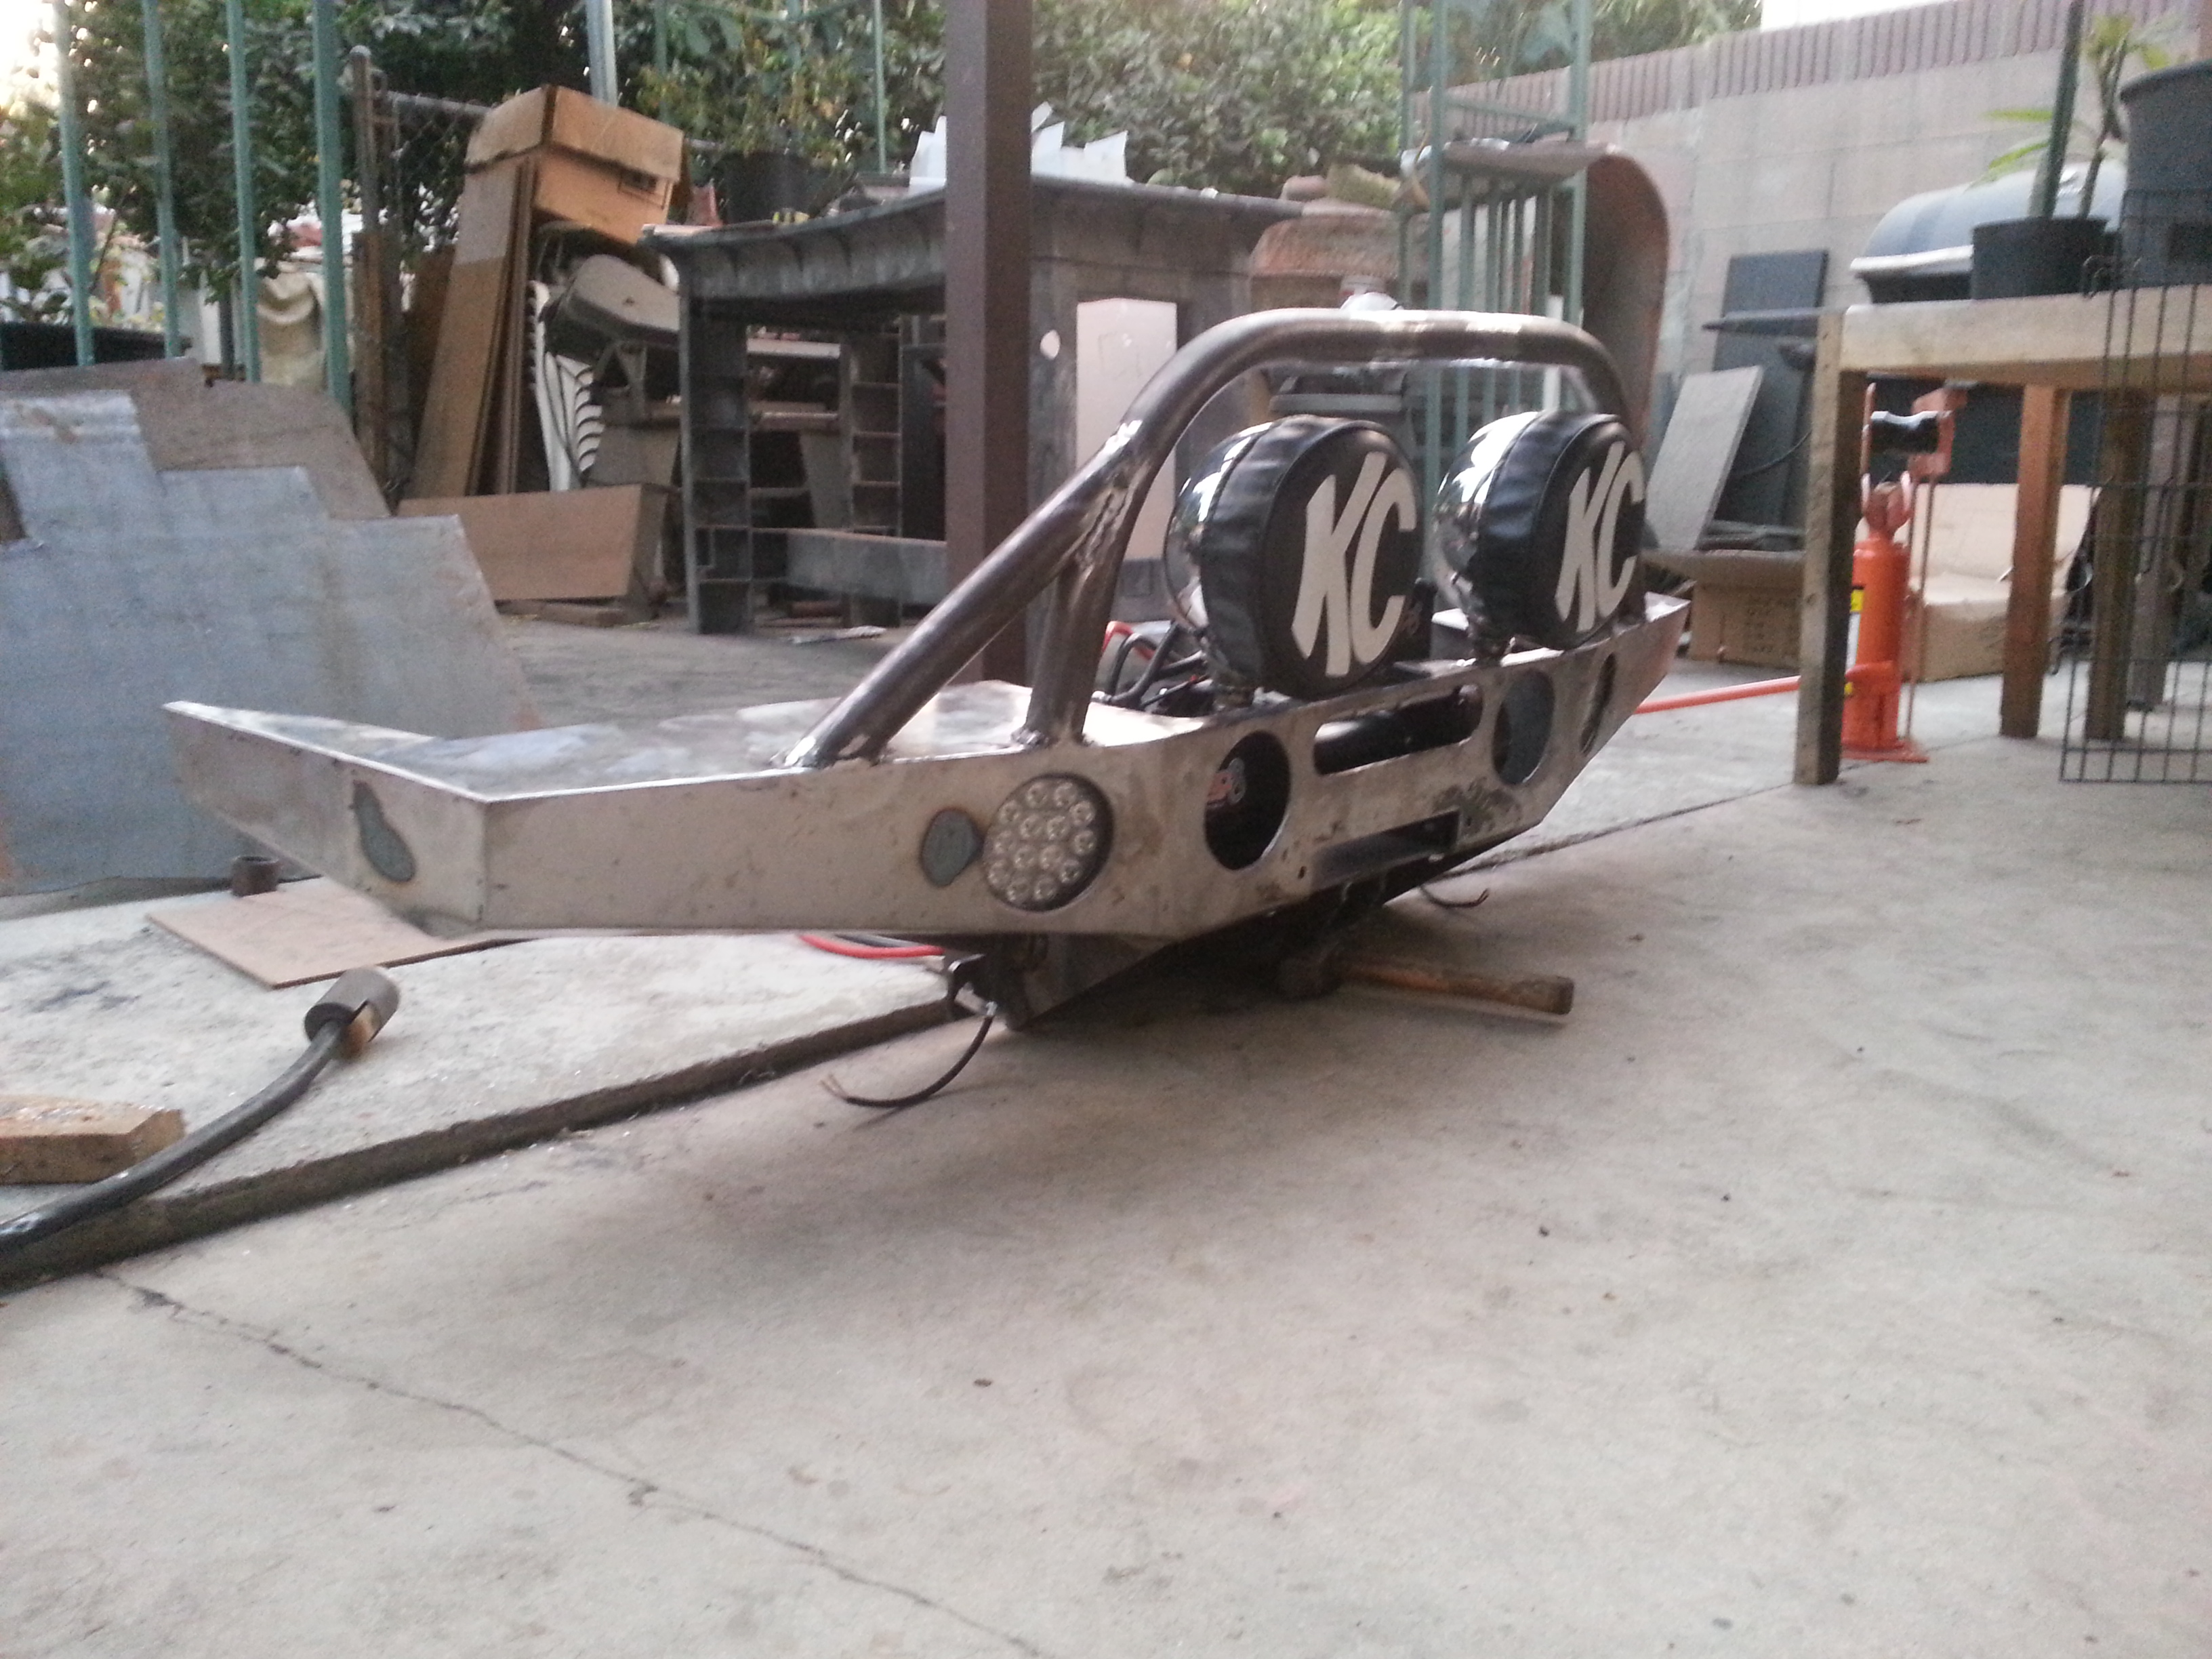
After we finished up i just had to dress up the bumper with some sexy offroad parts.
rear side:
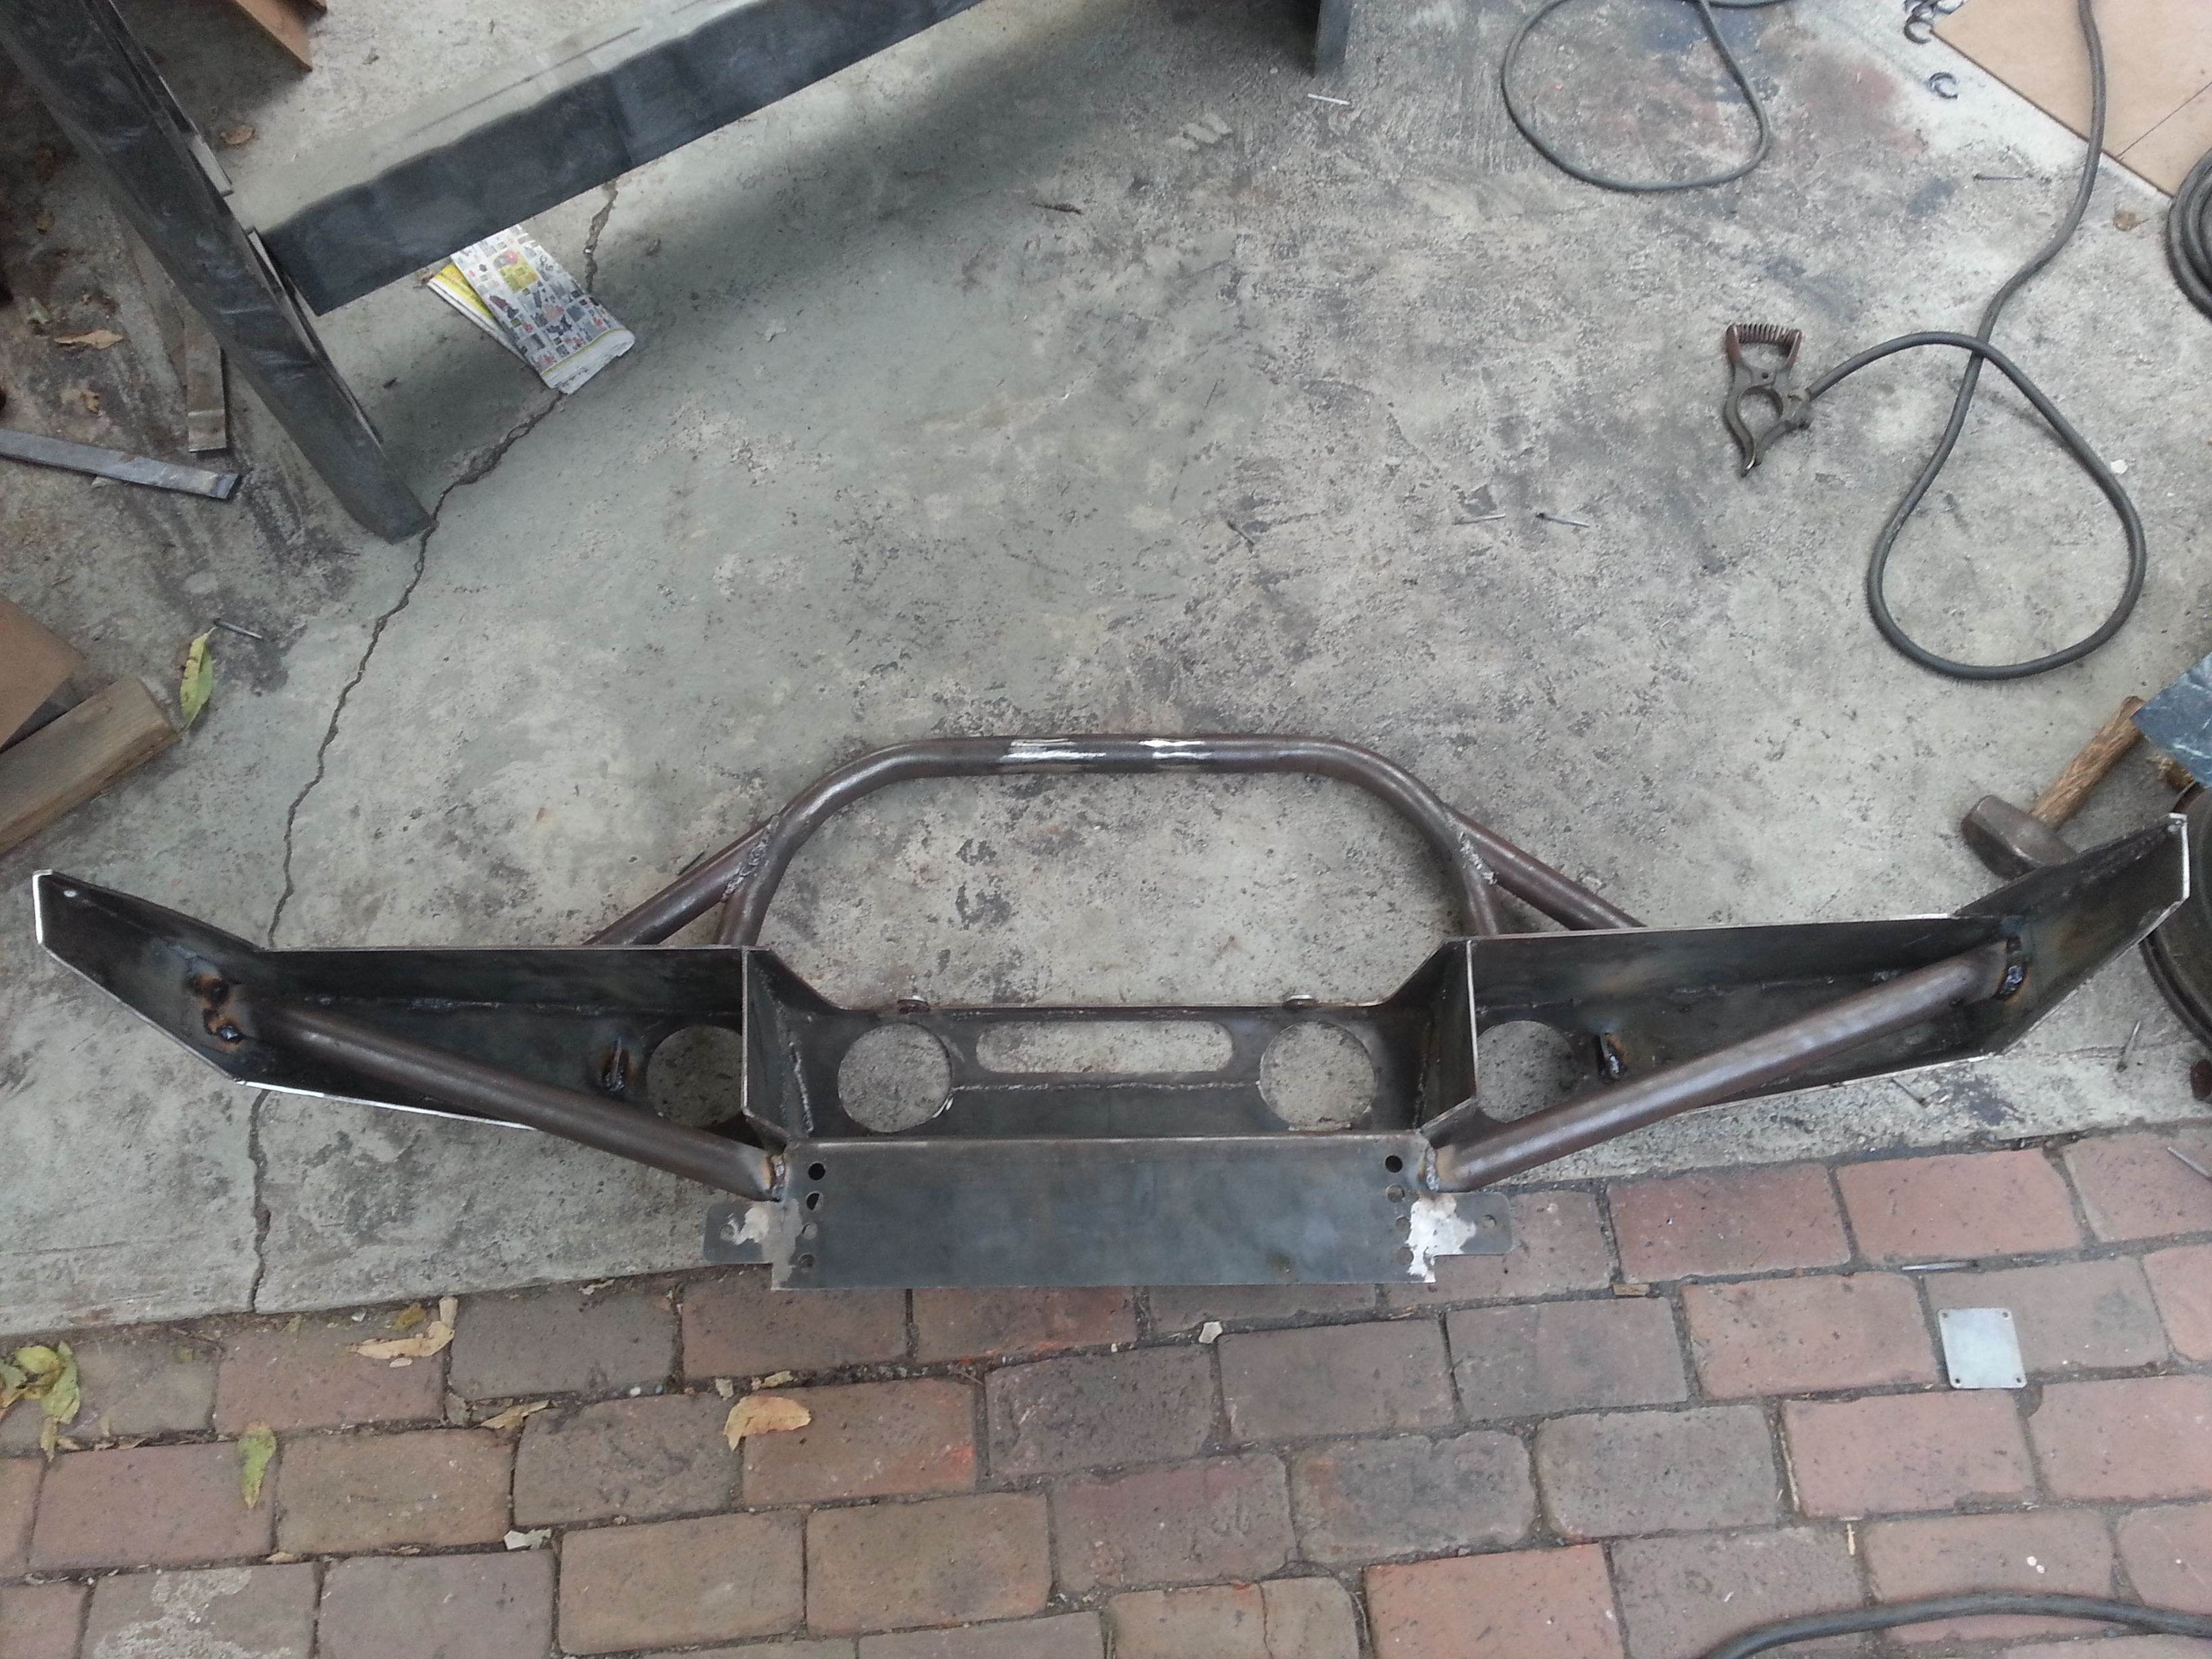
Top view
Reweighed the bumper with all the stuff and wow! it is at 140pounds.
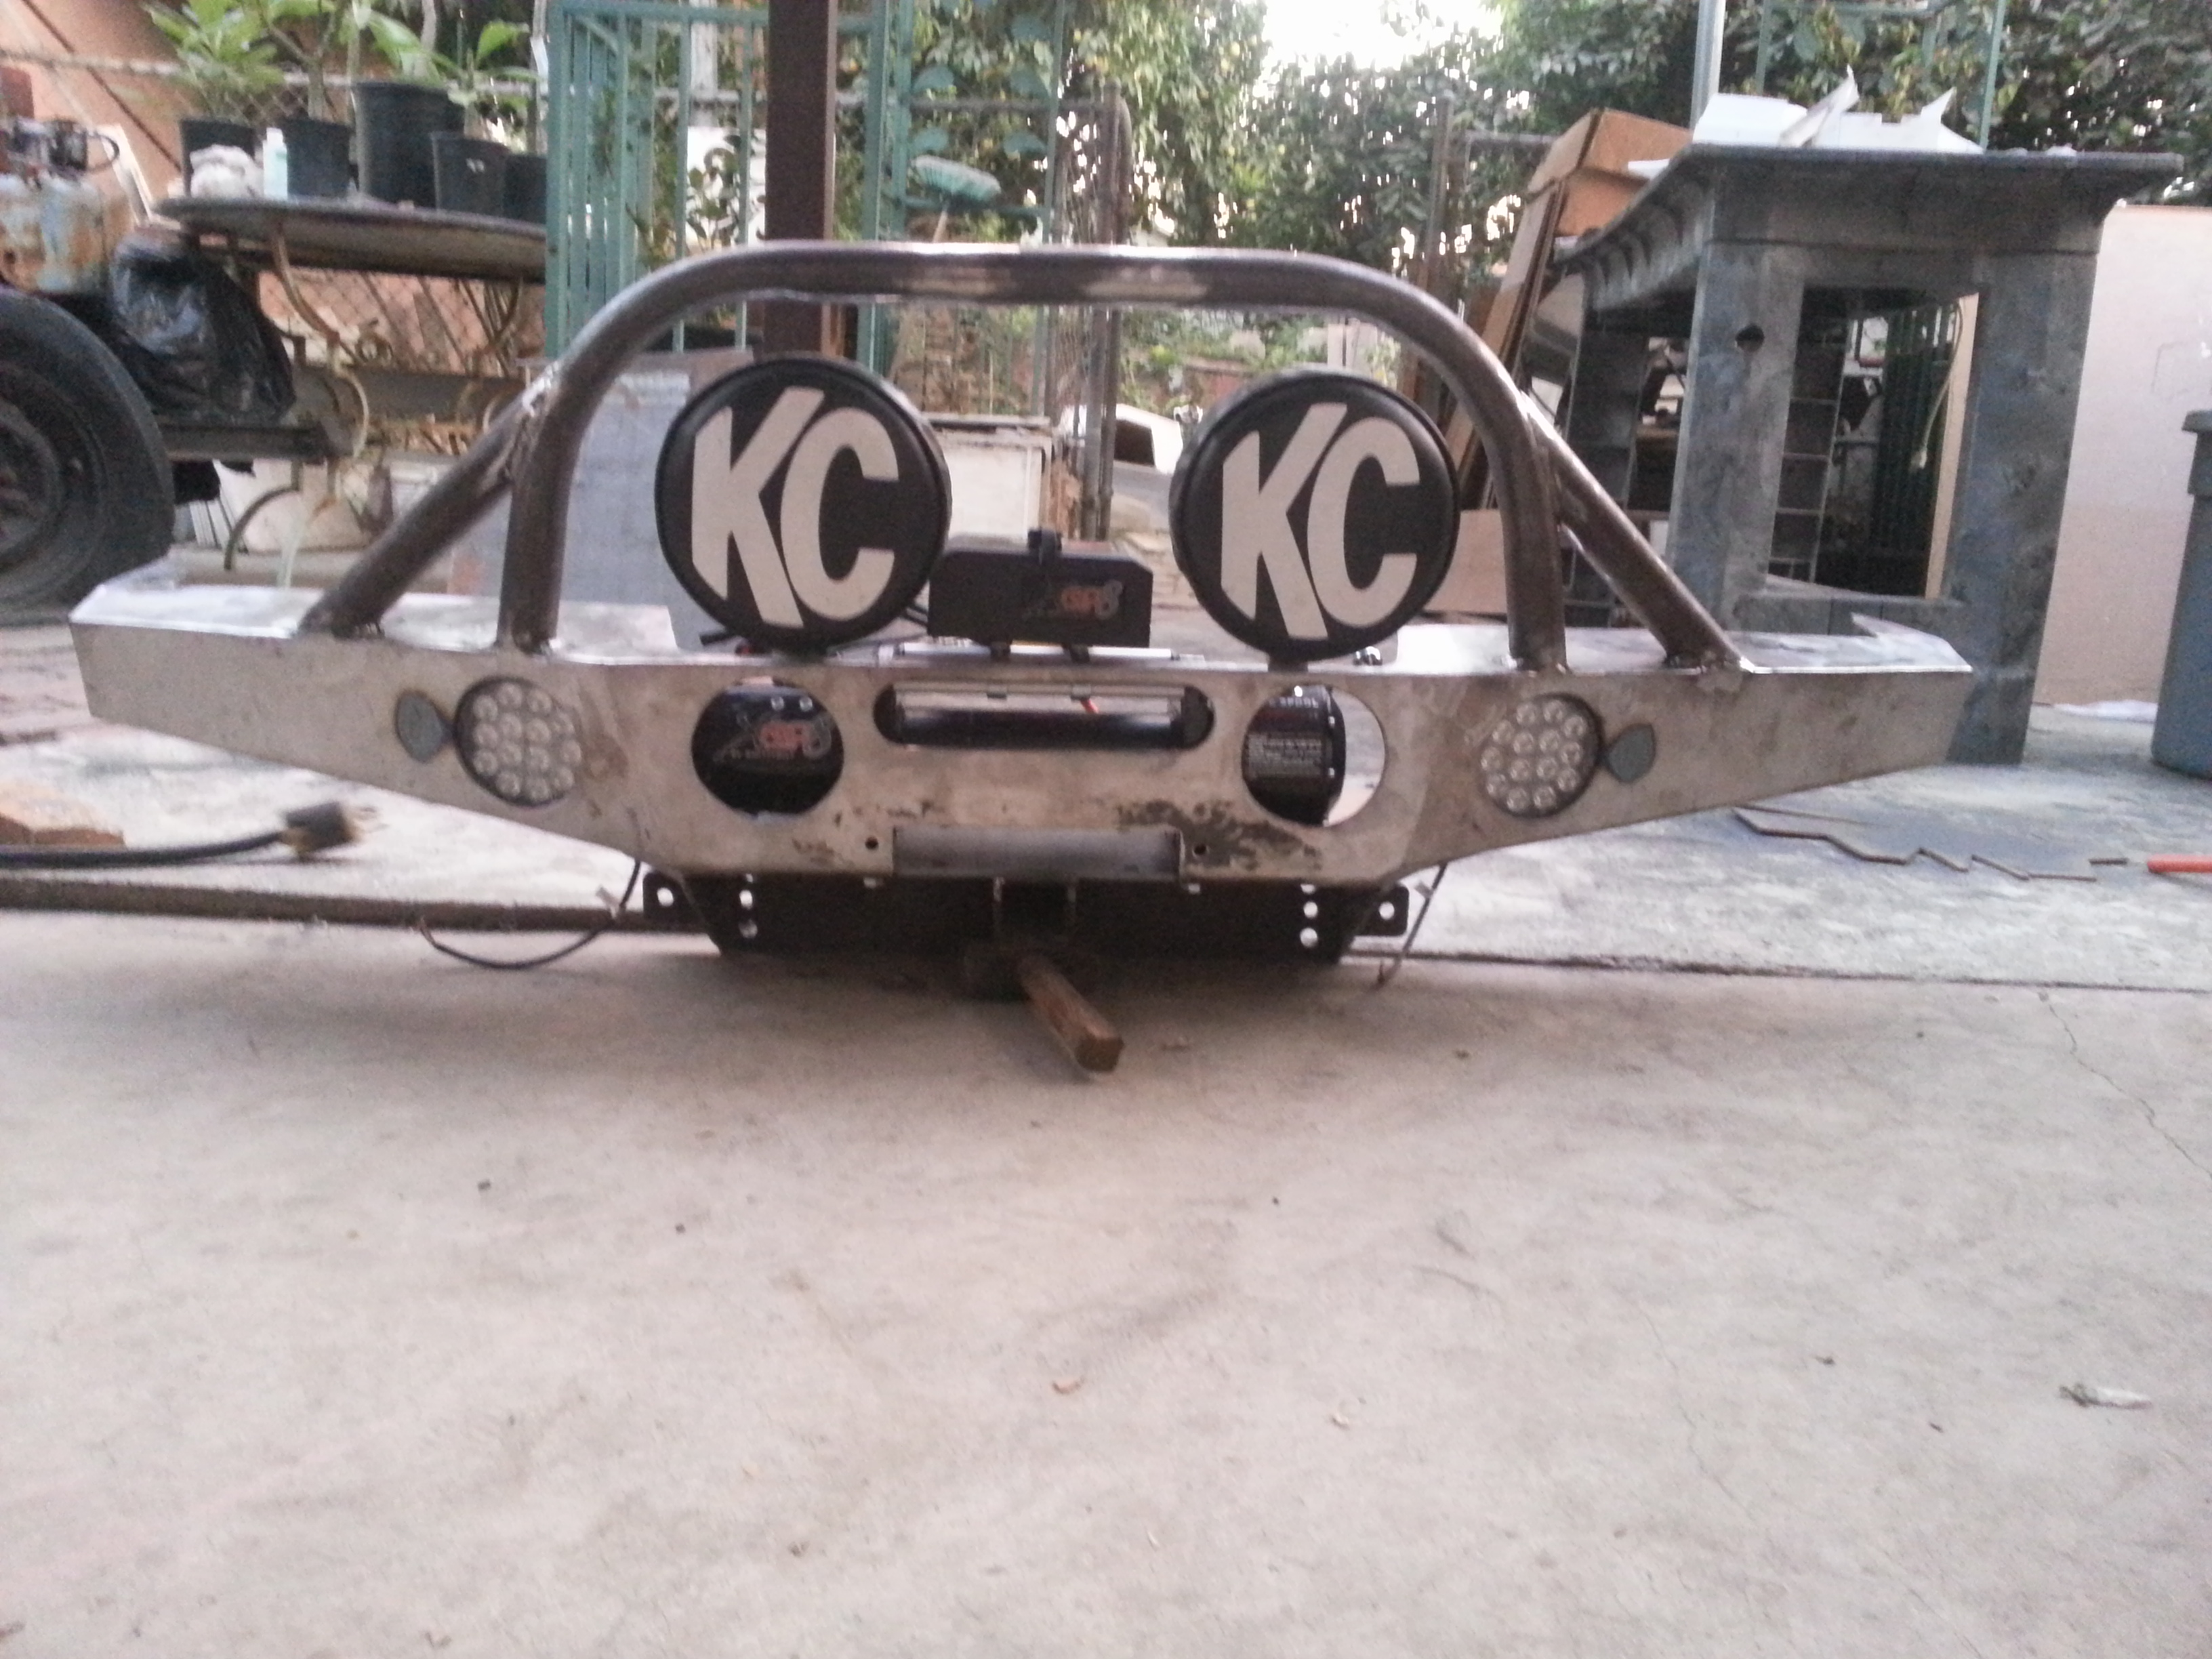
Couple of nice front shots
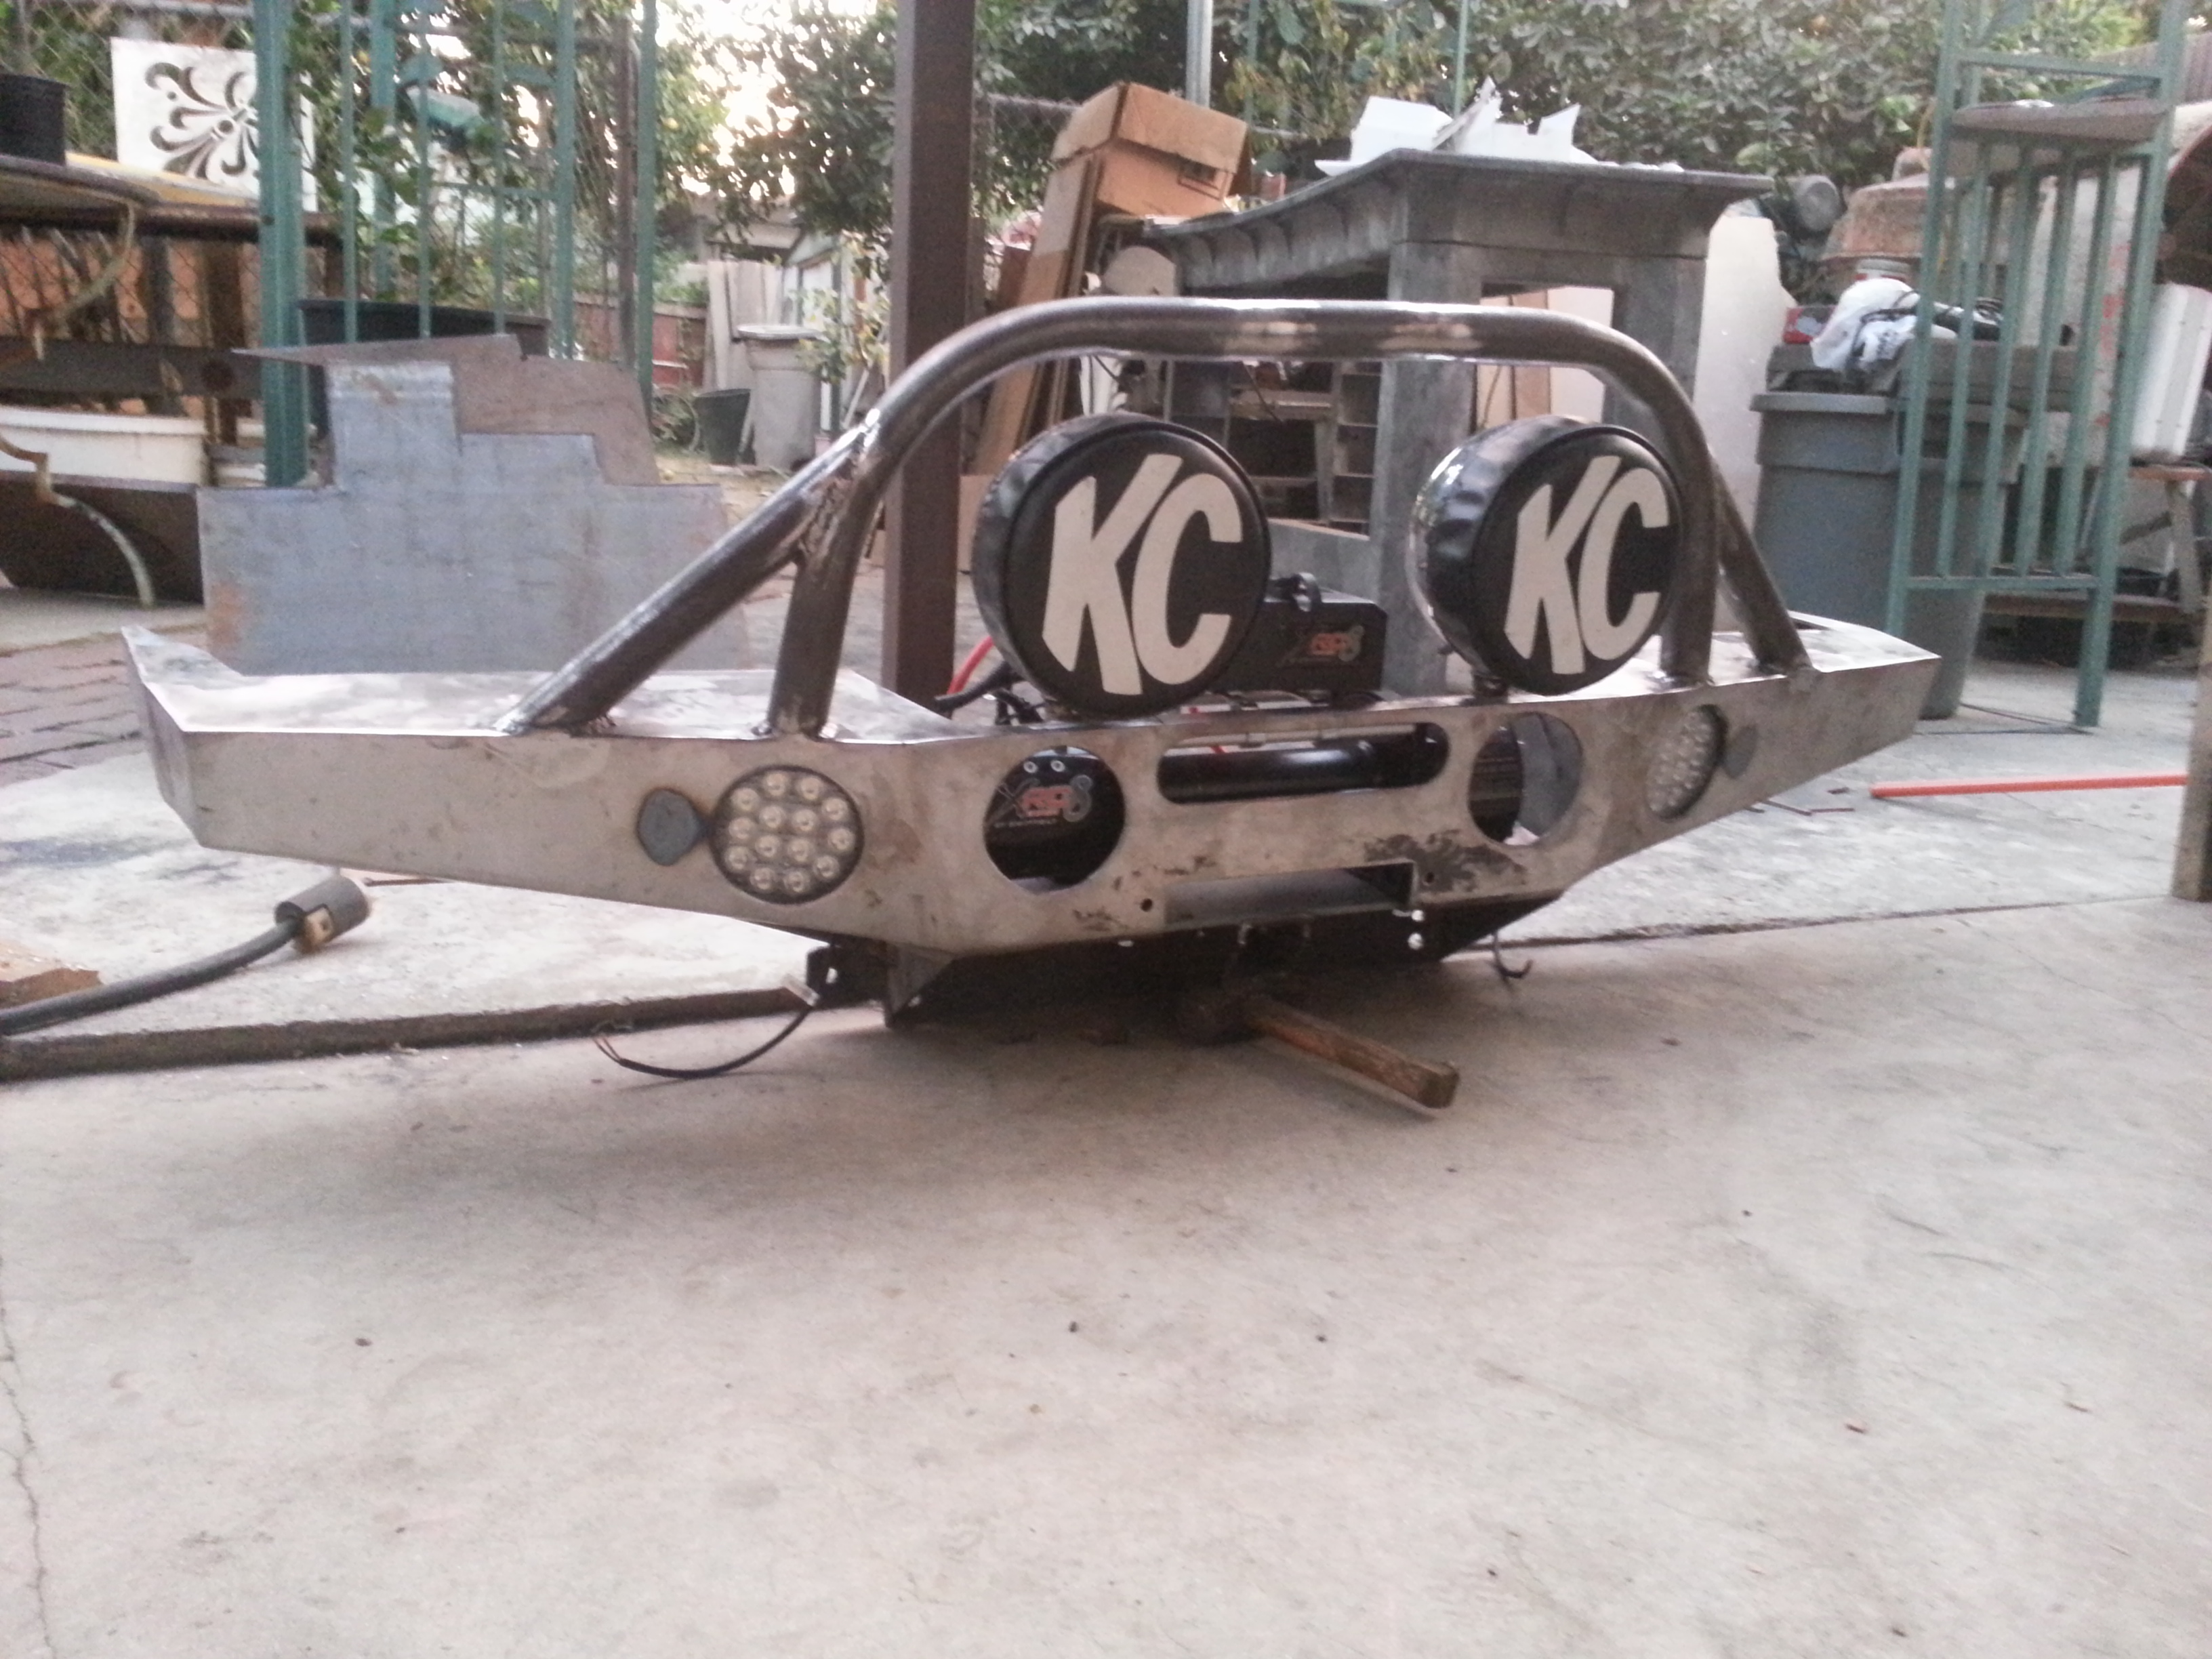
Side view showing how we angled the grill guard slightly forward.
-----------------------------------------------------------------------------------------------------------------------------------------------------------------
Man what an Update. that was a heck of a lot of pictures! lol All good. I always like being very thorough and showing many pix for you guys. This is just one step closer for my bumper being finished. All that is left is just to re weld in the areas where the plates were joined together and welded. I have a couple of small pores throughout the bumper that i wanna fill up. I have no clue on how to use bondo so i would rather just weld those tiny holes up and grind and sand them down to look clean. I will be doing that sometime this week. then i want to put on 2-3 coats of primer. Followed by about 4 coats of Matt black color to match my rear bumper and sliders.
Its coming along. Definitely happy with how it has all came along so far. I had to sit back and just look at the bumper for a minute yesterday. i was just amazed that my dad and i came out with such a clean looking bumper. Not trying to be cocky or anything. Just saying, for some reason i didn't expect it to come out this good. It's hard to believe we pulled off my design so exact and and made it look so damn clean. It was only a few weeks ago when it was just a drawing on a sheet of graph paper. What an awesome transformation.
Makes me happy to see i will be the only one in the world with 2 matching bumpers like this. And it makes me feel much better knowing we were able to incorporate everything i wanted in this bumper. Very grateful for having my dad and his skills and tools. Without him i would have had to settle for something else that wouldn't have been as satisfying for me. Love you dad!  Gotta tell you though. This is probably the last time i will ever make a bumper. This front bumper was a heck of a lot worse to fab up. Although it was fun i doubt ill ever want to make one again. Unless it is to help out my lil brother(if he decides to buy a truck) And even at that it will be a pain in the arse again lol
Alright guys. this post is big enough already im out hope you all like.
After seeing Bump530's picture on my truck's build thread and all of your guys's inputs, recommendations, personal experiences and such on this thread and on my build thread i was pretty much sold on getting the tube bender instead. So the following day after reading all your posts i took the Tube roller back to harbor freights and exchanged it for the 12,000 tube bender. http://www.harborfreight.com/12-ton-...der-32888.html
Here we are unwrapping our new product.

Marking up where to make our bends to match the template my dad drew for the grill guard.

after the grill guard we immediately ran into a problem. I drew out my design according so Mark's 8" Dick Cepek offroad lights would fit. but i didnt take into consideration the Smittybilt xrc8 winch control box. It didnt matter where i placed the box it would continue to be in the way of the lights. So we ha to cut the center hoop to the grillguard in half and add another 6" to the width so we could fit the winch correctly and add the two 8" lights.
See what i mean:


Cleaned it up all nice.

We welded on the center grill gaurd then ground it down a bit to prep for another weld layer.

Made some light tabs for Mark's 8" Lights

I got anxious and couldnt wait to see what it looked like so i added on the winch and Mark's lights.

We cleared the Winch control box.

I cut out the grill guard gussets

That's about where i want them.

Dad at work welding the gussets on for me.

Cut out the side reinforcements. I took this idea off of Mark's AddictedOffroad bumper. Thanks for letting me get a closer look at your bumper man. im positive this will definitely hold up those sides.

Gotta fab up some tabs for my 4&1/4" LED lights

Here are my Light tabs that will hold up my LED lights

Here are a bunch of pictures my mom took of us working together. I decided to keep them so i can look back on all the father son time we had brainstorming exactly how these darn lights were gonna fit in the bumper without being in the way of the the side reinforcements.


Side reinforcements are all welded on now. And so are the LED light tabs.


Figured i'd show a close up in case you guys were curious to see how it looked.


Re weighed the bumper again after we were done and it seems to have gained 20pounds. wow. tube can get heavy!

After we finished up i just had to dress up the bumper with some sexy offroad parts.
rear side:

Top view

Reweighed the bumper with all the stuff and wow! it is at 140pounds.

Couple of nice front shots


Side view showing how we angled the grill guard slightly forward.

-----------------------------------------------------------------------------------------------------------------------------------------------------------------
Man what an Update. that was a heck of a lot of pictures! lol All good. I always like being very thorough and showing many pix for you guys. This is just one step closer for my bumper being finished. All that is left is just to re weld in the areas where the plates were joined together and welded. I have a couple of small pores throughout the bumper that i wanna fill up. I have no clue on how to use bondo so i would rather just weld those tiny holes up and grind and sand them down to look clean. I will be doing that sometime this week. then i want to put on 2-3 coats of primer. Followed by about 4 coats of Matt black color to match my rear bumper and sliders.
Its coming along. Definitely happy with how it has all came along so far. I had to sit back and just look at the bumper for a minute yesterday. i was just amazed that my dad and i came out with such a clean looking bumper. Not trying to be cocky or anything. Just saying, for some reason i didn't expect it to come out this good. It's hard to believe we pulled off my design so exact and and made it look so damn clean. It was only a few weeks ago when it was just a drawing on a sheet of graph paper. What an awesome transformation.
Makes me happy to see i will be the only one in the world with 2 matching bumpers like this. And it makes me feel much better knowing we were able to incorporate everything i wanted in this bumper.
Very grateful for having my dad and his skills and tools. Without him i would have had to settle for something else that wouldn't have been as satisfying for me. Love you dad! Gotta tell you though. This is probably the last time i will ever make a bumper. This front bumper was a heck of a lot worse to fab up. Although it was fun i doubt ill ever want to make one again. Unless it is to help out my lil brother(if he decides to buy a truck) And even at that it will be a pain in the arse again lol Alright guys. this post is big enough already im out hope you all like.
 Oct 27, 2013 | 02:16 PM
#96
Thread Starter
Registered User
Joined: Apr 2012
Posts: 2,817
Likes: 2
From: Los Angeles CA
Thanks for all the compliments guys.
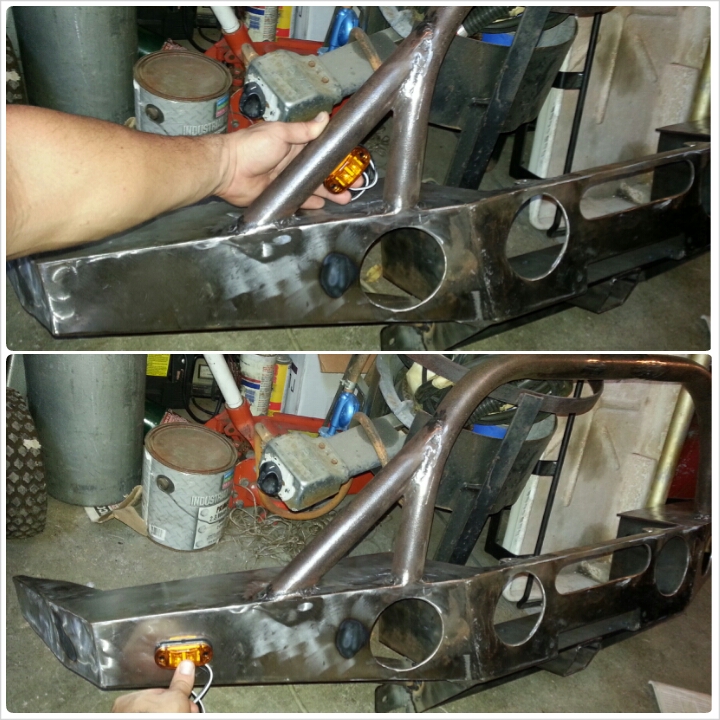
CyberhornTheDragon asked about turn signals on my thread. I just wanted to say yes I do plan to incorporate he lights. I bought the trailgear LED turn signals. I have 2 choices for how to mount these lights. I can either drill through the front plate face. And mount them there. Or weld the tabs provided to me by trailgear onto the inside of the gussets. And run the wires down through the top side of the plate down to the stock turn signal wires.
I honestly like the way it looks a lot more when mounted to the gusset. The lights stick out a little when mounted to the front. I don't know if I would like that in the long run.
Here are the 2 views of what I mean.
Oct 30, 2013 | 09:14 PM
#98
Thread Starter
Registered User
Joined: Apr 2012
Posts: 2,817
Likes: 2
From: Los Angeles CA
Bumper progress!
Got some more progress done today guys. enjoy
I cut the trail-gear light turn signal brackets in half to fit in the space where the gusset and grill guard are.
That's where i want'em
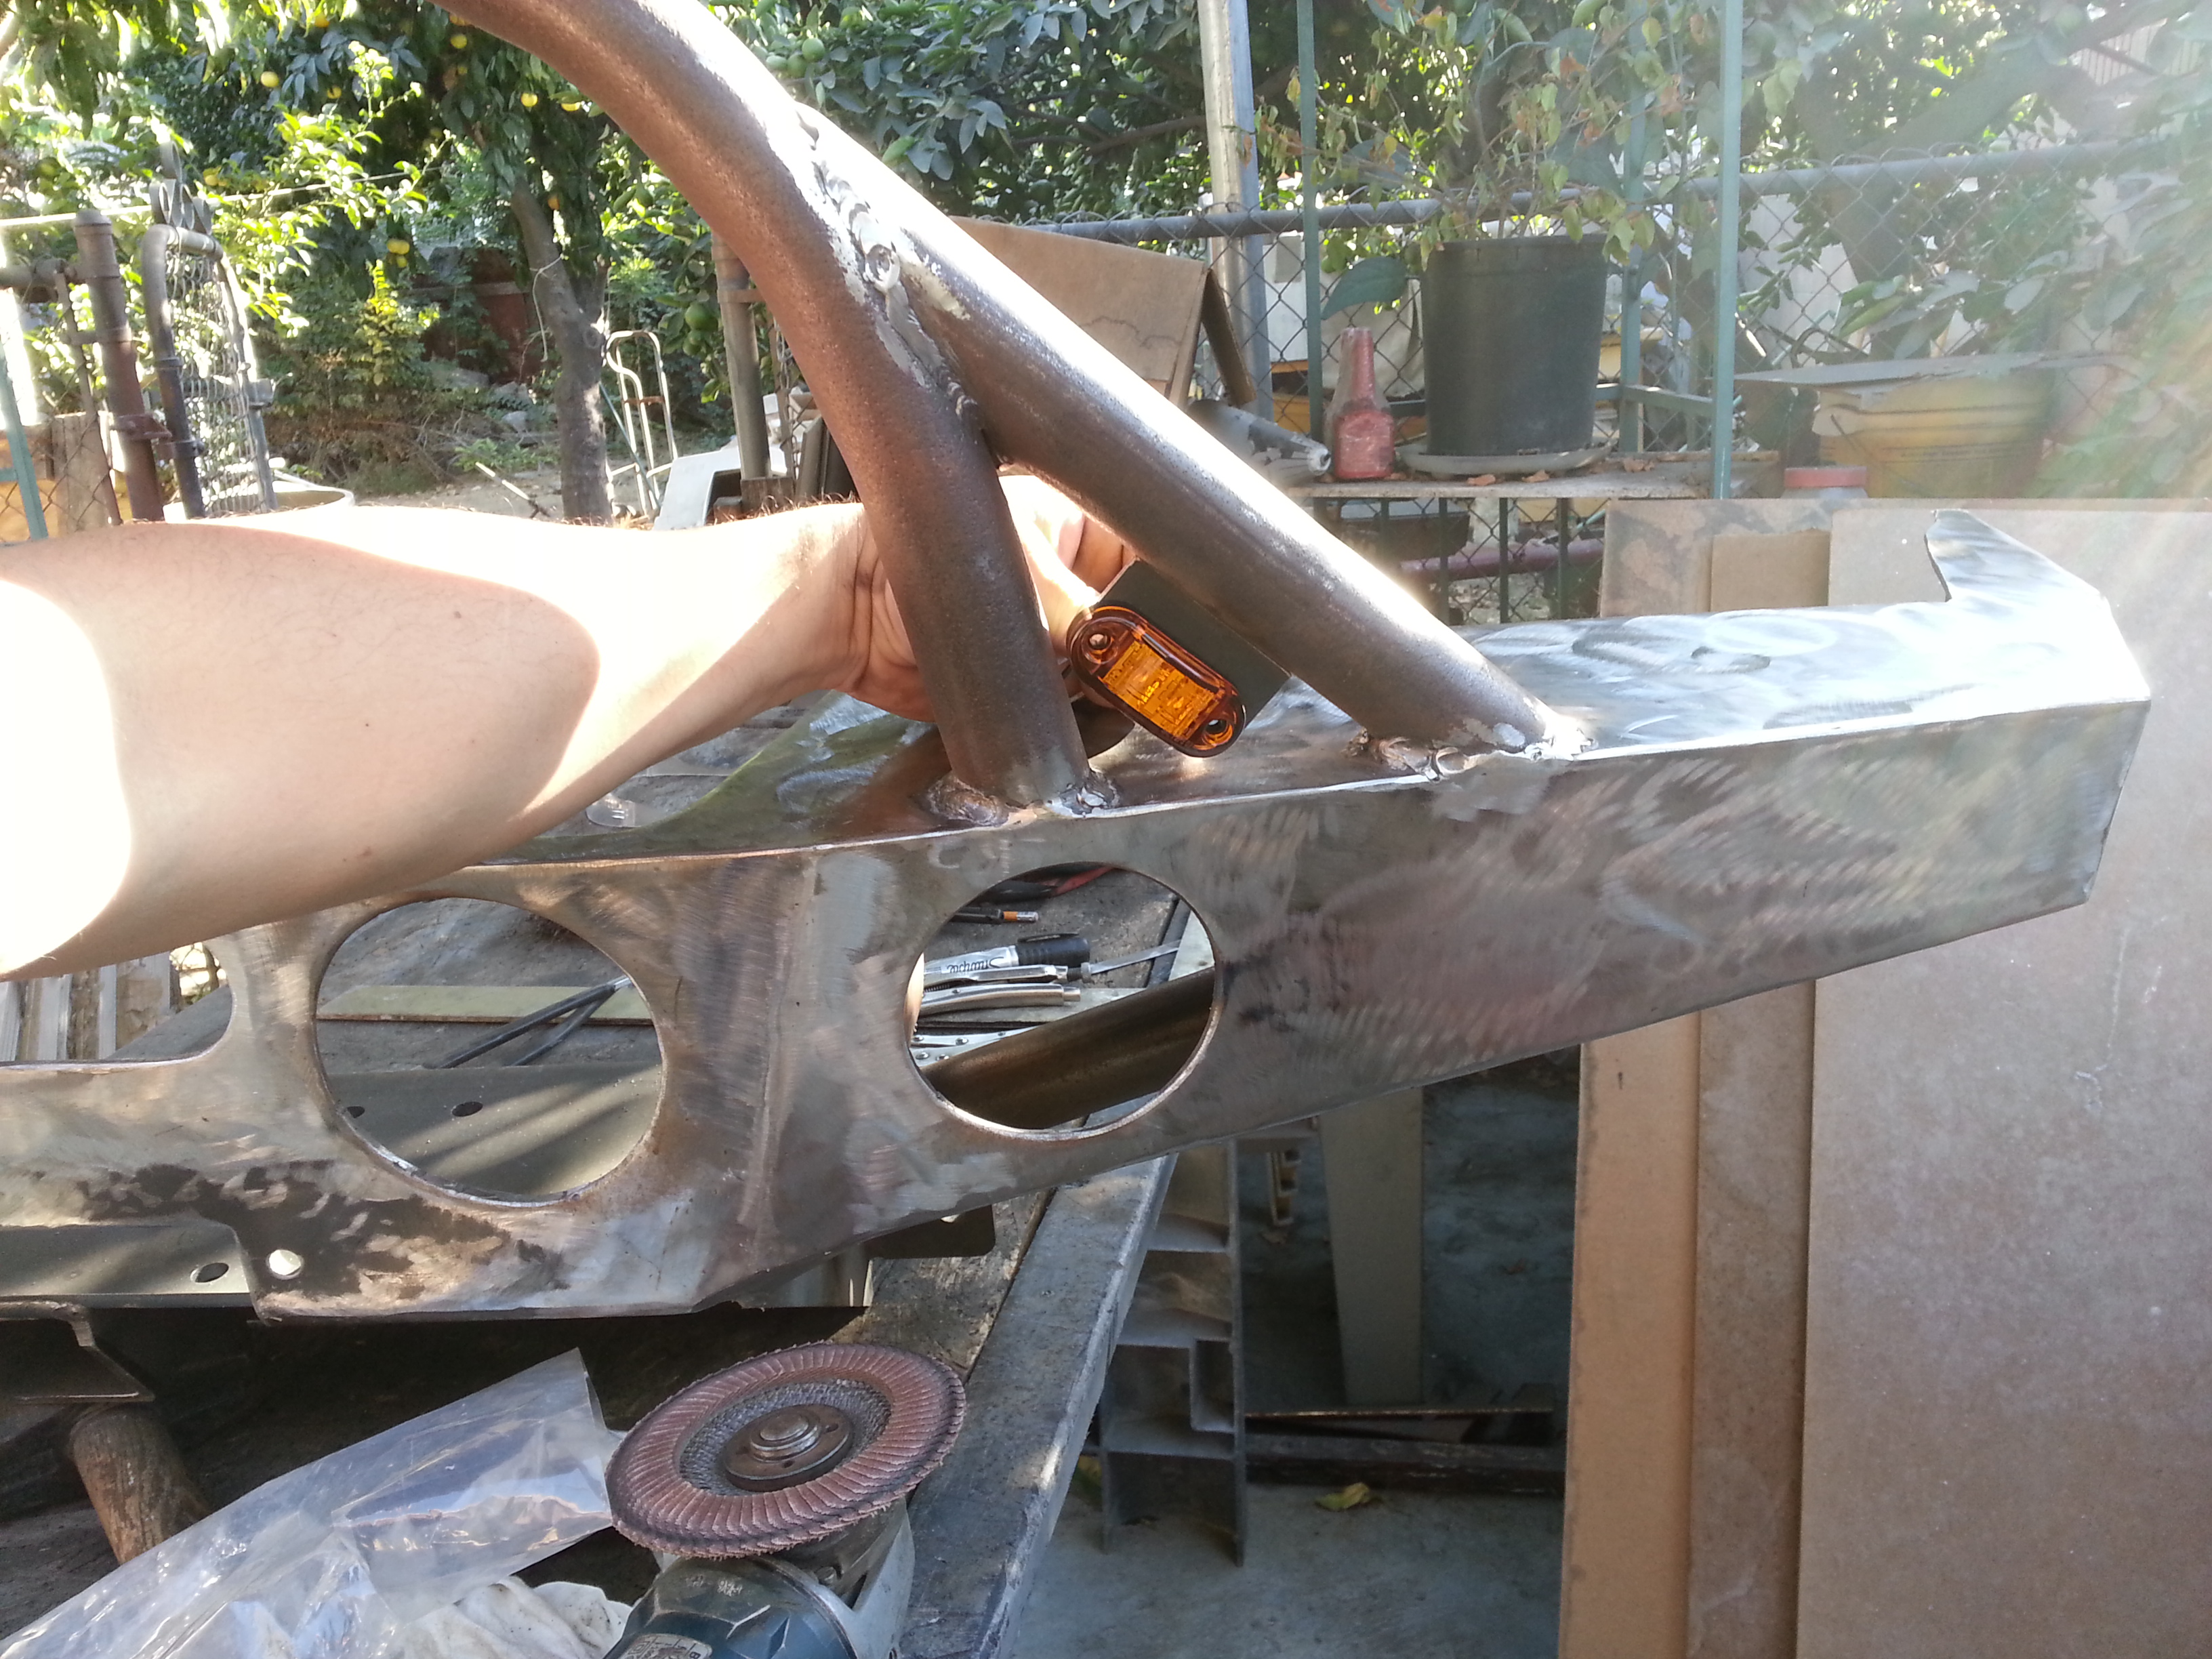
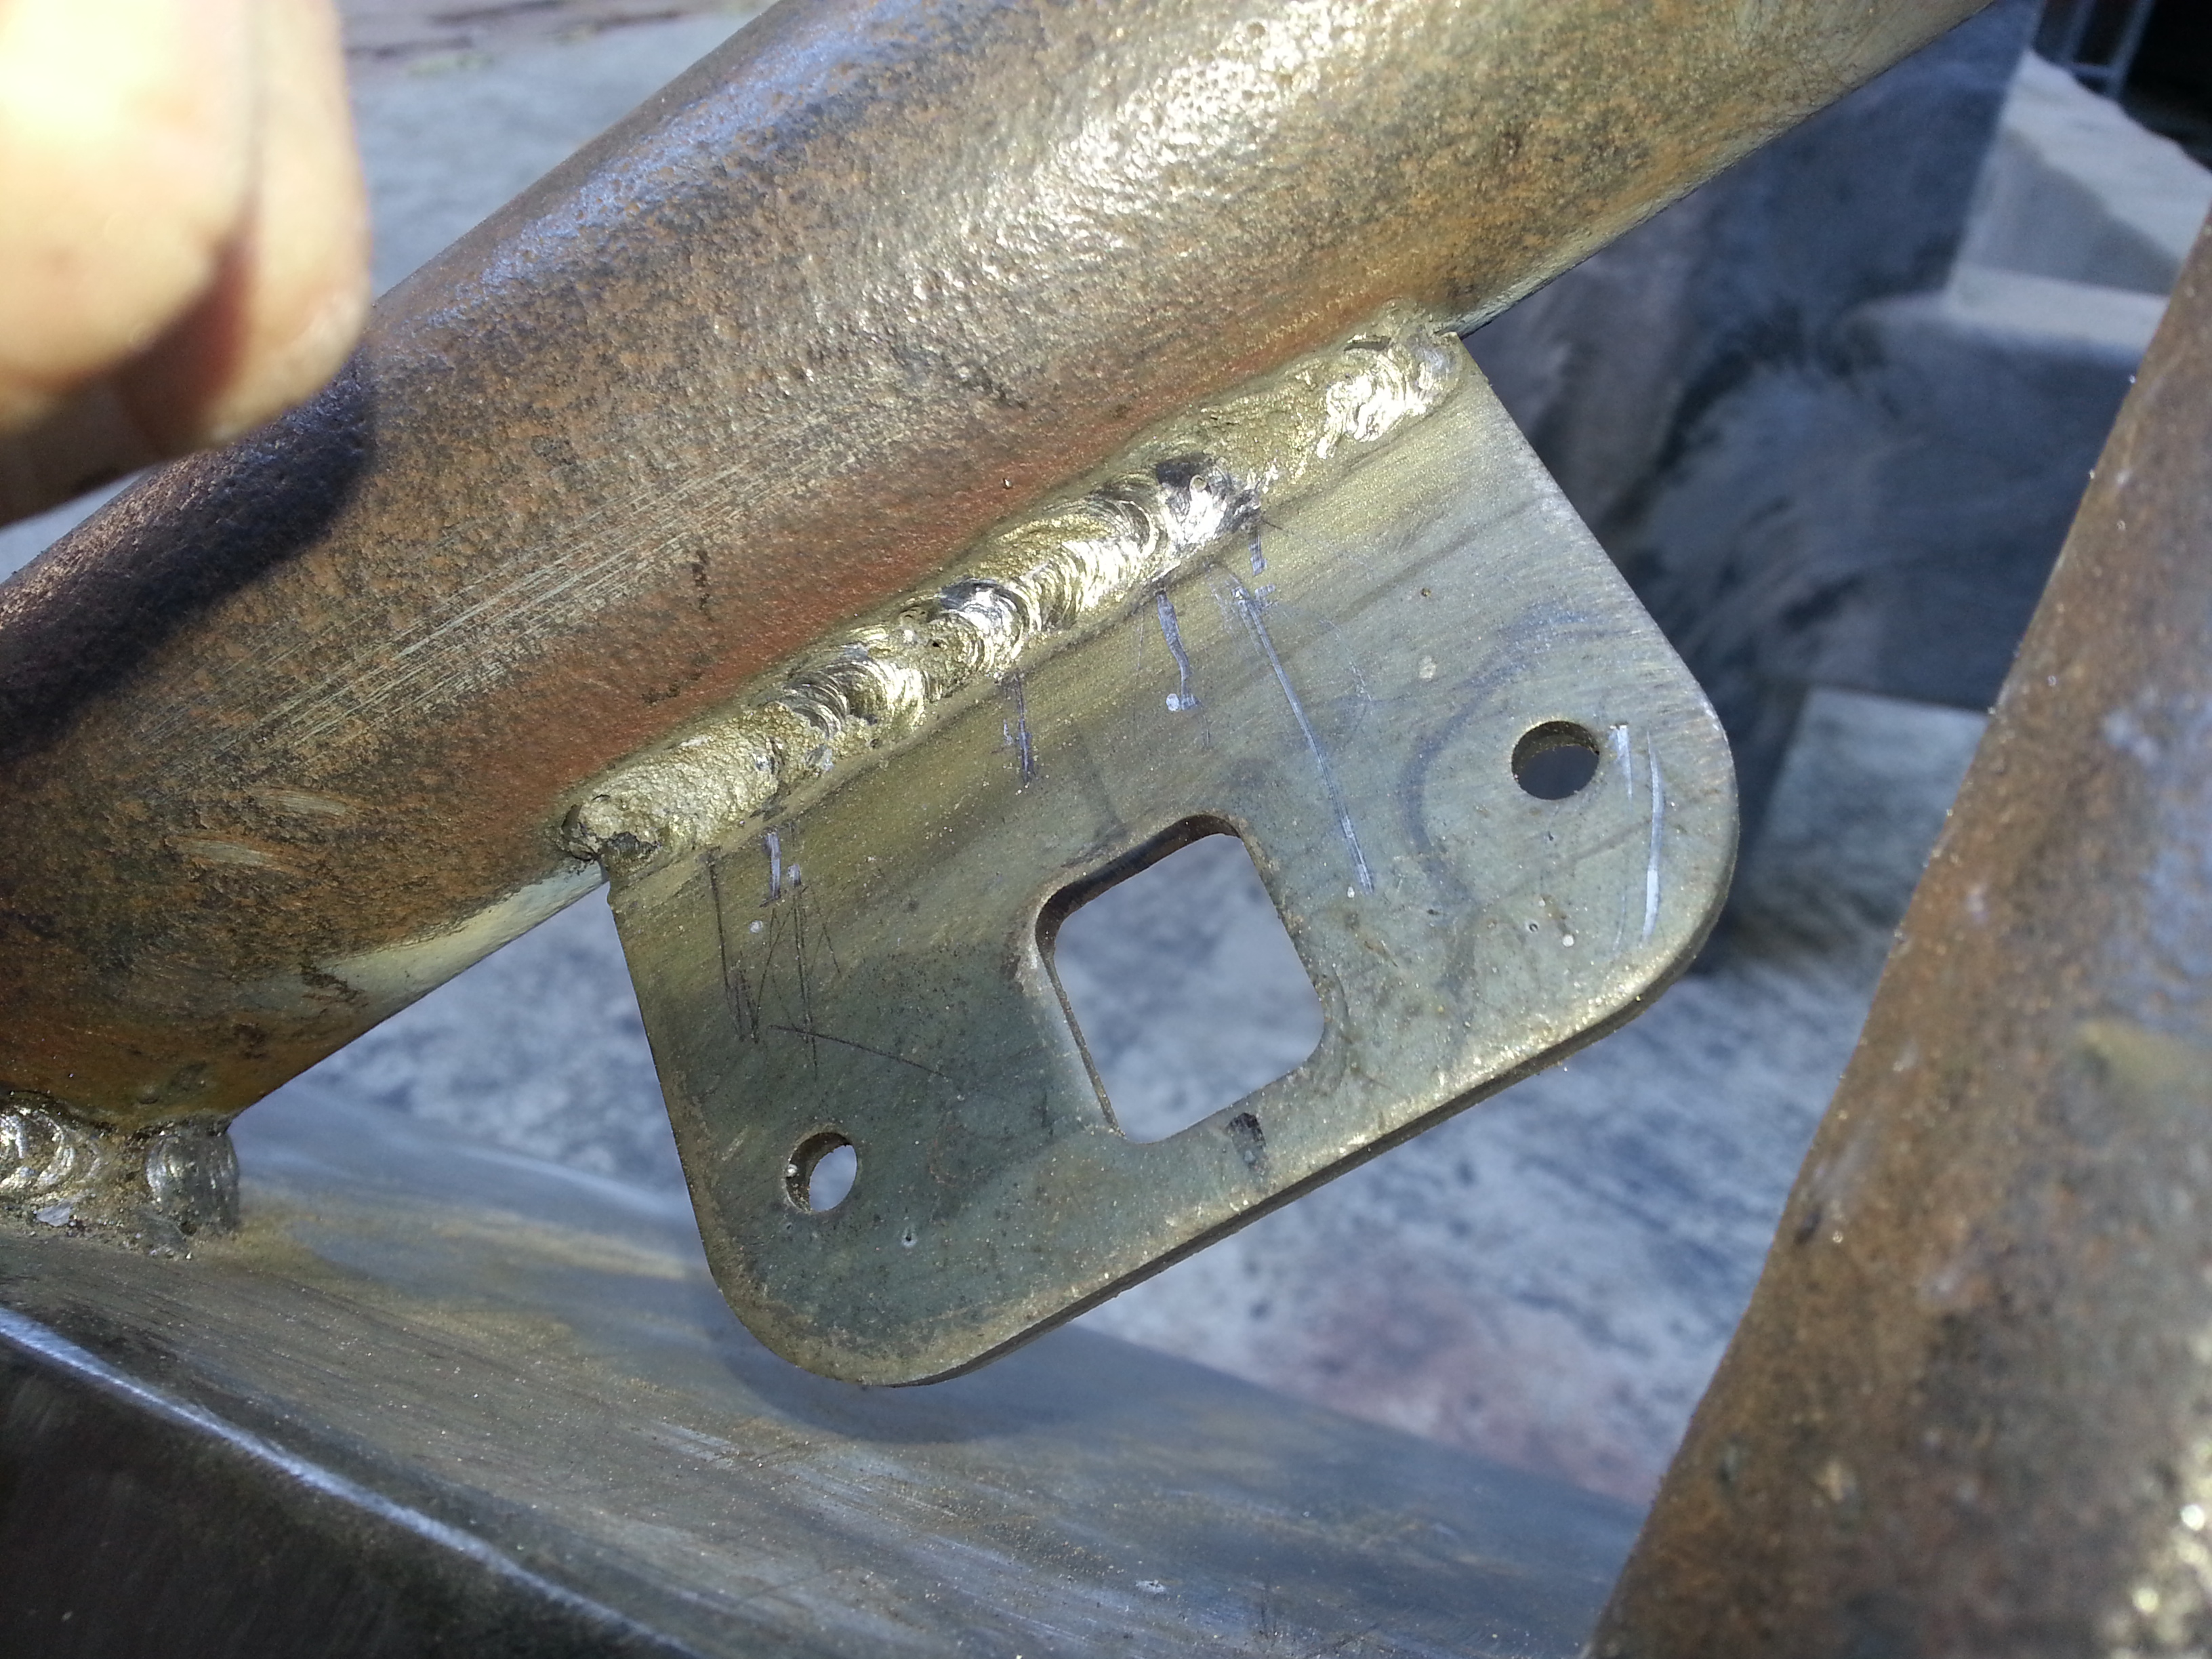
Just wanted to share a picture of my own welds. I think I've been getting much better over the past 2 projects. I have definitely had plenty of practice lol
Like it or not that's where they go now lol. No going back anymore because i welded it on both sides.
I will be wrapping the wire in some plastic flex stuff(not sure the exact name for it but its meant to shield your wires) will use heat shrink all the way up to the end of the wires then run the wires along the gusset strapped along the back side with black zip ties and down into the holes i made on the top side of the bumper.

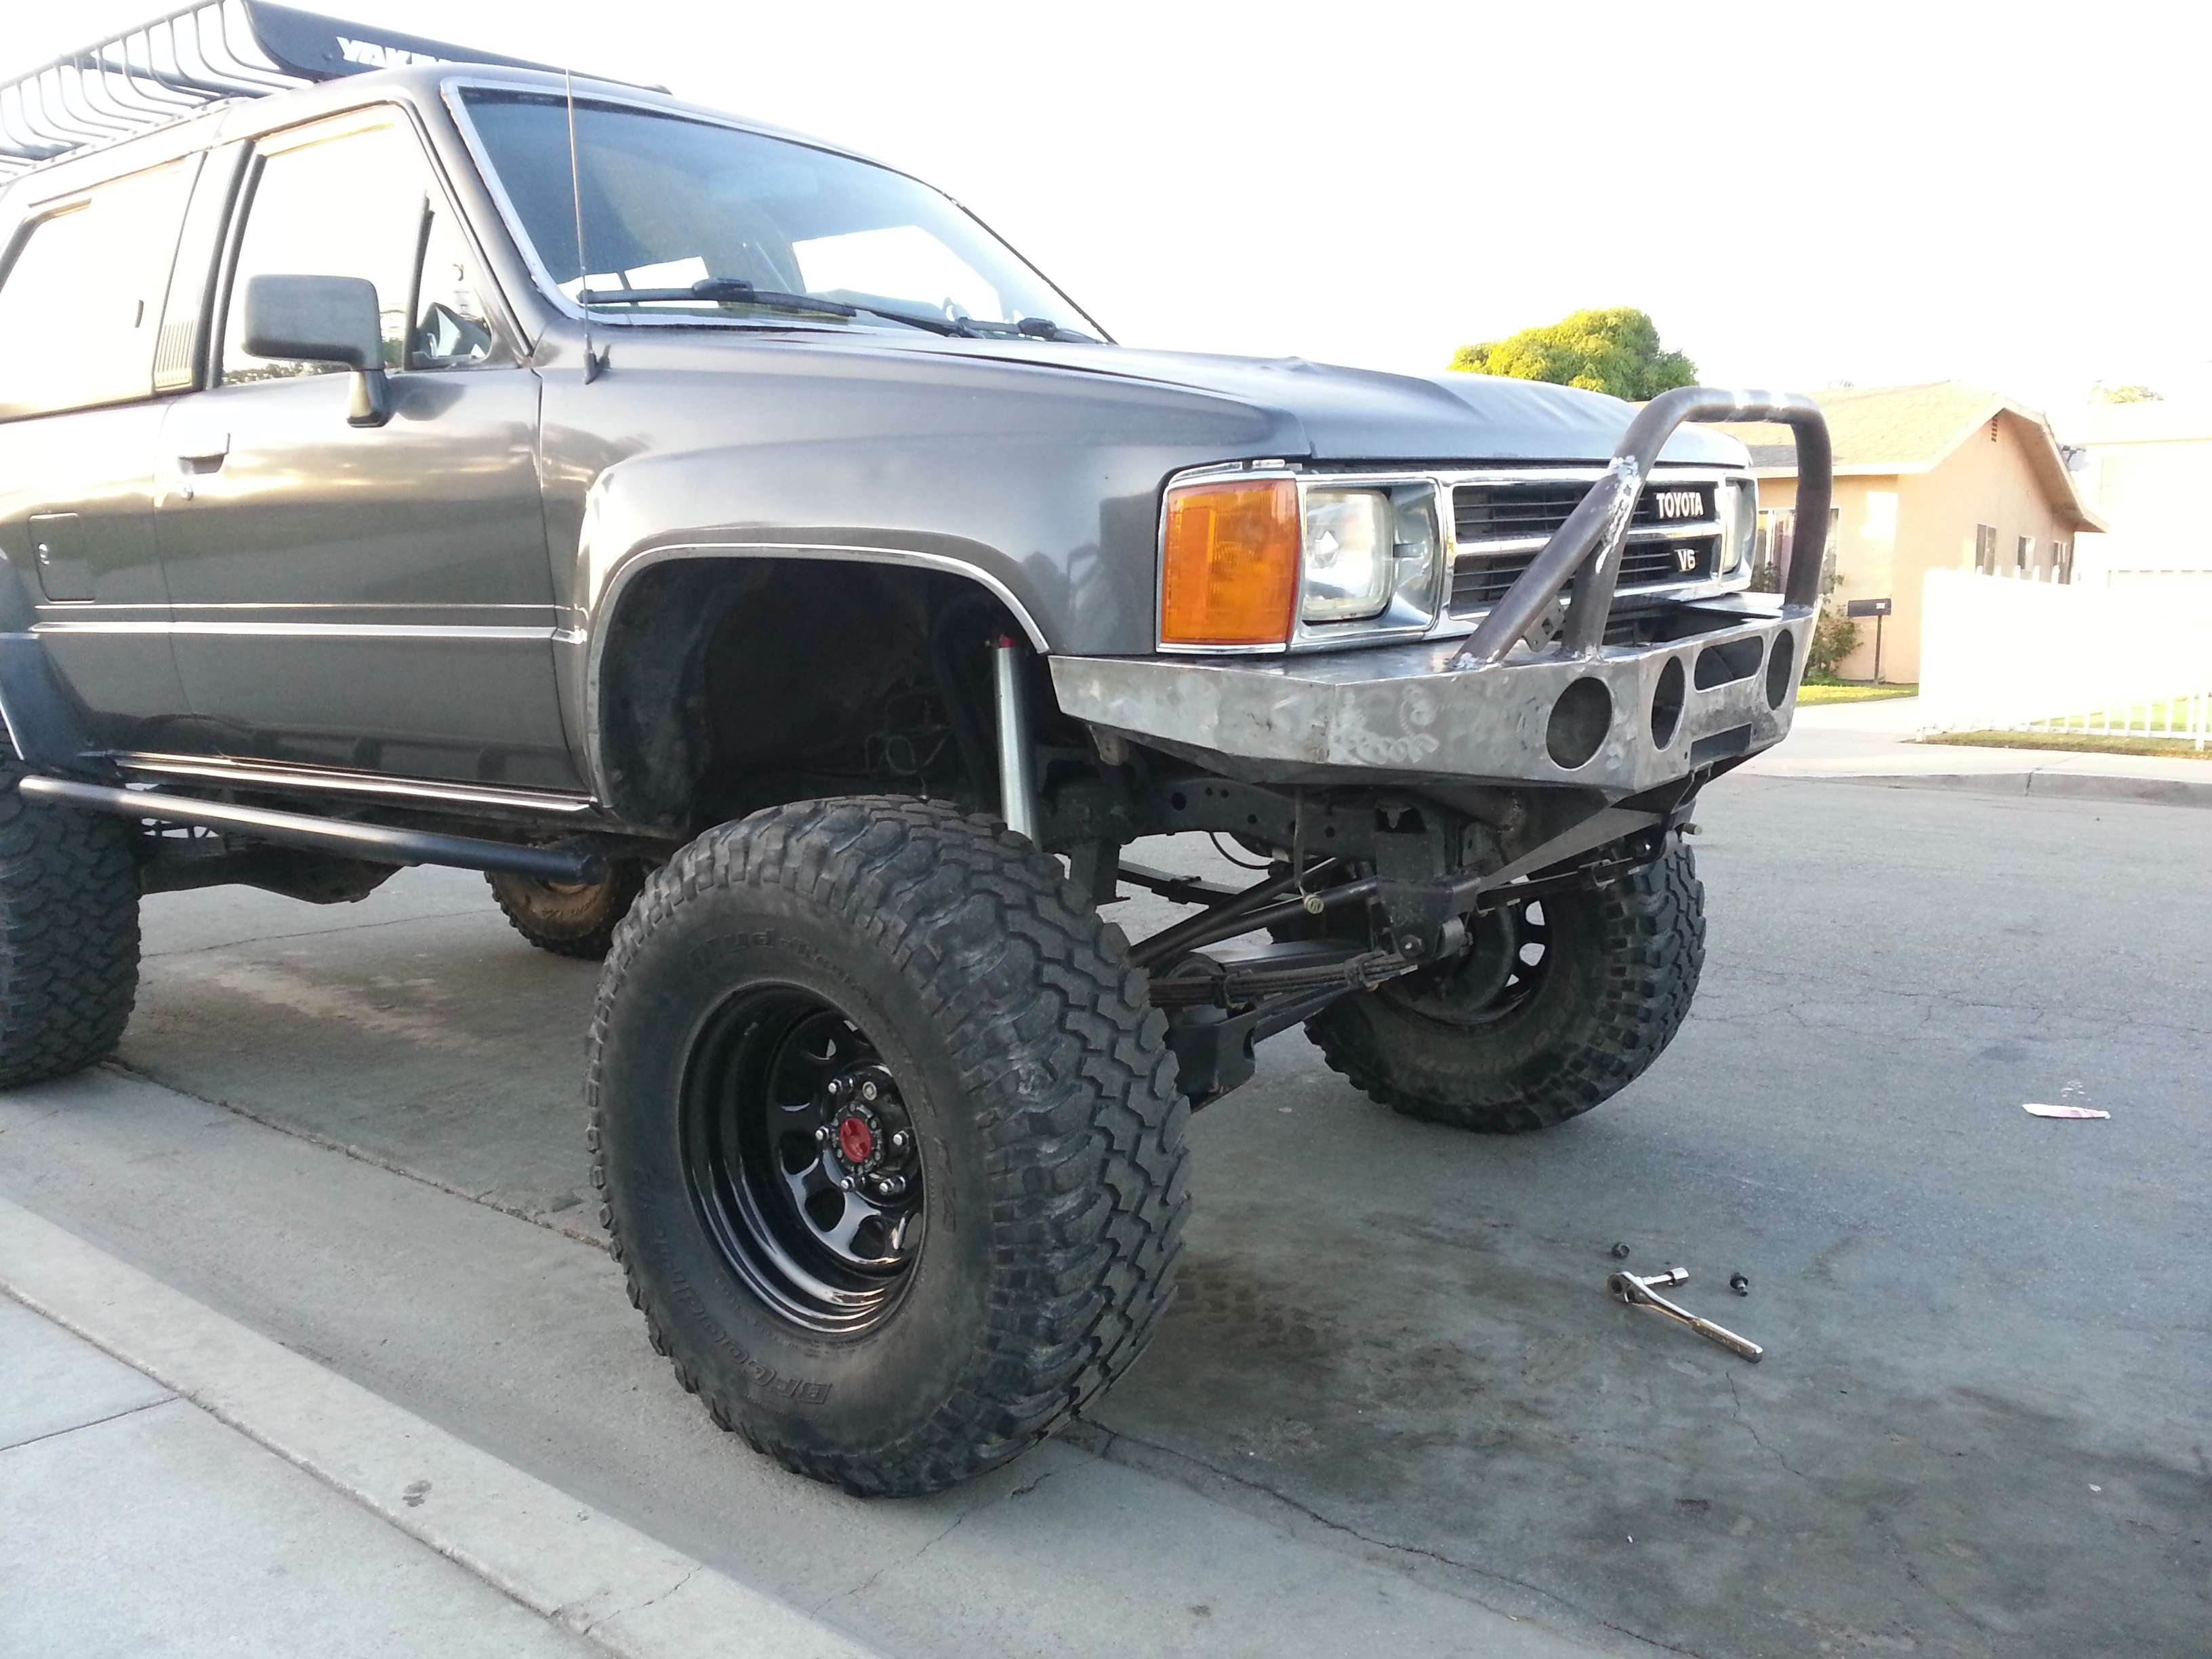
After i was done i gave the bumper one last clean up to take off surface rust and weld residue. Then i took the bumper out to the street where my truck was at to do the final fitting. Because once its painted i cant go back. Well i can but it'll really suck having to ruin the paint job.
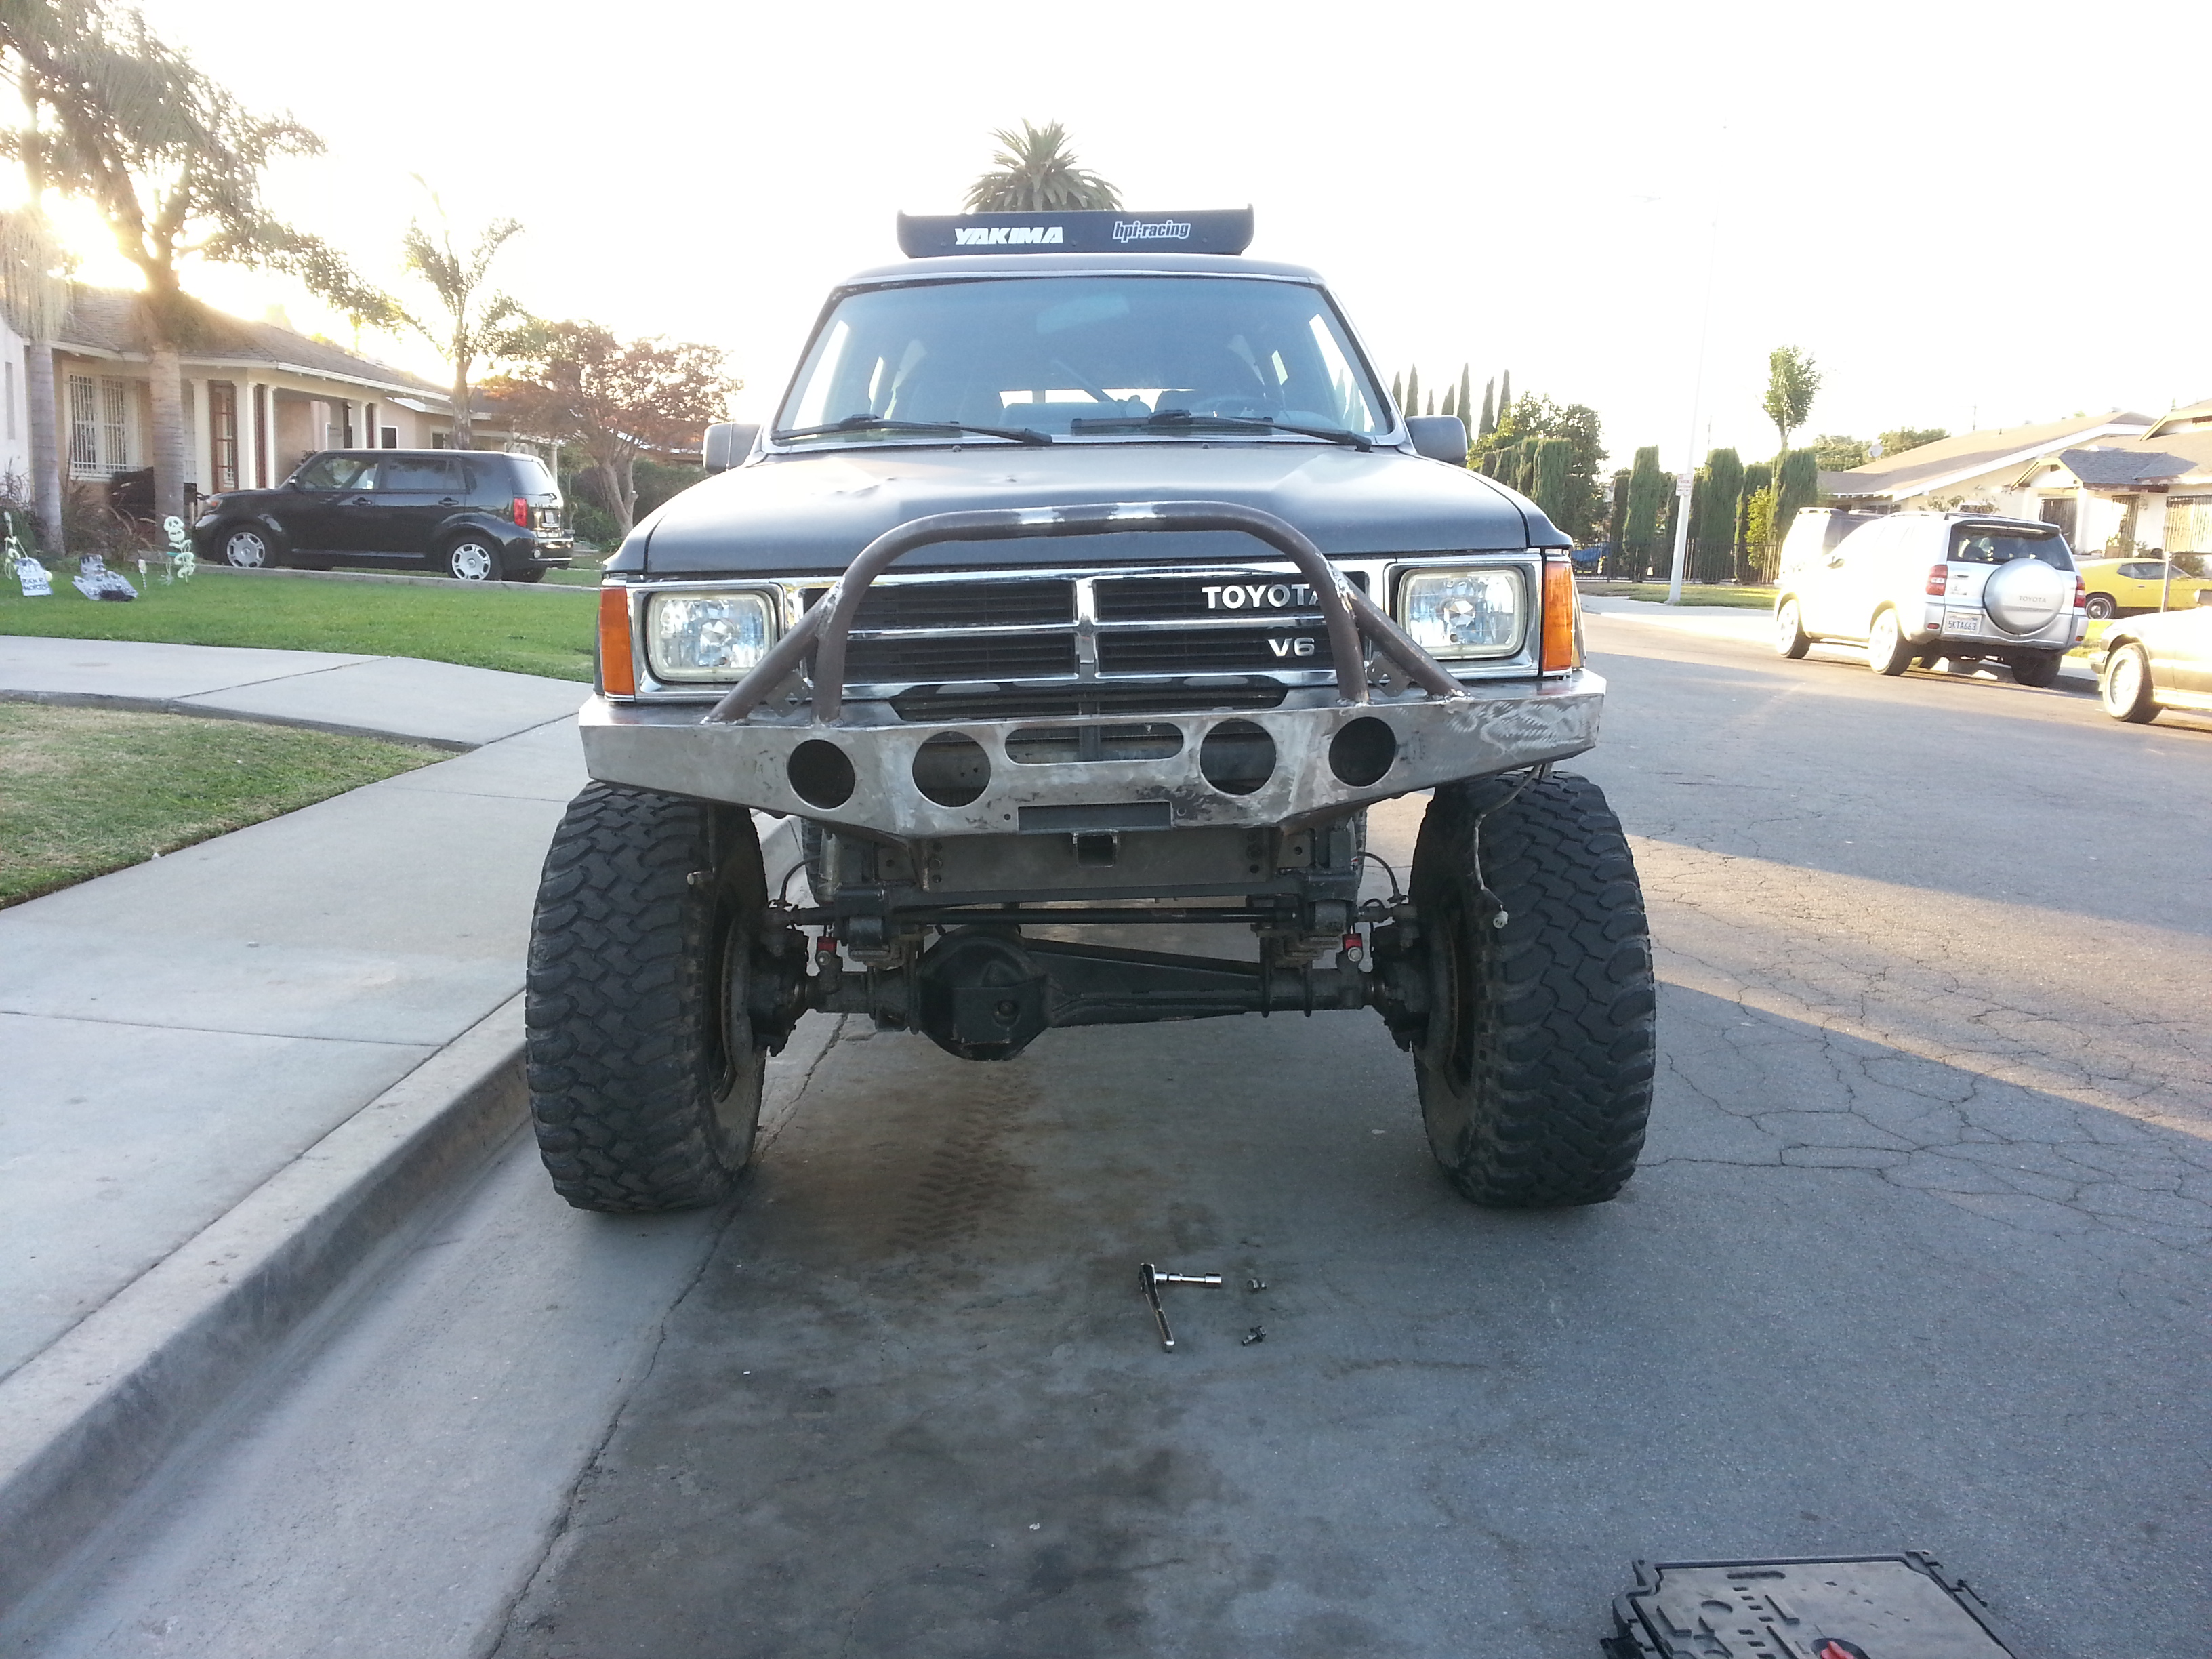
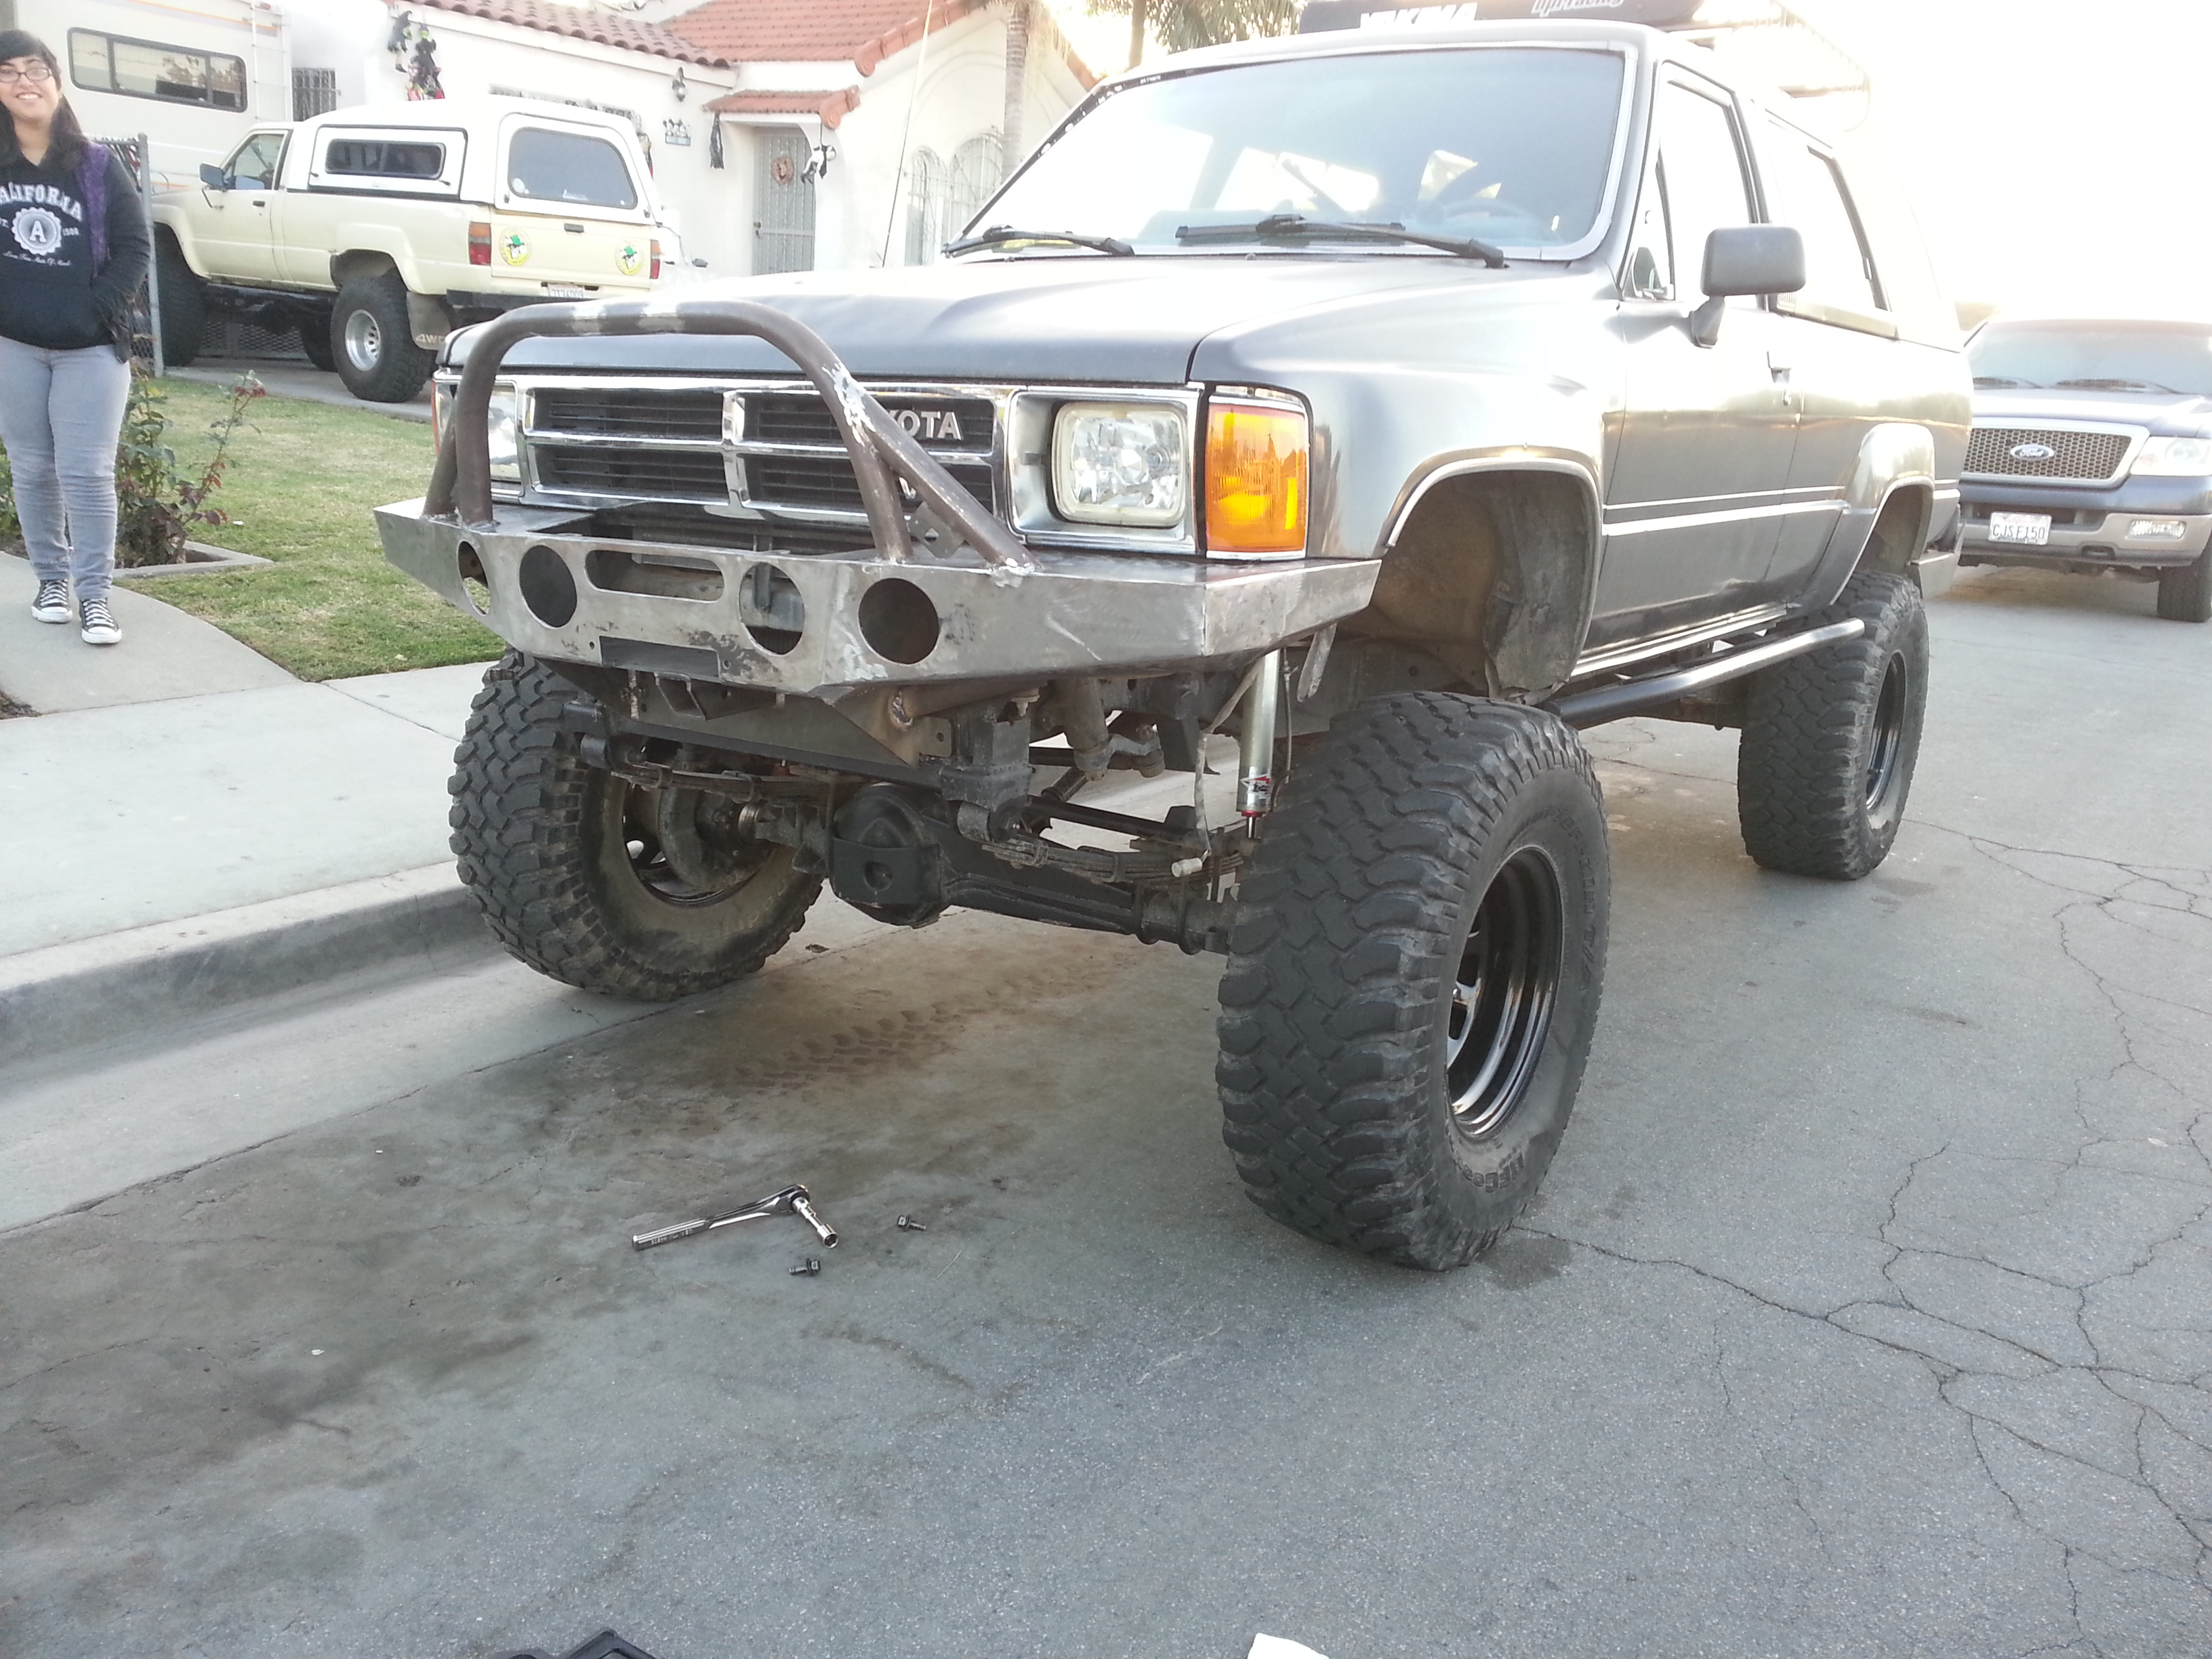
Front:
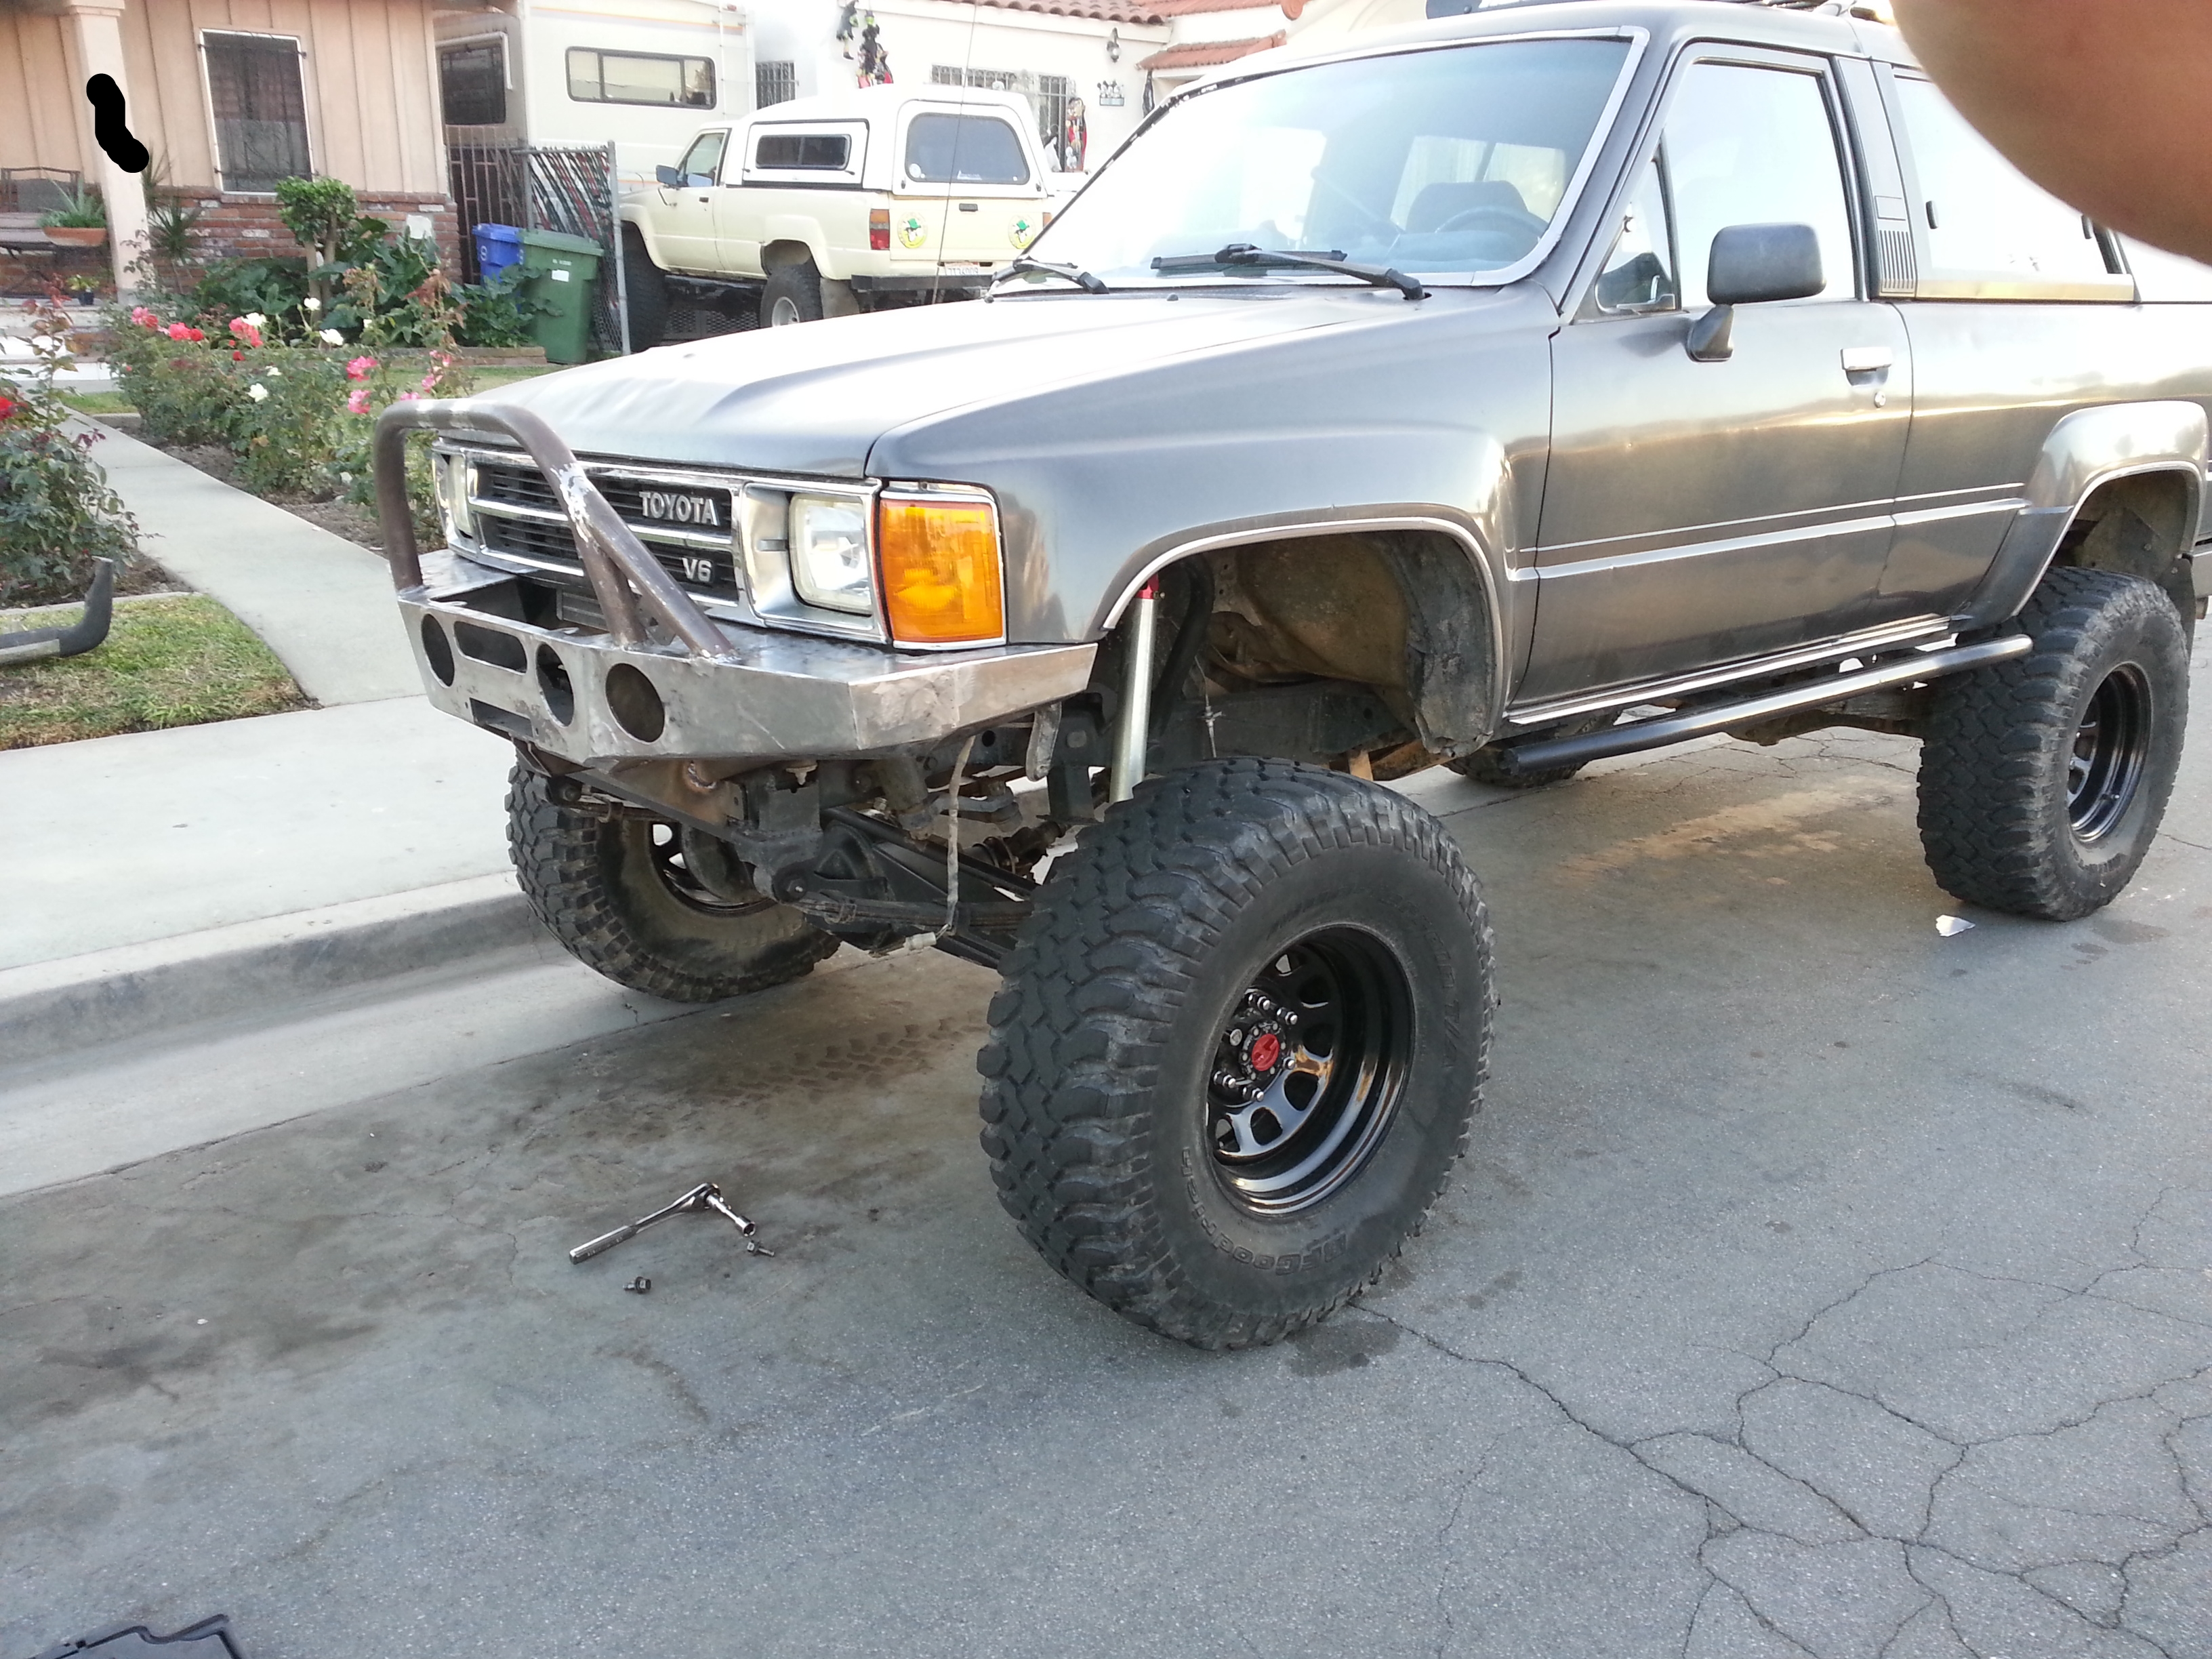
Passenger side:
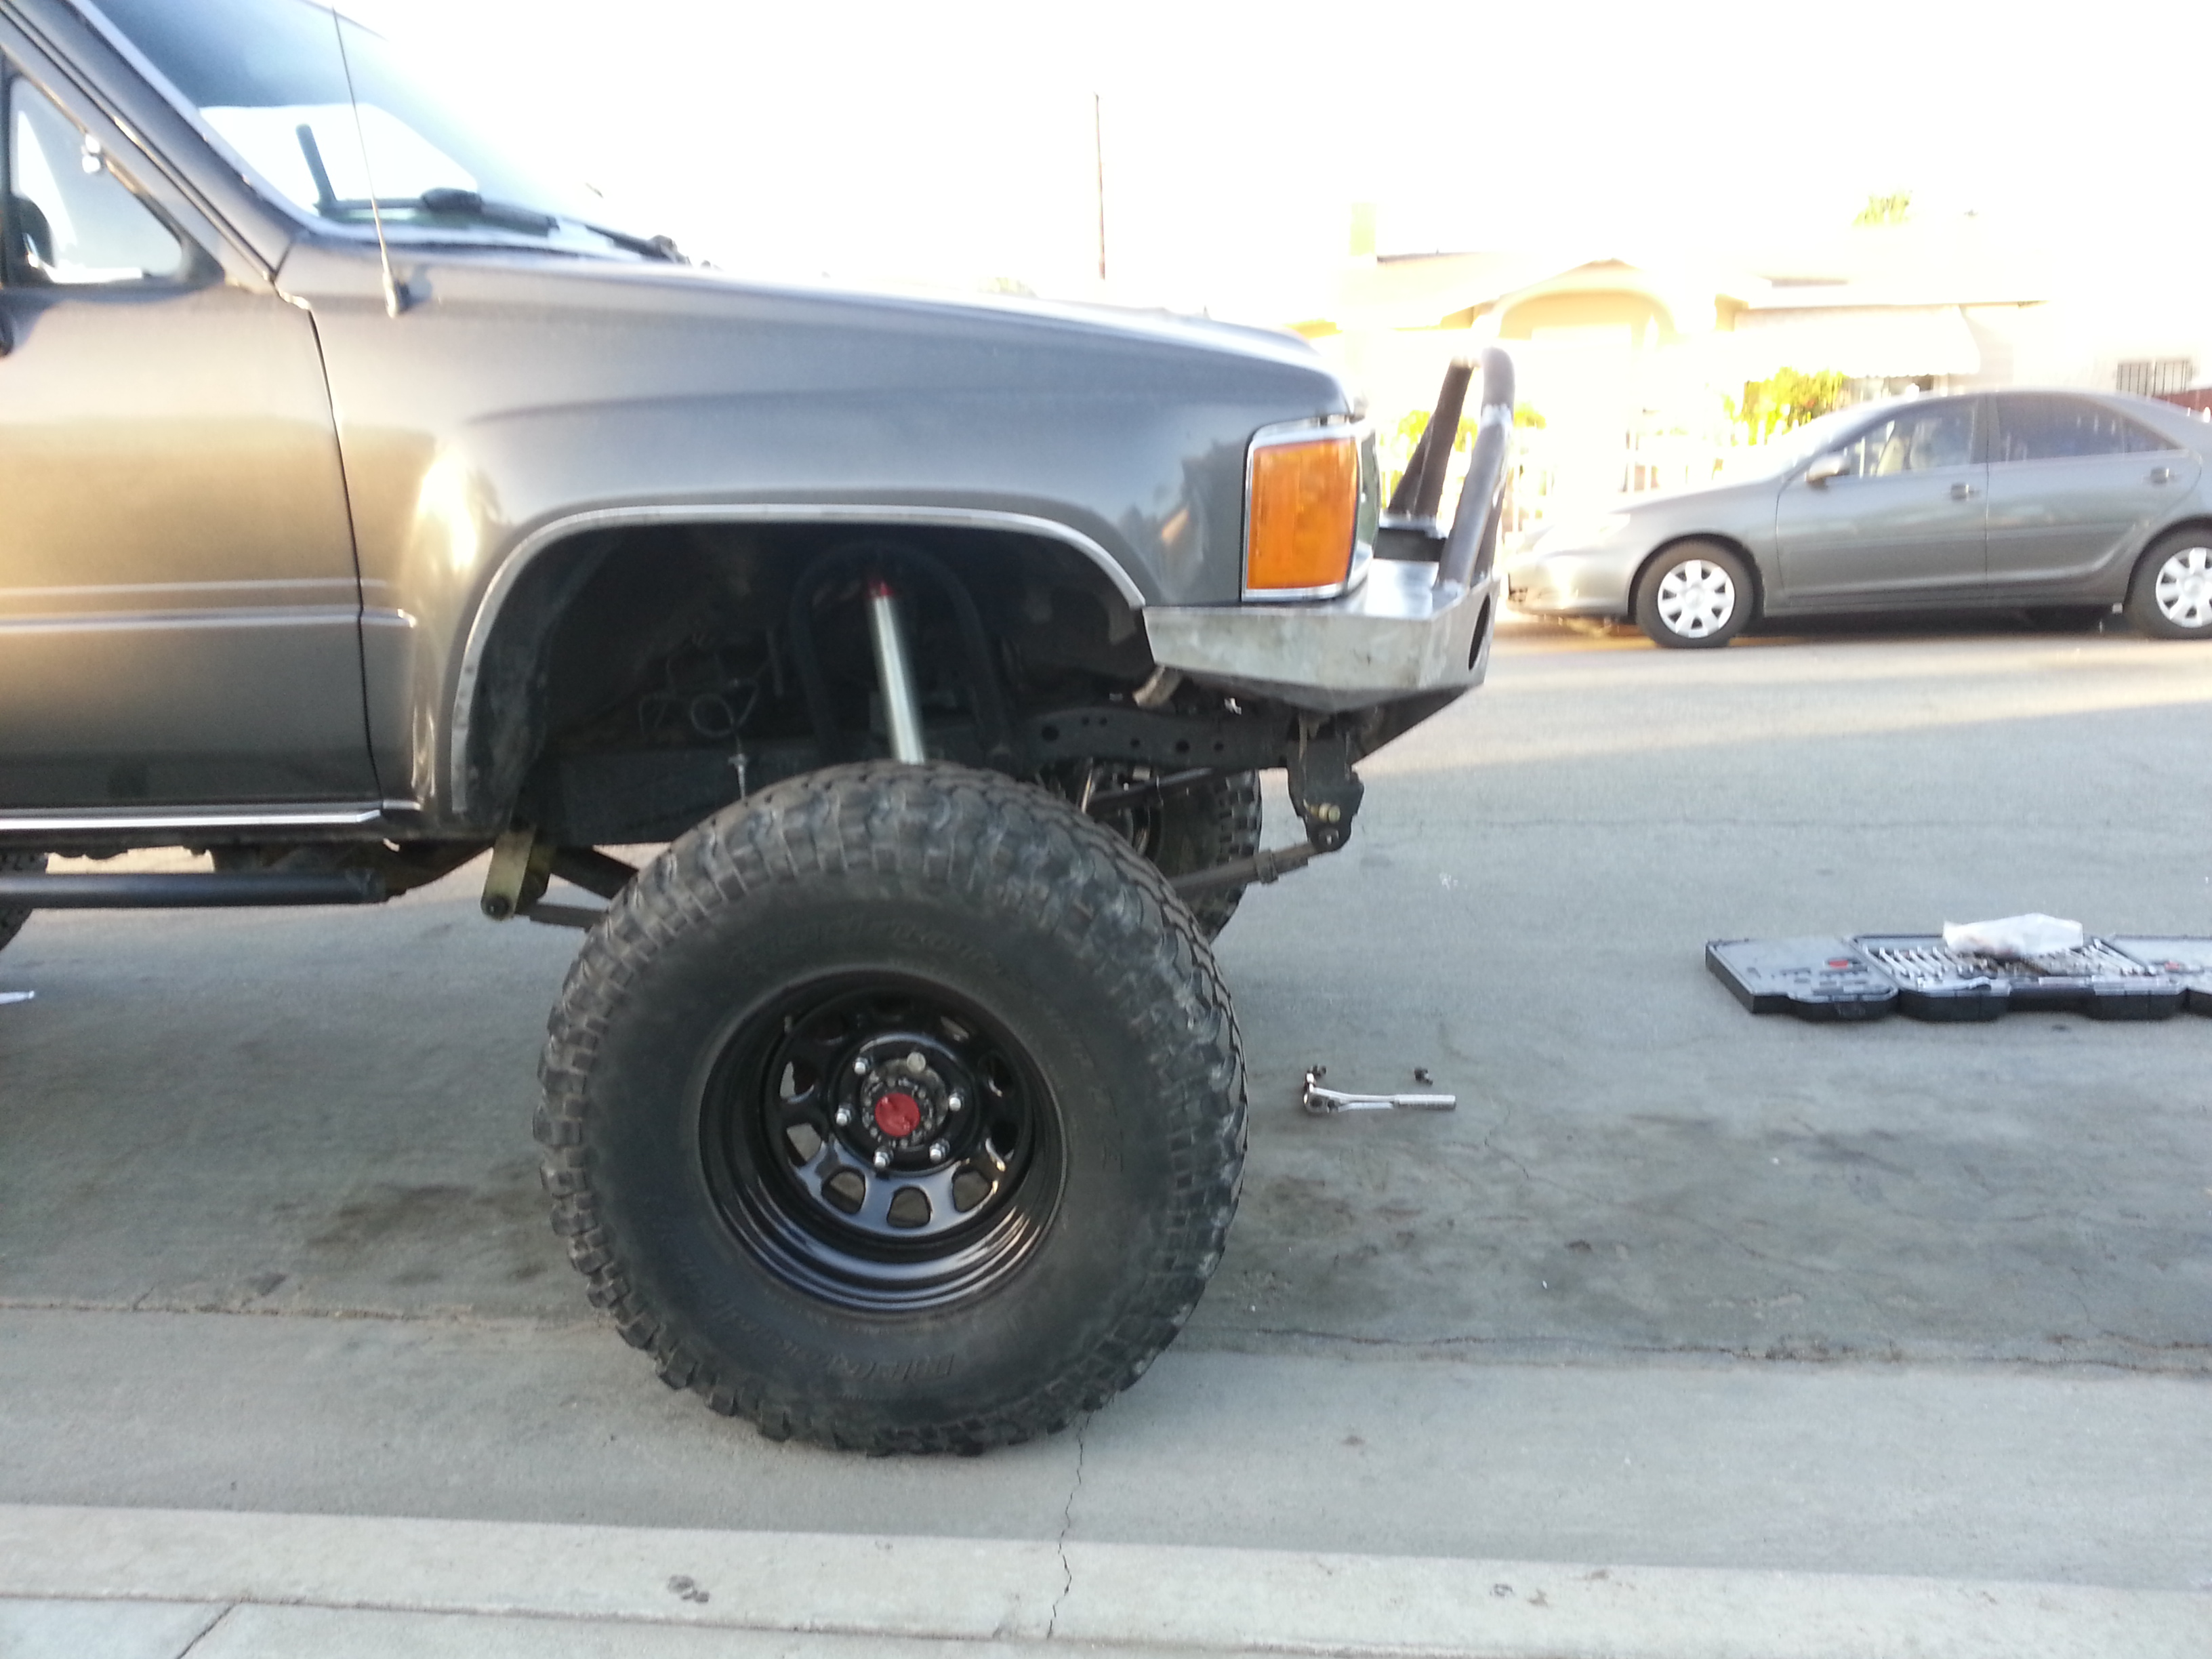
Driver side:
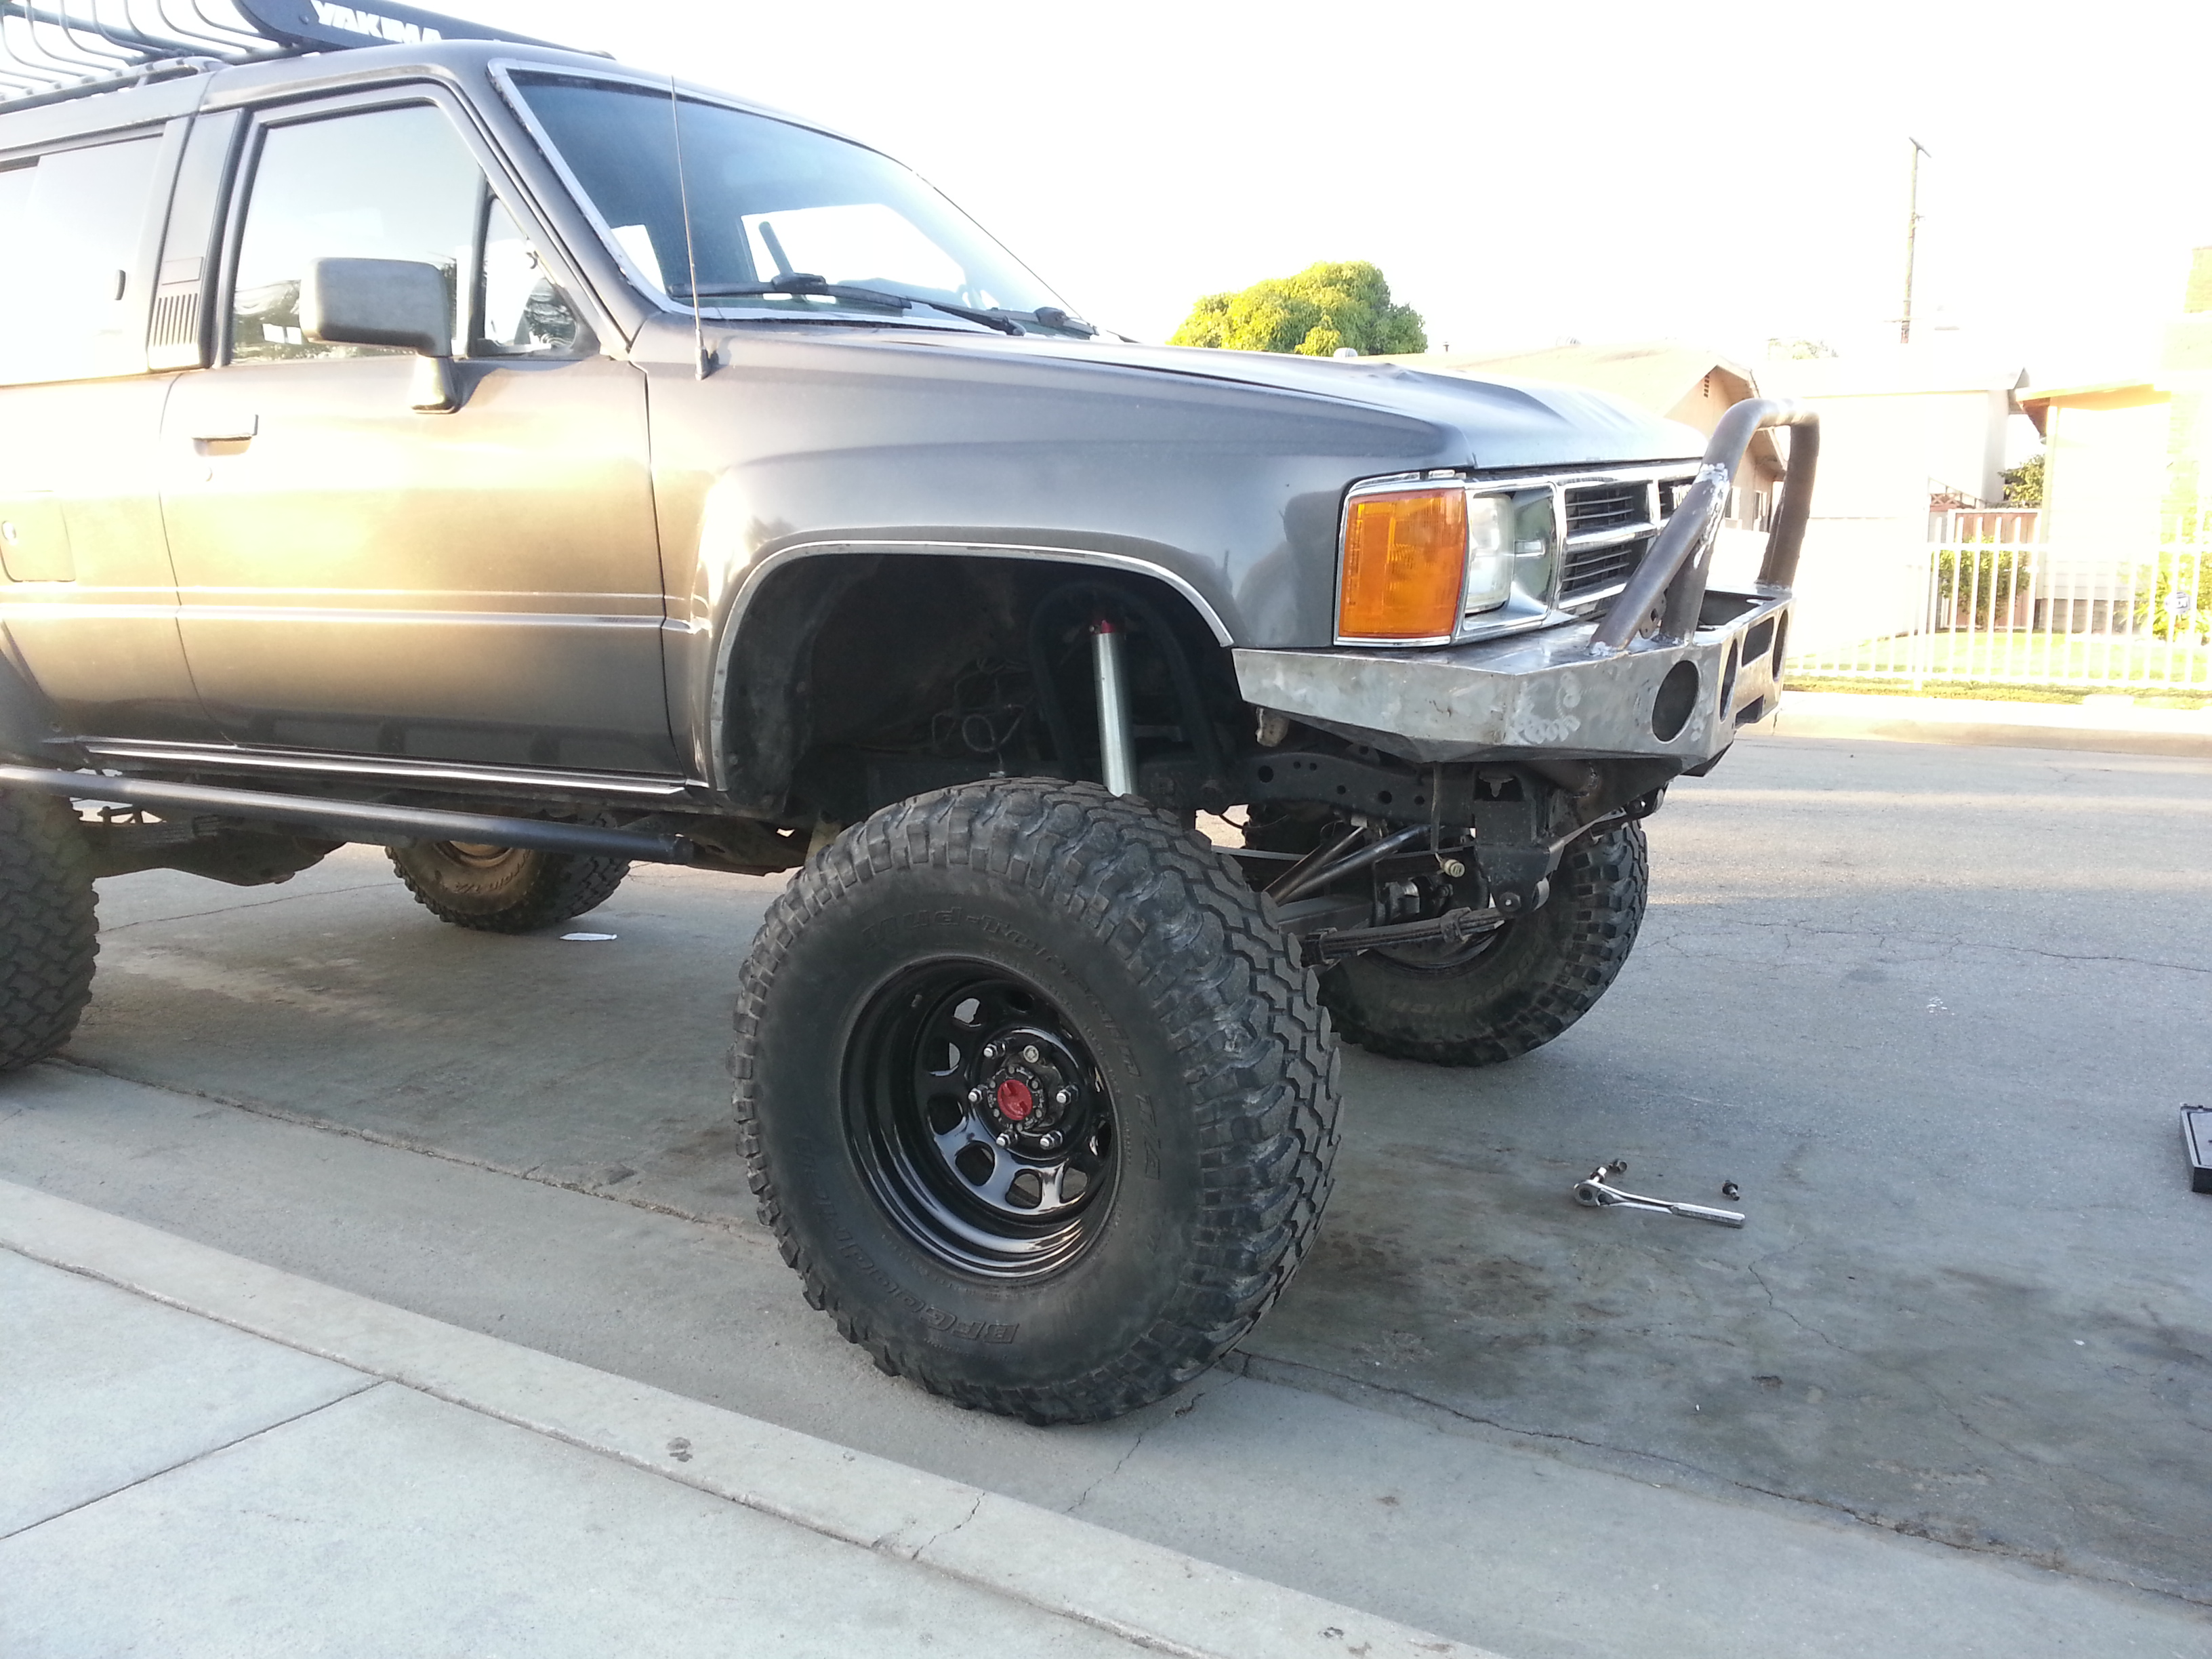
Close ups of the corners:
I seriously thought it was gonna be sticking out farther forward. I'm very satisfied where the bumper stayed at. Looks great
Also I'm definitely happy with how the corners came out. that was a hefty challenge to do somewhat even on both sides lol. But the part i like the best is how they go further up toward the fender. I saw that on my last trip to Big Bear i was having a big problem with my front tires rubbing on the bumper/ bumper brackets on the parts closest to both wheel wells while at full flex. This is definitely gonna help me out in that area.
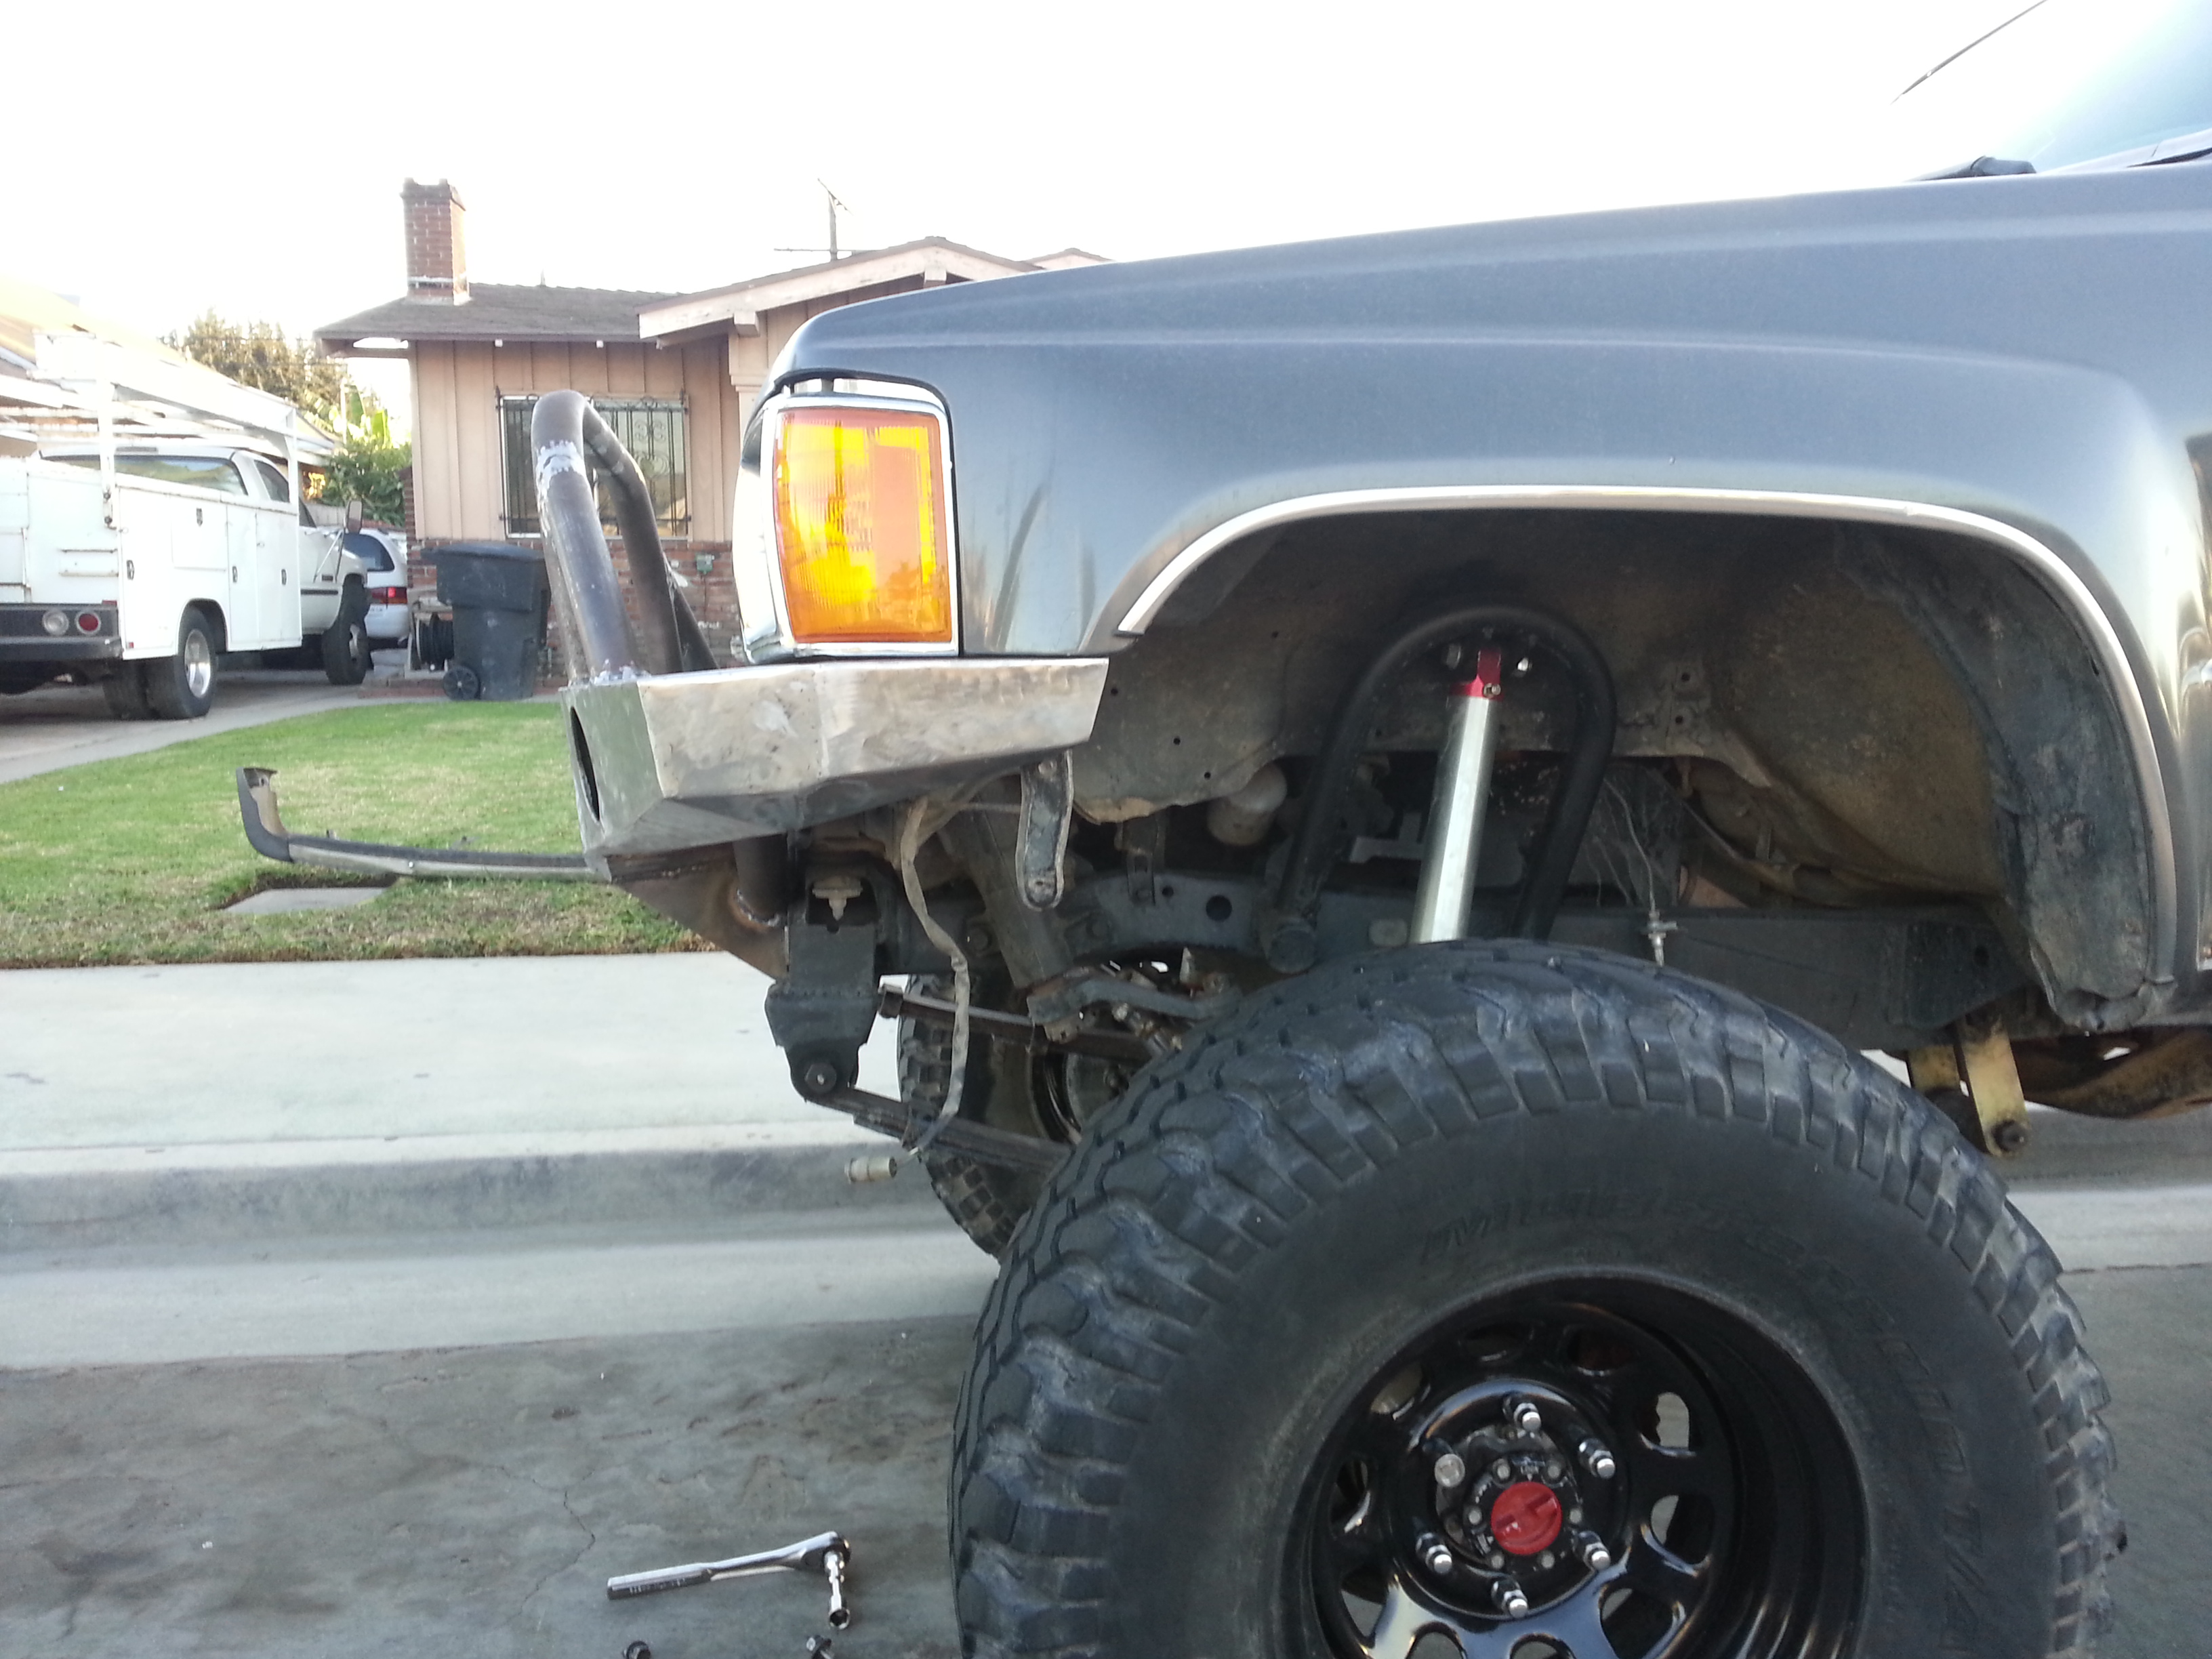
Bottom side:
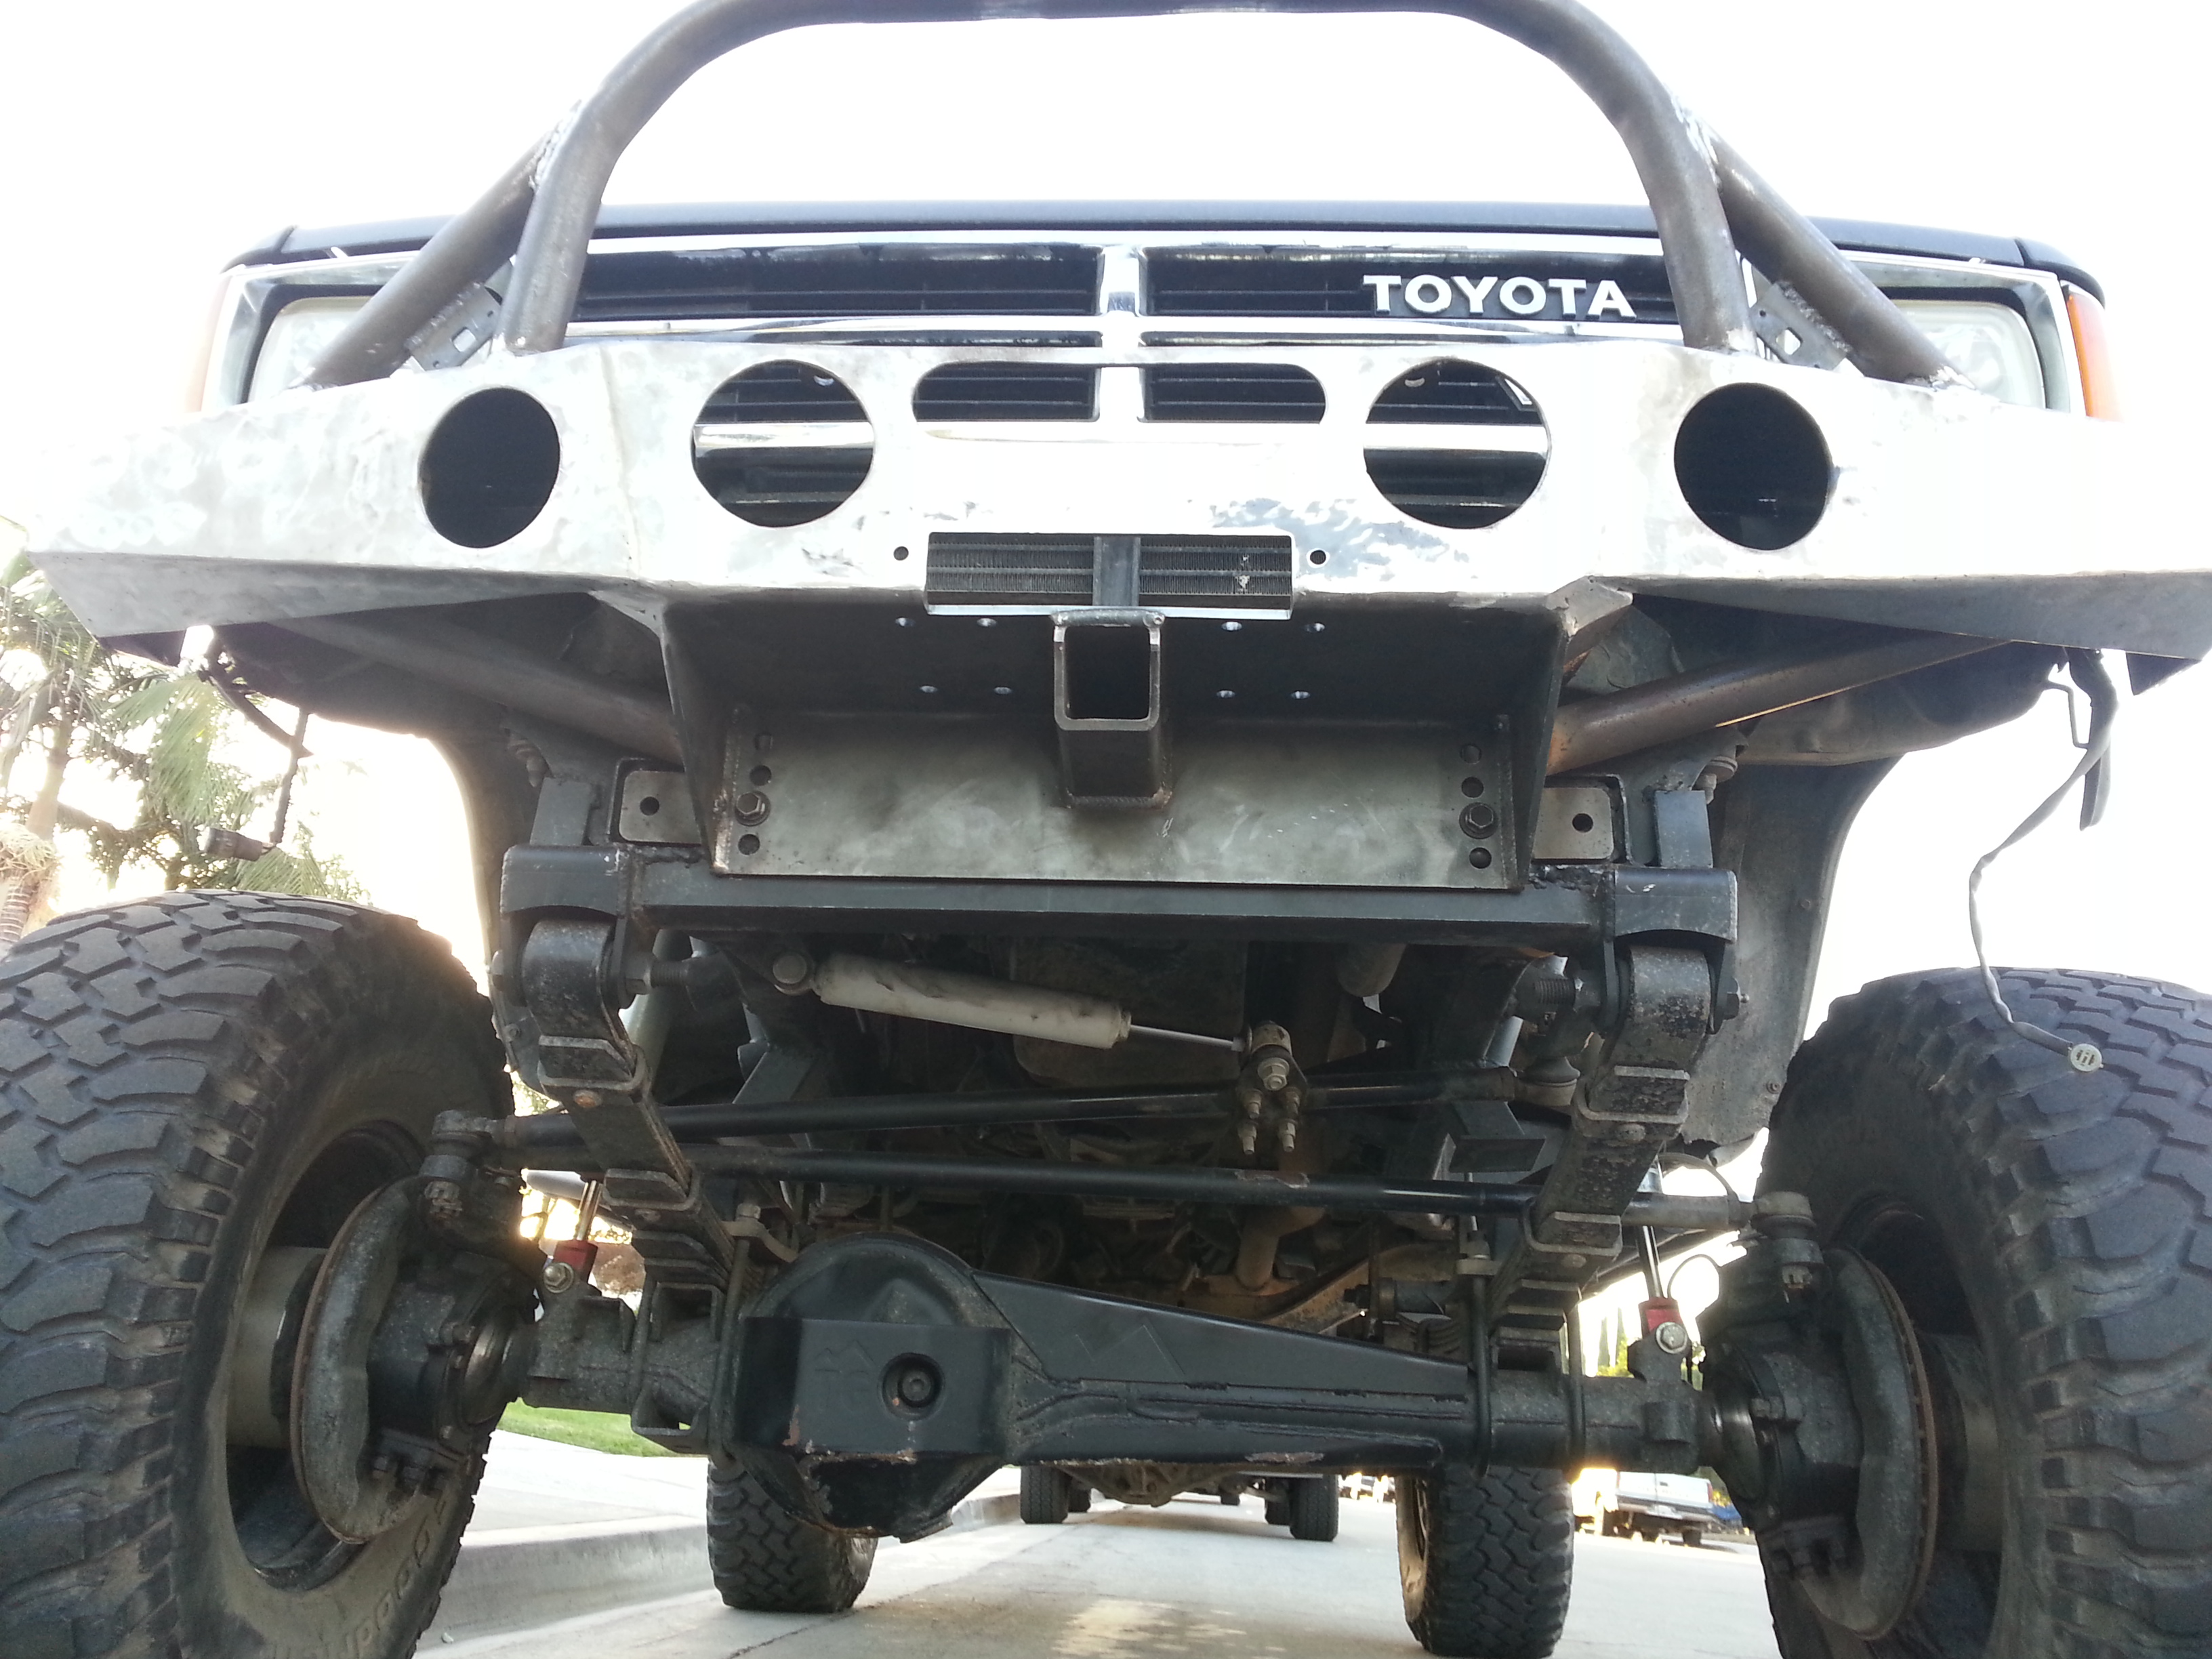
Once i saw that everything was gonna come out fitting just right we unbolted it and took it to my shop table in the back yard. and then i had a surprise visit from my little helper Faby. Wish i would have taken a picture of her but oh well... next time. The sun was going down quick and i wanted to give the bumper a coat of primer all over.
We managed to get both the back side and front side primed and here is what it looked like when we finished. We gave it about 2 coats using 2&1/3ish cans of primer

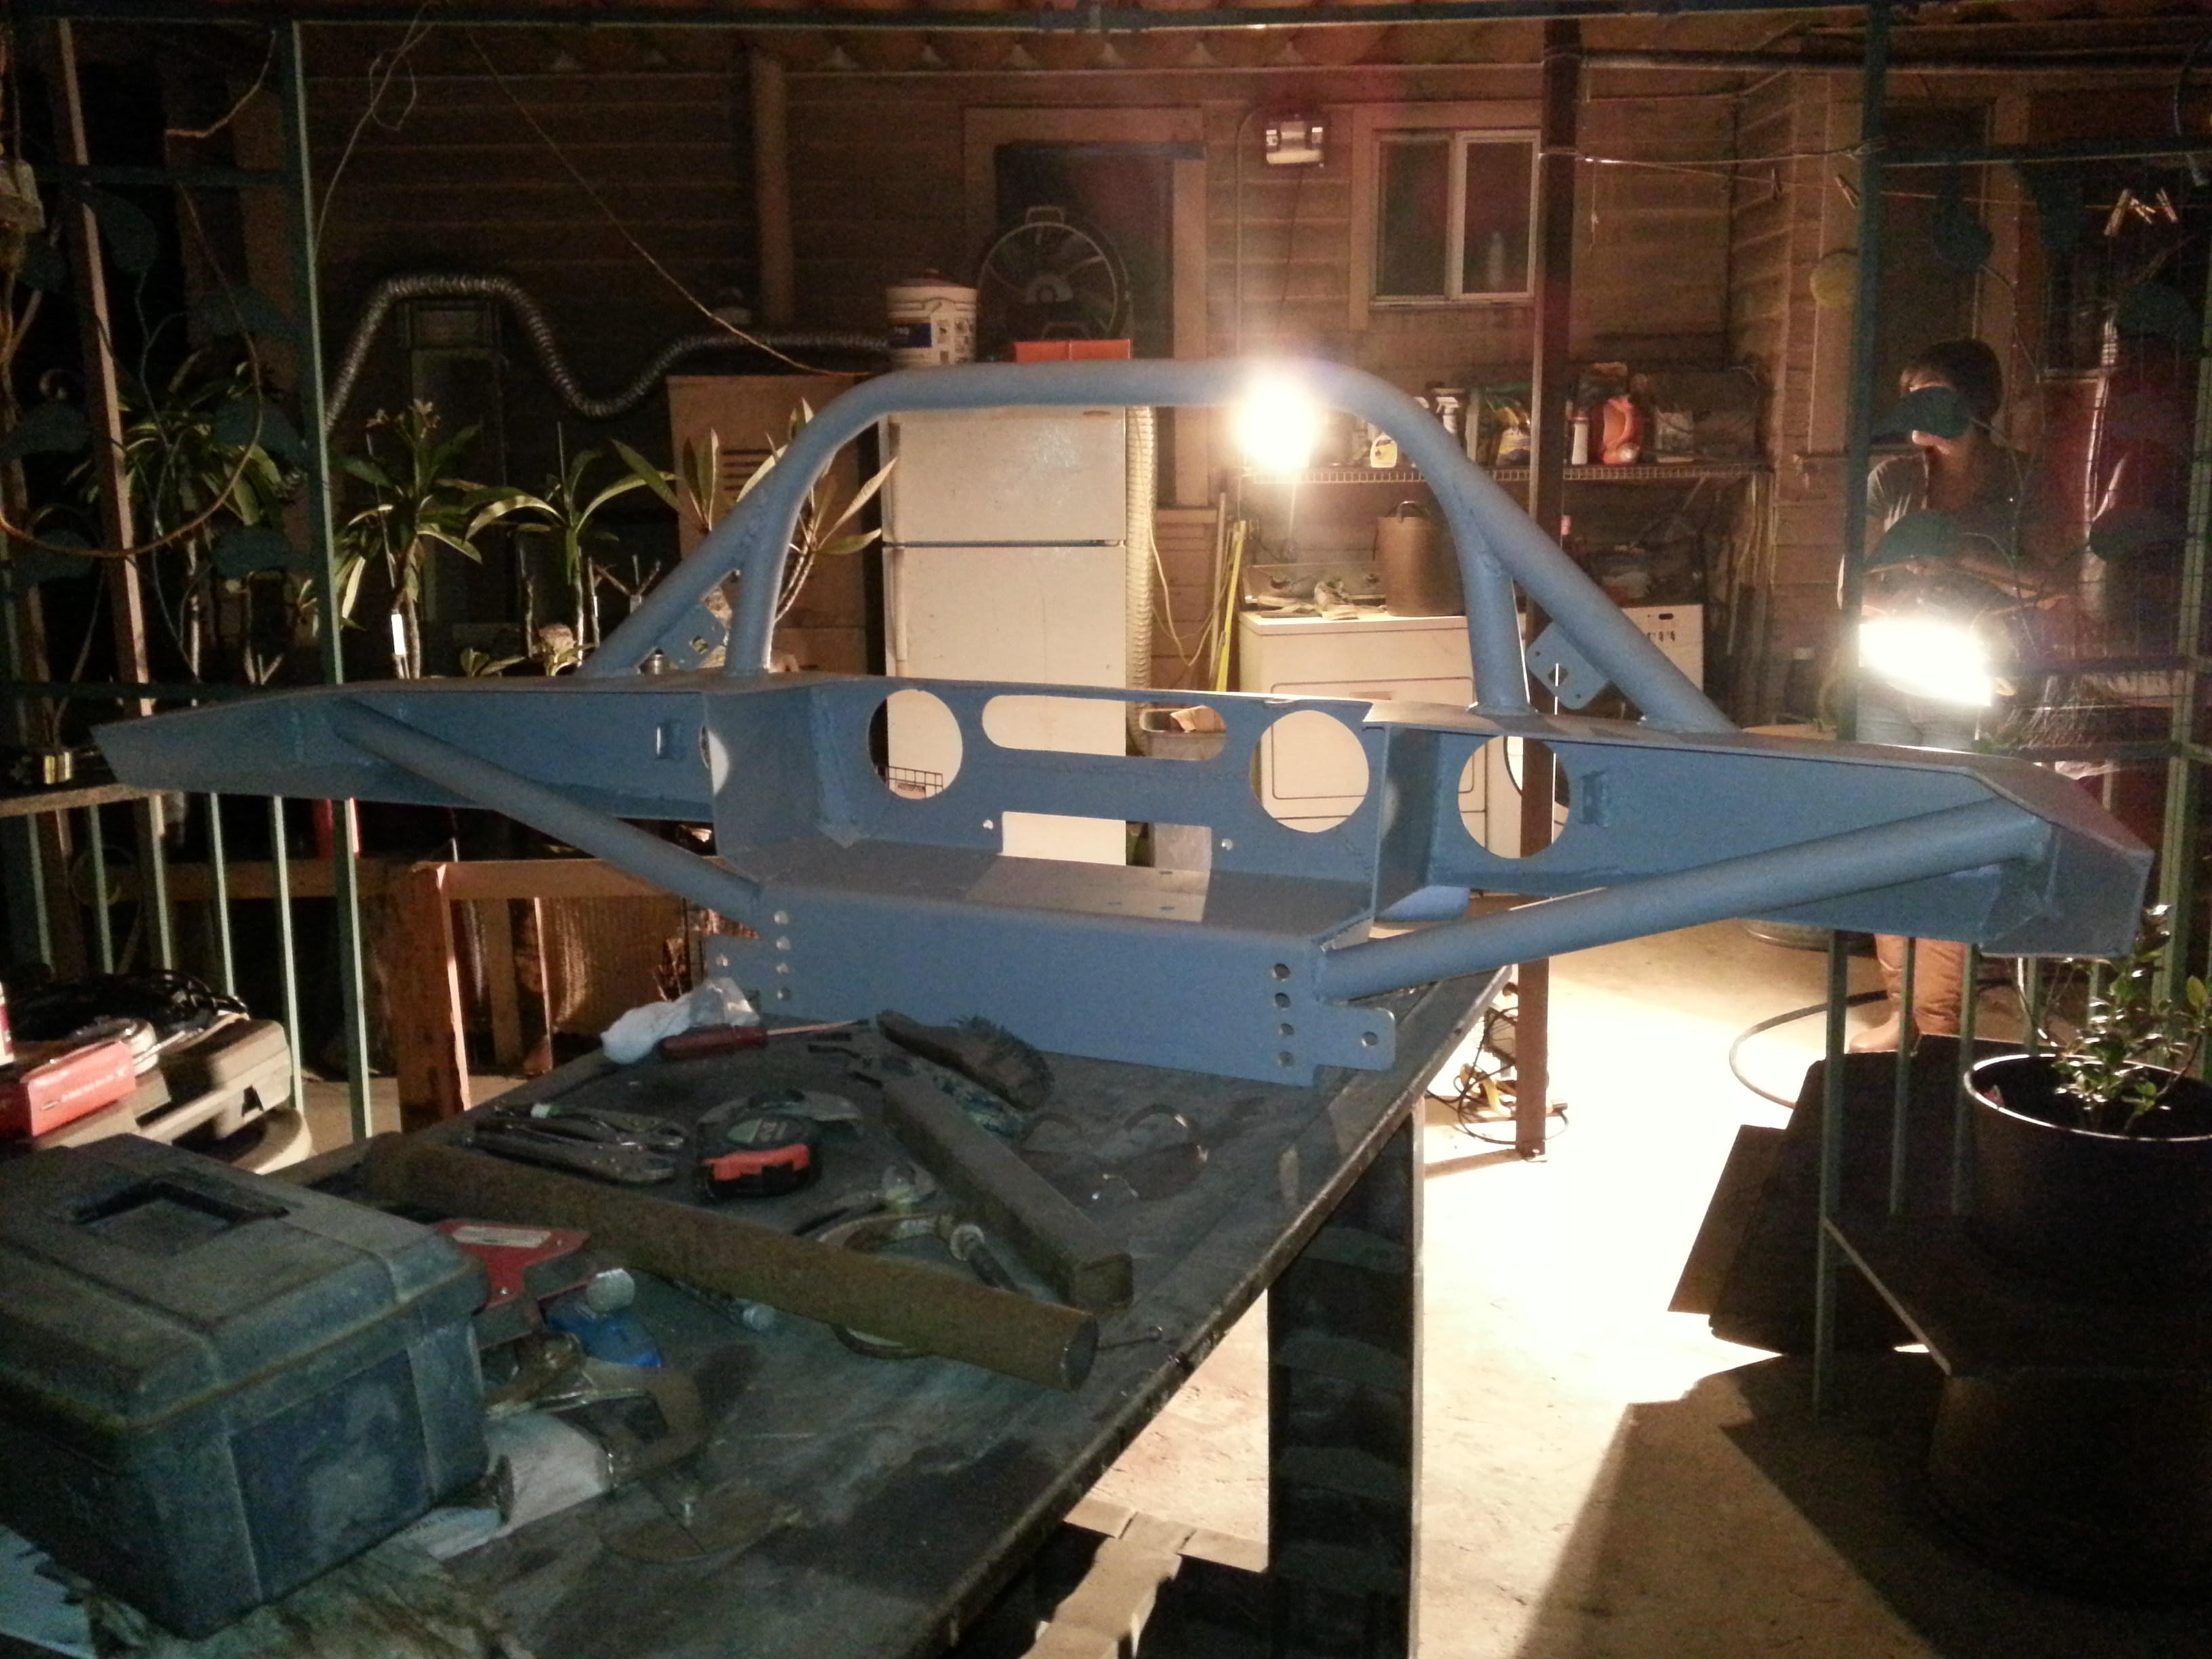
We went to go eat after to allow it to dry. Then when we got back we dropped by AutoZone to buy a couple of more cans of paint/primer. When we got back we laid the bumper on its back side and gave the whole front, bottom, and top a 3rd of primer. Used a full can. just for that.
Tomorrow i will give the back side a 3rd coat of primer using the other left over can. Then I'll paint the whole front matt black. I have 4 cans of Matt Black so i will give 2 heavy coats all around the bumper. Definitely wanna be generous with the paint. I don't want excuses of it getting scratched very easily just for any little pebble.
 Stay tuned guys. I'll keep you all updated when i get some more progress in
P.S.
*** I might actually be able to get the bumper on this weekend! YEAYAAA! *Crossing my fingers*
I cut the trail-gear light turn signal brackets in half to fit in the space where the gusset and grill guard are.

That's where i want'em

Just wanted to share a picture of my own welds. I think I've been getting much better over the past 2 projects. I have definitely had plenty of practice lol

Like it or not that's where they go now lol. No going back anymore because i welded it on both sides.

I will be wrapping the wire in some plastic flex stuff(not sure the exact name for it but its meant to shield your wires) will use heat shrink all the way up to the end of the wires then run the wires along the gusset strapped along the back side with black zip ties and down into the holes i made on the top side of the bumper.

After i was done i gave the bumper one last clean up to take off surface rust and weld residue. Then i took the bumper out to the street where my truck was at to do the final fitting. Because once its painted i cant go back. Well i can but it'll really suck having to ruin the paint job.
Front:

Passenger side:


Driver side:


Close ups of the corners:
I seriously thought it was gonna be sticking out farther forward. I'm very satisfied where the bumper stayed at. Looks great

Also I'm definitely happy with how the corners came out. that was a hefty challenge to do somewhat even on both sides lol. But the part i like the best is how they go further up toward the fender. I saw that on my last trip to Big Bear i was having a big problem with my front tires rubbing on the bumper/ bumper brackets on the parts closest to both wheel wells while at full flex. This is definitely gonna help me out in that area.

Bottom side:

Once i saw that everything was gonna come out fitting just right we unbolted it and took it to my shop table in the back yard. and then i had a surprise visit from my little helper Faby. Wish i would have taken a picture of her but oh well... next time. The sun was going down quick and i wanted to give the bumper a coat of primer all over.
We managed to get both the back side and front side primed and here is what it looked like when we finished. We gave it about 2 coats using 2&1/3ish cans of primer


We went to go eat after to allow it to dry. Then when we got back we dropped by AutoZone to buy a couple of more cans of paint/primer. When we got back we laid the bumper on its back side and gave the whole front, bottom, and top a 3rd of primer. Used a full can. just for that.
Tomorrow i will give the back side a 3rd coat of primer using the other left over can. Then I'll paint the whole front matt black. I have 4 cans of Matt Black so i will give 2 heavy coats all around the bumper. Definitely wanna be generous with the paint. I don't want excuses of it getting scratched very easily just for any little pebble.
Stay tuned guys. I'll keep you all updated when i get some more progress in P.S.
*** I might actually be able to get the bumper on this weekend! YEAYAAA! *Crossing my fingers*
Last edited by Redeth005; Oct 30, 2013 at 09:19 PM.


