
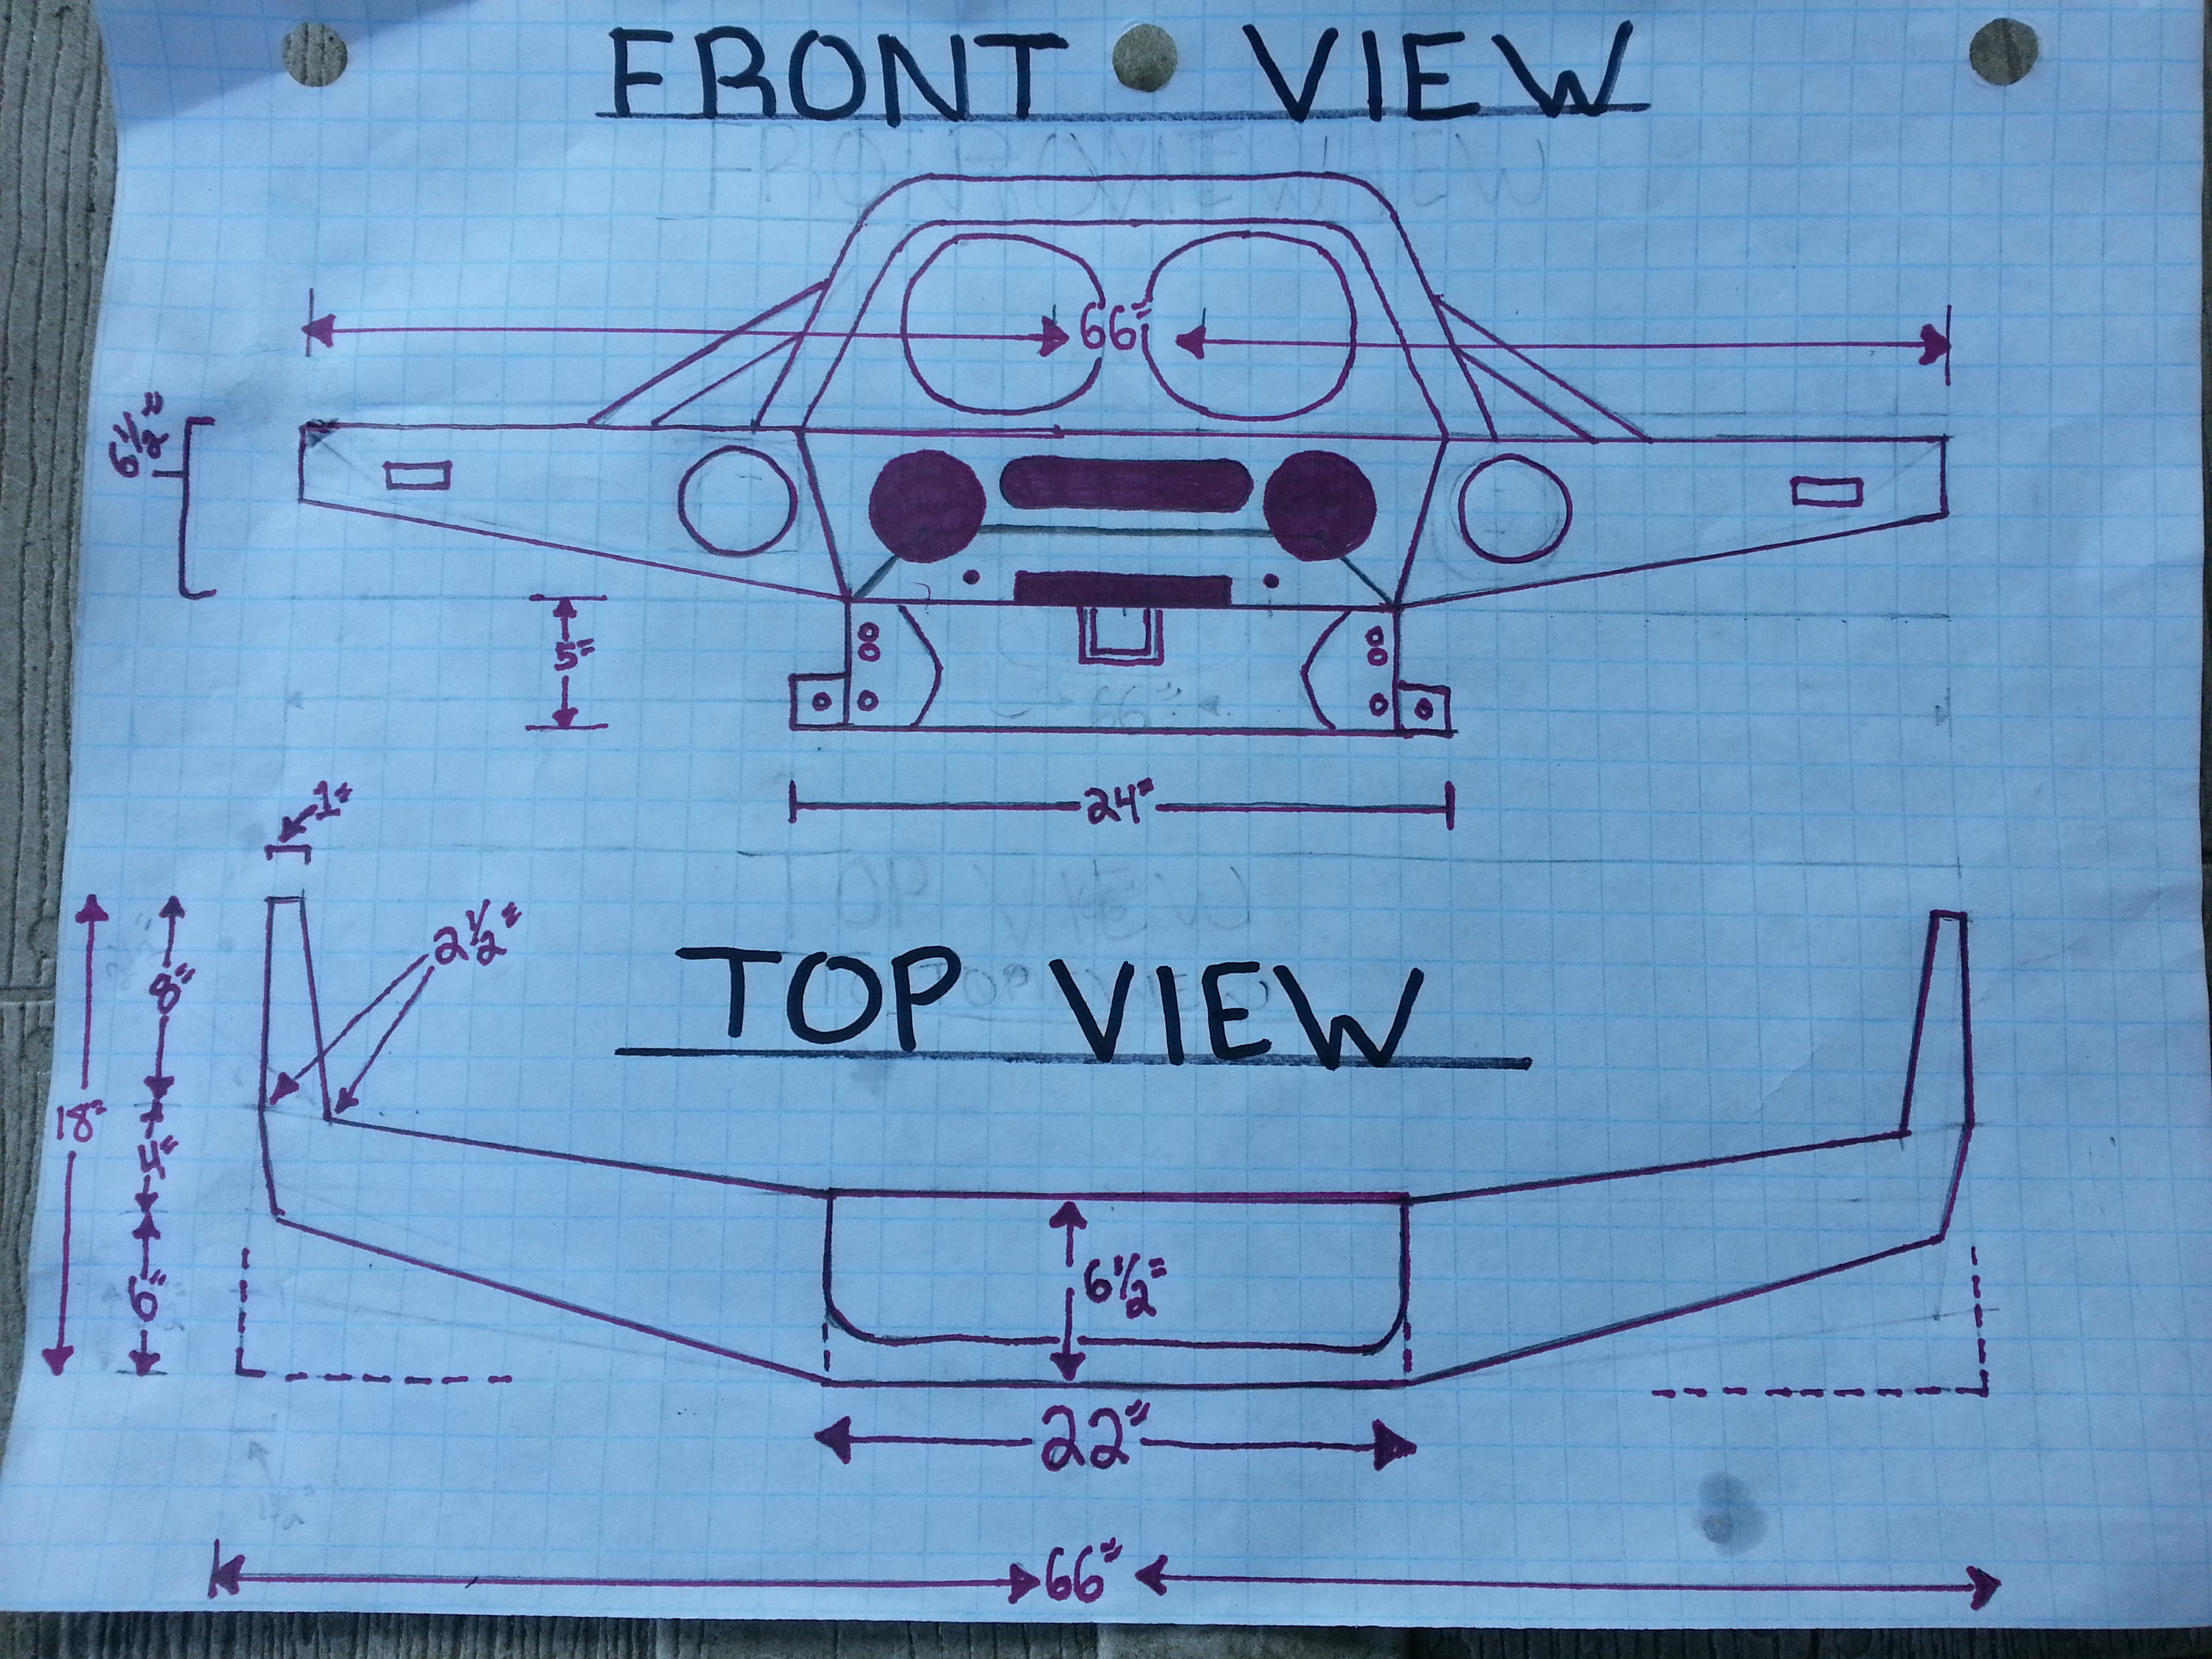
Redeth's 89 4Runner custom front plate bumper fab.
 Oct 6, 2013 | 04:51 PM
#41
Keep practicing your welds, it gets easier and better over time. But the only way to learn is to weld some more stuff. I'll give you some welding advice from what I'be seen here. On some of your welds, your heat penetration looks a little short. Try slowing down the wire speed and slowing down your travel and it should help you burn it all in better. Your welds also won't be as raised, thus less time with the grinder. If you have a gas connection on your welding I would recommend a small 40cf tank of Argon/CO2. It'll keep your welds cleaner and will be very beneficial in helping you to learn how to weld good. Looking at the splatter it actually looks as if you are using solid wire instead of flux core.
Again, not criticizing you, just trying to help you along the way. I think your design is great and the final product is looking promising! Keep at it!
Again, not criticizing you, just trying to help you along the way. I think your design is great and the final product is looking promising! Keep at it!
Last edited by kawazx636; Oct 6, 2013 at 04:53 PM.
Oct 8, 2013 | 07:34 AM
#43
Thread Starter
Registered User
Joined: Apr 2012
Posts: 2,817
Likes: 2
From: Los Angeles CA
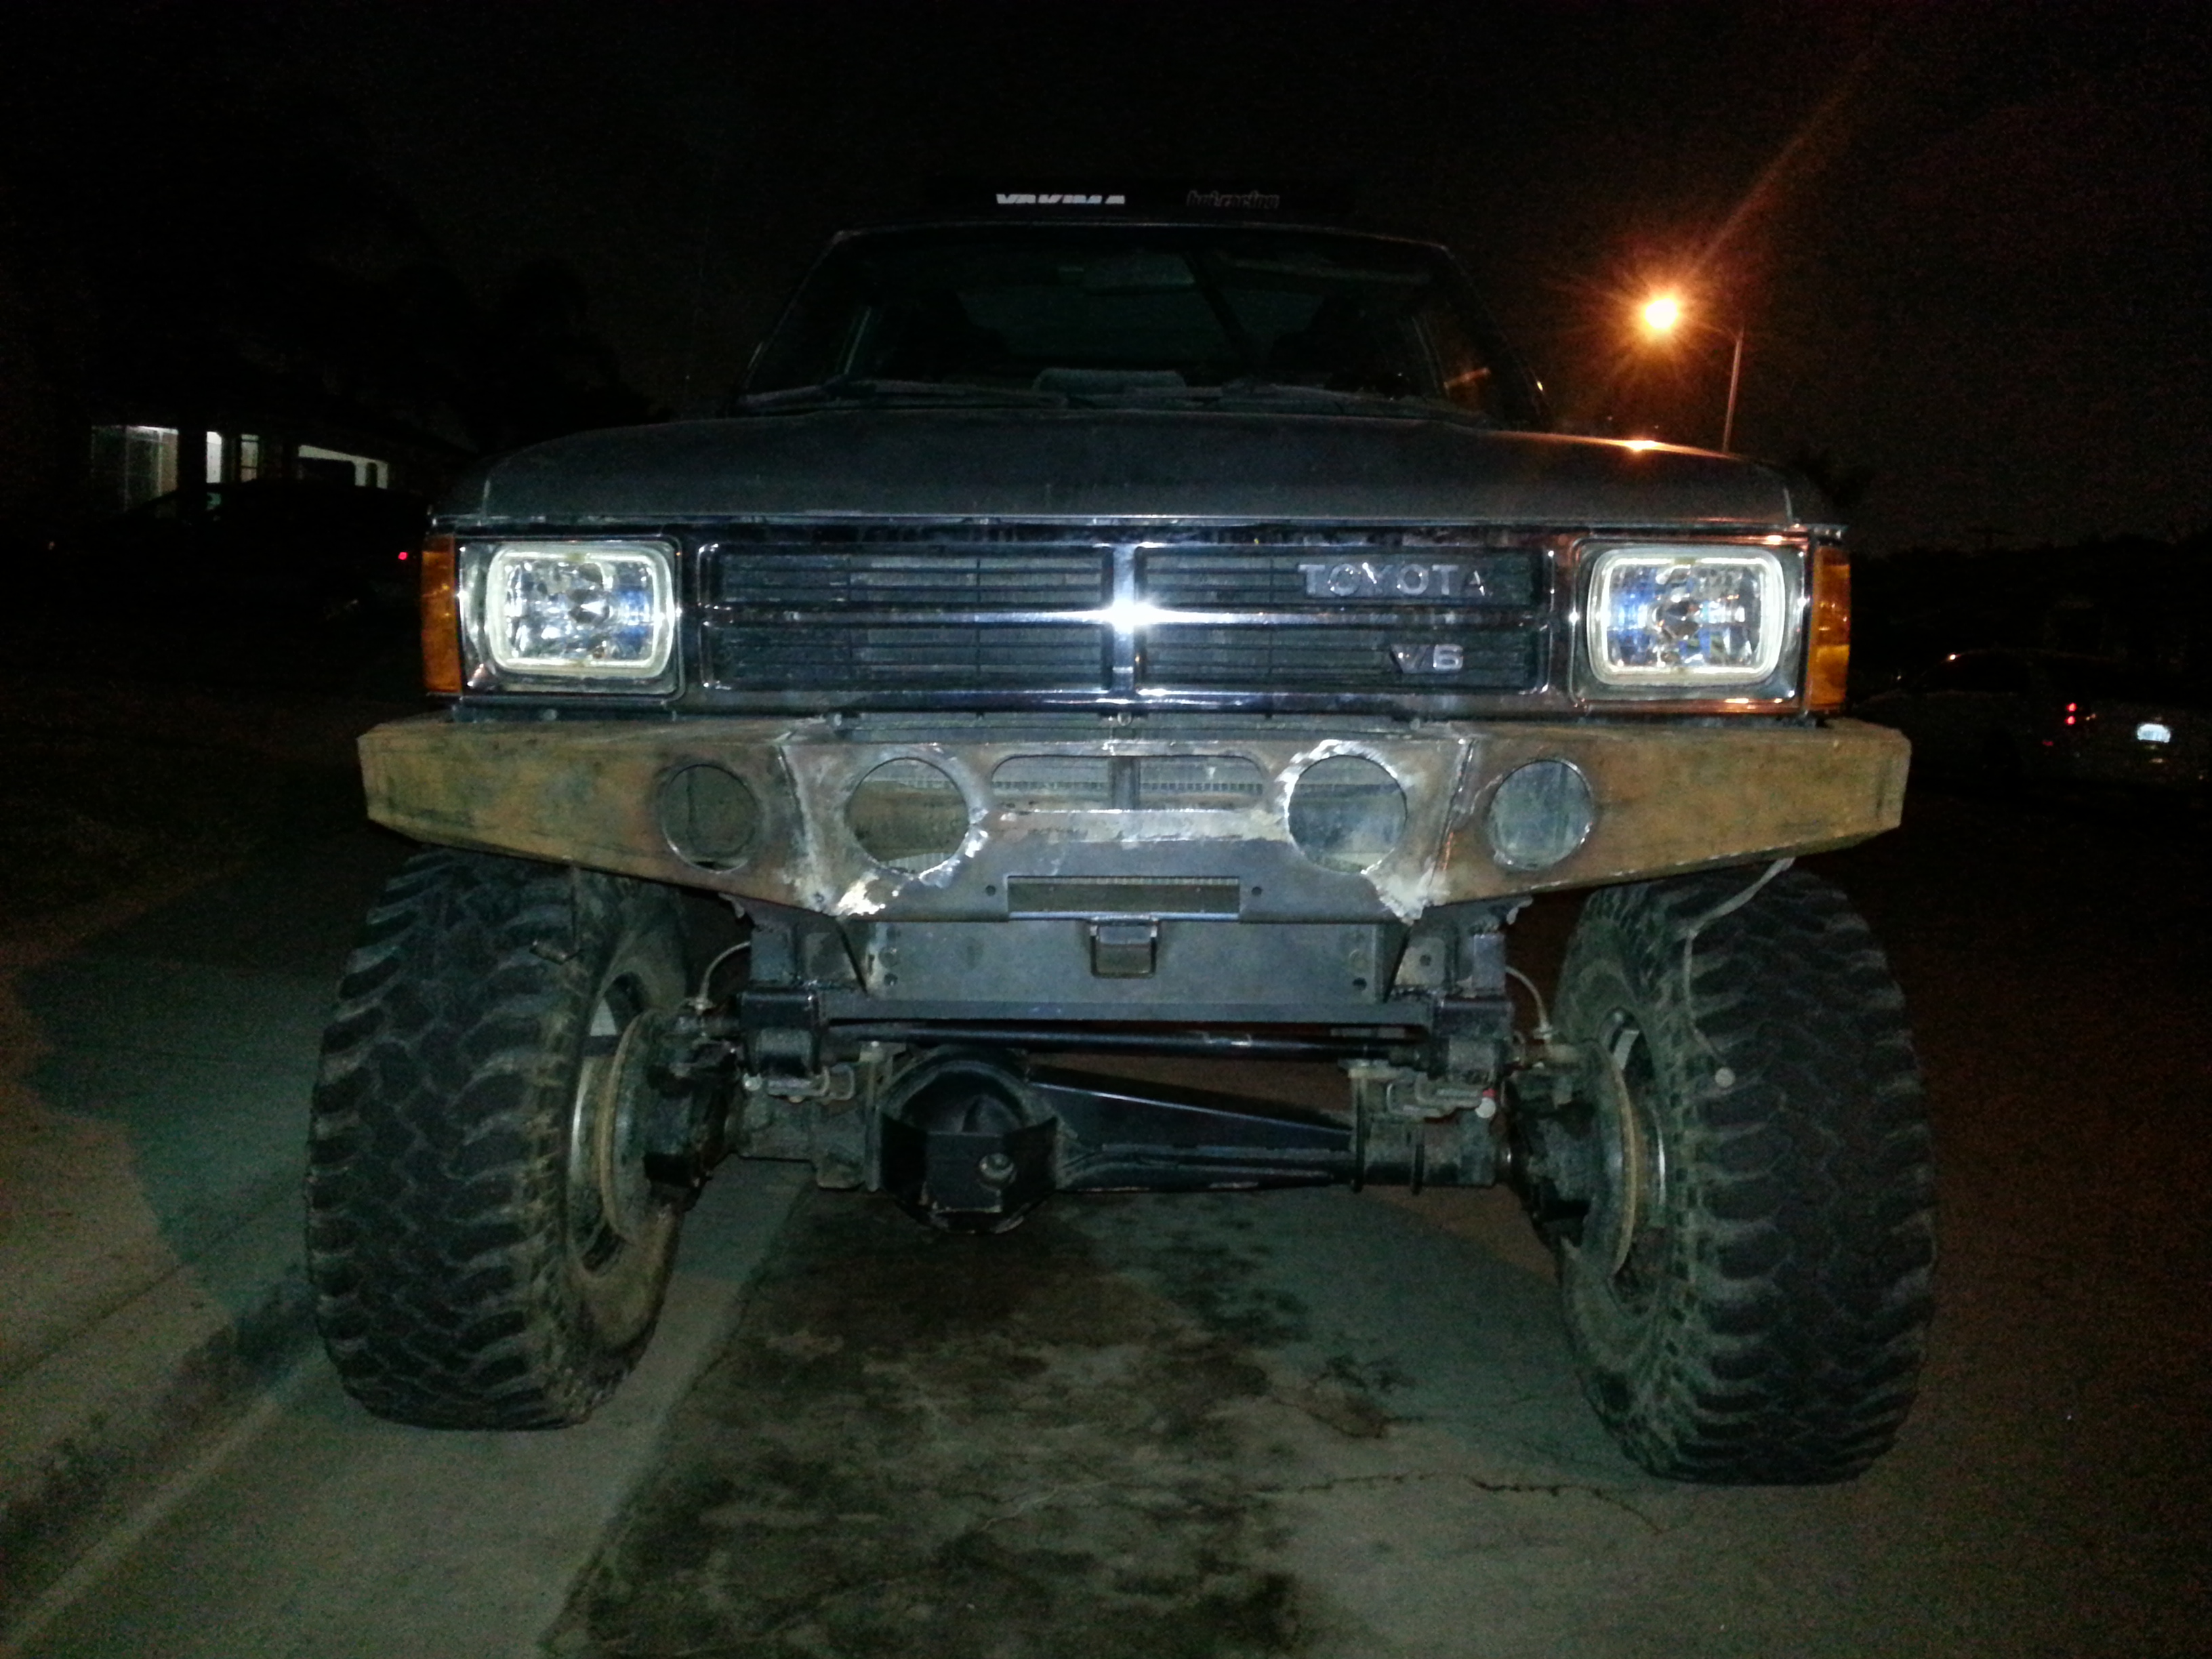
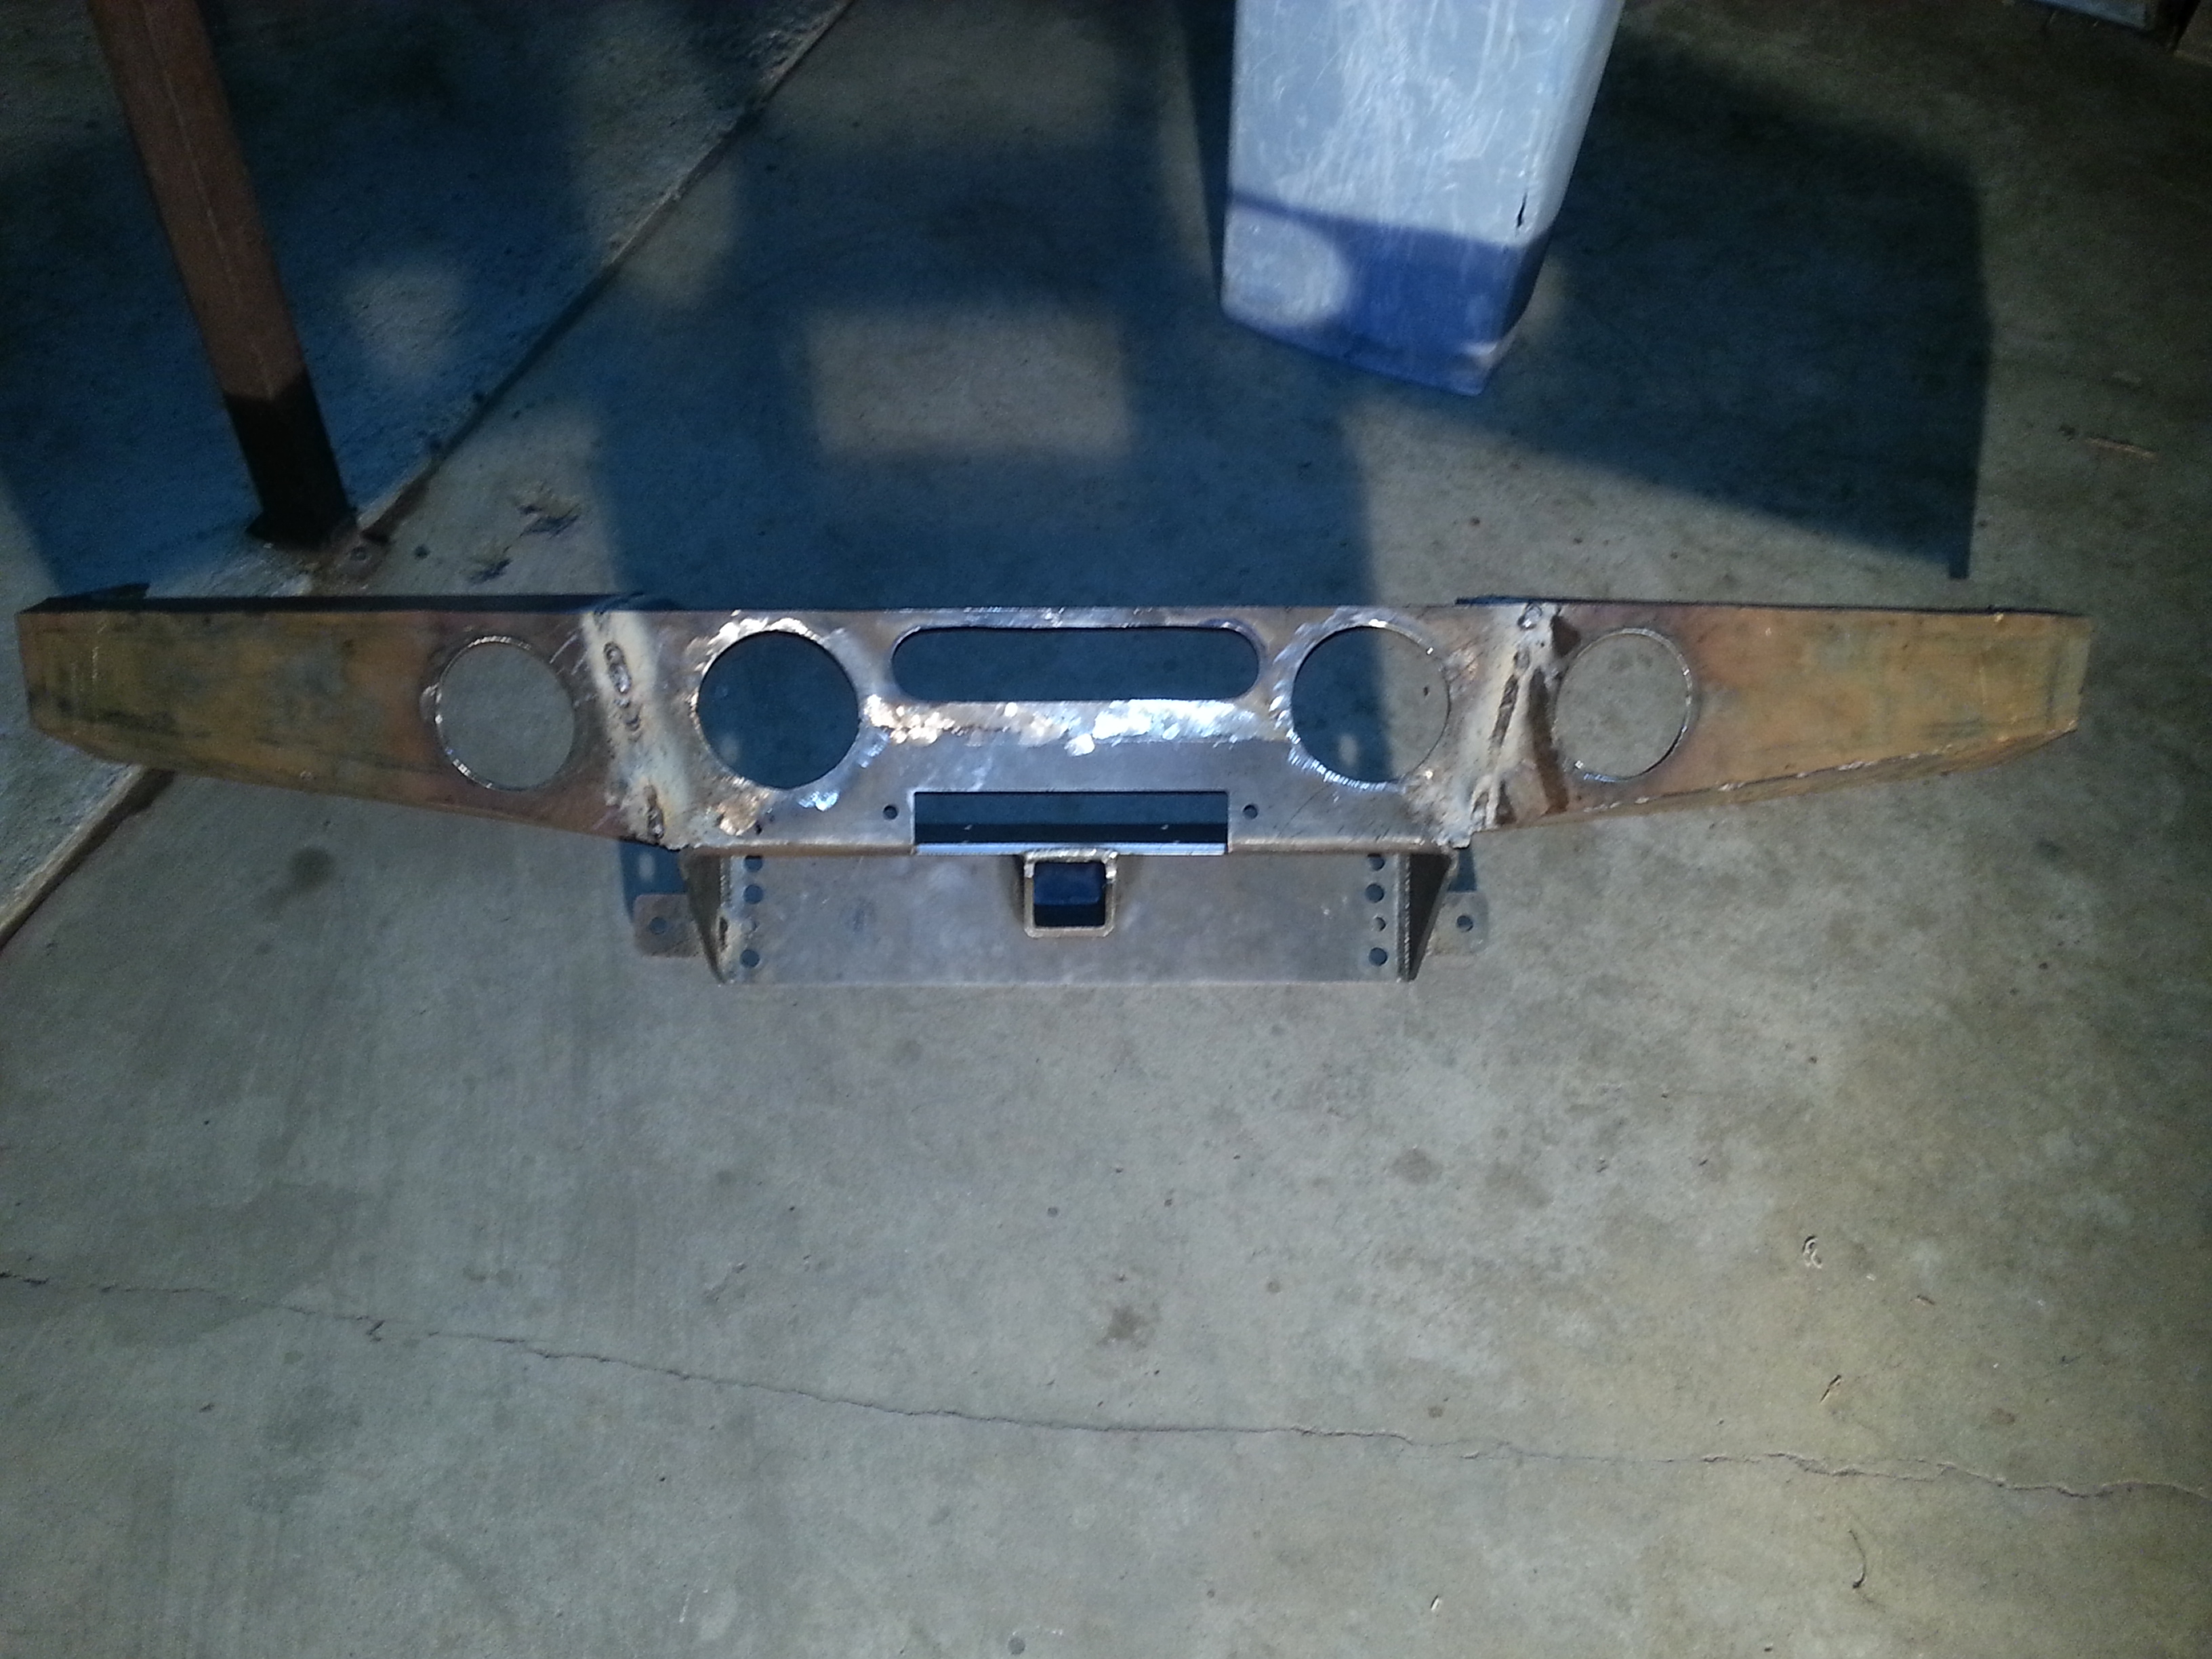
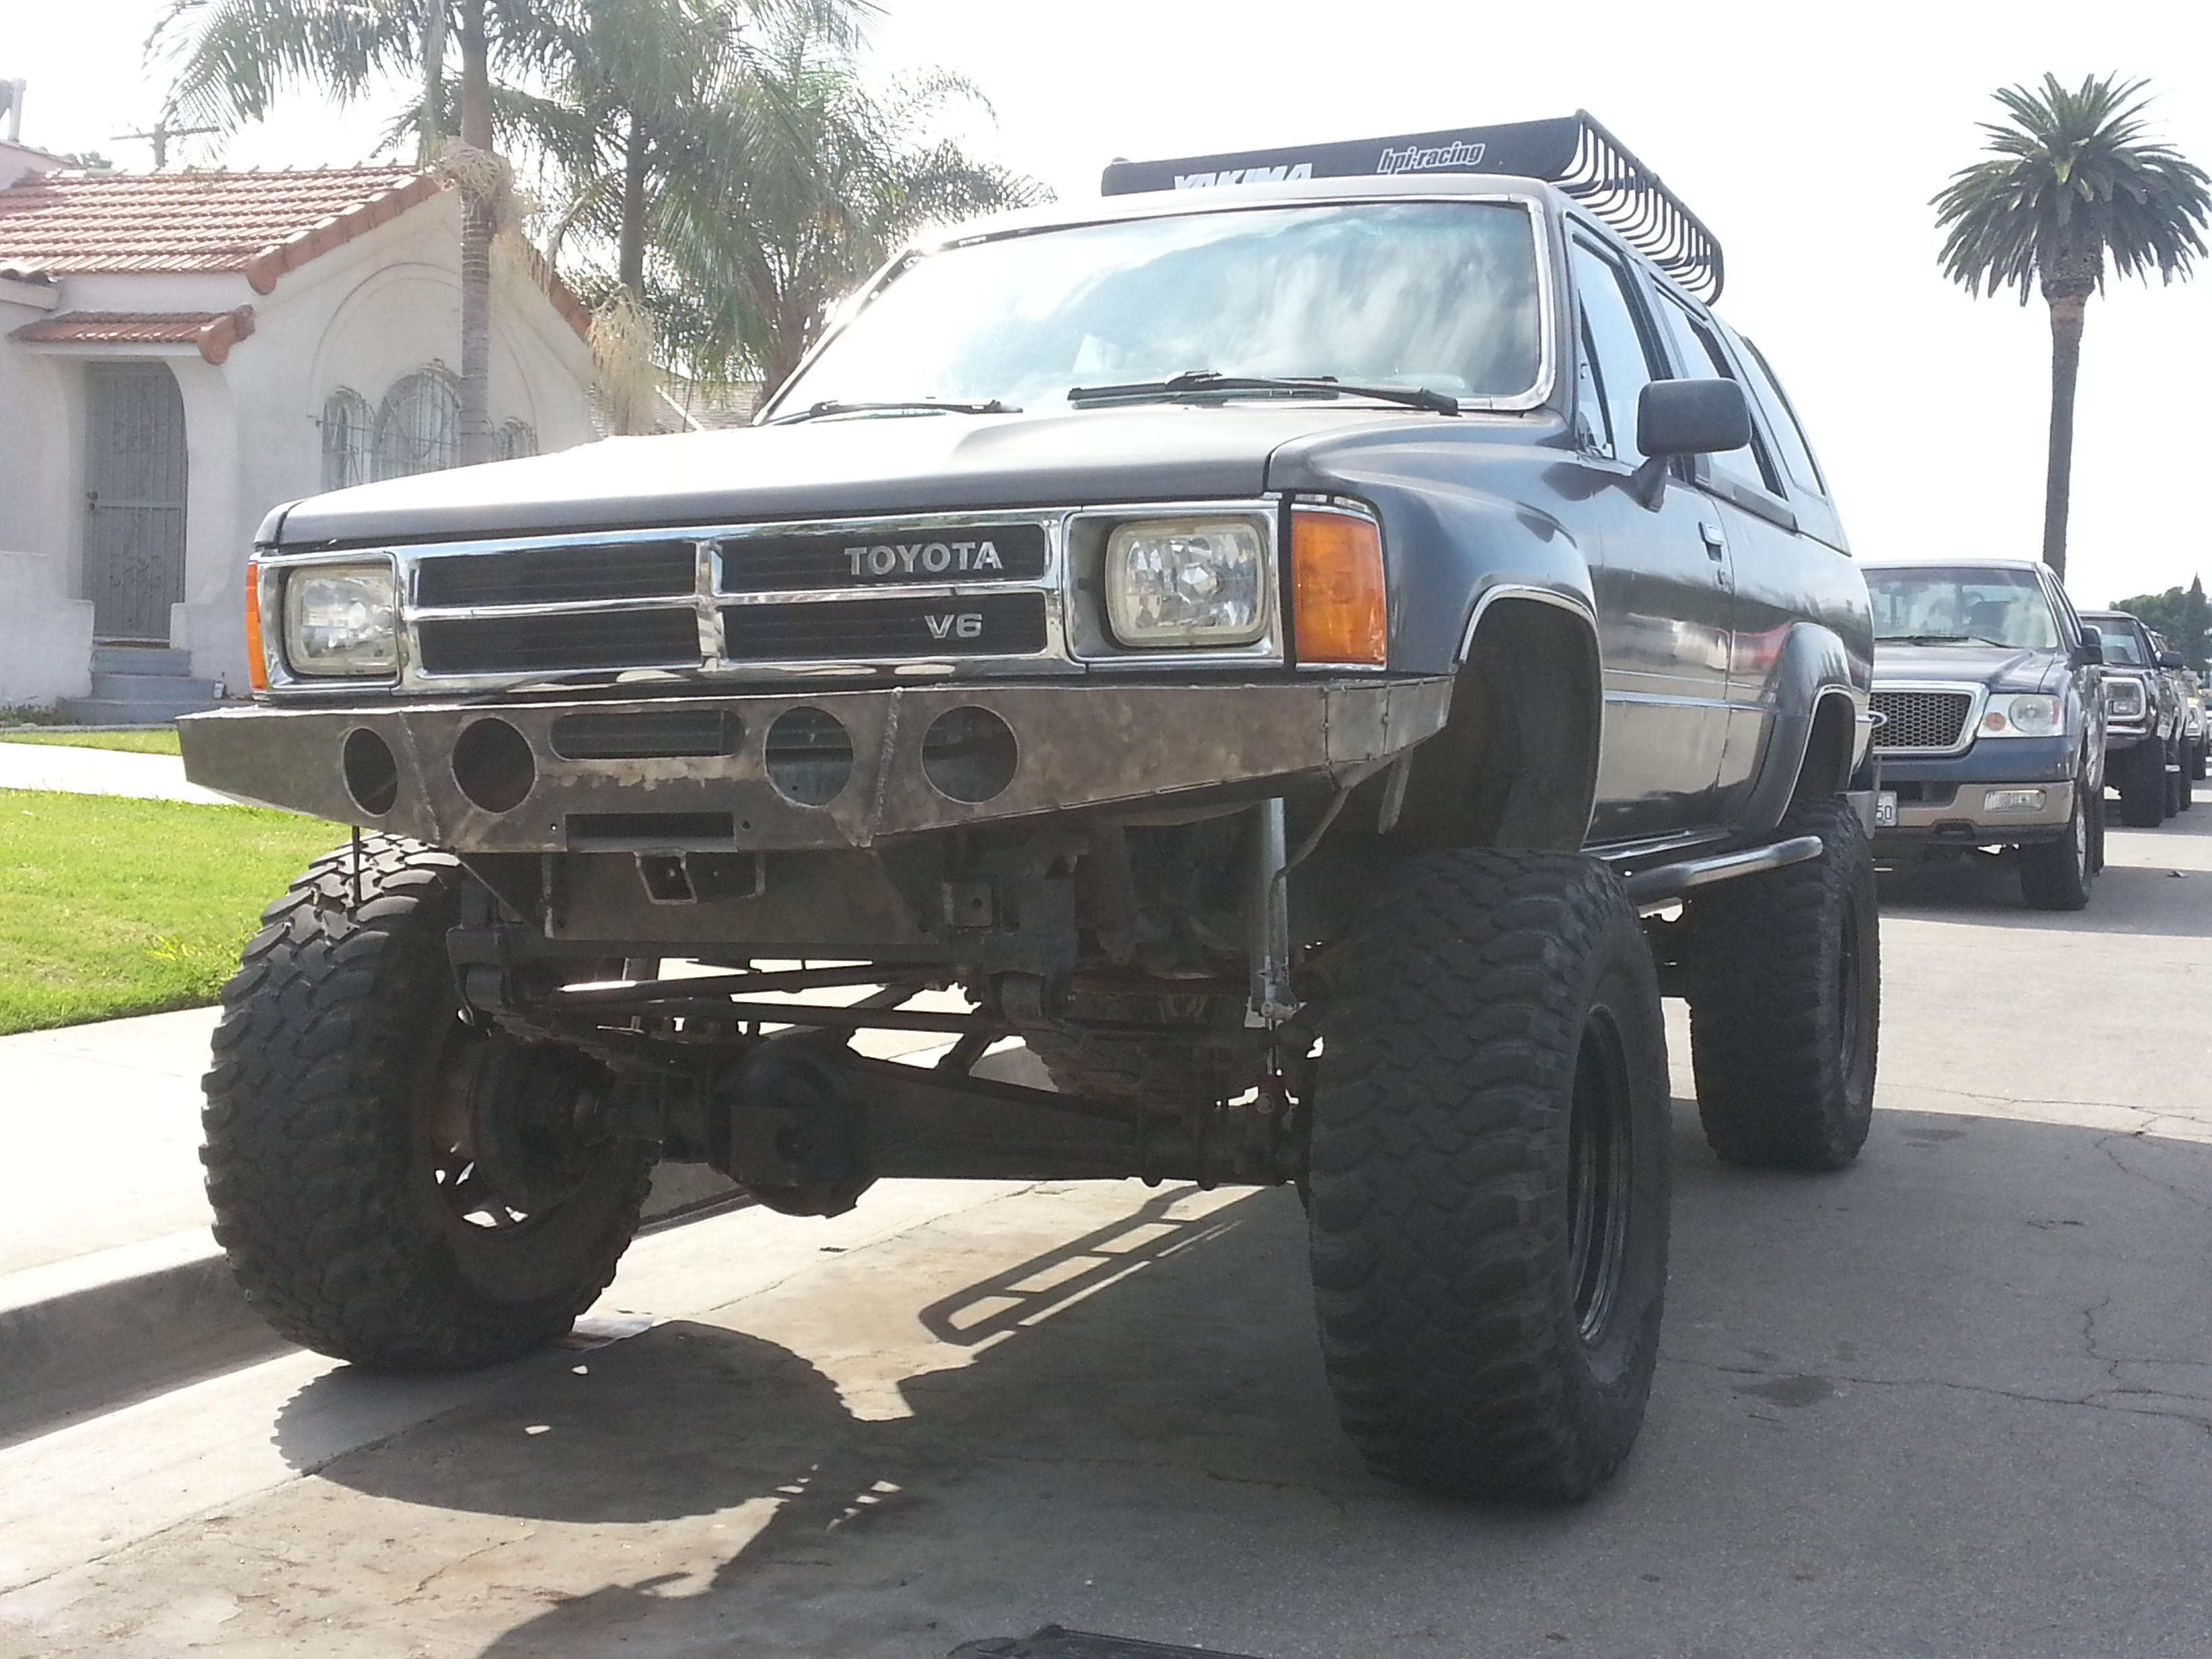
Hi guys. I realized I didn't give an update from what was accomplished this past sunday. As you all saw I used a straight edge level to make sure the top of the bumper was completely straight. Now I don't know if my truck was in a head on accident in the past or what all I know is that my truck is a salvage title. And when I went to fit my straight bumper on the truck I realized that the sides had to be lowered about 1/2". I couldn't bring the whole entire top plate down because then it wouldn't clear the top part of my winch. So I had to keep the center part the same height then slope the ends down a bit to clean my side lights.
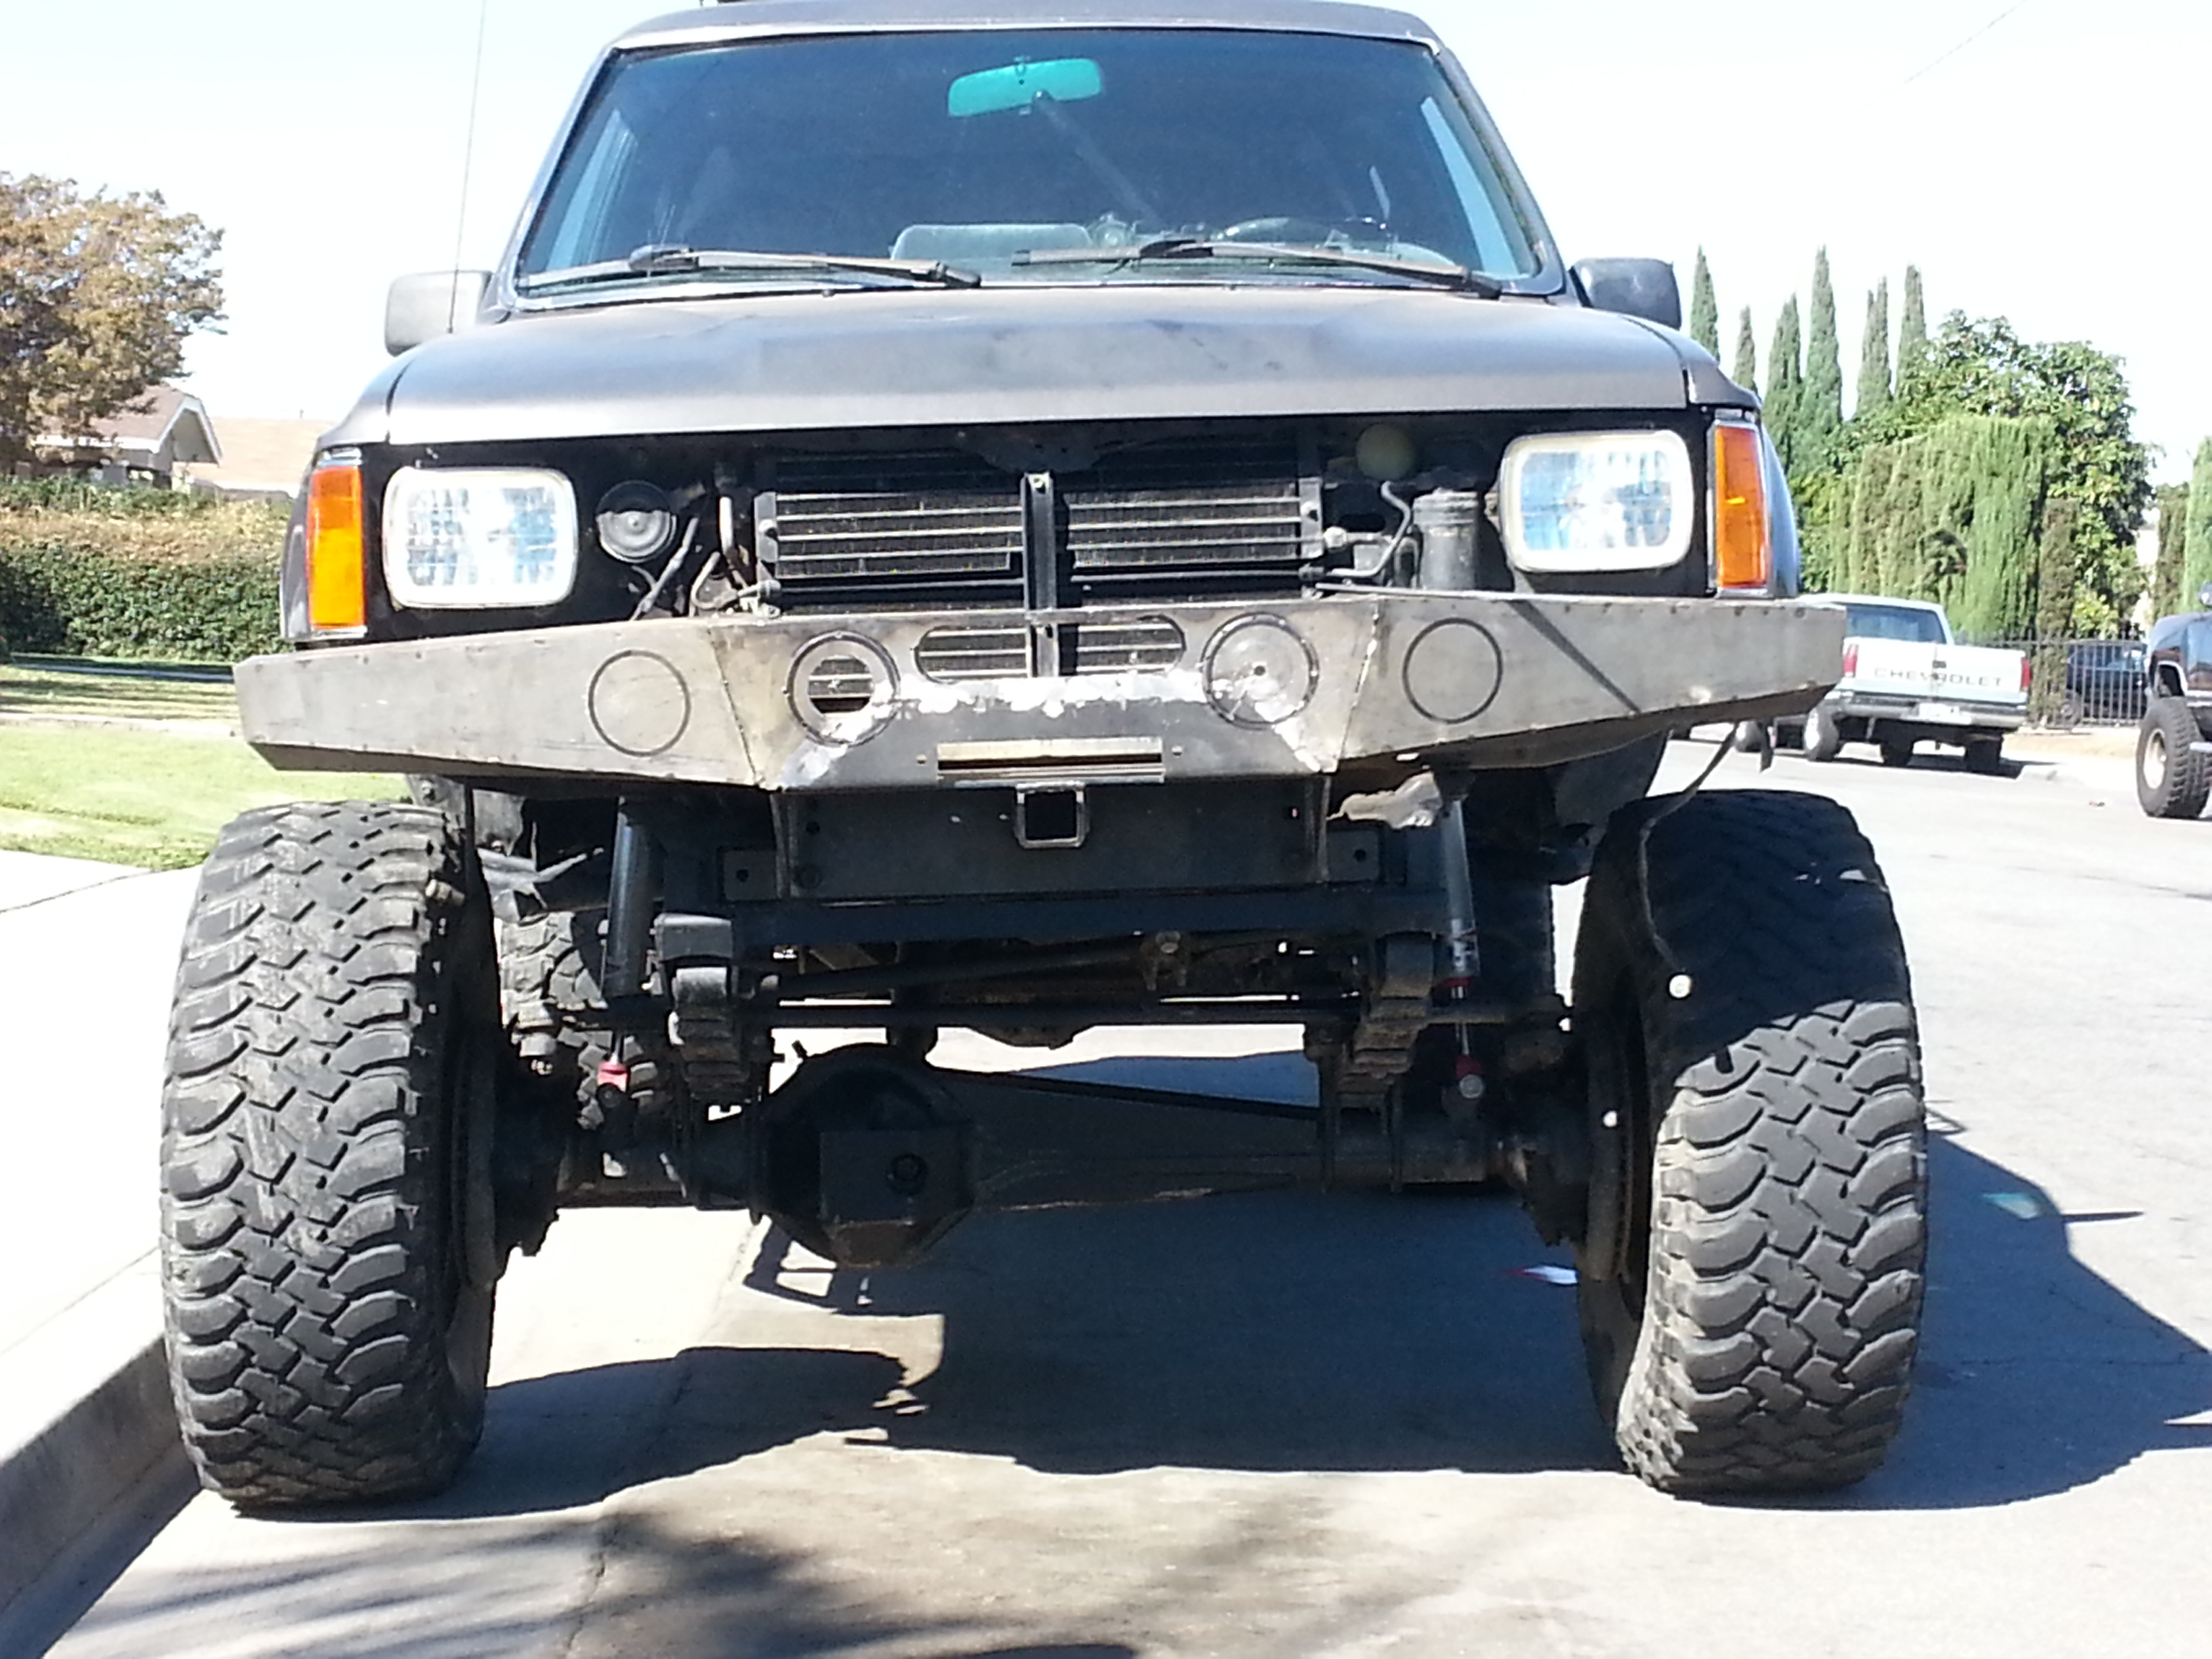
At first I thought it looked a bit goofy. But then I thought that once I get the the grill protection bars put in that maybe it would give the illusion that it is straight. Or so Im hoping. Even if it doesn't it still isn't a ridiculous amount of slope to say wow wtf that looks stupid. But yea. What is your guys's input?
At first I thought it looked a bit goofy. But then I thought that once I get the the grill protection bars put in that maybe it would give the illusion that it is straight. Or so Im hoping. Even if it doesn't it still isn't a ridiculous amount of slope to say wow wtf that looks stupid. But yea. What is your guys's input?
Oct 8, 2013 | 07:55 AM
#44
Registered User

Joined: Jan 2010
Posts: 3,795
Likes: 33
From: Bloodymore
I would fit the grill before you go any further. Did your template line up? If it were my project I'd make the bumper straight across like you designed. If you think the frame is bent or core support is aligned wrong take some measurements, look for buckles in the metal. If you have too, fill the holes you cut out and grind the welds flat and recut the holes. Have patience and do it the way you visioned it, every time you walk up to your truck you see the front bumper.... My two cents.
Oct 8, 2013 | 08:30 PM
#46
Thread Starter
Registered User
Joined: Apr 2012
Posts: 2,817
Likes: 2
From: Los Angeles CA
The grill i already know is gonna have to be cut. because at the height that the Trailgear winch plate sits with the winch on top requires trimming at least with that top plate part that goes around the winch. I'm going to have to cut about 1/2" off the bottom part of the grill. plus the shape of the box that sits on top of the winch.
I dont think that the frame was bent. when we looked at it while we did my SAS everything looked fine. but i did notice in the past that the front fire wall or whatever its called "the part behind the grill" that part was bent a while back ago. i had to re bend it to shape about a year ago. It's still sort of bent but that can very well be why this grill sat low. Mark(Chefyota) has also noticed this while seeing my truck in person. the grill seems to lean more toward the passenger side and have a slight gap on the driver side. Ive tried to straighten it out but it will only straighten out so much. I believe this is probably what is my problem here. Tomorrow im going to remove my stock bumper and take my straight edge level and set it underneath the grill from end to end and see if maybe its my front that is crooked.
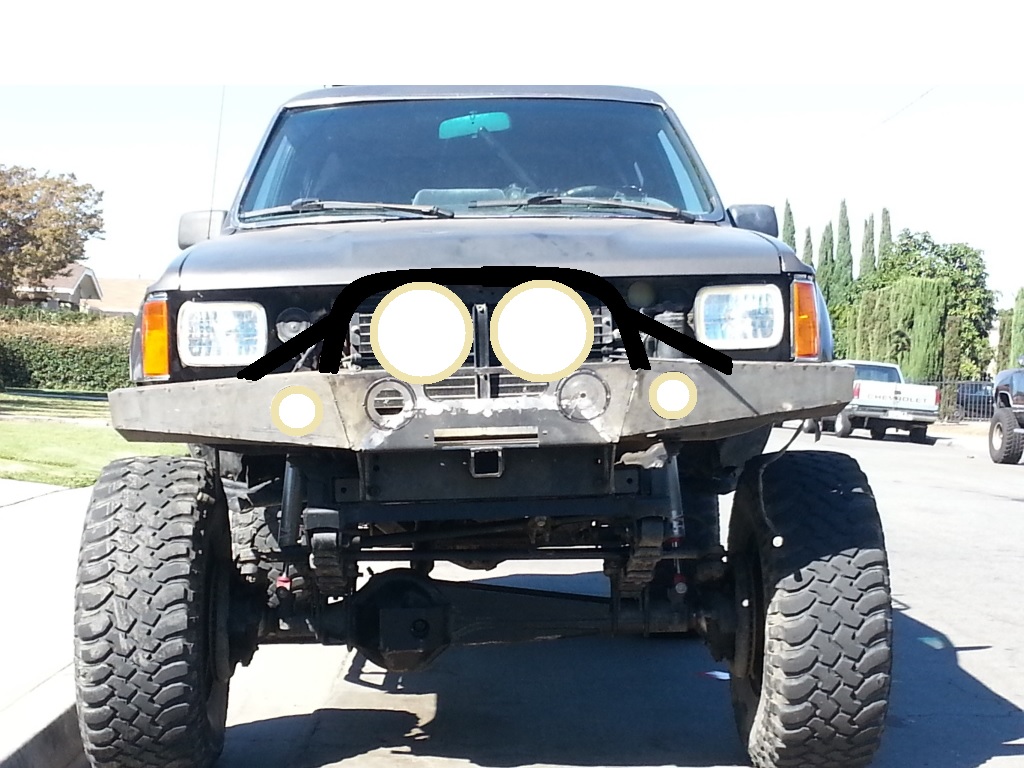
On a side note i drew this up really quick to get an idea of how this bumper would look if i left it as is and added those grill guards with the offroad lights. and this is what i came out with. Once i add the grill guard bars, 4 offroad lights, and the winch i dont think the droop will be so noticeable.
But as of right now I just left it as is. We did manage to get some work done on it. but i don't want to finalize these welds just yet. At least until we figure this crooked problem out. If i end up raising those sides back up the 1/4" that i dropped it then i am either gonna have to cut center part of that bumper horizontally then drop the hole bumper about 1/4-1/2" to make it level. but the problem there is that if i do that then my winch might not fit. The 2nd thing i can do is probably cut the entire winch plate at the mounting points and just bring that down instead. this would bring my entire bumper down without having to cut the bumper or without running into problems with the winch fitting properly. This might be my best bet. But i need to take a closer look at the winch plate again. Either way this winch plate is going to get welded to my front cross-member so it might not be too bad of a choice to go this route.
----------------------------------------------------------------------------------------------
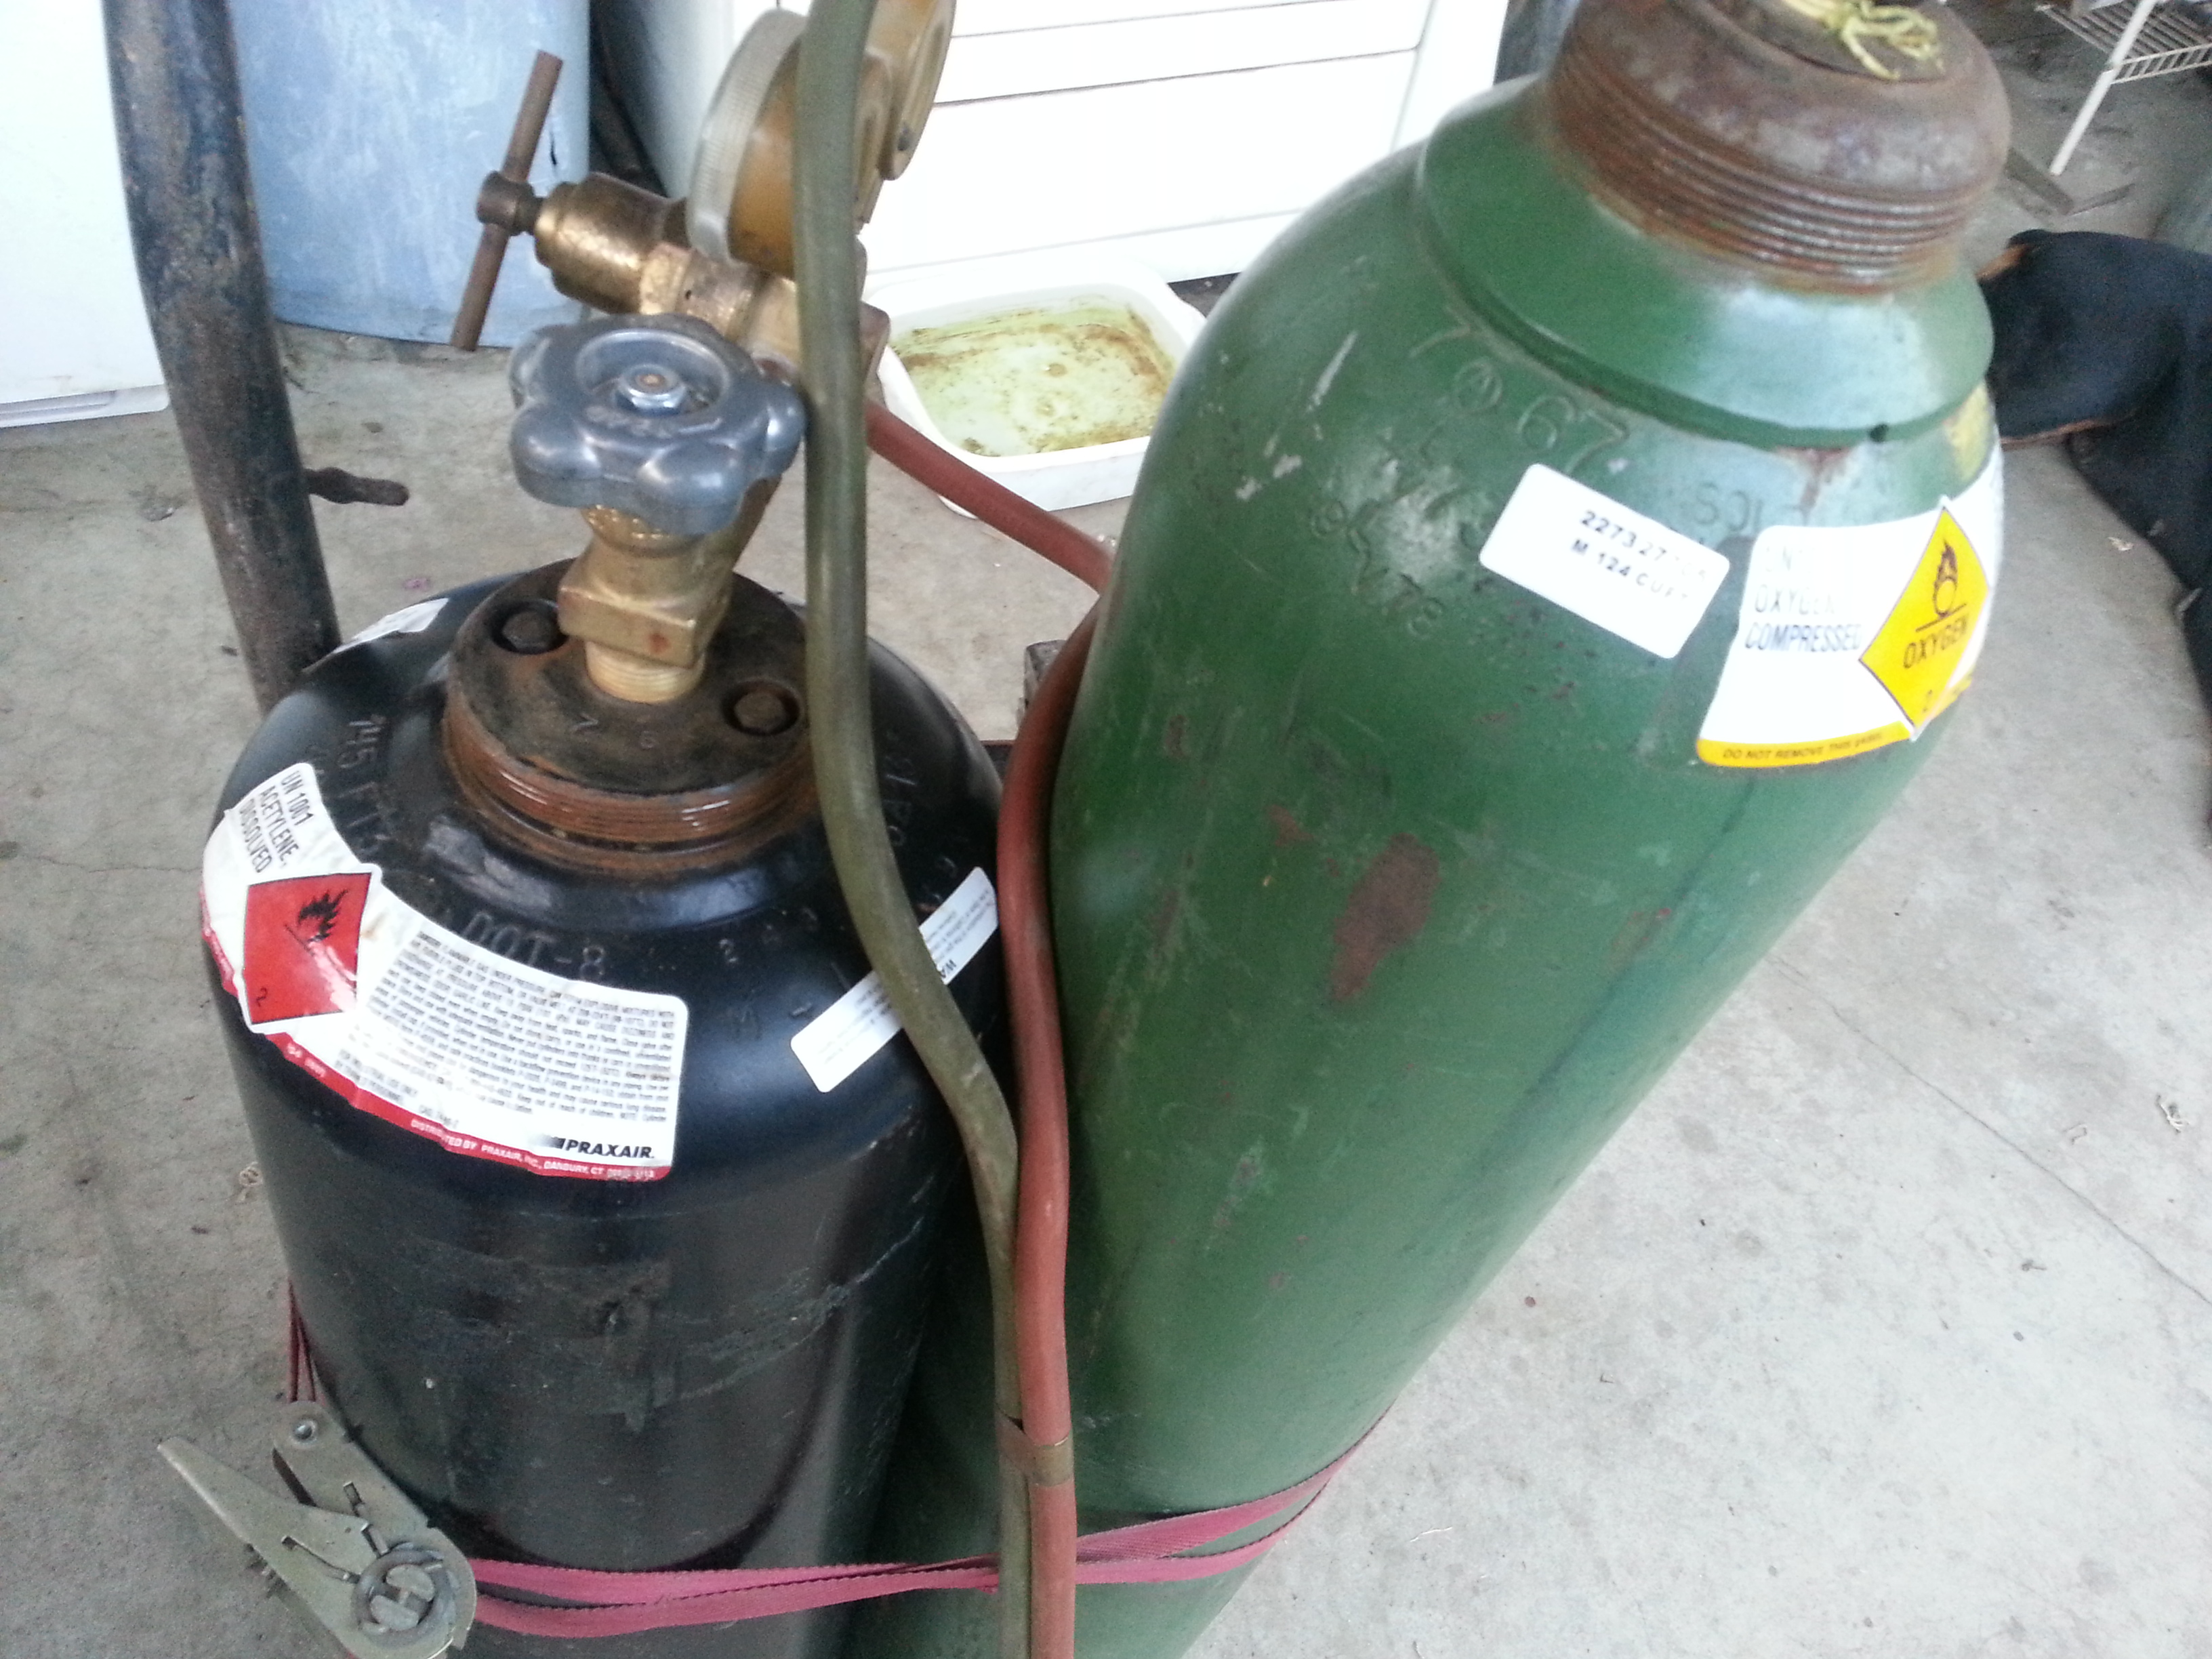
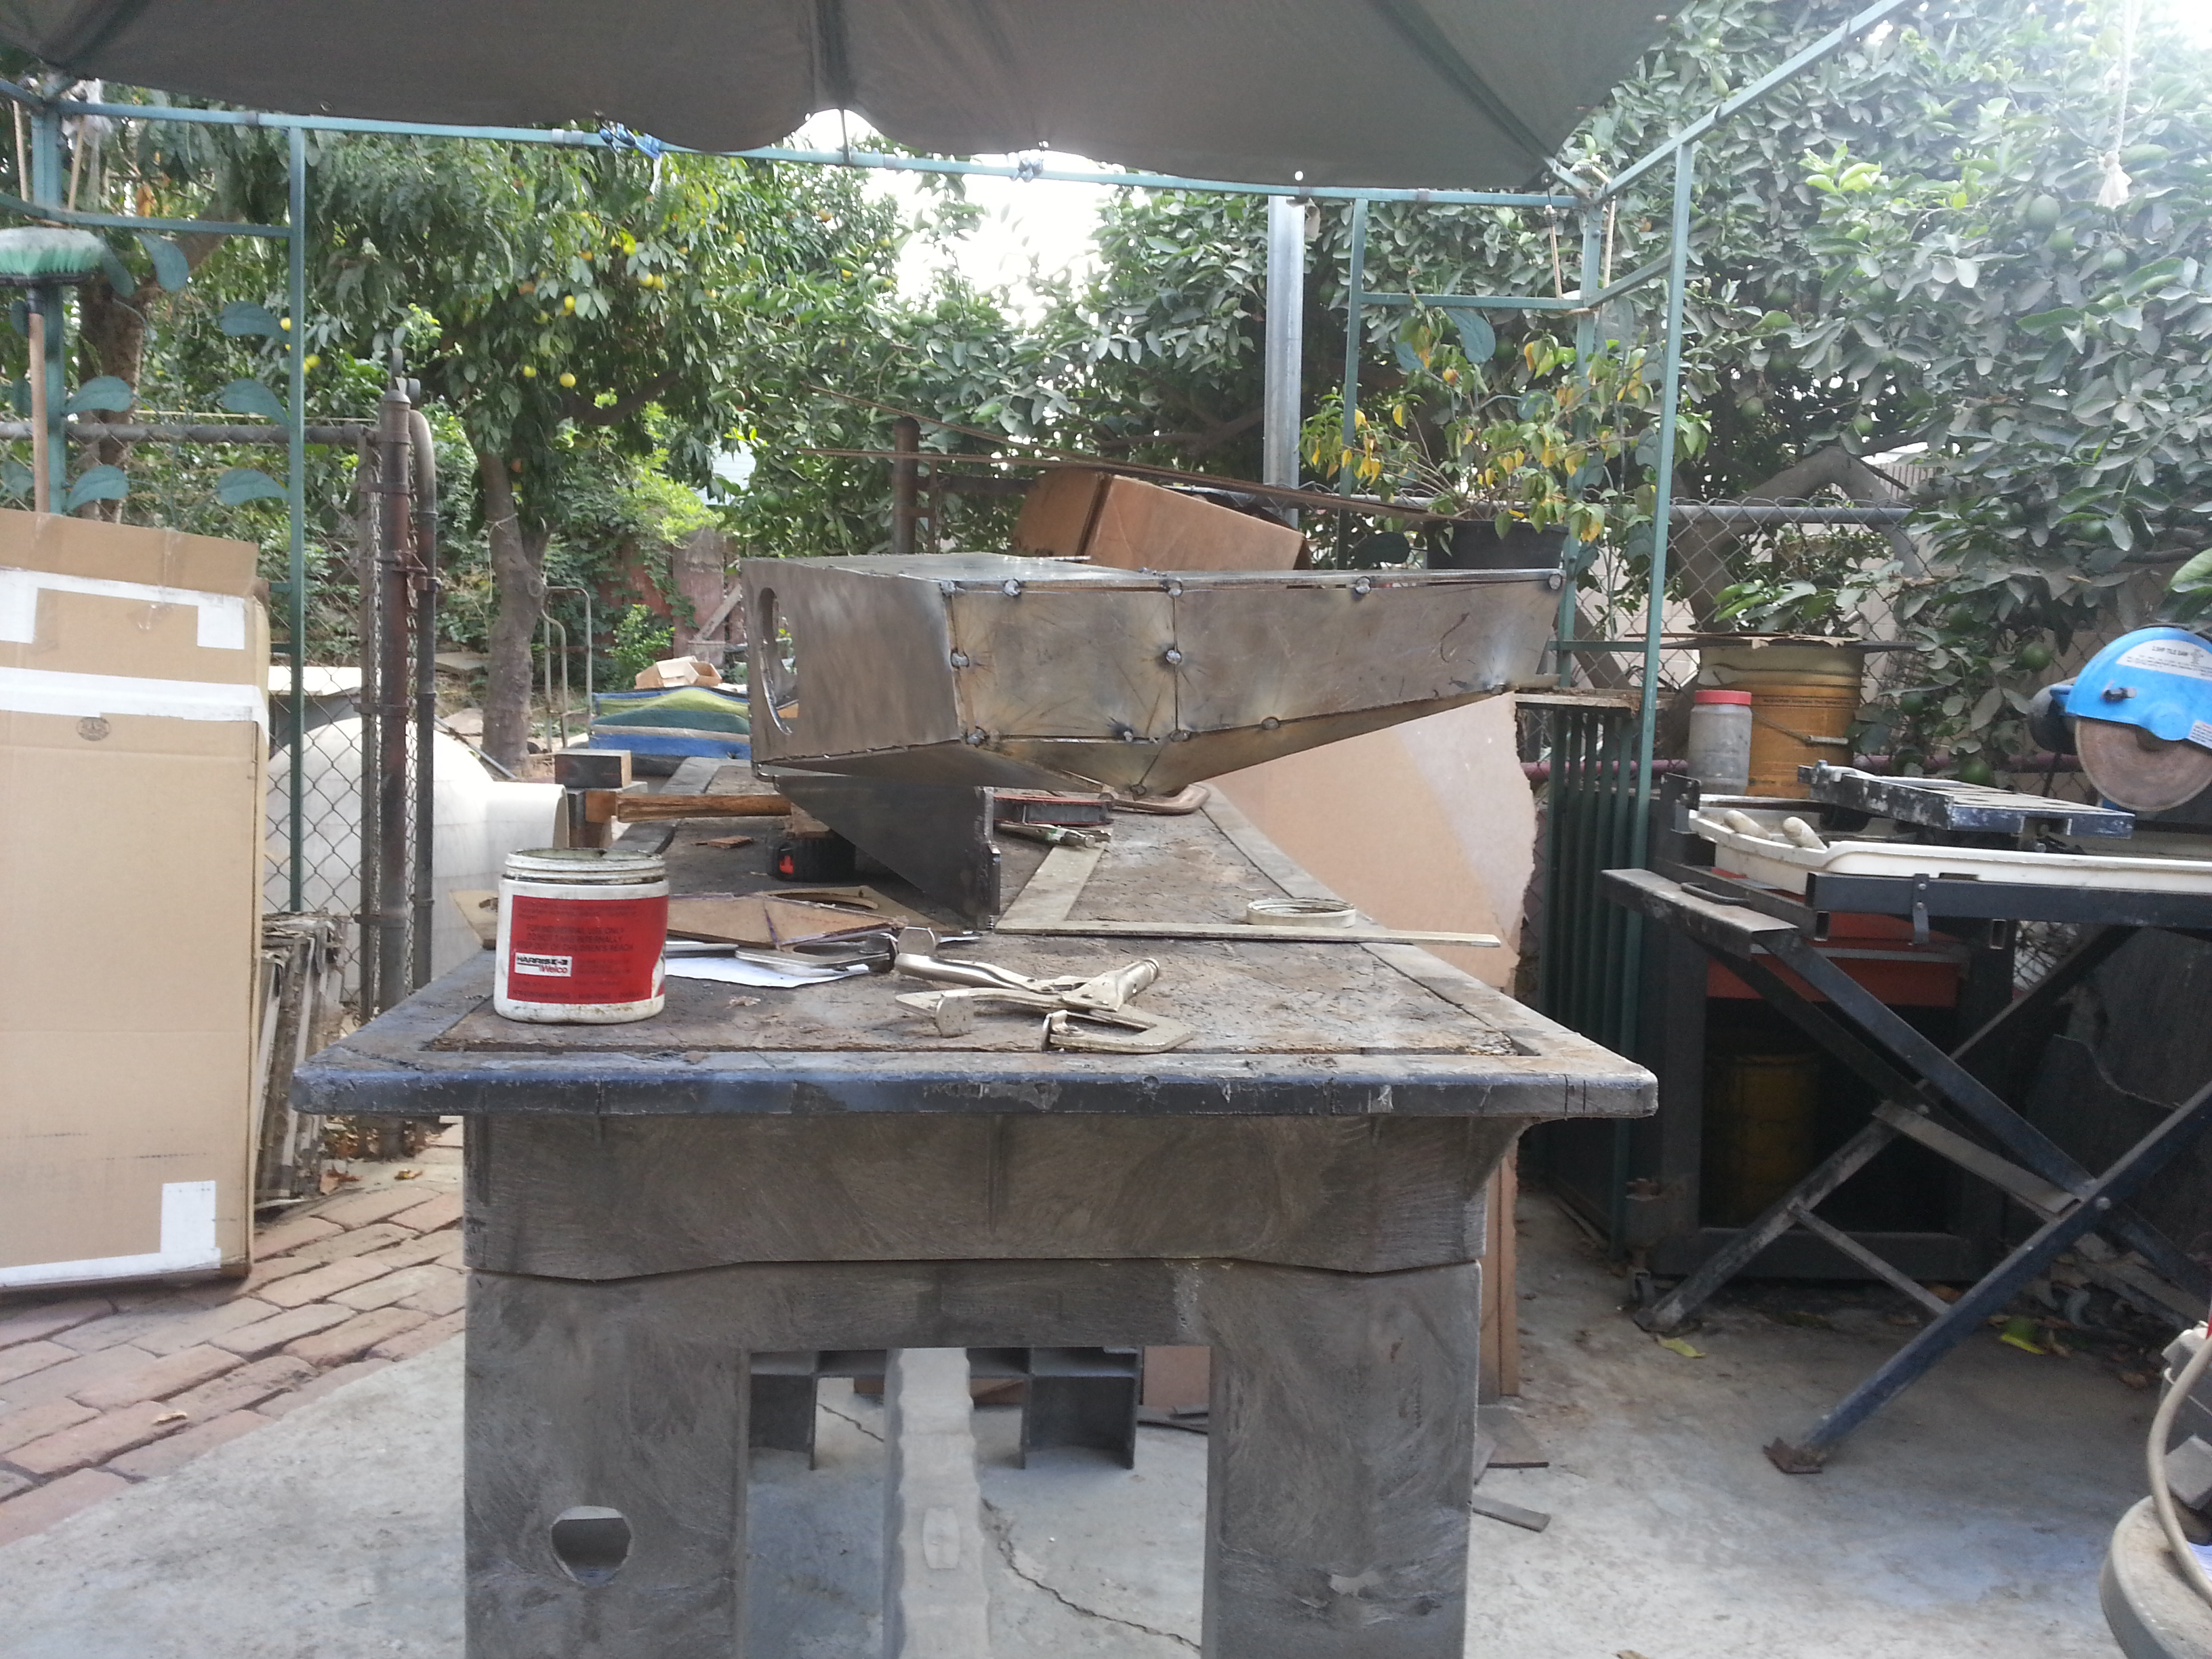
Today i went to the Welding supplies/gas store to swap out my dads expired Acetylene and Oxygen tanks. We exchanged them for some new to us or newly certified full tanks. paid $121. ouch! that one hurt. But i figure i would fill up his tanks on my tab to pay him back for all his help on my last bumper and now this bumper.
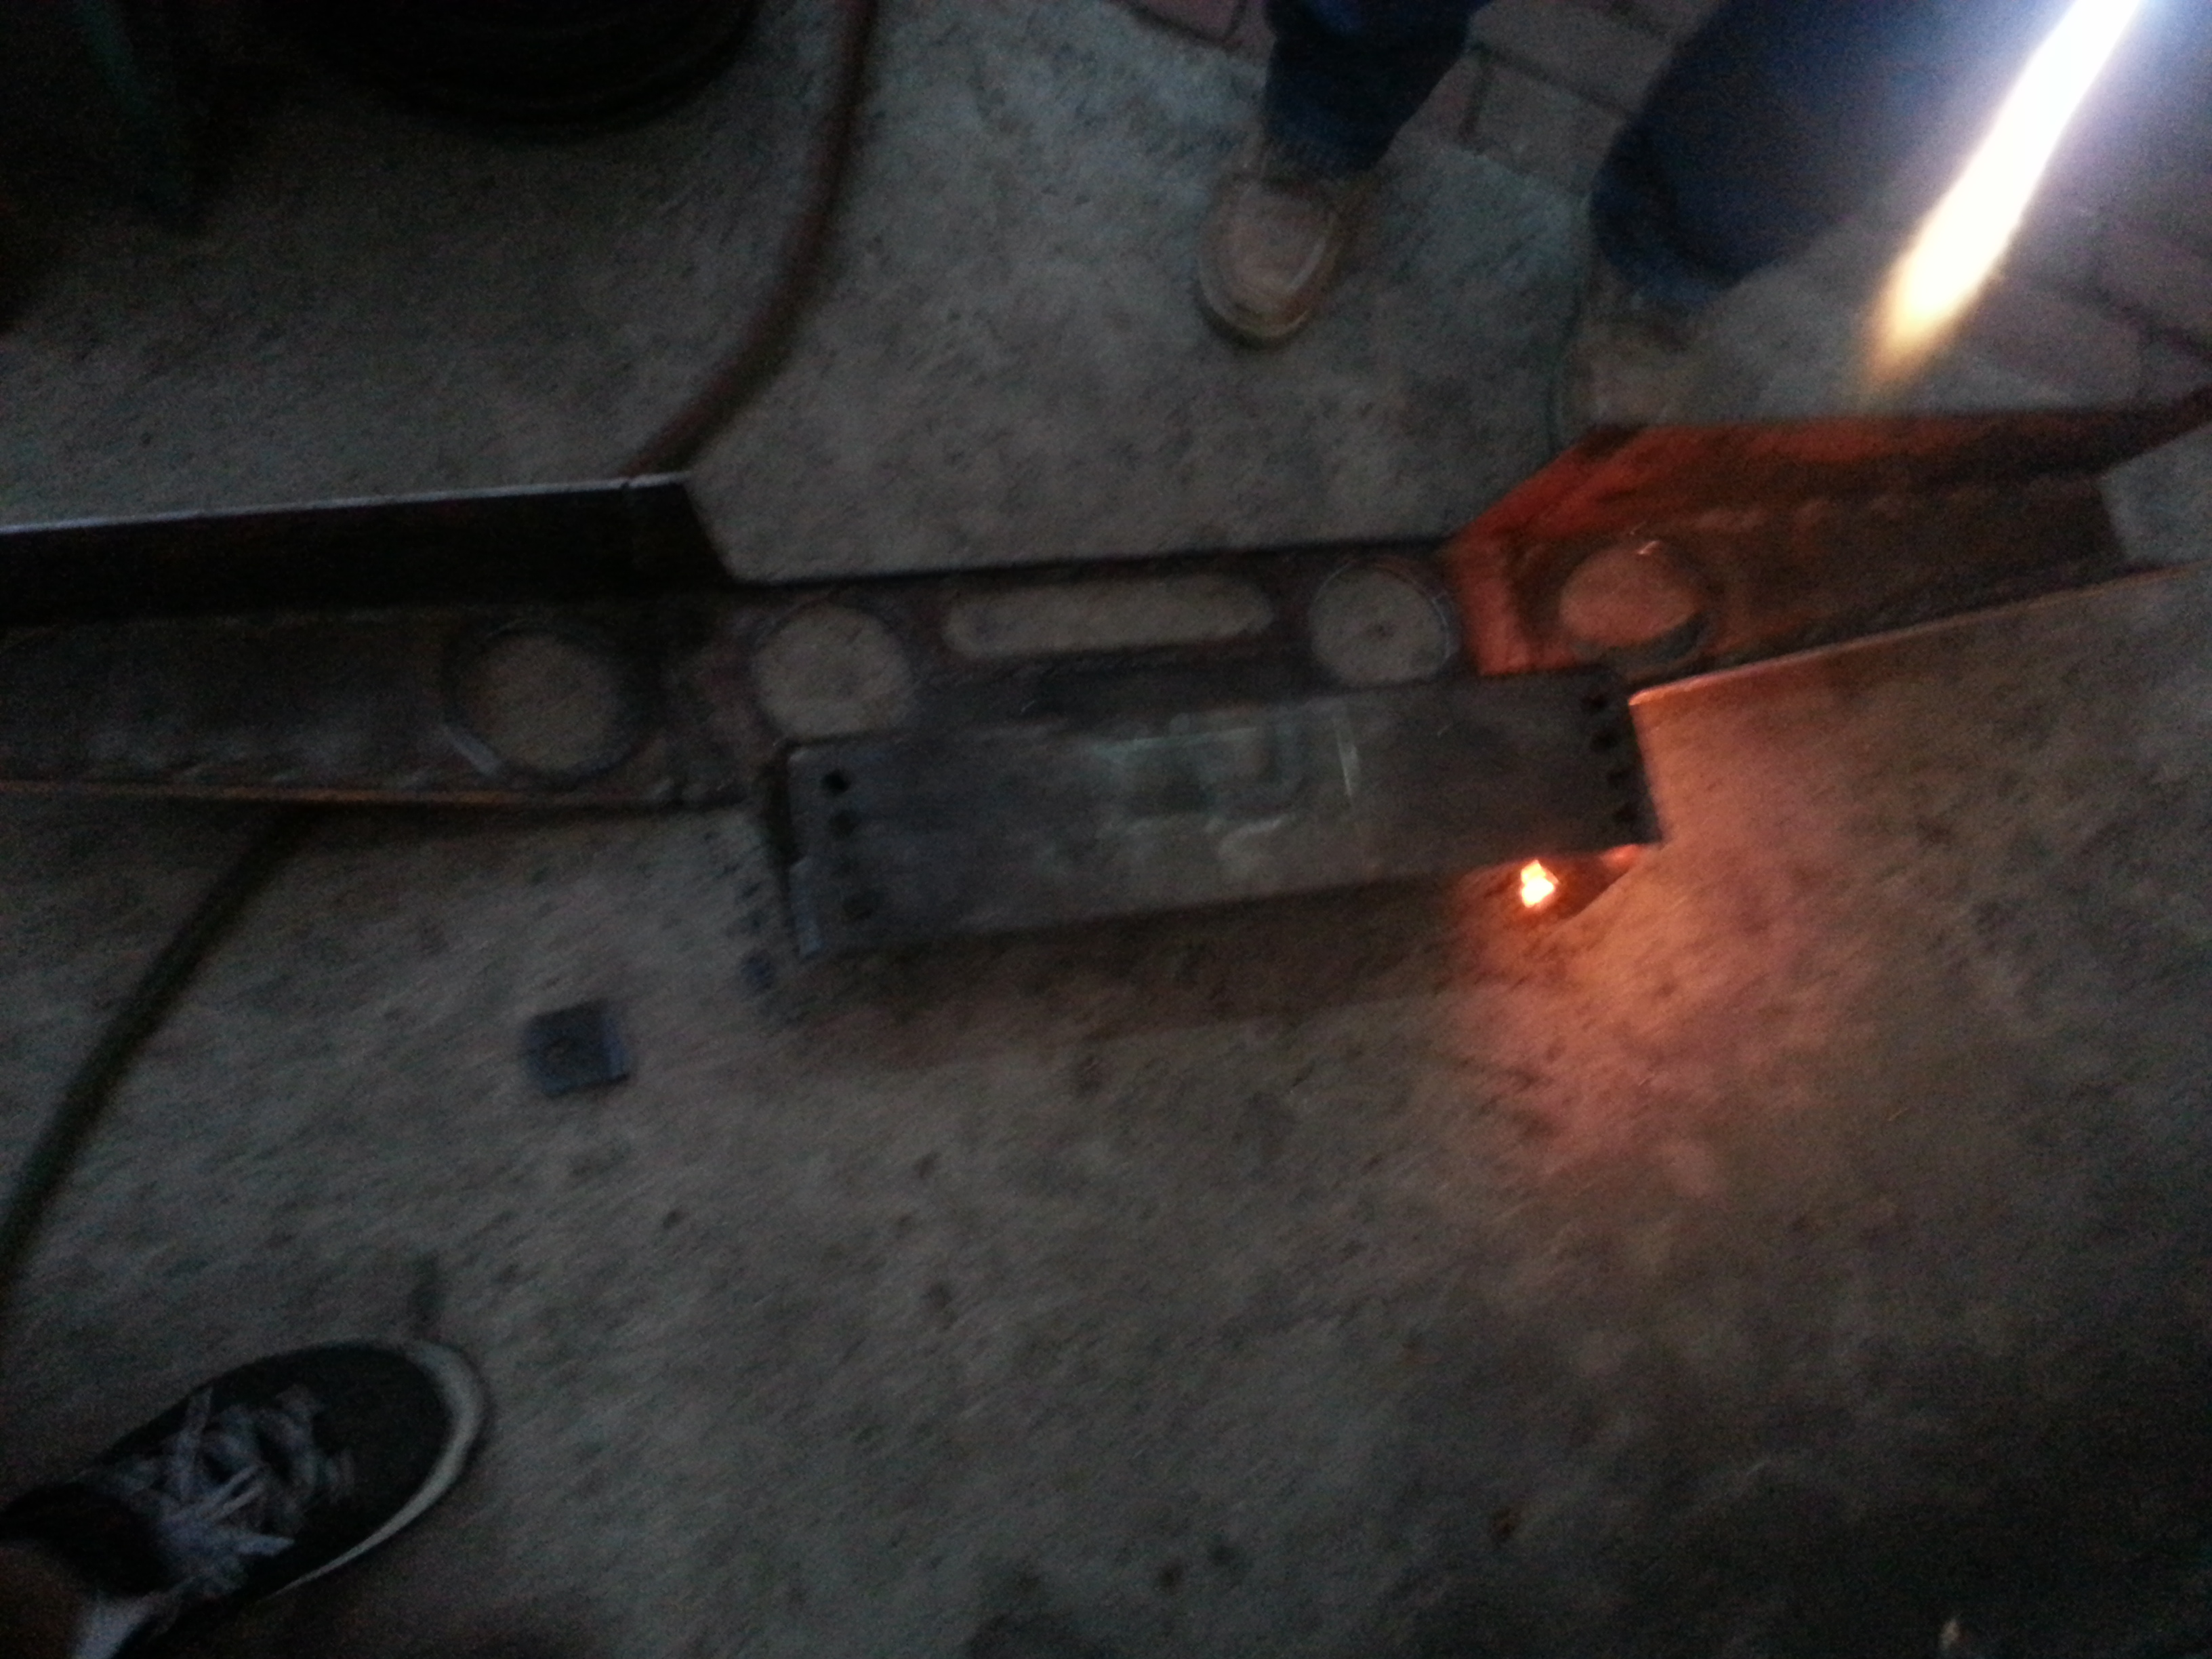
Since we had the full tanks of gas we figured we will just go ahead and cut the air holes and LED light holes already.
Here's my pops working that Acetylene torch
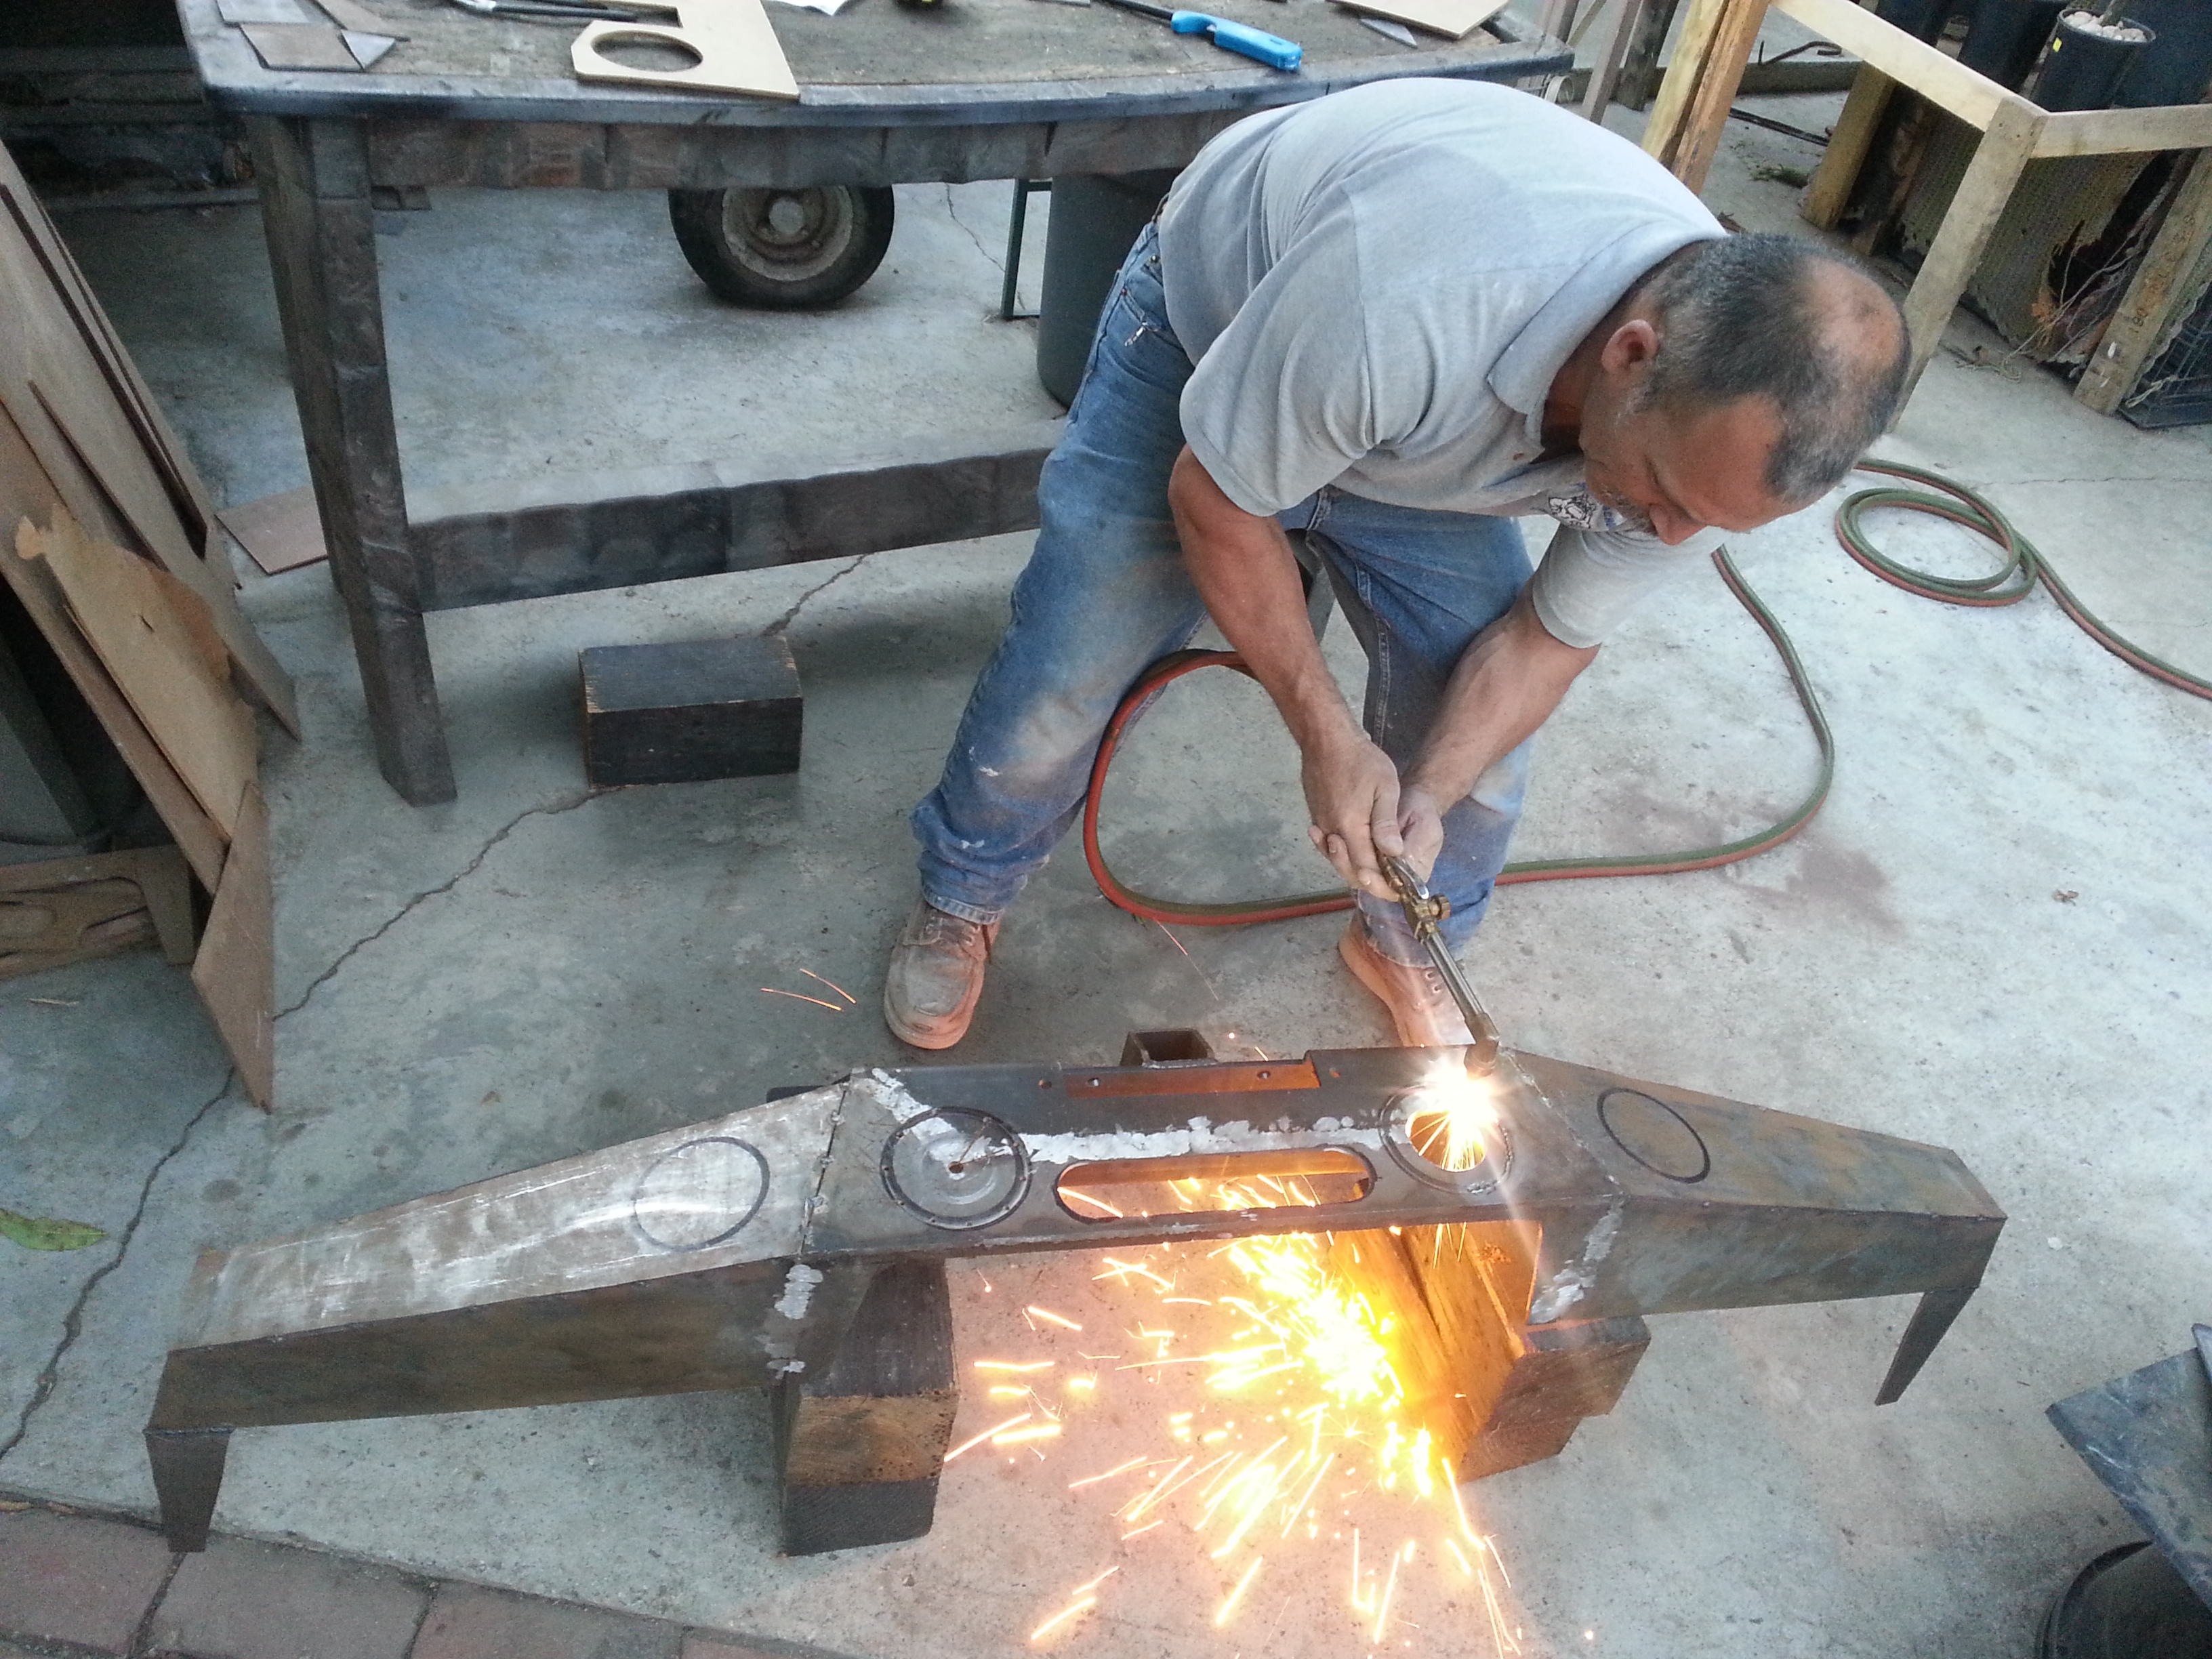
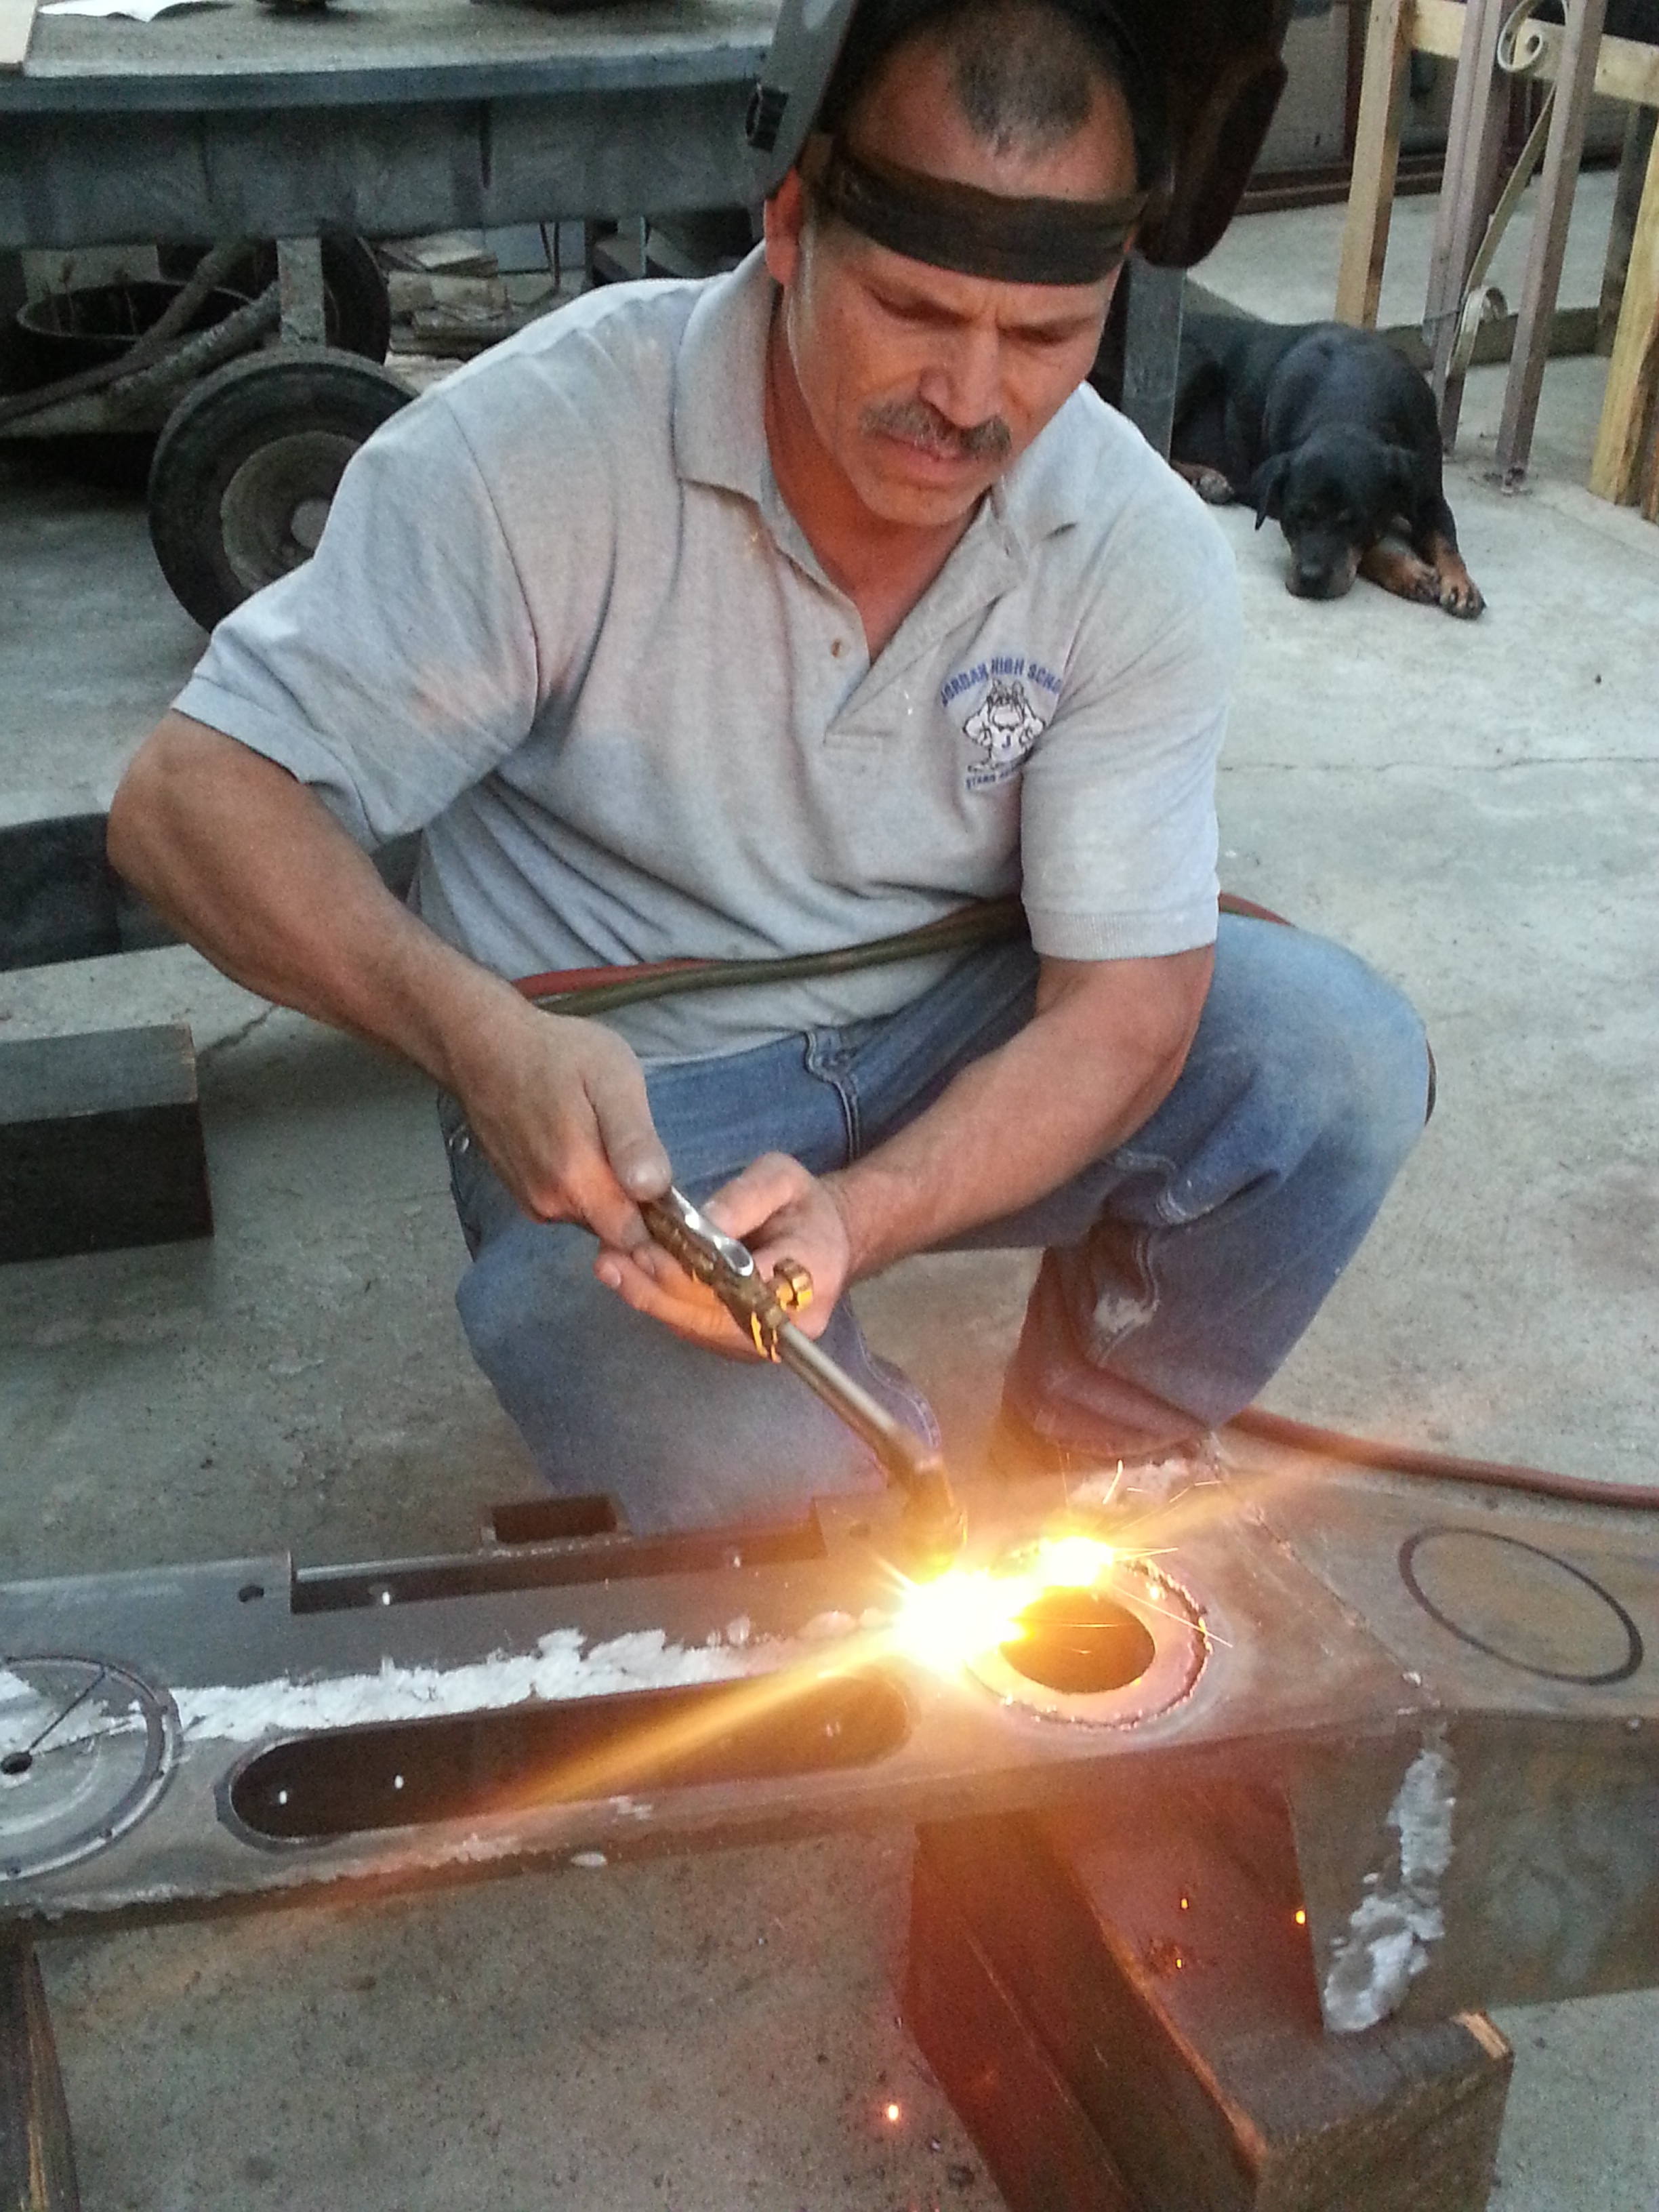
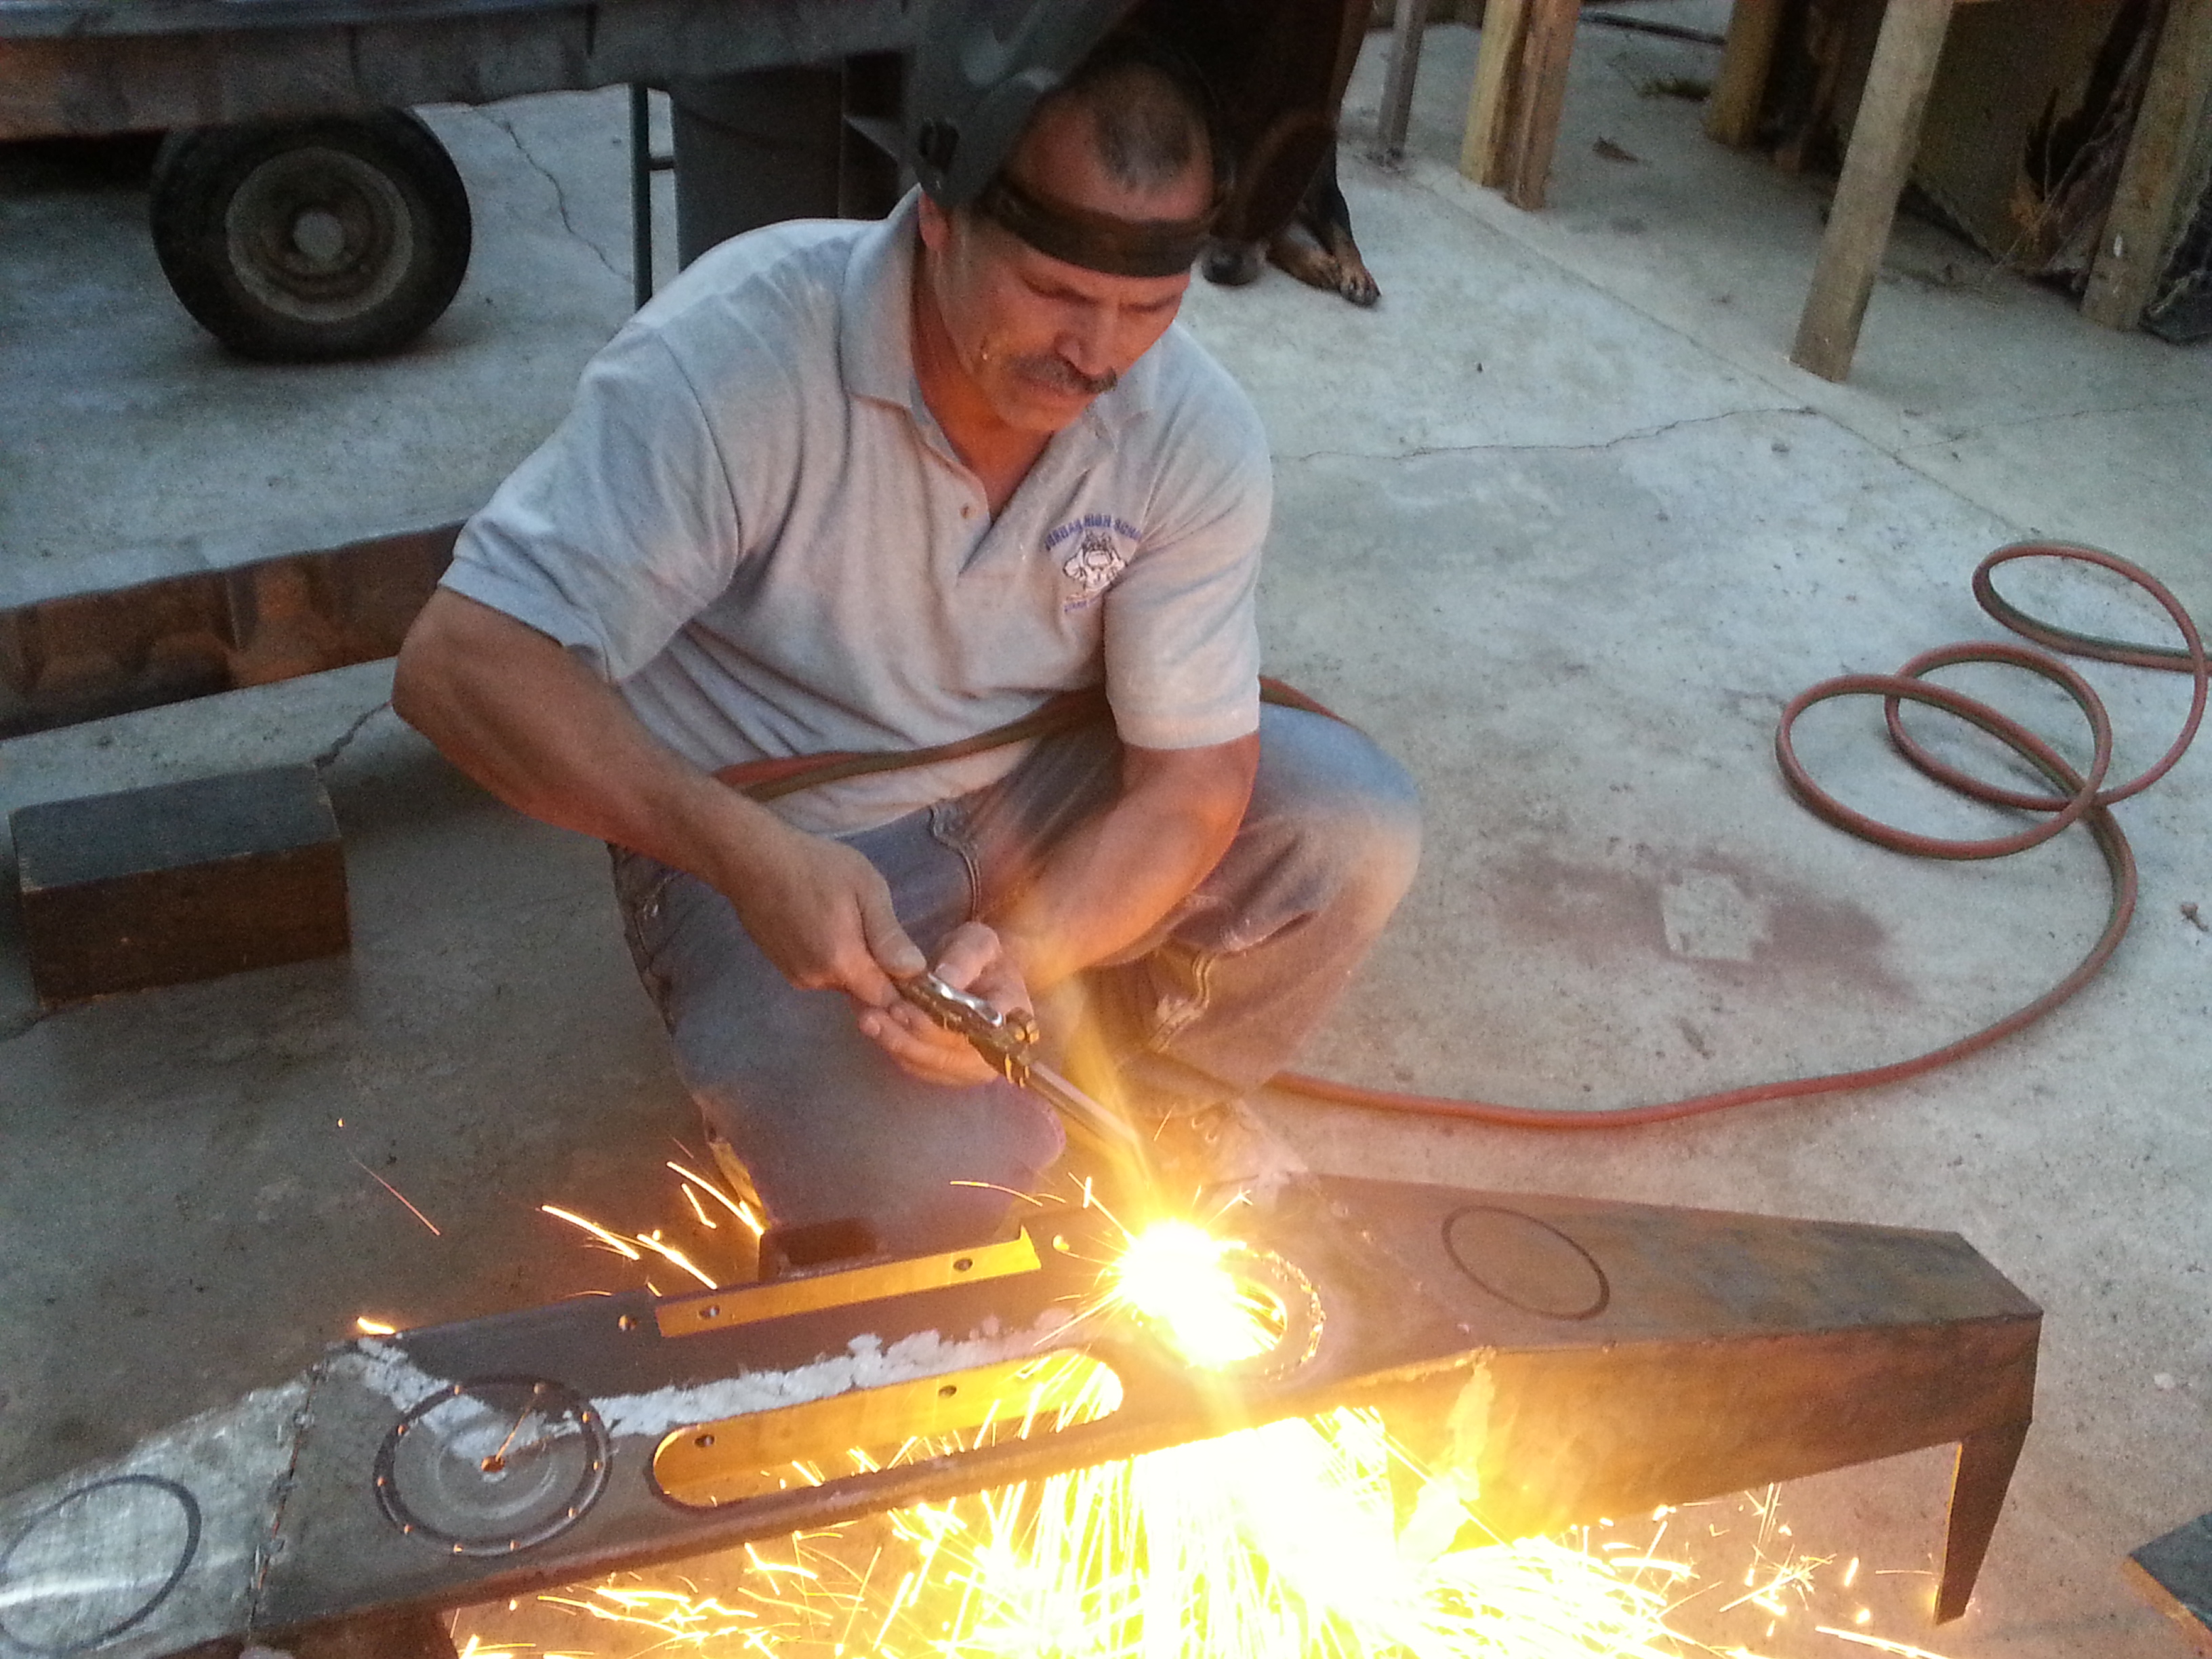
Dont get the wrong idea here. the bumper was leaning back some so the top of the bumper looks like it has a bigger slope then it really does.
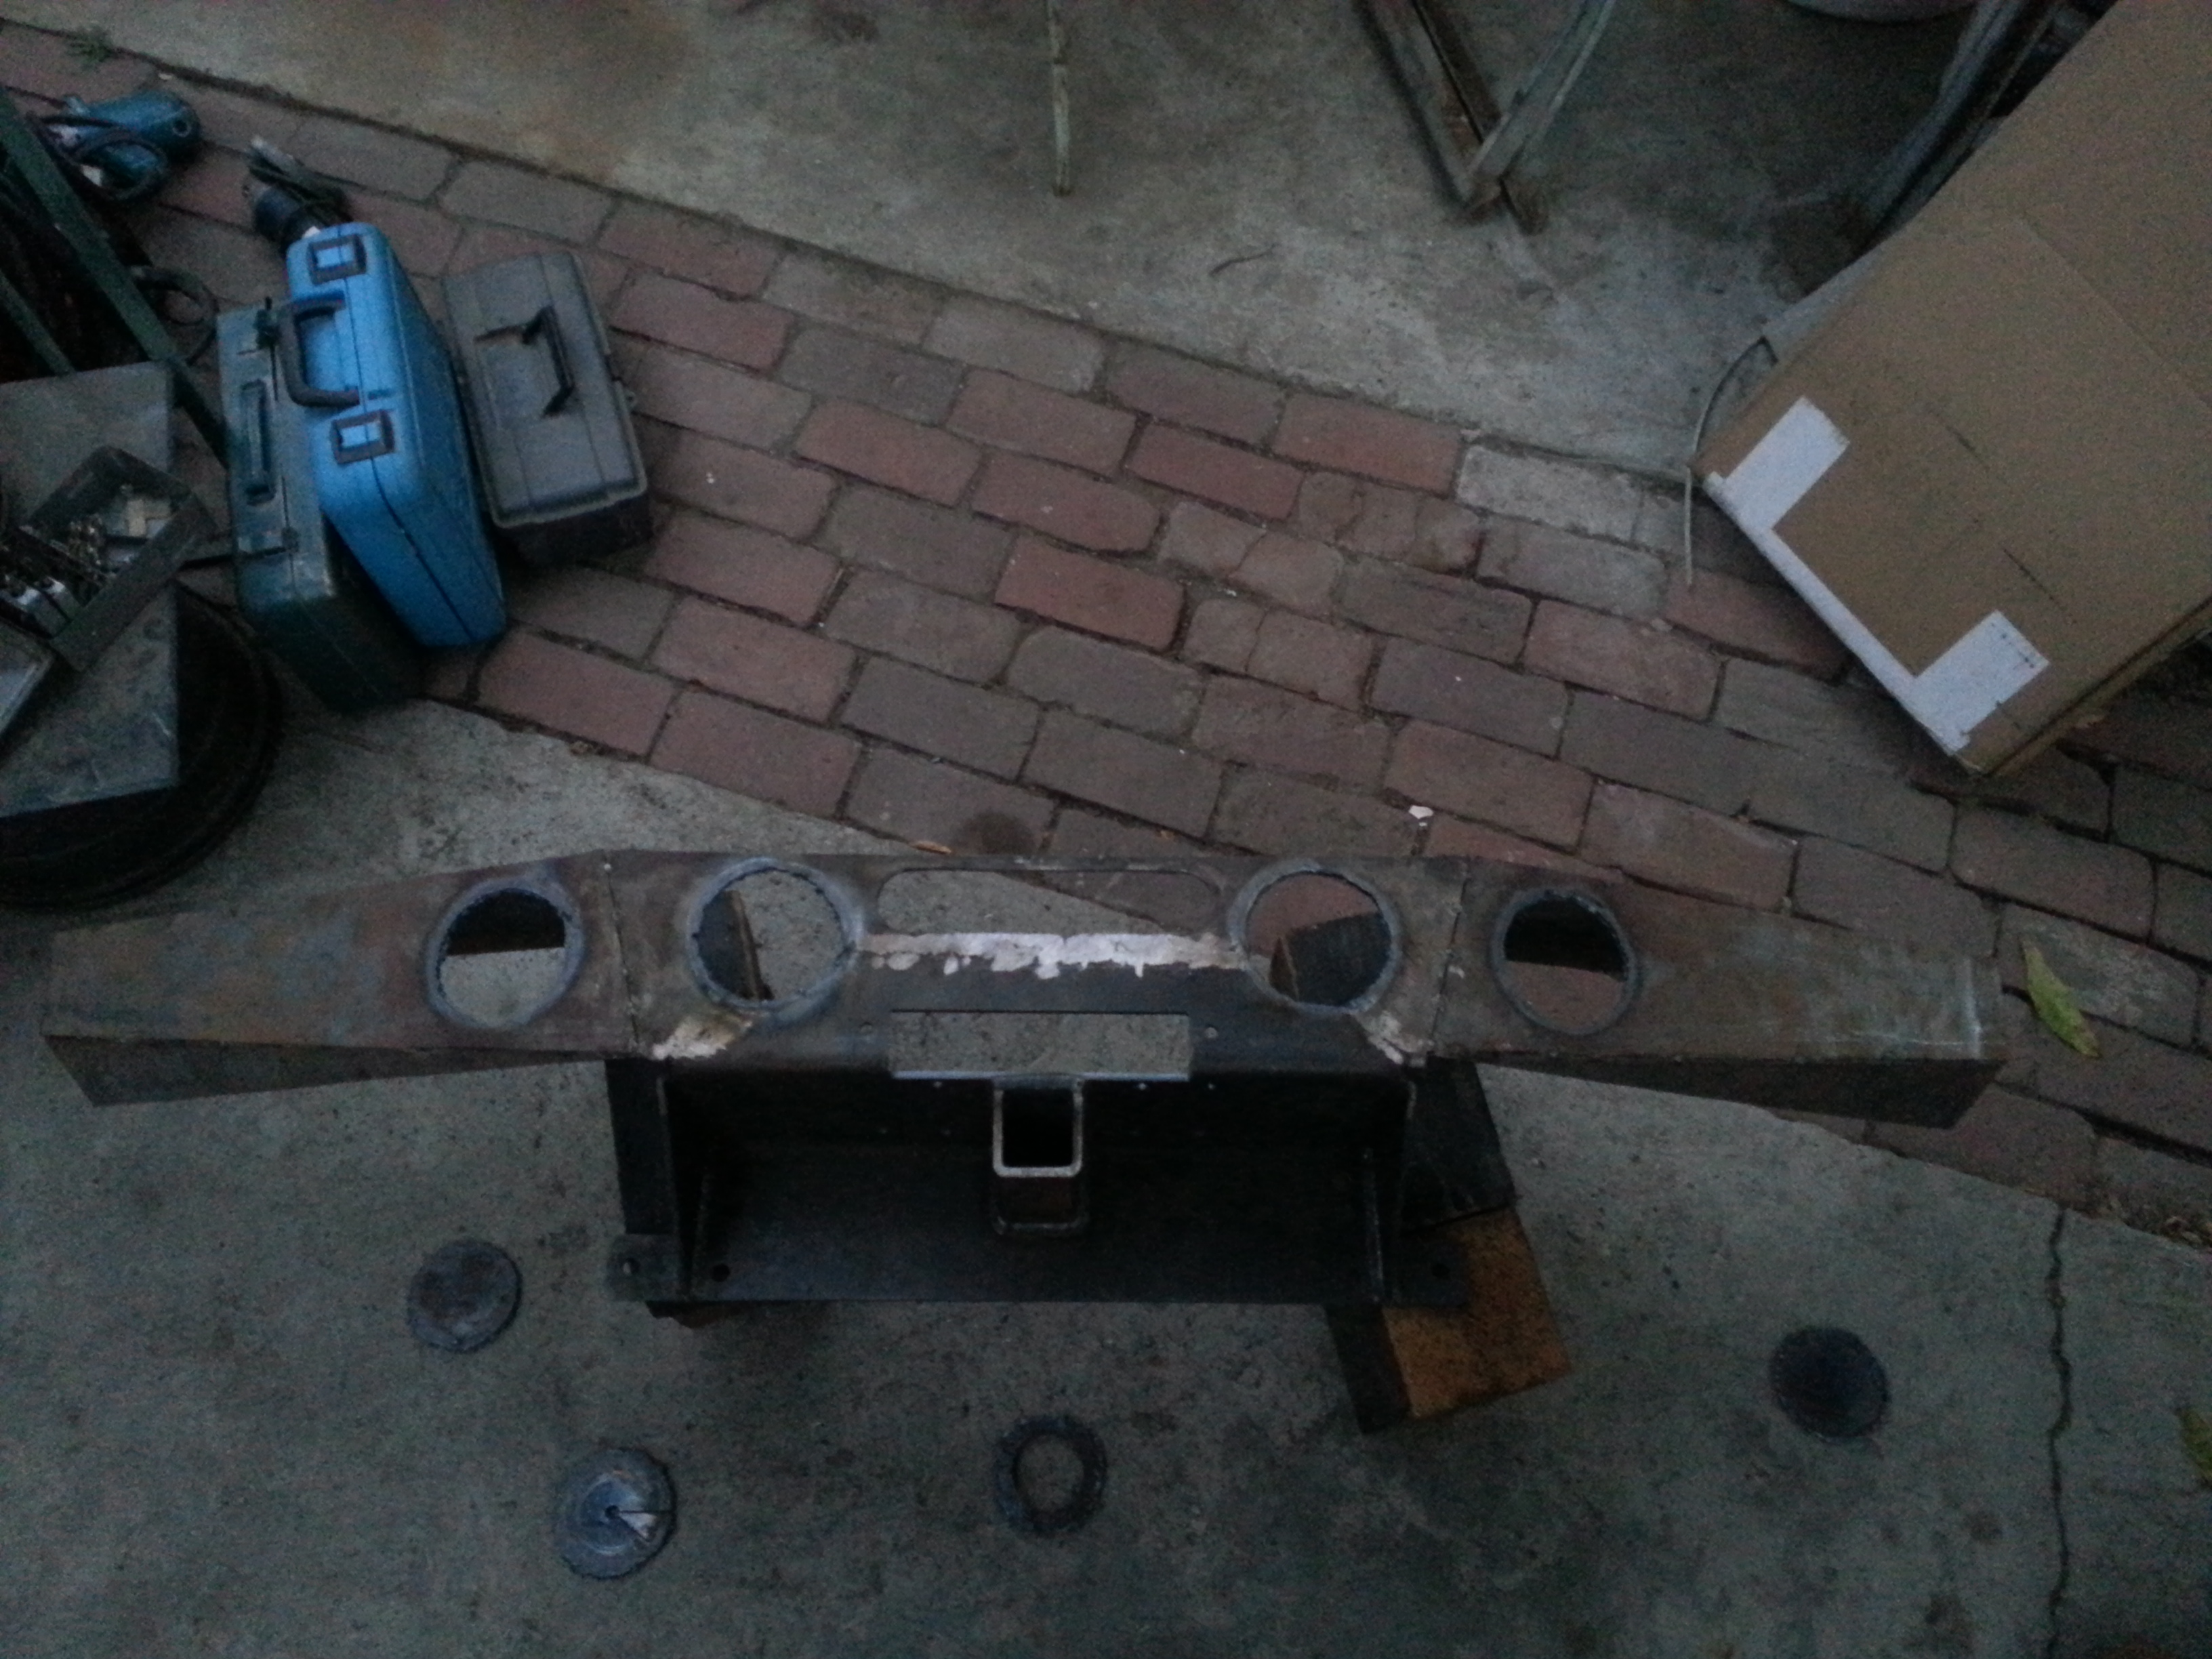
Not bad. His cuts came out much better this time vs the time we did my rear bumper. Tomorrow, after work, i'll have to head to Harbor freight and buy a hole grinder and sander to smooth out those holes.
I dont think that the frame was bent. when we looked at it while we did my SAS everything looked fine. but i did notice in the past that the front fire wall or whatever its called "the part behind the grill" that part was bent a while back ago. i had to re bend it to shape about a year ago. It's still sort of bent but that can very well be why this grill sat low. Mark(Chefyota) has also noticed this while seeing my truck in person. the grill seems to lean more toward the passenger side and have a slight gap on the driver side. Ive tried to straighten it out but it will only straighten out so much. I believe this is probably what is my problem here. Tomorrow im going to remove my stock bumper and take my straight edge level and set it underneath the grill from end to end and see if maybe its my front that is crooked.
On a side note i drew this up really quick to get an idea of how this bumper would look if i left it as is and added those grill guards with the offroad lights. and this is what i came out with. Once i add the grill guard bars, 4 offroad lights, and the winch i dont think the droop will be so noticeable.

But as of right now I just left it as is. We did manage to get some work done on it. but i don't want to finalize these welds just yet. At least until we figure this crooked problem out. If i end up raising those sides back up the 1/4" that i dropped it then i am either gonna have to cut center part of that bumper horizontally then drop the hole bumper about 1/4-1/2" to make it level. but the problem there is that if i do that then my winch might not fit. The 2nd thing i can do is probably cut the entire winch plate at the mounting points and just bring that down instead. this would bring my entire bumper down without having to cut the bumper or without running into problems with the winch fitting properly. This might be my best bet. But i need to take a closer look at the winch plate again. Either way this winch plate is going to get welded to my front cross-member so it might not be too bad of a choice to go this route.
----------------------------------------------------------------------------------------------
Today i went to the Welding supplies/gas store to swap out my dads expired Acetylene and Oxygen tanks. We exchanged them for some new to us or newly certified full tanks. paid $121. ouch! that one hurt. But i figure i would fill up his tanks on my tab to pay him back for all his help on my last bumper and now this bumper.

Since we had the full tanks of gas we figured we will just go ahead and cut the air holes and LED light holes already.
Here's my pops working that Acetylene torch


Dont get the wrong idea here. the bumper was leaning back some so the top of the bumper looks like it has a bigger slope then it really does.

Not bad. His cuts came out much better this time vs the time we did my rear bumper. Tomorrow, after work, i'll have to head to Harbor freight and buy a hole grinder and sander to smooth out those holes.
Last edited by Redeth005; Oct 8, 2013 at 08:37 PM.
Oct 9, 2013 | 05:24 AM
#47
Registered User
Joined: Jan 2010
Posts: 3,795
Likes: 33
From: Bloodymore
How does the hood align with the gril, and fenders... Even gaps? The core support is what you are refering to, the firewall is the body closest to the back of your engine where your steering comes thru. Take a tape measure and diagonally measure fender and core support bolts to see if you sheet metal is square. Since your sas went on without issue the lower frame should be fine, but you could have tweaked body mounts. Straitghten the sheet metal so you build a square bumper, if you build that bumper to only fit you runner, you'll play he'll trying to use it on another truck if something happens to this one.
Also, isn't the box for your winch able to be relocated? You could move it under the hood with some longer thick gauge wire for a cleaner install.
Good luck
Also, isn't the box for your winch able to be relocated? You could move it under the hood with some longer thick gauge wire for a cleaner install.
Good luck
Oct 9, 2013 | 07:01 AM
#48
Thread Starter
Registered User
Joined: Apr 2012
Posts: 2,817
Likes: 2
From: Los Angeles CA
How does the hood align with the gril, and fenders... Even gaps? The core support is what you are refering to, the firewall is the body closest to the back of your engine where your steering comes thru. Take a tape measure and diagonally measure fender and core support bolts to see if you sheet metal is square. Since your sas went on without issue the lower frame should be fine, but you could have tweaked body mounts. Straitghten the sheet metal so you build a square bumper, if you build that bumper to only fit you runner, you'll play he'll trying to use it on another truck if something happens to this one.
Also, isn't the box for your winch able to be relocated? You could move it under the hood with some longer thick gauge wire for a cleaner install.
Good luck
Also, isn't the box for your winch able to be relocated? You could move it under the hood with some longer thick gauge wire for a cleaner install.
Good luck
After i straighten out the top part of the bumper again like i originally had it i think this is going to be what i need to do. and best part about it is that i wont need to trim the entire bottom side of the grill.
I'll remove the grill and bumper and take some pix. for you guys of how it looks to better explain myself.
Oct 9, 2013 | 08:09 PM
#49
Thread Starter
Registered User
Joined: Apr 2012
Posts: 2,817
Likes: 2
From: Los Angeles CA
Dang it. i didnt get a chance to take a look at the front end, take pix, or work on the bumper at all today. It was raining out here in Los Angels. Normally like the rain but i really wish it would hold up till i am done with my bumper dang it! lol oh well. looks like i need to wait it out.
Oct 10, 2013 | 10:12 PM
#50
Thread Starter
Registered User
Joined: Apr 2012
Posts: 2,817
Likes: 2
From: Los Angeles CA
Alright guys now we are getting somewhere! 
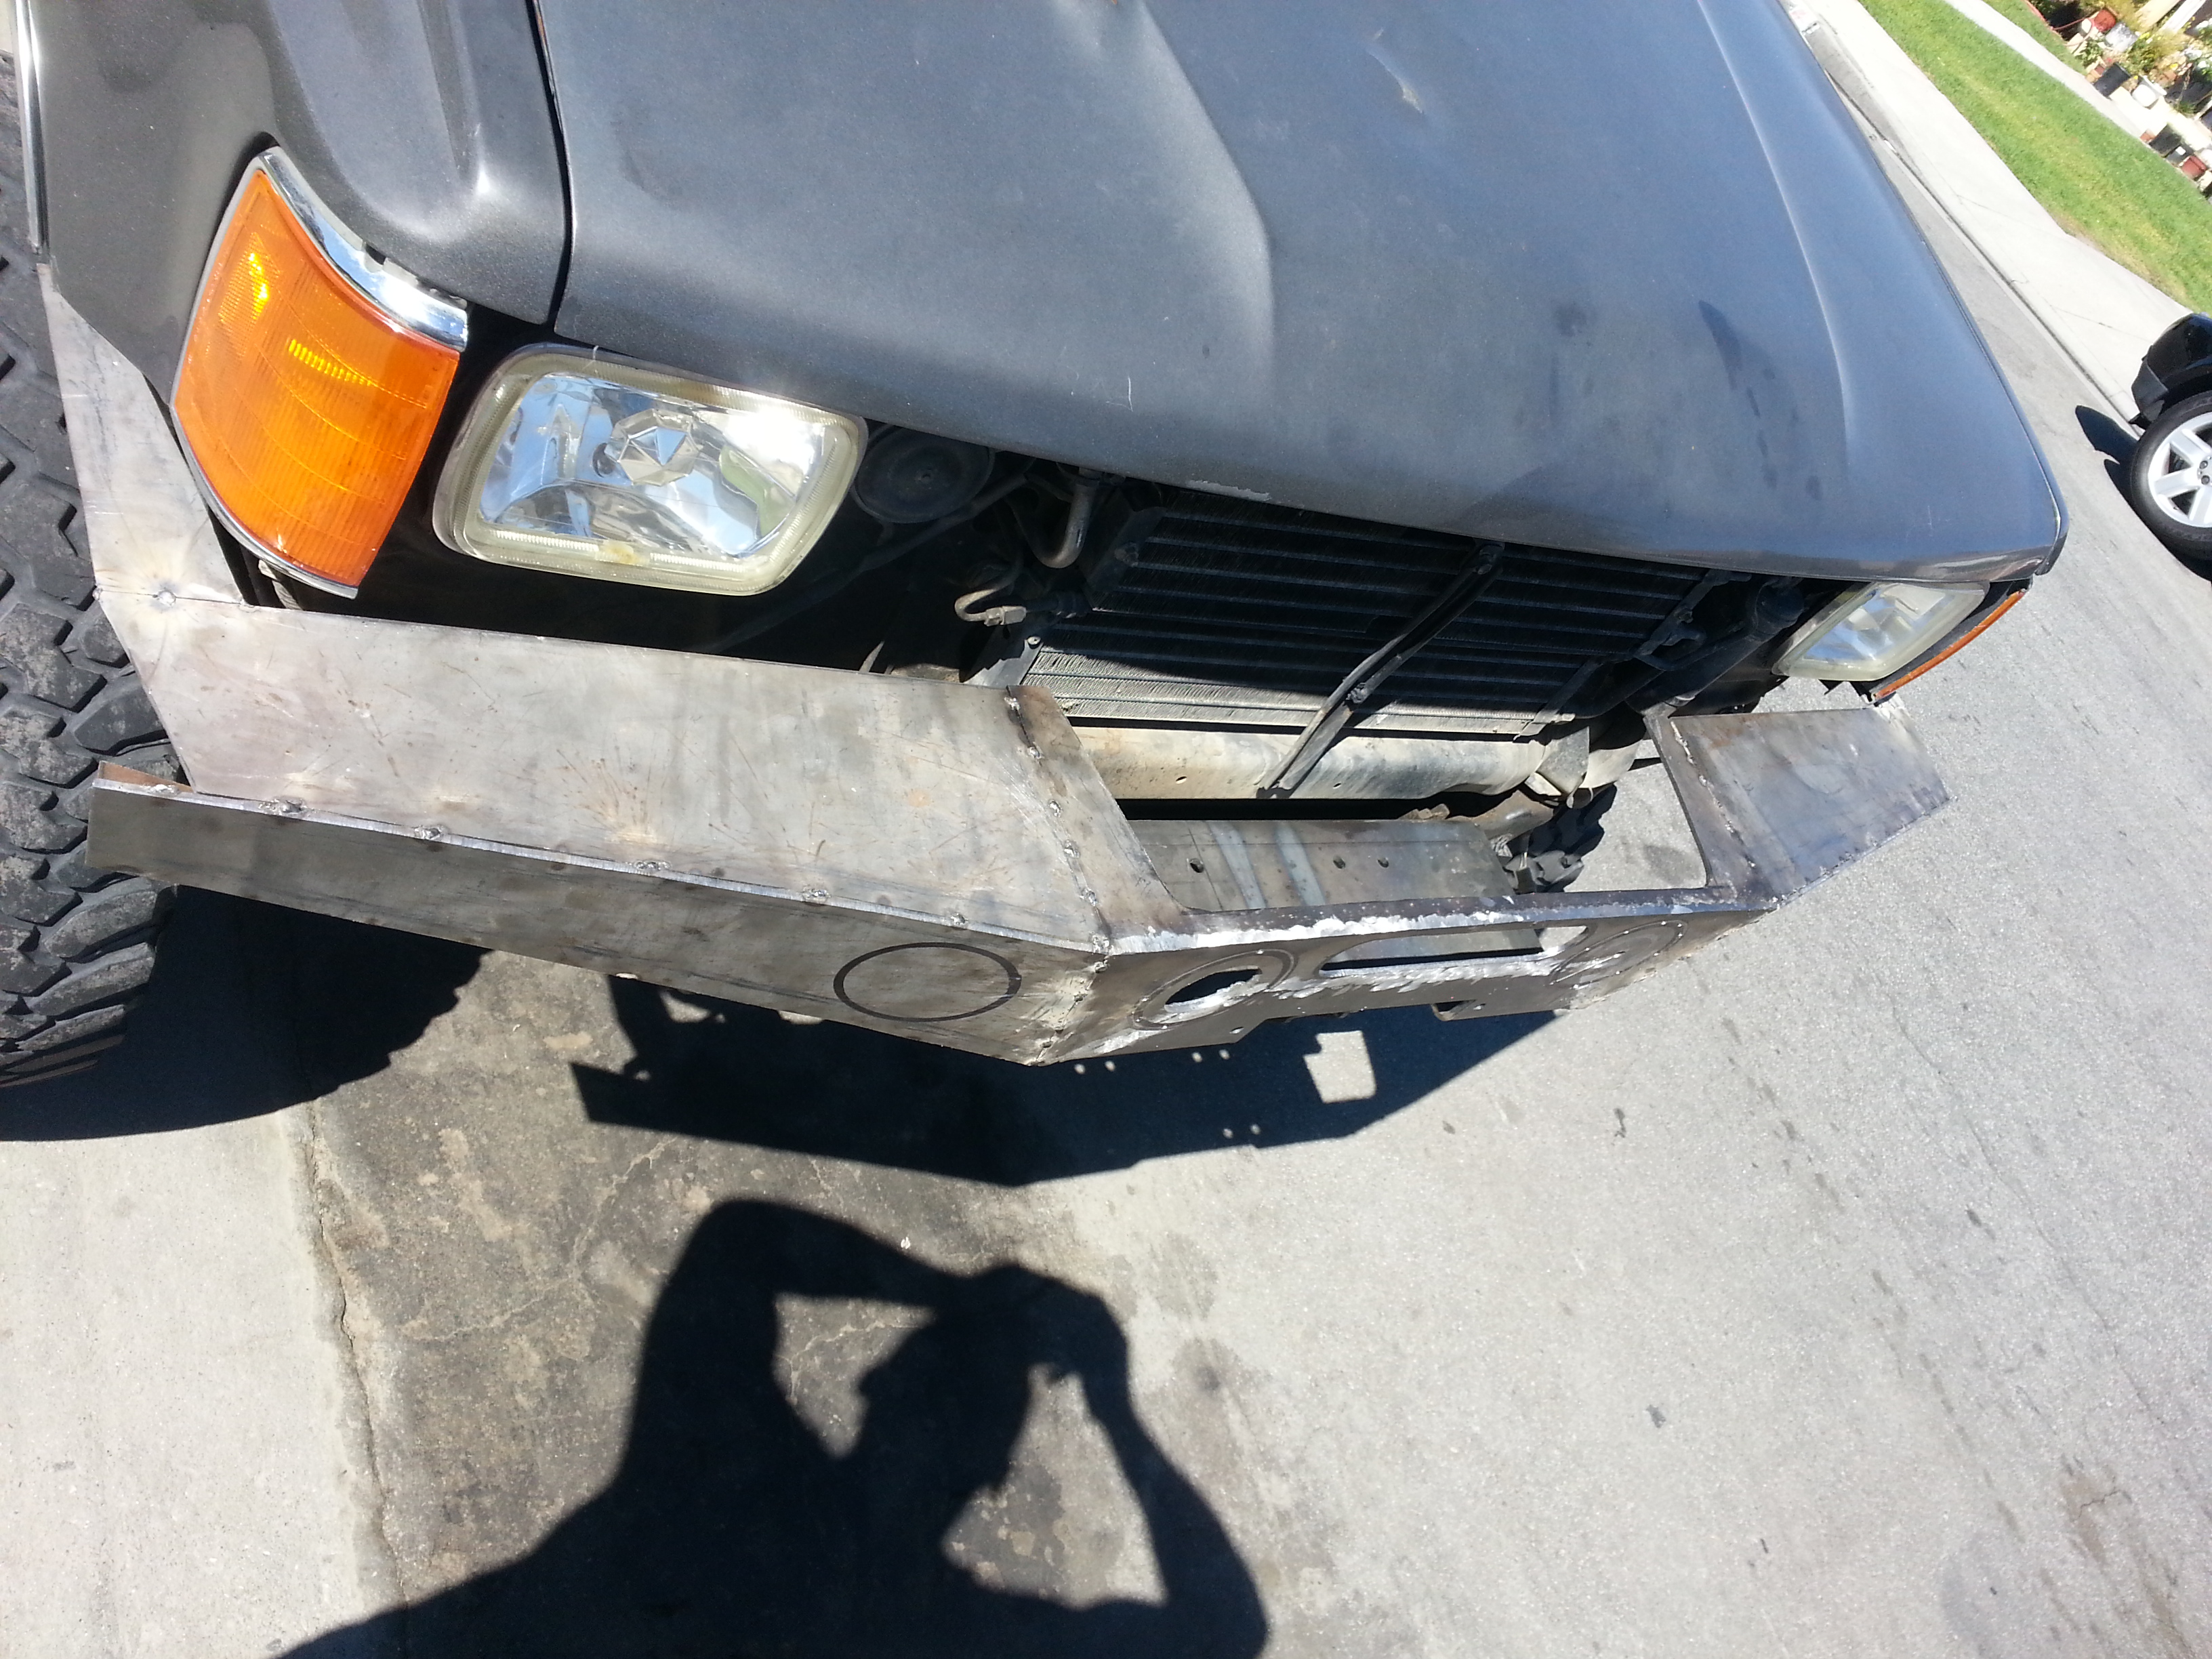
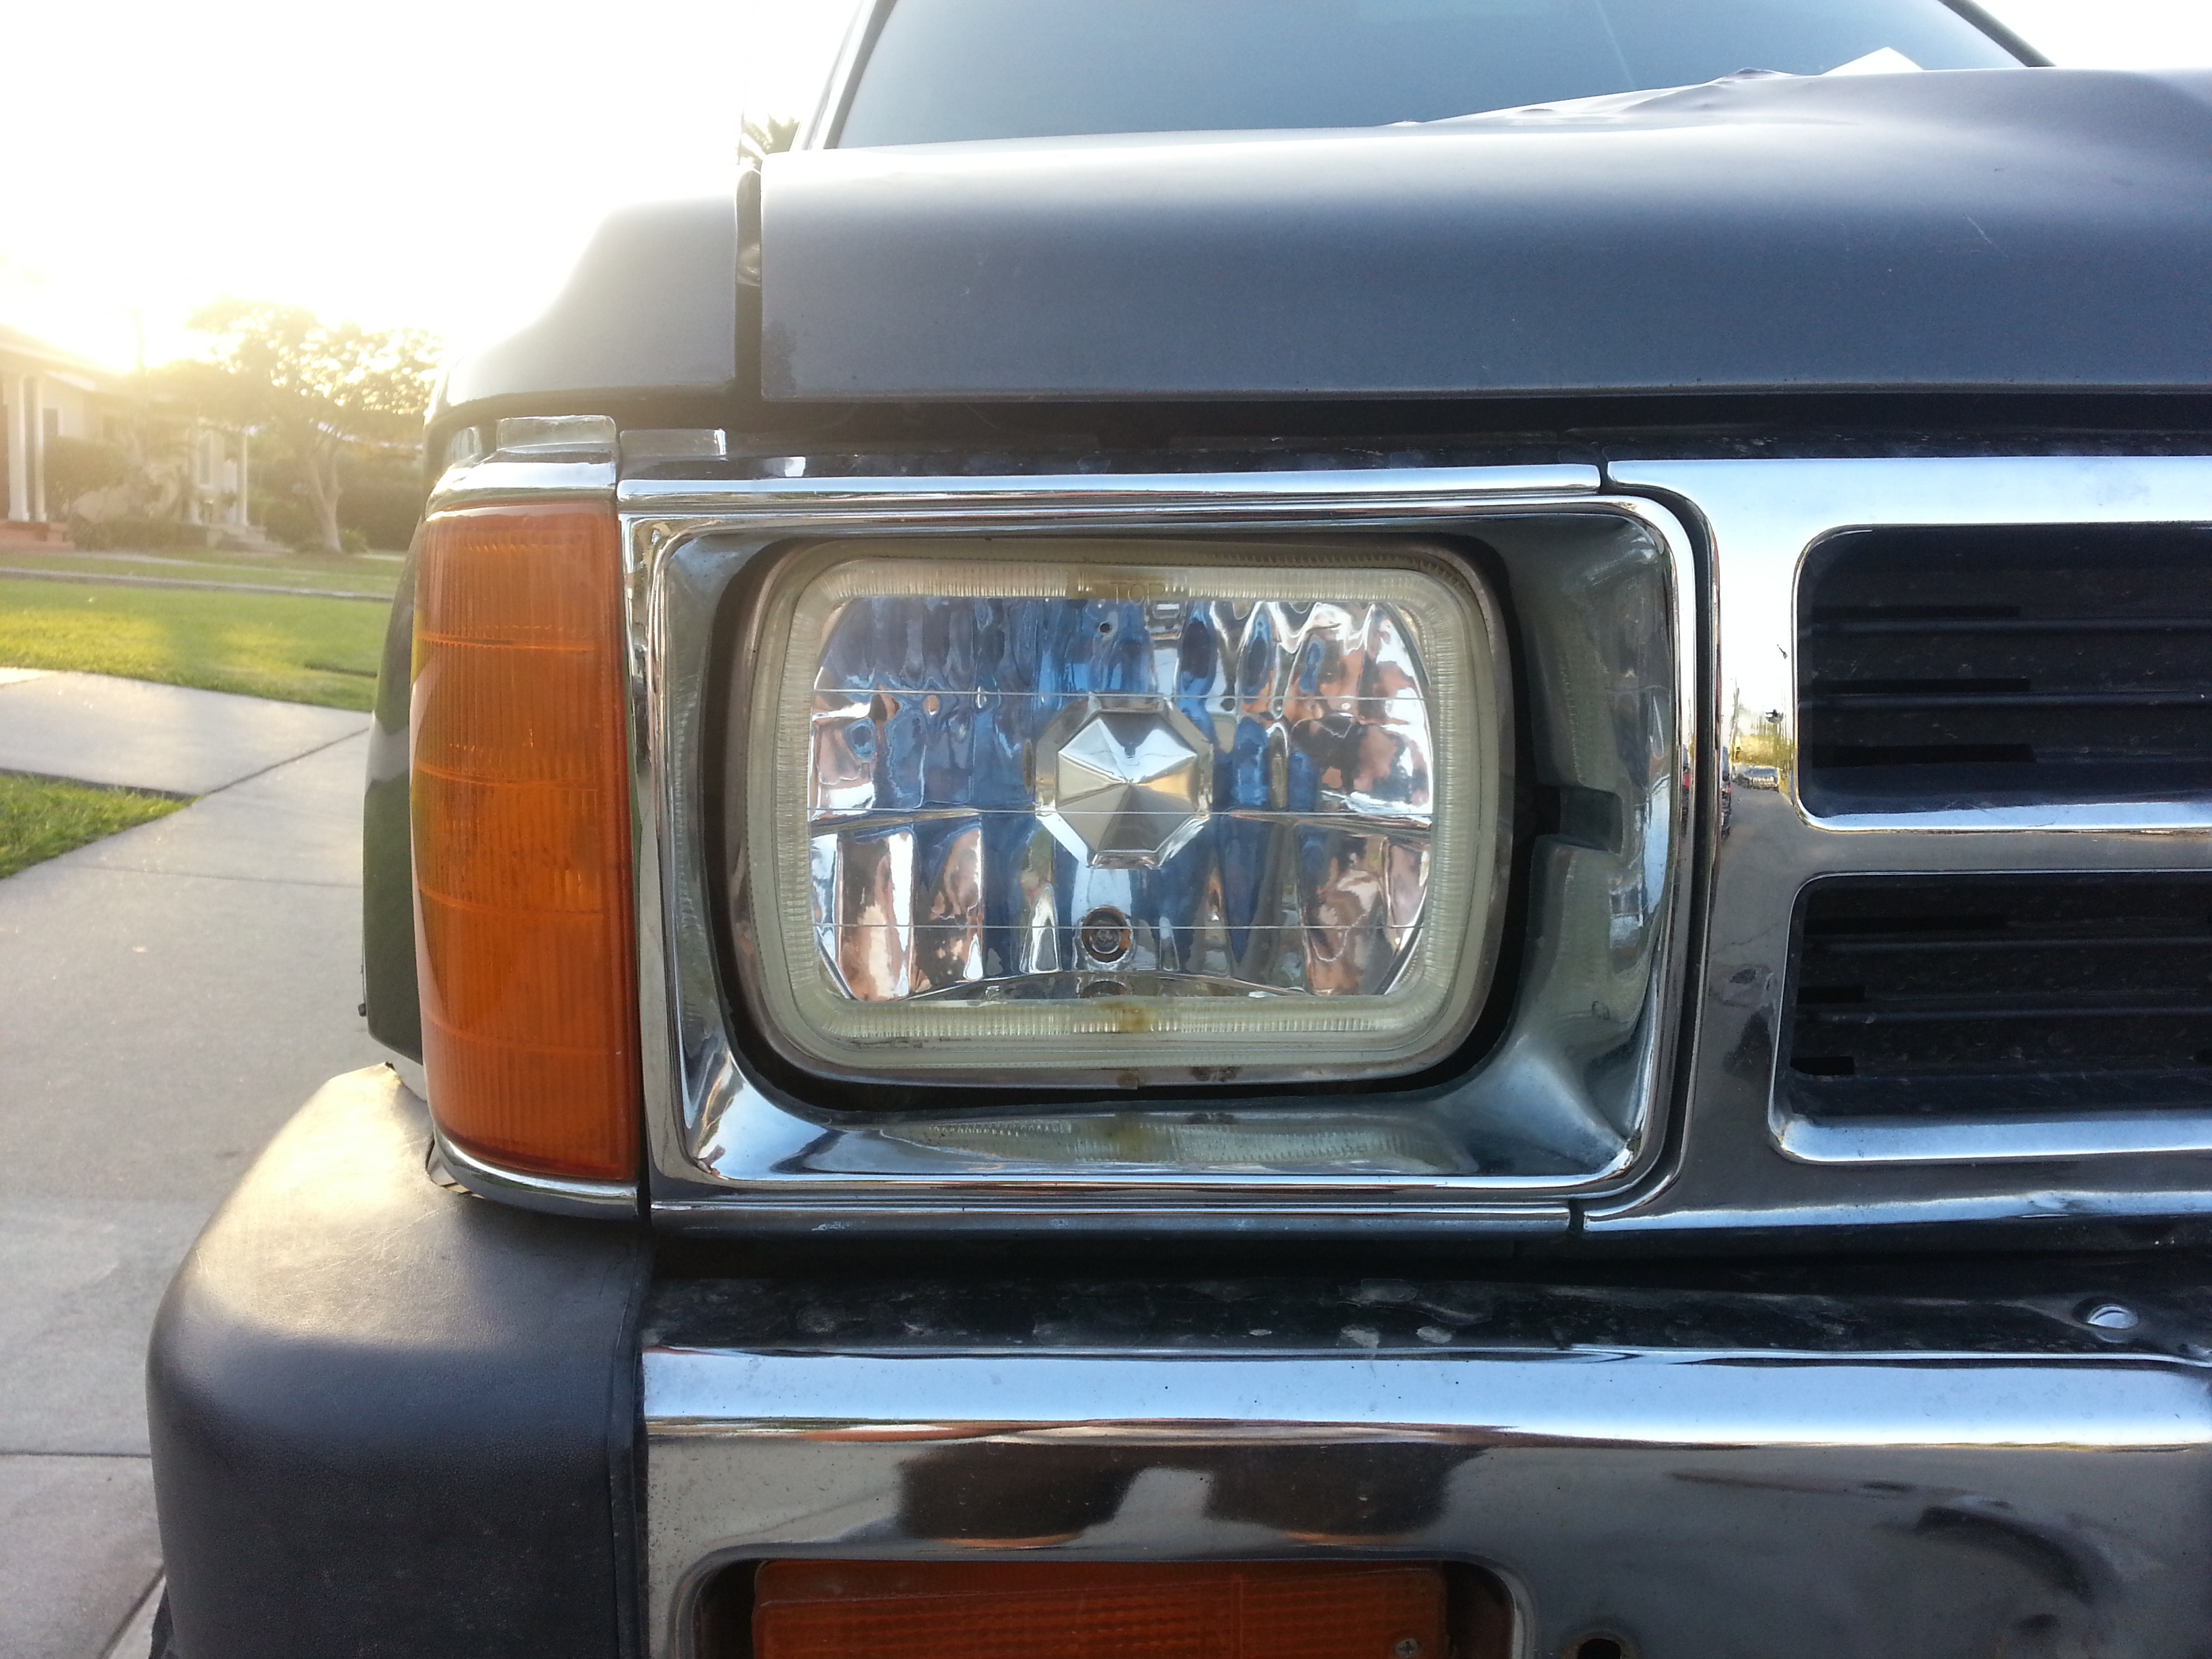
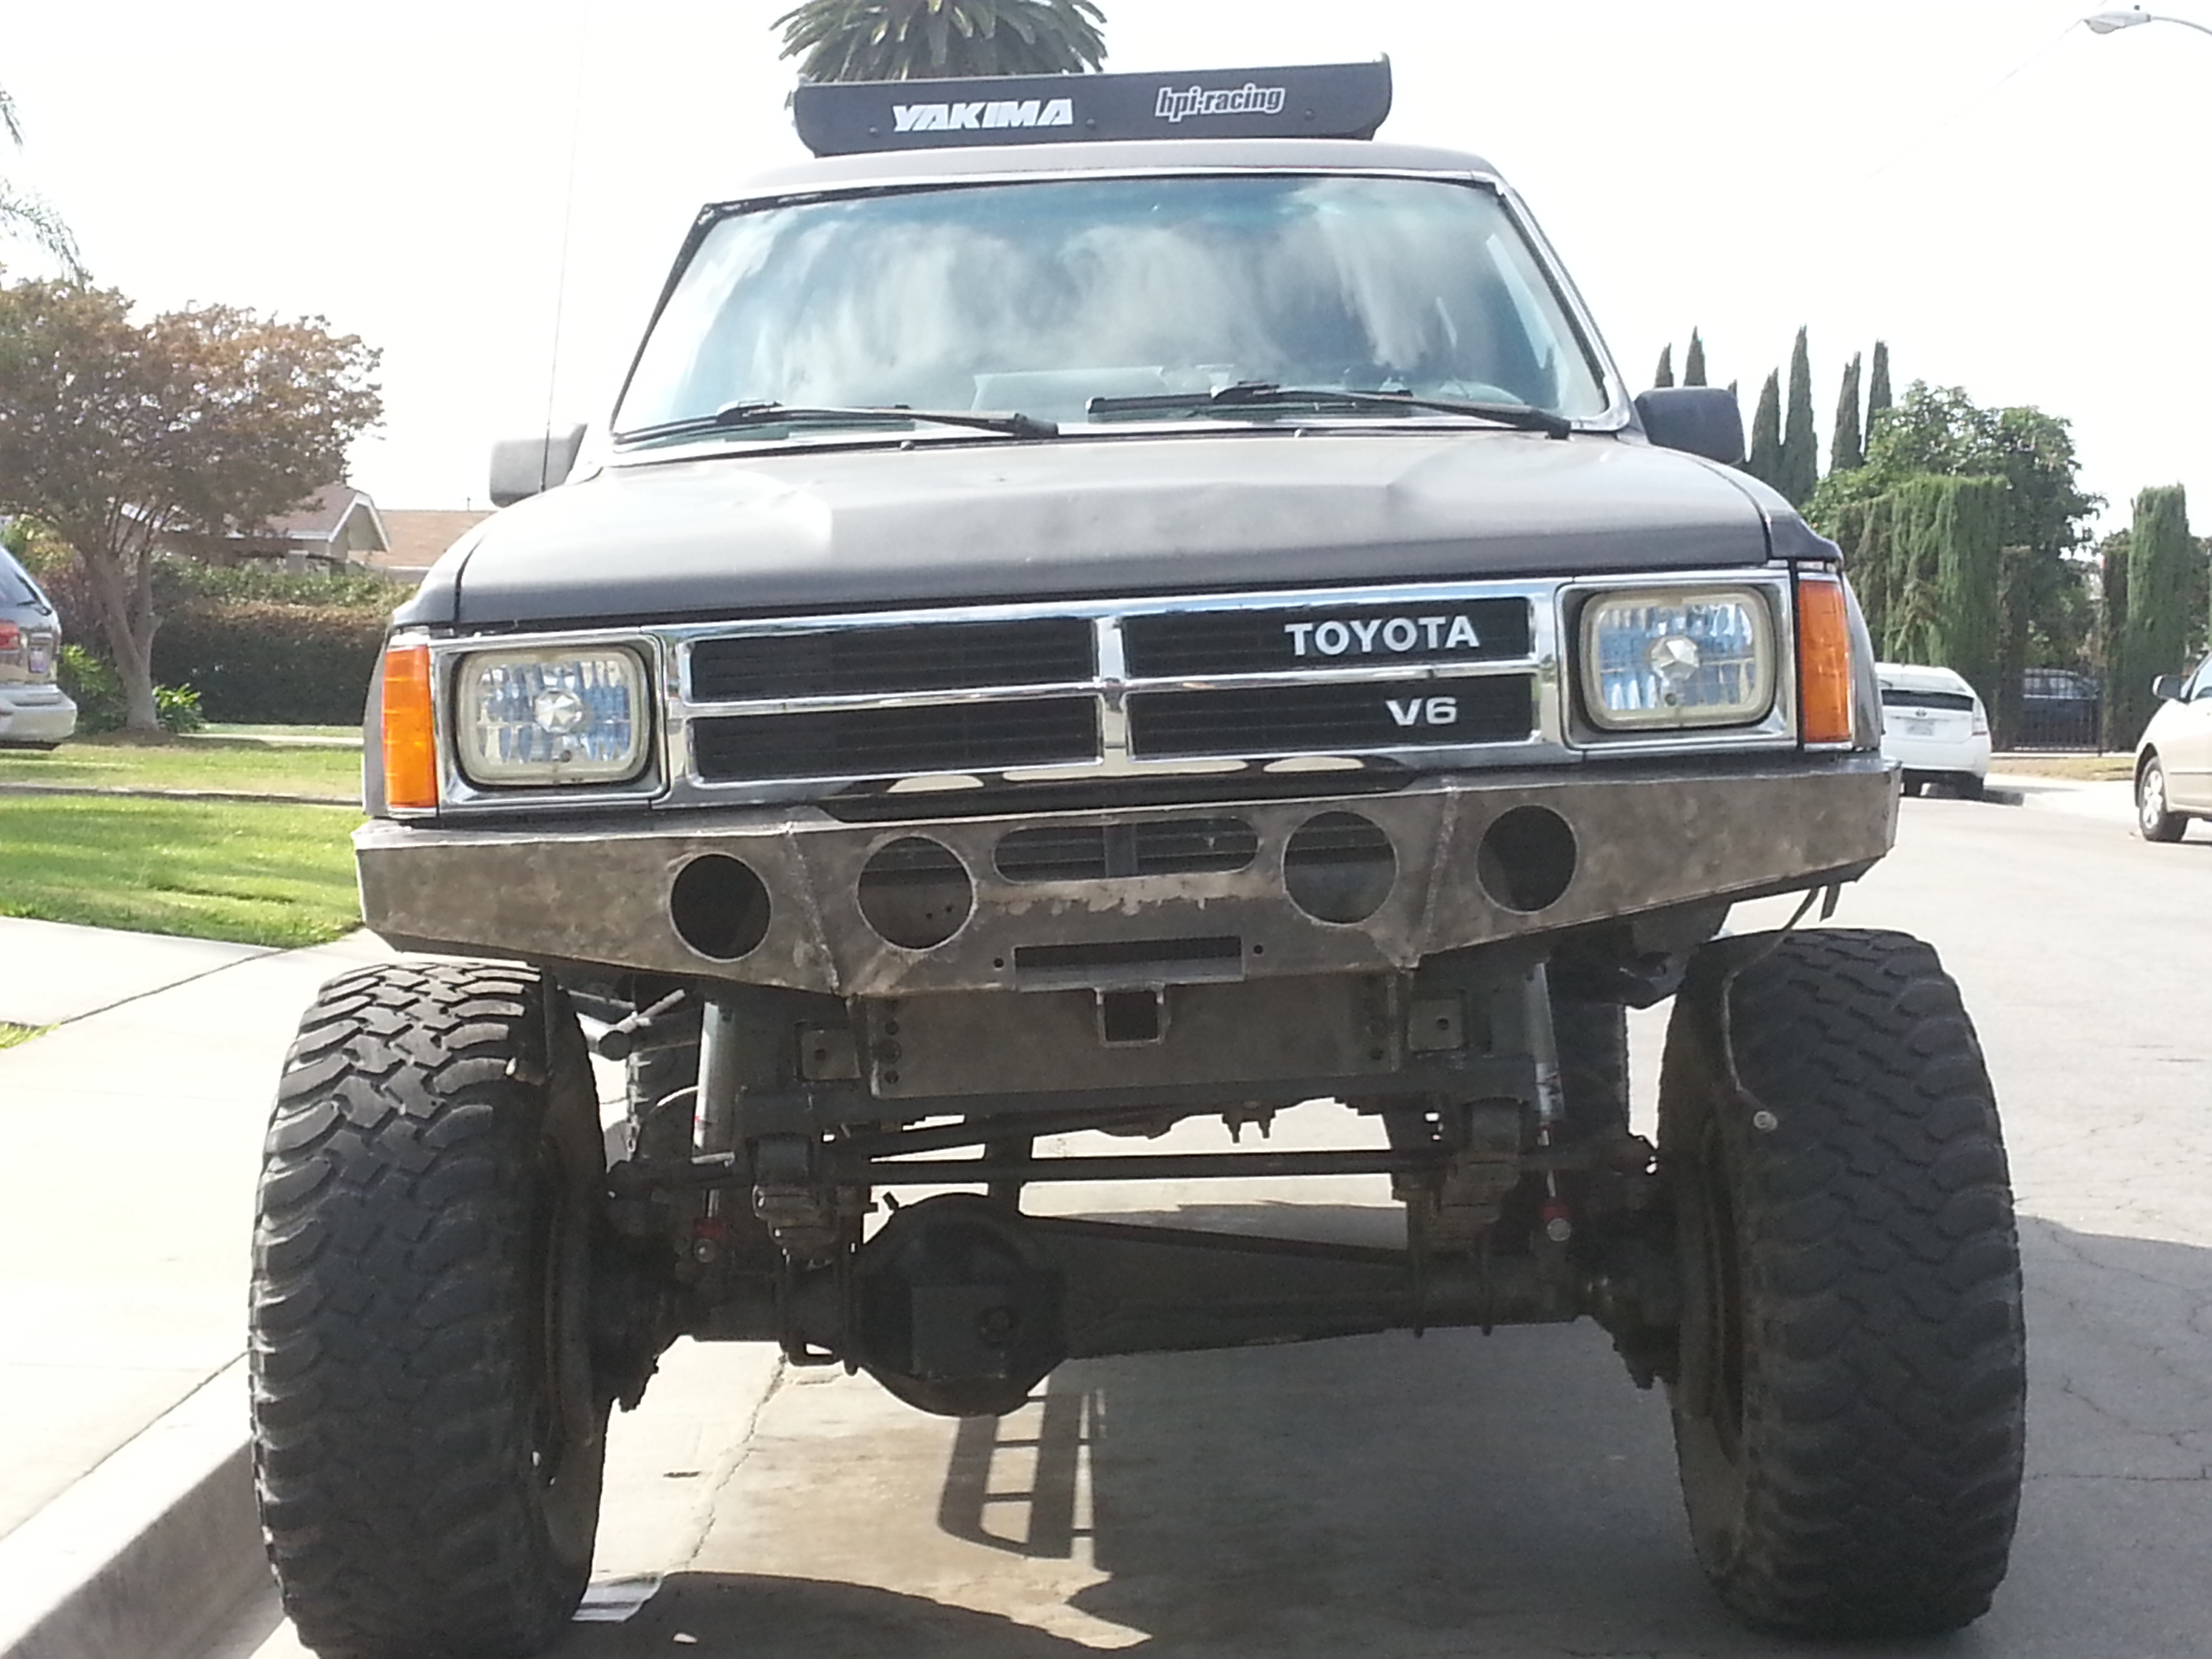
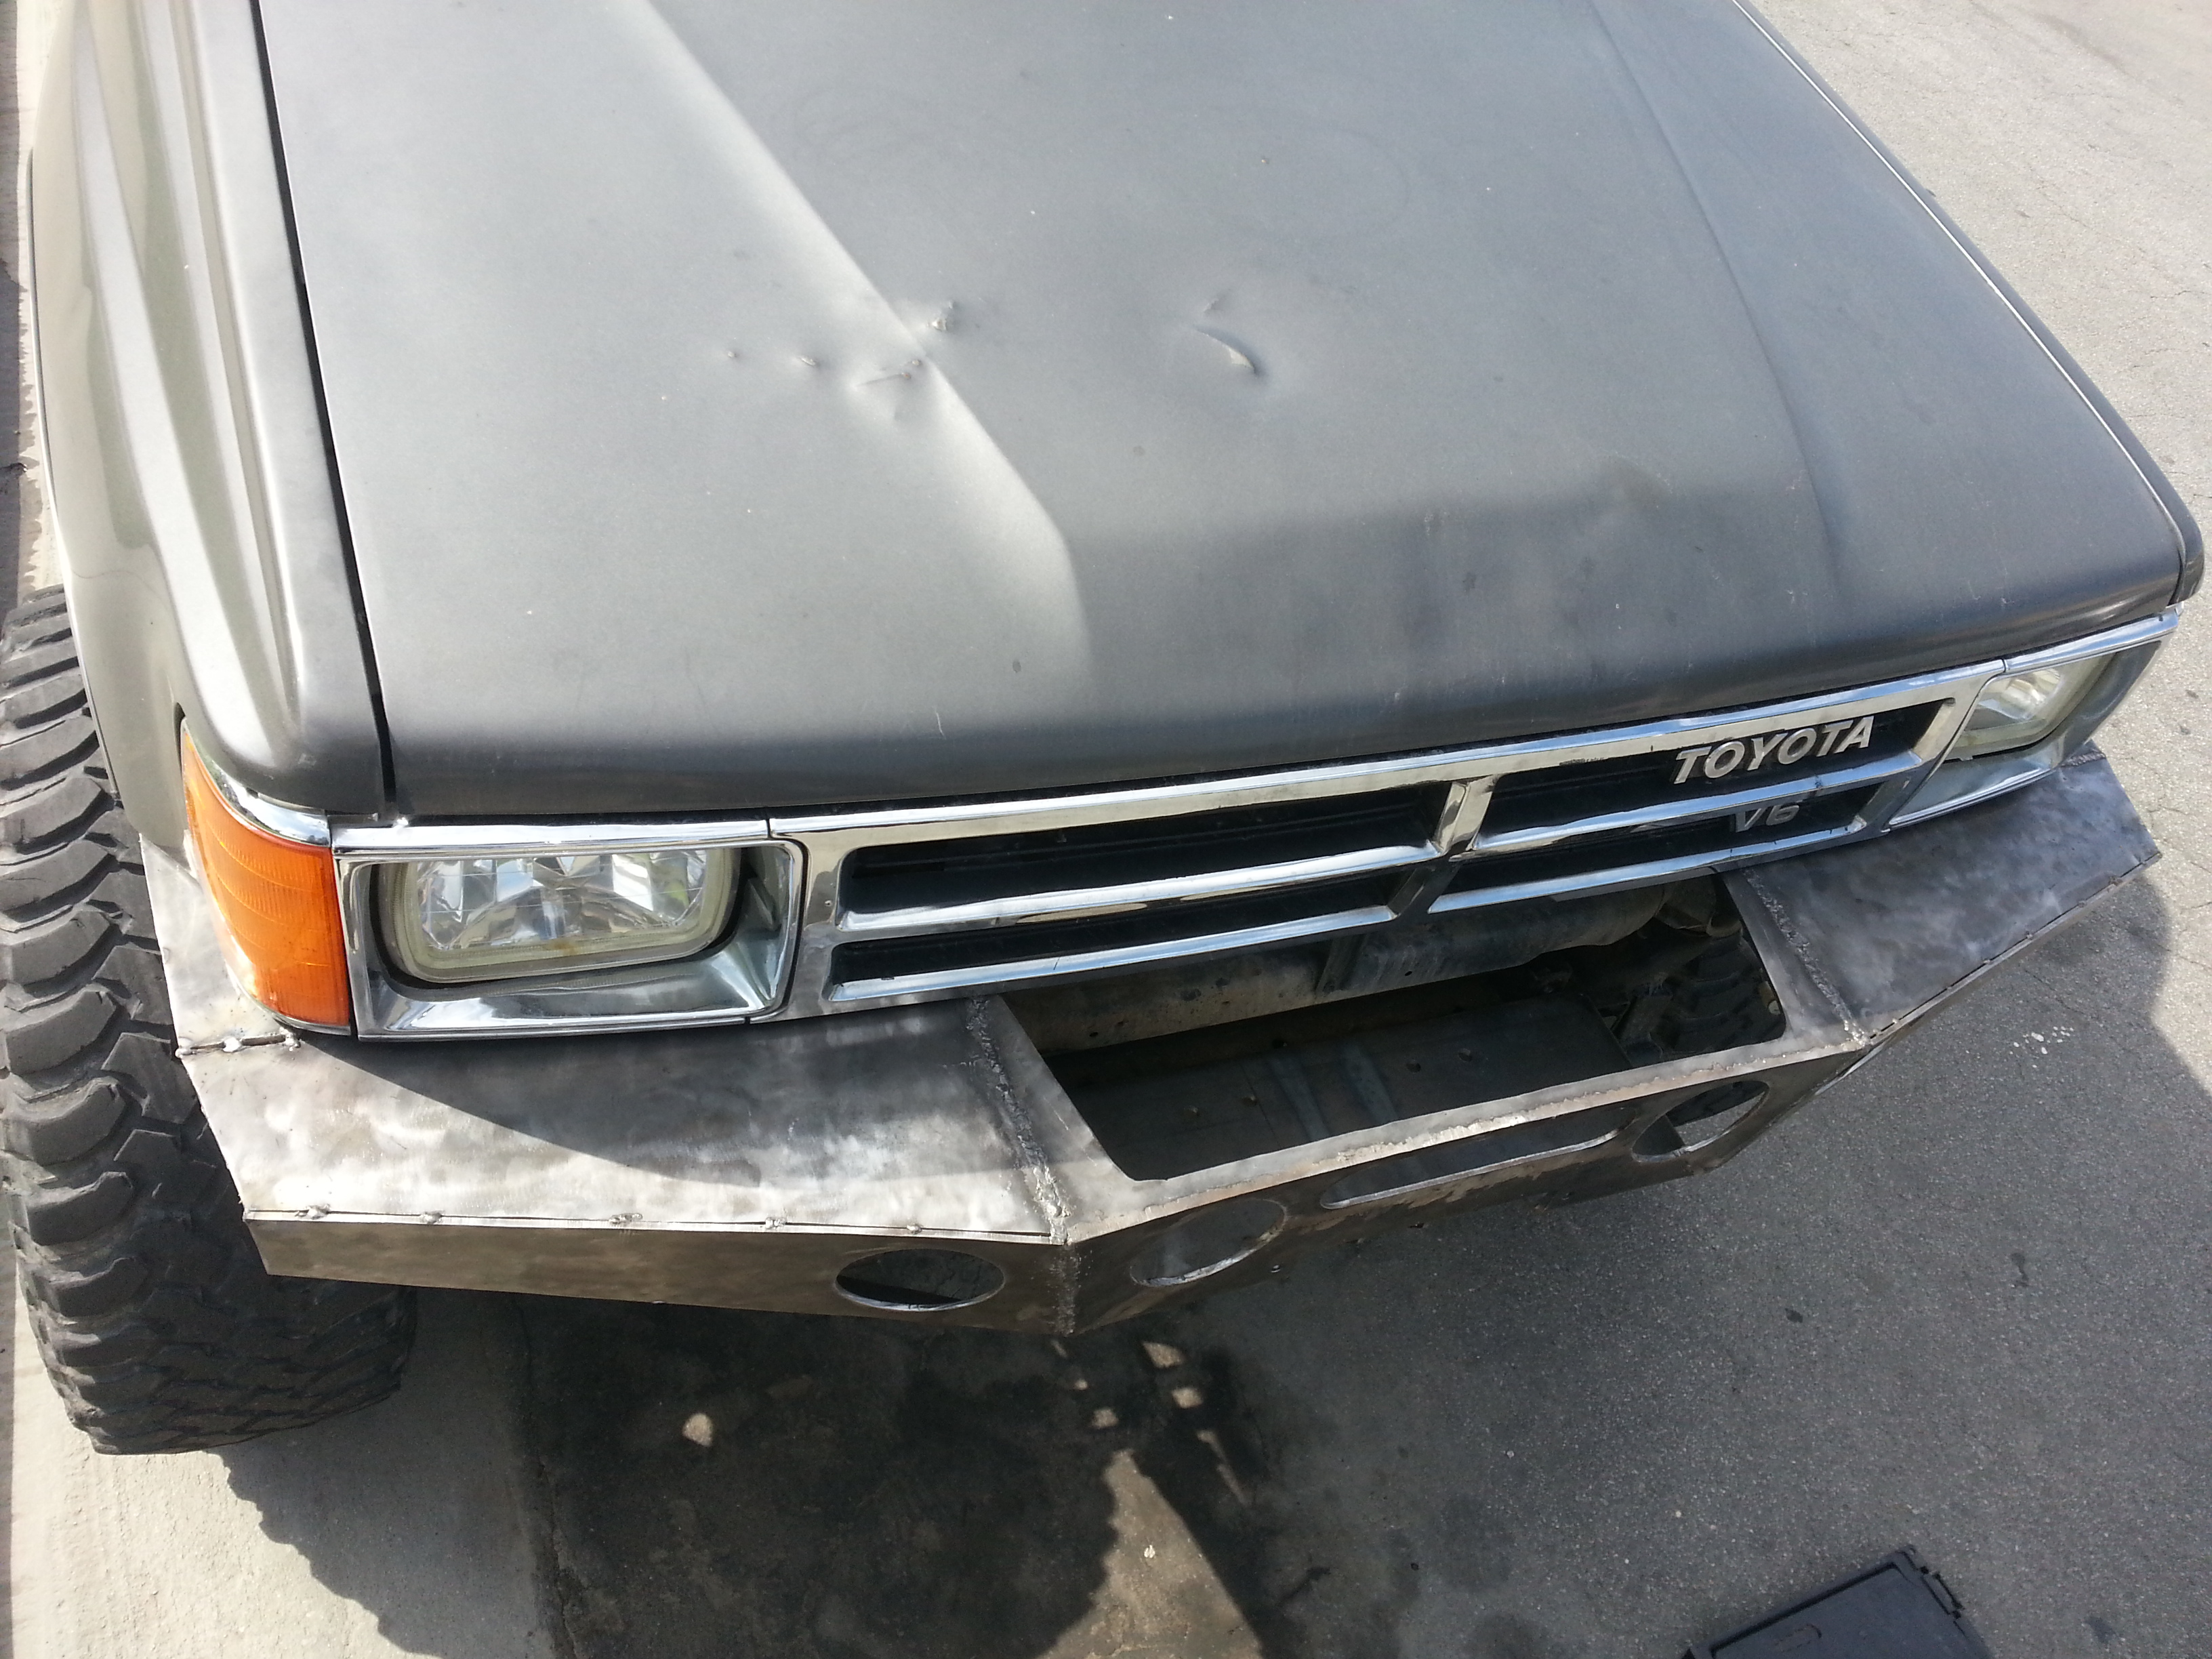
I went ahead and checked my front grill and it seems to be centered vertically, but horizontally it isn't. Check it out.
3/8's gap on the Driver side.
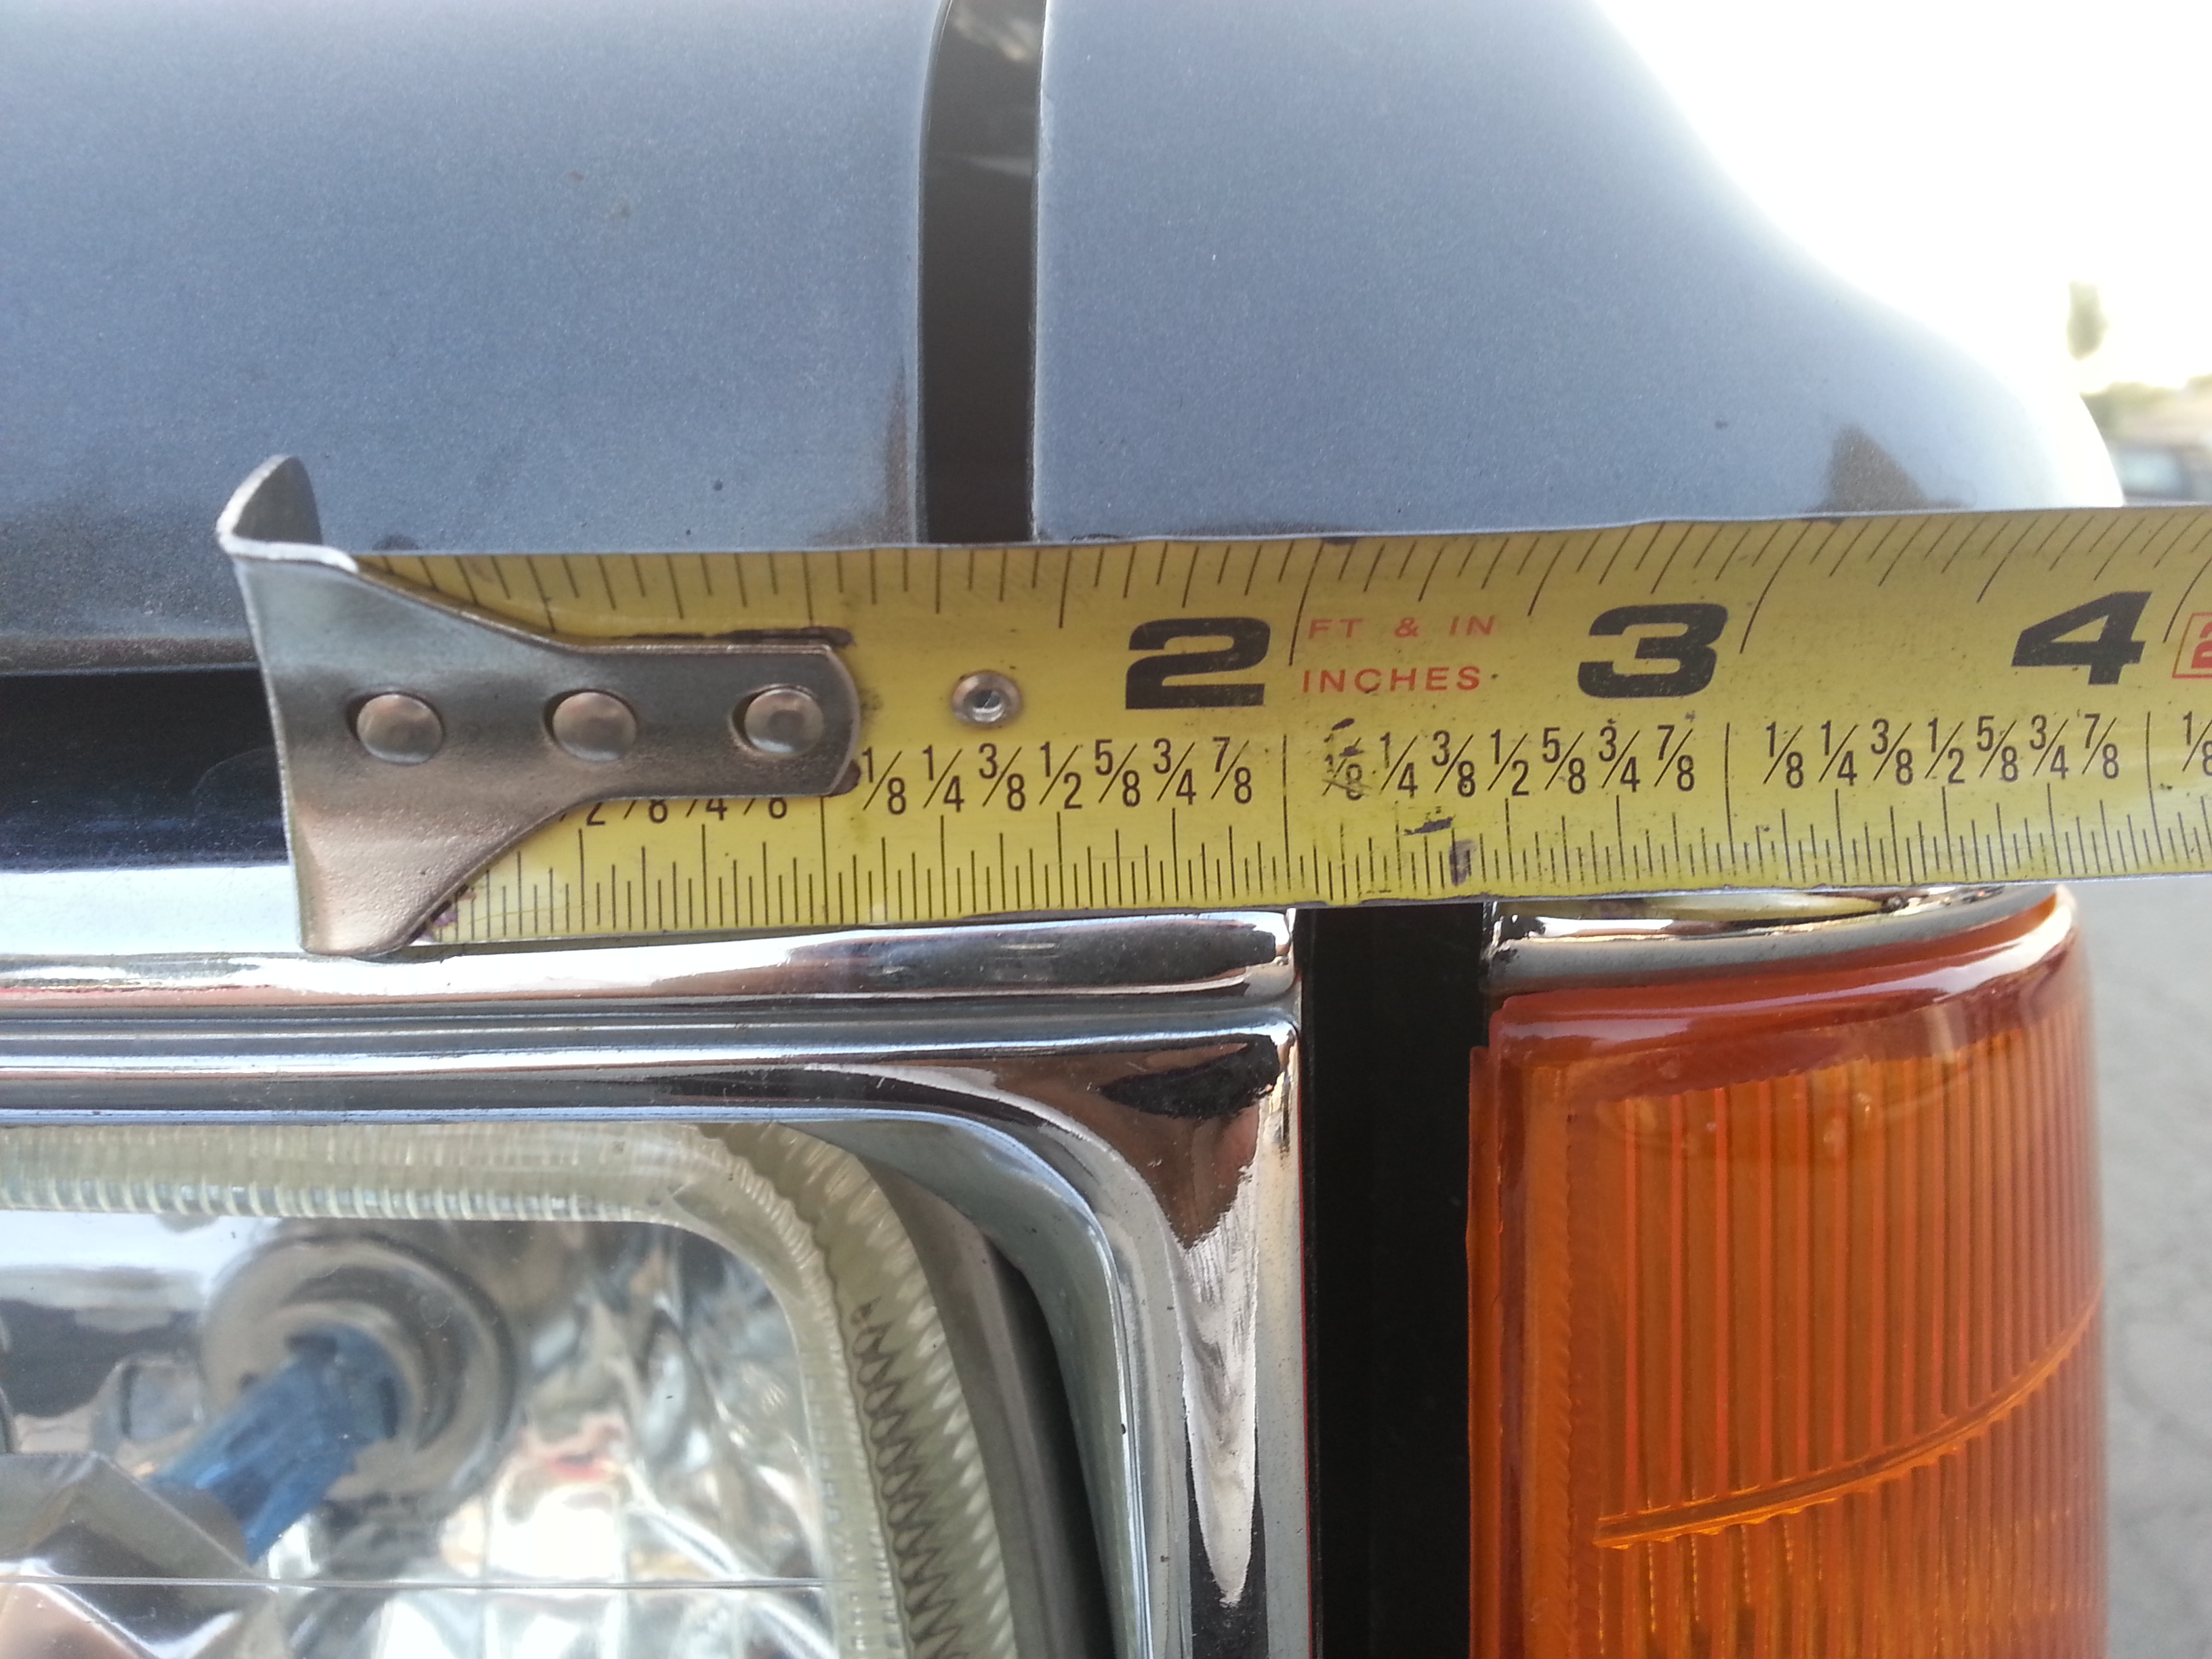
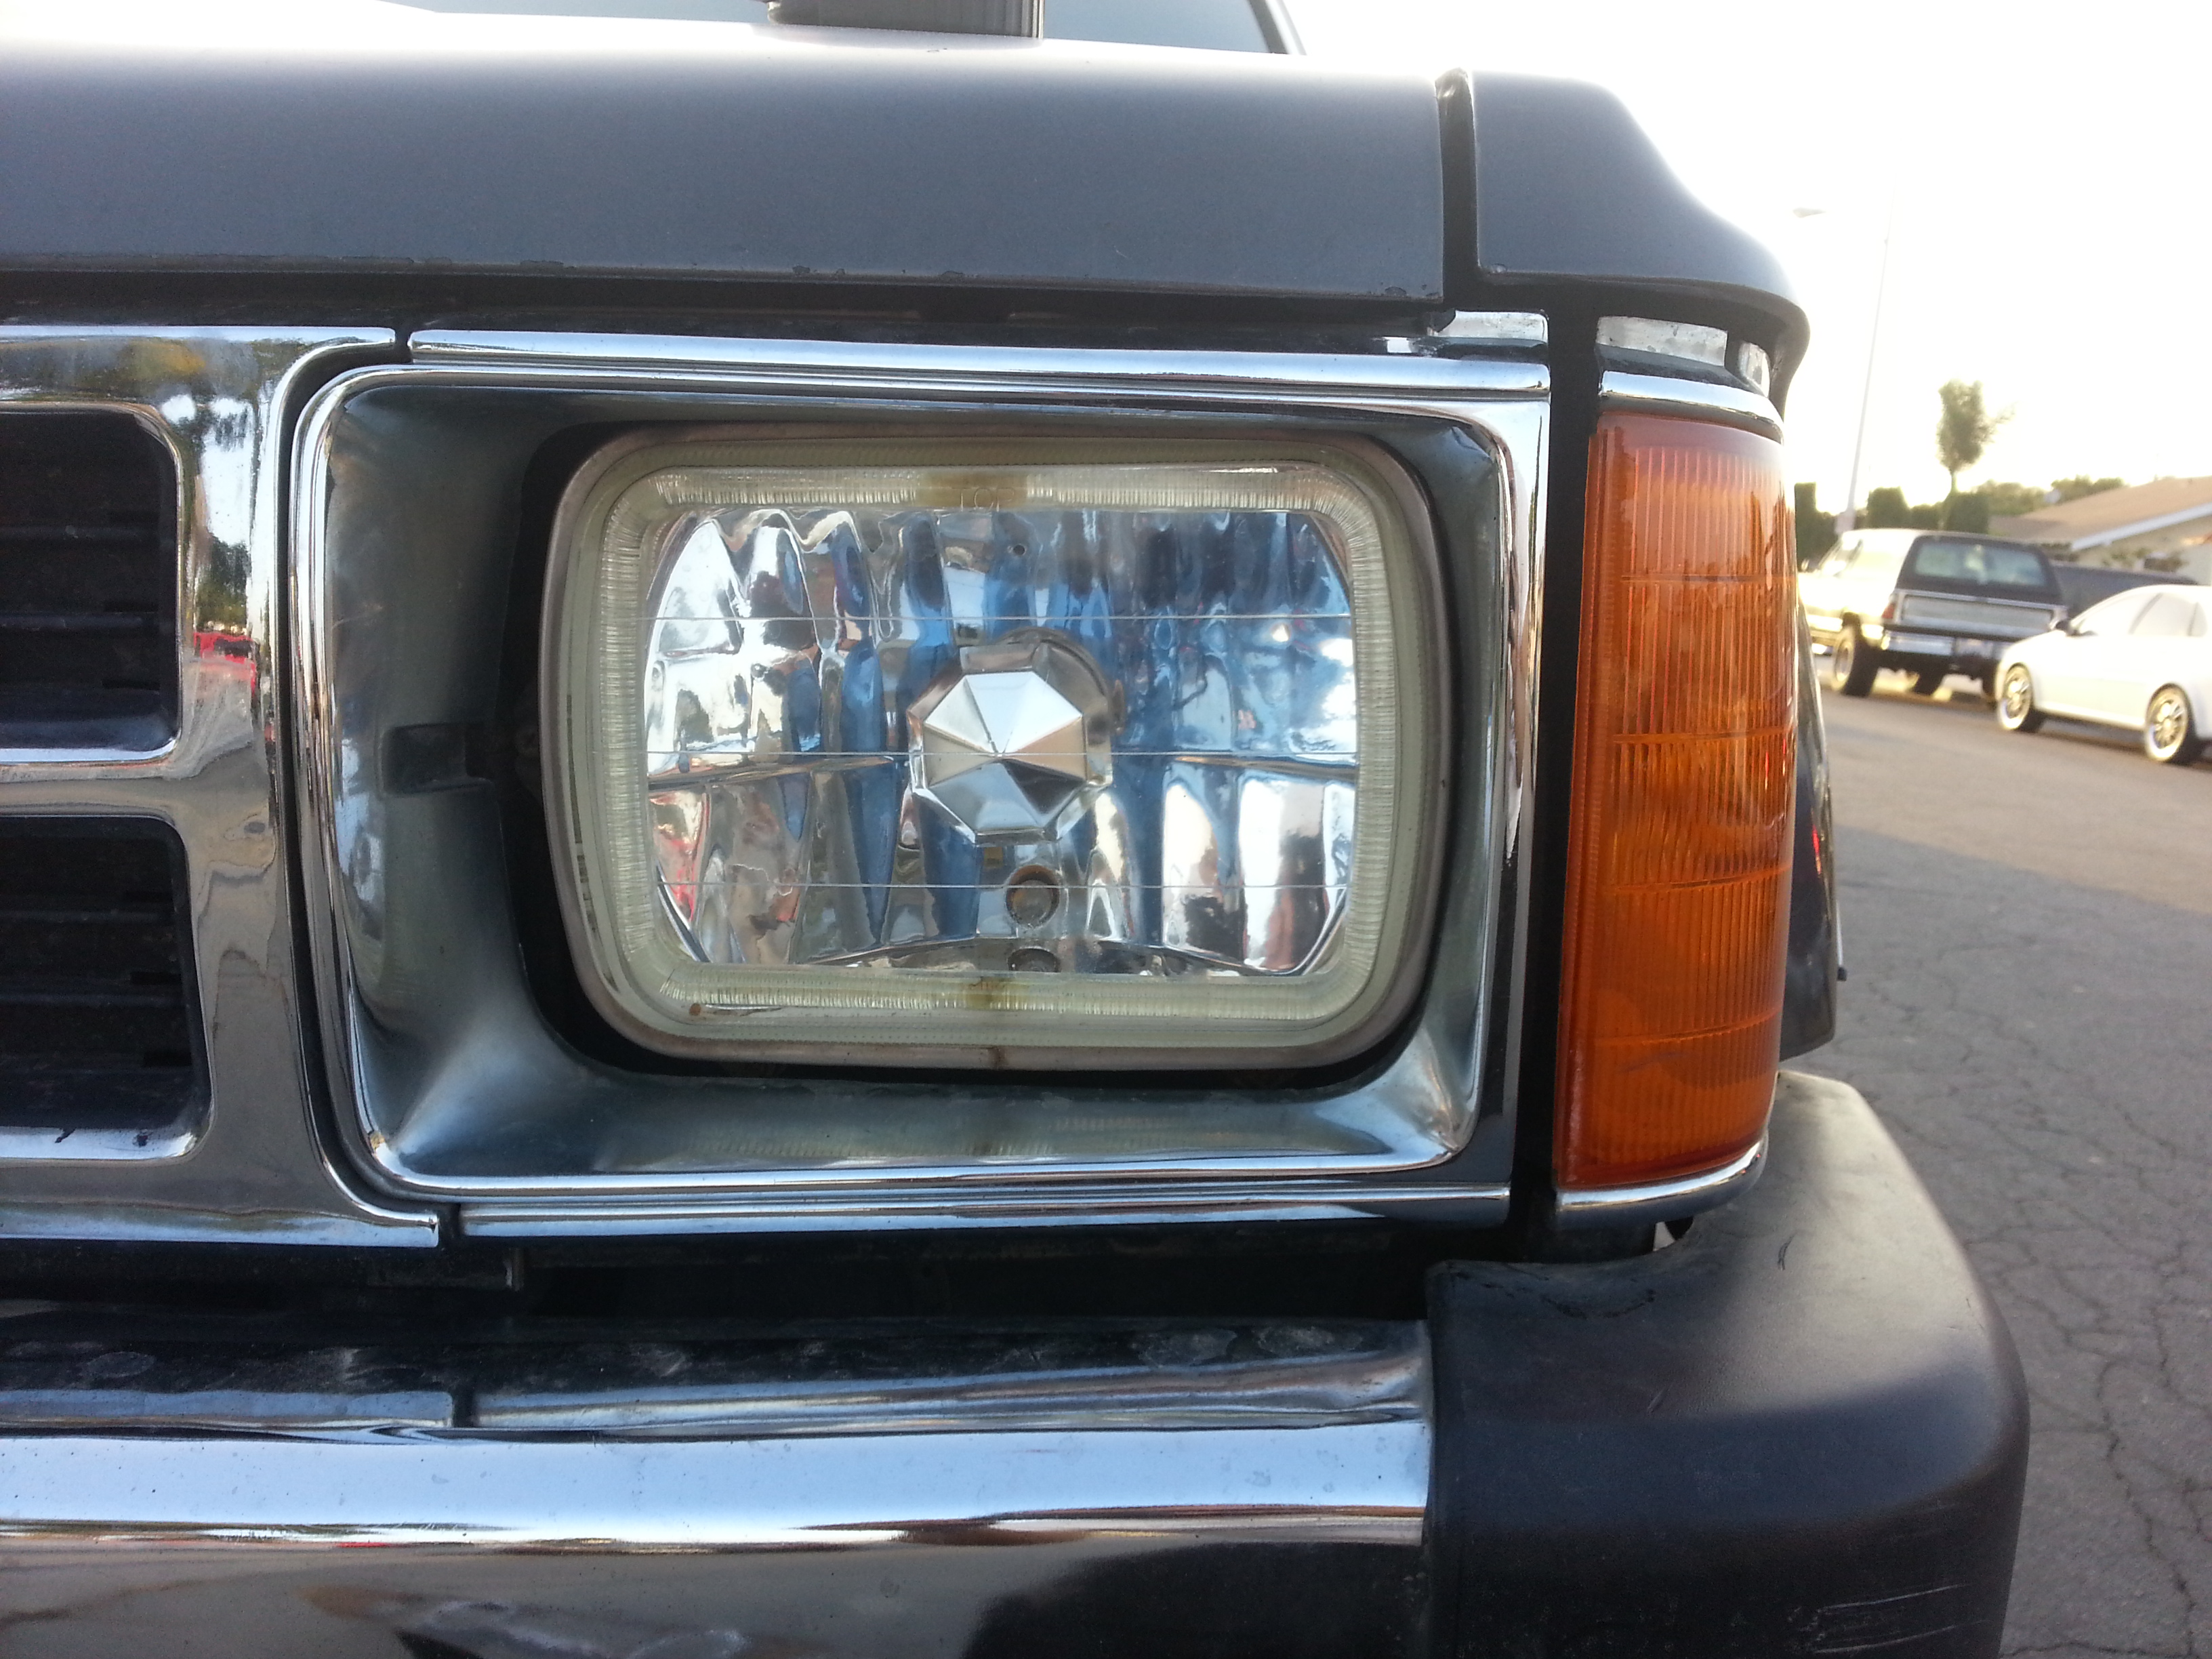
and the grill is right up against the light on the passenger side.
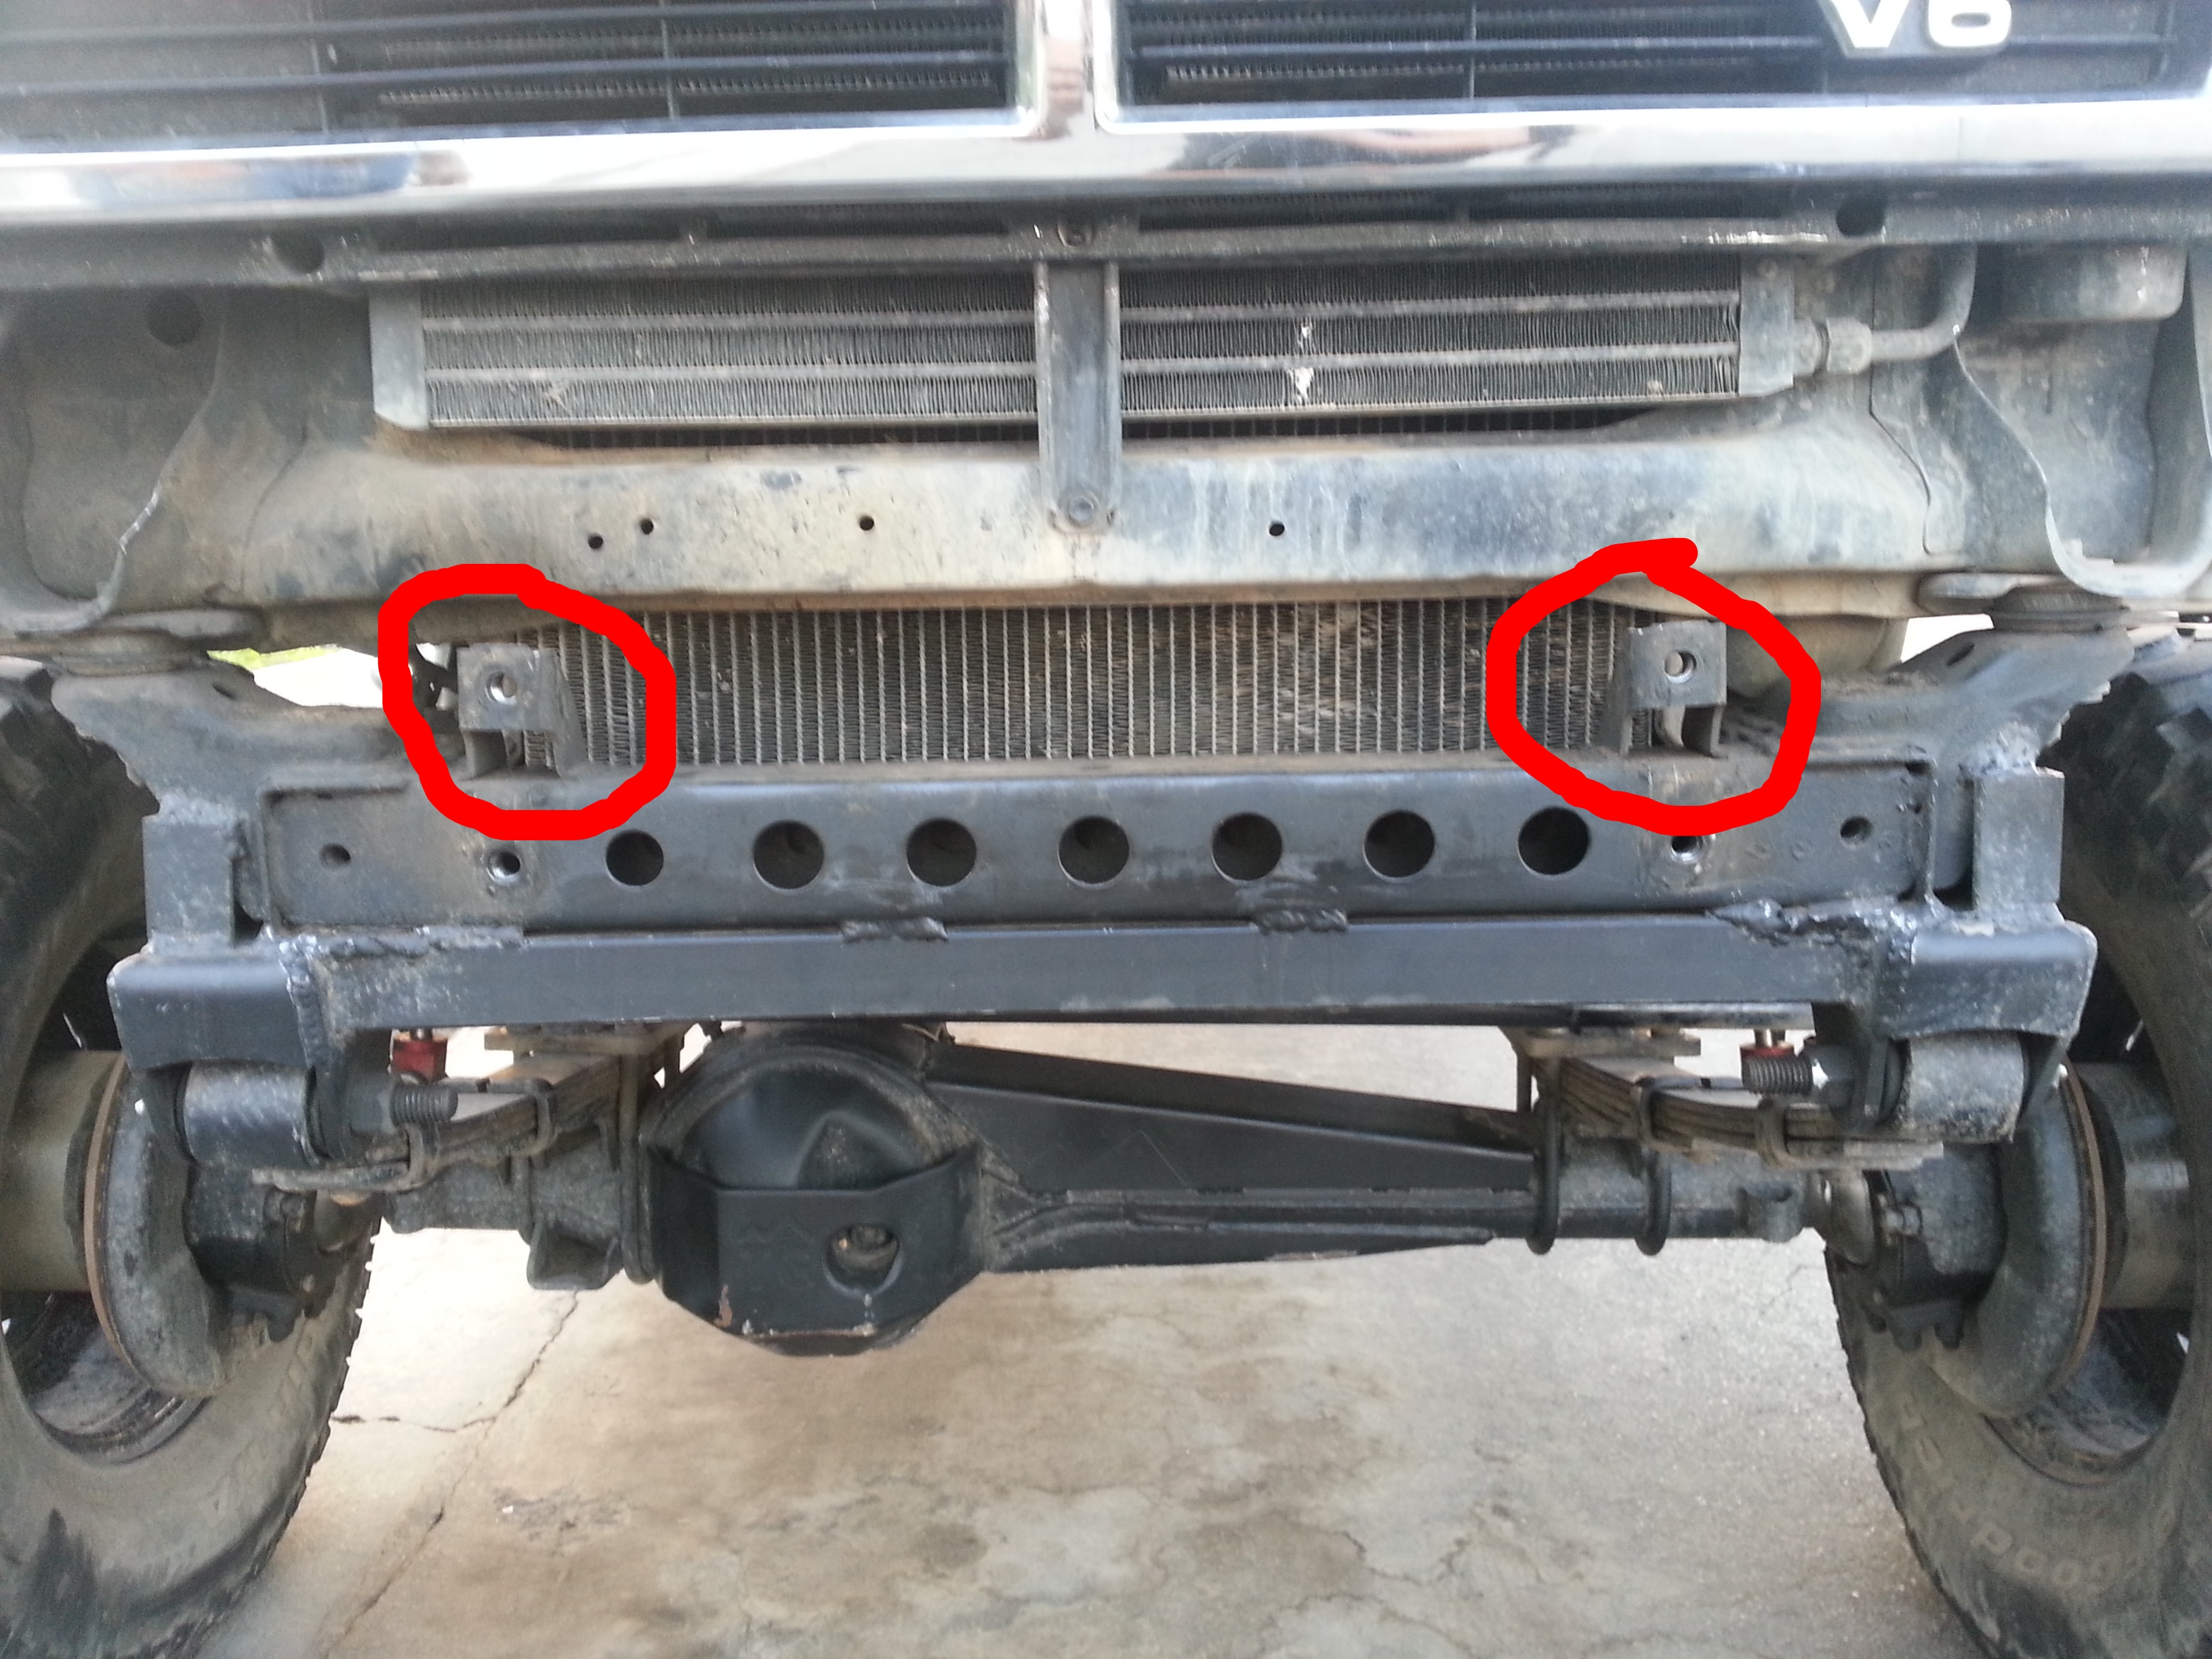
One reason my bumper was off was because the top screw holes that mount the bumper(circled) we off. Apparently the truck had to have been in a minor car accident on the front end because the those 2 tabs were both pushed off to the driver side a few millimeters.
Also bought a 4" grinder wheel and rounded out those torched edges and made nice n smooth. still have a bit more to go but it cleaned up a heck of a lot.
---------------------------------------------------------------------------------------
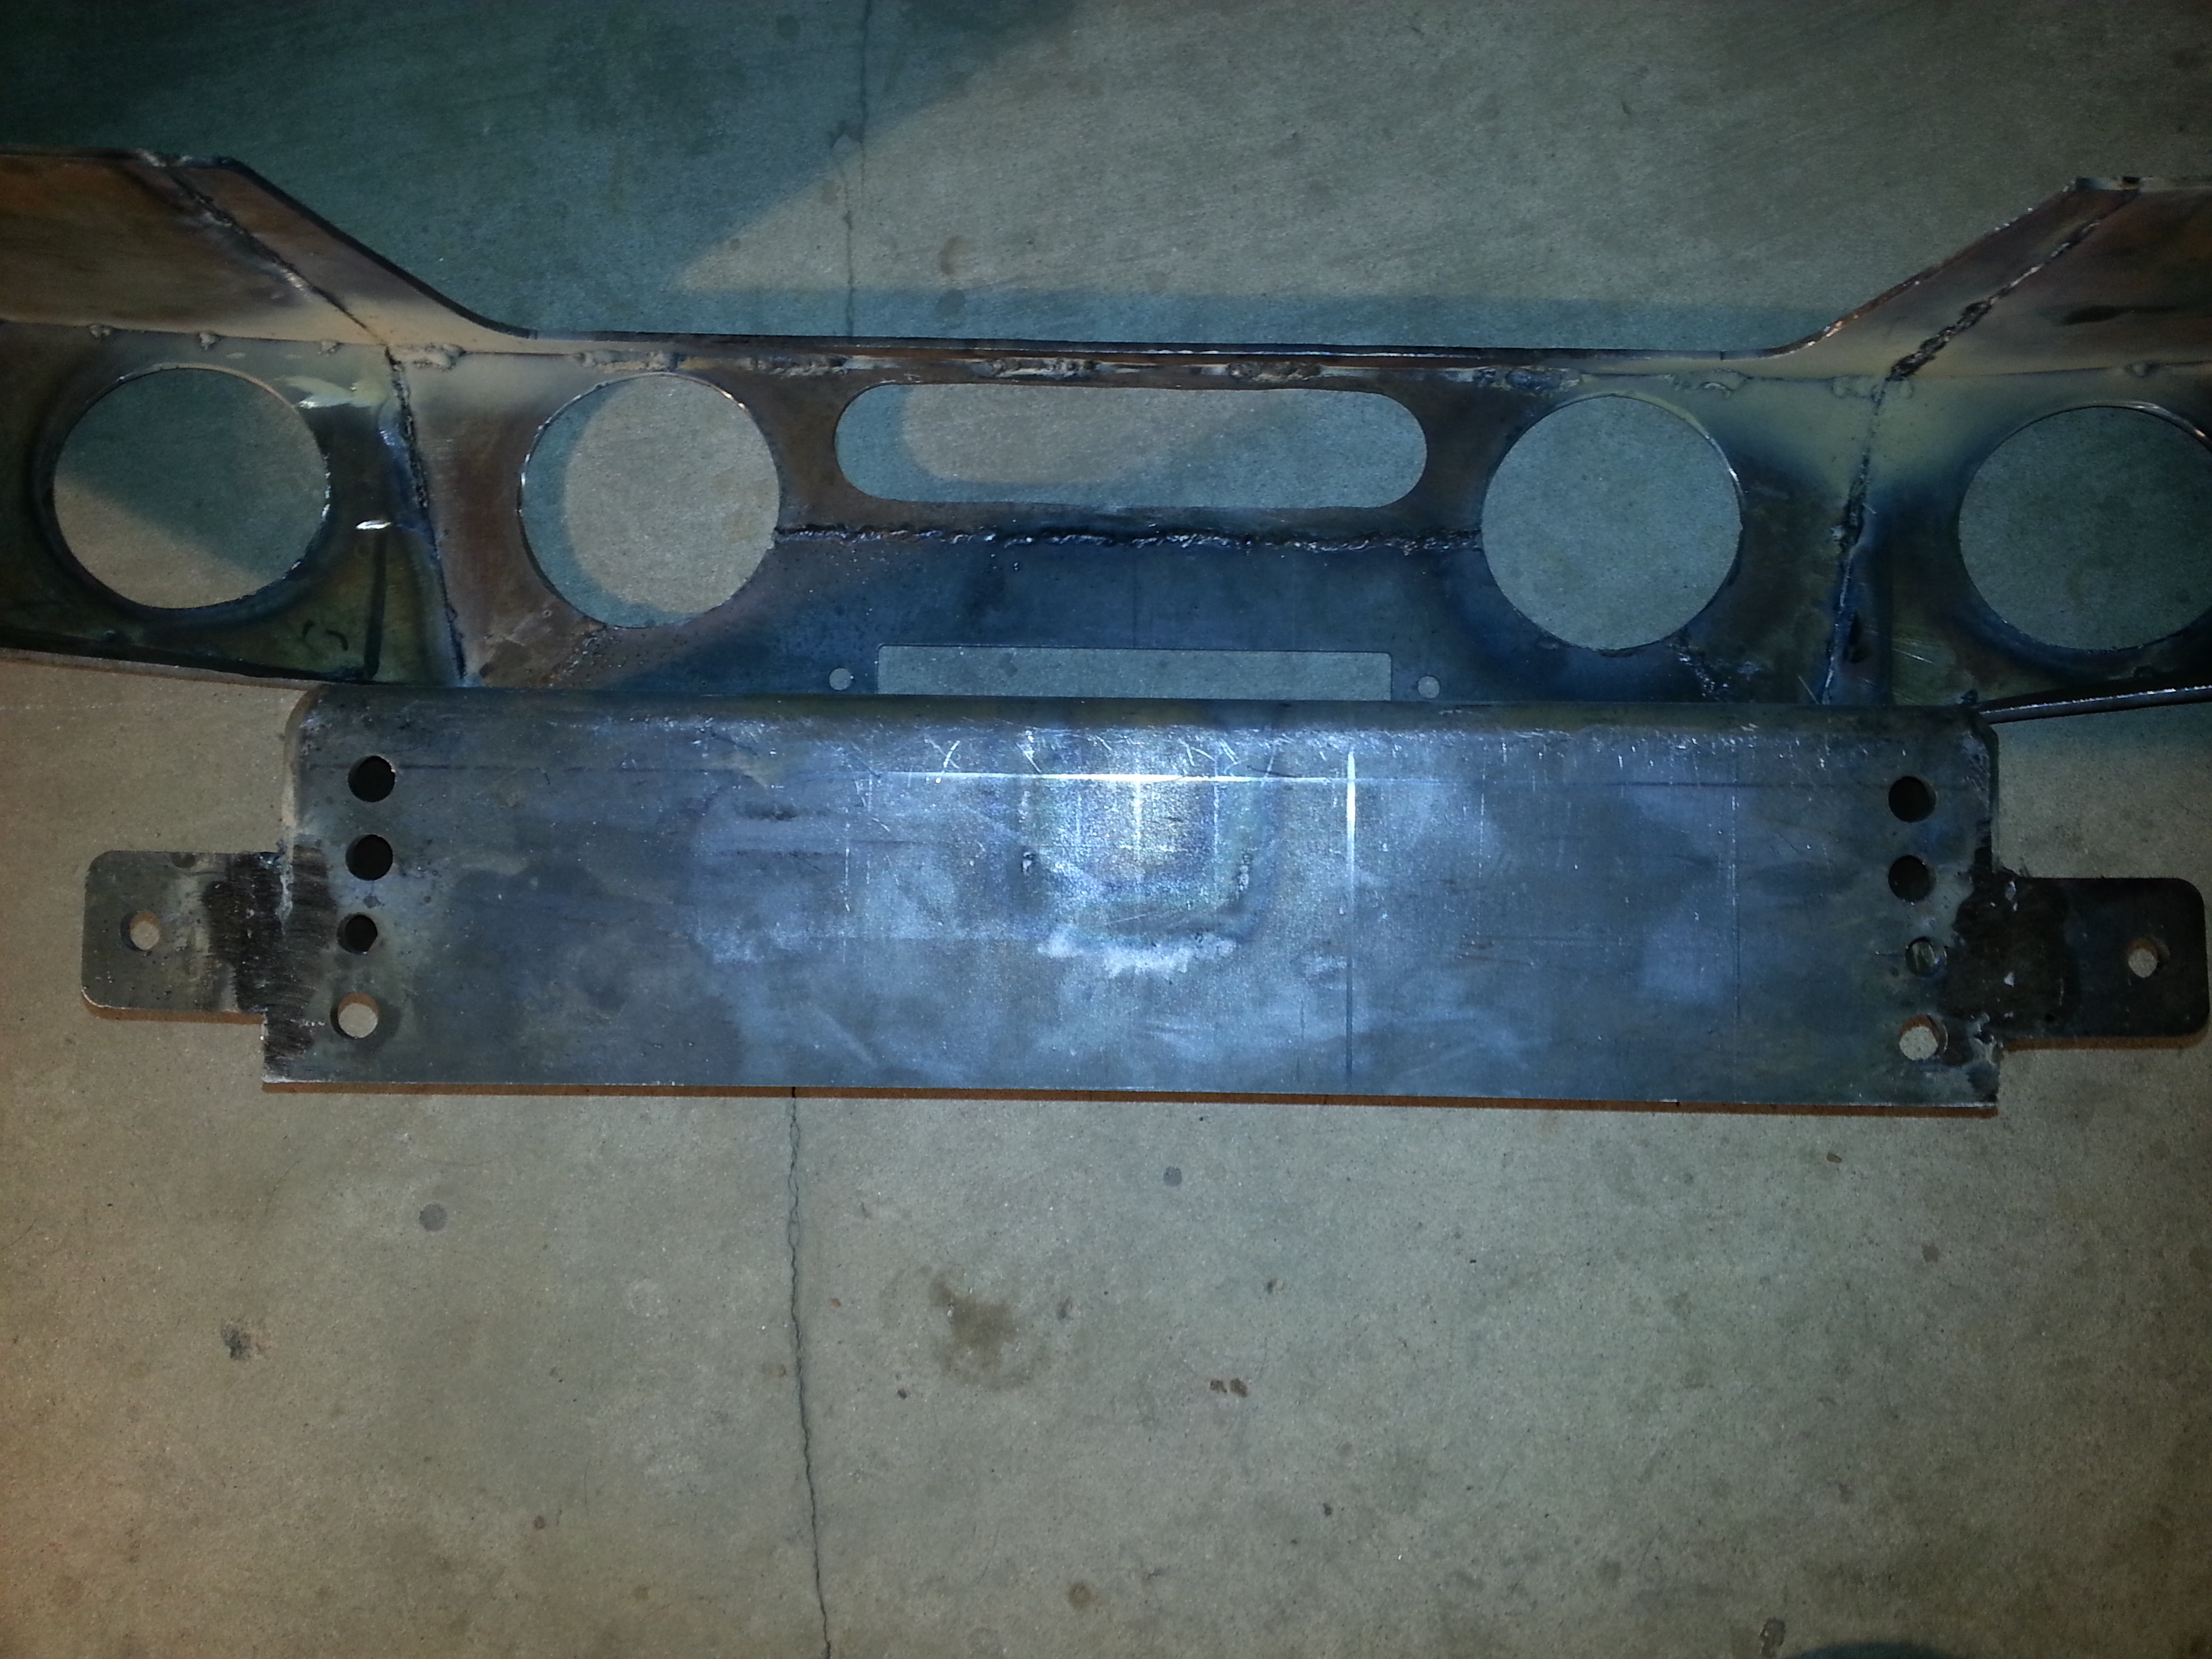
So RBX gave me an idea. he mentioned that the trailgear winch plate should be adjustable. and although it is. it wasnt adjustable enough. So we had to add our own holes 0.5" above the bottom hole and move the 2 tabs up 0.5" too.
Here we torched off the tabs
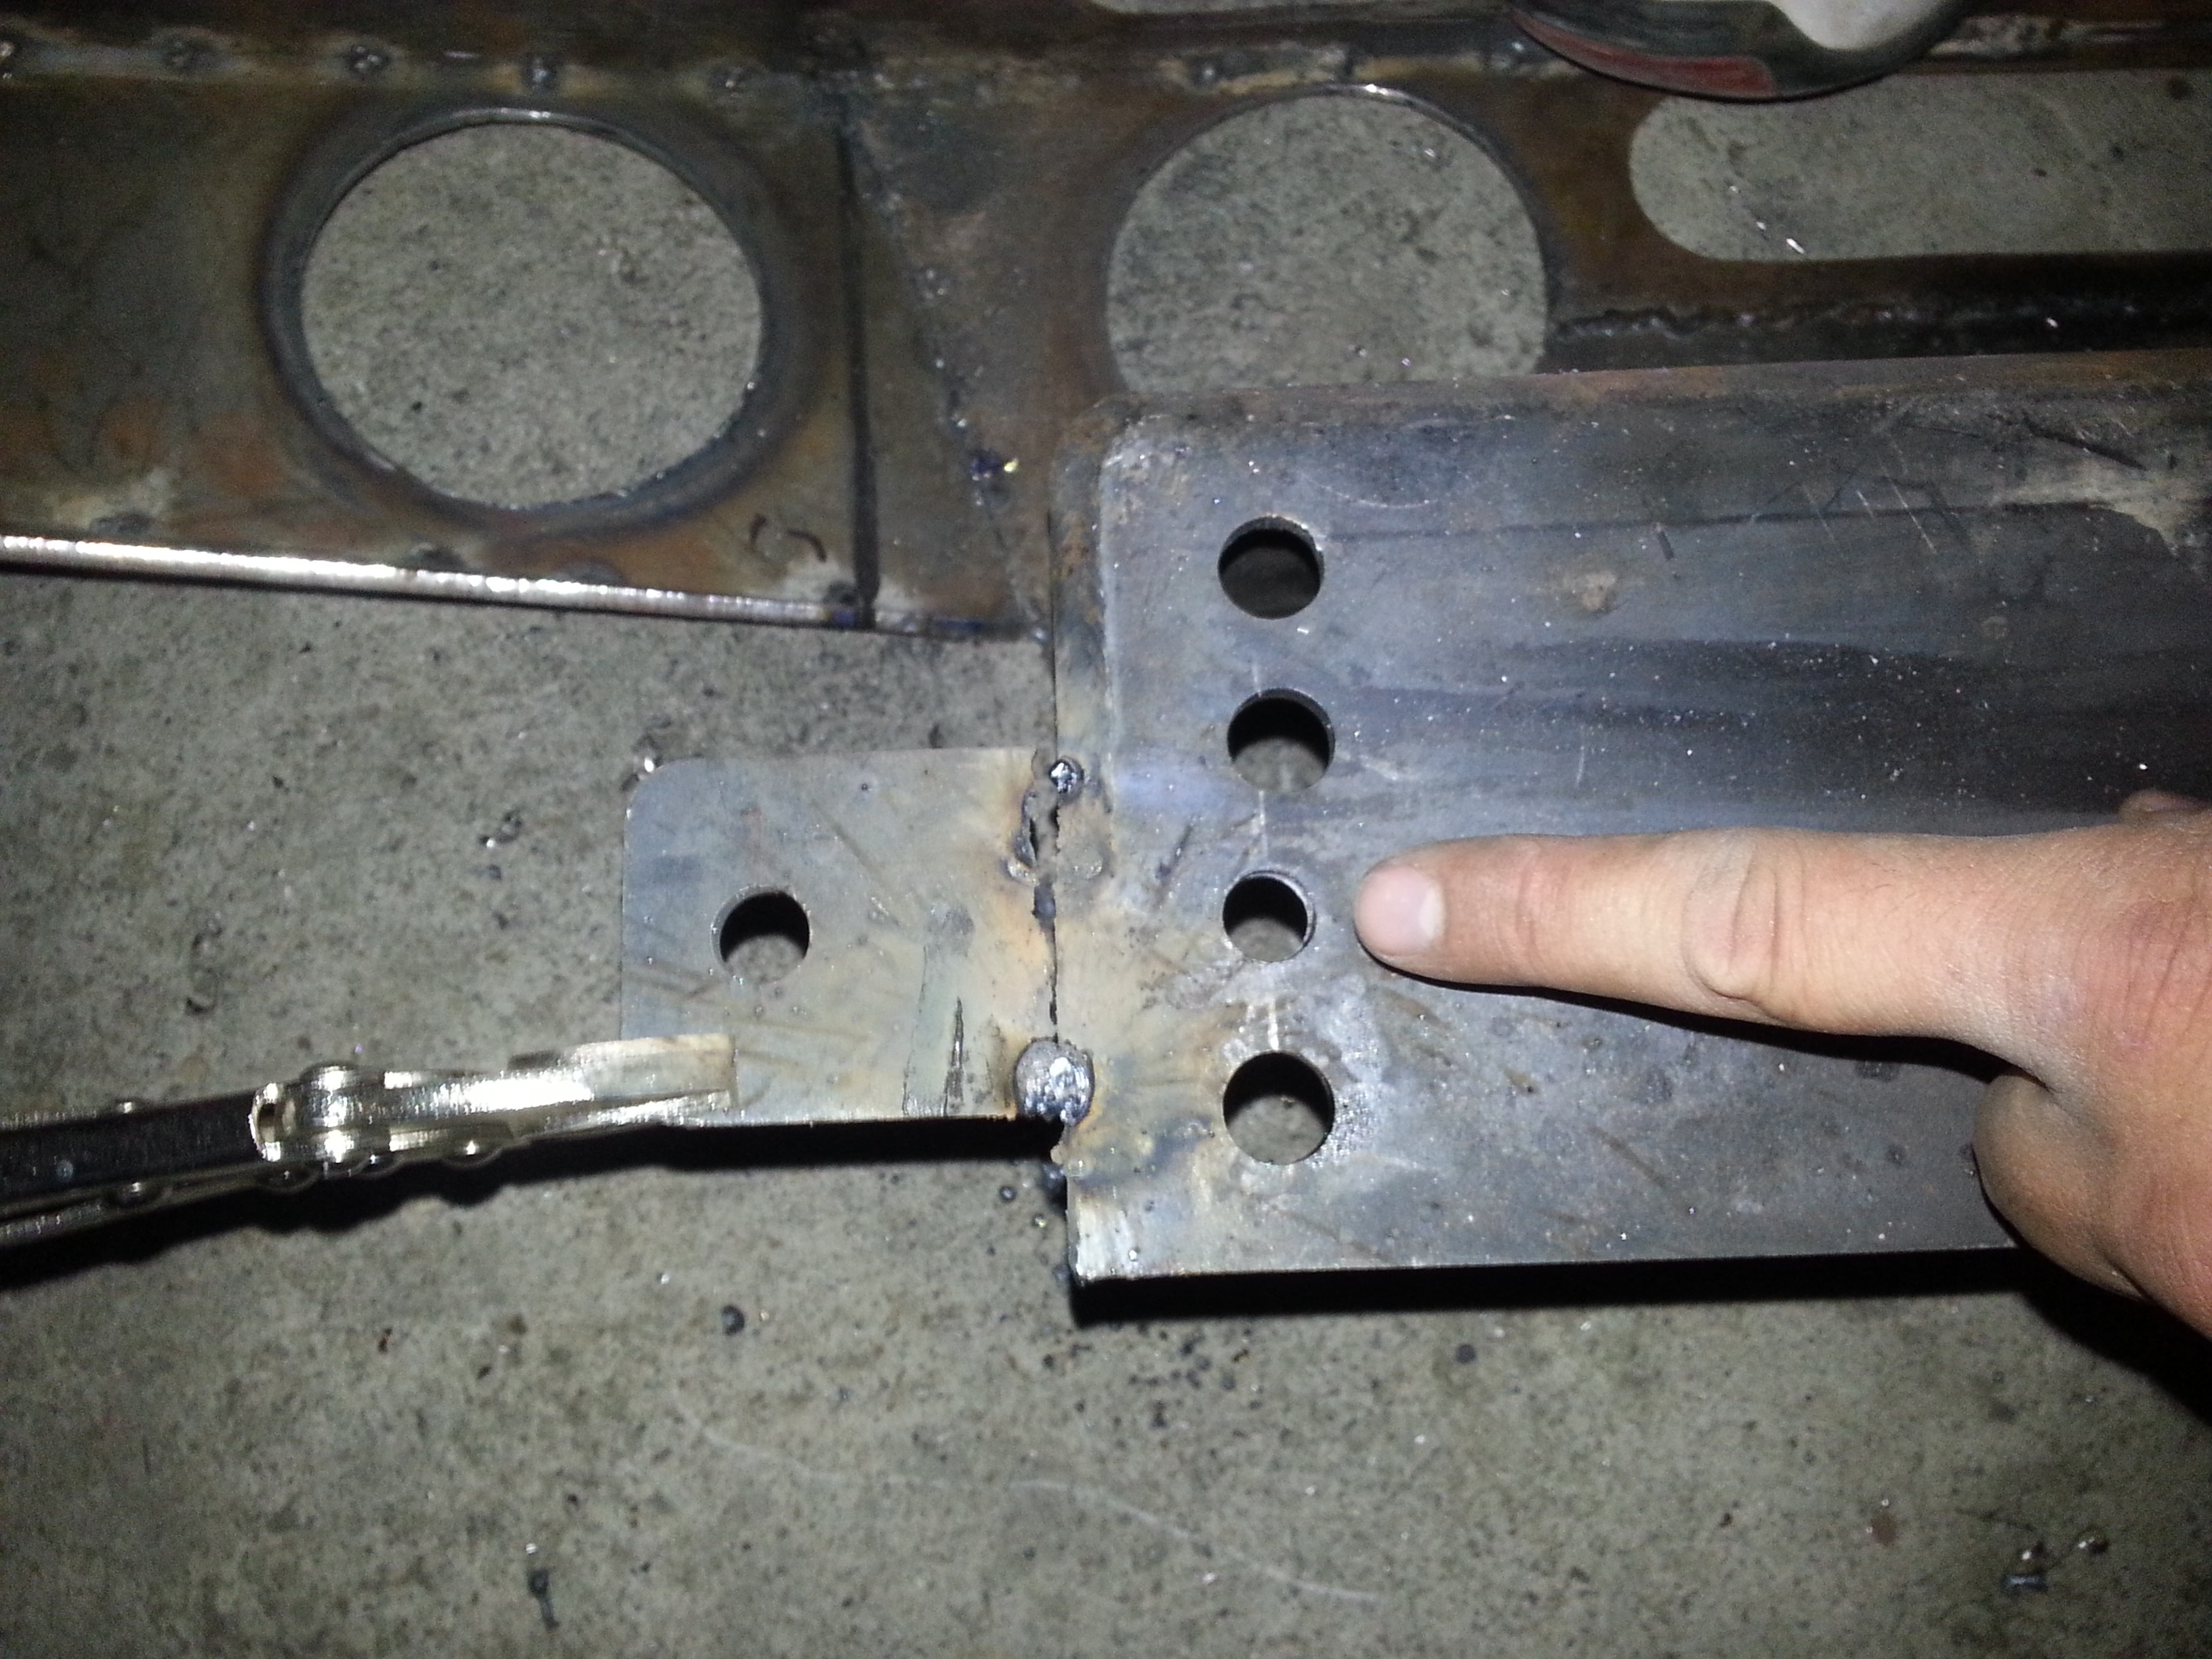
aligning with the newly drilled holes
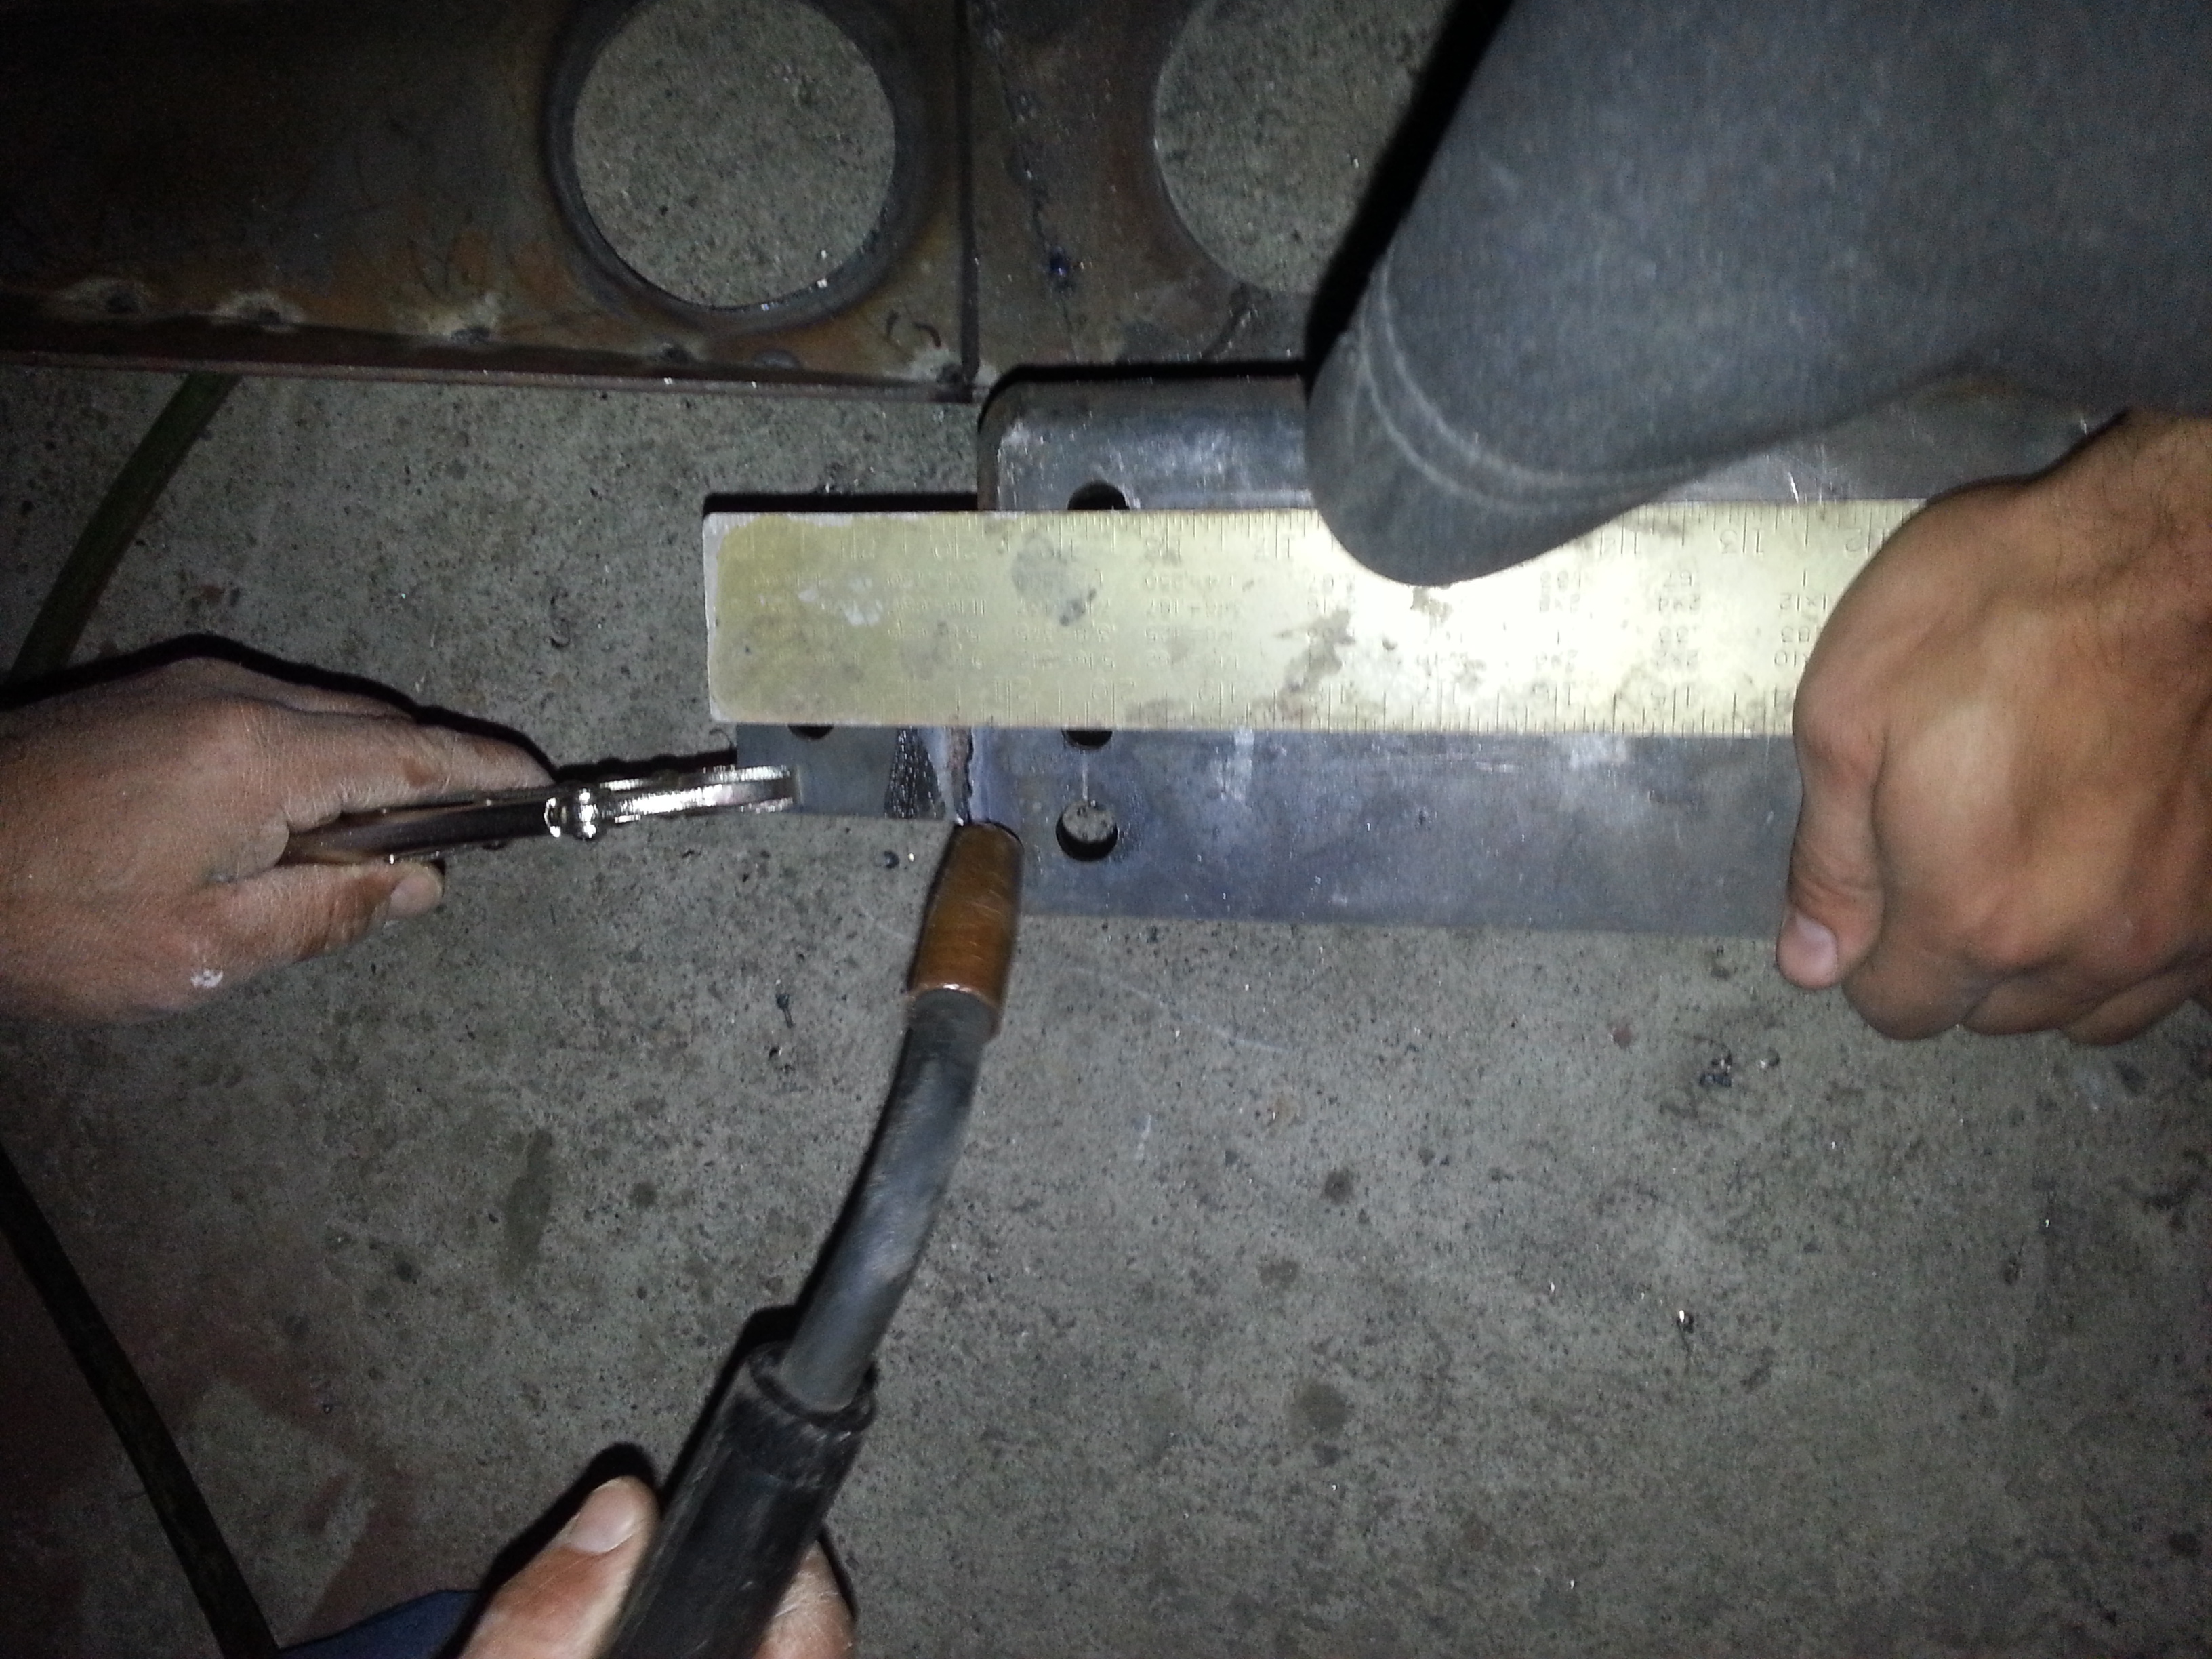
tab is tack welded on and im pointing to the new hole.
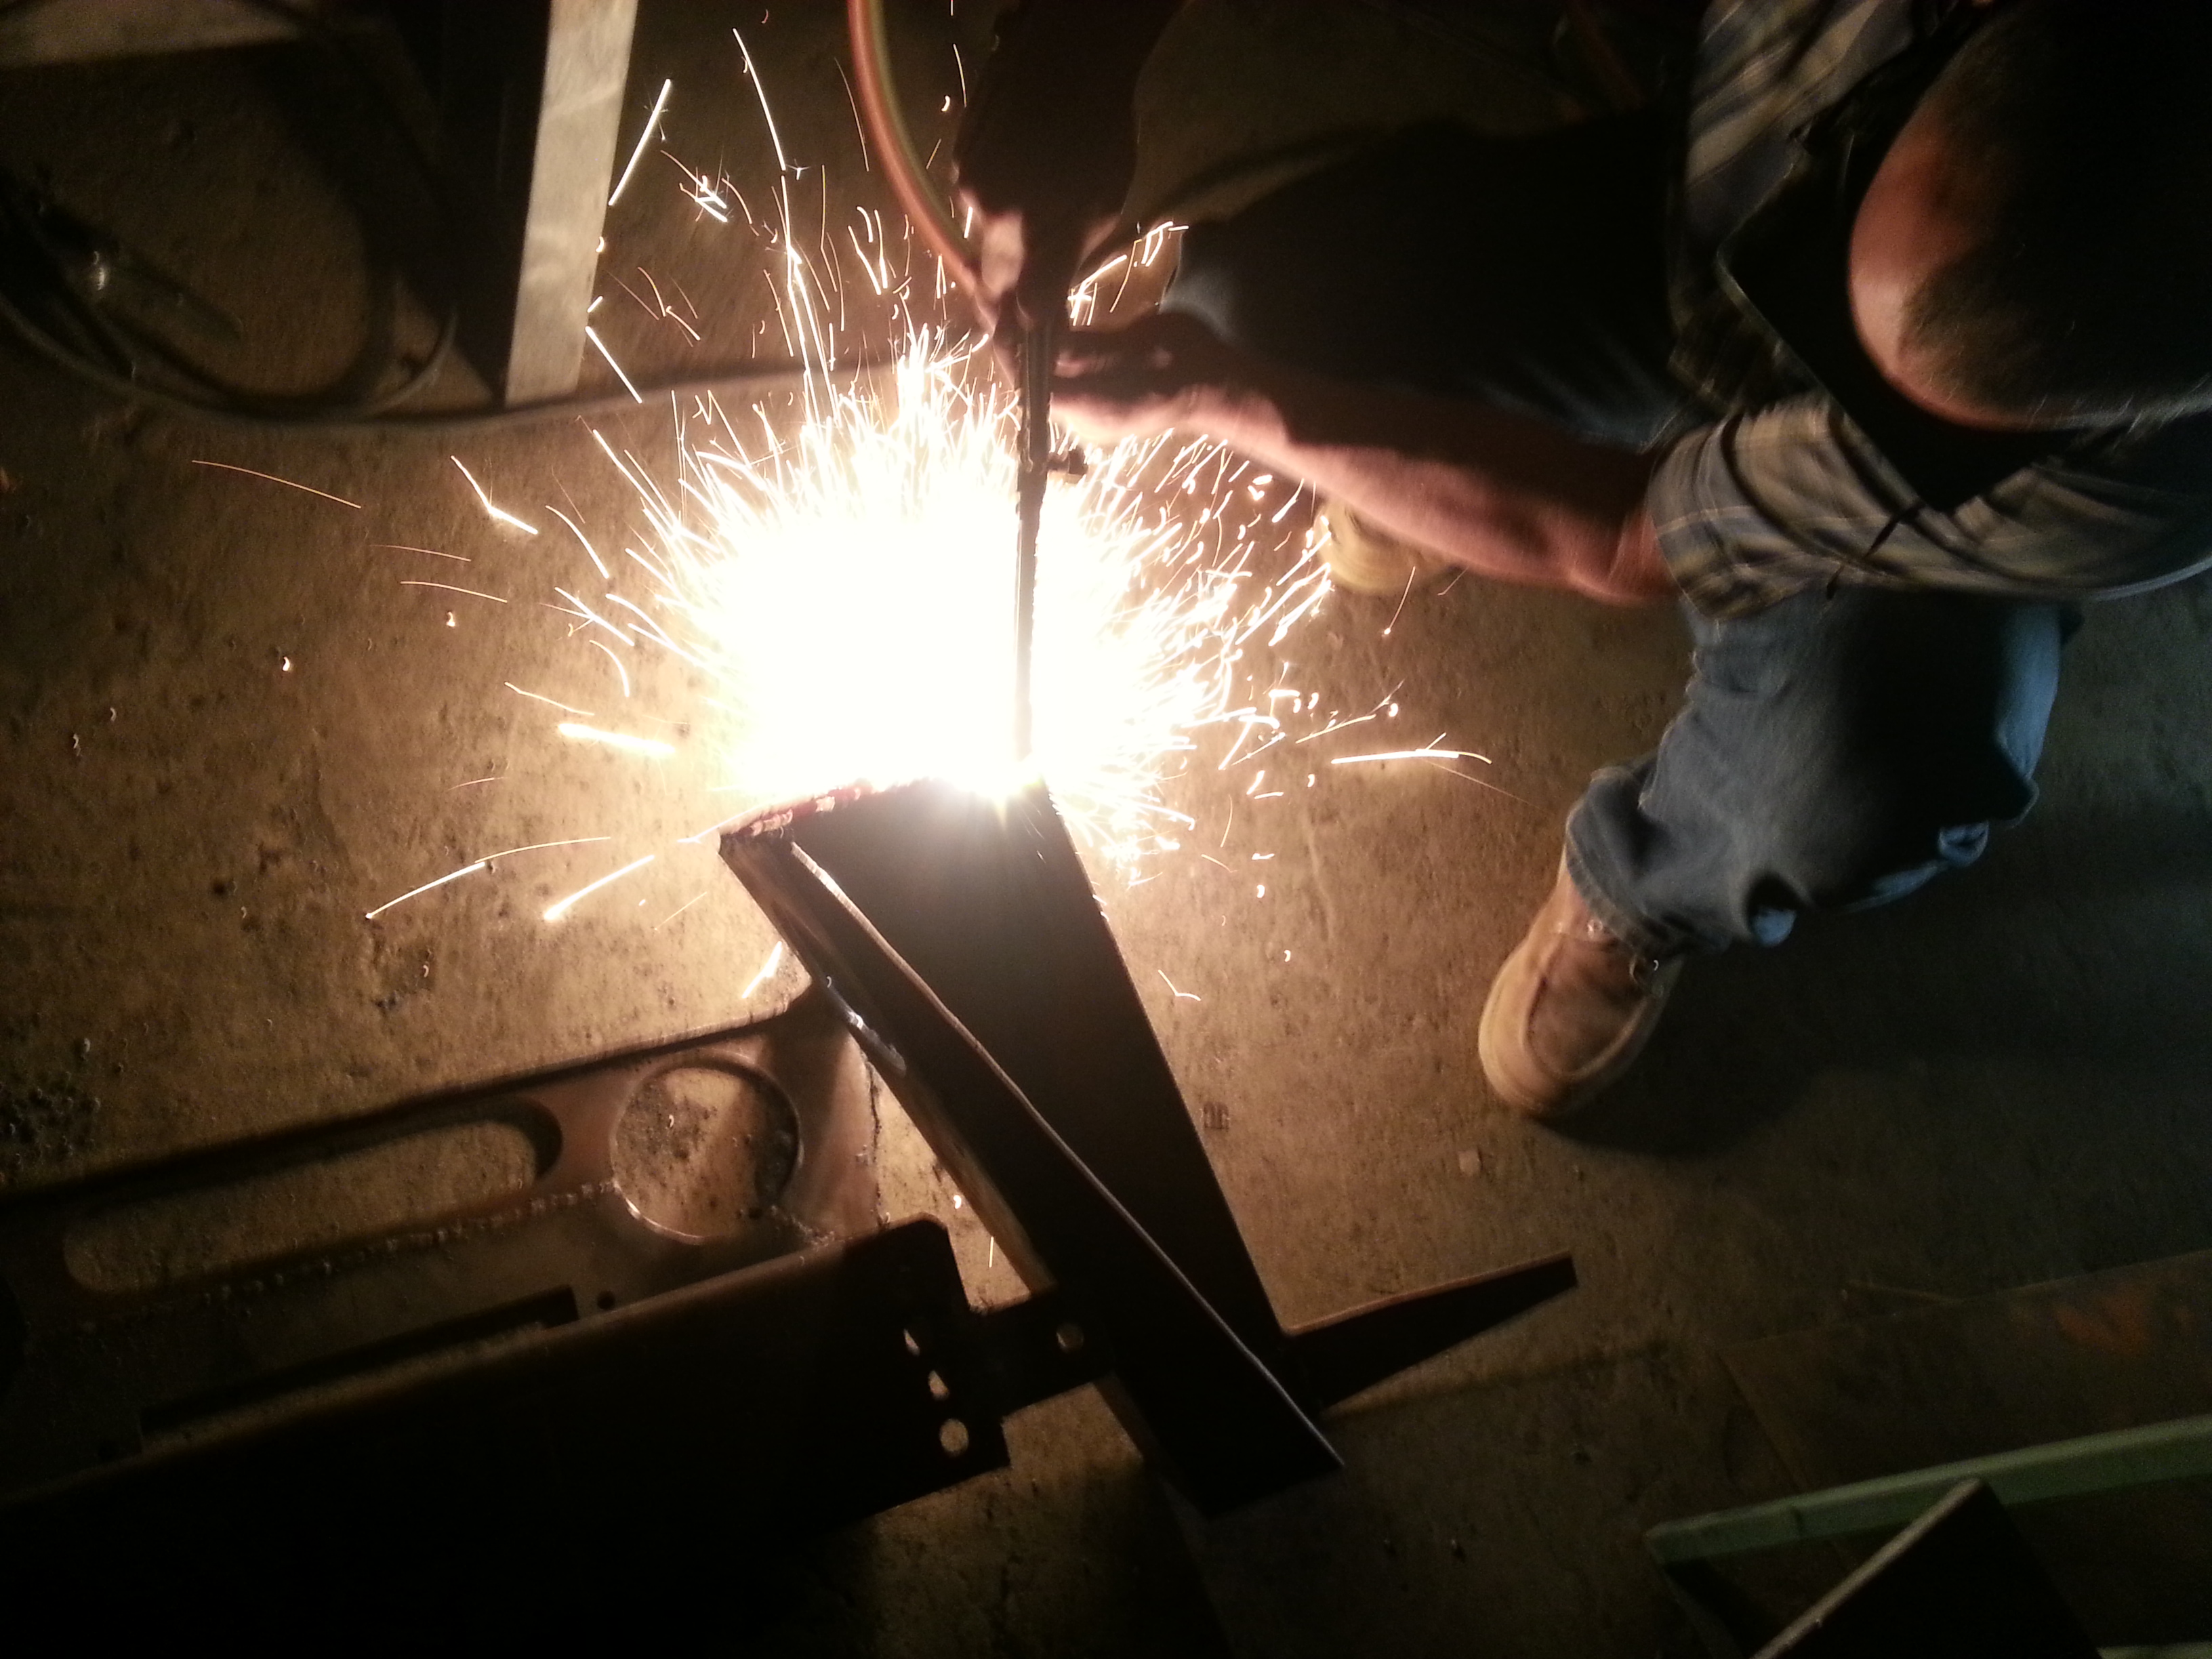
As for the nasty slope on both sides goes. I told my dad i wanted to straighten it out and make it level because RBX had me thinking. YES ITS TRUE, I'm definitely going to look at that every time i see my truck and wish i would have fixed it when i had the chance. So This is exactly why i chose to drop the entire bumper 1/2" and the bring up the sides again.
Here is my dad using the Acetylene torch to remove the sides again so we could grind down and then we weld.
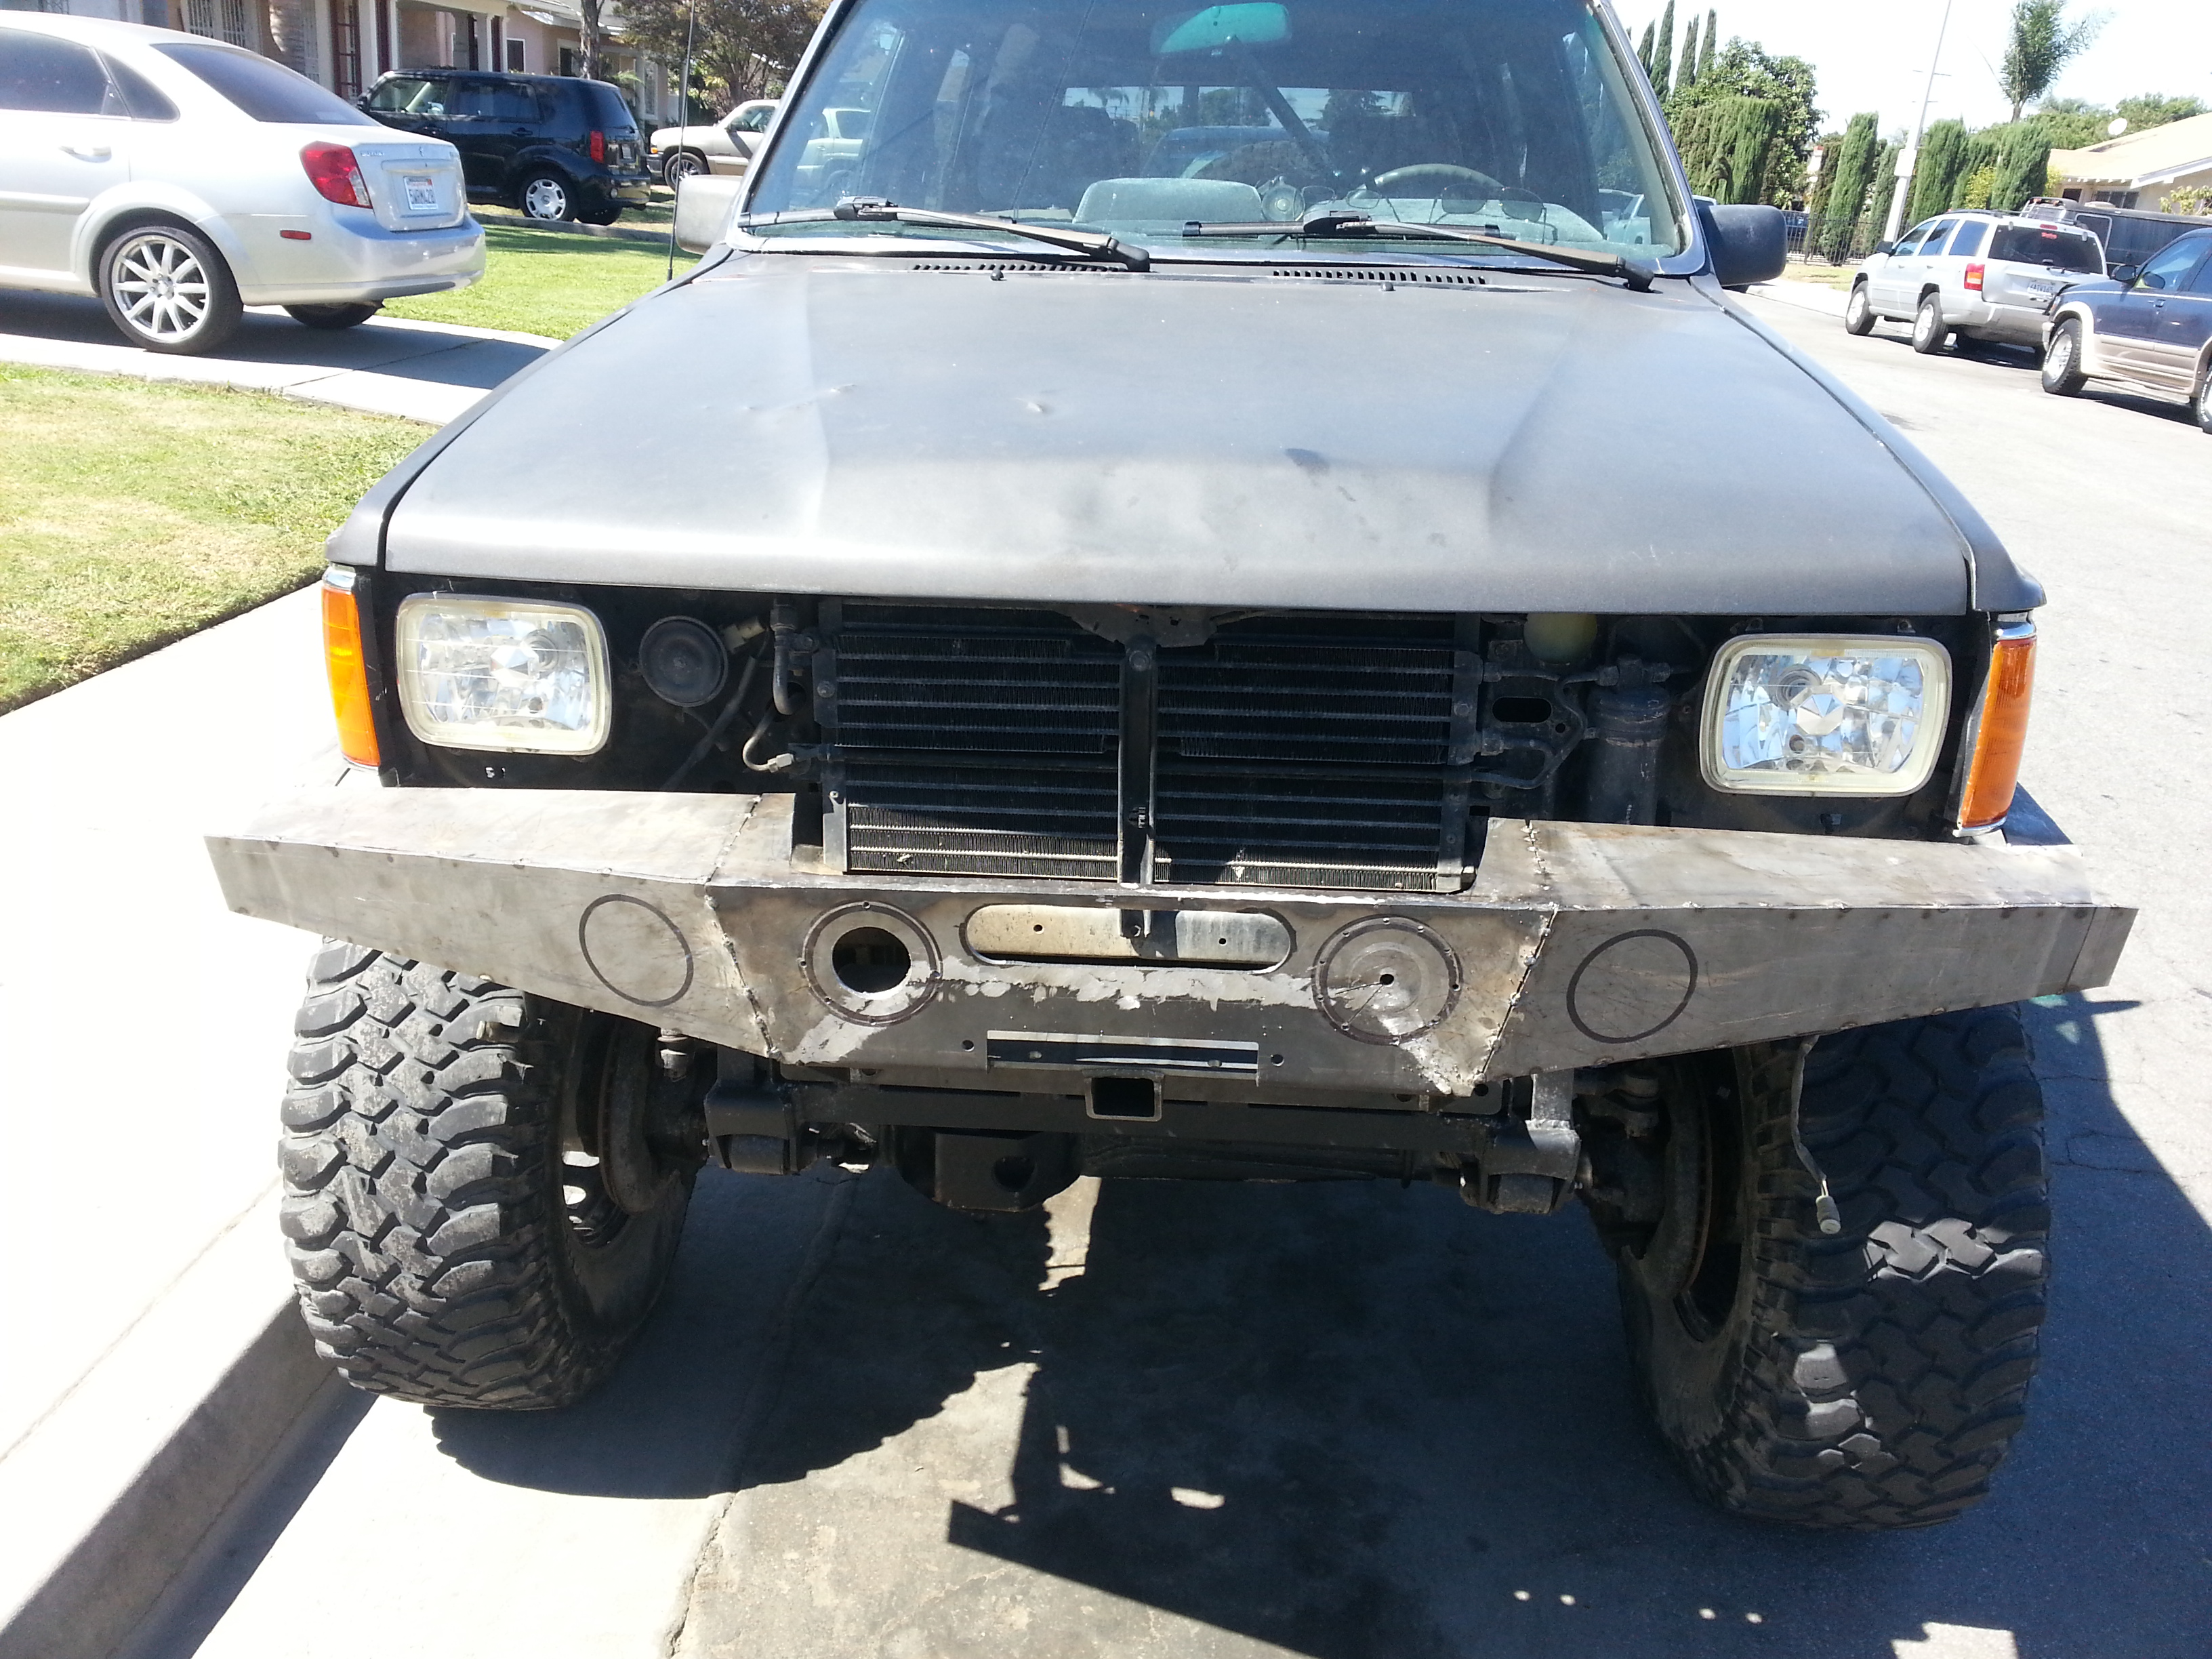
We re did the tack welds and adjusted the bumper perfectly to my truck. Now we fit the grill and wont need to trim the whole bottom of it like i had planned before. definitely happy about that. The sides still had to be sloped a tad bit. but very minimal; im talking about less then 1/4" maybe about 1/8" or so. either way. This looks a hell of alot better then what it was sitting at before.
------------------------------------------------------------------------------------------
We made the welds on the tabs final now that we knew they fit.
And we fully welded the front side of the bumper as well because now it sits perfectly while still having access to the grill in case i ever needed to remove it.
Look at that sexy bumper! oh yea!
I went ahead and checked my front grill and it seems to be centered vertically, but horizontally it isn't. Check it out.
3/8's gap on the Driver side.


and the grill is right up against the light on the passenger side.

One reason my bumper was off was because the top screw holes that mount the bumper(circled) we off. Apparently the truck had to have been in a minor car accident on the front end because the those 2 tabs were both pushed off to the driver side a few millimeters.

Also bought a 4" grinder wheel and rounded out those torched edges and made nice n smooth. still have a bit more to go but it cleaned up a heck of a lot.

---------------------------------------------------------------------------------------
So RBX gave me an idea. he mentioned that the trailgear winch plate should be adjustable. and although it is. it wasnt adjustable enough. So we had to add our own holes 0.5" above the bottom hole and move the 2 tabs up 0.5" too.
Here we torched off the tabs

aligning with the newly drilled holes

tab is tack welded on and im pointing to the new hole.

As for the nasty slope on both sides goes. I told my dad i wanted to straighten it out and make it level because RBX had me thinking. YES ITS TRUE, I'm definitely going to look at that every time i see my truck and wish i would have fixed it when i had the chance. So This is exactly why i chose to drop the entire bumper 1/2" and the bring up the sides again.
Here is my dad using the Acetylene torch to remove the sides again so we could grind down and then we weld.

We re did the tack welds and adjusted the bumper perfectly to my truck. Now we fit the grill and wont need to trim the whole bottom of it like i had planned before. definitely happy about that. The sides still had to be sloped a tad bit. but very minimal; im talking about less then 1/4" maybe about 1/8" or so. either way. This looks a hell of alot better then what it was sitting at before.


------------------------------------------------------------------------------------------
We made the welds on the tabs final now that we knew they fit.

And we fully welded the front side of the bumper as well because now it sits perfectly while still having access to the grill in case i ever needed to remove it.
Look at that sexy bumper! oh yea!
 Oct 13, 2013 | 03:56 PM
#51
Thread Starter
Registered User
Joined: Apr 2012
Posts: 2,817
Likes: 2
From: Los Angeles CA
Didn't get much done this week. Had to go back to Mexico for my follow up appointment for the dentist so I didn't do anything yesterday. This morning I realized I had a lot of surface rust throughout the bumper. So I took the grinder wheel to the whole bumper and cleaned it up again to prep for new welds.
Nice n clean:
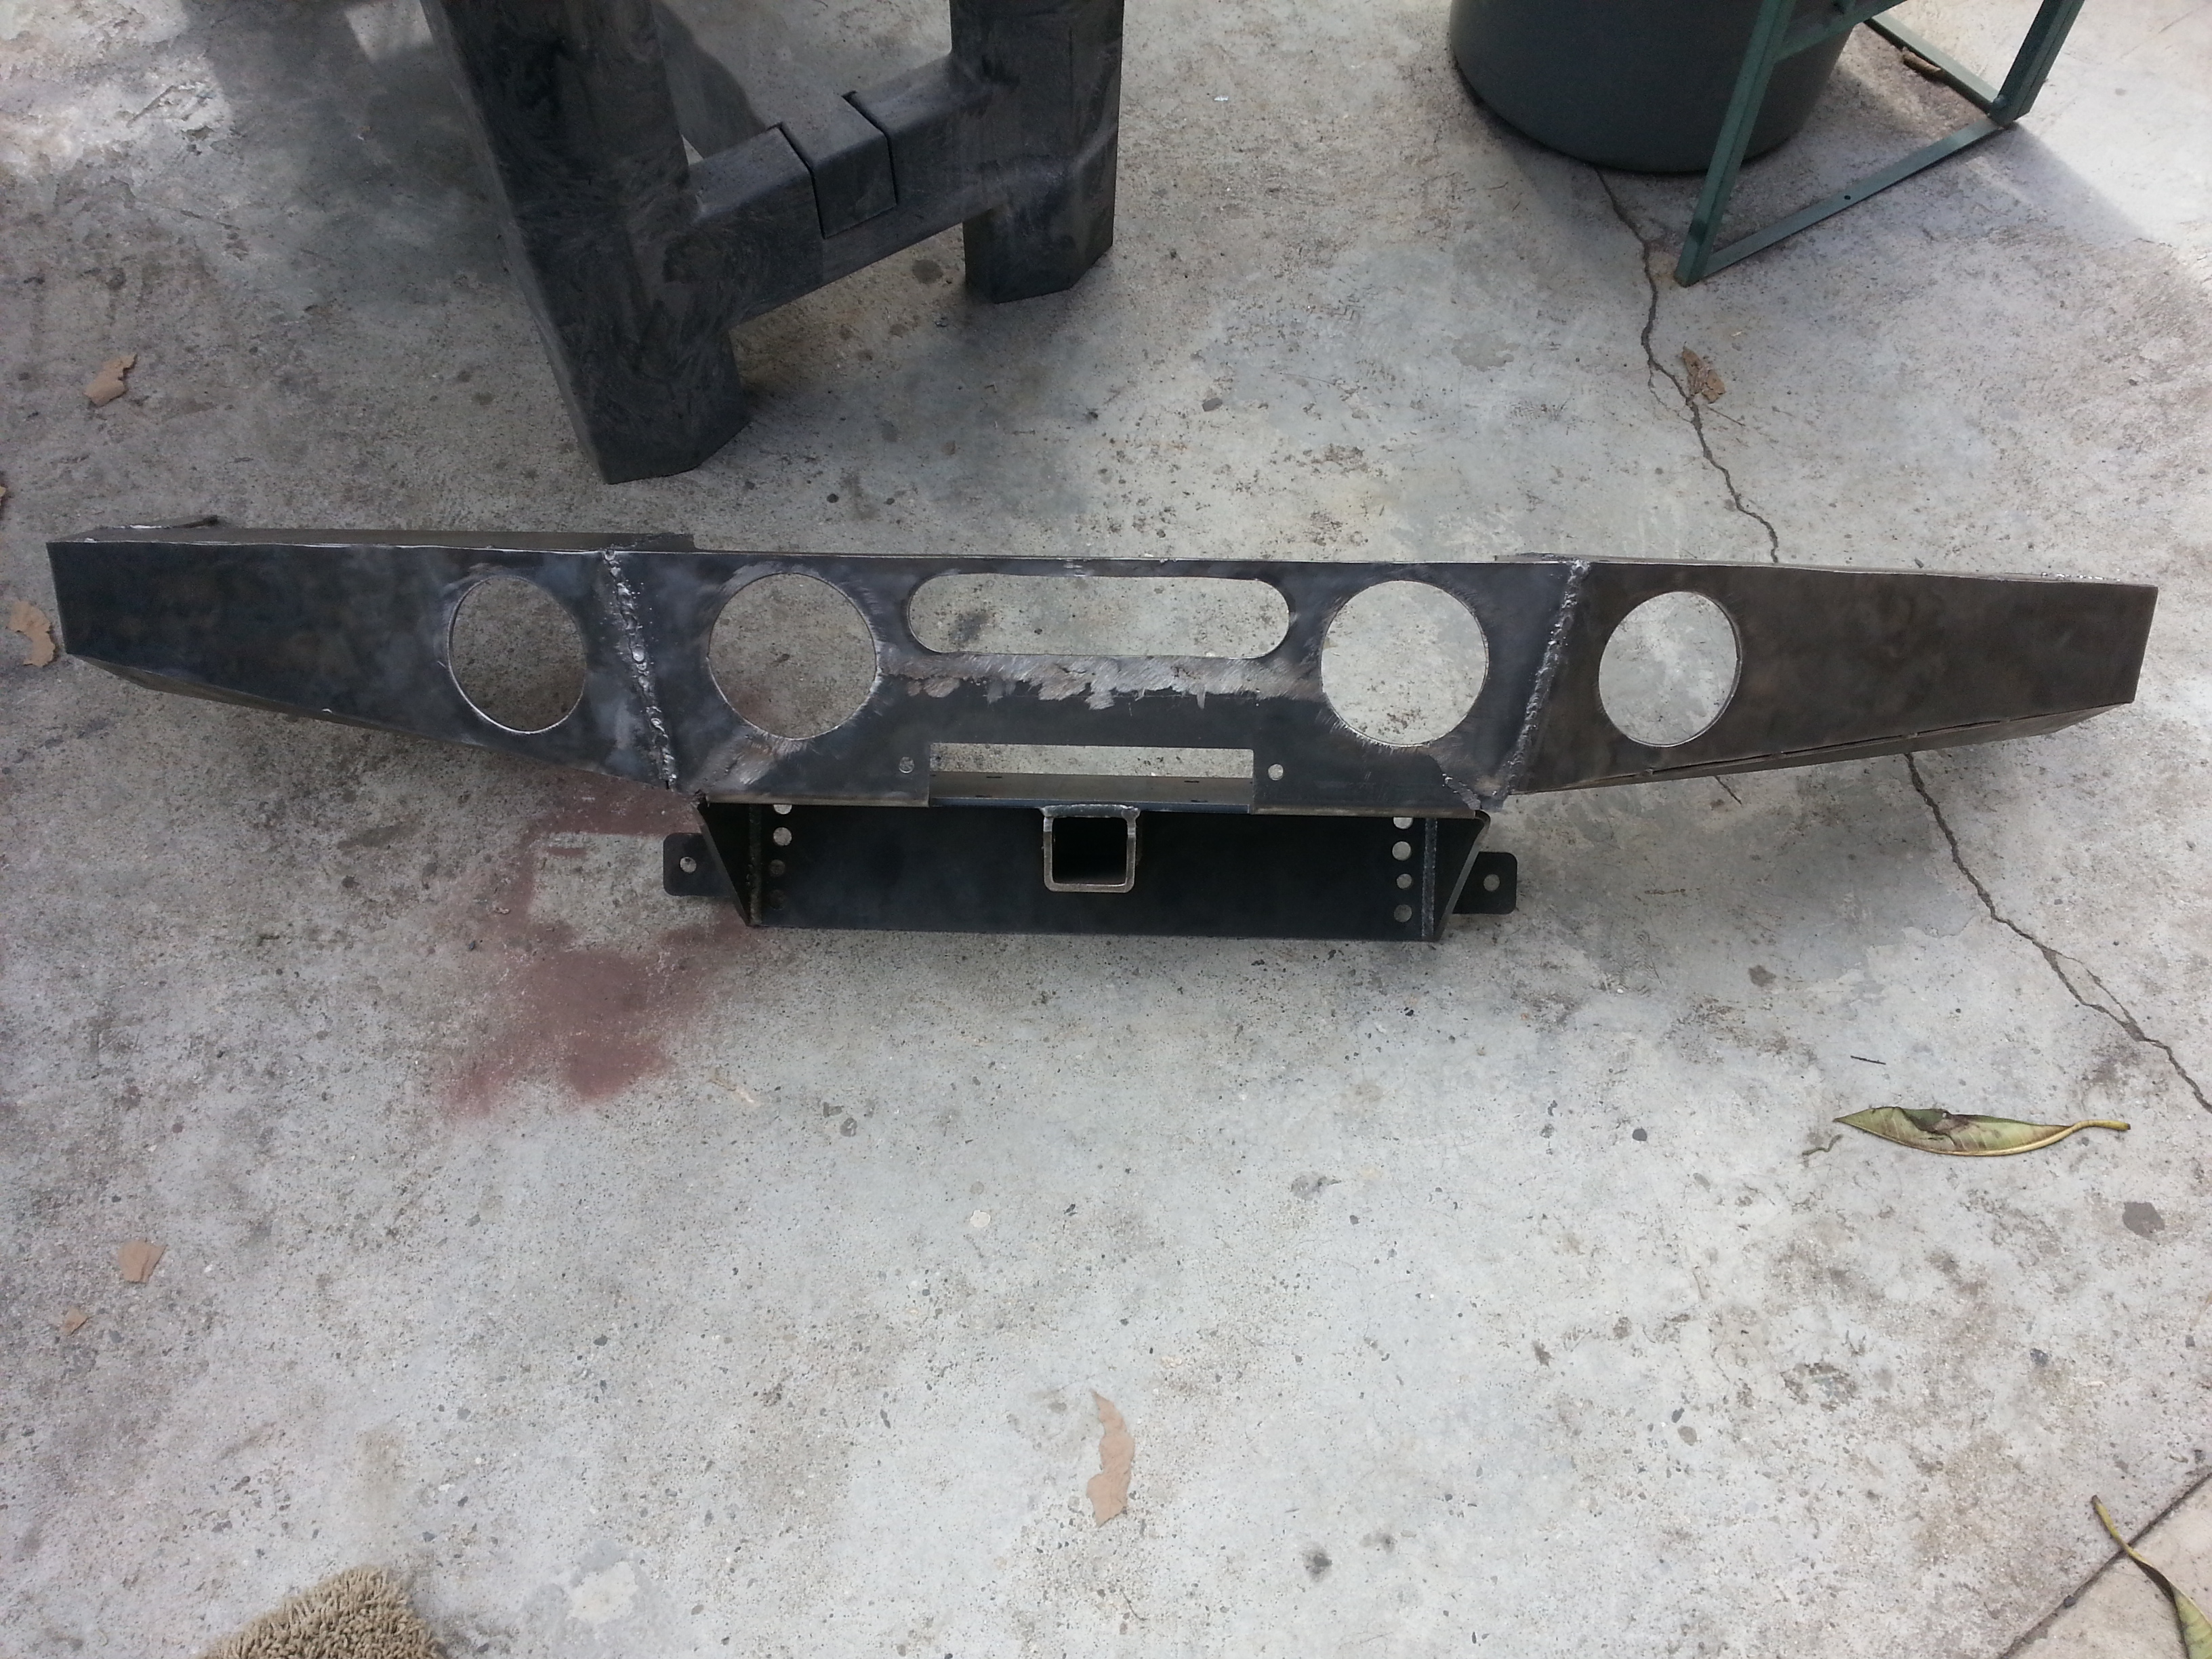
I tack welded the side corner pieces.
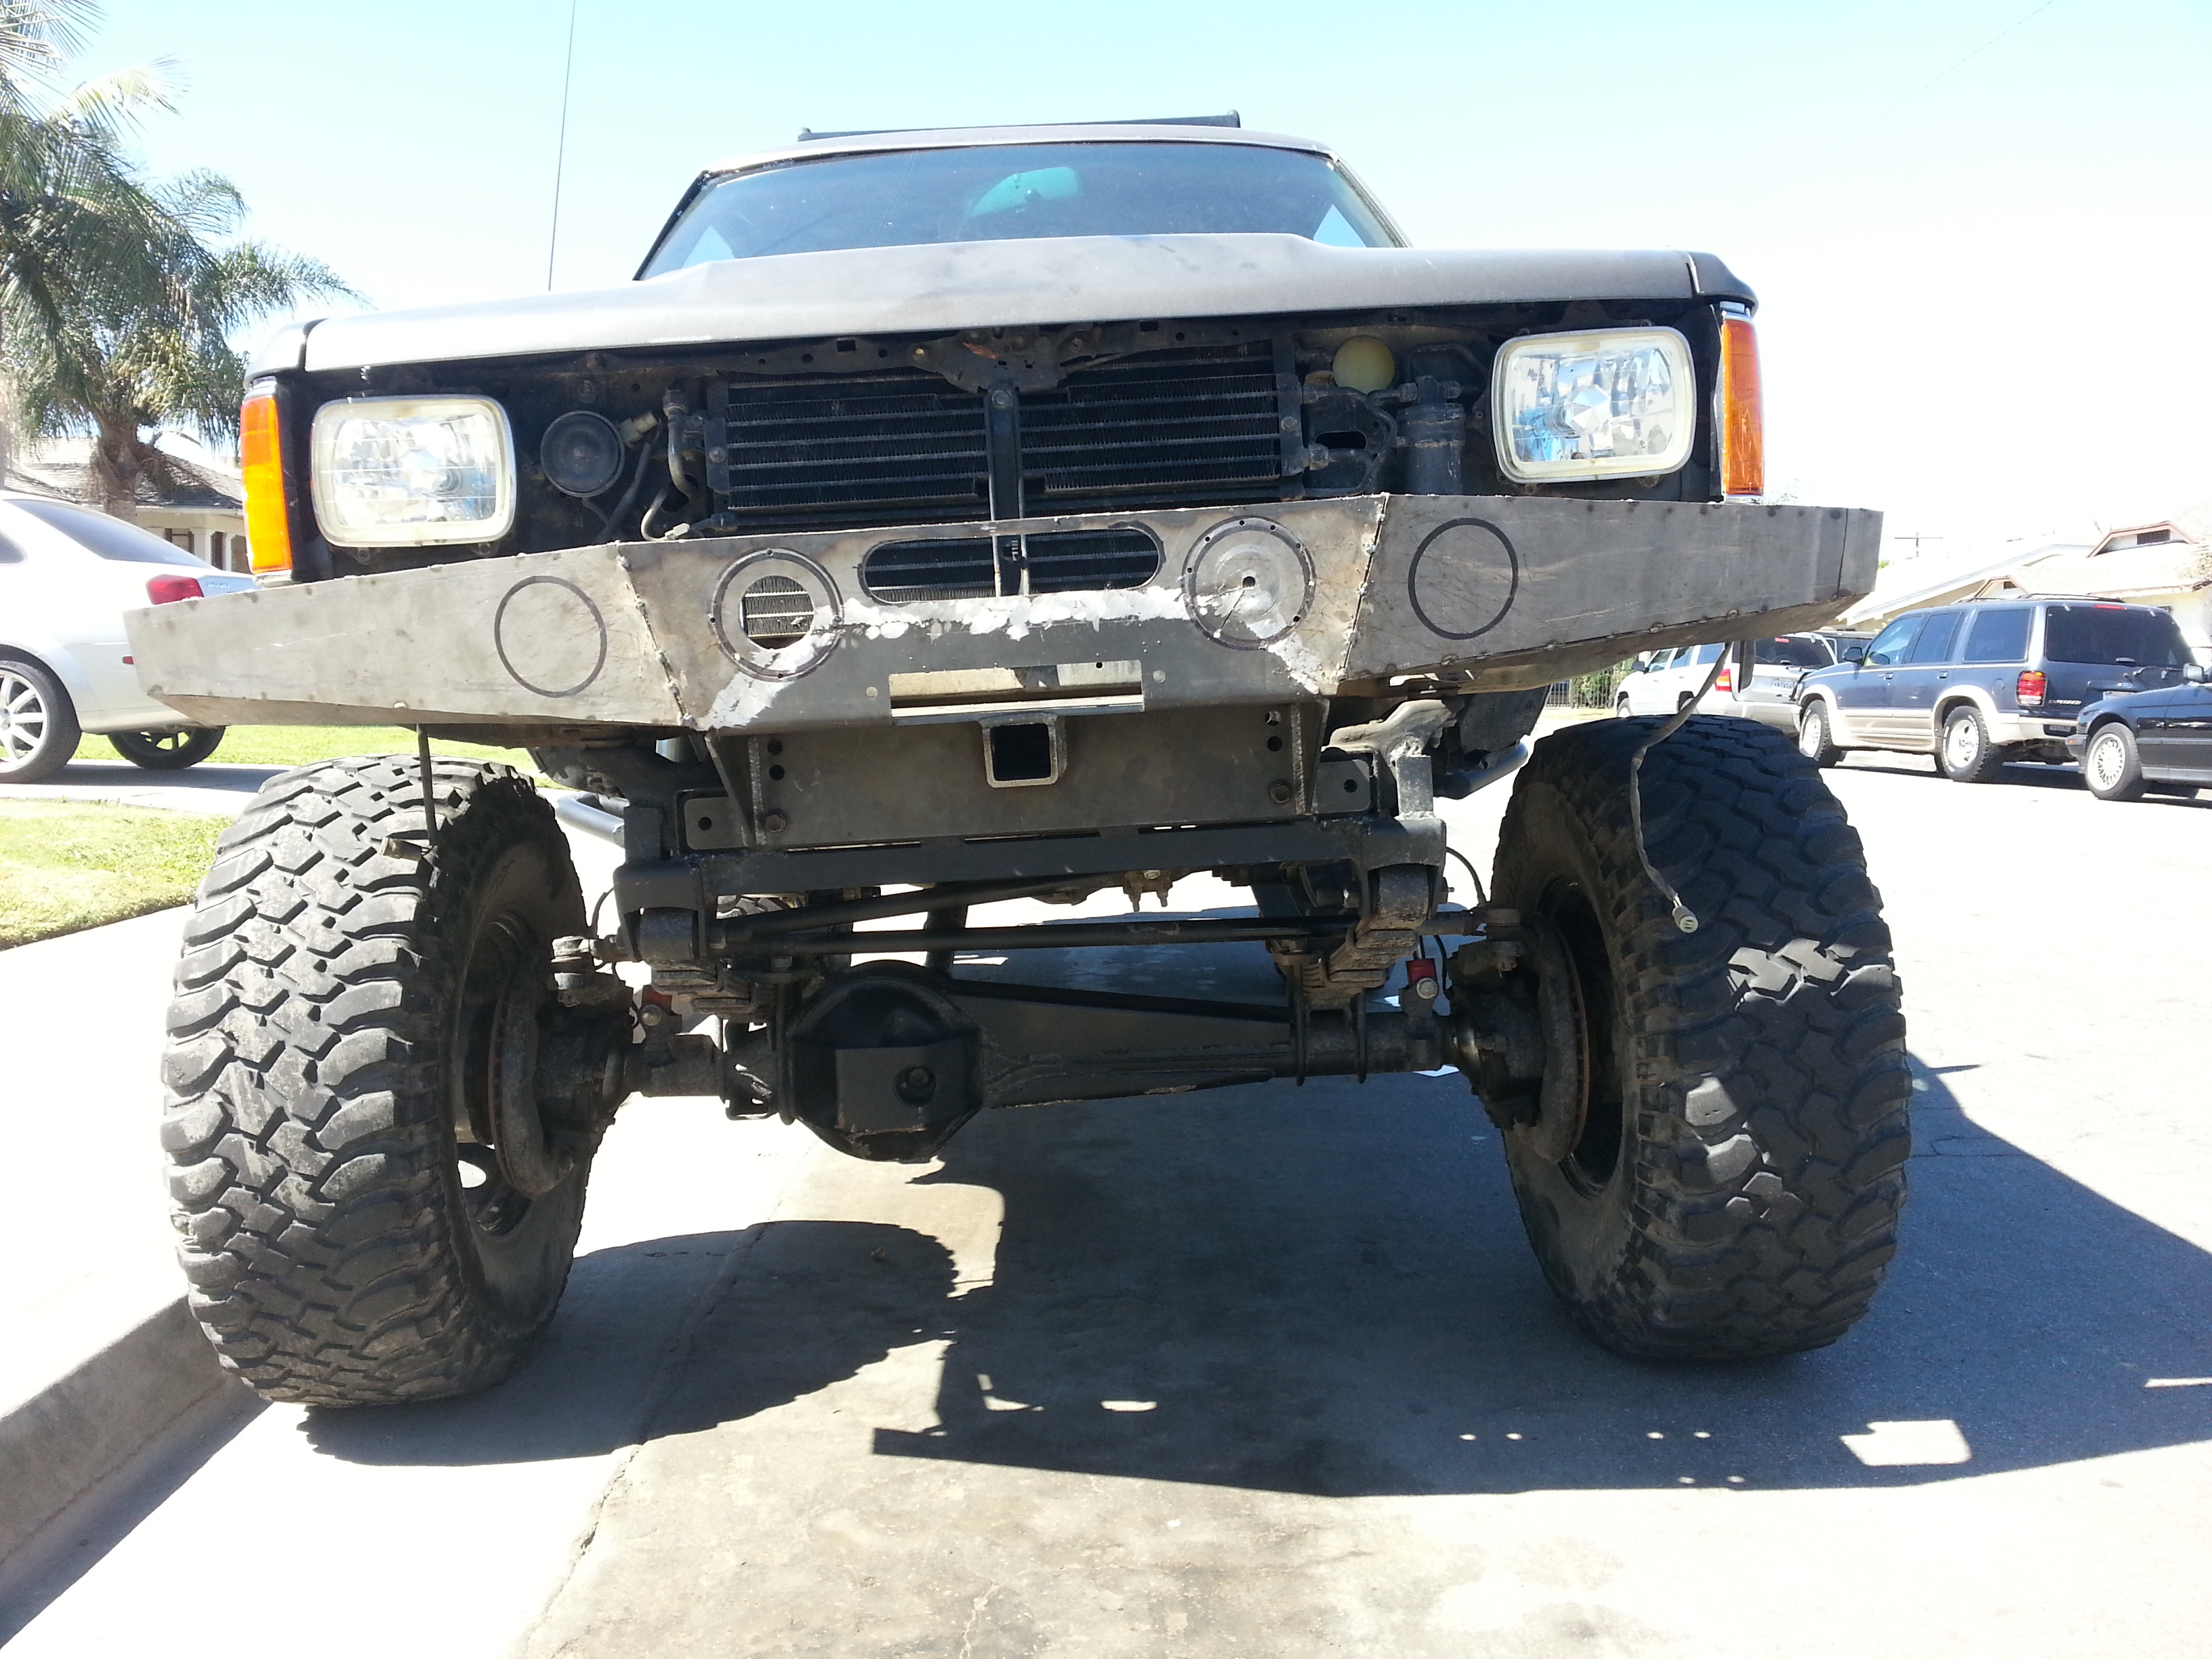
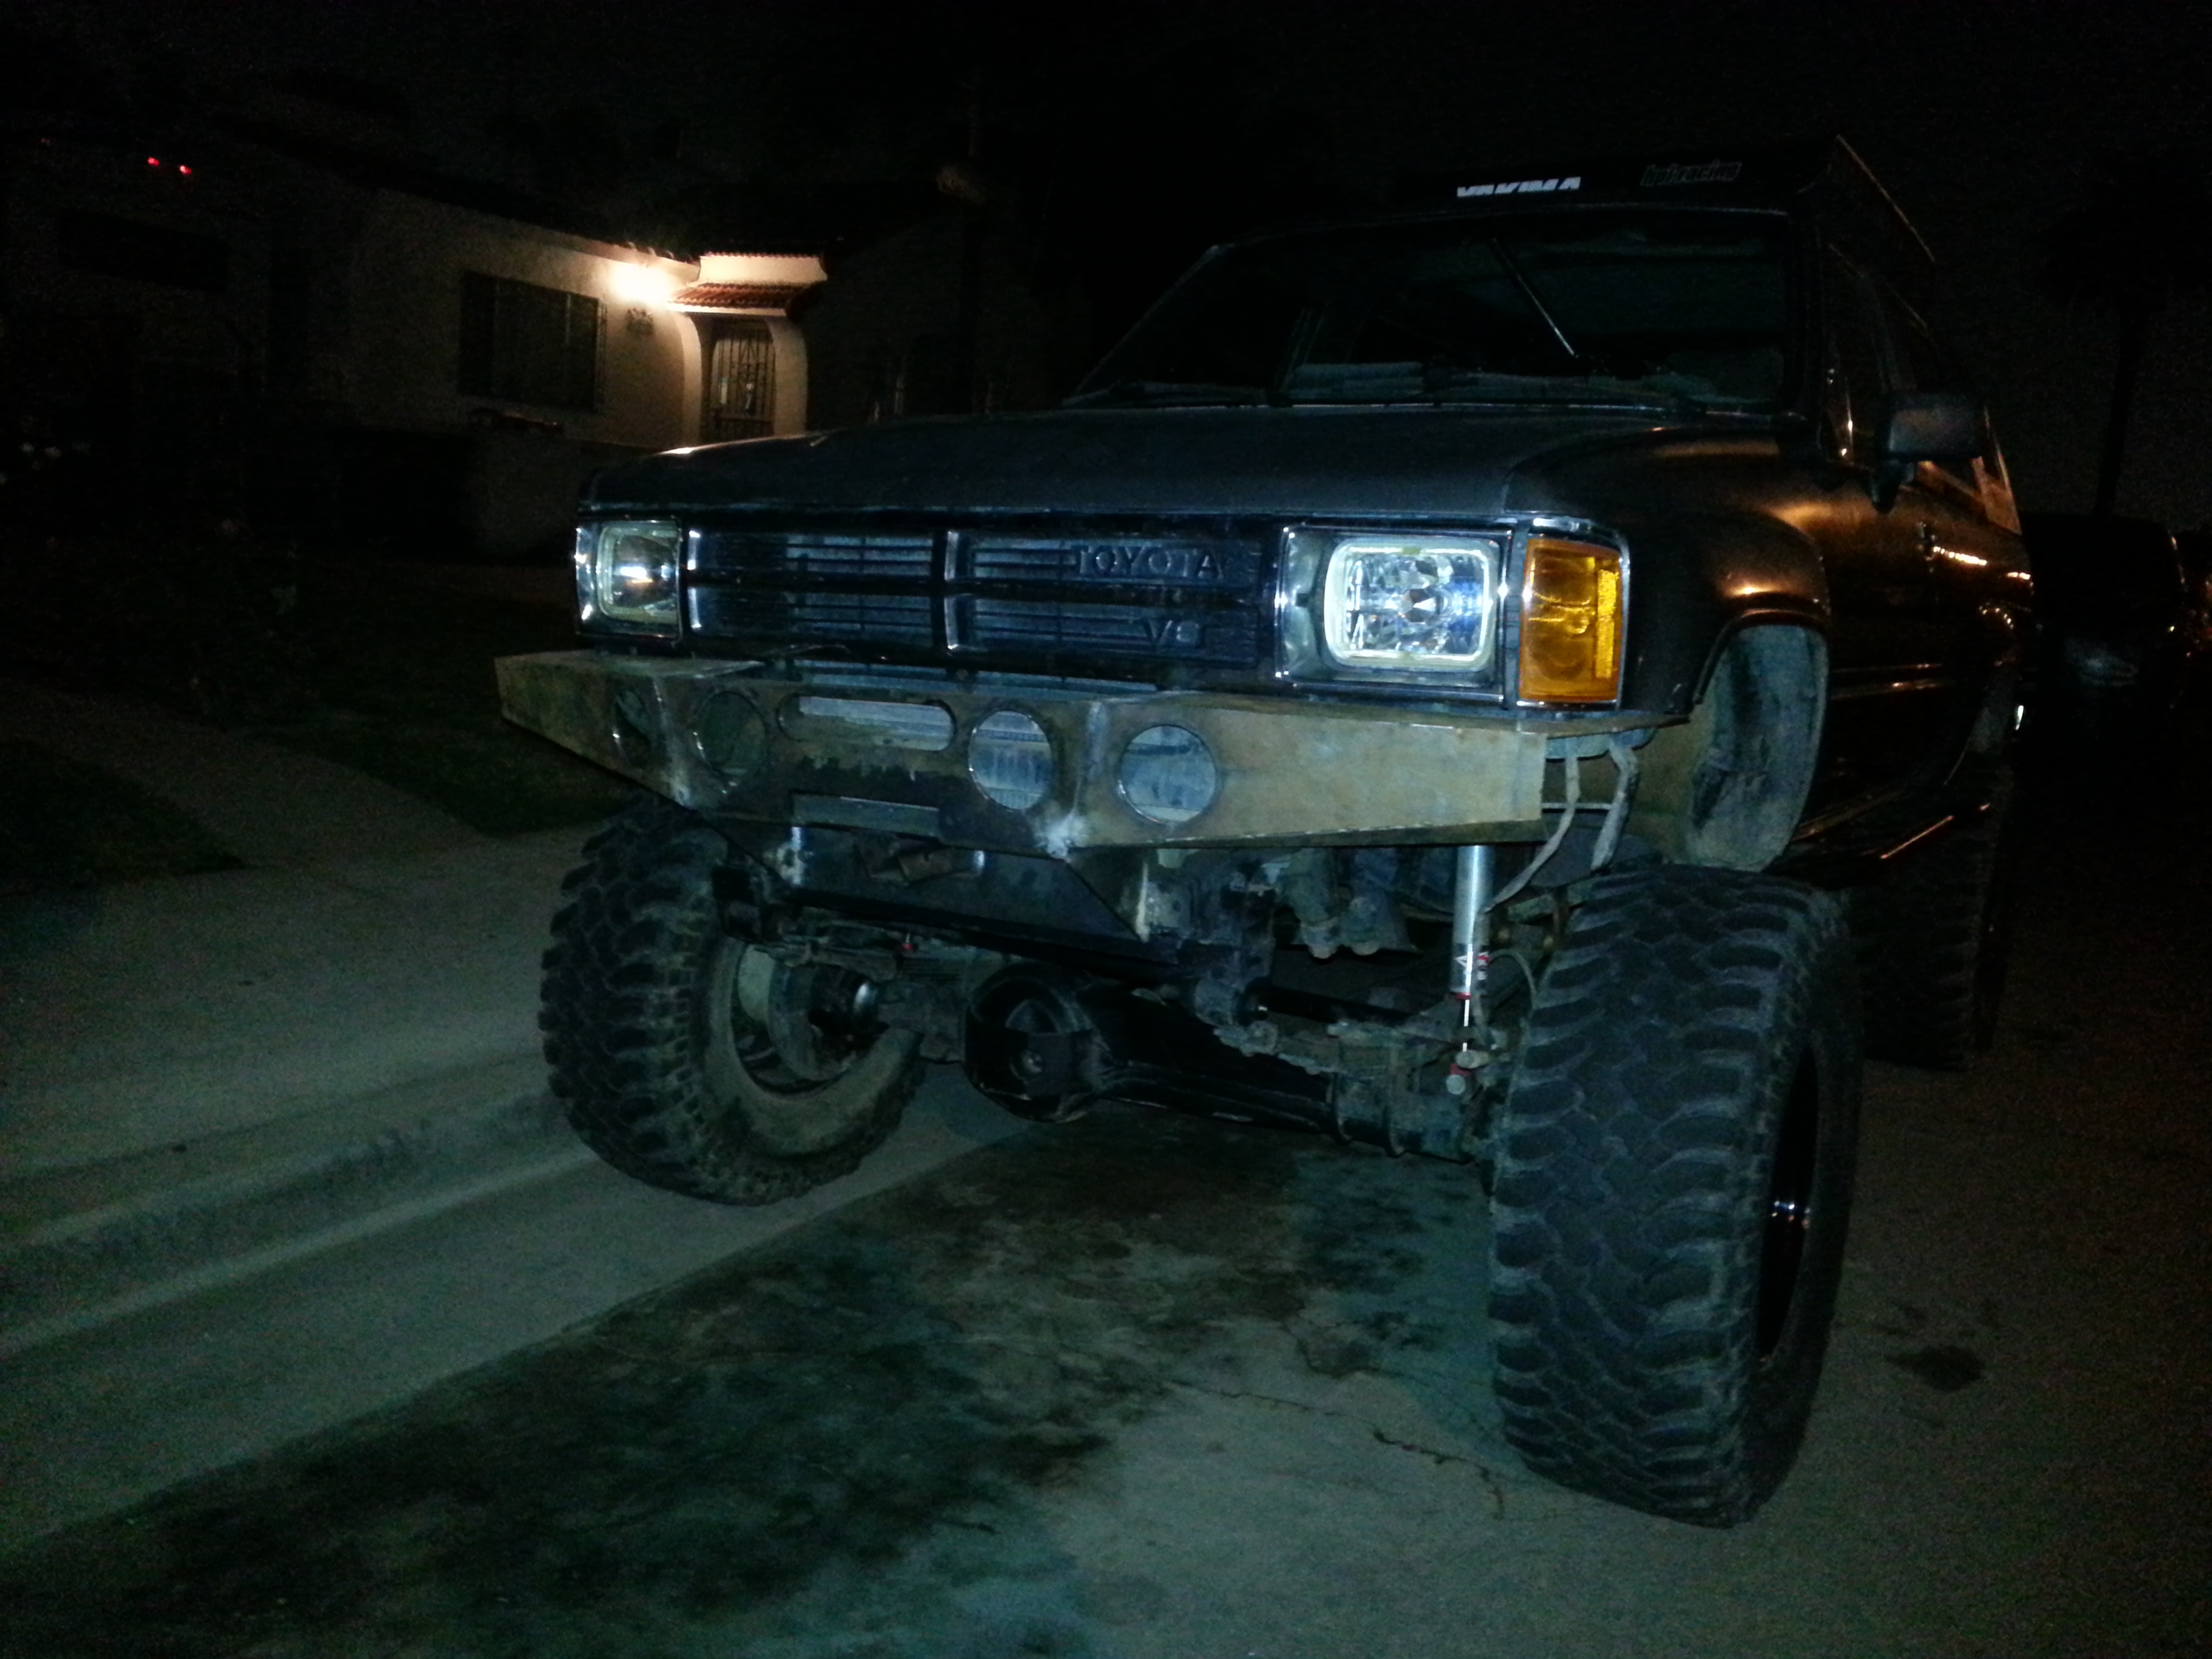
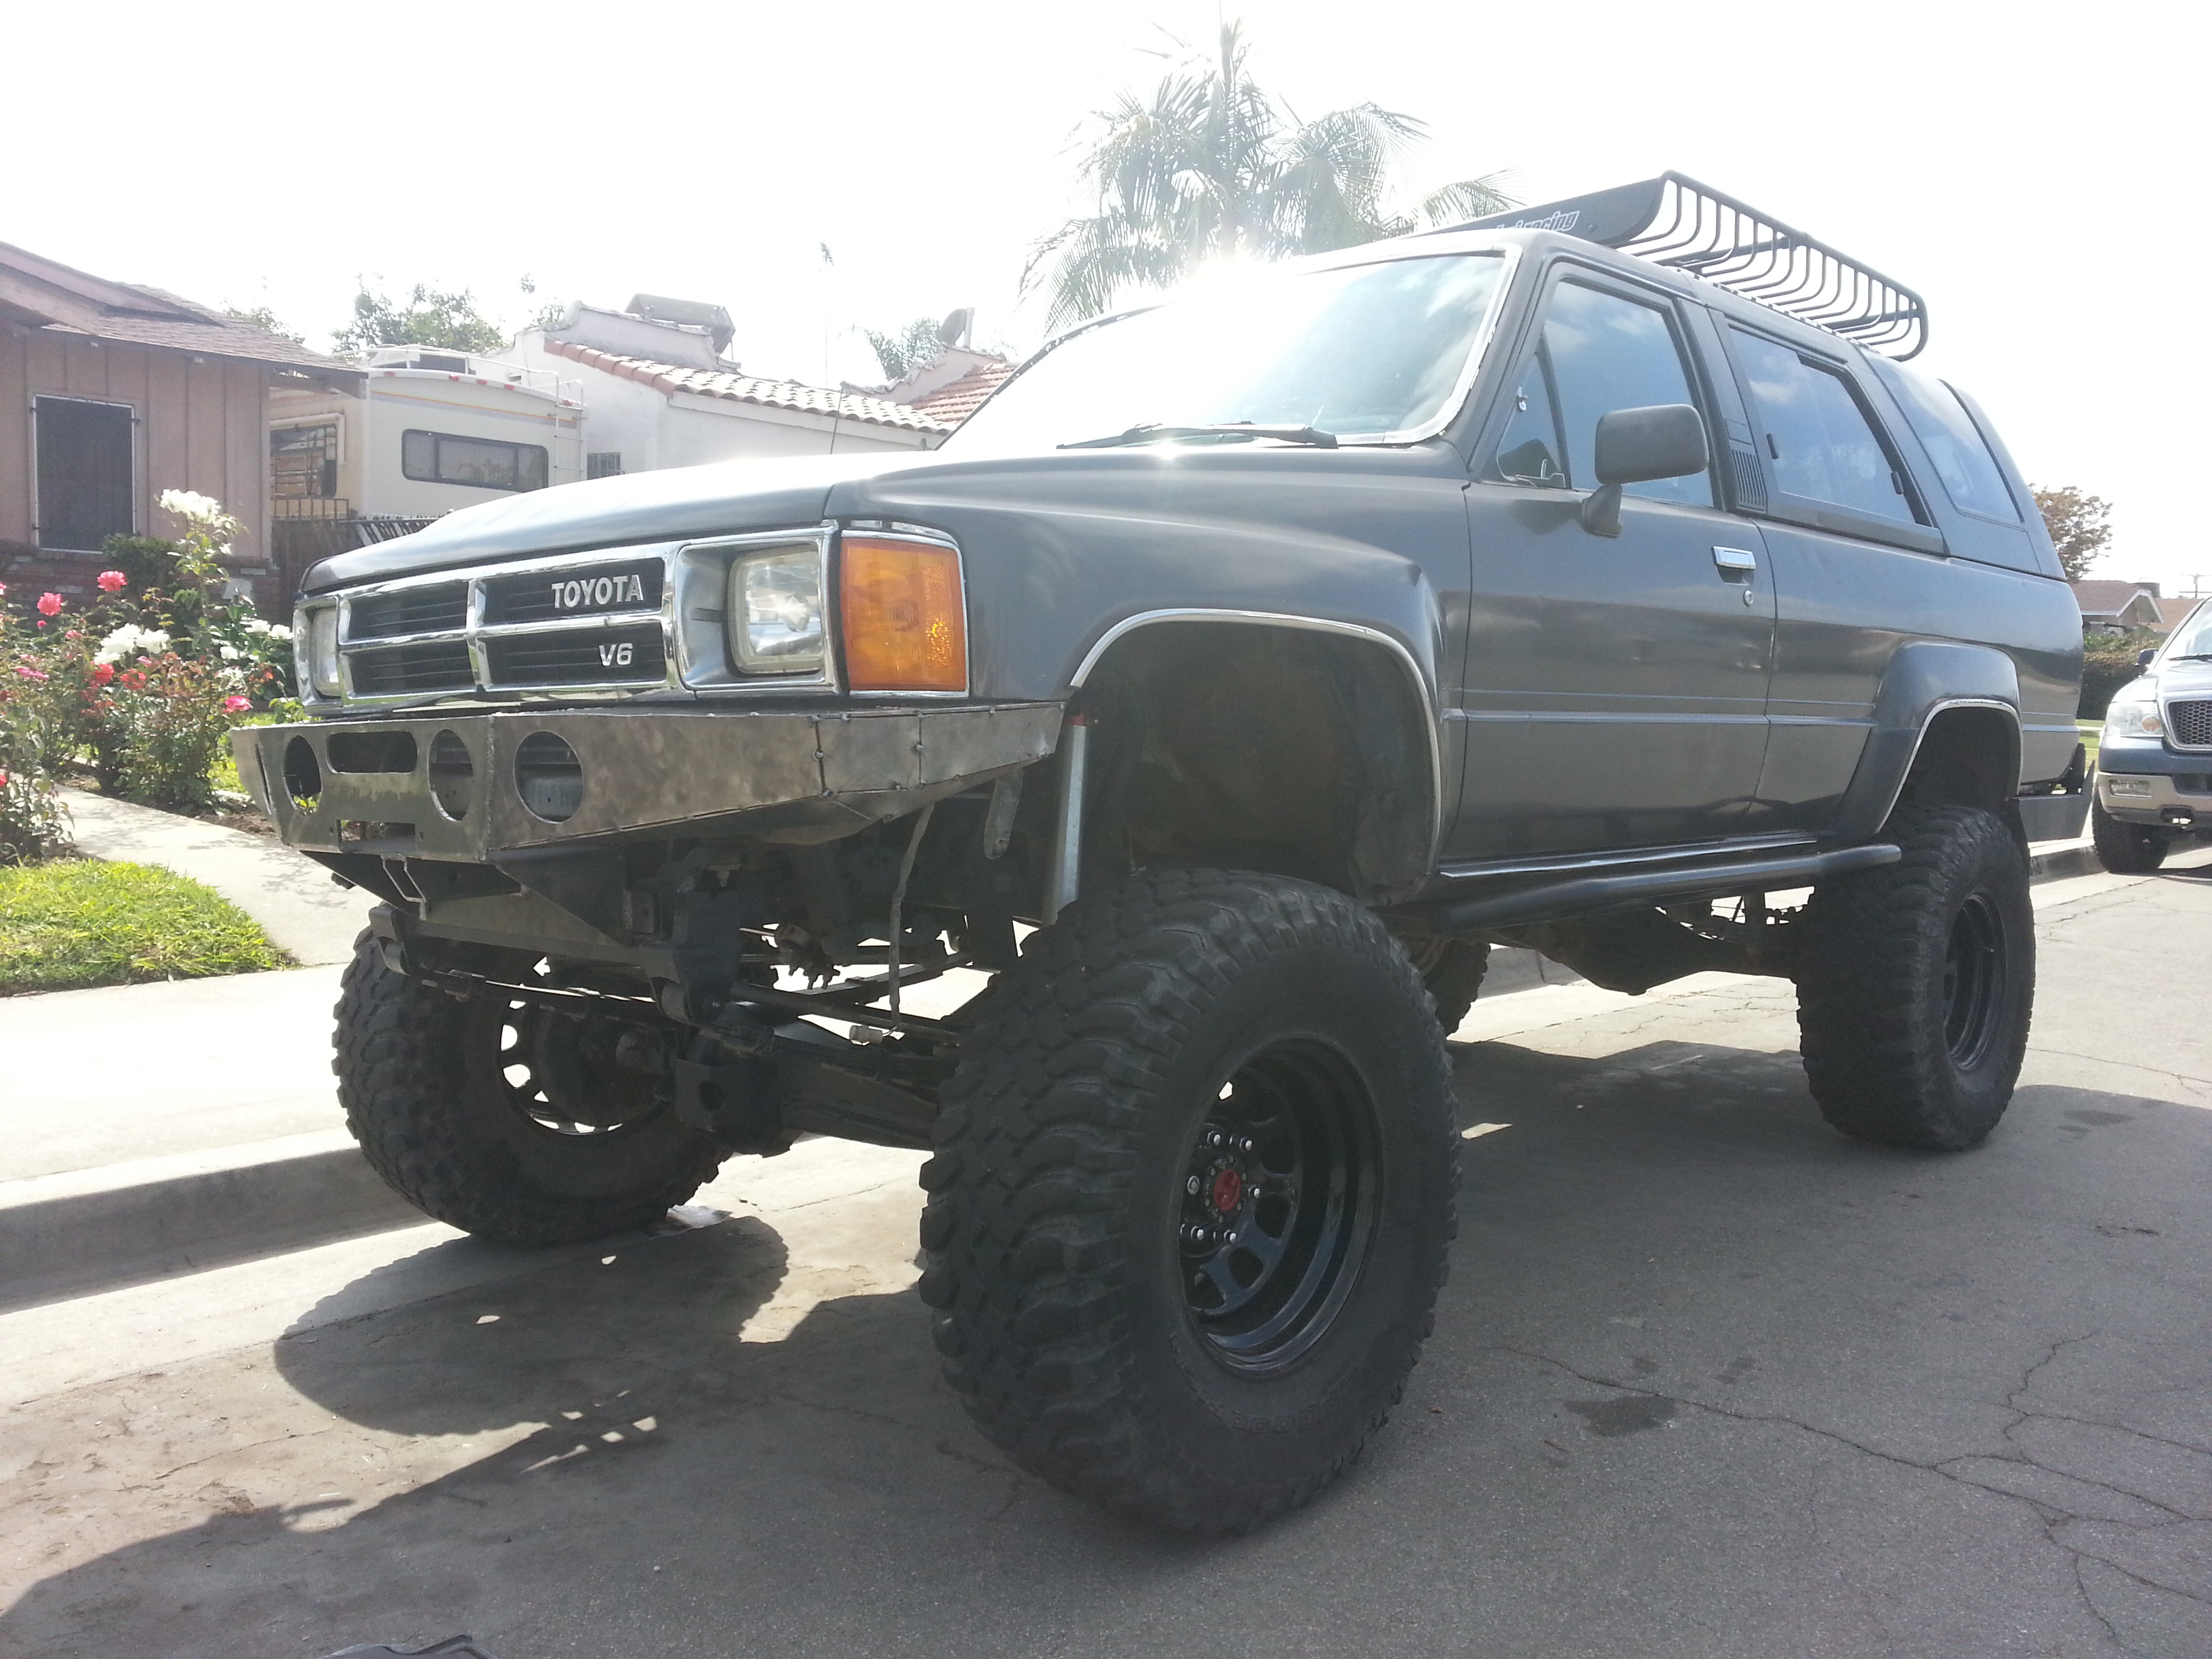
Time for fitment! I think it is looking great!
Here is my favorite shot.
I need to pull that passenger corner piece about 1/4" to make even.
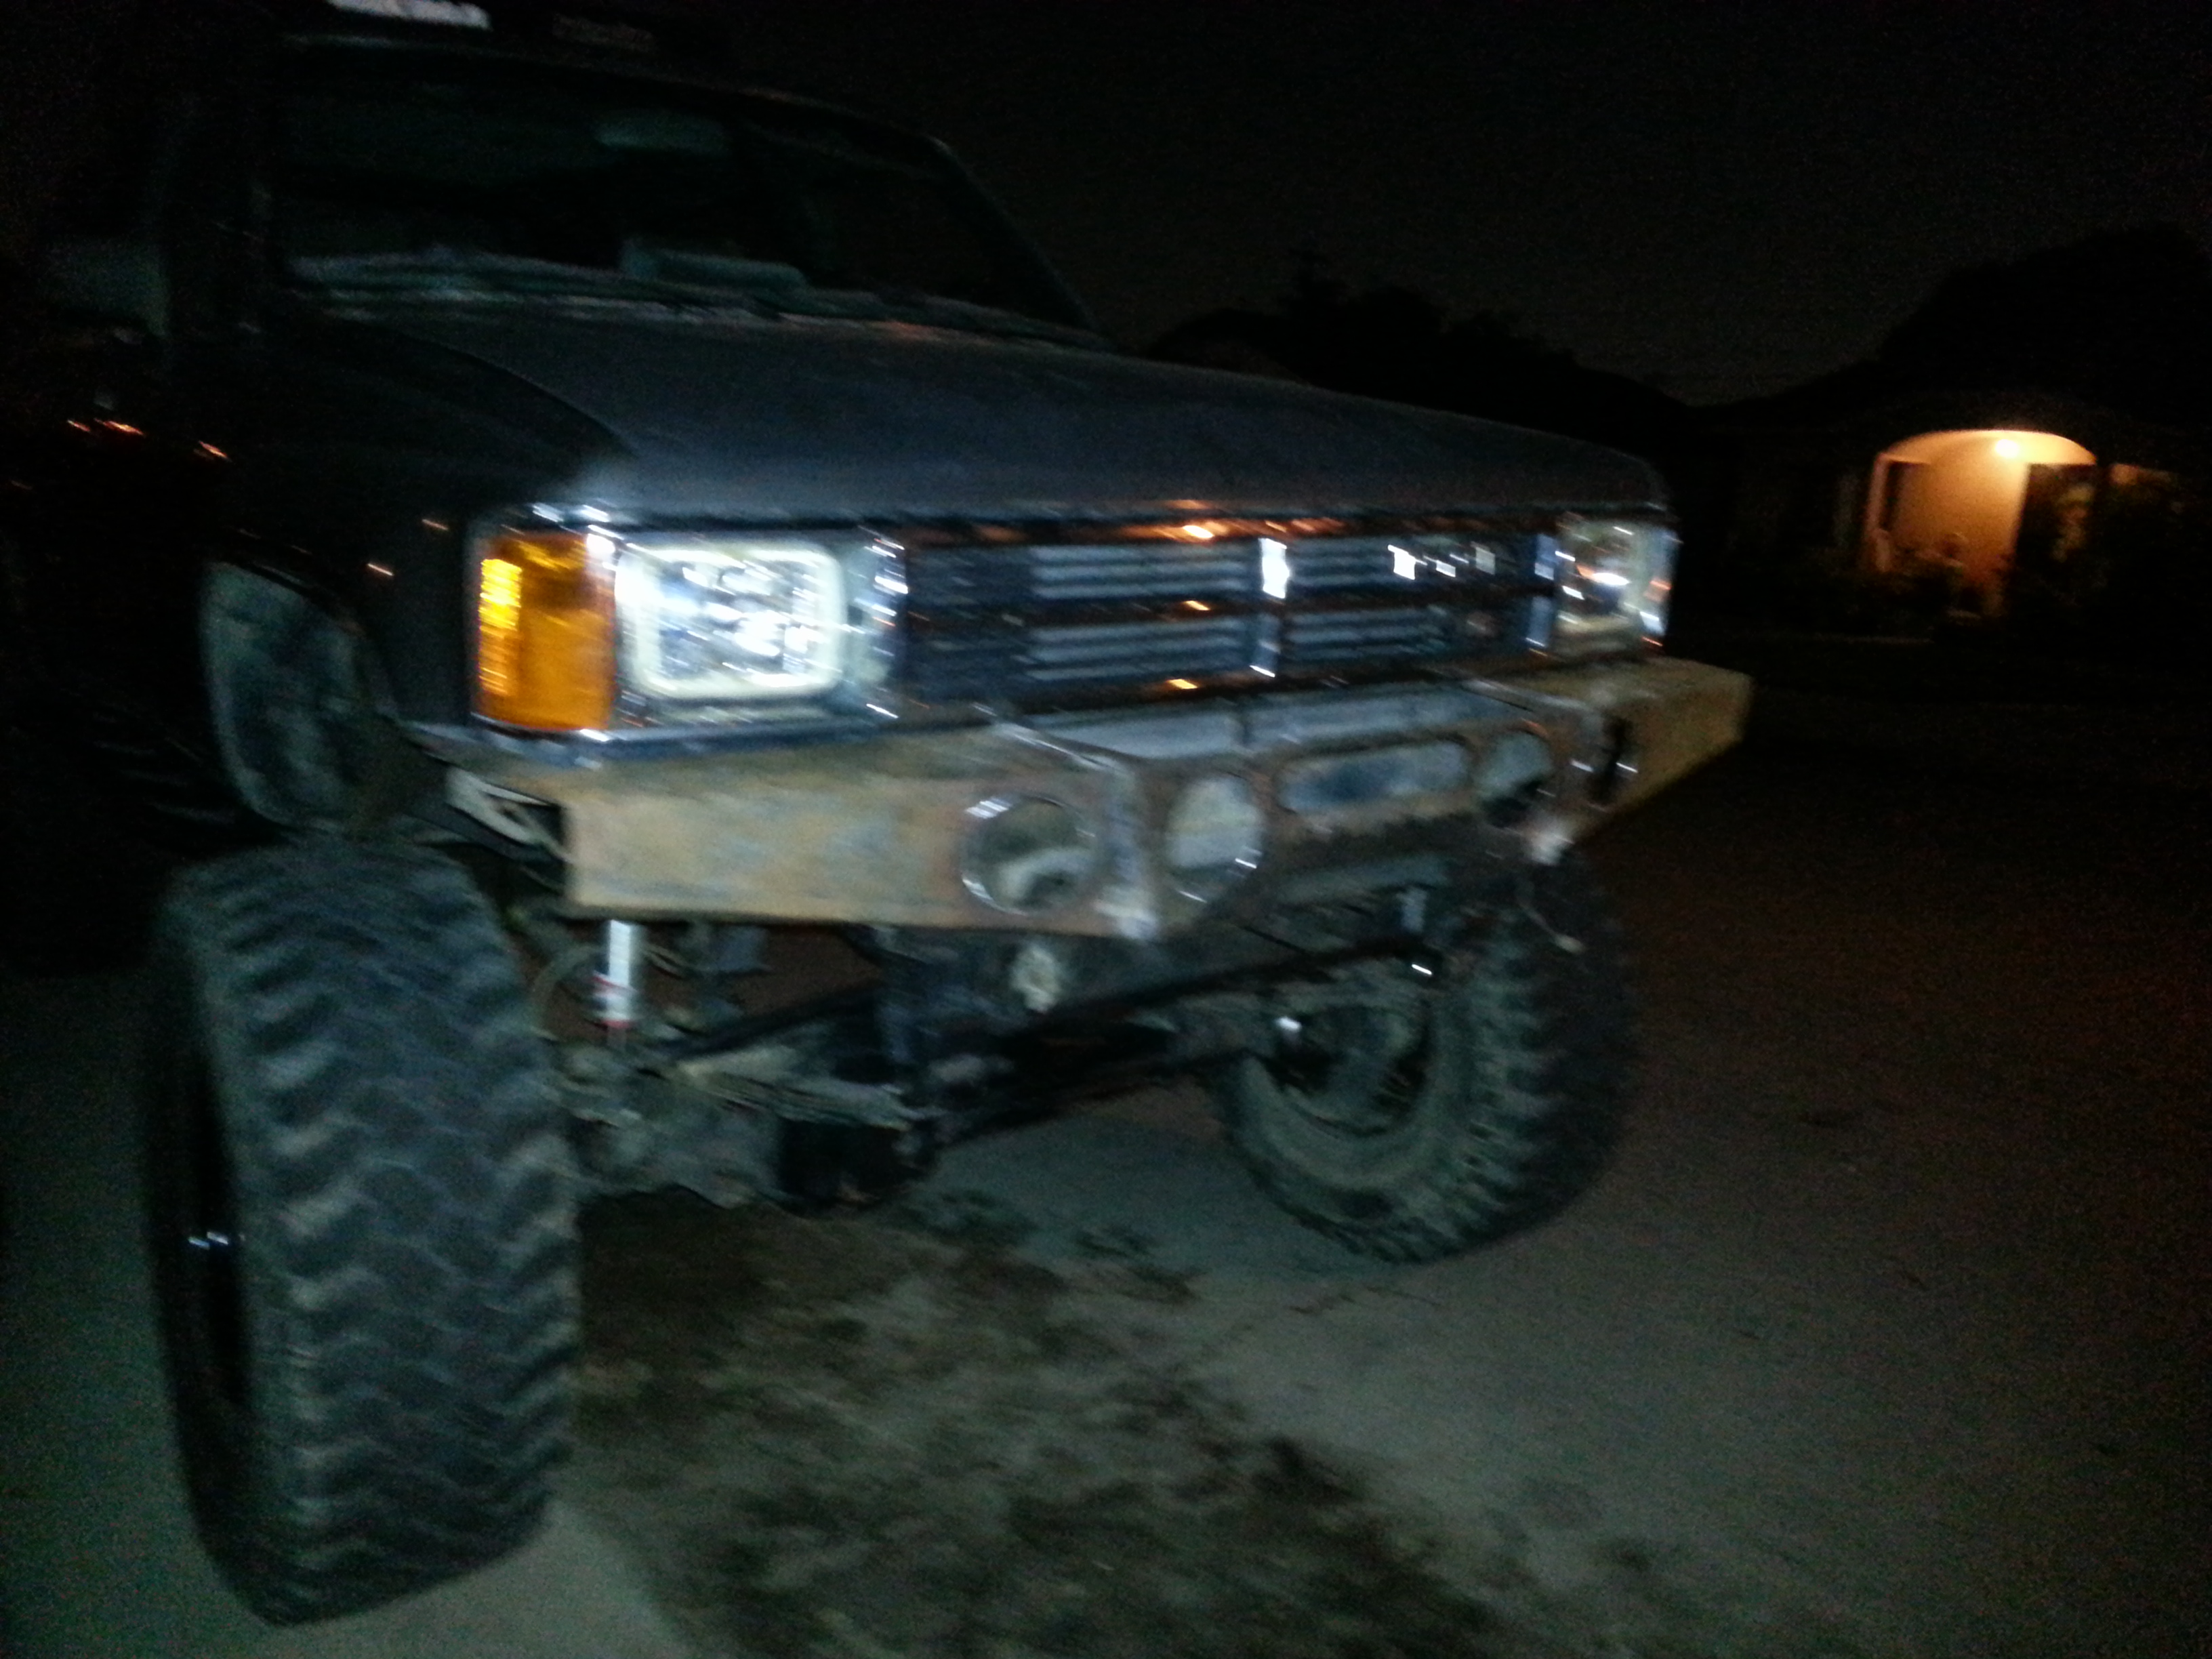
Other shots.
You can see right here in this shot that the bumper sides go up and touch the bottom part of the fender. So I need to grind off the tack welds and re weld it tighter to pull away from the bottom fender then it'll be left perfect.
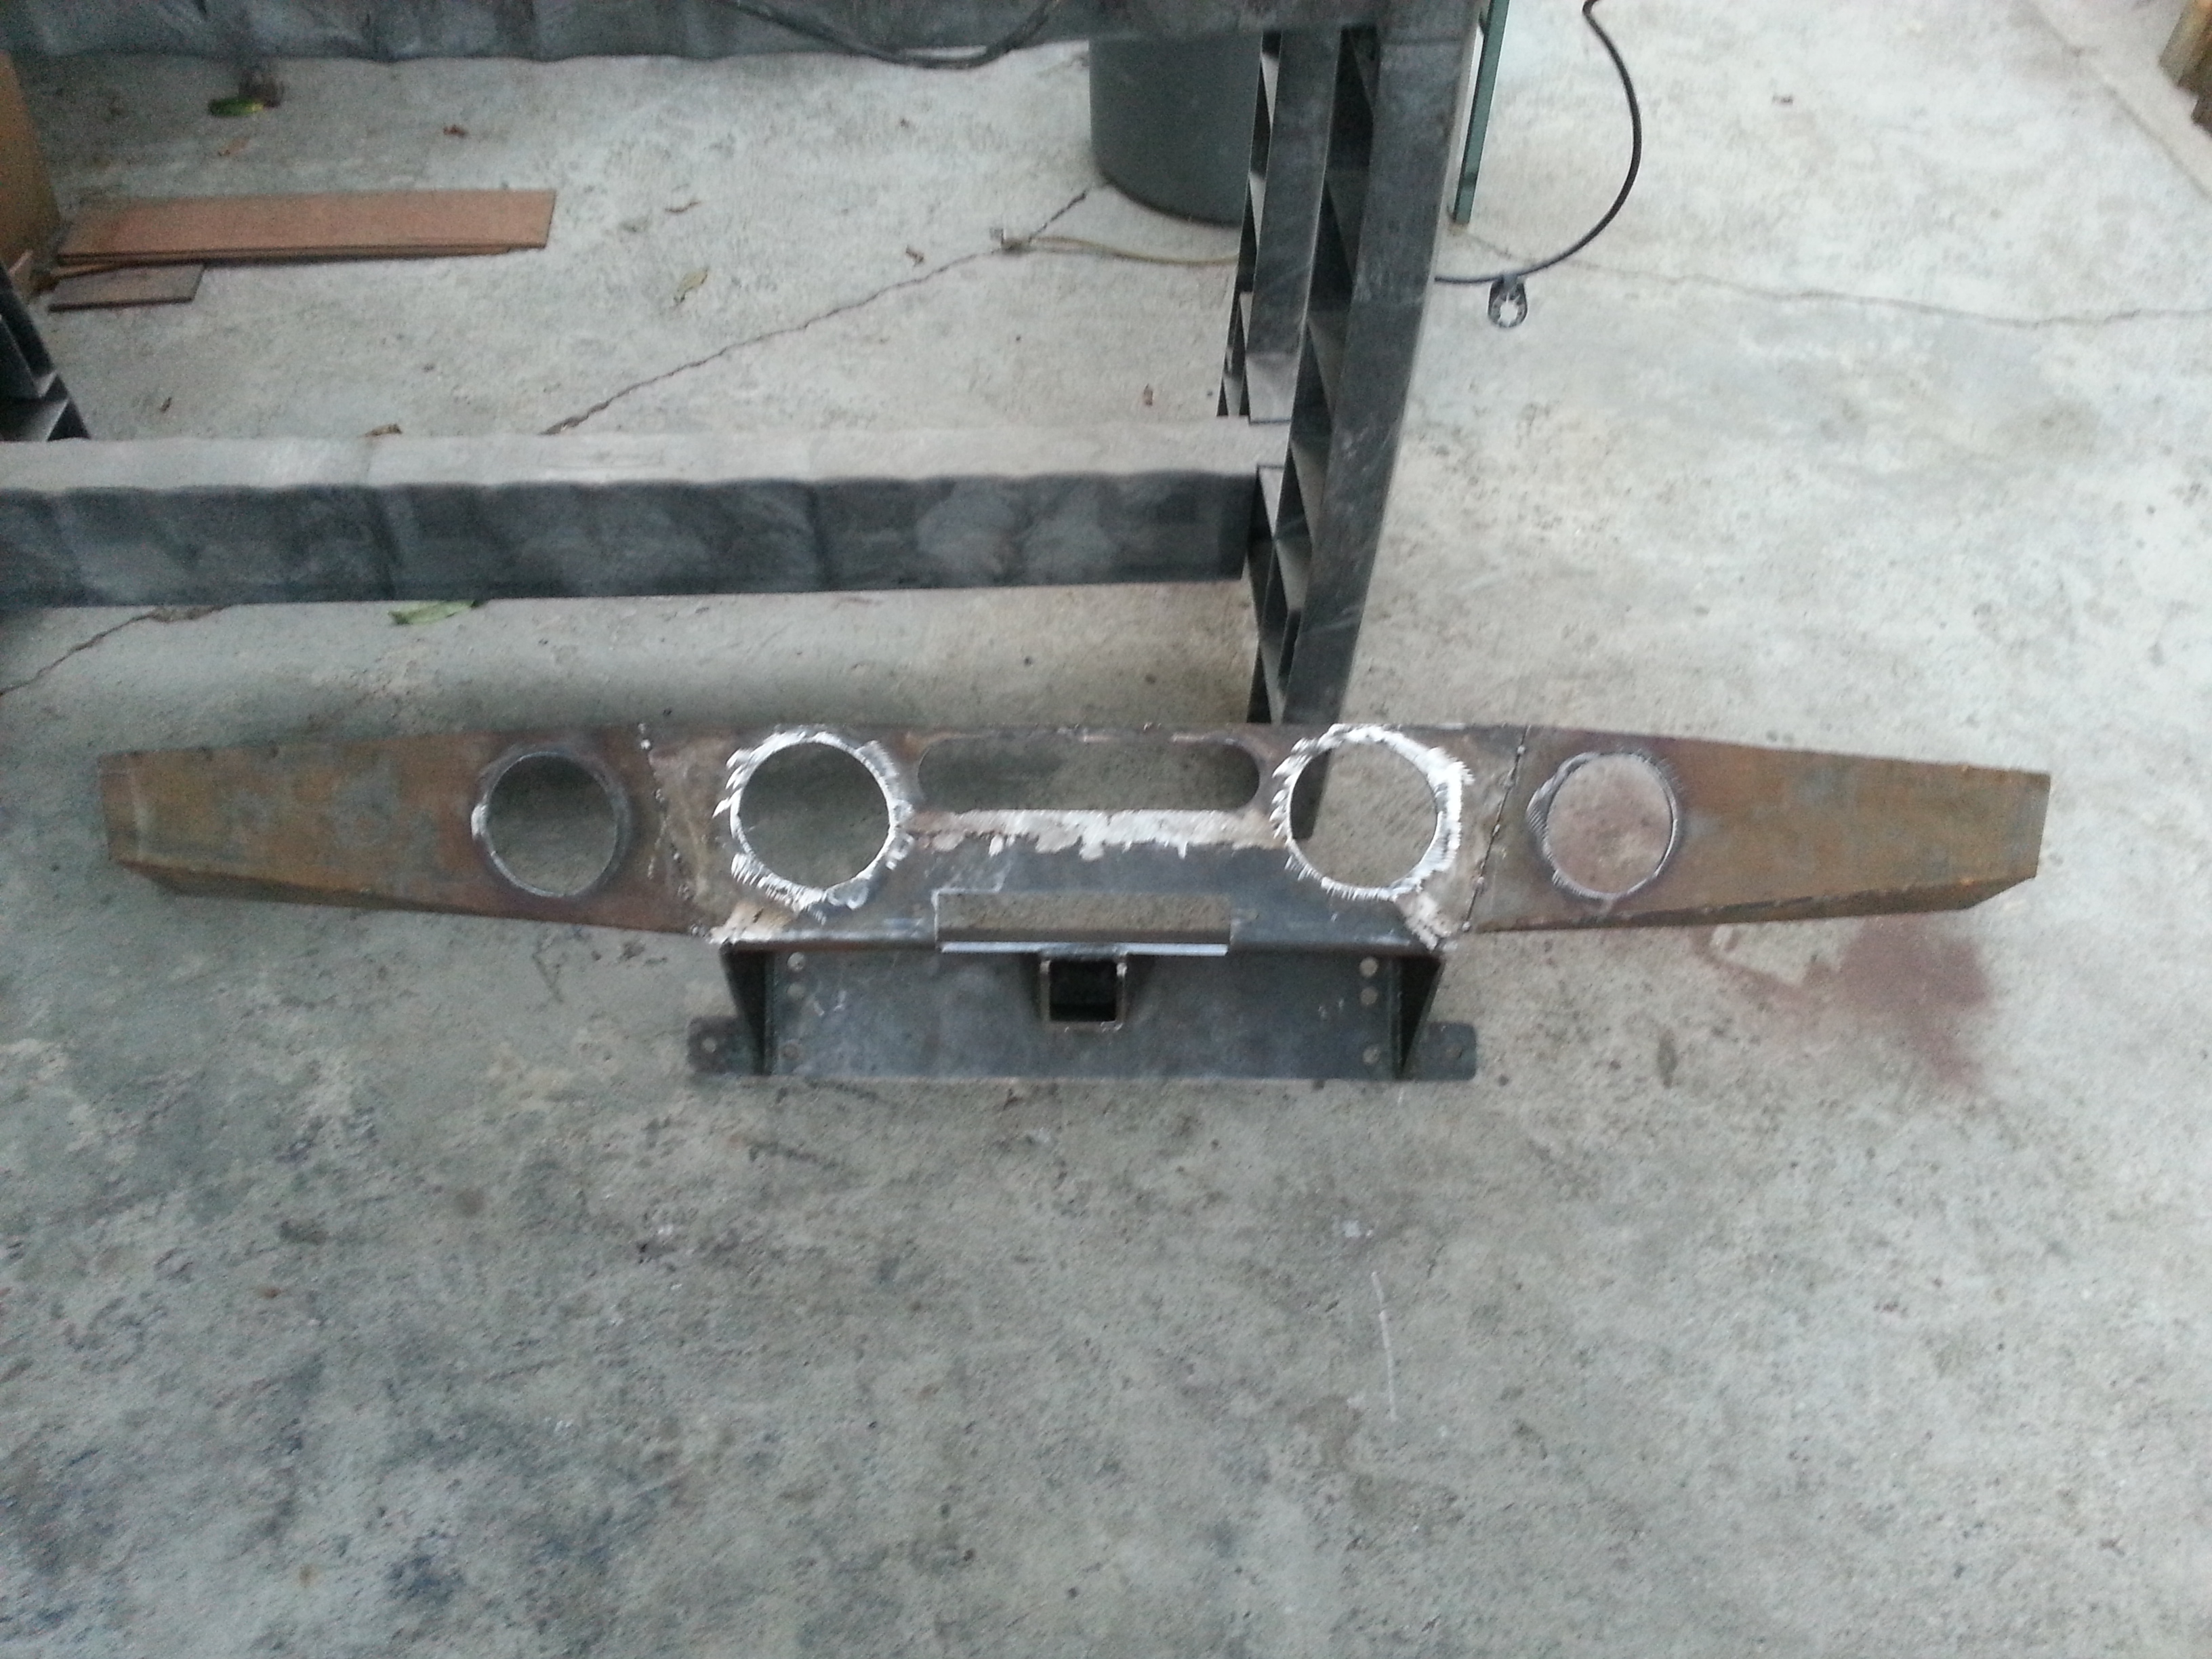
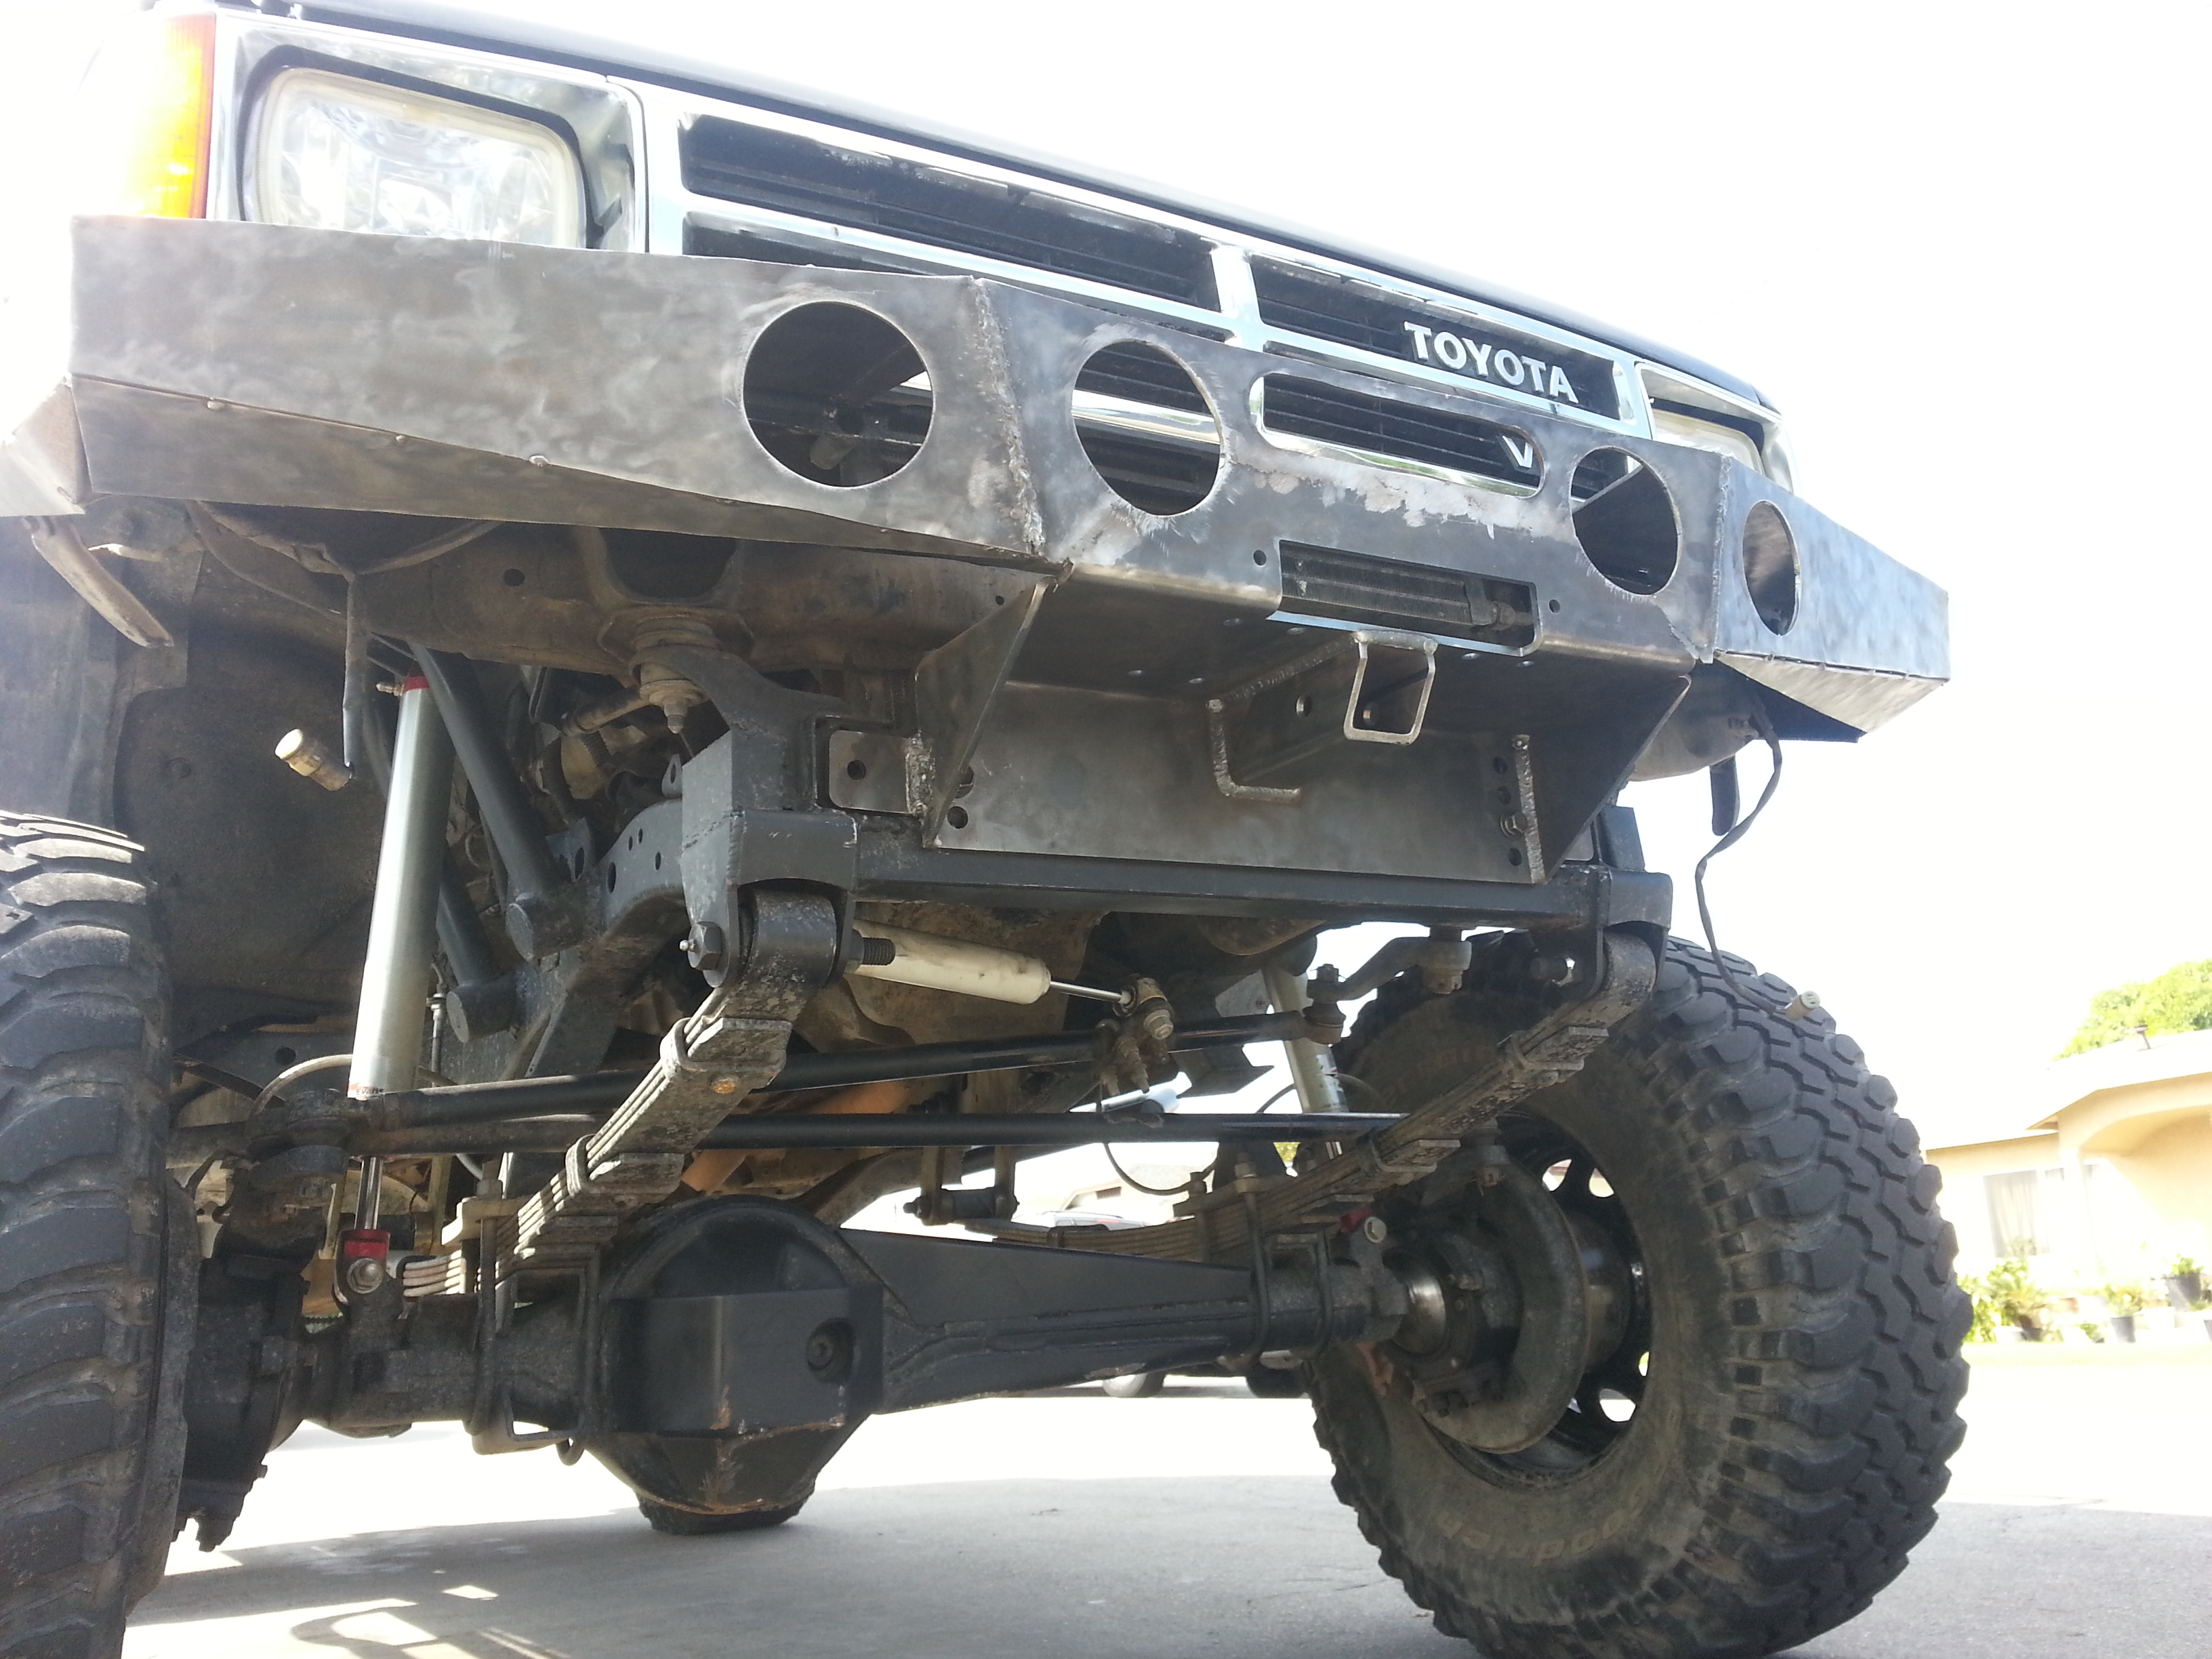
Bottom view
Nice n clean:
I tack welded the side corner pieces.
Time for fitment! I think it is looking great!
Here is my favorite shot.
I need to pull that passenger corner piece about 1/4" to make even.
Other shots.
You can see right here in this shot that the bumper sides go up and touch the bottom part of the fender. So I need to grind off the tack welds and re weld it tighter to pull away from the bottom fender then it'll be left perfect.
Bottom view
Last edited by Redeth005; Oct 13, 2013 at 04:01 PM.
Oct 14, 2013 | 06:07 AM
#55
Thread Starter
Registered User
Joined: Apr 2012
Posts: 2,817
Likes: 2
From: Los Angeles CA
Keep practicing your welds, it gets easier and better over time. But the only way to learn is to weld some more stuff. I'll give you some welding advice from what I'be seen here. On some of your welds, your heat penetration looks a little short. Try slowing down the wire speed and slowing down your travel and it should help you burn it all in better. Your welds also won't be as raised, thus less time with the grinder. If you have a gas connection on your welding I would recommend a small 40cf tank of Argon/CO2. It'll keep your welds cleaner and will be very beneficial in helping you to learn how to weld good. Looking at the splatter it actually looks as if you are using solid wire instead of flux core.
Again, not criticizing you, just trying to help you along the way. I think your design is great and the final product is looking promising! Keep at it!
Again, not criticizing you, just trying to help you along the way. I think your design is great and the final product is looking promising! Keep at it!
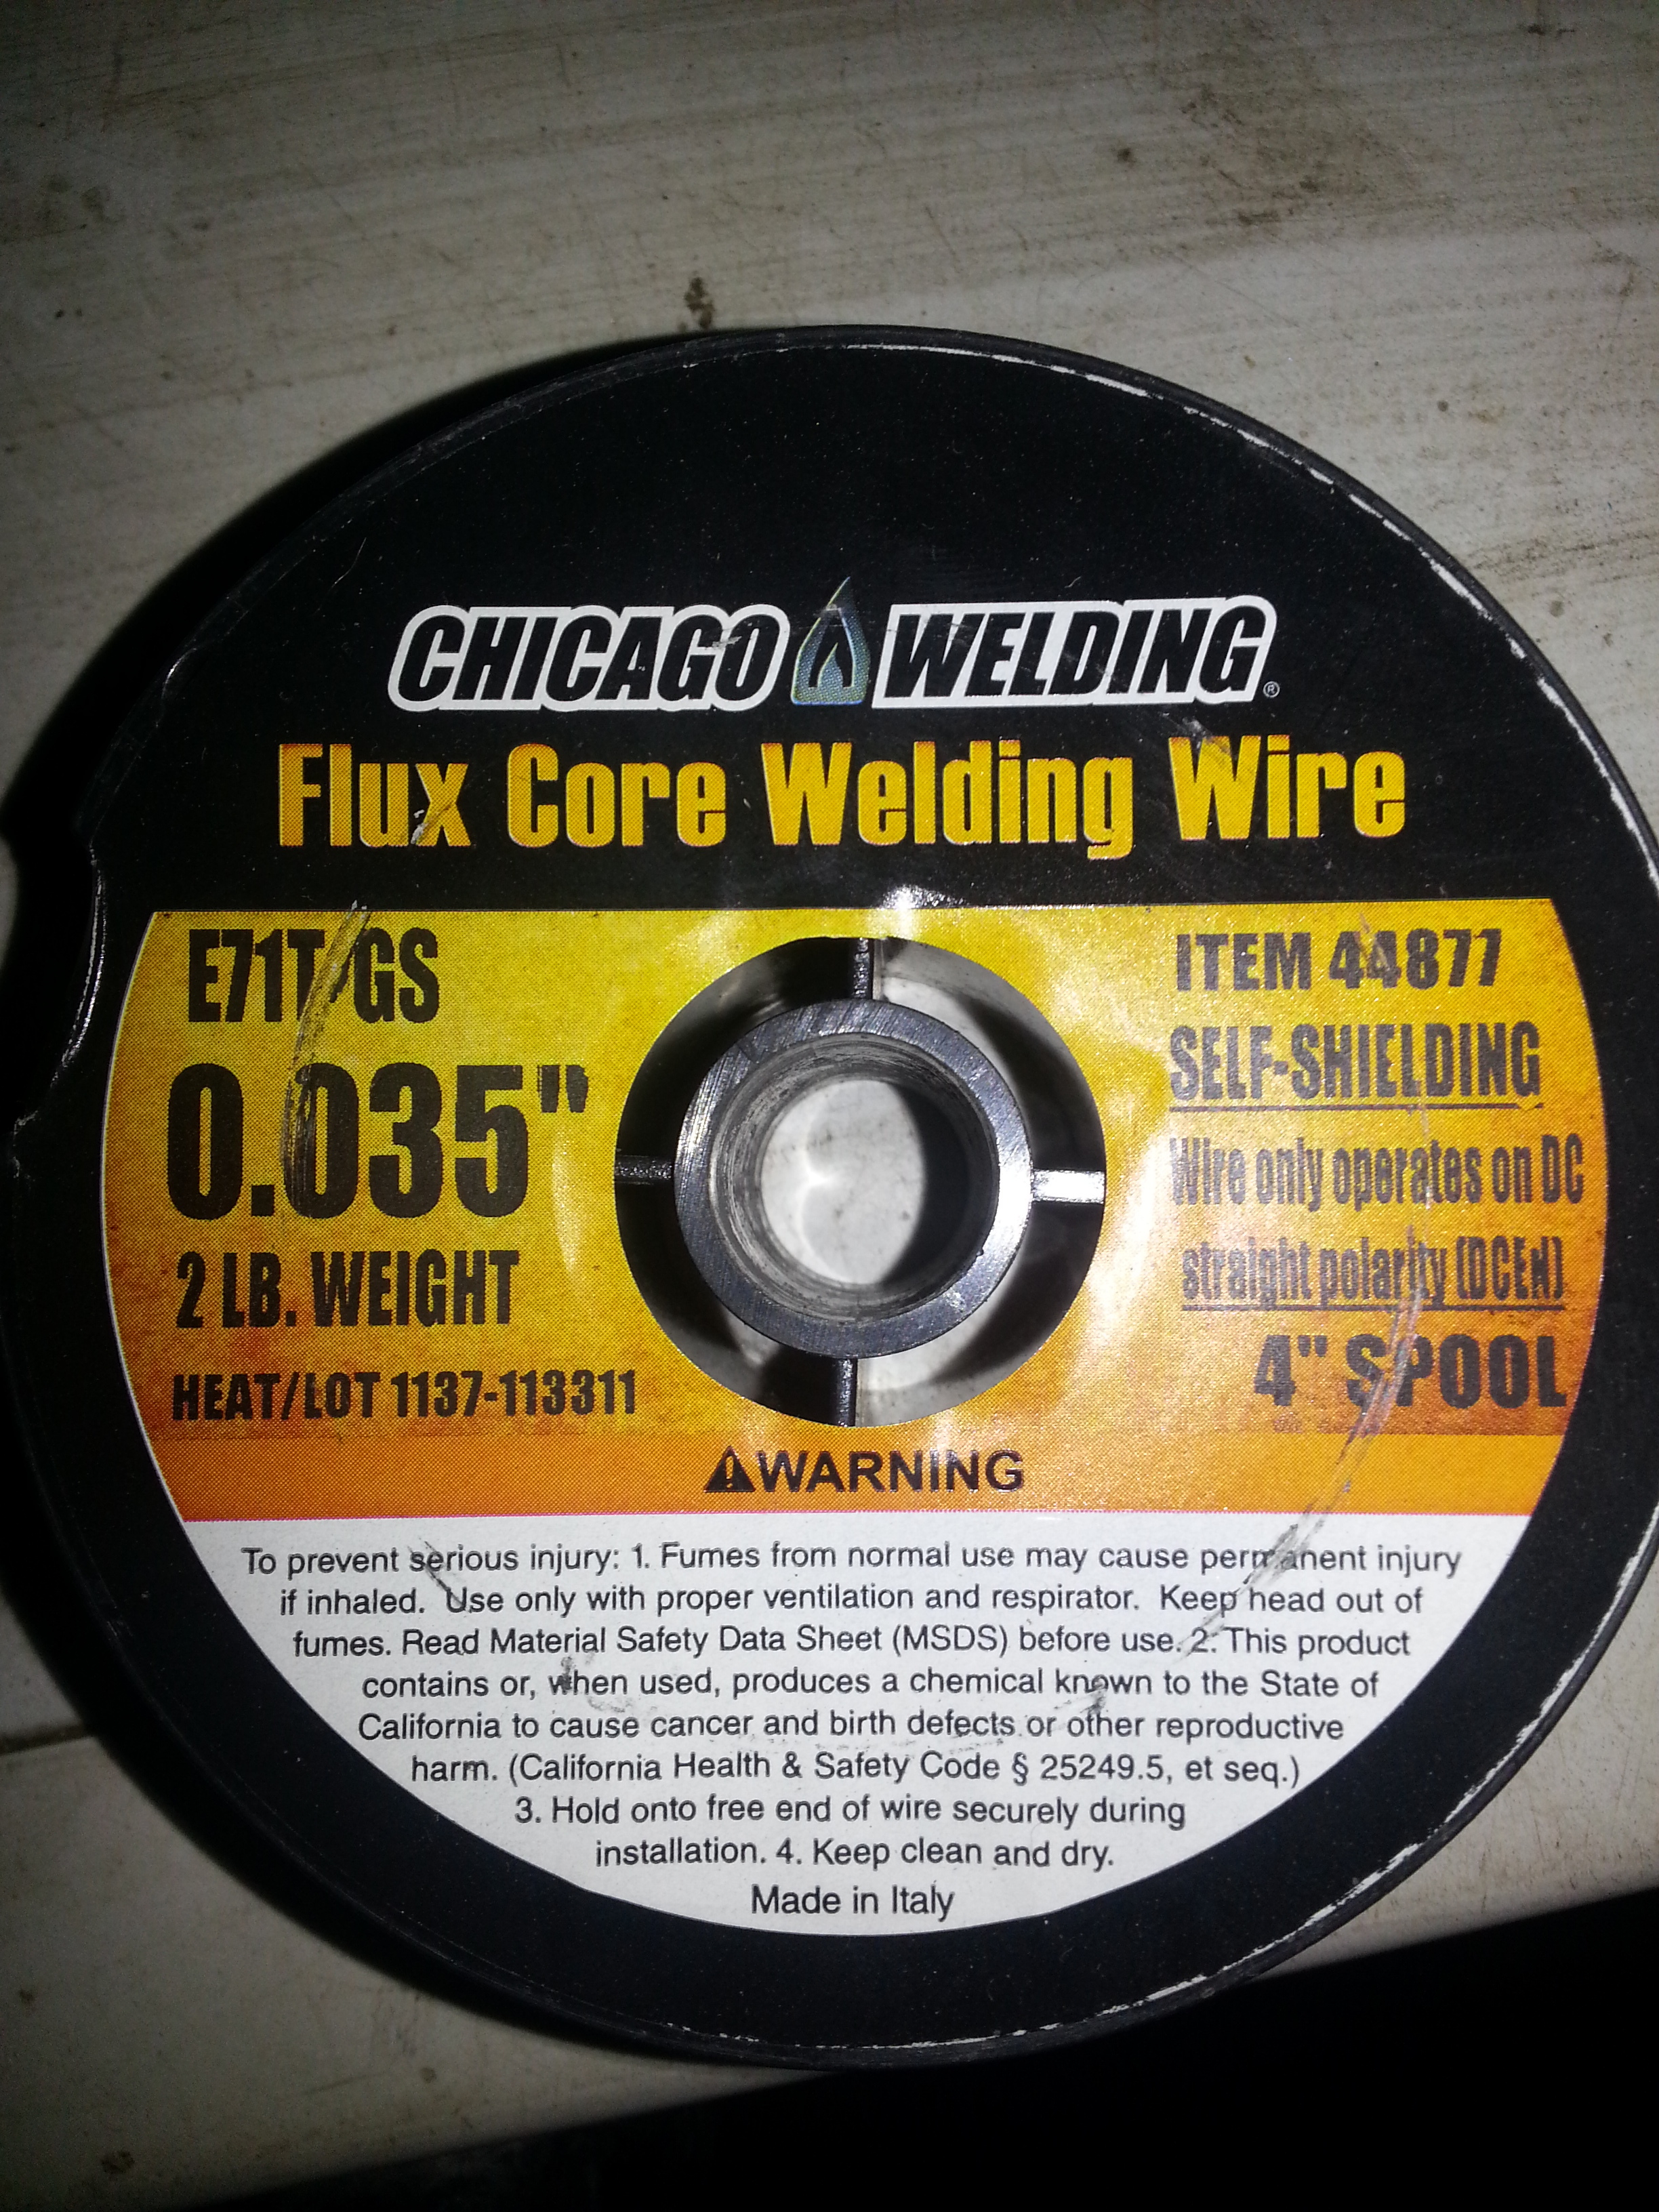
But I was also thinking about something. When we made my rear bumper we used the welder with the Co2 and I noticed the welds didn't pop as much like it does in this one. Since it was windy when making the rear we did have a couple of tough situations welding out doors in the back yard. So this time around I bought gasless wire to avoid the darn air stealing my Co2 lol. This is what I use
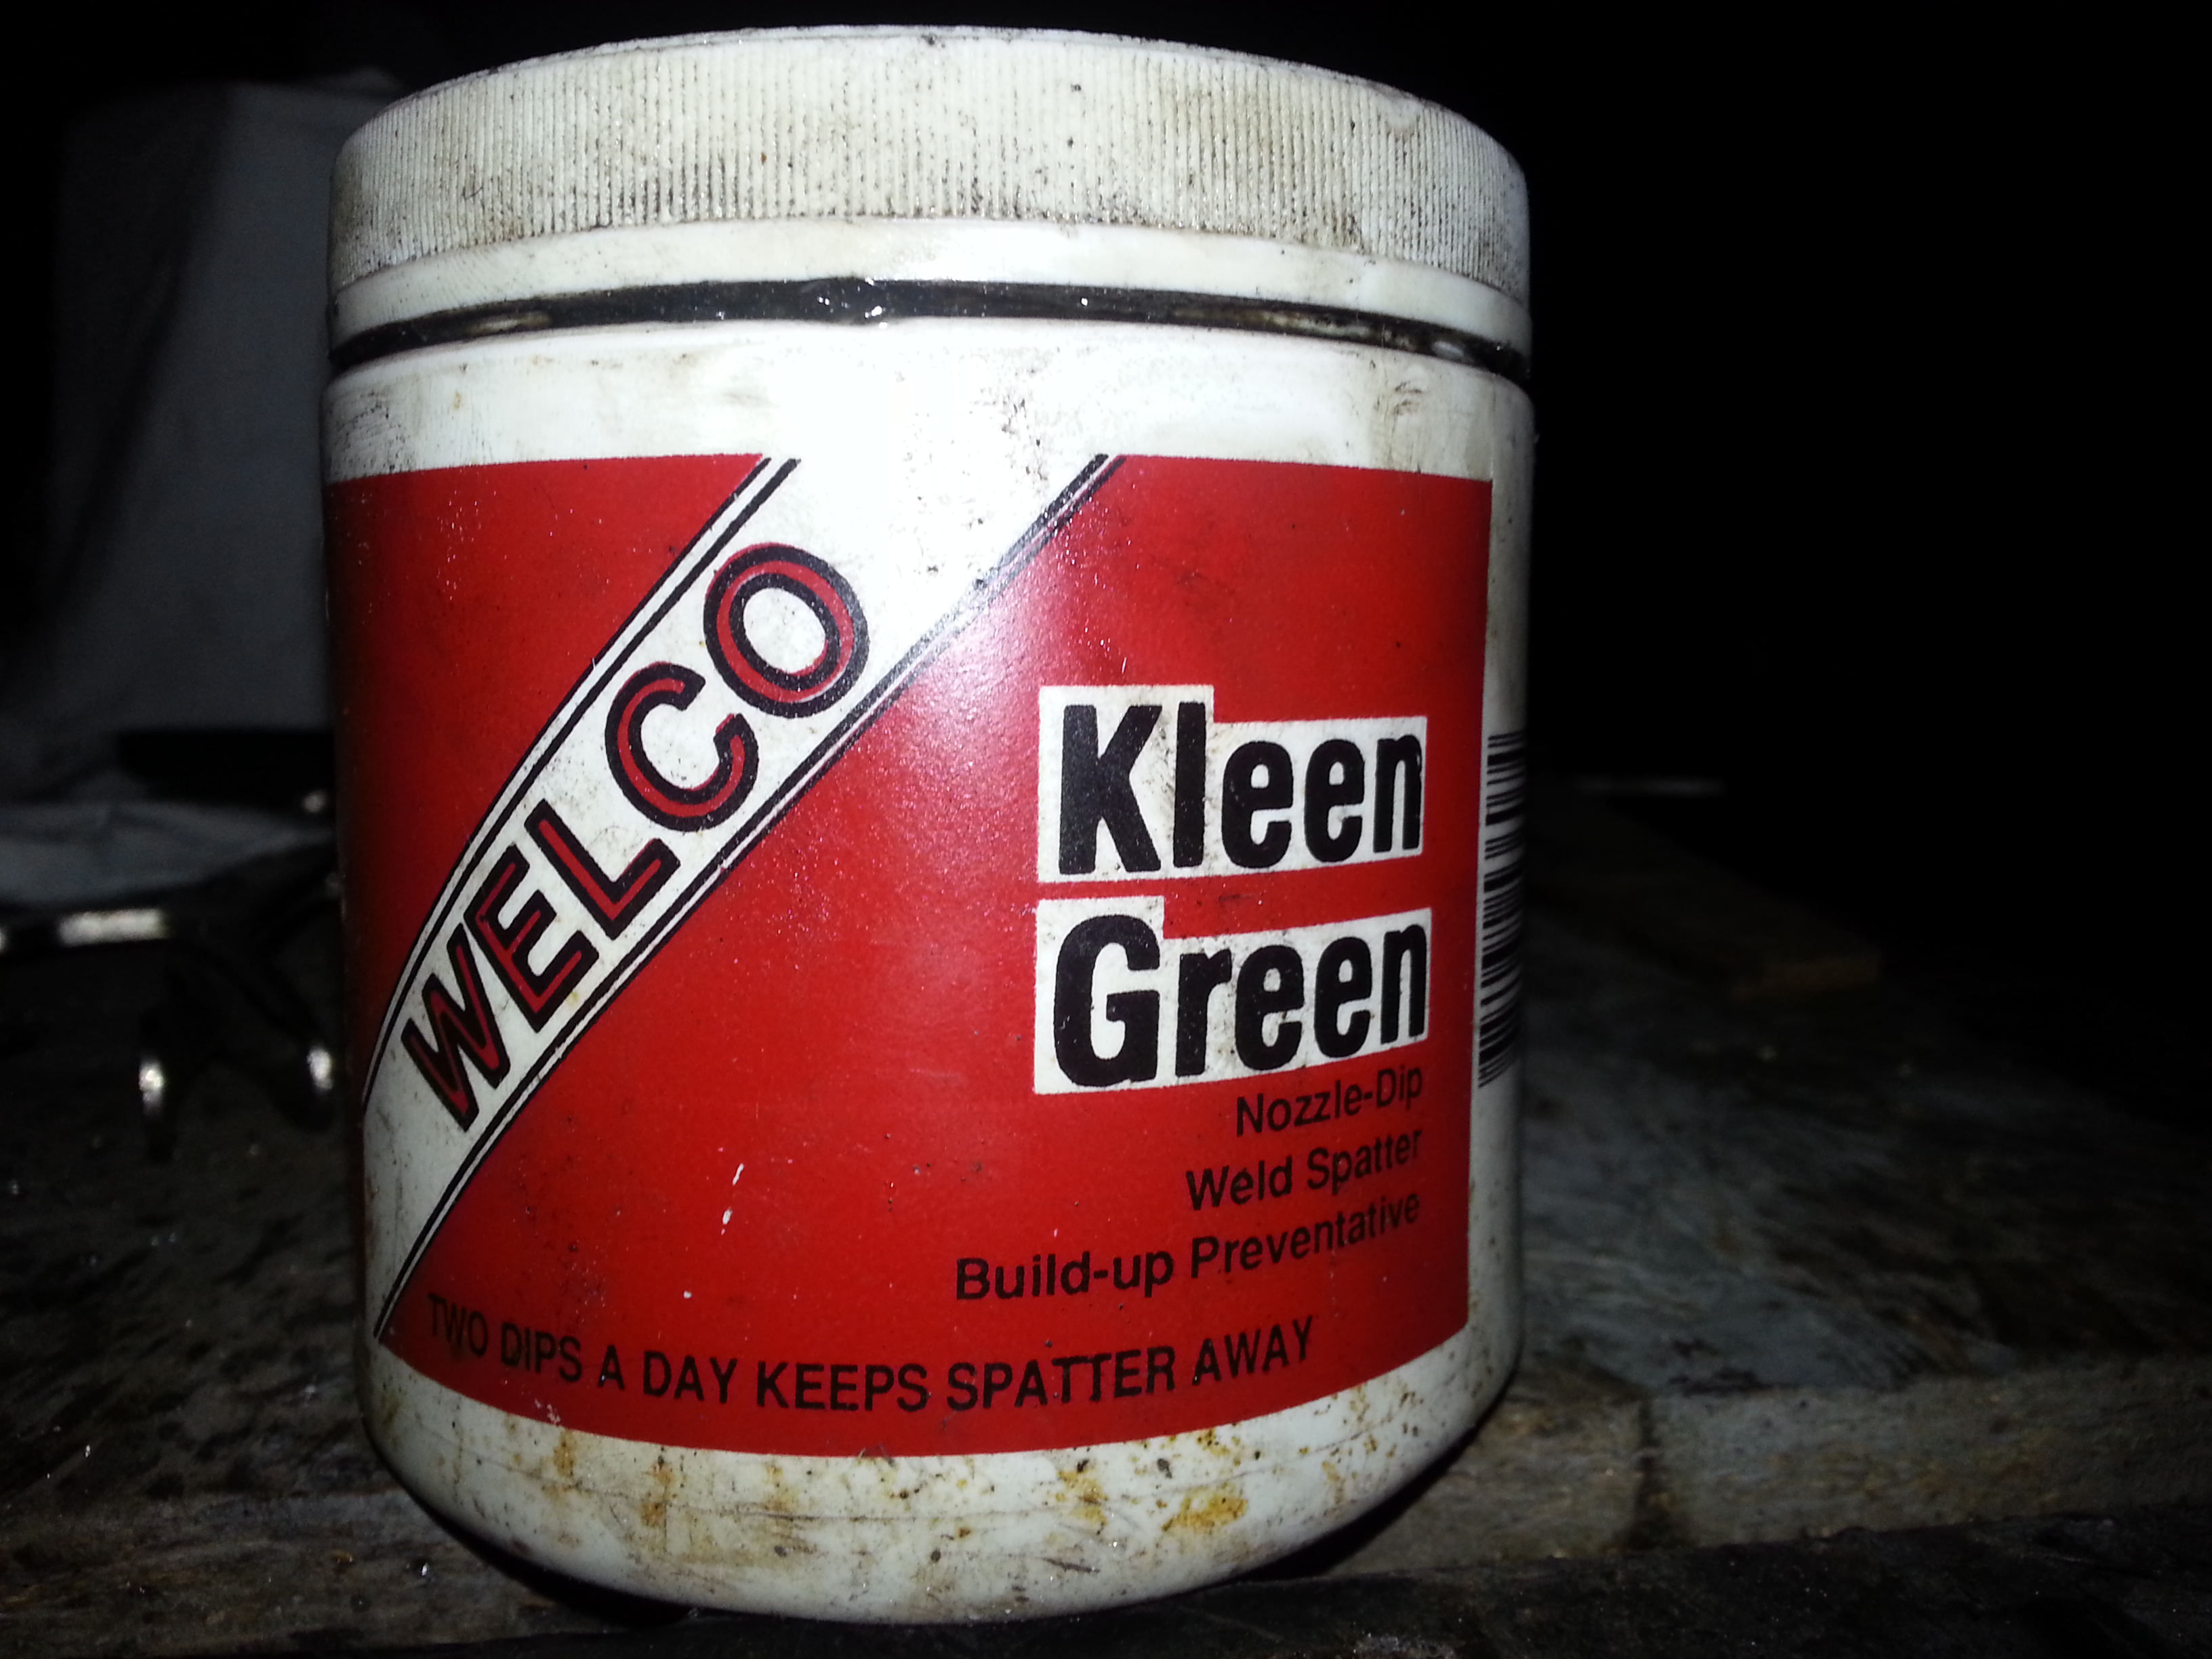
When we switched from the gas welder to using this wire I realized that the welds had more ball like residue like that. And it would pop more often. I noticed it looks a heck of a lot cleaner with the other wire/gas. This gel like stuff is also something I have been using for that splatter from time to time when I remember I have it. It does help once in a while.
Hoss I don't have a lot of fabricating skills at all. My rear bumper was the first thing I ever made. 1/2 way through is when I began to learn how to weld. Still learning but I have the right idea now. But I did use the same process I did for this one with the masonite board for the protoype bumper. Then templates to cut out the real thing. You just need to look up what kind of bumper you really really like and get a bunch of pictures to refer to. Take measurments of your truck, Then draw your own up on graph paper according to the measurements you took and pretty much just copy your cuts from the drawing to the to the masonite board. Youre pretty much set from there.
You can actually cut up your own pieces to have ready then have somebody weld them up for you when you're finished.
I was lucky enough to have my dad to show me. But there are tons of craigslist ads of people advertising their welding services. If I didn't have my dad or neighbor as a back up I'm sure I would have gone that route.
Like I said before. This is my 2nd time ever making something. And its been coming along nicely. The rear bumper/tire carrier came out sturdy and clean and that was my first time ever fabbing anything up. I'm sure if I can do it so can you.
I'm only 24.
Last edited by Redeth005; Oct 14, 2013 at 06:09 AM.
Oct 14, 2013 | 06:19 AM
#56
Registered User
Joined: Feb 2013
Posts: 22
Likes: 0
From: Colorado Springs, CO
Nice! Thanks for the encouragement. I do have a friend that is a welder and we've been talking about tackling a rear bumper. I appreciate the tips. I will go through your build thread some more, get some masonite and see what happens! And please do keep up the progress reports. Very motivating!! 
Oct 14, 2013 | 07:30 AM
#57
Most welders require you to switch the polarity when you go from gas to gasless. On my Hobart I actually have to swap the terminals for the ground and trigger inside the unit, but some welders actually have a switch to do it. Those raised welds you are talking about may be a result of improper polarity. Might want to look into that
Oct 14, 2013 | 07:53 AM
#58
Thread Starter
Registered User
Joined: Apr 2012
Posts: 2,817
Likes: 2
From: Los Angeles CA
We did switch the ground like you said. We Followed the directions printed on the machine. So what else could it be?
We're using a Lincoln 220 welder
We're using a Lincoln 220 welder
Last edited by Redeth005; Oct 14, 2013 at 07:54 AM.
Oct 14, 2013 | 08:30 AM
#59
Thread Starter
Registered User
Joined: Apr 2012
Posts: 2,817
Likes: 2
From: Los Angeles CA
Nice! Thanks for the encouragement. I do have a friend that is a welder and we've been talking about tackling a rear bumper. I appreciate the tips. I will go through your build thread some more, get some masonite and see what happens! And please do keep up the progress reports. Very motivating!!
You can cut all the pieces yourself with a jigsaw and metal cutter blade like I did for this project. You can have everything ready so when your friend comes along you can just get to the welding and fitting.
Ill keep you guys posted with more updates. Glad I might have motivated you. Keeo me posted of you end up going through a similar project. I'd like to see your progress.
Oct 14, 2013 | 09:11 AM
#60
Raised welds are usually indicative of high wire speed with low heat. Try turning up the heat and lowering the wire speed while welding a little slower on your bead to burn it in better. Also, when using gas it not only shields the weld from contaminents, but it also helps keep the heat it. And if you are welding in the wind then you might want to shield off your welding area so that the wind isn't cooling your welds.


