
A bit different hood scoop
 Apr 17, 2011 | 05:58 PM
#1
Thread Starter
Registered User
Joined: May 2010
Posts: 432
Likes: 0
From: Hemet, CA.
A bit different hood scoop
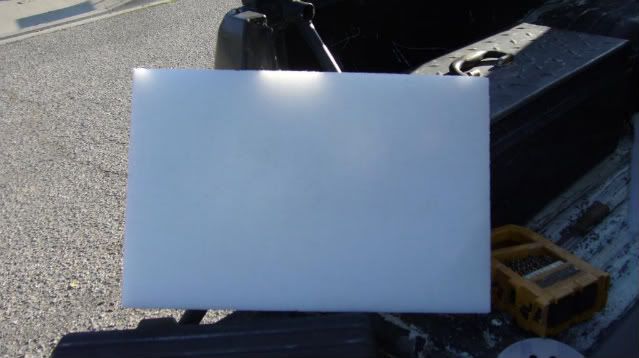
Dont want to be the exact same as everyone else so im gonna make my own. And yes, i do plan to make this functional kind of like a mopar "shaker" scoop (except the scoop will be bolted to the hood) but with a plastic pipe to the air box. I started off with a piece of hard craft foam 2"X12"x18".
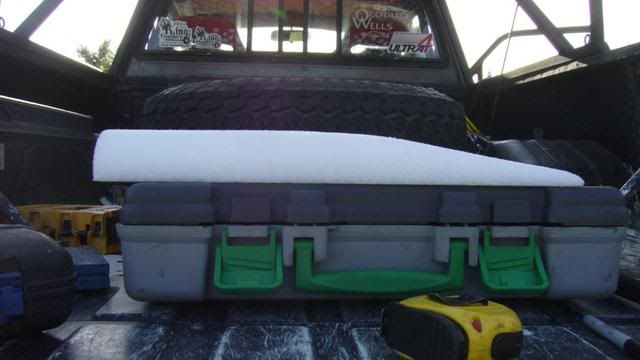
I used an orbital sander with 80 grit to get the rough shape.
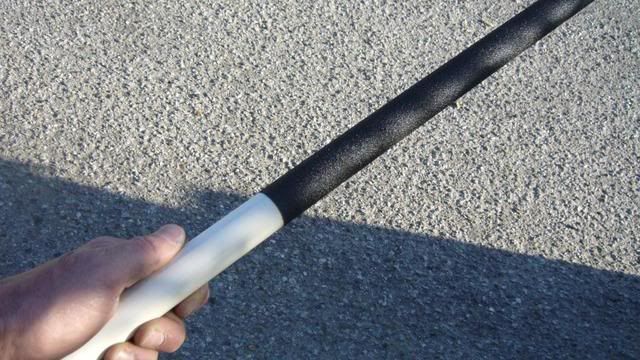
Looks like most other scoops now, so i tried a new trick to give it a bit more character. Took a piece of 3/4" pvc and wrapped it with sticky back sandpaper.
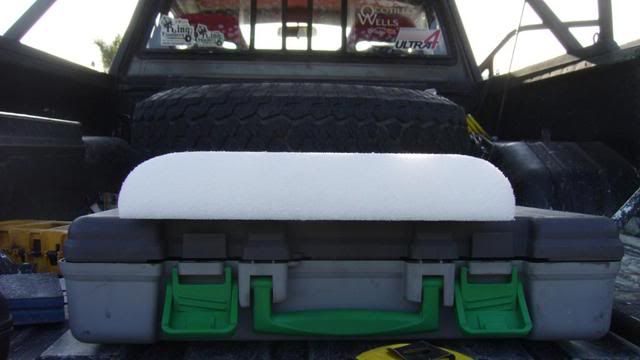
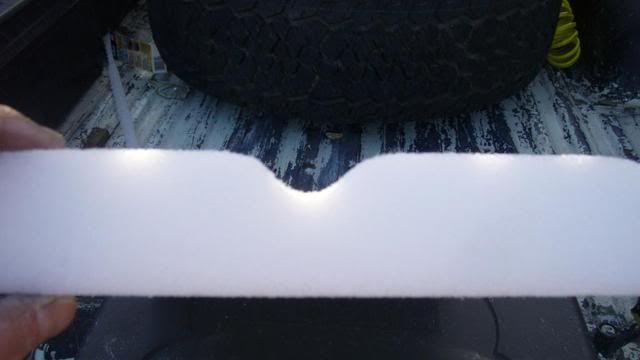
Then used that to sand a groove down the middle of the scoop.
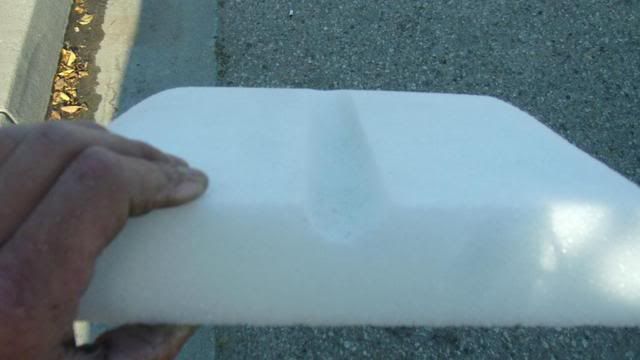
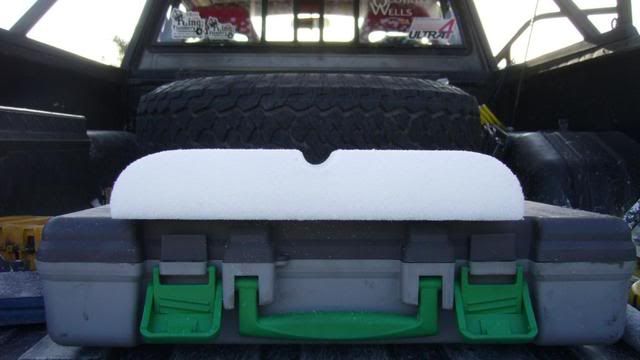
Then i hand sanded the sharp lines on the channel i grooved.
That is as far as i got with the shaping of it today. now i need to figure out what to coat the foam with to prevent the fiberglass resin from deteriorating it on the first coat or two. Im leaning towards some sort of wax or a similar product so i can re-use this mold. If anyone has any suggestions feel free to speak up please. By the way, what's the vote for which position on the hood?


I used an orbital sander with 80 grit to get the rough shape.
Looks like most other scoops now, so i tried a new trick to give it a bit more character. Took a piece of 3/4" pvc and wrapped it with sticky back sandpaper.
Then used that to sand a groove down the middle of the scoop.
Then i hand sanded the sharp lines on the channel i grooved.
That is as far as i got with the shaping of it today. now i need to figure out what to coat the foam with to prevent the fiberglass resin from deteriorating it on the first coat or two. Im leaning towards some sort of wax or a similar product so i can re-use this mold. If anyone has any suggestions feel free to speak up please. By the way, what's the vote for which position on the hood?
Apr 17, 2011 | 06:29 PM
#6
Thread Starter
Registered User
Joined: May 2010
Posts: 432
Likes: 0
From: Hemet, CA.
so cal doesnt see to much rain and i dont bomb the puddles so that concern is little. after i seal the intake box i do plan on drilling two 1/8" holes (one in each rear corner) to allow any water to escape that may get in. after that im sure it will take alot of mother nature to build up a few inches of water in the box to reach the intake tube.
Trending Topics
Apr 23, 2011 | 05:03 PM
#8
Thread Starter
Registered User
Joined: May 2010
Posts: 432
Likes: 0
From: Hemet, CA.
progress will resume this monday. got the resin today but have my 4 year old till sunday night so ill dodge the fun of the kid getting into the mess with me. that stuff does'nt come off the skin to easily and i dont want to see her face go  when i try to remove it from her skin.
when i try to remove it from her skin.
 Apr 25, 2011 | 05:06 PM
#10
Thread Starter
Registered User
Joined: May 2010
Posts: 432
Likes: 0
From: Hemet, CA.
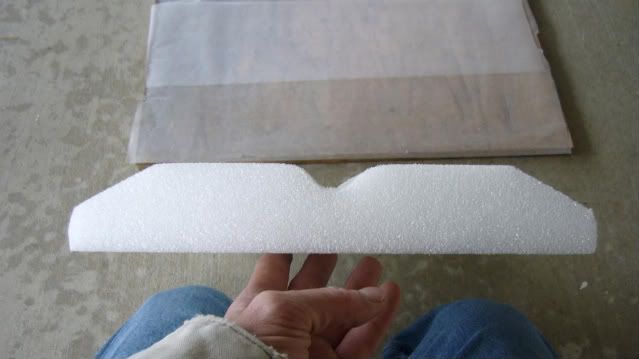
got a little progress today. reshaped the sides a bit to go with the hood lines better.
and then started laying glass. gonna be a slow process since the weather is cool right now, so ill do a layer or two per day to alloww sufficient drying times.
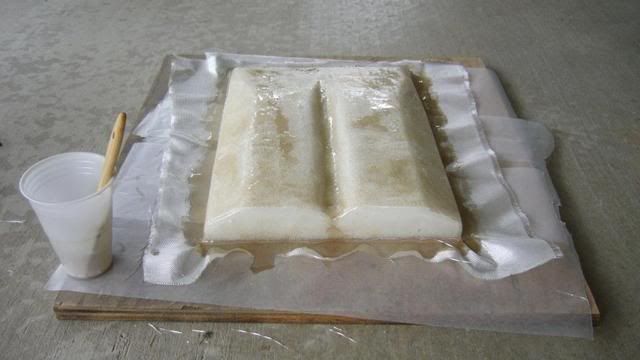
updates will continue.
and then started laying glass. gonna be a slow process since the weather is cool right now, so ill do a layer or two per day to alloww sufficient drying times.
updates will continue.
Apr 25, 2011 | 05:34 PM
#12
Thread Starter
Registered User
Joined: May 2010
Posts: 432
Likes: 0
From: Hemet, CA.
i tried syran wrap and that was mission failure. didnt have any thing else on hand except petroleum jelly, to which im gonna dodge being the first person to make that mistake! so i just went for it on the foam and its actually not melting "too" much from what i can tell so far. if worse comes to worse ill use fiberglass bondo to get things smooth.
 Apr 26, 2011 | 06:02 PM
#15
Thread Starter
Registered User
Joined: May 2010
Posts: 432
Likes: 0
From: Hemet, CA.
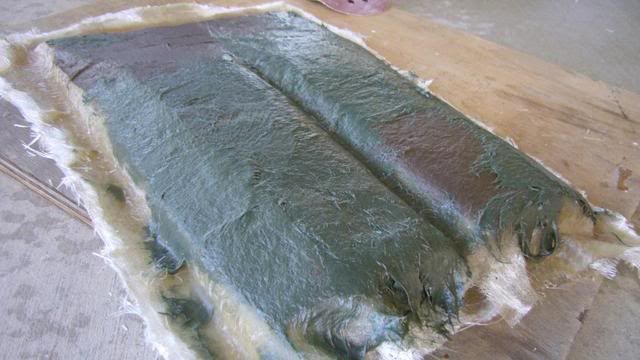
your advice WILL be used for the next thing i make. the mold did deform just enough to make it wavy so im gonna go get some glass bondo to smooth it up and drop a few more sheets on to finish it out. and thanks for the input people!

 Apr 28, 2011 | 09:06 AM
#19
Registered User
Joined: Aug 2007
Posts: 1,133
Likes: 7
From: PDX
The sanding might not be that bad with the right power tool, I'm thinking a hand held belt sander would make short work of that (don't forget your breathing mask!)
I thought you were still making a mold - like where you pull the foam out and then lay the fiberglass for the finished product inside the "negative" you just created.
I thought you were still making a mold - like where you pull the foam out and then lay the fiberglass for the finished product inside the "negative" you just created.
Apr 28, 2011 | 04:10 PM
#20
Thread Starter
Registered User
Joined: May 2010
Posts: 432
Likes: 0
From: Hemet, CA.
The sanding might not be that bad with the right power tool, I'm thinking a hand held belt sander would make short work of that (don't forget your breathing mask!)
I thought you were still making a mold - like where you pull the foam out and then lay the fiberglass for the finished product inside the "negative" you just created.
I thought you were still making a mold - like where you pull the foam out and then lay the fiberglass for the finished product inside the "negative" you just created.


