
Toms 87 4Runner Build
 Mar 7, 2016 | 11:38 AM
#101
Thanks Ed... Seems like when I get a truck halfway thru the build it looks like they are getting stripped down worse then a boneyard truck, but it does start looking better eventually. I don't really like using a truck panel but it would be forever finding a good runner panel to work.
No one is more surprised then me that I got married. I wanted no part of it when I was younger. Seen to many problems with friends and family. I was 34 at the time I did get married and it has been great. Been really fortunate that she lets me do the things I want and it has been a blast. I really think we will be together until one of kicks the can. I have got it pretty good.
No one is more surprised then me that I got married. I wanted no part of it when I was younger. Seen to many problems with friends and family. I was 34 at the time I did get married and it has been great. Been really fortunate that she lets me do the things I want and it has been a blast. I really think we will be together until one of kicks the can. I have got it pretty good.
I am glad your working on the interior now, this is where I am going to be following closely since I am in the process of doing mine. I will be using SEM Color coat on mine. Any tips on painting the plastic trim peices? I know you have to clean them very well before hand, I noticed you used an adhesion promoter. How long of a dry time on the adhesion promoter before you can lay down the paint? Typically, how many coats of the paint do you use on a panel, and how long do they need to dry before you can handle them? Are there any interior parts that you wouldnt use this on? (such as the steering wheel, seatbelts door panel fabric etc) Sorry for all the questions Terry! This will be the first time for me doing an interior color change and I'm hoping for some good results.*Edit* I sent you a PM Terry so I don't further clutter up your thread with all my questions, lol, Thanks!
Last edited by rustED; Mar 7, 2016 at 10:08 PM.
Mar 8, 2016 | 06:40 AM
#102
Thread Starter
Super Moderator
iTrader: (1)
Joined: Aug 2008
Posts: 11,787
Likes: 28
From: Anderson Missouri
Hello Ed..I posted some in your PM for the dark gray I use

For the light gray I use SEM I cant find a picture right now of the paint cap but I am almost positive SEM calls it Toyota Gray. I will stop by the store on the way home tomorrow and see if I can get a picture of the name that I use for light gray but am sure it is called Toyota Gray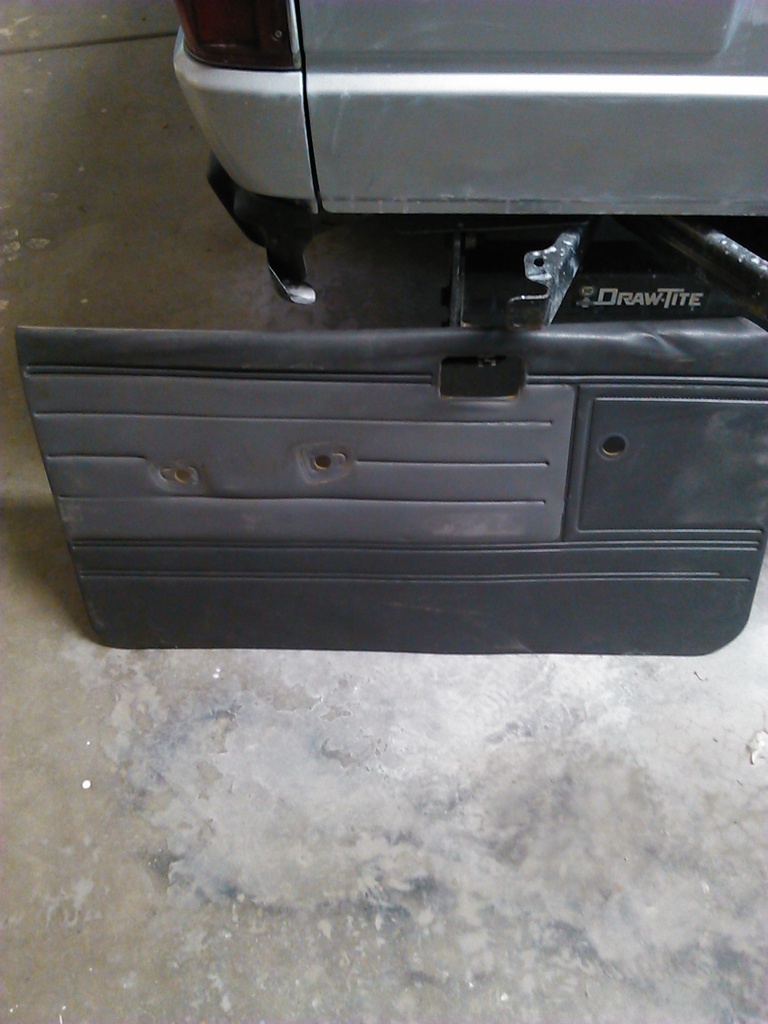

For the light gray I use SEM I cant find a picture right now of the paint cap but I am almost positive SEM calls it Toyota Gray. I will stop by the store on the way home tomorrow and see if I can get a picture of the name that I use for light gray but am sure it is called Toyota Gray
 Mar 10, 2016 | 06:33 AM
#103
Thread Starter
Super Moderator
iTrader: (1)
Joined: Aug 2008
Posts: 11,787
Likes: 28
From: Anderson Missouri
Hello Ed..Below I tried to show the differences in the steps I did. I had already cleaned the parts with Simple Green and then a good rinsing.
If you look in different areas of the panels, you will see some bleaching or fading of the panels. This is the condition I received them in. In between the two cans is a good example of fading that looks like it is bleached.
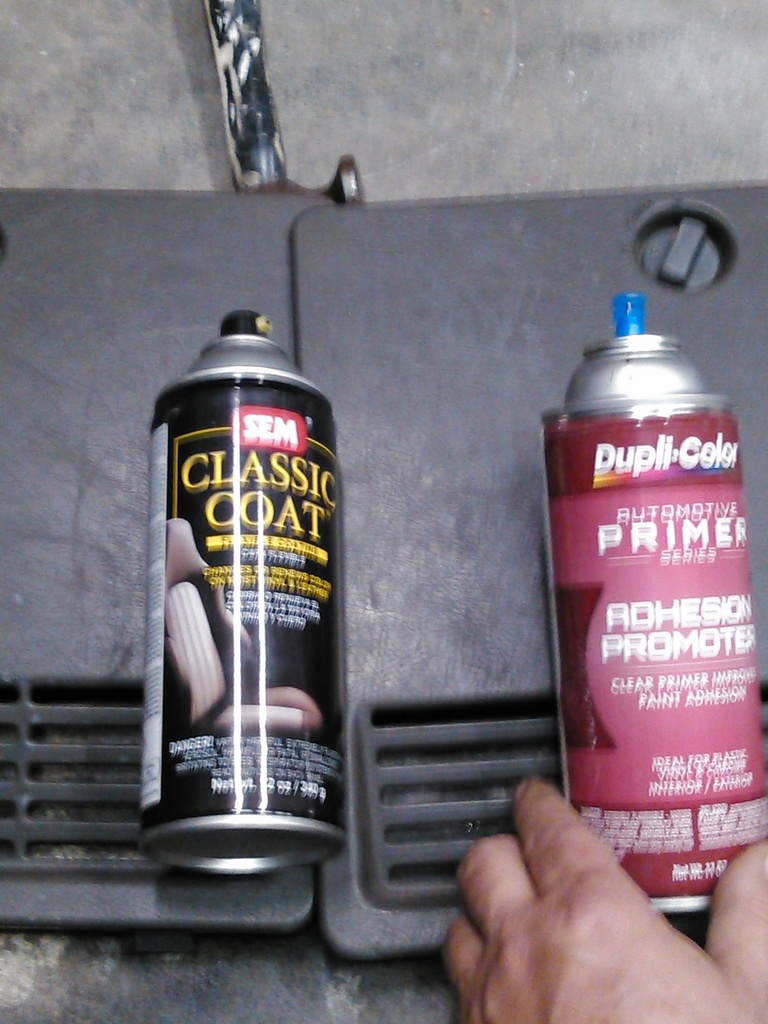
The bottom one is the one I have Adhesion Promoter on, some is light reflection but it does have a waxed look to it. Top has not been sprayed yet. It dried with in a minute.
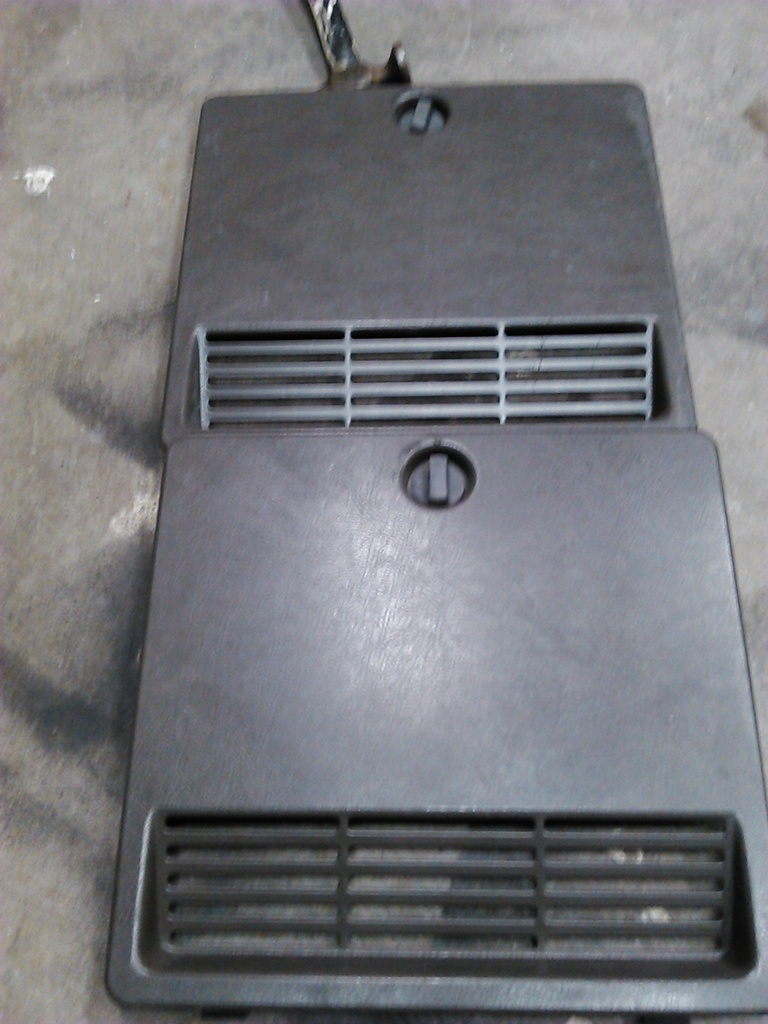
Here I jsut painted the bottom panel with SEM.

Other then cleaning the panels, I think this whole project took less then 10 minutes. This interior paint is really forgiving and easy to work with. I have 3-4 light coats on these panels. It isnt even begining to fill in the texture. You have a lot of room for coating more if you need to for coloring over the red.
 Mar 10, 2016 | 06:36 AM
#104
Thread Starter
Super Moderator
iTrader: (1)
Joined: Aug 2008
Posts: 11,787
Likes: 28
From: Anderson Missouri
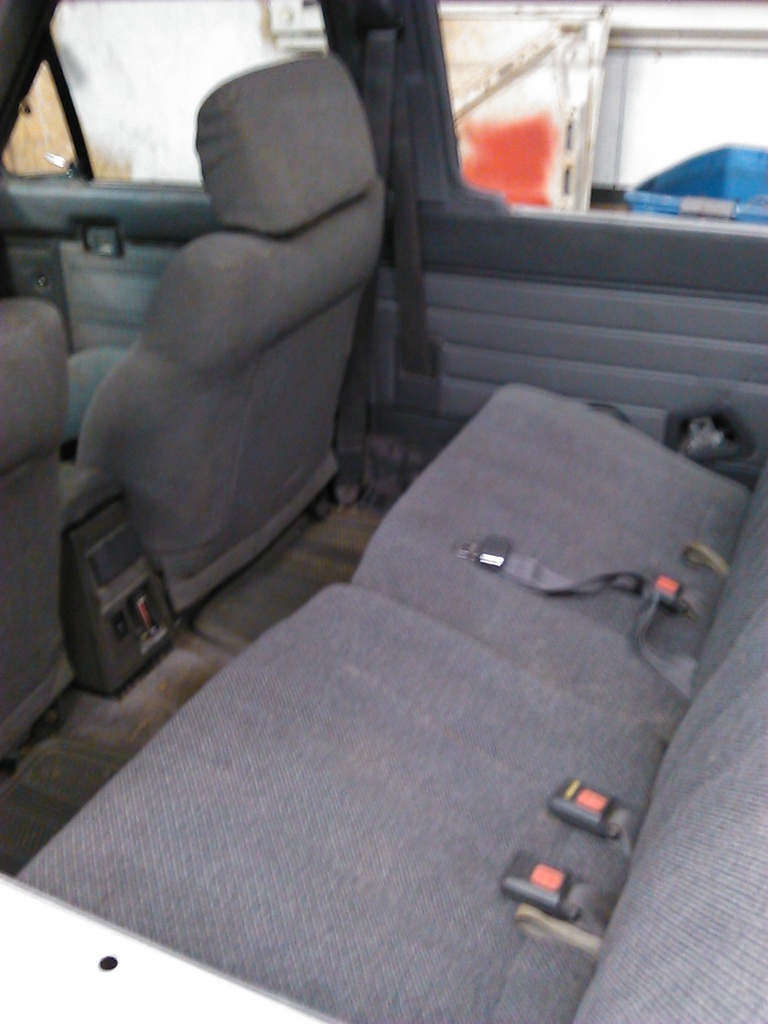
Got the back seats in, seat belts installed and the rear trim in. The big pieces clear off the shelves and makes it feel like you are getting some where. The rear passenger drivers side floor board had a big dent in it from what it looks like it fell off of a lift at one time. Cant even tell it was ever really damaged.
 Mar 10, 2016 | 08:25 AM
#105

Registered User
Joined: Jan 2015
Posts: 652
Likes: 0
From: Hendersonville NC
Have you tried a scratch test on the panels? I've tried interior paints before that would just scratch off with a fingernail. Even with good cleaning and prep prior.
Never tried sem or adhesion promoter although I've heard it is good
Never tried sem or adhesion promoter although I've heard it is good
Mar 10, 2016 | 09:57 AM
#107
Thread Starter
Super Moderator
iTrader: (1)
Joined: Aug 2008
Posts: 11,787
Likes: 28
From: Anderson Missouri
Thanks Robb...I am really hoping to get this truck completed soon if all goes well. Still a ton of small things to do but it is getting there.
Hello 92ehatch...I too used to not care for interior paint. The reason was every example I had seen in the past was like you described that it would flake off and look terrible. I seen Stacey David do Ted Nugents Bronco with interior paint and it turned out great. I looked into to what was needed to do it correctly and it has been great. You have to use Adhesion Promoter and interior paint. The past examples I had seen was regular paint.
Interior paint has something in it that makes it a little more flexible as I understand it. Getting the parts clean is another big issue. They have to be clean. Below is my 88 that I did 4 or 5 years ago and I still have not touched it up. I will say where my kids get into it on the door threshold does get scuffed up from rocks in their shoes or just tough shoe soles. Other then the threshold getting scuffed up, I have never redone the coloring on this truck.
If you go thru my 88 build, you will see several different colors that I used on it to get the interior into its current shape. My 86 runner build, I too used several different colored panels to complete it.
Here is a picture of my 88 runner today and it has been a few years since I painted the interior on it.
 Mar 10, 2016 | 10:01 AM
#108
Thread Starter
Super Moderator
iTrader: (1)
Joined: Aug 2008
Posts: 11,787
Likes: 28
From: Anderson Missouri
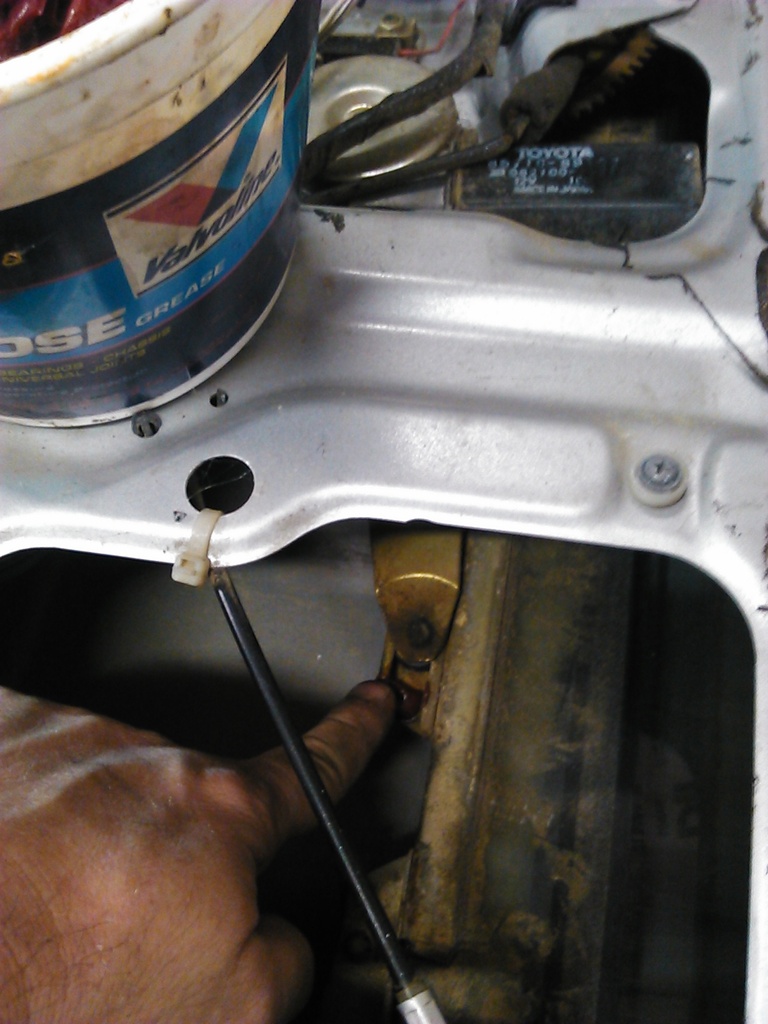
Tom bought some mud flaps form Grego and I need to install them instead of the ones I installed. Grego does some great work. The blue piece is what breaks and scuffs the window.
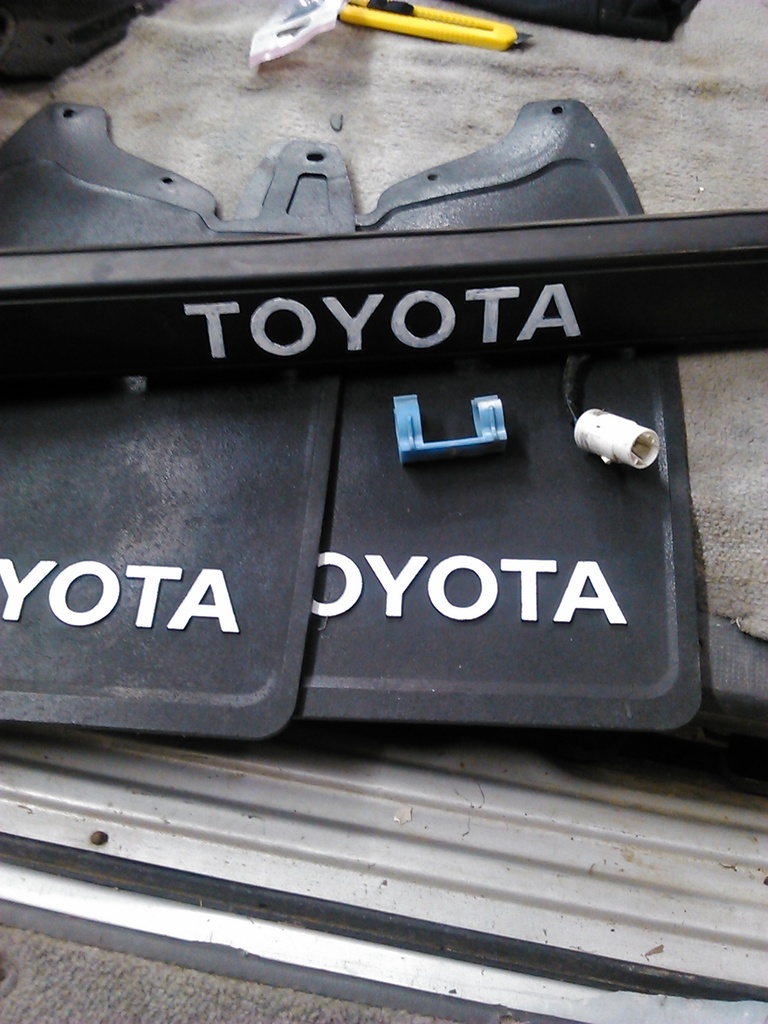
I replaced the blue piece with zipties. It was a royal pain in the rear to get the connector out of the way where it would not scuff the window. Next time I will pull the window assembly out to zip tie the connector out of the way. Got the rear trim piece on and license plate lights to work.

I replaced the blue piece with zipties. It was a royal pain in the rear to get the connector out of the way where it would not scuff the window. Next time I will pull the window assembly out to zip tie the connector out of the way. Got the rear trim piece on and license plate lights to work.
 Mar 10, 2016 | 10:04 AM
#109
The interior is looking great Terry, thanks alot for taking the time to answer all my questions, and showing your methods of cleaning, prepping and painting the panels. I feel alot more confident that I will have good results when I start in on my interior.
Mar 10, 2016 | 10:38 AM
#110
Thread Starter
Super Moderator
iTrader: (1)
Joined: Aug 2008
Posts: 11,787
Likes: 28
From: Anderson Missouri
Your Welcome Ed...You will be surprised at how easy it is to do an interior. Just start spraying before you get to the part and stop spraying after you get past the part. I still have not gotten the light gray paint code for SEM yet. The store did not have it yesterday but should be getting some soon. Below I am going to post some information on the shade of gray I use. It might be one or two shades off but is real close and will try to show that below.
Mar 10, 2016 | 10:43 AM
#111
Thread Starter
Super Moderator
iTrader: (1)
Joined: Aug 2008
Posts: 11,787
Likes: 28
From: Anderson Missouri
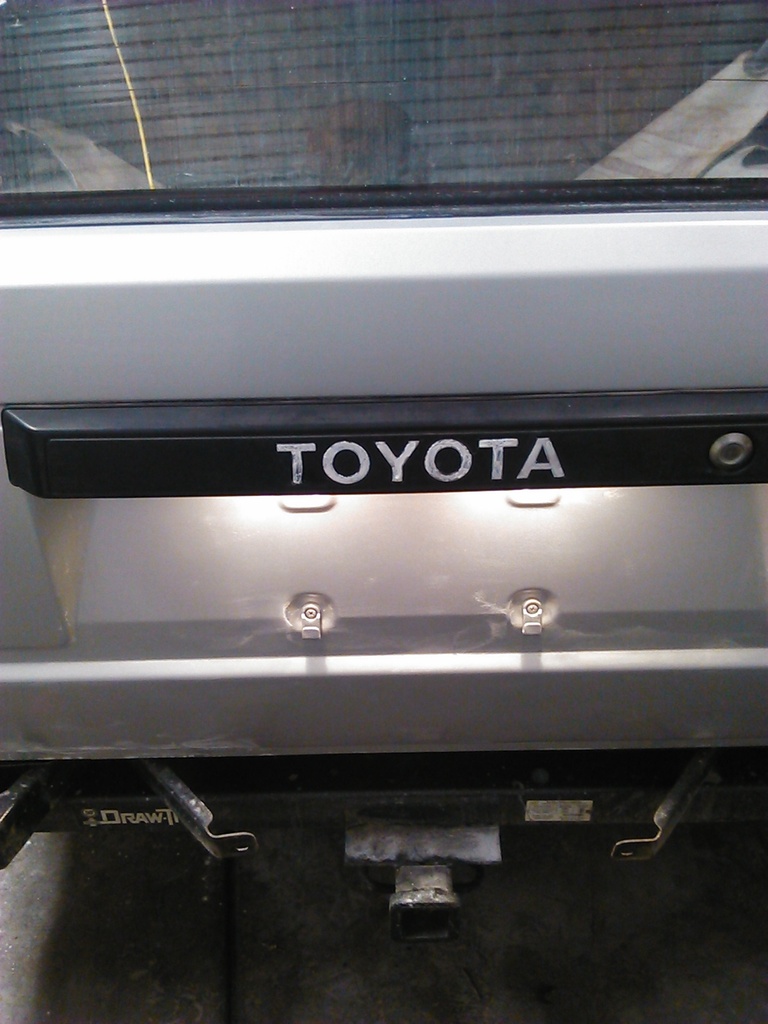
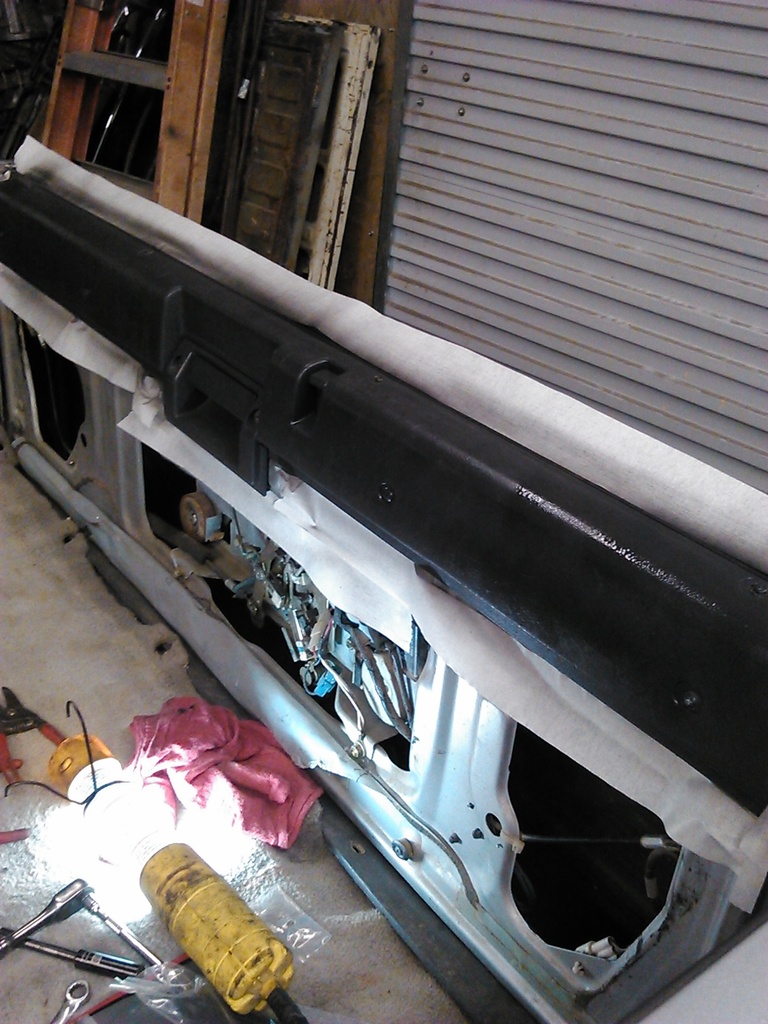
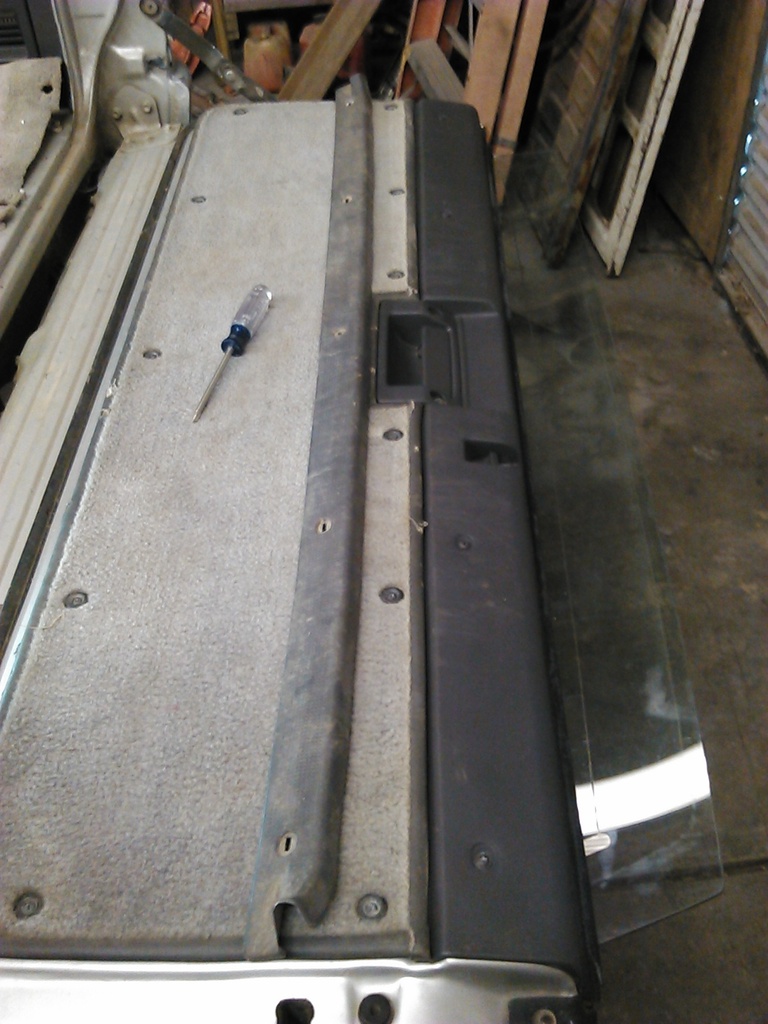
Here is the trim that is on the inside of the tail gate. You can see where someone in the past has loaded and unloaded cargo and scratched it. Not much I can do about it but is does show how faded it is.

Also what I do on the tail gate is lube the tracks up with ball bearing grease. For two reasons, one is to help it operate smoother as Toyota does not lube it up, but the other reason I do it is to try and prevent this track from rusting up. Back glasses are getting hard to find but another issue is these tracks will just rust away to nothing and is getting hard to find as well.
Took more time masking and cleaning then it did to paint.
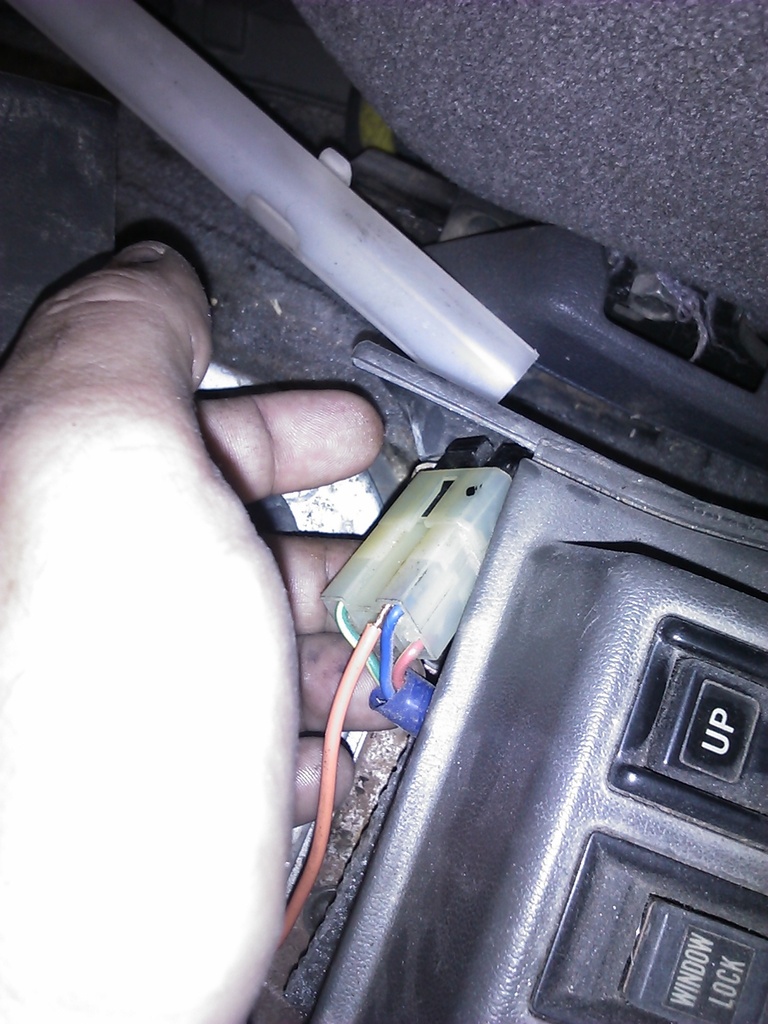
I use the ground wire trick to get the back glass up with the top off when working on the back glass and need it to operate. You can make this wiring trick permanent to solve several safety issues with the back glass. It will roll up with the top off if you do this. This trucks safety switches are working great so am not doing the ground wire trick.
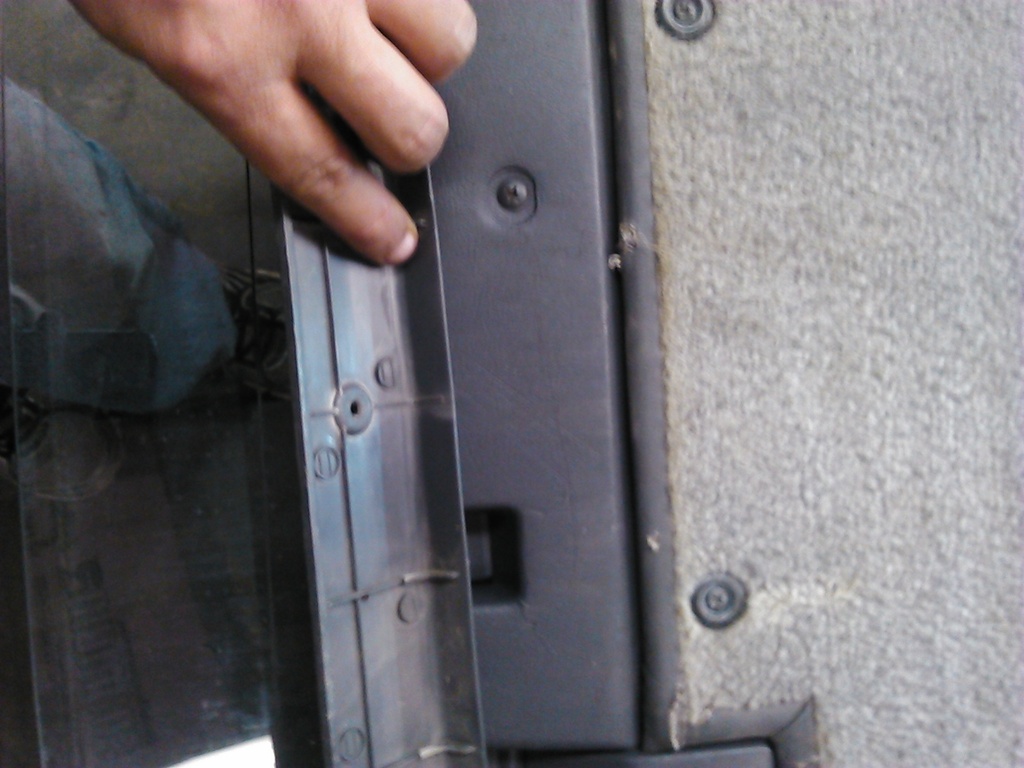
Here is the back side of the trim that goes over the rear of the cargo area. On the back side you can see it is nearly the same gray as the SEM paint. Just shows how much it has faded where my finger is at. The other piece is what I have painted.
All together now. There is some dust on the trim but it was from installing the carpet pad and I did not see it when taking the picture.

Also what I do on the tail gate is lube the tracks up with ball bearing grease. For two reasons, one is to help it operate smoother as Toyota does not lube it up, but the other reason I do it is to try and prevent this track from rusting up. Back glasses are getting hard to find but another issue is these tracks will just rust away to nothing and is getting hard to find as well.

Took more time masking and cleaning then it did to paint.

I use the ground wire trick to get the back glass up with the top off when working on the back glass and need it to operate. You can make this wiring trick permanent to solve several safety issues with the back glass. It will roll up with the top off if you do this. This trucks safety switches are working great so am not doing the ground wire trick.

Here is the back side of the trim that goes over the rear of the cargo area. On the back side you can see it is nearly the same gray as the SEM paint. Just shows how much it has faded where my finger is at. The other piece is what I have painted.

All together now. There is some dust on the trim but it was from installing the carpet pad and I did not see it when taking the picture.

Last edited by Terrys87; Mar 10, 2016 at 10:59 AM.
Mar 11, 2016 | 06:48 AM
#114
Thread Starter
Super Moderator
iTrader: (1)
Joined: Aug 2008
Posts: 11,787
Likes: 28
From: Anderson Missouri
Hello 87hoerunner.. Welcome to my thread. I try to post things I find one these trucks and hope they help others as I find them.
Your Welcome 92ehatch...I really think you will like the results of interior paint when done right. Seats are about the only thing I have not found away of making look new without going to an upholstery shop but everything else can be looking new and it adds to the enjoyment of an older truck,
Your Welcome 92ehatch...I really think you will like the results of interior paint when done right. Seats are about the only thing I have not found away of making look new without going to an upholstery shop but everything else can be looking new and it adds to the enjoyment of an older truck,
Mar 11, 2016 | 06:54 AM
#115
Thread Starter
Super Moderator
iTrader: (1)
Joined: Aug 2008
Posts: 11,787
Likes: 28
From: Anderson Missouri
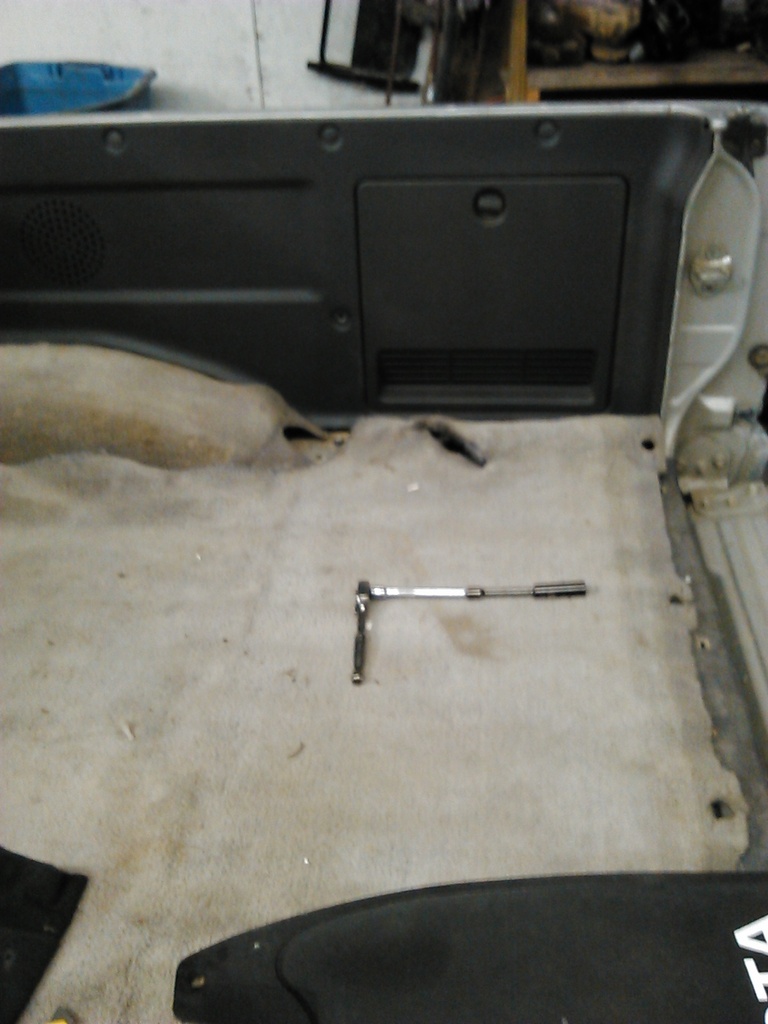
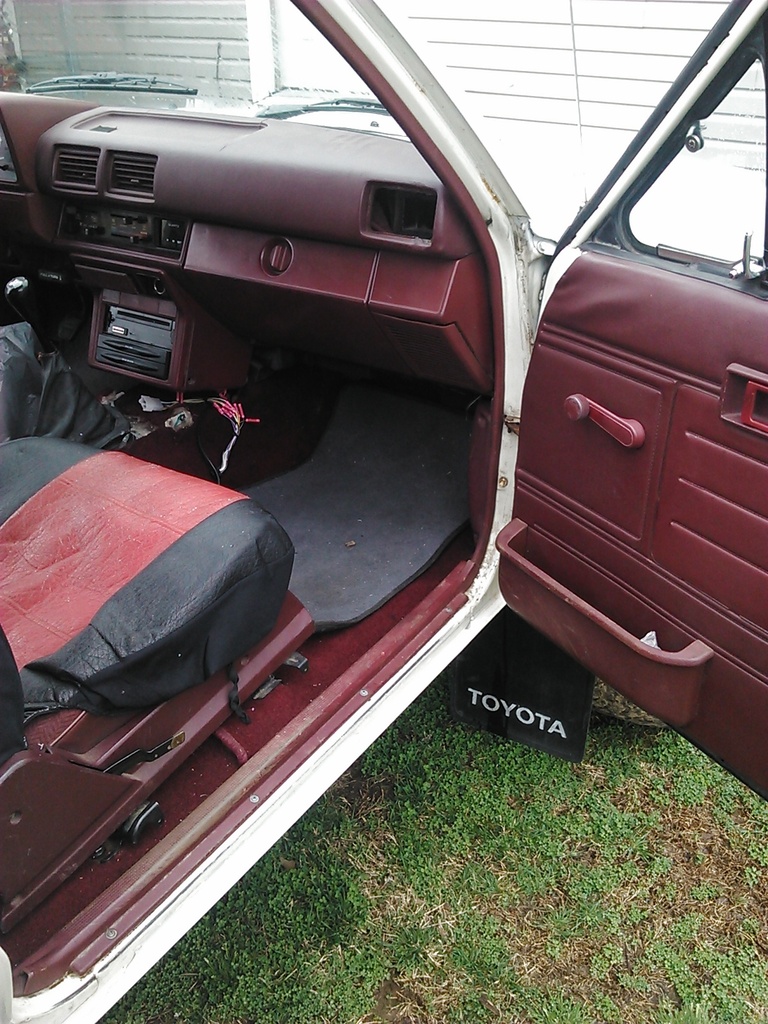
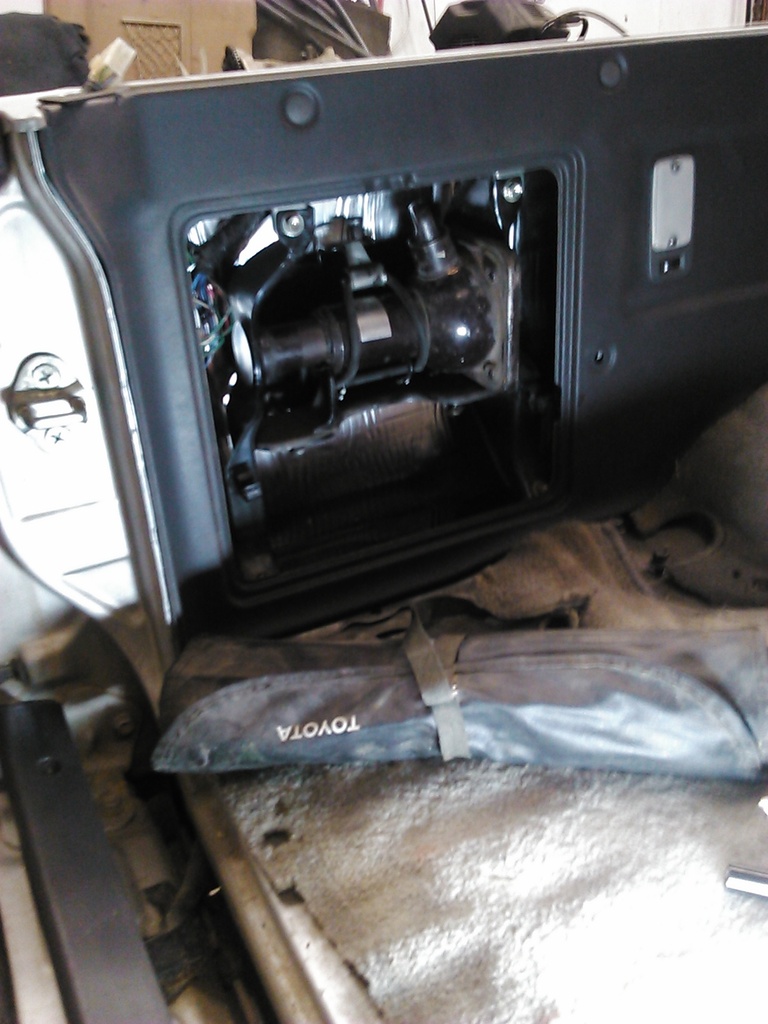
I think this is the first truck I have ever seen with a complete jack set. Got it installed. I put the tool bag on the passenger side cargo pocket as I really am not sure where it went when new. Never had a truck with a complete set.
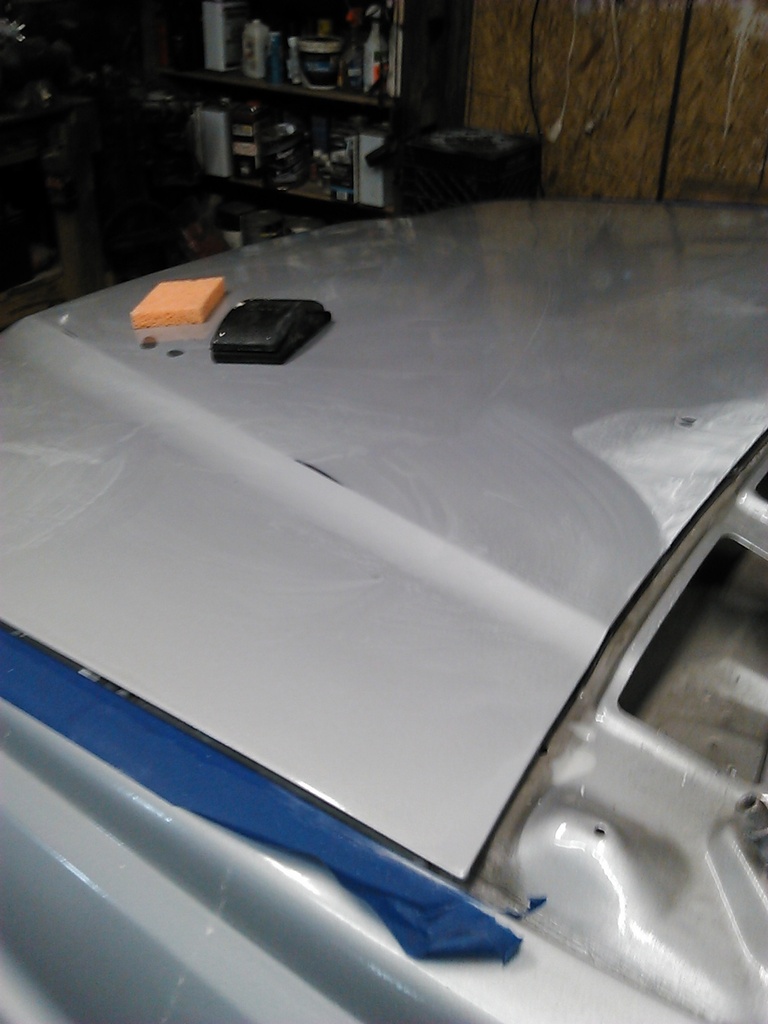
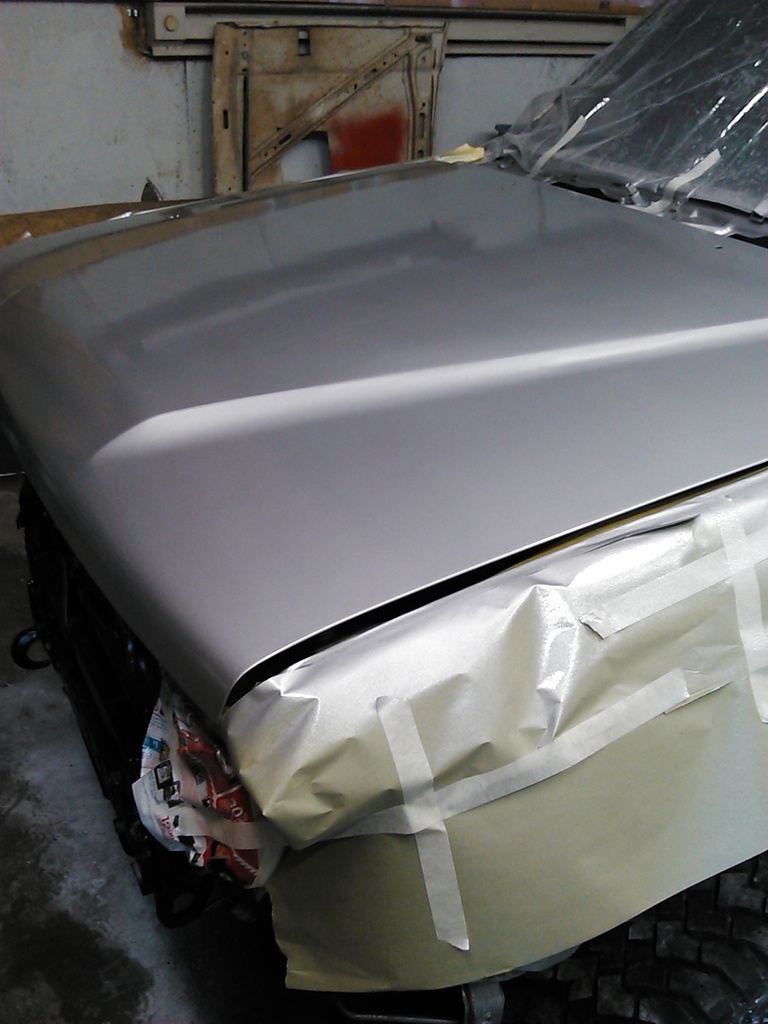
I have spent more time on the infamous hood dent on this truck. I have fixed several but for some reason this truck has given me a lot of problems. Looking back, I would of replaced the hood on this one had I known I would be re doing it.
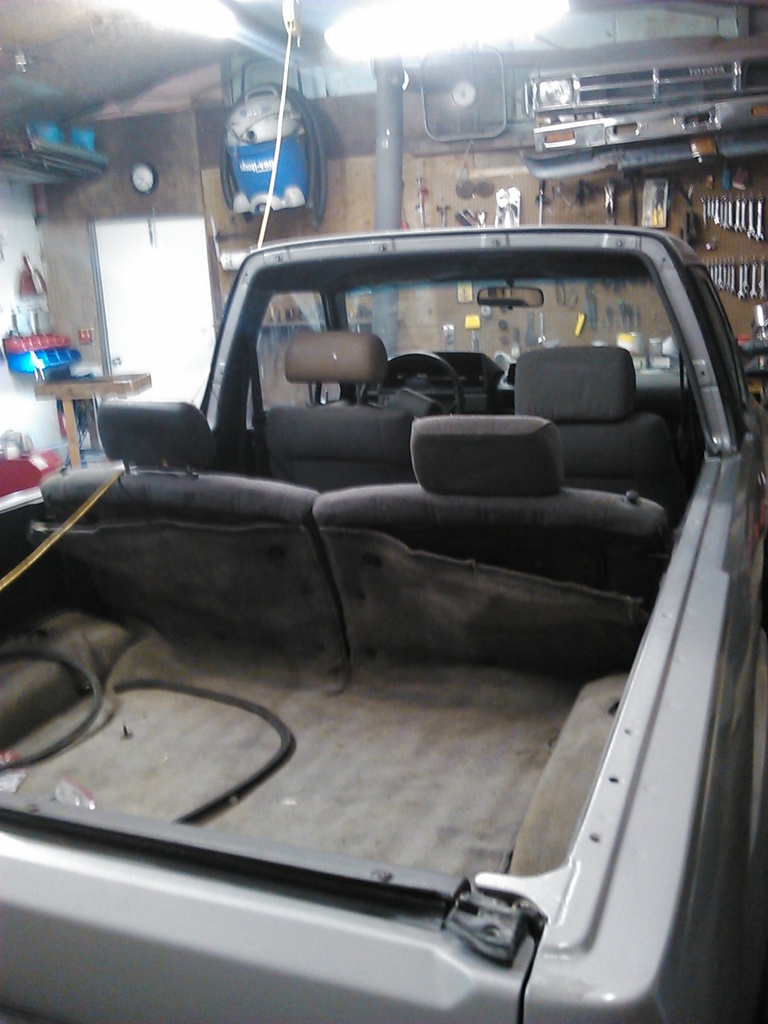
I will be painting the entire hood later today when it warms up. I did not want to try and blend the one spot with the rest of the hood so just about have it prepped for paint. The carpet has shrunk so bad that it will not attach to the seats with the factory clips. Will be working on that problem later on.
This truck had no head rest. I was digging out in my shed looking for something else and found one for the front and one for the rear. Later I will look and see if I have two more. I found 8 other head rest but they are gray plastic or tan. I try to get these when I find hard to find parts when in the yard or craigslist. These two have the correct cloth pattern to the seats. Part of the fun on these trucks is the chase and finding parts to make it complete. Helps make it that much more of a rarer truck.
Top left corner of the picture I finally have a clock with a thermometer on it. Having a hard time finding a radio that I can get good reception with. I have had several radios but none that would work. Trying to find a radio with a good external antenna is tougher then I thought for a metal building.
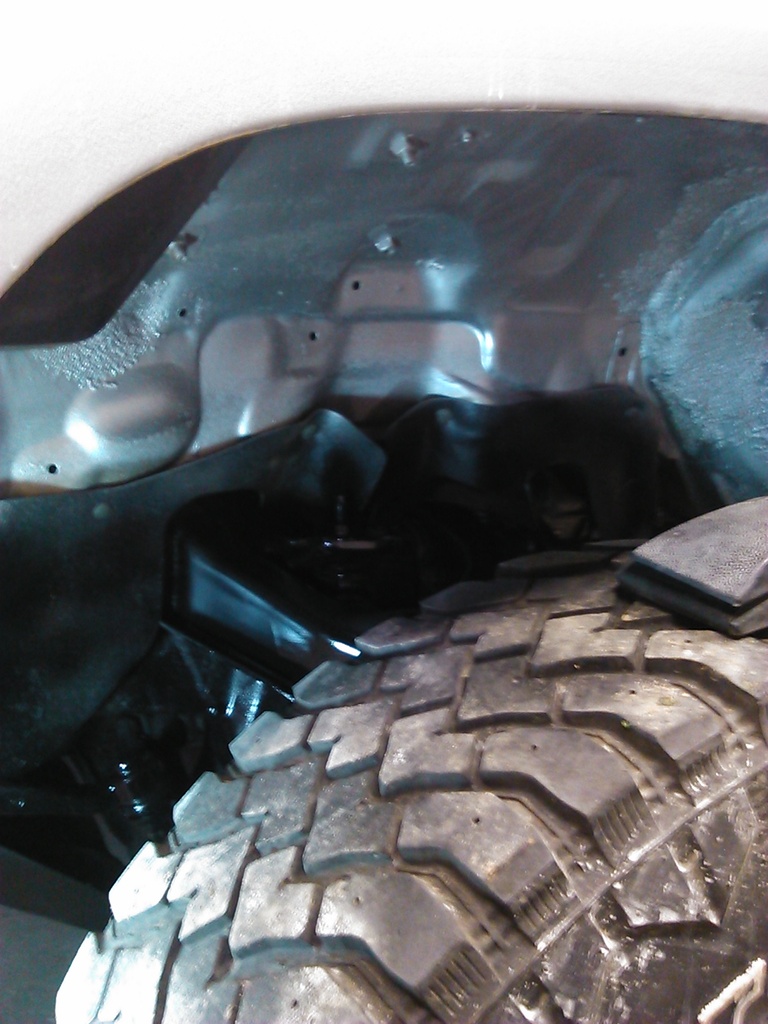
While waiting for the shop to warm up and the truck to dry out from me wet sanding, I did some rattle can painting under the fender wells, frame, and front end a to how Toyota did it. Just gives it a cleaner look. I have seen many truck with a new paint job and they never did the wheel wells or covered up the over spray. A dead give a way that it is a repaint. Always hoping to go for the original look as best as possible.

I have spent more time on the infamous hood dent on this truck. I have fixed several but for some reason this truck has given me a lot of problems. Looking back, I would of replaced the hood on this one had I known I would be re doing it.
I will be painting the entire hood later today when it warms up. I did not want to try and blend the one spot with the rest of the hood so just about have it prepped for paint. The carpet has shrunk so bad that it will not attach to the seats with the factory clips. Will be working on that problem later on.

This truck had no head rest. I was digging out in my shed looking for something else and found one for the front and one for the rear. Later I will look and see if I have two more. I found 8 other head rest but they are gray plastic or tan. I try to get these when I find hard to find parts when in the yard or craigslist. These two have the correct cloth pattern to the seats. Part of the fun on these trucks is the chase and finding parts to make it complete. Helps make it that much more of a rarer truck.
Top left corner of the picture I finally have a clock with a thermometer on it. Having a hard time finding a radio that I can get good reception with. I have had several radios but none that would work. Trying to find a radio with a good external antenna is tougher then I thought for a metal building.

While waiting for the shop to warm up and the truck to dry out from me wet sanding, I did some rattle can painting under the fender wells, frame, and front end a to how Toyota did it. Just gives it a cleaner look. I have seen many truck with a new paint job and they never did the wheel wells or covered up the over spray. A dead give a way that it is a repaint. Always hoping to go for the original look as best as possible.

Last edited by Terrys87; Mar 11, 2016 at 09:09 AM.
Mar 11, 2016 | 10:50 AM
#116
Thread Starter
Super Moderator
iTrader: (1)
Joined: Aug 2008
Posts: 11,787
Likes: 28
From: Anderson Missouri
First coat of paint and a bug landed on the hood. I was able to lift him off with a piece of tape and a leg broke off. With some more tape and some steady hands I was able to get the leg off of the hood. After that I had no more problems with bugs. I have the clear coat on and it is drying, hoping they stay off of it until it dries. I put on 5 layers of clear as I will have some orange peel and that will give me plenty of room for sanding any orange peel and any bugs. (Fingers crossed no more bugs). After I got the bug off, I put an extra coat of paint to where he was at and I cant even find where he was. I lucked out on that.
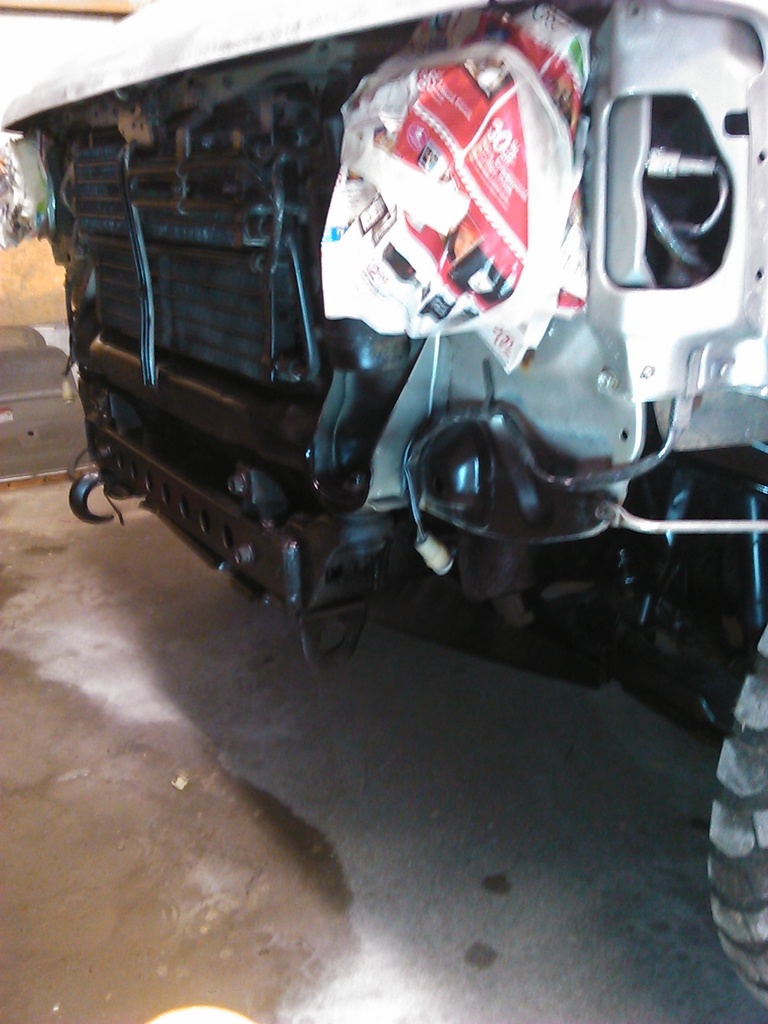
Earlier I did blacken out the front end as to how Toyota would have done it. I will have a small touch up to do on it when the hood dries but not much.

Earlier I did blacken out the front end as to how Toyota would have done it. I will have a small touch up to do on it when the hood dries but not much.

Last edited by Terrys87; Mar 11, 2016 at 10:52 AM.
Mar 11, 2016 | 03:45 PM
#117
The trucks really coming together nicely! That's got to be aggravating having a bug land in your fresh coat of paint that you just laid down! At least you were able to remove it and continue painting, hood looks great from your pics!
Mar 13, 2016 | 06:50 AM
#119
Thread Starter
Super Moderator
iTrader: (1)
Joined: Aug 2008
Posts: 11,787
Likes: 28
From: Anderson Missouri
Not really Toyota related but does apply to used cars. I recently bought a 2000 Maxima for better mileage and to keep the miles off of my truck. You can add another $1000 when buying a used car from my experience. This car was in great shape but like any truck or car I have dealt with always something that needs to be caught up on repairs. This car is no different.
Eventually I will need to get tires, go thru all the fluids, steering, brakes. suspension, get some sensors, cleaned or replaced. I have two engine codes which is the EGR and an O2 sensor which is common repair on todays newer cars that tend to get neglected. Other then that been minor repairs. One thing I do like about the newer cars is that you can find them in the boneyard and replace parts with better pieces such as trim or upgrades if it is a base model.
A trip to the boneyard and I got the interior looking like a new car except for the center console. Replaced some interior and exterior bulbs, changed oil and radiator fluid, got the drivers door sag fixed, an oil leak fixed.
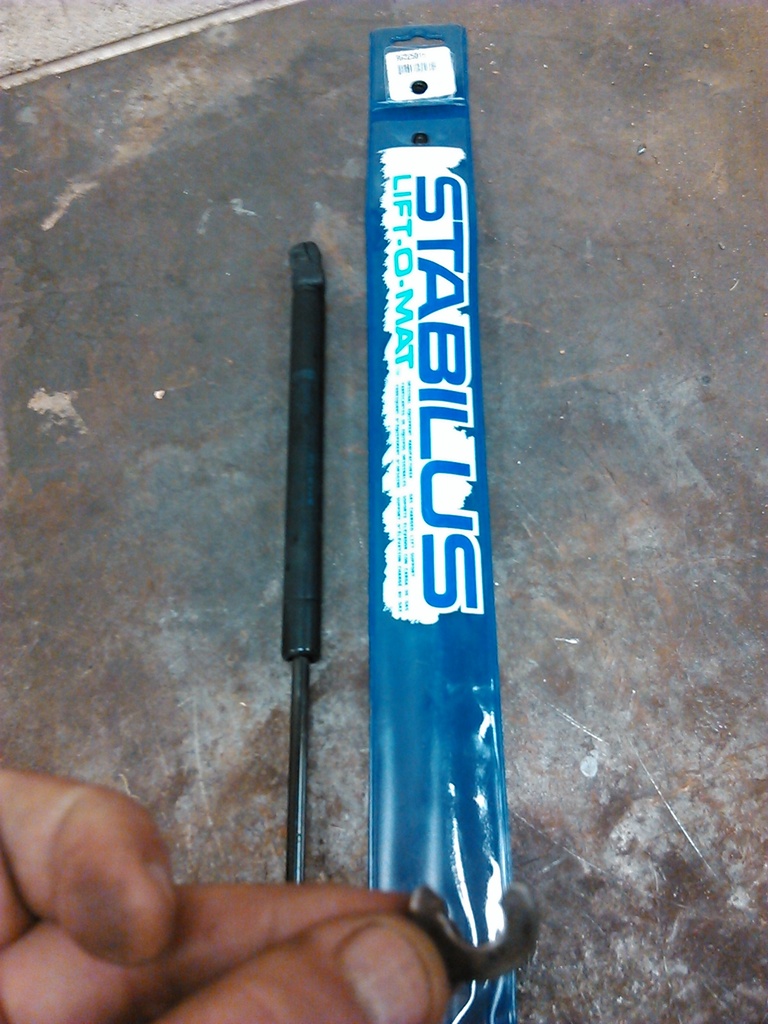
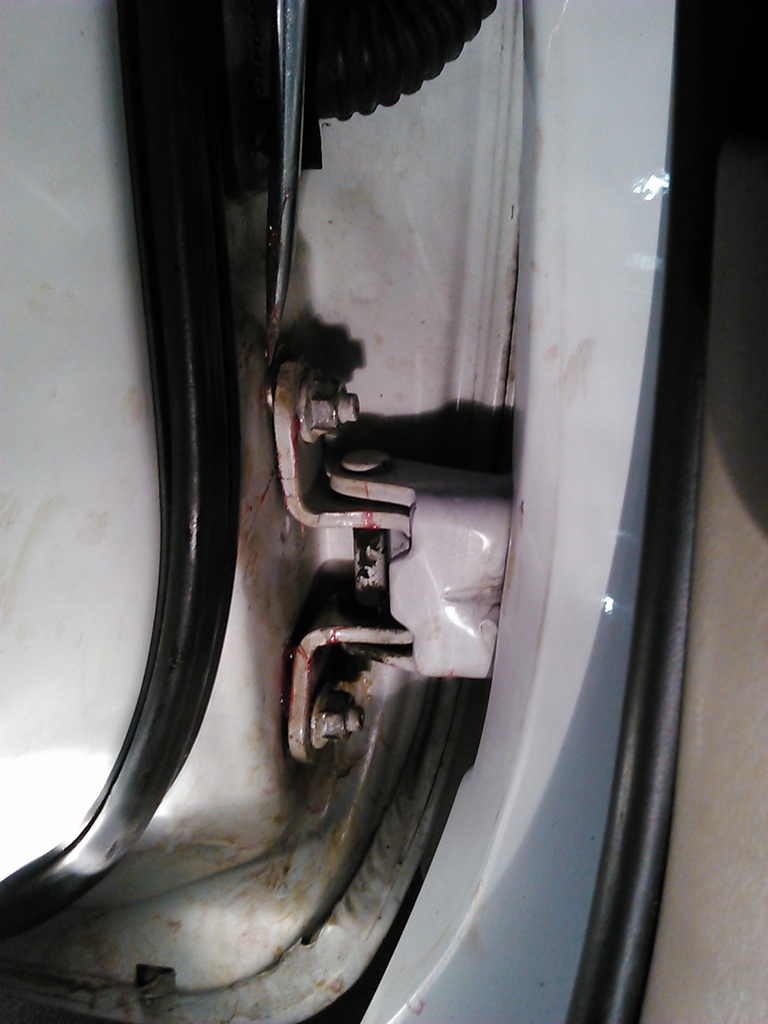
One thing that I see several times that is and easy fix is the hood struts do wear out and is and easy fix. The washer is for another fix I will show in the next picture.
The drivers door had a sag and either from a heavy door or someone using the door to lift themselves out. I will eventually replace the top door hinge but am in no hurry for that. I put a washer in between the hinge and door. First I raise the door using a floor jack.
Loosen the nuts that hold the door to the studs and I slipped a washer in between the door and hinge. It is easier if the door uses bolts, so I had to notch the washers. I used two thin washers, one for the top and bottom studs on the lower hinge only. I use wheel bearing grease to help hold parts in when I need them to stay put in several cases so as I don't have to hold them.
I have a small power steering leak and that is from the seals just getting hard. Another easy fix that I have used numerous times thru the years is to add a tablespoon of brake fluid to a power steering unit. It will soften the seals up. Can take a while to seal the leak but will fix minor leaks. One truck I did this too lasted 7 years until I sold it.
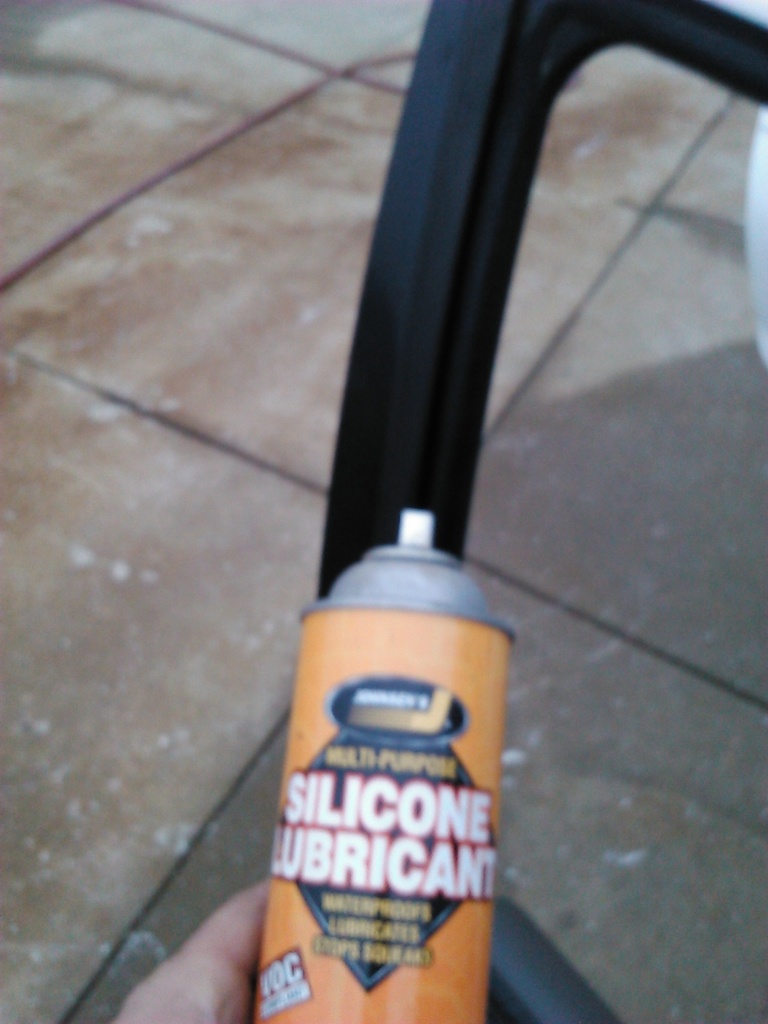
The window seals on cars and trucks do dry out and cause a lot of friction on manual or electric window motors. I just lube the seals up real well with silicon spray and can make a big difference on how easy it makes the window go up and down.
Got tired of the hood bopping me in the head and got new struts on. One way I learned Toyota trucks so well was I would go thru a Haynes Manual, Youtube videos, Yotatech, and then go to the boneyard and disassemble a truck without ripping things apart like it was my own. I still do that when I find a truck in the yards so someone can just get the part they need and to keep me refreshed on how these trucks assemble and disassemble.
No way am I going to try and figure out how to work on this motor without spending sometime in the boneyard on another car. I am figuring out real quick that I do not care to work on front wheel drive V6 motors but some repairs are not that bad once you figure out how to get them apart. This is the way I have learned the 79-95 trucks. A 79-83 and the 89-95 trucks if I am looking at one, I can still remember how to get them apart. The 84-88s I have stepped people over the phone on memory without looking at them. Just showing some ways of learning these trucks.
Eventually I will need to get tires, go thru all the fluids, steering, brakes. suspension, get some sensors, cleaned or replaced. I have two engine codes which is the EGR and an O2 sensor which is common repair on todays newer cars that tend to get neglected. Other then that been minor repairs. One thing I do like about the newer cars is that you can find them in the boneyard and replace parts with better pieces such as trim or upgrades if it is a base model.
A trip to the boneyard and I got the interior looking like a new car except for the center console. Replaced some interior and exterior bulbs, changed oil and radiator fluid, got the drivers door sag fixed, an oil leak fixed.
One thing that I see several times that is and easy fix is the hood struts do wear out and is and easy fix. The washer is for another fix I will show in the next picture.

The drivers door had a sag and either from a heavy door or someone using the door to lift themselves out. I will eventually replace the top door hinge but am in no hurry for that. I put a washer in between the hinge and door. First I raise the door using a floor jack.
Loosen the nuts that hold the door to the studs and I slipped a washer in between the door and hinge. It is easier if the door uses bolts, so I had to notch the washers. I used two thin washers, one for the top and bottom studs on the lower hinge only. I use wheel bearing grease to help hold parts in when I need them to stay put in several cases so as I don't have to hold them.

I have a small power steering leak and that is from the seals just getting hard. Another easy fix that I have used numerous times thru the years is to add a tablespoon of brake fluid to a power steering unit. It will soften the seals up. Can take a while to seal the leak but will fix minor leaks. One truck I did this too lasted 7 years until I sold it.
The window seals on cars and trucks do dry out and cause a lot of friction on manual or electric window motors. I just lube the seals up real well with silicon spray and can make a big difference on how easy it makes the window go up and down.

Got tired of the hood bopping me in the head and got new struts on. One way I learned Toyota trucks so well was I would go thru a Haynes Manual, Youtube videos, Yotatech, and then go to the boneyard and disassemble a truck without ripping things apart like it was my own. I still do that when I find a truck in the yards so someone can just get the part they need and to keep me refreshed on how these trucks assemble and disassemble.
No way am I going to try and figure out how to work on this motor without spending sometime in the boneyard on another car. I am figuring out real quick that I do not care to work on front wheel drive V6 motors but some repairs are not that bad once you figure out how to get them apart. This is the way I have learned the 79-95 trucks. A 79-83 and the 89-95 trucks if I am looking at one, I can still remember how to get them apart. The 84-88s I have stepped people over the phone on memory without looking at them. Just showing some ways of learning these trucks.
Last edited by Terrys87; Dec 22, 2016 at 06:17 AM.


