When you click on links to various merchants on this site and make a purchase, this can result in this site earning a commission. Affiliate programs and affiliations include, but are not limited to, the eBay Partner Network.
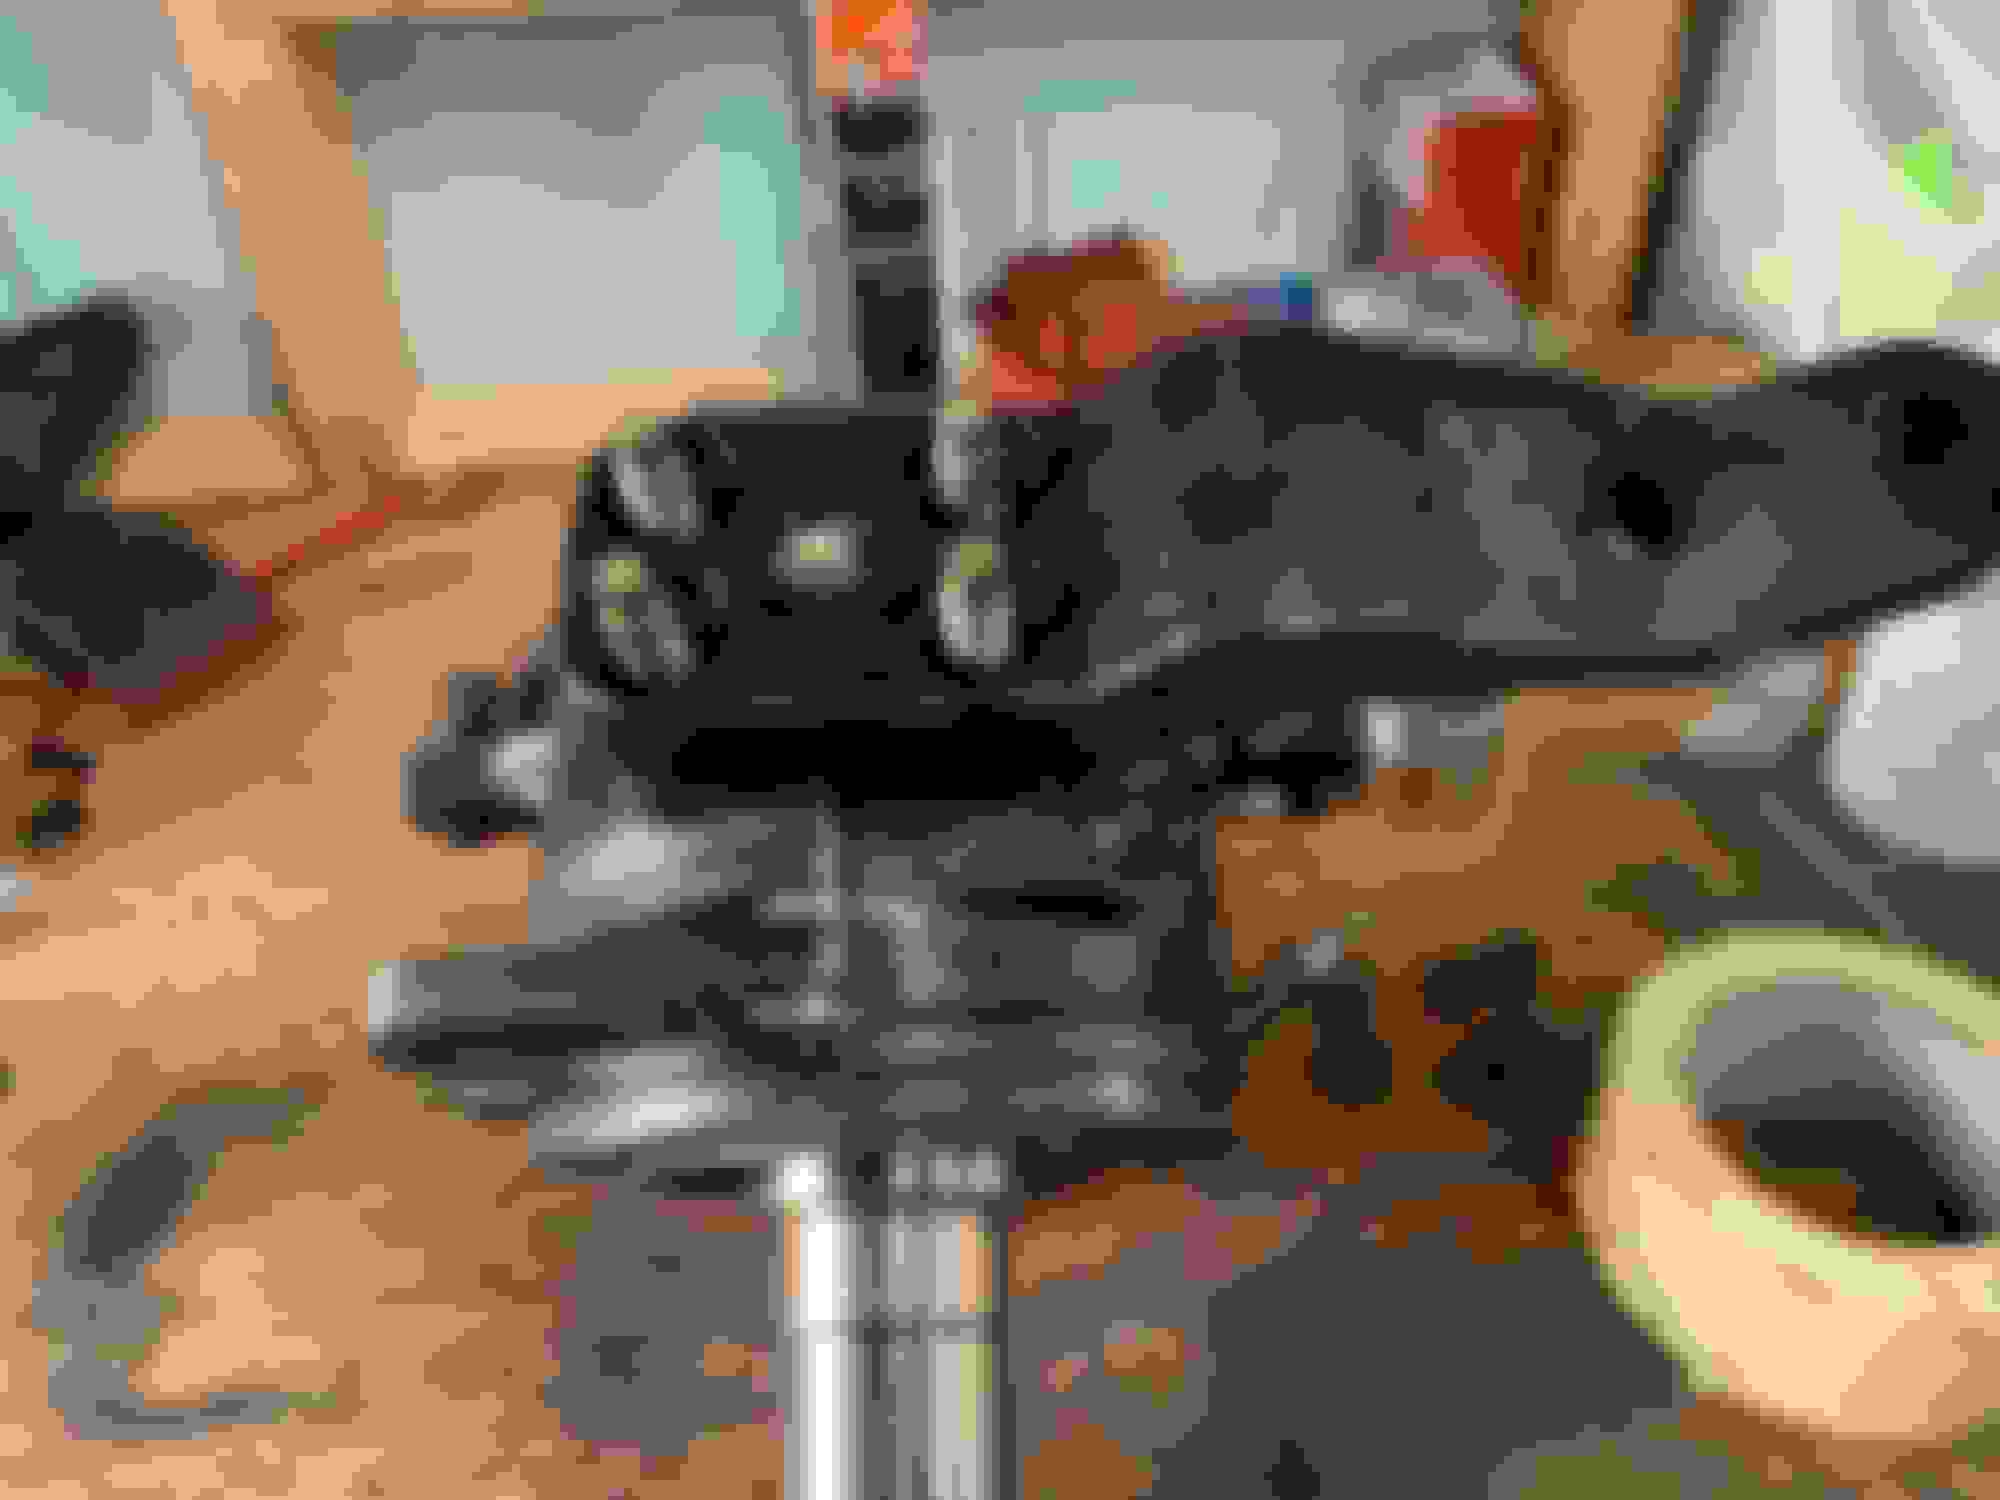
I am now in the process of adding a pr of suck down winches to this fat beast. I have the front done. Working on the rear. Here are the controls The 12 volt guy did a great job on these.
I finally got my suck down winches done. They work great! It's nice to be able to pull the front or the rear down as I need. Here are the controls and the harbor freight 2500lb winches i used. winch controls front winch pull point front winch It's tight rear winch
I had some issues with the old 4.3 engine so i installed a crate GM 4.3 Wow! I cant believe the difference! The old on must have been on it's last leg. new crate engine
I was tired of the a/c compressor crapping out all the time. I used my original Toyota a/c unit for a decade and never had an issue. the Chevy unit is not durable at all. i ended up installing a dual Viair 425c gen 2 system. I already had the 3 gallon tank so I found a great deal through Hornblasters.com I moved the units to the rear and made a plate to mount them to. These work incredible! I can fill my tires up just like a big air compressor can! They are super quiet too. Excellent design! I think they are 4.8cfm so air tools too if I want.
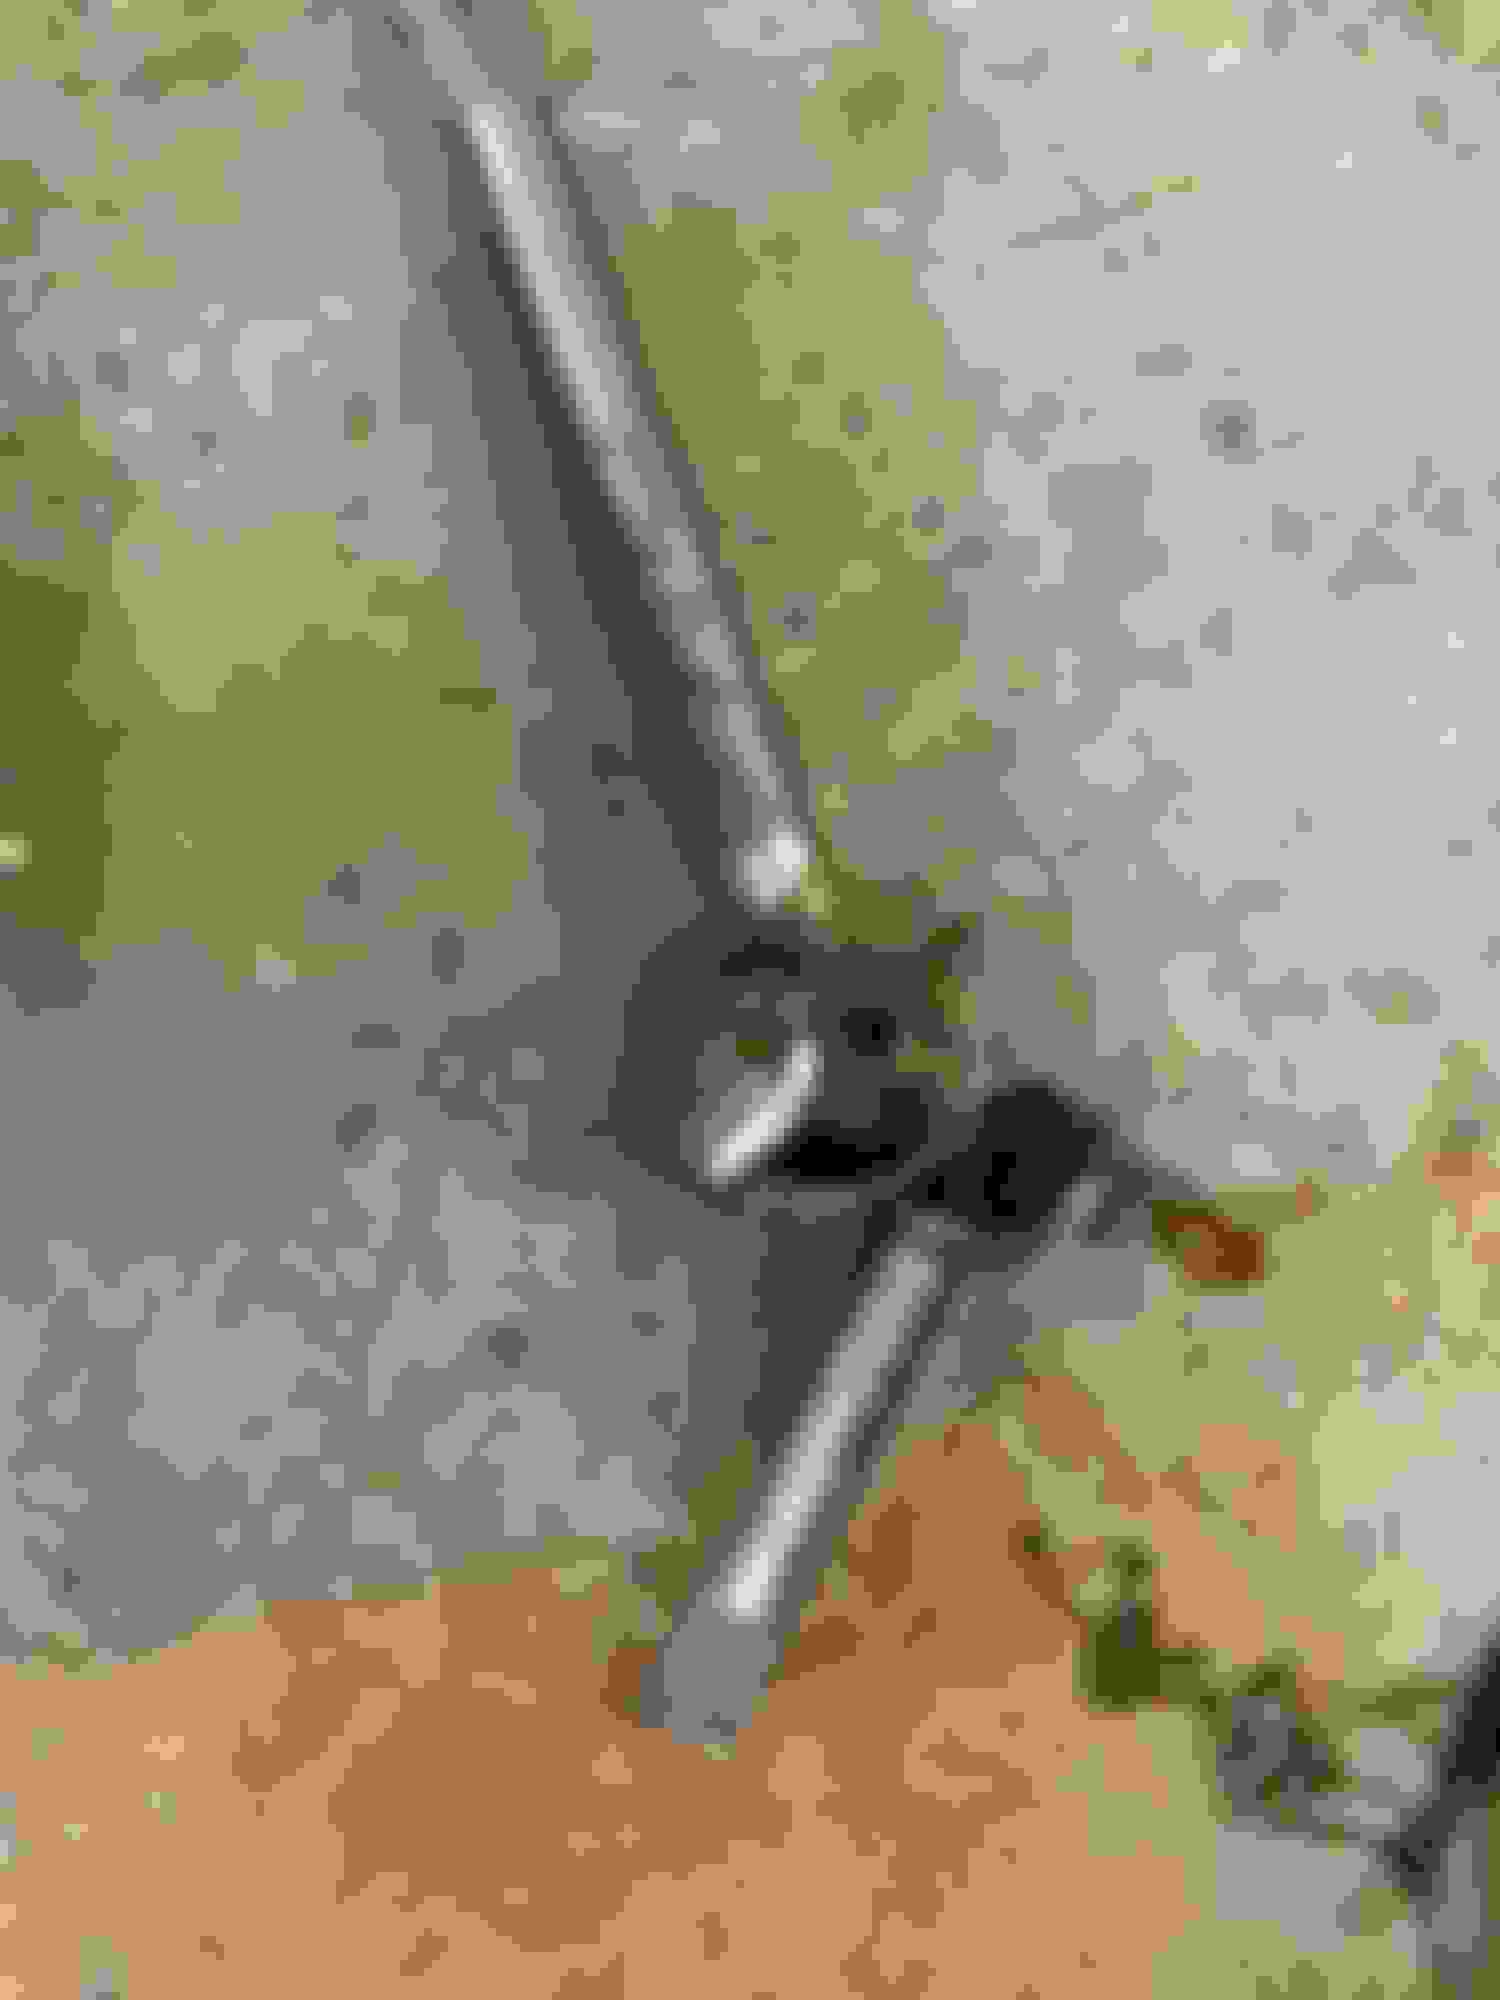
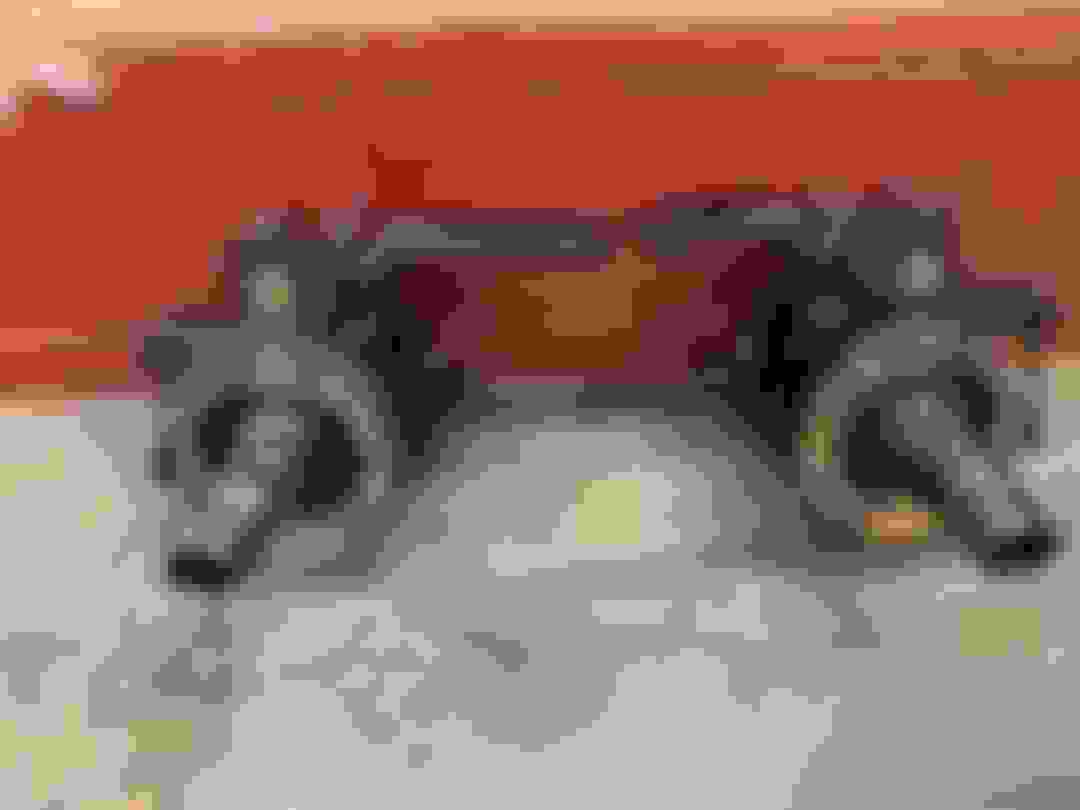
I got tired of having to tighten my steering arms all the time so i was either going to get the 6 shooters or try the 5th stud mod. i figured i will try the 5th stud mod 1st. I blew up a dirty 30 axle at the bell the last time out so I figured a new set of RCV 30 spline shafts would be the trick! I also went with the trunion eliminator kit at the same time. I had a not fun time getting the trunion elim. kit shimmed up on one side. Too tight or too loose. I used a belt sander to finally get it right. i sanded on of the shims down a bit. yuck! snapped at the bell new rotors and bearings. All cleaned up. mark for my 5th stud trunion eliminators all completed!
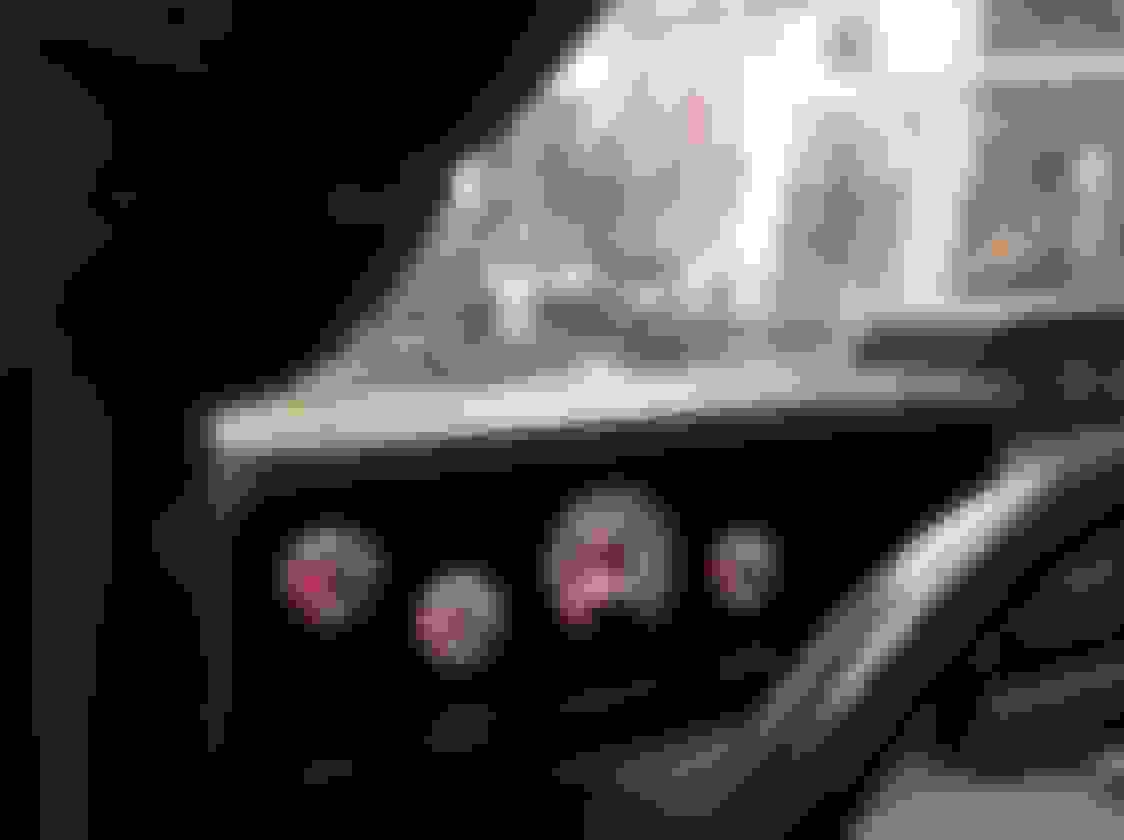
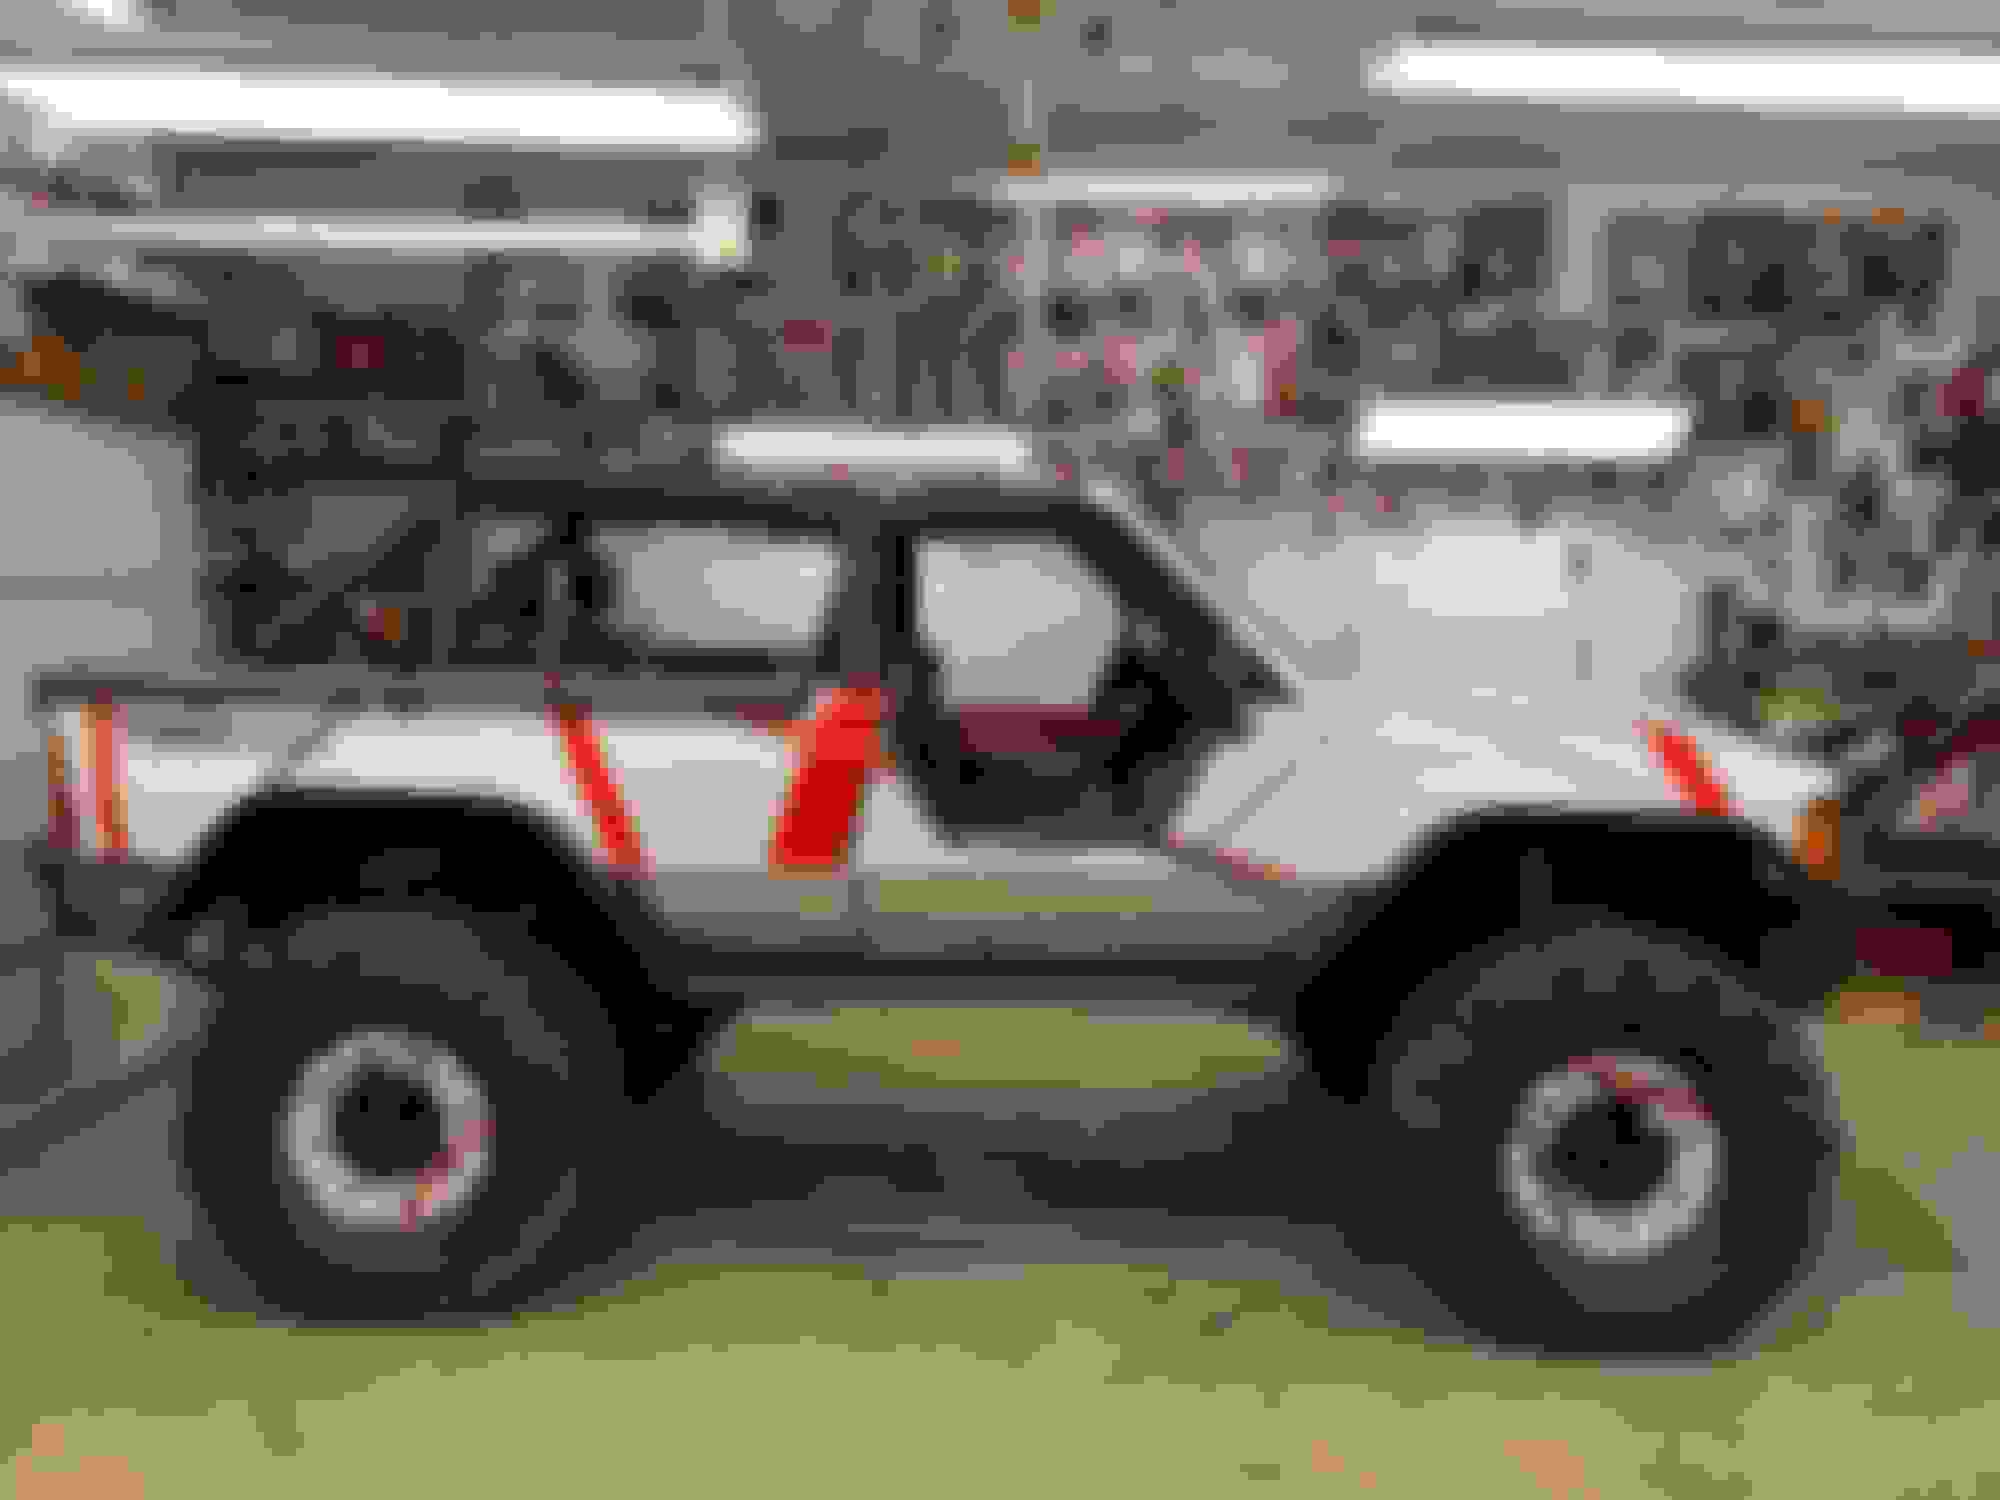
After I did the 4.3 swap I decided to get rid of the old gauges. I made a plate and added some Autometer gauges. I added a sheet of carbon fiber for some bling! I love how these look and they are very accurate! No more tapping my dash so the gauges work! I even have turn signal indicators(small green indicators),high beam indicator(small blue light) fun times The back side it fits great
,check engine light(the yellow light)oil light(red light)4wd indicator(green light) sweet
I sta primed and white basecoat taped up and red co;or shot on more taping and red then more taping and the black lines then clearcoat it turned out nice! I am going to add a few more black stripes with tape till it is the way I like it! The wheels turned out nice! I need a mullet now! I even painted the door inserts Now to beat on this again! The truck is working great now! good times
rted to get too many crushed panels and I was tired of the green. I thought I would change up the look. I decided the Eddie Van Halen guitar color scheme would look cool! WOW! This was a lot of work! I replaced some panels and pulled most of the dents and shot the white basecoat
This turned out sweet! I was jealous of the back seat passengers having the sun. Now I can too! The top has L brackets in the 4corners to bolt back on if the weather isn�t so nice. I can put the hardtop on and off in about 5-10 minutes. Finished and topless All done
I did have to tie in /weld the windshield pillars to the cage. It was bugging me seeing the body flex a bit going down the road. Also the rear mount is tied to the cage for rigidity too. No flex and I�ll probably never run the top much but if I want to wheel on a muddy day I can run the top and door /window inserts and stay dry. I couldn�t find anything when I was looking to do this so I figured I would post it and maybe give someone else a head start. The front rib is from a mini truck convertible top kit. I bought the whole kit but that�s all I could use. It still had to be cut in 1/2 and spliced together but it worked. Just some homemade L brackets and bolts and some flat steel to cap the rear ends and a welded bolt for a locating pin. It took a day to do but I love it!!!


 Dec 30, 2018 | 01:25 PM