When you click on links to various merchants on this site and make a purchase, this can result in this site earning a commission. Affiliate programs and affiliations include, but are not limited to, the eBay Partner Network.
Already welded this guy up using scrap metal from a metal pallet I found at work. Still need to do some grinding and cleaning and then ether paint or have it powder coated.
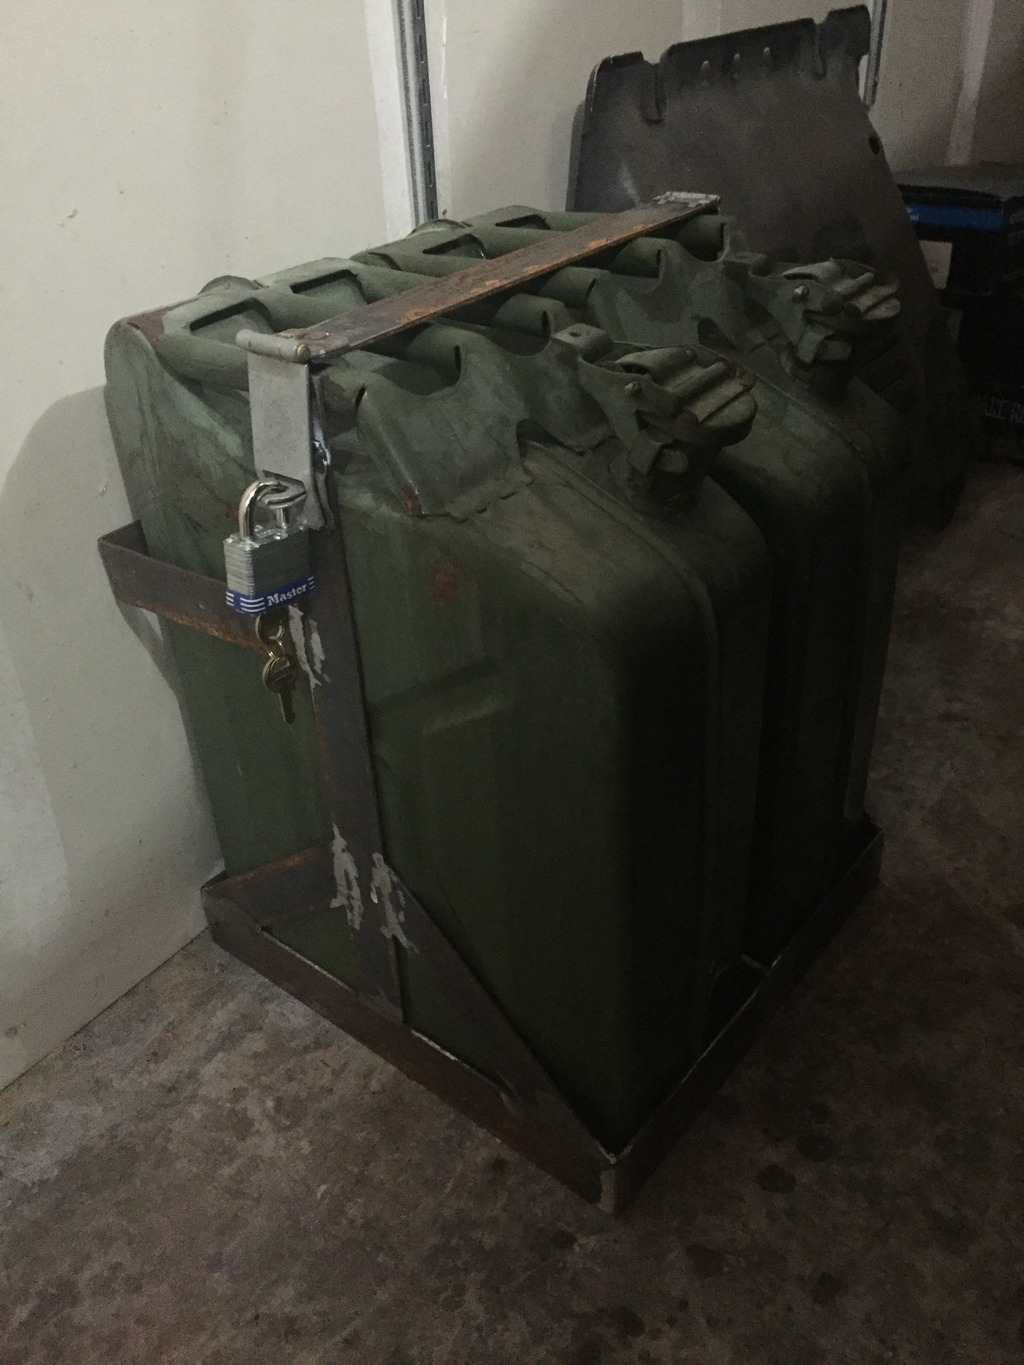
I need to find some better jerry cans to replace these cheep Chinese Ebay ones.
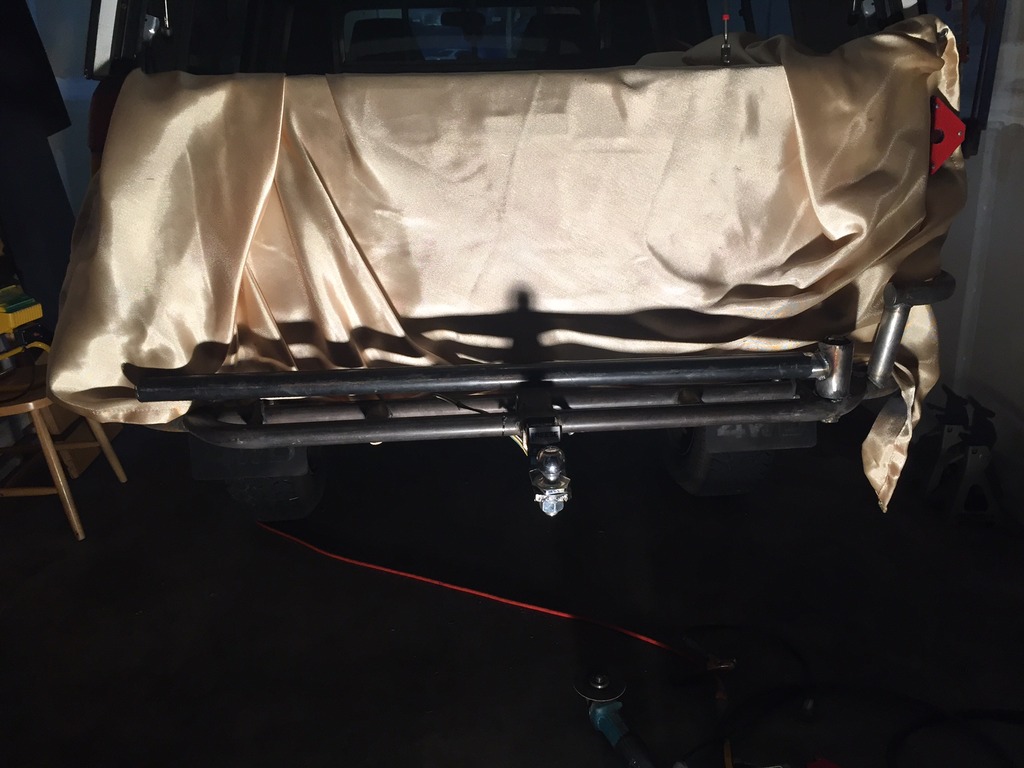
Picked my bumper up from 4Wheelparts today and bolted it all up. Looking good.
Waiting on my trailer axle to show up next week and I can start measuring, test fitting and tack welding
Started working on a small side project today.
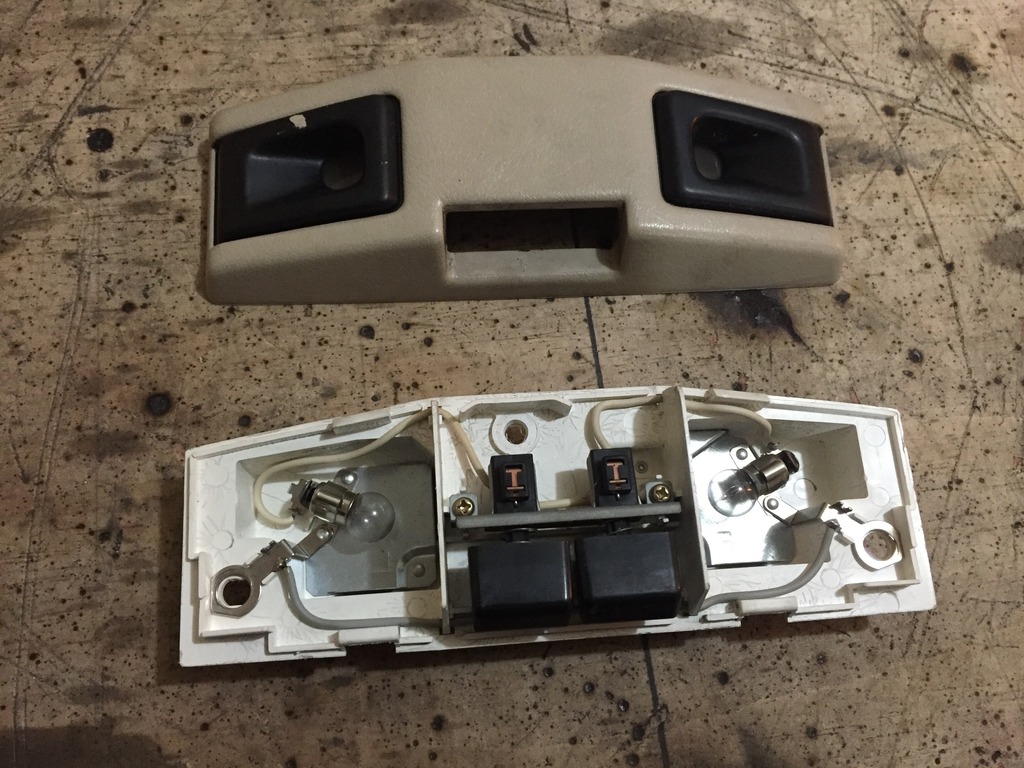
I wanted a place to put a few switches for future auxiliary switches, and the dash is already all filled up with factory controls with no good place to add a switch panel. Well the tiny map light right above the dome light are just sad and useless, so I decides I would try and turn that panel into a switch panel. It even has a wiring rout going to it already. So the idea is to delete the lights, and then glass over the panel to make it all one flat surface I can put switches in. That way I can just pop the modified map light panel on and off easily.
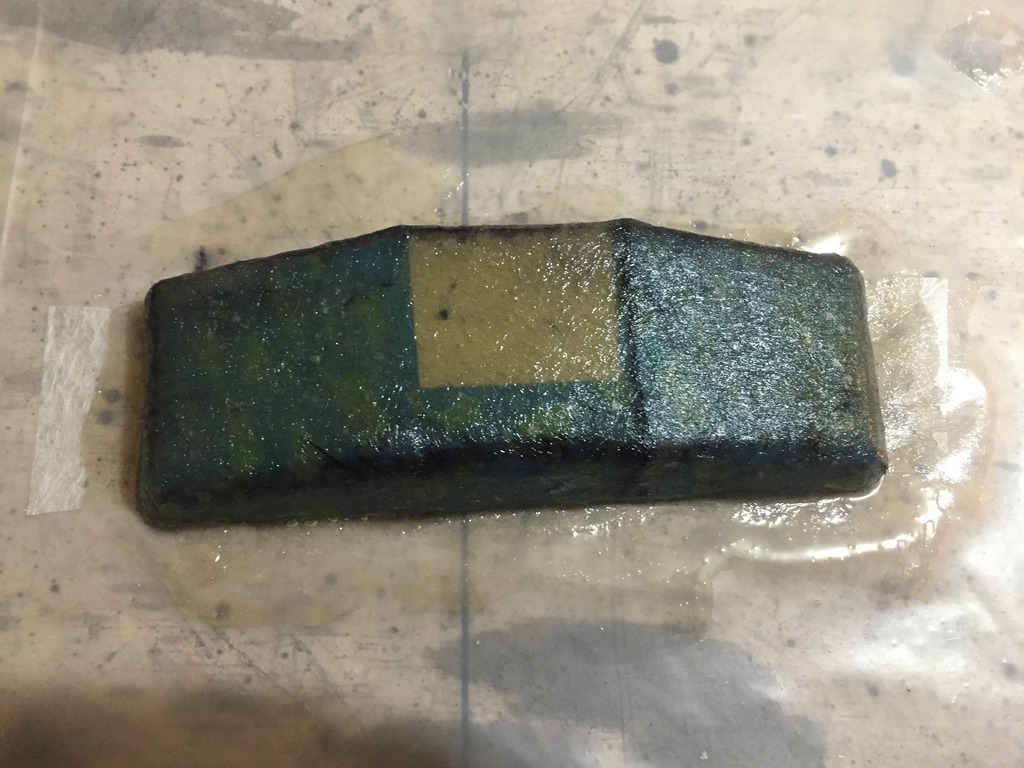
Iv never ever worked with fiber glass before so there was some trial and error during which a toss my first two attempts in the trash. My third try I put some blue tape over the existing holes left by the lights I cut out and the light switches, just to add some surface so the glass would not sag into the holes so much. I also did the piece in a few layers of multiple small pieces instead of trying to do large pieces. Wish I could vacuum bag
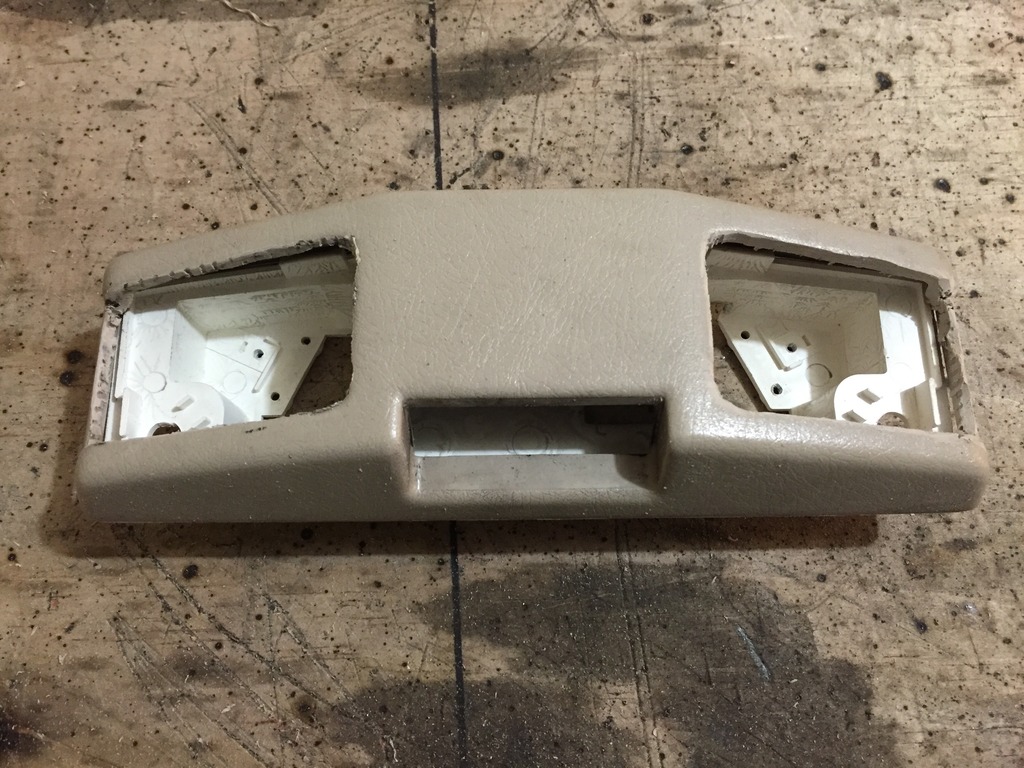
I did most of it with a glass mat because it conforms better to shapes then weave does, and finished with a very thin fine glass mat. Not quite sure how it will finish, if I will bondo or just paint it and call it good.
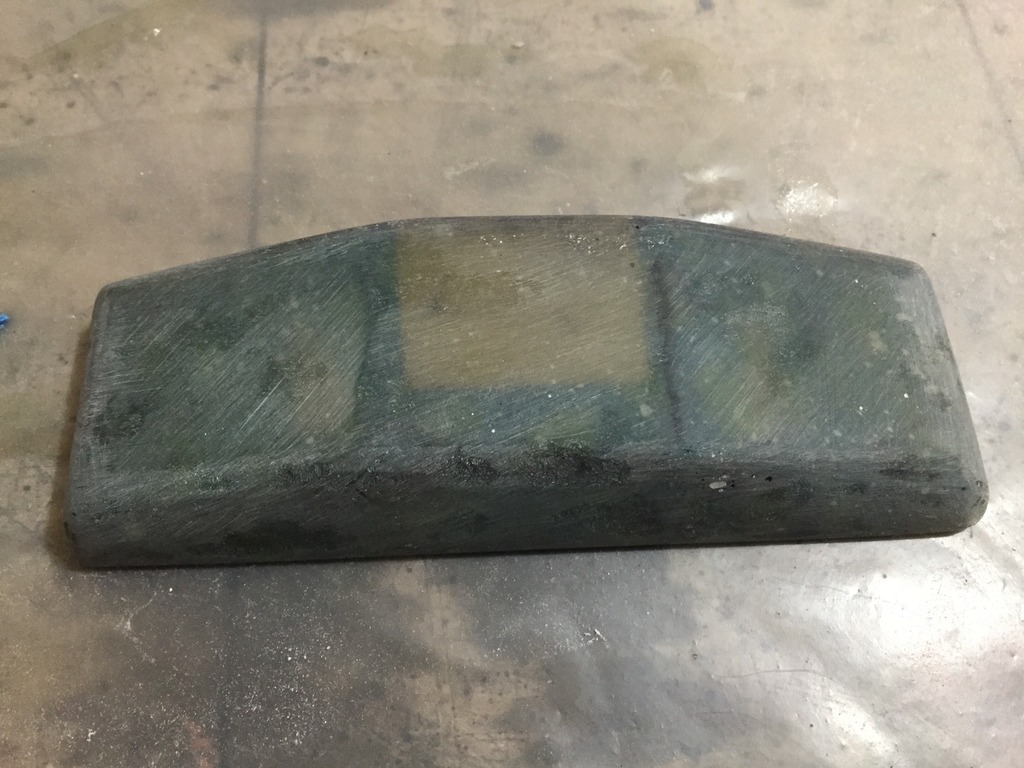
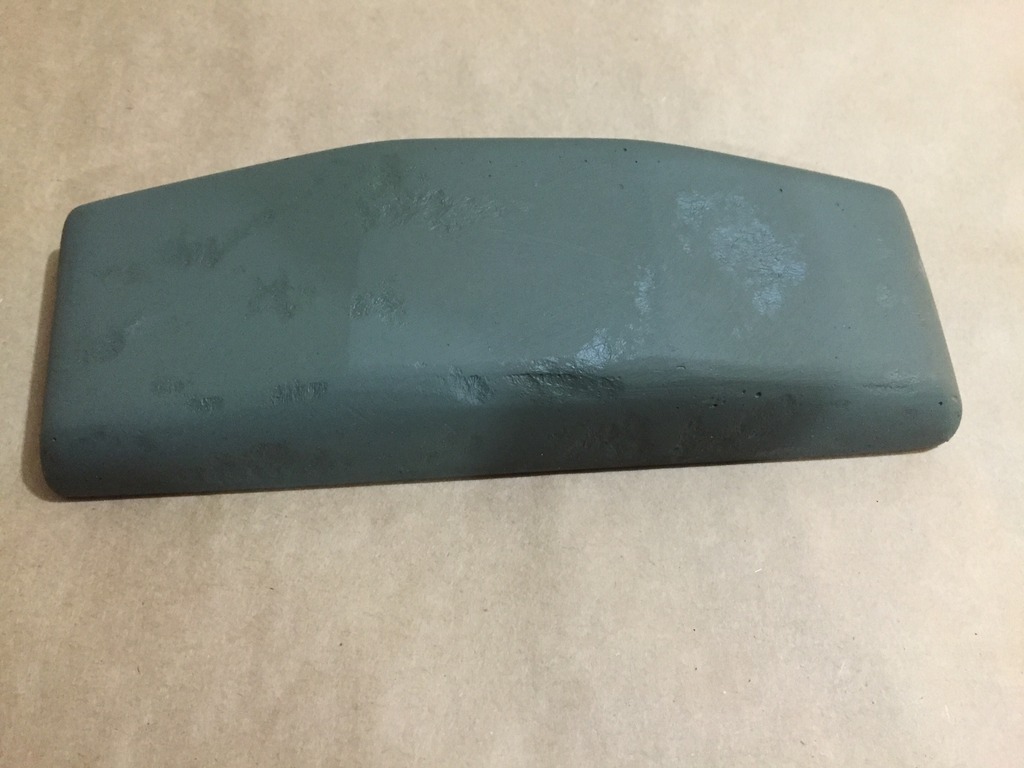
I sanded down the high spots and got the whole thing in a consistent shape. Cave it a coat of primer to make it easy to see the low spots like a guide coat. I need to grab some bondo to fill the low spots and then sand and paint.
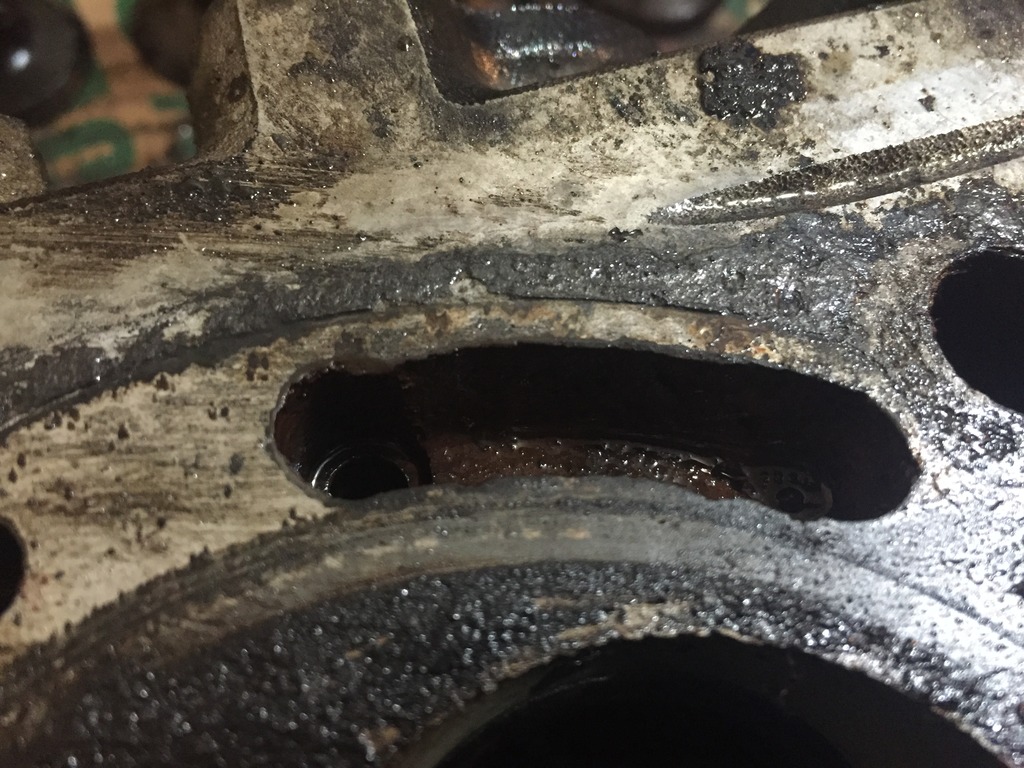
Well this happened.
So after about a week of thinking my coolant system issues were FINALY all worked out AGAIN the frickin truck started over heating again. So my last guess was a bad head gasket.
I took it home, and got out my radiator sniffer test to check for exhaust gasses in the radiator. Sure enough the test fluid turned from blue to yellow almost instantly, and I didnt even have to pump air through the tester manual because the gasket leak was bad enough that the engine was just pumping exhaust gasses through the radiator and into the tester for me.
I popped the head off in about an hour.
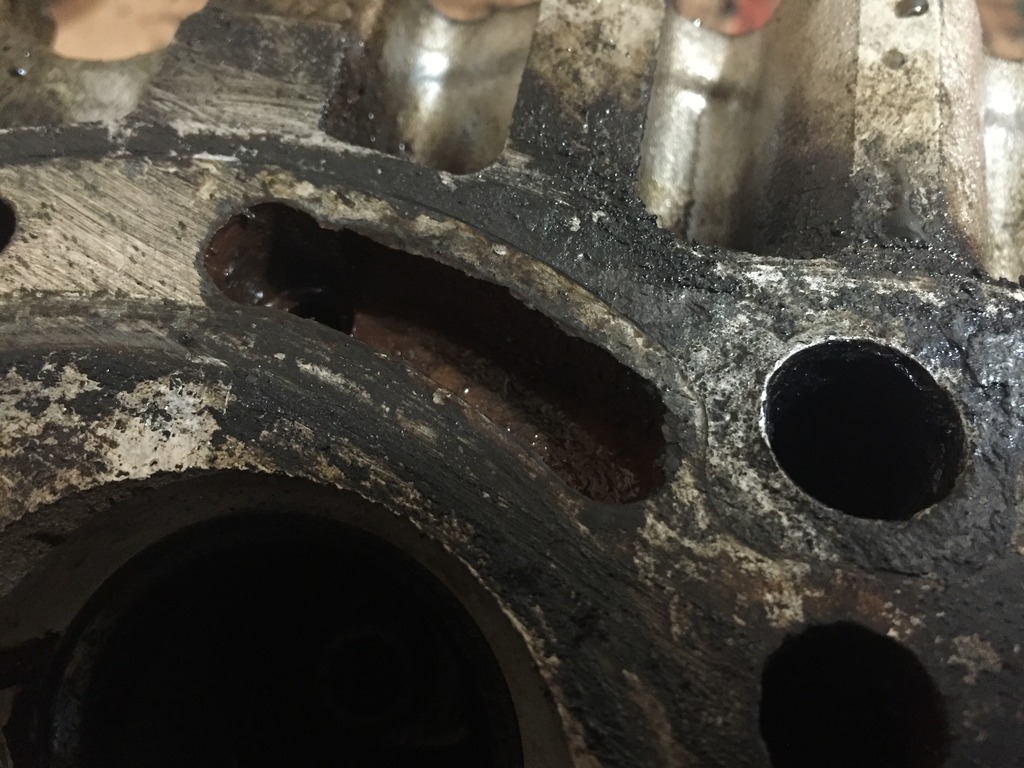
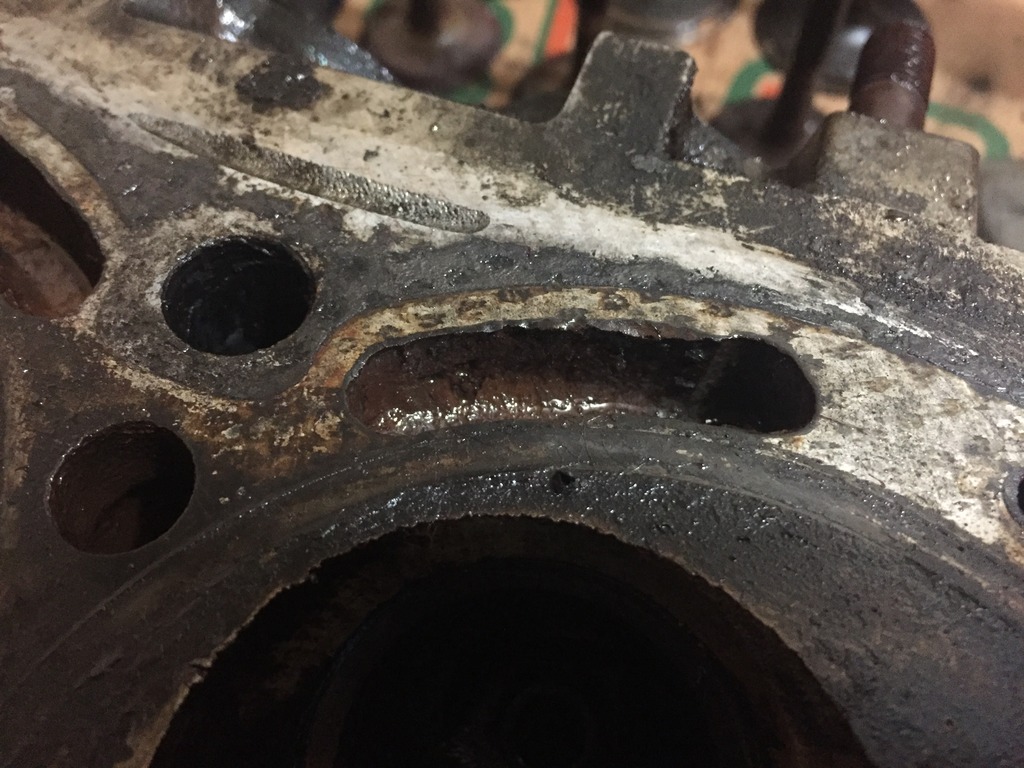
Here are the culperates. Rotten coolant passages.
I brought the head into my local machine shop just to have a second opinion, and the machinist siad if he resurfaced it and I put a new gasket on I'd only get 6 months out of it before the gasket would pop again.
I just ordered a new head with valve train and cam, as well as some new Toyota rockers. Gasket kit is on the way as well.
Do Toyota castings usually look this rough? All the intake runners were real real nasty! Like pop corn.
I got the new head on a few days ago, and finally got all the parts on and wires/hoses on again today. She runs like a top again!
Of cores a managed to bust the hose fitting off of the black plastic AAV valve cover, so I have it blocked off for now. I have to find a spare cover some where which is going to be a huge challenge. Buying a new valve just for the cover is very very cost prohibitive.
Little update on e a few things.
Photobucket is being a biznatch so Ill just use the Yota tech image function.
Here is how the switch panel turned out. Not sure how I will use it yet, because I stumbled across the SPod website and now I really want an SPod system. If you dont know what they are check them out because they are bad ass!
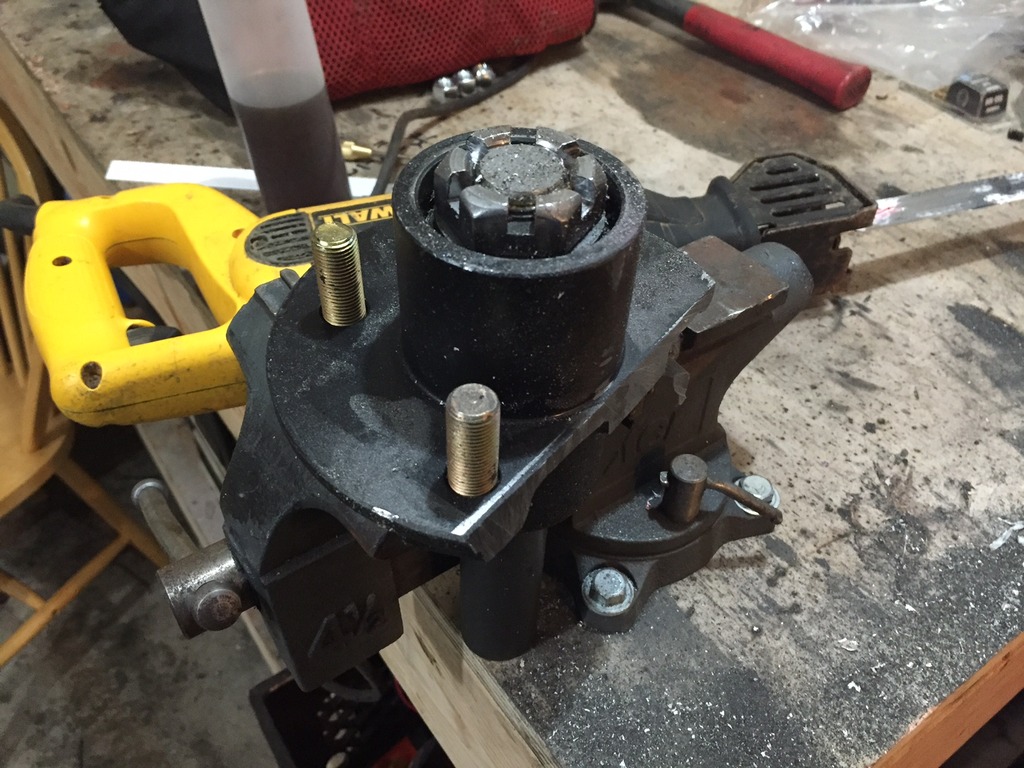
I also bought this el cheepo tubing notcher from Harbor Freight. Im going to start working on my swing out tire carrier this weekend. I scored a bunch of tubing from a roof rack off a F-150 that some guy at work destroyed in a low parking lot. So its free!
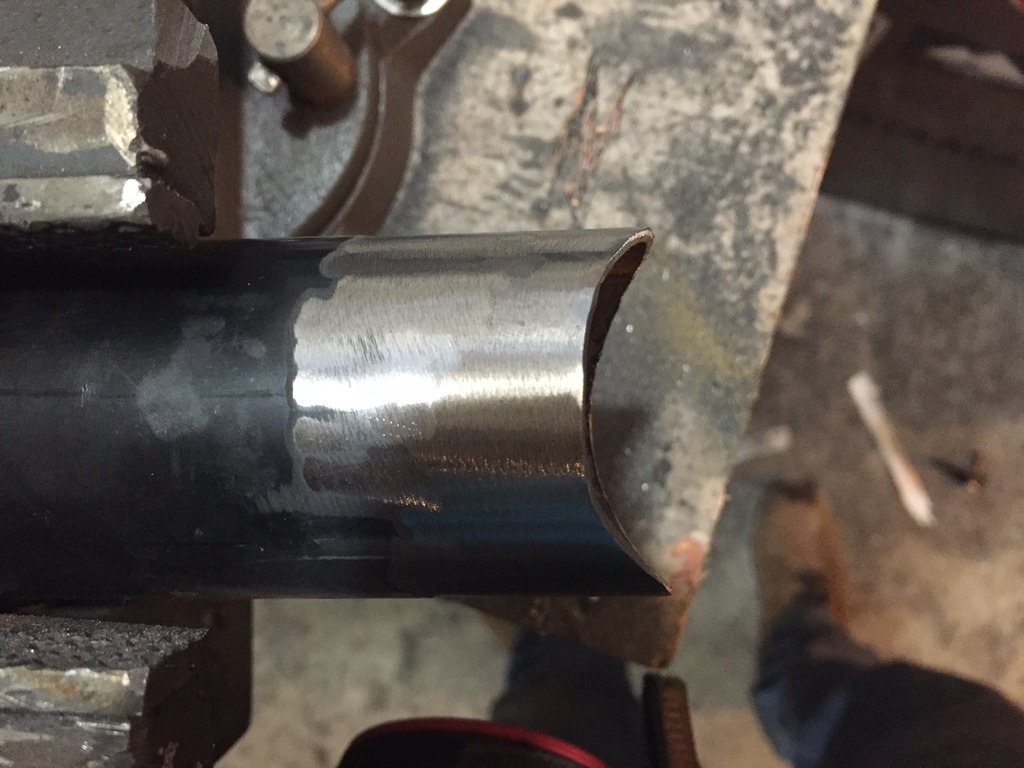
I did a little test run on a piece of thin exhaust pipe I had laying around.
I also ordered one of these! Should be here on Monday next week. That will be a good weekend project.
Ill have pictures of the tire carrier project this weekend!
Nice truck you have here. I am always envious of you guys in CA. Trucks are so clean and rust free.
Thanks
Yeah. On the other hand they are kind of hard to find in CA for some resin. Before I bought mine I never saw many of them driving around. I live in WA now and see them all the time.
I started on my swing out tire carrier today. For some resin I was getting a lot of bubbles in my MIG welds. Checked the gas flow and I could feel a real good stream coming out of the torch on my ear. Maybe my wire is wet or something. I cleaned the heck out of all my metal parts.
Ill take the welds down again and re-weld everything after I figure out whats wrong.
So I am using a weld in trailer axle and hub. What I did was just cut the wheel mounting surface off of the hub with asawzall and a grinder.
The triplets
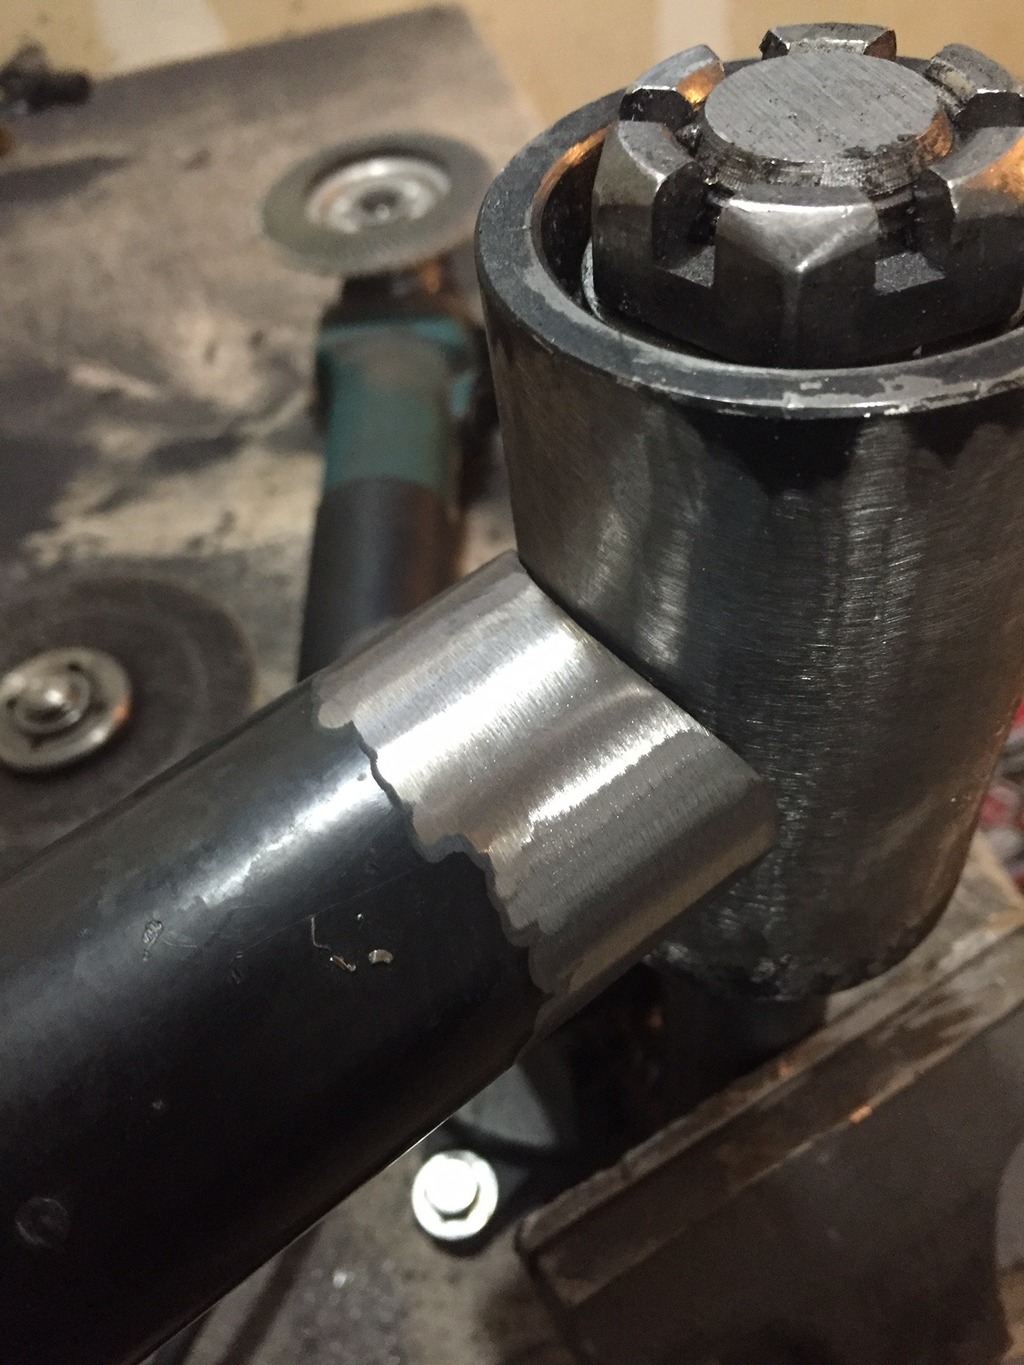
First real cut with the HF pipe notcher. Not to shabby.
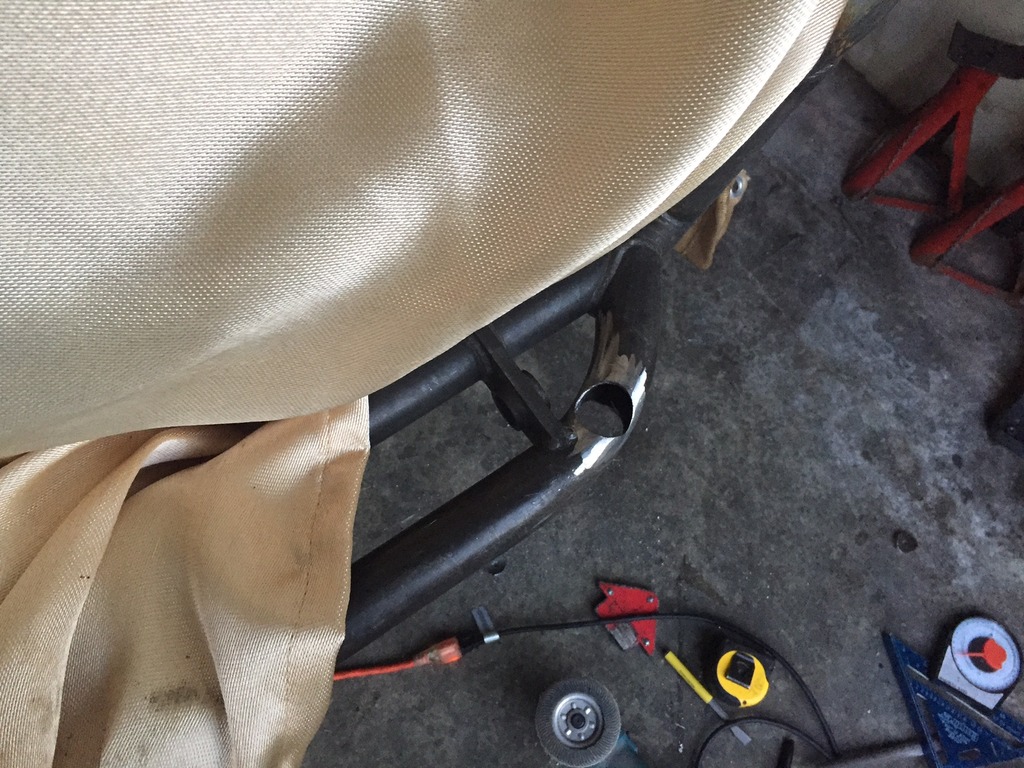
Although it turned out almost perfect cutting this hole in the bumper was hard for me to commit to hahaha
And this is as fare as a got tonight after work. Didnt want to do any more work with the way the welds were turning out.
Its going to be good though!
Nice idea on the swingout hinge. I was thinking about doing something similar but using a spindle and hub off one of our trucks. You could use the factory locking hub to lock the swingout in a number of open positions and you would have easy access to spare parts if you actually blow up a locking hub on your truck. The biggest downfall is that the hubs are so big in diameter it would eat up a lot of space.
Nice idea on the swingout hinge. I was thinking about doing something similar but using a spindle and hub off one of our trucks. You could use the factory locking hub to lock the swingout in a number of open positions and you would have easy access to spare parts if you actually blow up a locking hub on your truck. The biggest downfall is that the hubs are so big in diameter it would eat up a lot of space.
Yeah that's an idea.
I spent a few weeks looking into this, and I saw a lot of people selling weld it your self tire carrier kits that just included a few locks and the swing out hinge. The swing out hinge on all the kits was literally a trailer hub that had been machines down on a lathe. So I thought why not just do the same and save more then half the price.
Some weekend updates.
Still have details to work out. Guests to add, license plate lights and bracket, CB antenna mount and so on. But this is about it.
Did you push the tire out to retain the ability to open your topper?
Yes, and also it gives the tail gate room to open while the tire carrier is open.
I know it kinda messes with departure angle, but I had to kind of balance the two out a bit. I dont plan on doing any rock crawling, more overland travel stuff, so I think it will be fine.
Edit:
I thought I posted a picture to explain it but I forgot so here is one.
Last edited by deutschman; Feb 1, 2016 at 11:19 AM.

 Nov 23, 2015 | 04:58 PM


 So its free!