When you click on links to various merchants on this site and make a purchase, this can result in this site earning a commission. Affiliate programs and affiliations include, but are not limited to, the eBay Partner Network.
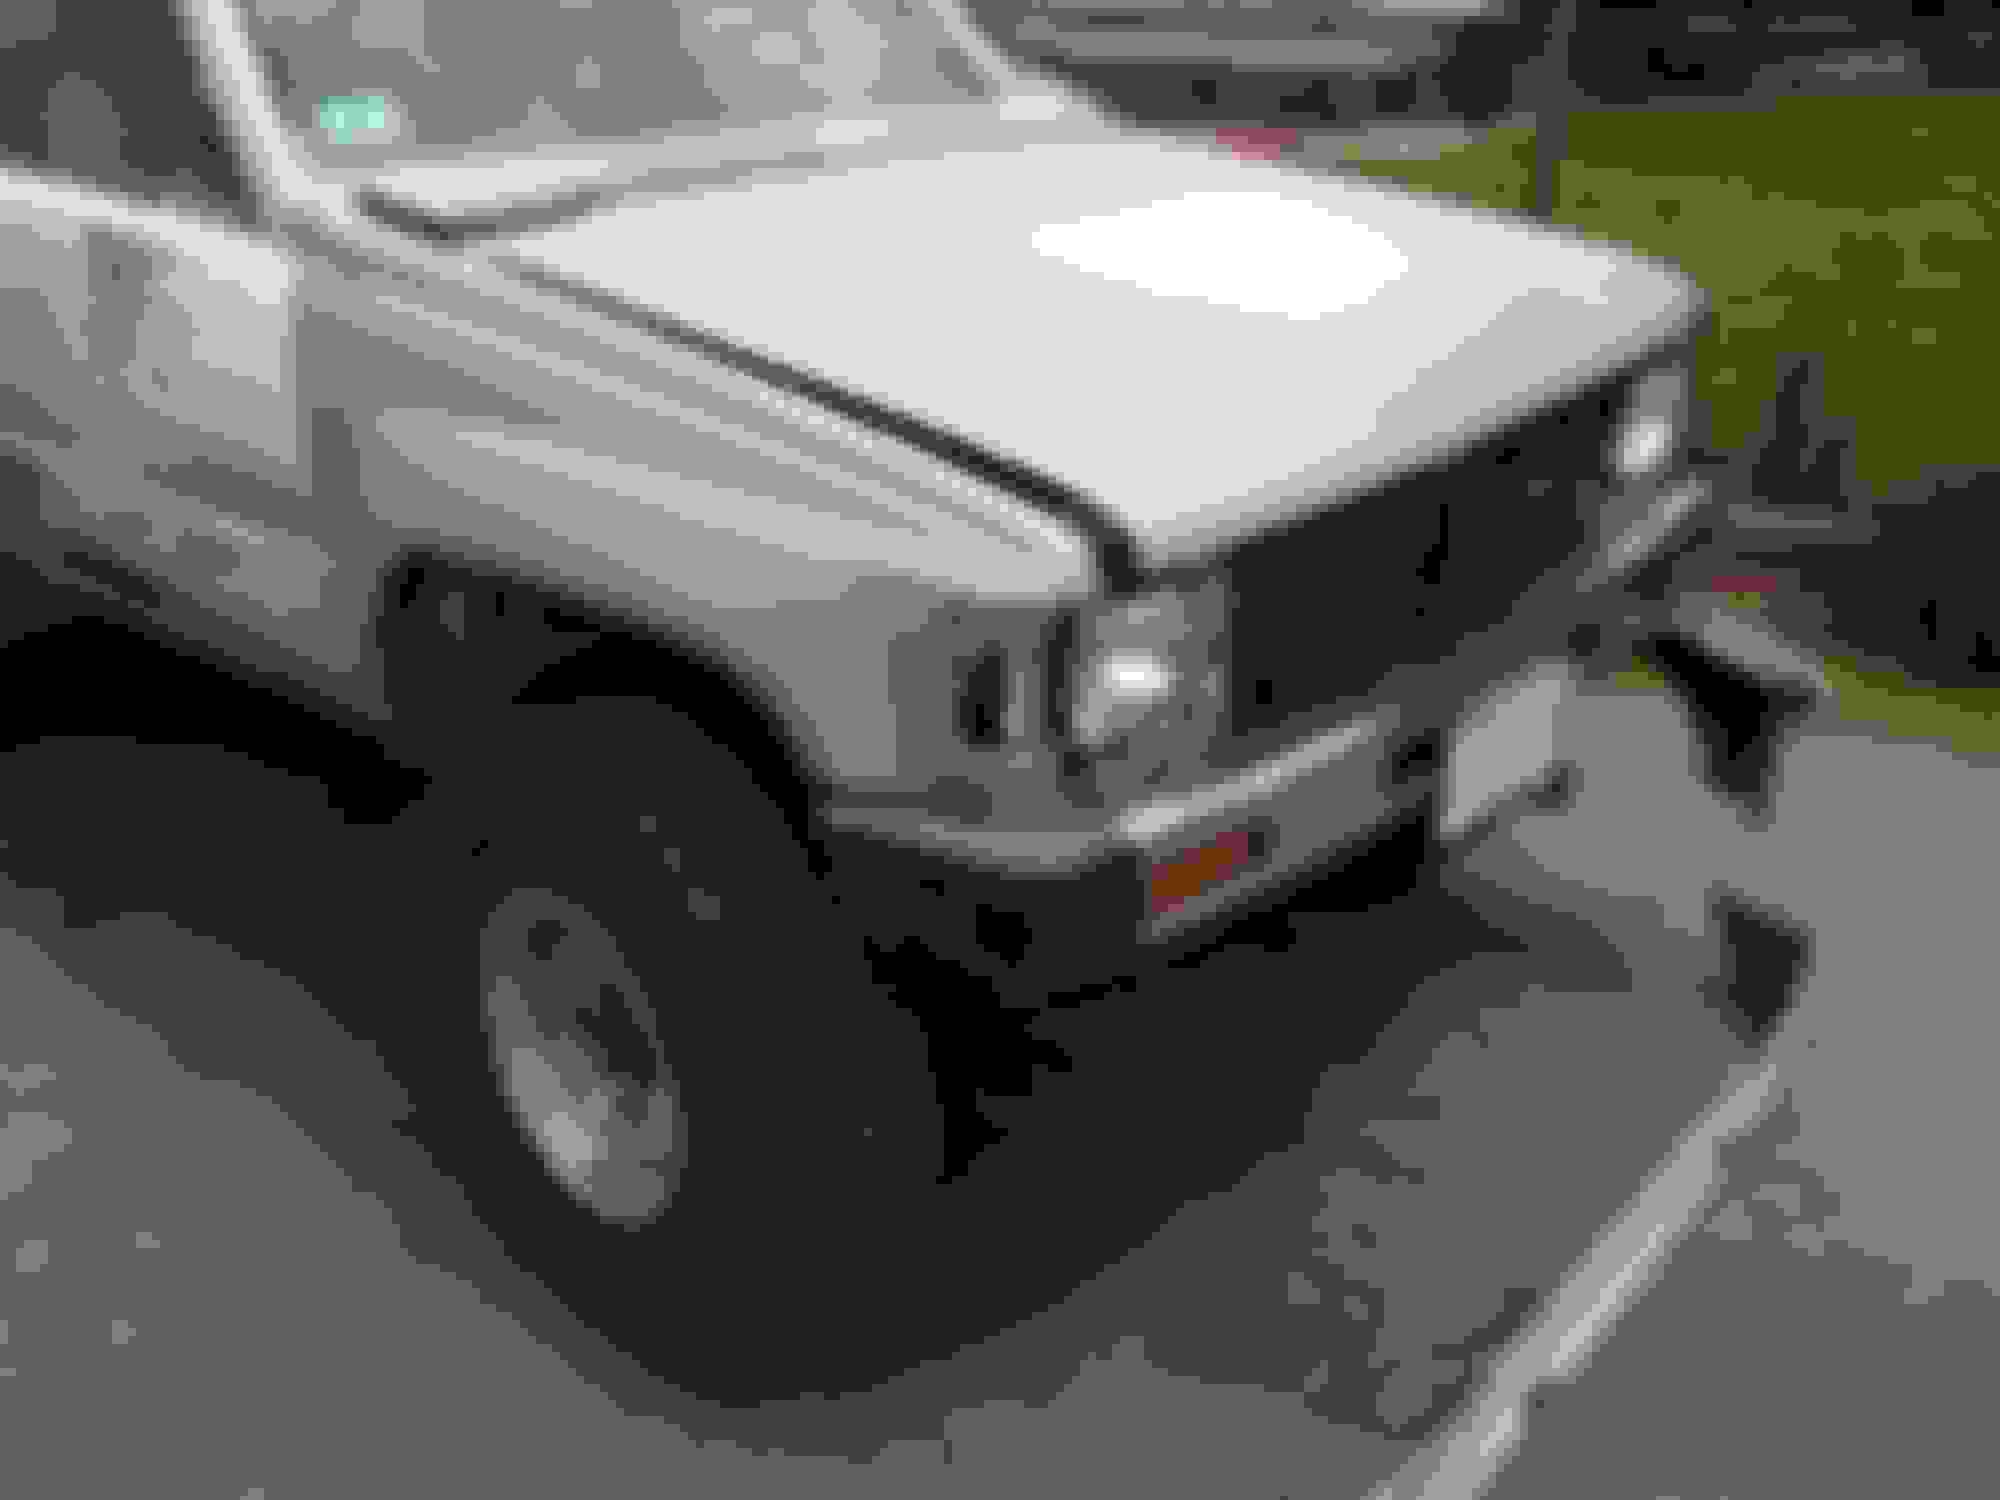
This photo lit up a light bulb in my mind...
A color coordinated valence (like most of us have) looks "dainty". Painting the valence black / bed liner would give a rugged look, illusion of a higher ground clearance, and that anything below the bumper is ready for rough and tumble. Thoughts?
My kid keeps taking the valence off and it's back on now. I like the stock look with the stainless steel bolts it has on it. It's just a detail that makes it look factory now IMO. The bed liner might look pretty good but bed liner is so popular on junkers I'd hate to use it. I'm considering using it on my black 2000 4Runner around the rockers though. The truck still has a good paint job but around the rockers are a lot of chips. No rust but chips.
I see you have discovered the joys of internet body supplies. I loved the Evercoat Rage and used it for both boat and 4Runner projects until I ran out. I then used some yellow stuff from O'Reilly's (I think) that is a step above classic Bondo but not that great. I also have that exact Dura Block kit and was very helpful. Instead of a body work stand I used the old Work Mate. Since my truck is white I used white primer from Advance Auto. I'm so glad my garage is not constantly covered in fine white dust any more. The kid used to turn his back pack blower loose in there and it cleaned pretty effectively.
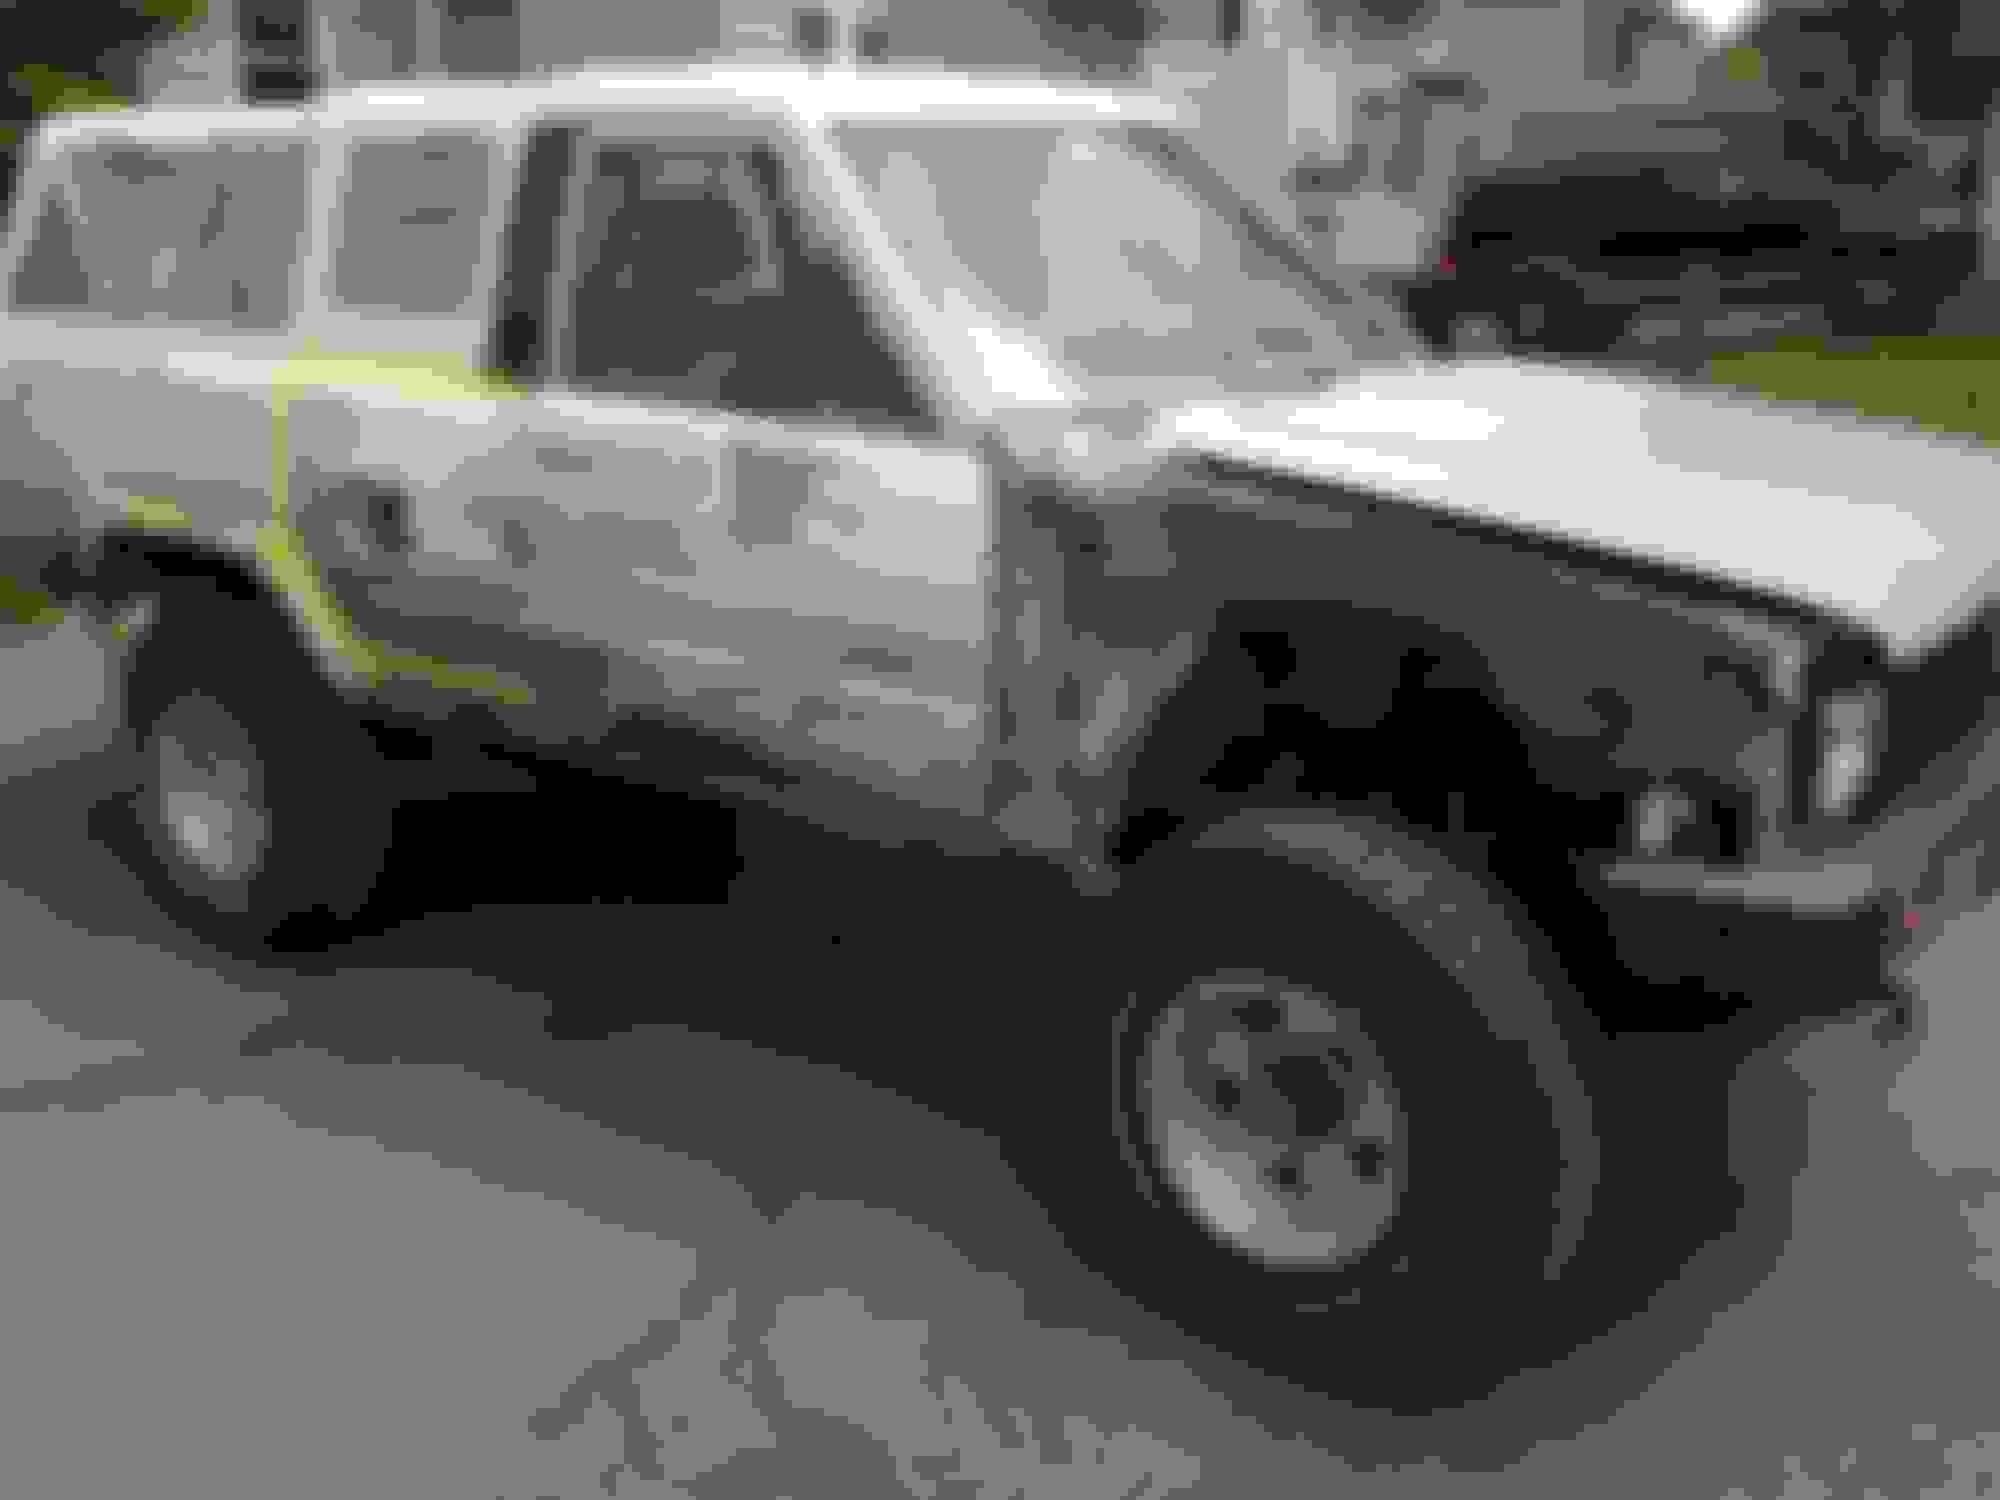
I found a picture of the 4Runner, dirty but with the valence. We just had an endless winter but it's 84 degrees today.
My kid keeps taking the valence off and it's back on now. I like the stock look with the stainless steel bolts it has on it. It's just a detail that makes it look factory now IMO.
I see you have discovered the joys of internet body supplies.
I am going with the stock white valence, maybe cut for a second tow hook, and maybe paint it blue later if I recreate the custom striping that�s on it now.
Some of my body panels are covered in something textured like bed liner. Not quite sure what it is. Thank goodness it comes right off when you hit it with 80grit on a DA.
All the supplies I�ve bought except the Eastwood spray gun have come from local auto body supply store. Dropped another $100 there today.
I kind of wondered if I was being overcharged but after searching the same brand products online, the prices are comparable. This stuff is just expensive! I also get to ask lots of questions while I am there so it�s worth it.
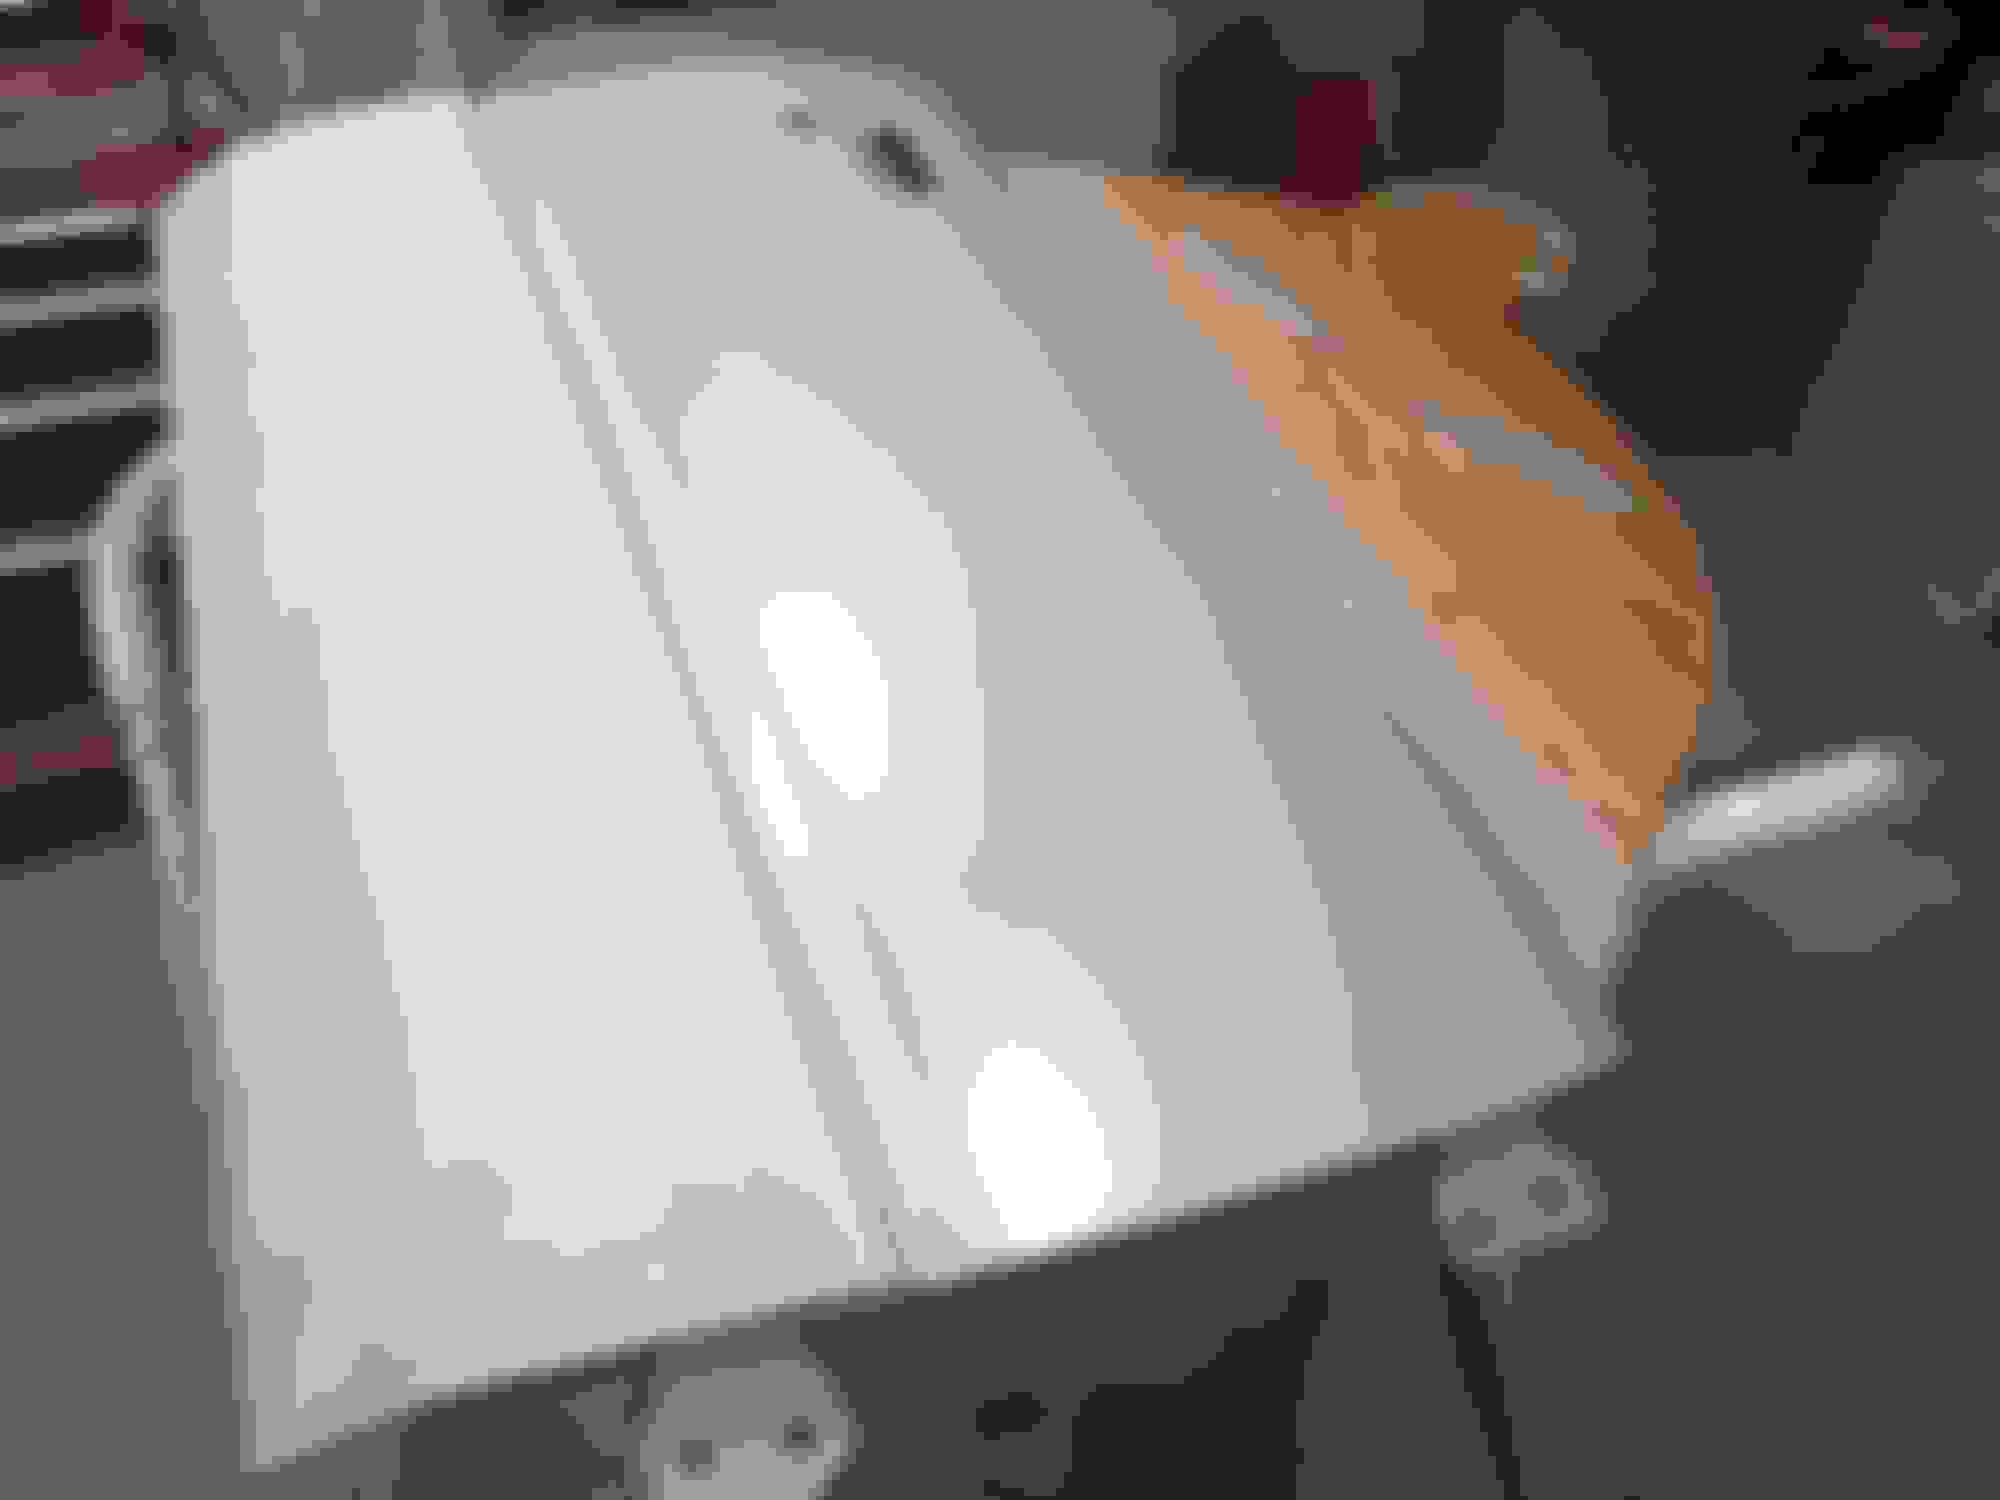
Finally, an update. Progress has been slow until this weekend when I finally sprayed primer on 2 hoods, 3 fenders, 1 cowl piece and 1 front valence after cutting it for the second tow hook. I am super happy with the way the primer came out. The gun ($40) worked great. I didn't take any special pains to turn my garage into a clean room, just basically washed the panels with dish soap and water, dried them and hit them with a tack rag before blowing the paint. After primer, wasn't happy with the lip on the original driver's side fender so had to go back and apply more filler and re-sculpt it.
Again, I am waffling about the color, I had talked myself back into the original 030 white but now I leaning back towards the brighter 040 super white.
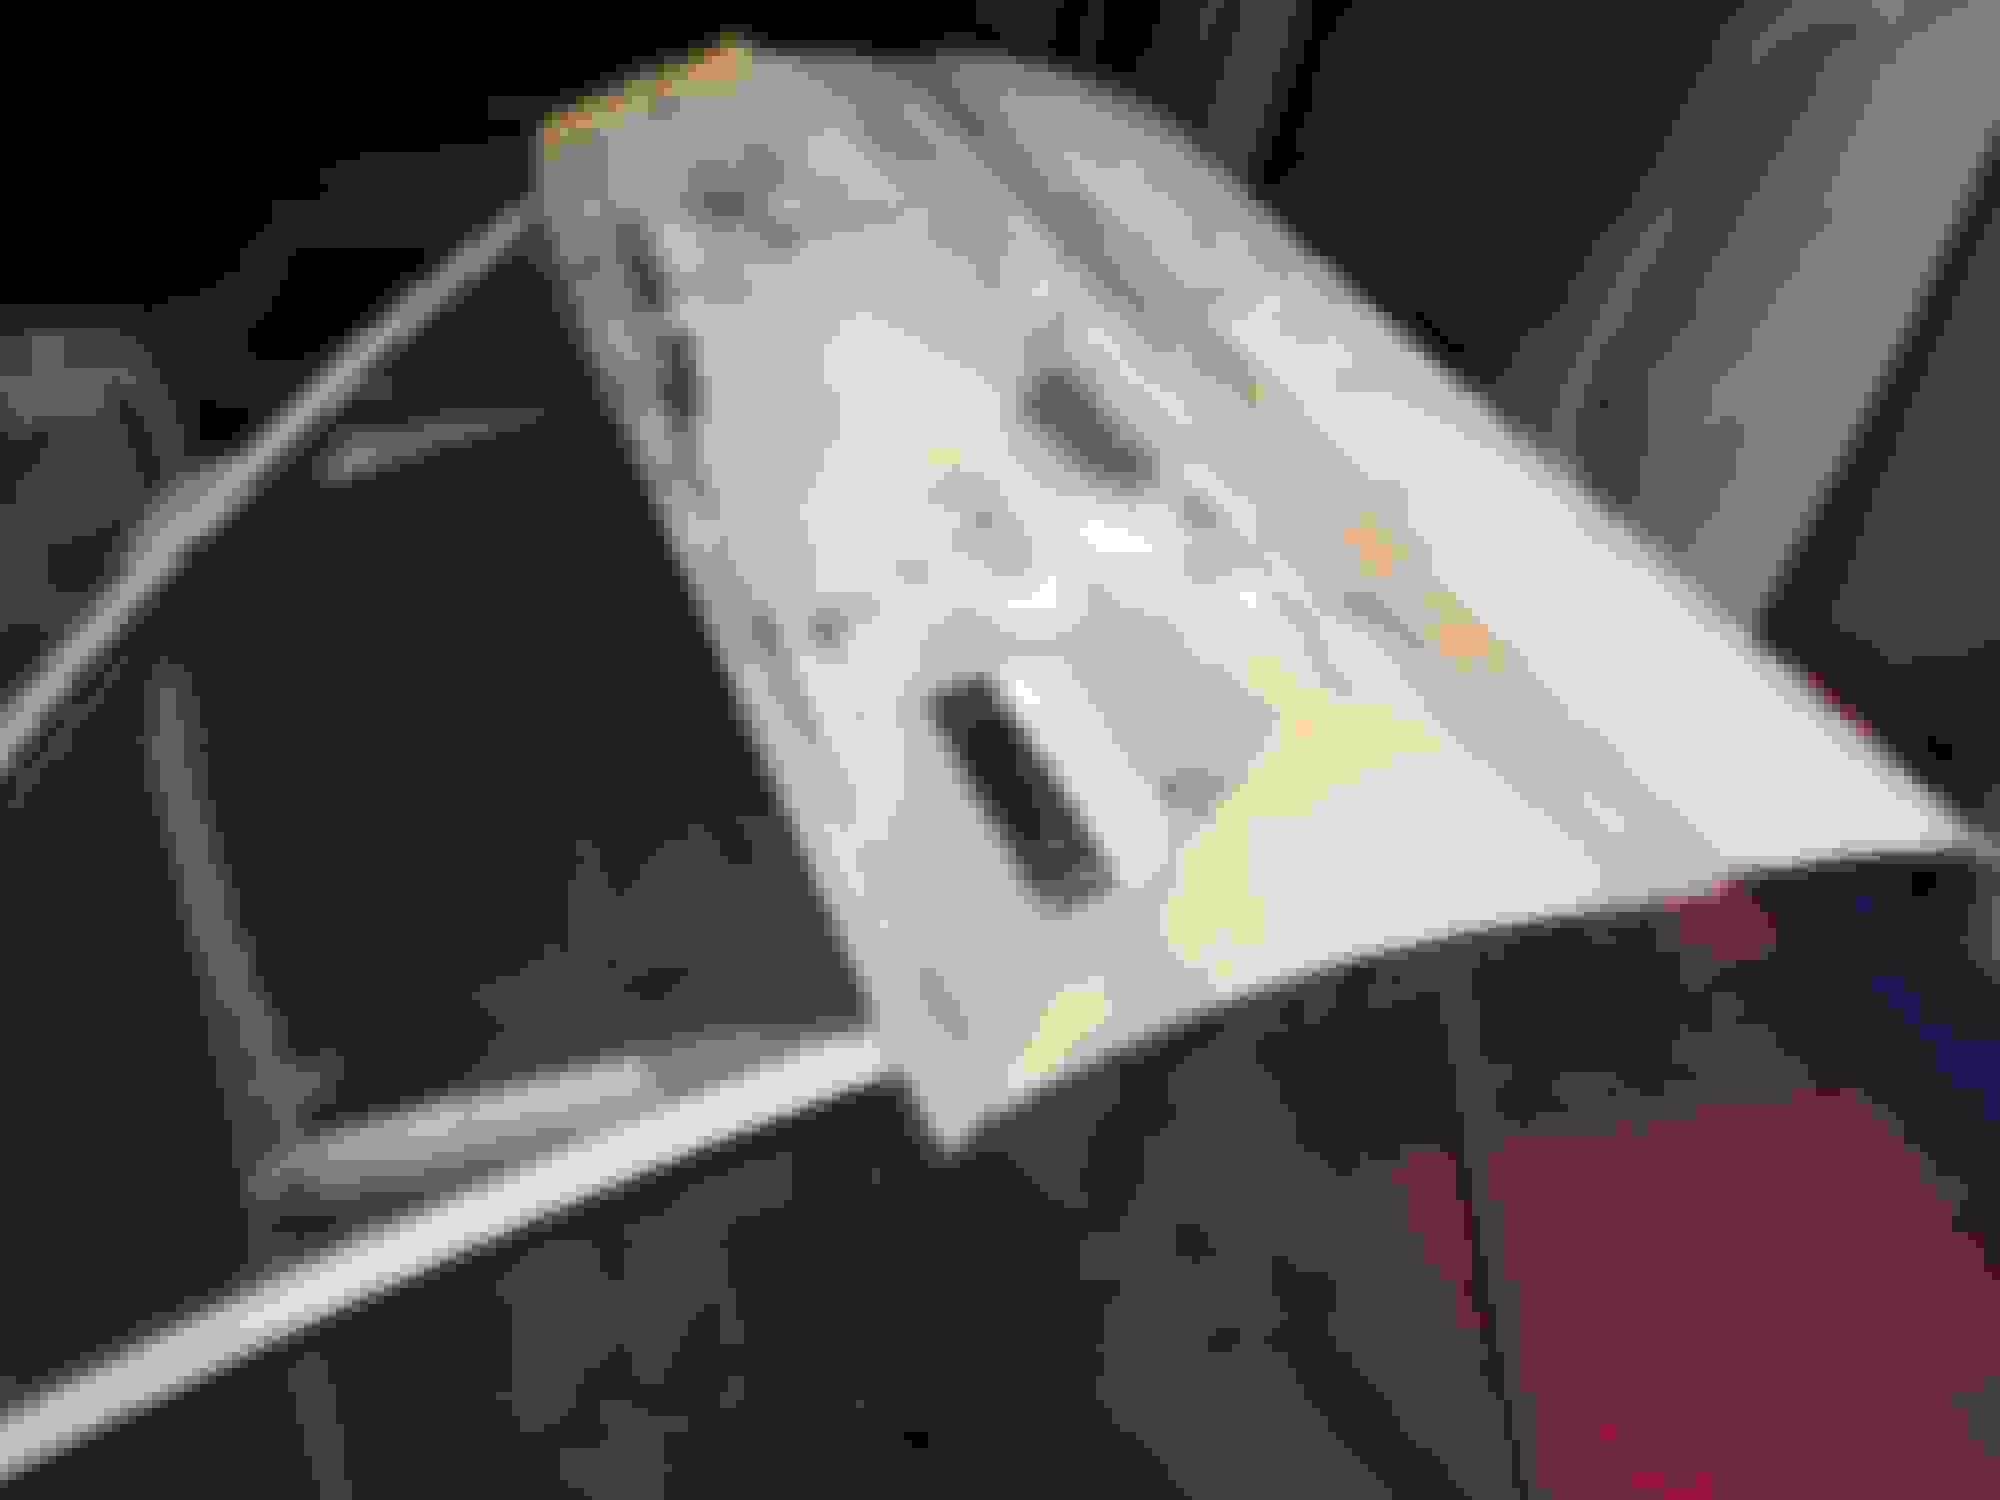
The passenger door and quarter while having no more rot than I thought, do have more evidence of previous dent pulling and some thick filler. I ground a bunch of it out but stopped short of taking it all out. That would just be making more work for myself. I may cut and replace the panel where the yellow tape is if I can get one. It is creased right above the gas door.
Last edited by Melrose 4r; Jan 18, 2019 at 07:43 AM.
The roof, A pillars and driver's side are all in great shape. Only a few minor parking lot door dings on the driver's side. So that will be much easier to fix. I circled them with black sharpie.
Stopped by the autobody supply store yesterday and made what I believe will be the final large purchase of this project, the paint and clearcoat.
I finally committed to the Toyota Super White. He had a new brand of paint on the shelf and it was only $80/gallon, compare with Sherwin Williams at more than twice as much per gallon.
We talked about recreating the stripes and he suggested I check with the local vinyl sign shop instead of painting them. Makes sense if the price is right. We'll see.
Also got in some time cutting out a rust spot on the rear fender lip and migging in a patch and pushed out some small dents from behind the rear quarter panel.
Last edited by Melrose 4r; Jun 13, 2018 at 08:36 AM.
Well, we did make some progress over the weekend but hit a few snags, mostly running out of time.
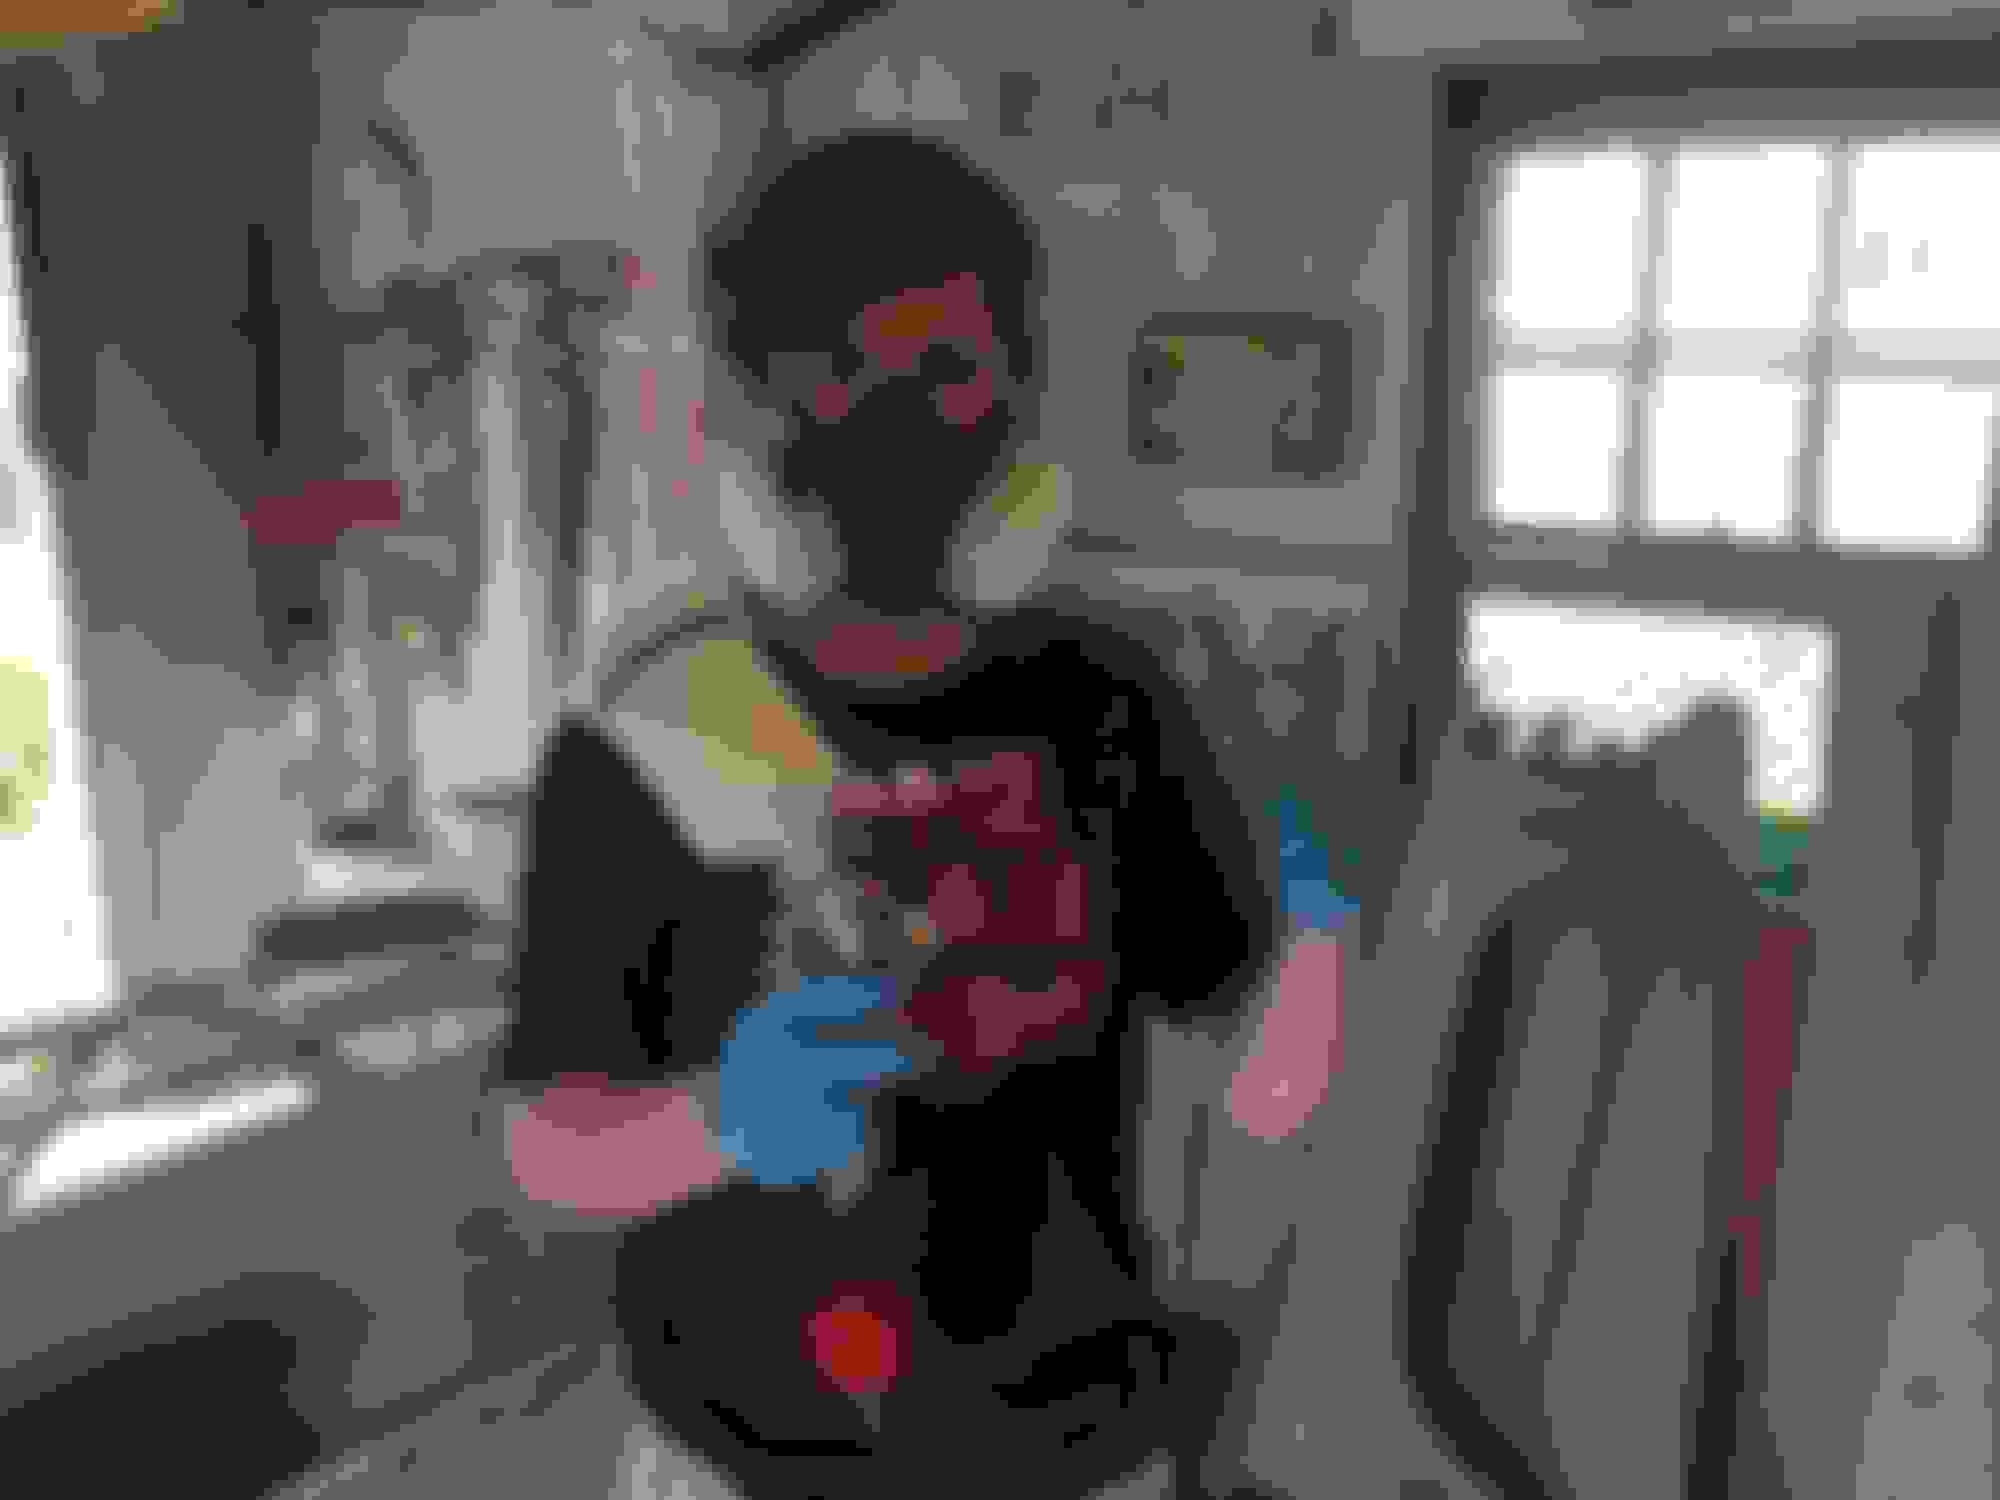
Here's the boy...dragged away from the computer for a while. I told him he could try painting some of the color coat.
At first the paint mixed 1:1 with reducer was much thinner than I was expecting and didn't cover well and made some runs. Then I remembered it said use 2:1 for better coverage on the can so I tried that and the results were better. I have about 4 coats on each front fender, valance and cowl piece now, but had to stop before painting the clear coat. So having waited more than 24 hours I'll now have to scuff these panels, shoot another coat and then the clear.
Another concern when painting in pieces is ensuring you have the same coverage on all the panels. The white needs many coats for full coverage of the gray primer. But we are learning as we go and so far I would grade us a C+ or B- on the way it's coming out. I've got 1 hood blocked, but will need more primer, then the other hood just needs blocking. Also one additional front fender that needs blocking and color/clear. Then we'll move on to the doors, rear gate and quarters. If I had a complete week away from work to dedicate to this it would be great.
That's the Eastwood Concours 2 gun in his hand. It comes with 1.8(primer) and 1.3(base/color) tip kits and works well.
Last edited by Melrose 4r; Jun 12, 2018 at 07:38 AM.
Stopped at a sign shop on my lunch hour and asked about recreating the truck's graffics in vinyl.
A friend will take measurements and generate a file for me so all I have to do is provide it to the shop and choose the colors and they'll do the rest. That should be sometime in mid-July.
Good progress over the weekend.
Saturday, block sanded two hoods and shot color(4 coats) on two hoods, three front fenders, valance and front apron.
then shot 2 coats of clear on all those. My buddy came over and traced the remaining graffics on the truck and will create a file in vector format for me.
Sunday, cleaned and removed the soft top the boy pulled all the top mounting hardware and roll bar, removed passenger door and DA’d it to get ready for some filler.
Also removed interior panel to gain access to the area near the gas door that needs to be worked from behind.
i am finding out there is a lot of stuff they don’t tell you about bodywork and paint.
keeping your pieces clean is critical. They tell you to use a tack rag to pick up dust before shooting color and they tell you not to press down hard on the tack rag, but then you find what appears to be waxy fingerprints after using the tack rag. Crap! What do I do now? wipe with wax and grease remover seems to be the answer for several things that would make big problems for a less patient person.
i think I am getting in a rhythm now and want the truck to be done by July 4. We shall see!
sorry no photos...I get entranced withe the work and forget to take them. Maybe a video update soon. Stay tuned.
Wow, you and son have really jumped right in. Body work and paint is one of those areas that scare me, but you guys are making it look do-able (I won't say easy). Good work so far, thanks for the updates.
Wow, you and son have really jumped right in. Body work and paint is one of those areas that scare me, but you guys are making it look do-able (I won't say easy). Good work so far, thanks for the updates.
Thanks! There is a huge learning curve. I keep going back and watching videos on youtube to see if I missed anything or if I've done things right. I hope the improved bodywork raises the value of the truck. I used to hate bodywork but now I am starting to like it. It's nice to be in the garage just listening to tunes as you work.
So far, I sanded/painted to the Kinks, clear coated to Junior Brown and Kid Rock.
Got in an hour between rain showers this evening. Basically applying filler on the passenger door. Once it started raining again I had to move the doorless, hoodless, topless, truck back into the garage and cease door work. Collective Soul was the band of the evening.
Here's a photo of how I had the two hoods and fenders laid out for painting. I had to set them so I could move around gracefully and have good reach to the panels. It wasn't ideal- it would be better to hang the fenders from the ceiling. Maybe next time. Also I hosed off the garage floor and let it dry before I started. The only real problem I ran into was I did not tack the junkyard hood before clear coating it and it wound up with a bunch of zits in it. I believe they'd buff out but at this point I don't have to worry about that hood. The original hood is turning out well. It's great to have a test panel of some sort, just to see how your paint is going to cover or things like that.
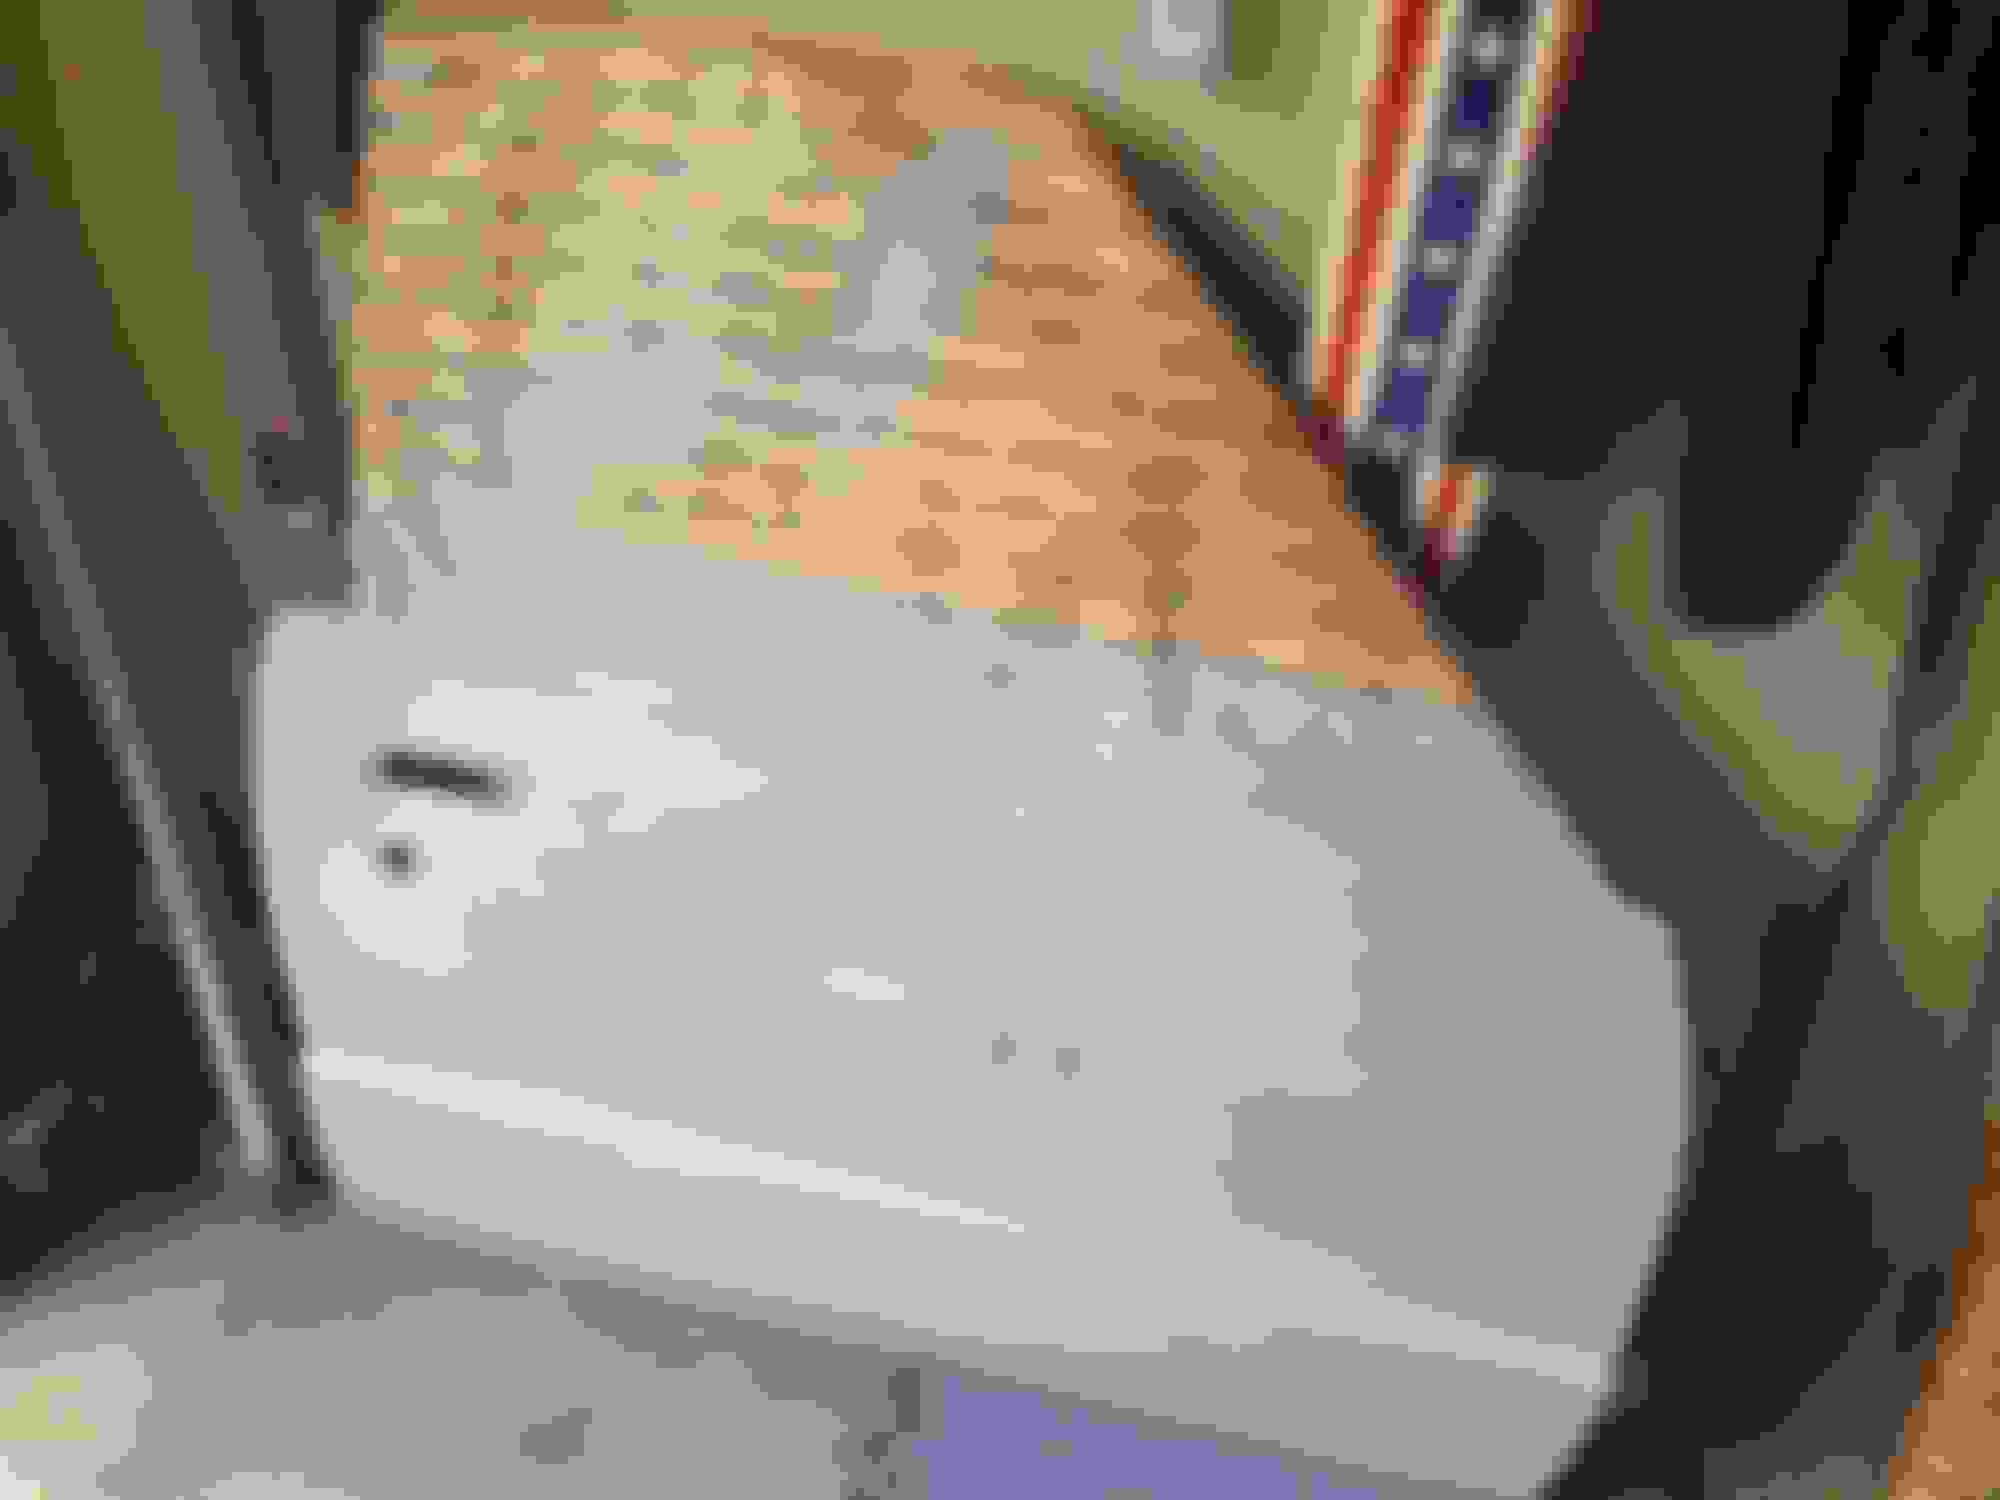
Here is the passenger door on the stand. I don't plan to remove the glass or take it apart, but I do have to remove the door handle and lock. Some previous owner coated the area under the handle with something that looks like the texture of a white refrigerator...well, the whole side from the door back was coated. this is all that's left.
Worked on the door again tonight. Got the lock and handle out and the textured paint under the handle came off with a liberal dose of lacquer thinner.
Im struggling with the center peak in the door. Body men on YouTube say to run a piece of tape along the centerline, then block sand up to it from below and move the tape, then blocks sand to it from above. The problem at the moment Is deciding where the line is. It’s not a crisp peak on these doors.I can feel it somewhat but can’t really see it. I’ll go watch some more videos.
Lots of progress Weds night and Thursday. Very happy with the way the door came out and has been blocked and is ready for paint. The tape trick for sanding to the centerline of the door seems to have worked well enough.
My $10 swap meet sandblaster is worth its weight in gold. I think they are only about $40 new...still worth it for when you have rust pits in a body panel and so much faster than trying to grind them out.
Last edited by Melrose 4r; Jun 22, 2018 at 07:43 AM.
After the new panel is cut and migged in it should be all downhill from there. Too bad the weather isn't supposed to be very cooperative this weekend. I will have to paint the cab and roof outside because I just don't have enough space in the garage.
Here's a look at the how the truck stands now. Tonight I'll work on the dents in the tailgate.

 May 10, 2018 | 12:23 PM