When you click on links to various merchants on this site and make a purchase, this can result in this site earning a commission. Affiliate programs and affiliations include, but are not limited to, the eBay Partner Network.
Flanging the panel on the truck took about 2 minutes. It's too bad I don't need more flanging.
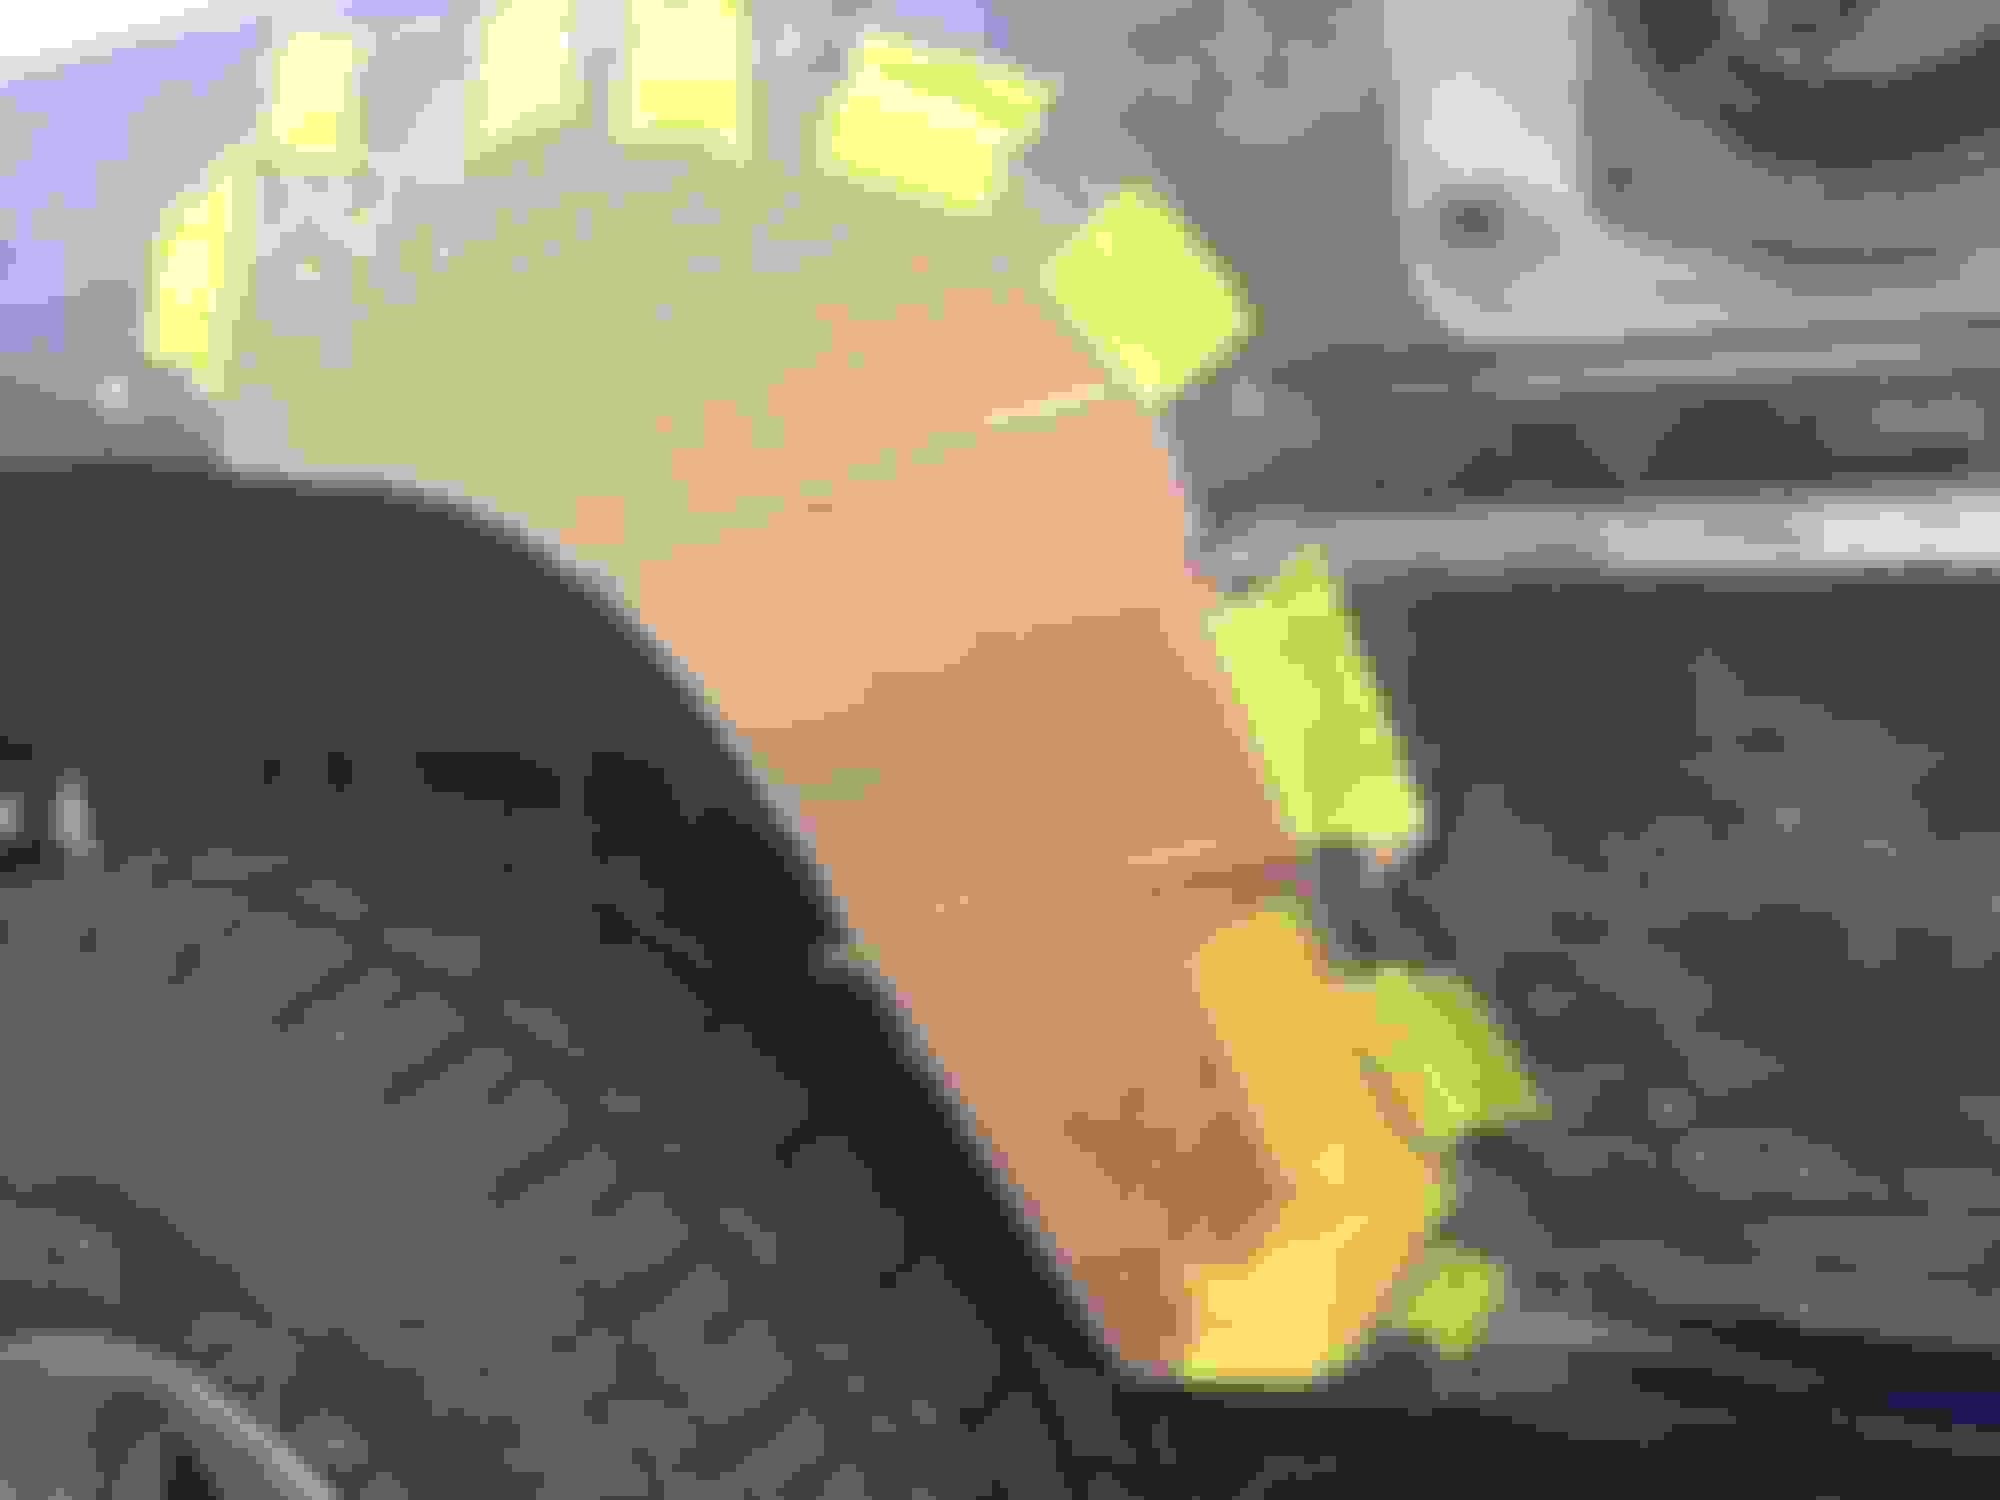
I decided I didn't really like the template I made the other night so I took another try at it.
This one came out better. I was doing this wrong...(I always try everything the hard way first! doh!)
It is easier to add pieces on to the template than start with a large piece and try to cut it down to exact size.
Last edited by Melrose 4r; Jul 26, 2020 at 05:54 AM.
I eventually figured out if I put the yellow tape on the flanged area, the tape would show behind the patch and I could tell where I would have to cut/grind down the patch to overlap it correctly. At this point I should say nobody should be taking lessons from me on how to do this. I am just figuring it out as I go and building on what I've done in the past. I really have no idea if this is the right or most efficient (i doubt) way to repair this.
Last edited by Melrose 4r; Jun 30, 2018 at 06:59 PM.
I switched back and forth between the cutting wheel and the 80 grit flapper disc at least ten times today.
Next time it would be good to have two angle grinders instead.
Last edited by Melrose 4r; Jan 27, 2024 at 06:05 AM.
Because I am super paranoid about fire (my garage almost burned recently due to an overheated battery charger!) I lined the inside of the panel with aluminum foil to keep any sparks away from the interior and gas filler pipe.
Not sure if that would really do much but it makes me feel a whole lot better while welding.
Last edited by Melrose 4r; Jun 30, 2018 at 06:26 PM.
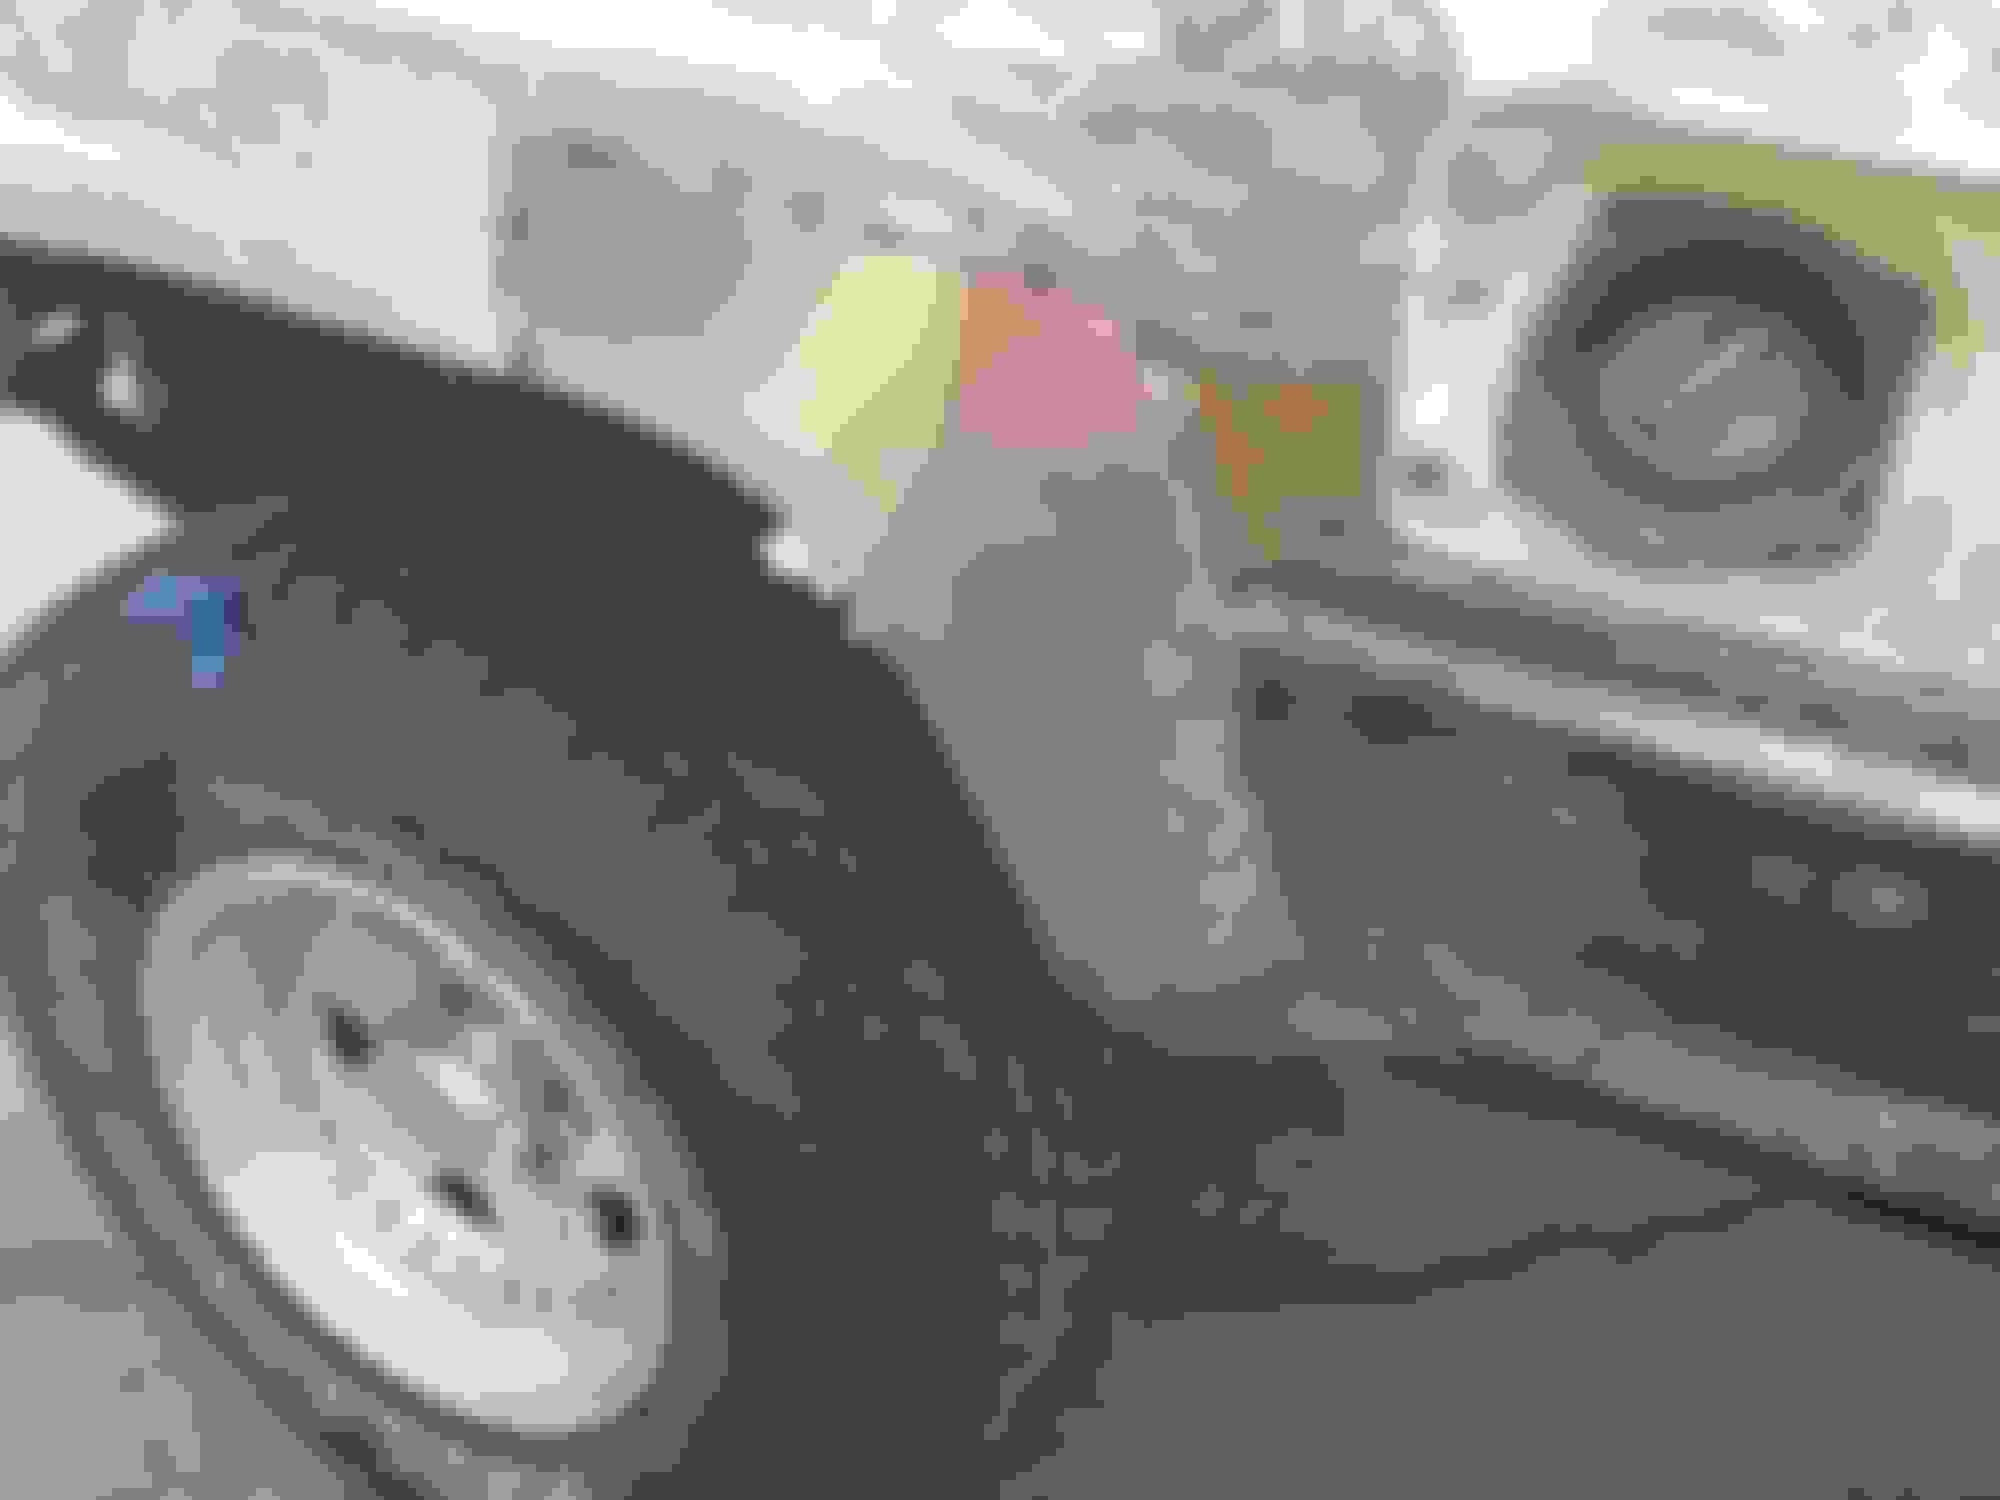
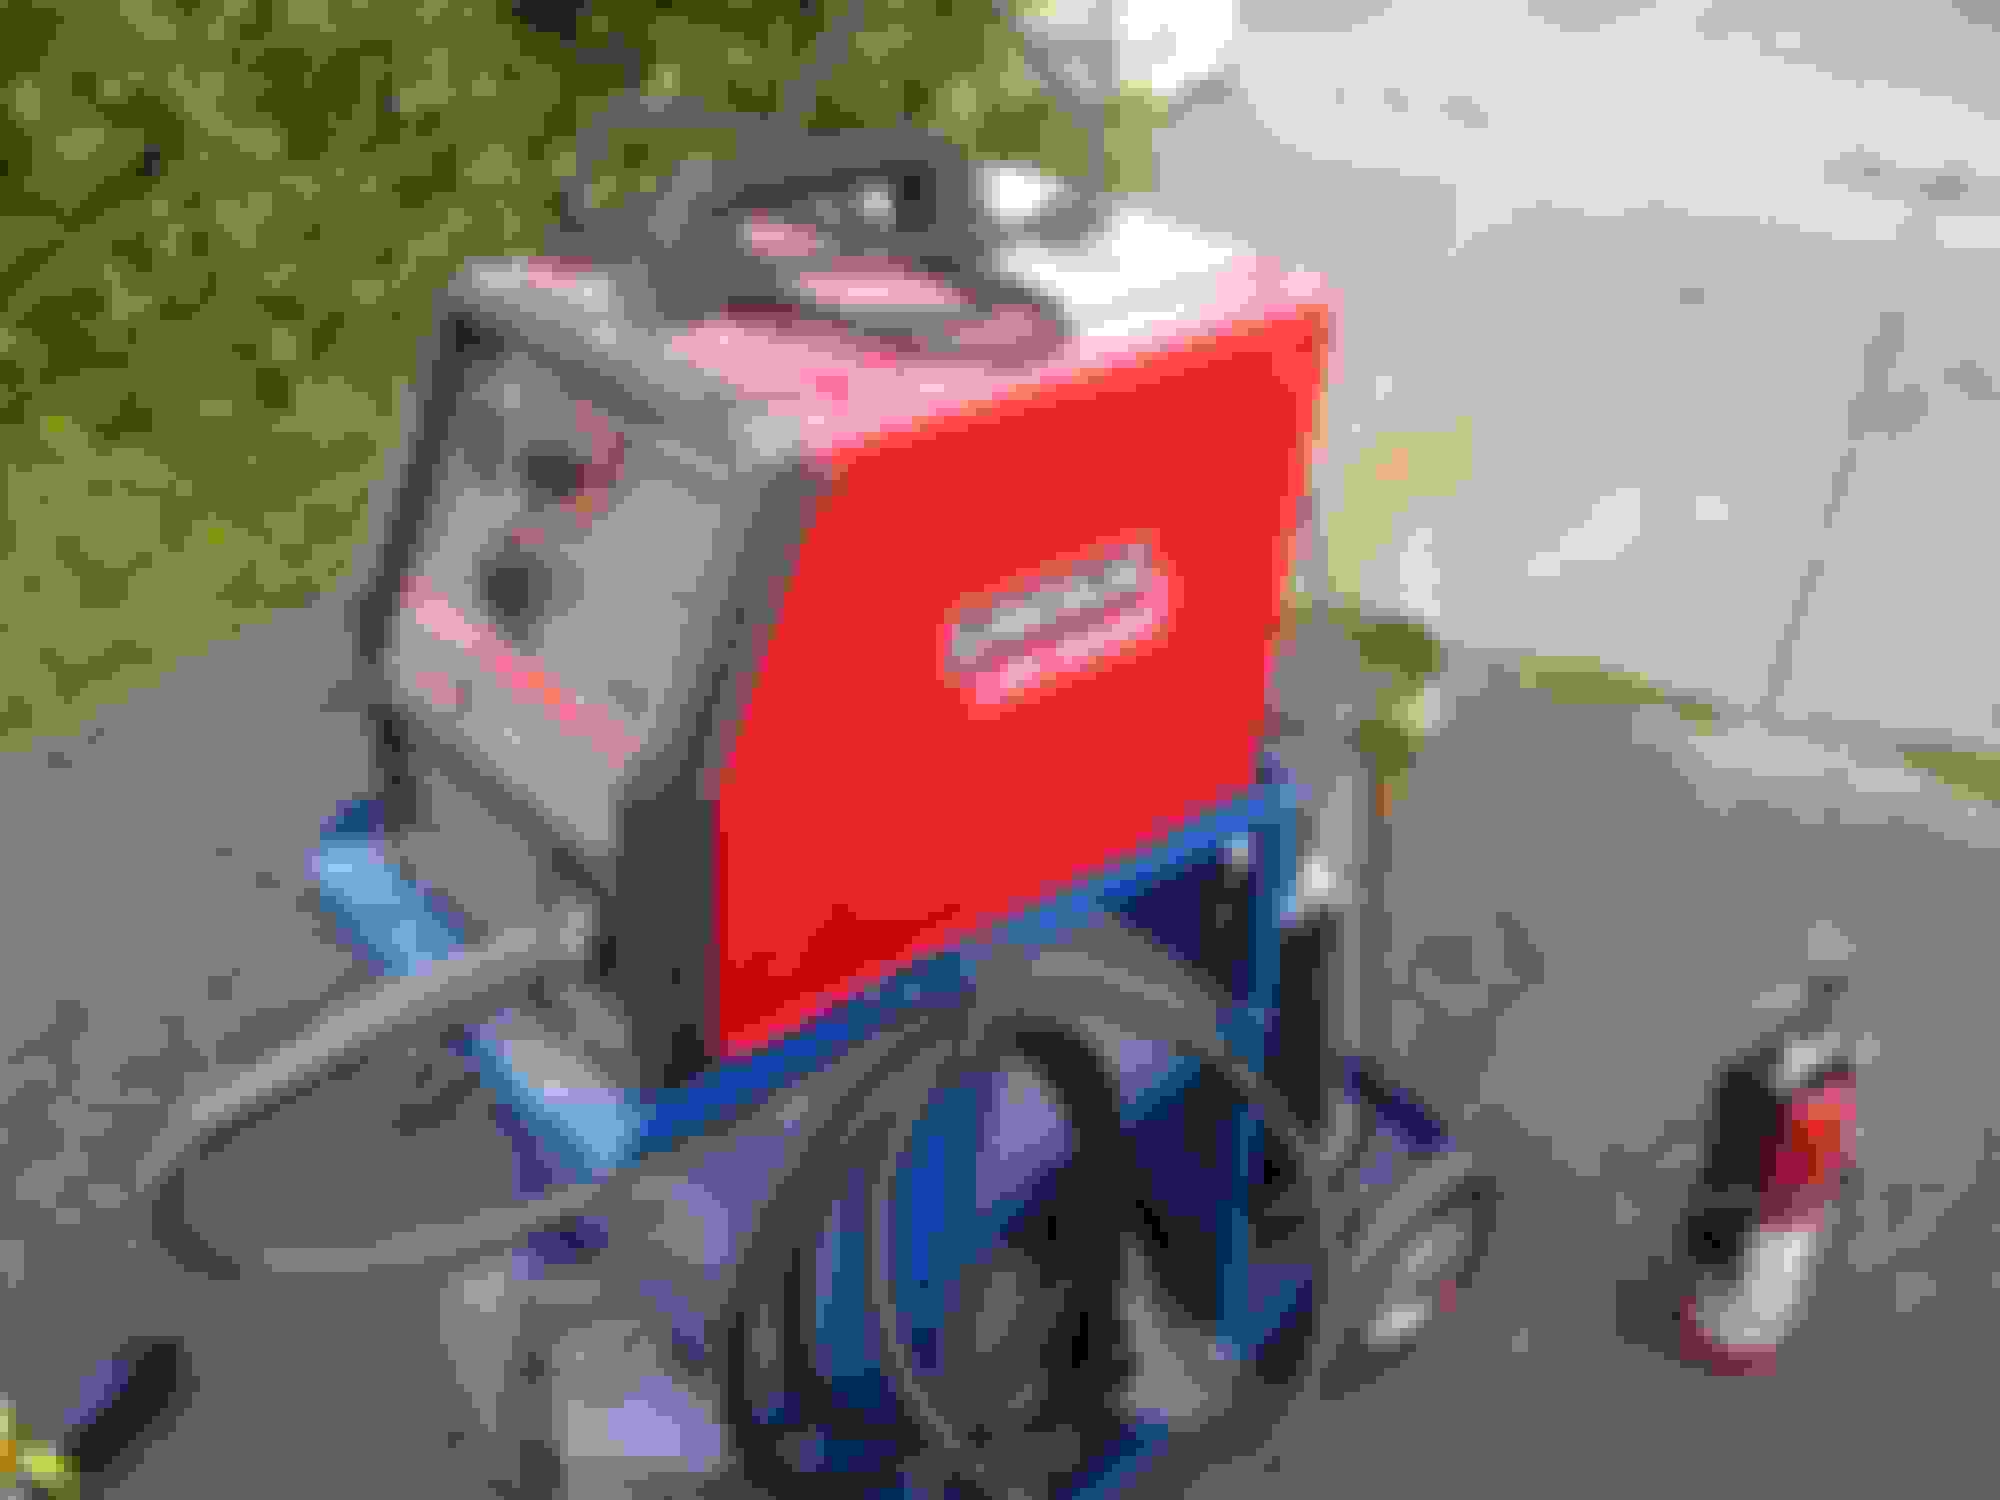
Here's the patch panel tacked in place.And as promised to Magnet, a photo of my trusty Lincoln welder,
set on B-2, and his wing-man, the fire extinguisher.
Last edited by Melrose 4r; Jul 3, 2018 at 03:58 AM.
Tomorrow is going to be scorchin' hot again. I plan to paint both doors and maybe the tailgate. Then I have a couple evenings to work on it before we head to Vegas for the 4rth.(I know, NUTS. But we'll be visiting family and having fun)
After the painting of the doors, I'll come back to the welding and filling on the quarter.
The day started off well. It took twice as long as I expected to mask up both doors and make the garage ready to paint.
My son was helpful in the masking and cleaning up the garage. I eventually put two coats of white on the inside and sides of the doors which were already white, then four coats on the outside of the doors.
As I was spraying with my Eastwood Concours 2 gun I was feeling a lot of air on my hand. I noticed it last time I used it also but didn’t investigate closely until today when I was cleaning the gun to get ready to shoot the clear. Turns out, there is a ferrule missing on the trigger plunger.
I don’t think it was there and fell out- I would have noticed it falling off while painting and I’ve never had that part of the gun disassembled.
So I stopped there, called Eastwood tech support but being Sunday at 5:30pm nobody was there to answer so I submitted an email and expect a call back tomorrow. I’m bummed because the basecoat came out awesome but if I can’t clear coat in 24 hours i’ll have to wet sand, shoot another coat of white, then clear, making more work for myself. I even considered shooting the clear with my primer gun or taking the missing part from that gun, but it was not compatible and I didn’t know what the result would be shooting clear with a 1.8 tip.
So now I won’t be able to continue painting until mid-month, after family vacation. Anyway here’s some photos of the painted doors.
Last edited by Melrose 4r; Jul 1, 2018 at 05:49 PM.
It is too bad you have to wait to finish the clear coat.
Is painting harder or easier than you thought?
thanks! I�m pleased with the way they are coming out.
i think the actual spraying of the paint is a bit easier than I expected to get good results. I was good with a rattle can before.
Using good quality tools and materials makes it a lot easier.
I never had the patience for body work before. All the videos I�ve watched are a huge help.
Last night, only got in about an hour on the truck, cleaning the door jams with wax and grease remover and sanding and priming the surface rust behind the door hinge areas. I will have scuff the jams with 320 before shooting white and clear over them.
Sorry, no photos of that.
By the way, I didn’t get any response from Eastwood so I called them late morning and spoke with a woman who asked me to send a photo of the problem and my phone number by email, “so she could call me back”. I did, got an automated reply to my email and, so far, no call back. I expect better results today. I haven’t asked for anything yet, just would be happy if they can supply the missing part so I can continue using the spray gun!
Last edited by Melrose 4r; Jul 3, 2018 at 04:13 AM.
I won’t go into great detail on my back and forth with Eastwood support this week, but suffice it to say they are now sending me a replacement spray gun and FedEx call tag to return the first one. Not the simplest solution but the one they chose so I am Ok with it.
It seems the people in support didn’t know the product well enough because i discovered a rebuild kit for the same gun on their site for $9.99 and it contains the missing part. They could have just sent me that, or even told me to purchase that, but they had already issued the order to replace the gun.
what it really took to get action was me answering their support suvery in the negative to get a clear resolution. I don’t think this should have taken all work week to resolve but I am sympathetic to customer support trying to work this week and likely being behind/short handed.
So my next painting opportunity will probably be next weekend.
Just to add to this and not hi-jacking. These trucks are a rust bucket from what I have been observing. I've been in and around looking and chatting with a few people who have been restoring classic cars over the years some experts some amateurs. a few of them suggested using a product called prep and etch after prepping the rusted area. I've tried it and it works converts rusted material to basically Iron oxide. some recommend rinsing it after using it and the residue to prime and paint. They claim that the left over residue will continue to convert and rust left behind to hinder and progress of rust under the paint. A few people have recommended going that route and have been successful keeping rust at bay.
Just food for thought and you can check out all the vids u-tube to confirm the use. I'm still not a fan yet of the product, but will to try.
yes there are lots of rust conversion products. Even white vinegar and water is somewhat effective. The best is to start with a rust free panel and if you sand through to bare metal spots use an etching primer such as SEM on the spots. That is what I have been doing. Also, for places where the original paint and primer has stood up, don�t remove it. It still offers a good layer of corrosion protection if it hasn�t been comprised. Just sand and paint over it.
Part of the learning curve I had to get through is that different panels require different treatment. Some need no body work, others, I had to undo what the previous hack did and then redo it.
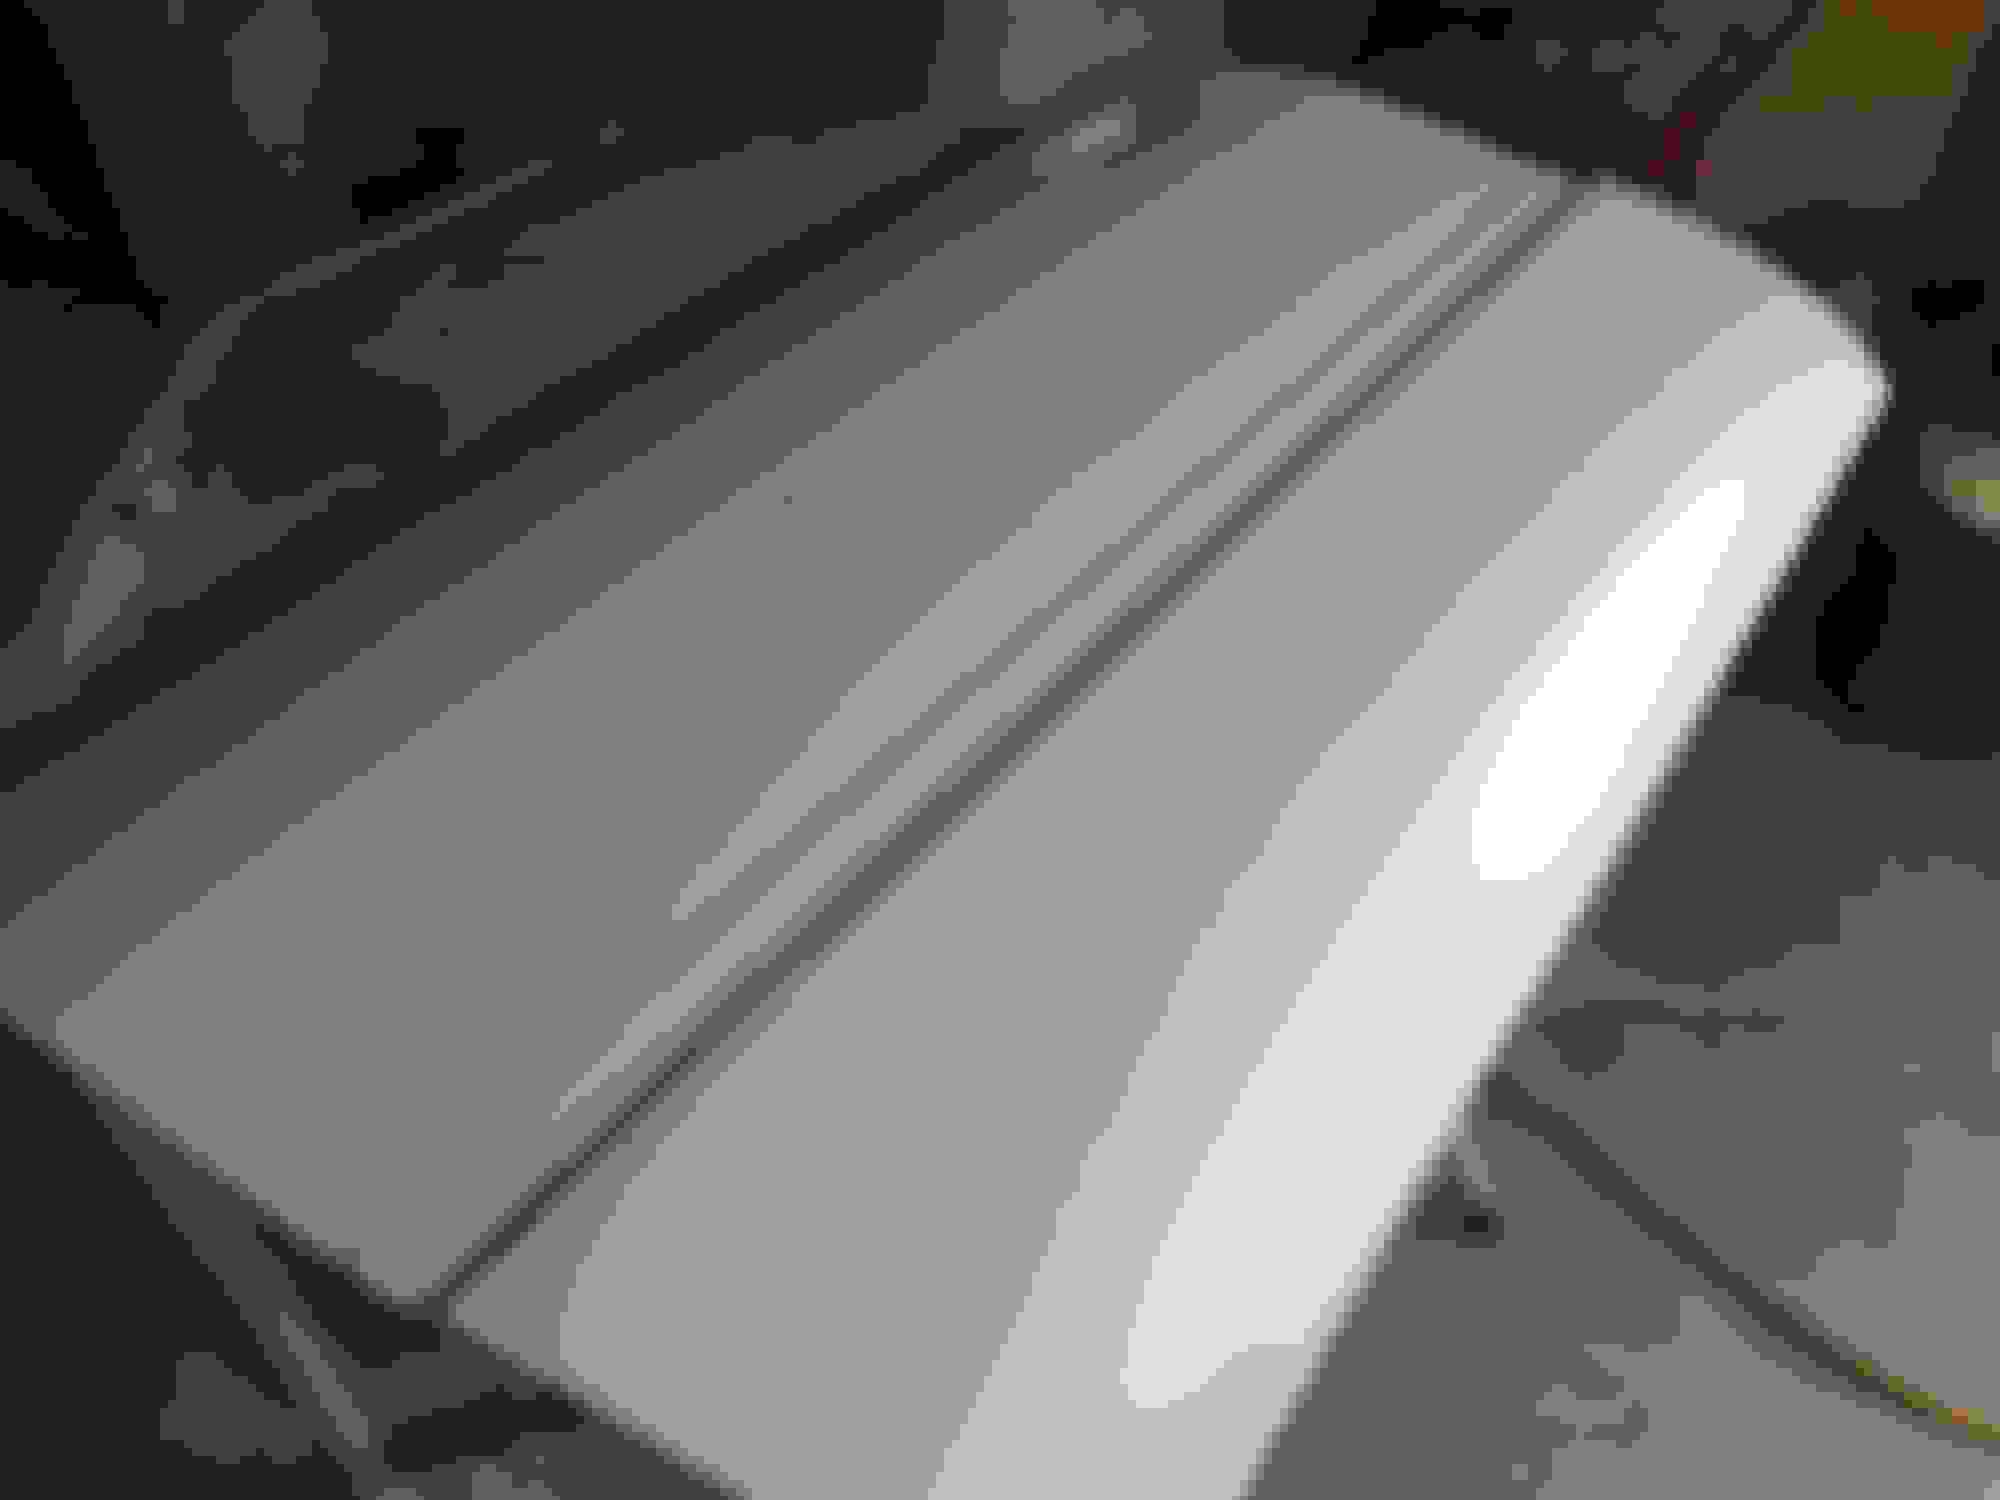
The patch panel was purchased from wolf steel in Canada and cut down to size.
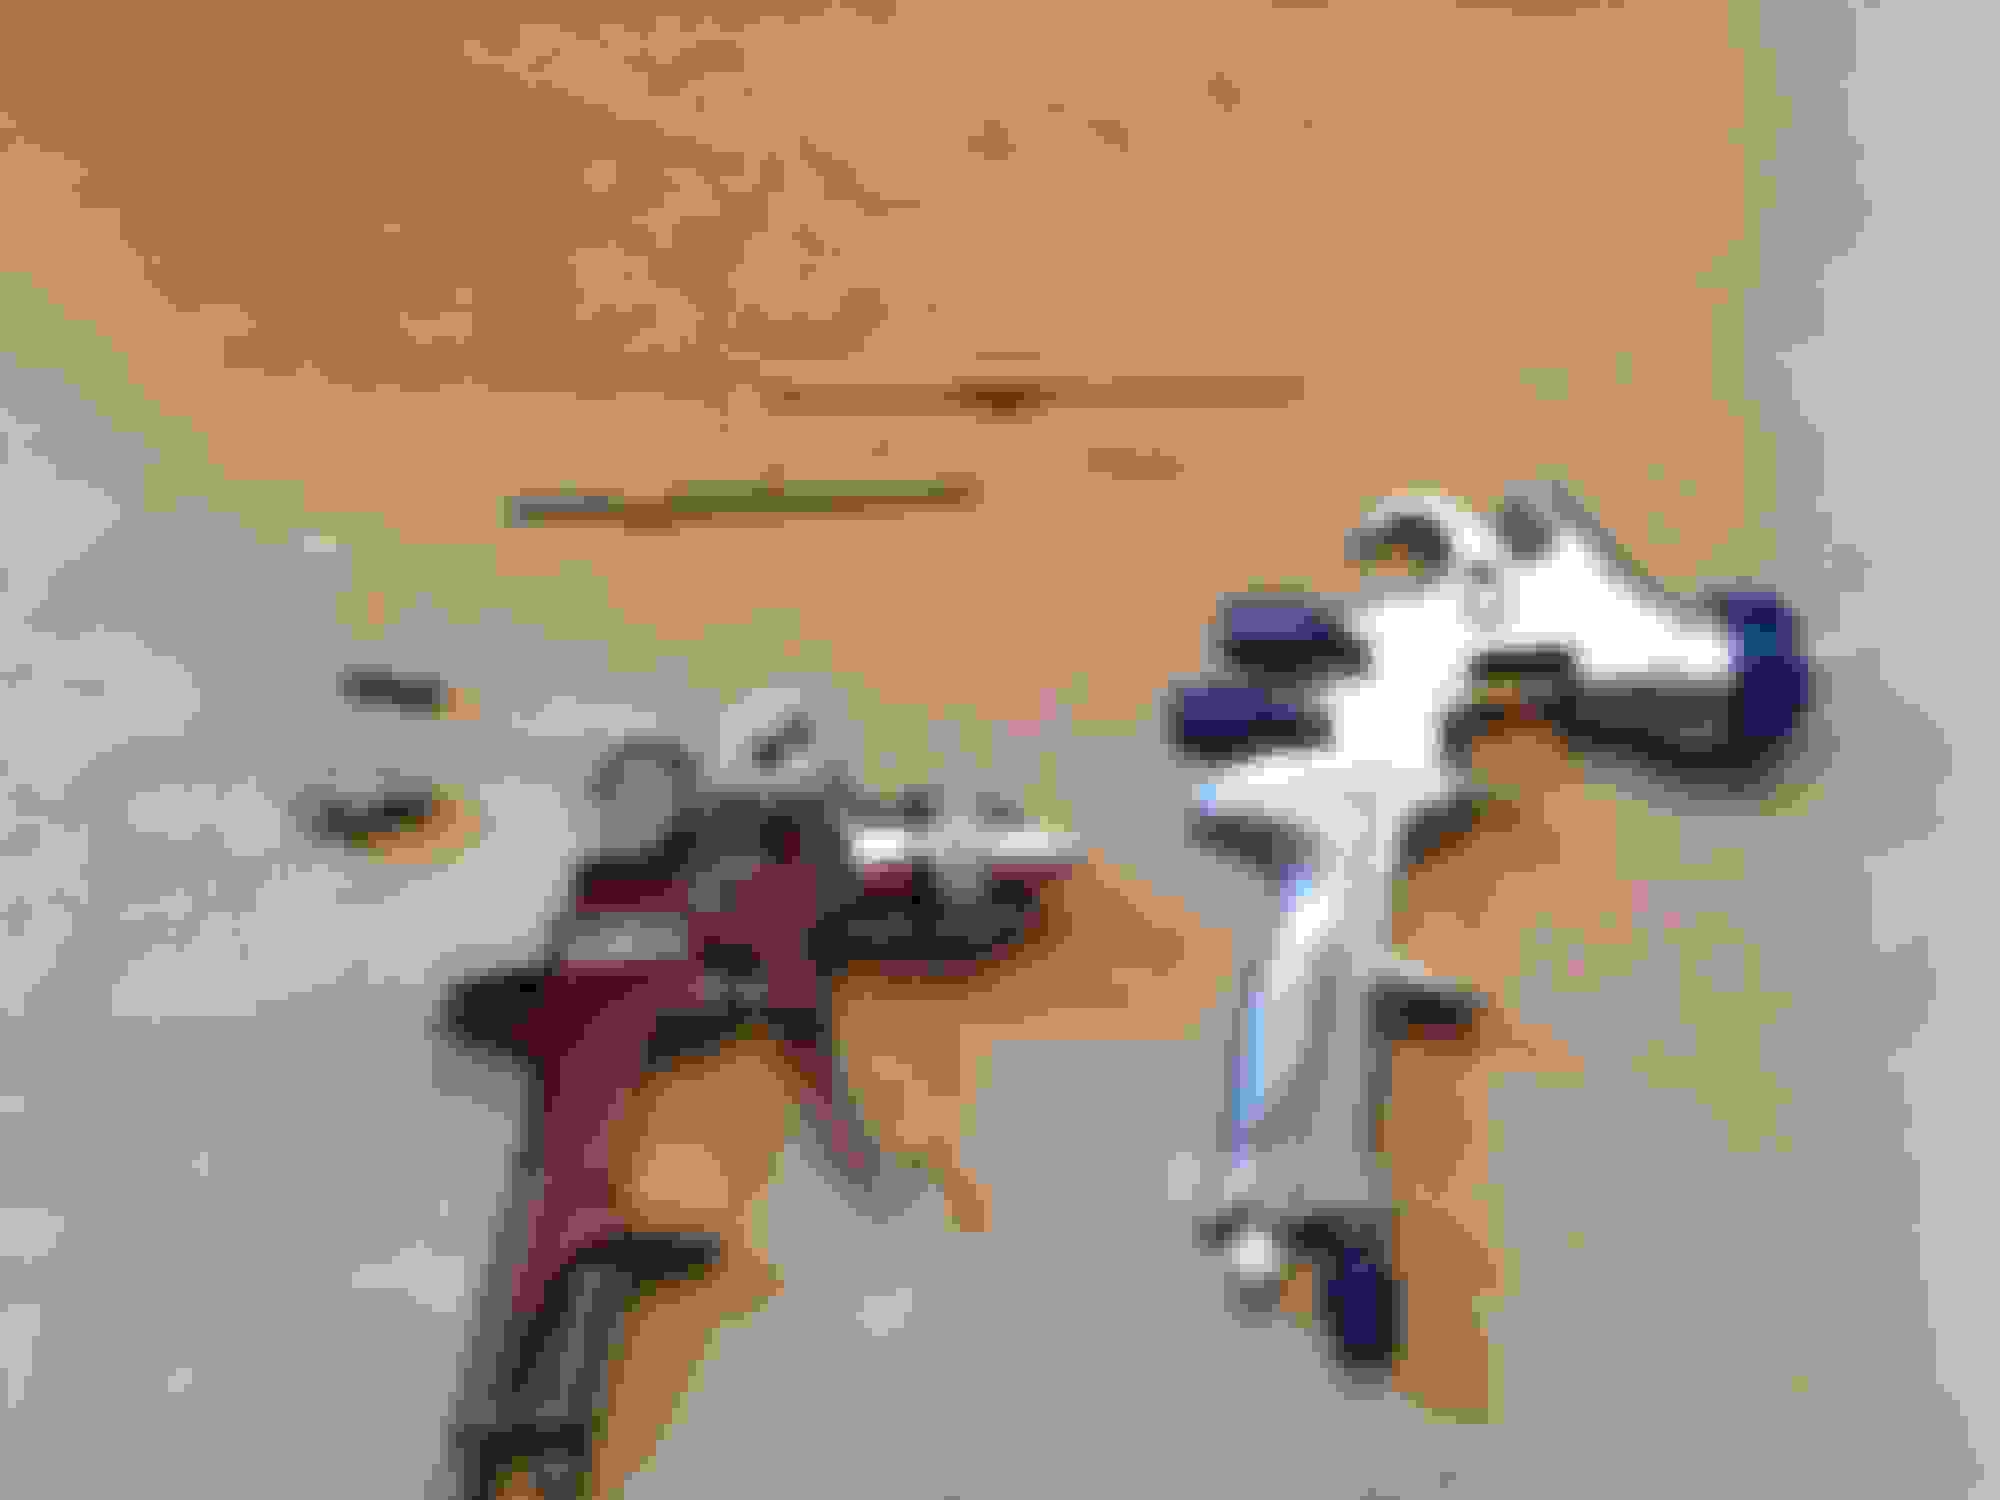
Eastwood is making my life difficult.
After receiving confirmation they were sending me a replacement gun, I was pretty happy. When it arrived Tuesday i was bewildered.
The gun they sent, supposedly to swap for mine, was not the same model. In fact, it was a much cheaper model. I considered taking the part i need from it and sending the gun back, but the parts were incompatible with mine. So I took photos, marked them up and sent them another email. The gun on the right is mine. Left is the "replacement".
Since the parts were incompatible, I would be at a net loss to keep this gun. The 1.7 tip kit that came with mine would be of no use. I had discovered on their website that they offer a rebuild kit for my gun and it contains the part I need. I had asked them to send that but the gun replacement plan was already under way.
I got no response to my email and photos yesterday so today I called and asked for the lady I had been emailing with and now she claims to be sending me the rebuild kit for the gun and expediting the shipping. I'll believe it when I have a tracking number. But basically, if I get it tomorrow, I can paint on the weekend.
Cool!
Do you have a couple of photos of the repaired quarter panels with primer?
not yet, I haven�t gotten to the quarters yet.
Because I stopped with the spray gun problem and then went on a family vacation, I will have to wet sand the doors and paint another coat of white before shooting the clear so I will prepare to paint the doors, tailgate and roof and door jambs at the same time, I think.
The passengers quarter still needs welding in the patch and filler. The drivers quarter needs very minor filler, mostly sanding before primer.
the weather here is supposed to be perfect all weekend so if I start Friday night after work I should be able to get a lot done.
Major progress over the weekend. Got the rebuild kit for my spray gun from Eastwood and sprayed doors, roof, tailgate, doorjambs and tailgate jambs.
All that is left is to finish the patch panel on the passenger side quarter and minor bodywork on the driver’s side. Then primer, sand, color and clear those.
then reassembly will begin!
cant attach photos from this iPad for some reason but will post some tomorrow.

 Jun 30, 2018 | 06:11 PM