MaltDisney's '86 4Runner brought back to life
 12-19-2013, 05:57 PM
#41
Registered User
Thread Starter
time for new seats
Got the important seat in this evening. 2nd gen sr5 seat, one of the most comfortable car seats I've ever sat in.
The spring underneath that connects the rails for moving the seat had gotten too stretched to let you slide forwards or back, so I improvised.
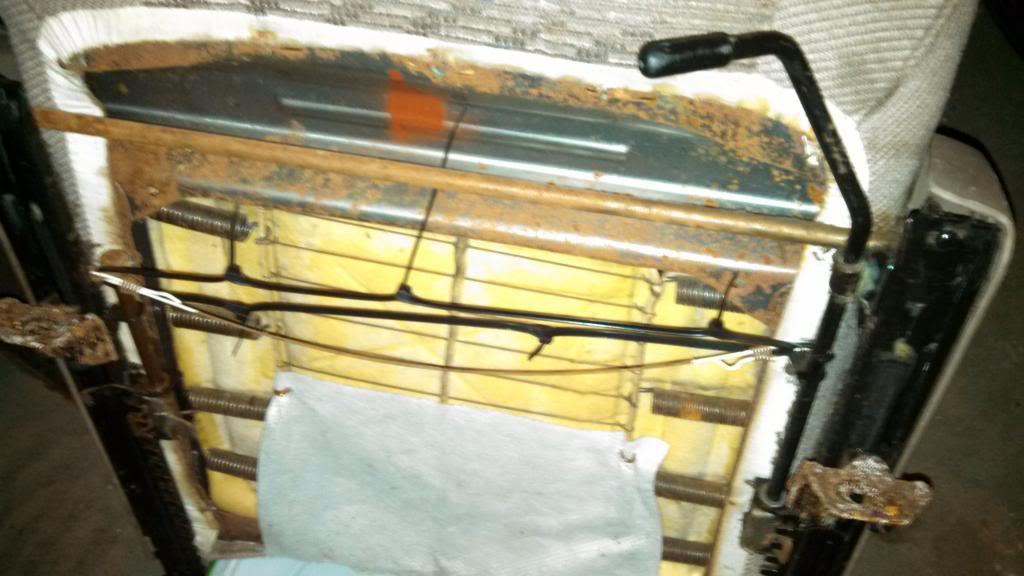
I just used a few zip ties and that seems to be doing the trick for now. This guy [http://forum.ih8mud.com/79-95-toyota...-4runner.html] found a part number for this spring to order it from the dealership but all he said was <$40.. zip ties = ~10 cents? - works just as well and no one can even see it.
Here's roughly how much I had to modify the bracket to make it fit (I actually had to do a little bit more metal removal), but this should give you an idea.
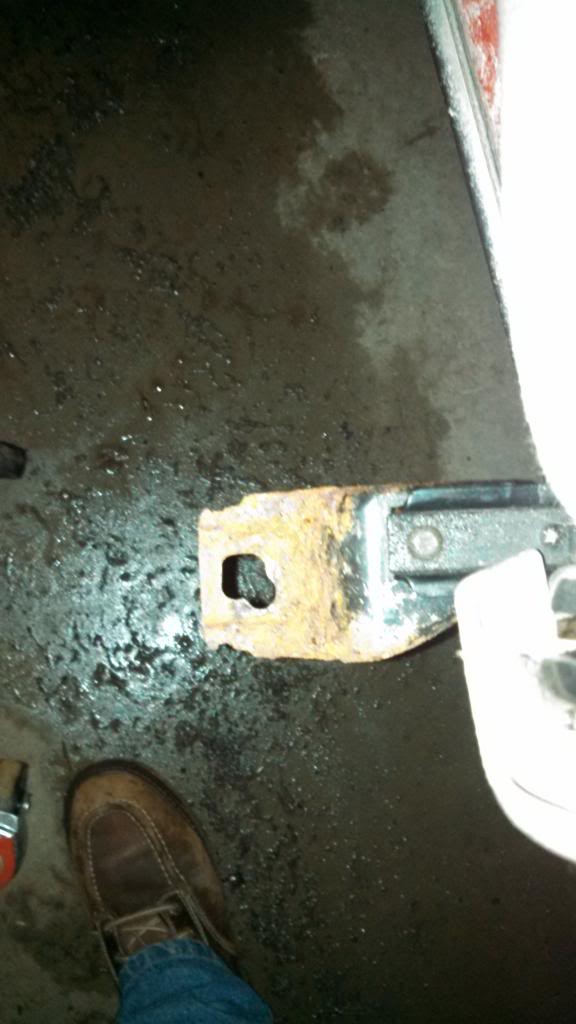
I did this for both holes on the rail closest to the center console.
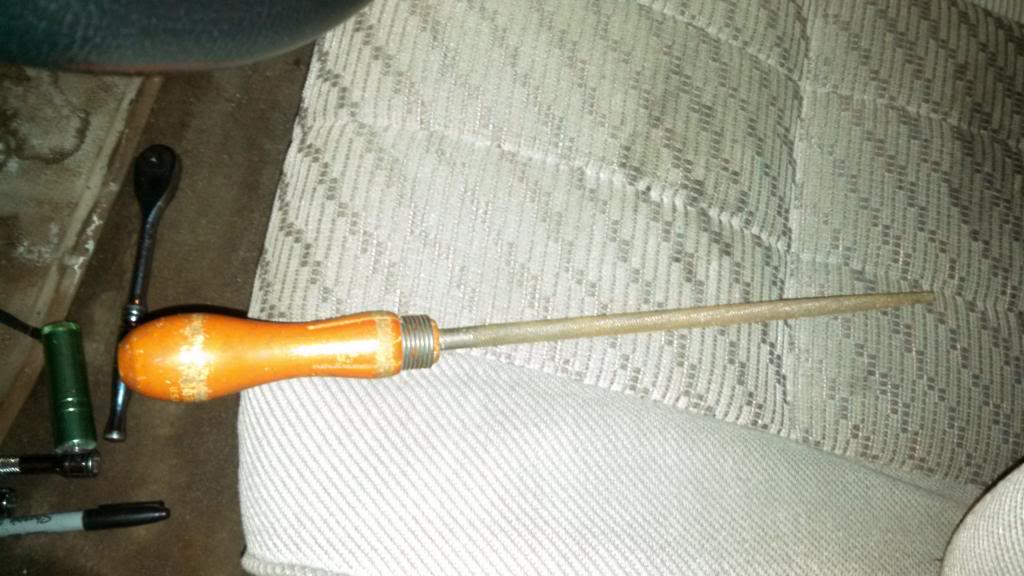
This was the key tool for me:
 01-27-2014, 04:46 PM
#42
Registered User
Thread Starter
upgrades: some cheap, all good
I've completed a few more upgrades that were very necessary:
gluing the Annoying button down is a great idea. Glad to have 4crawler suggest/test this solution.
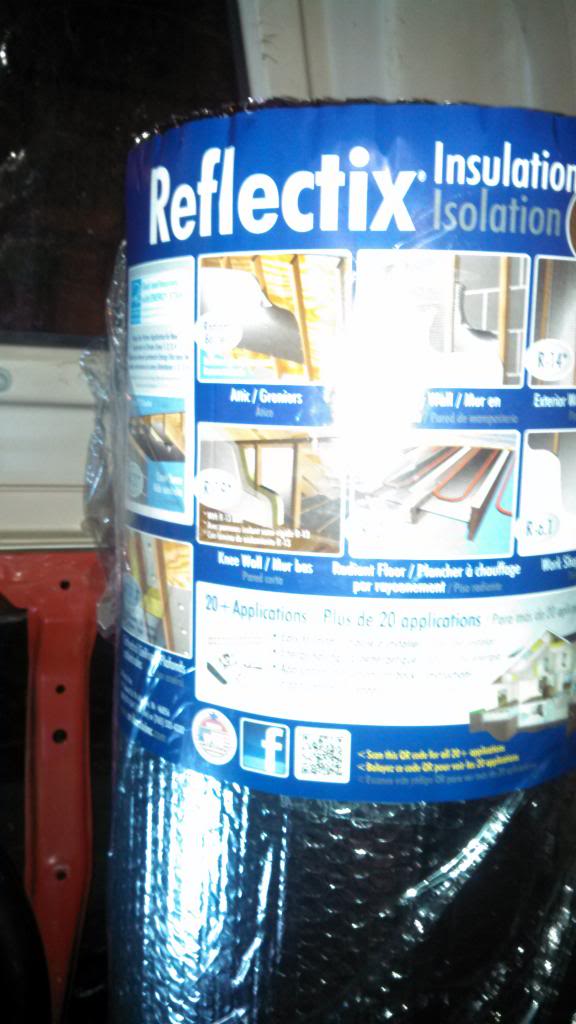
Then I figured with this cold weather, doing some insulation might not be a bad idea. I dont have a lows near me a HD doesnt have a similar replacement, so I bought this stuff for $24. Its like shiny bubble wrap.
Then I took off my side panels and saw this lil guy on the passenger rear side
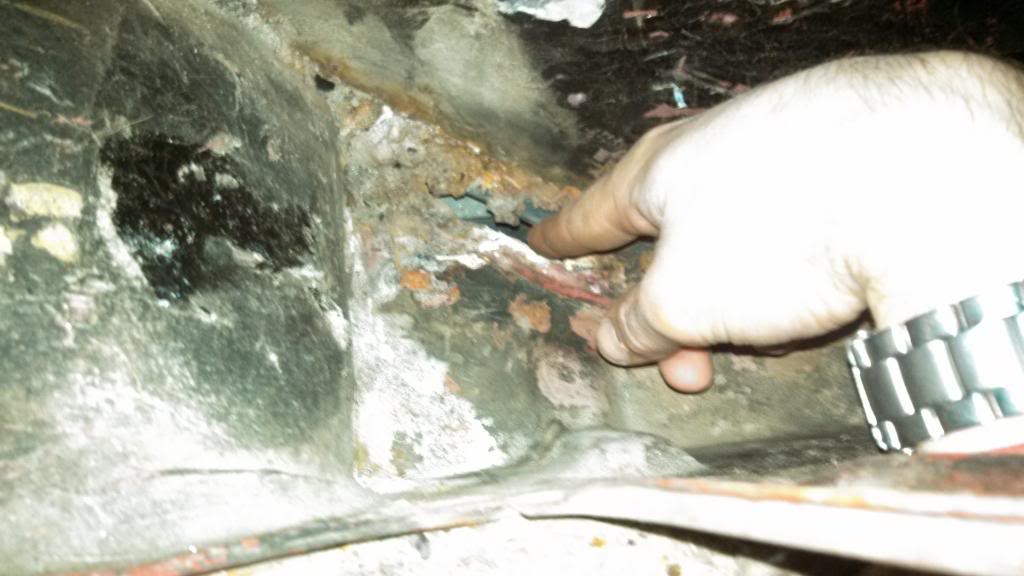
Im just gonna pretend I didny see that for now
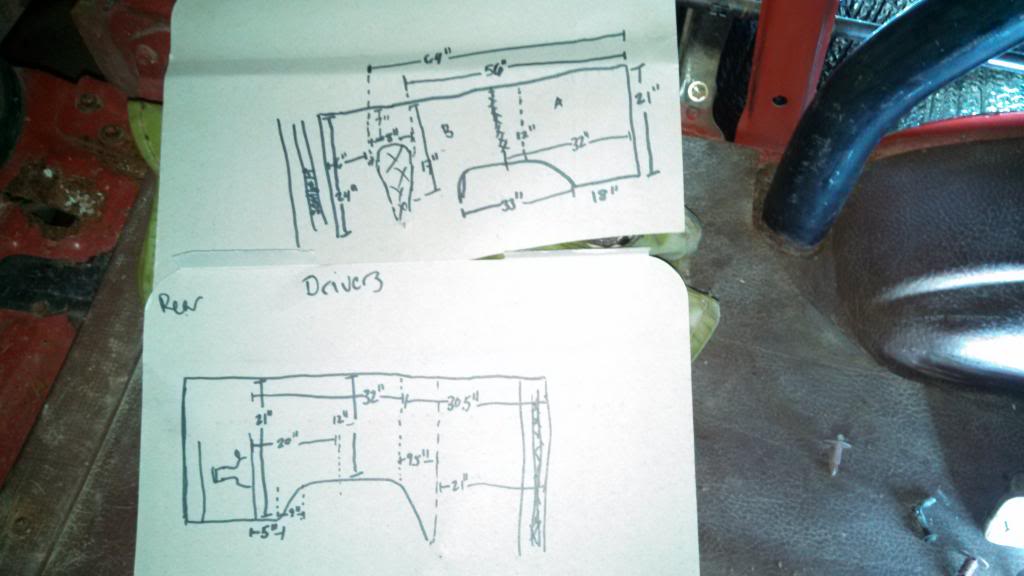
did some measuring
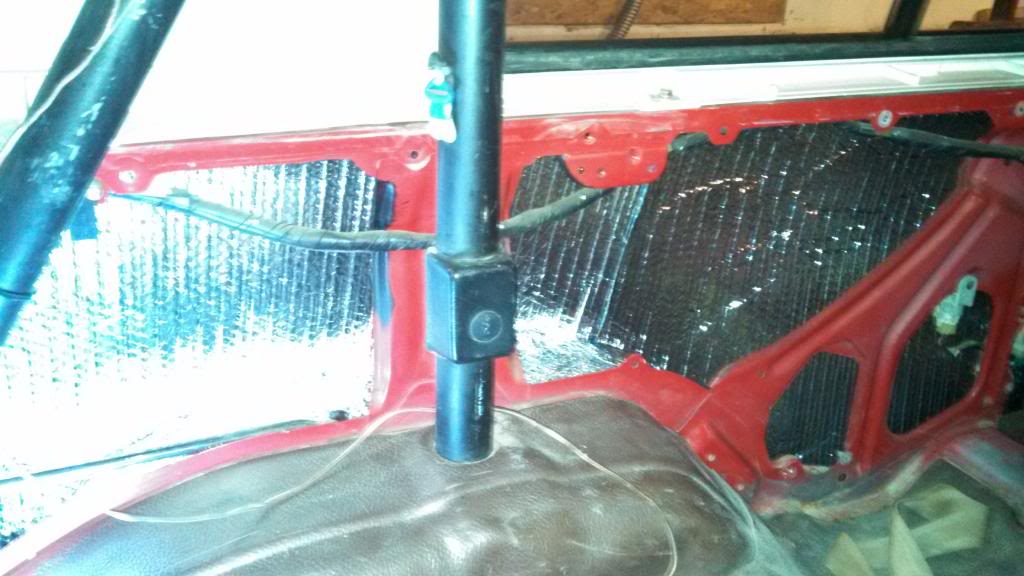
here it with it just shoved in for right now. I plan to glue it in at somepoint.
bare floor with a lil surface rust on th driver side near the flooor tie down. I replaed the rusty tie down with a non-rusty one from my parts car, swept up the bed and called it a day on the cleaning part.

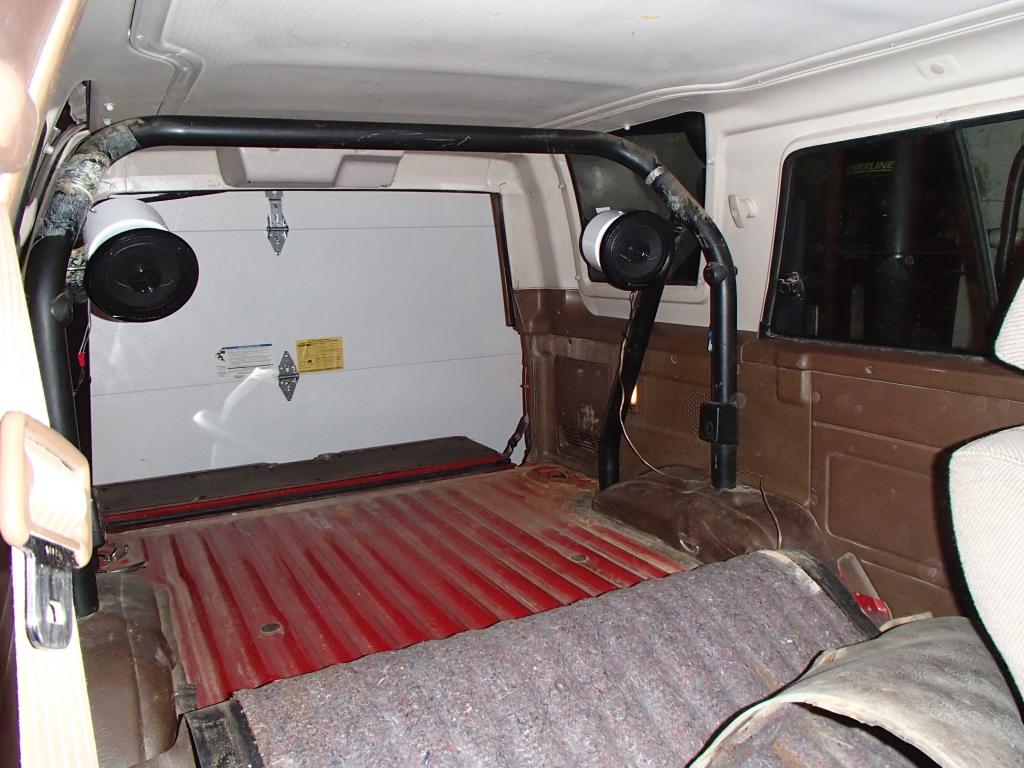
insulated, again not glued down. I also put the mat you see rolled up b/t the insulation and the insulated rubber flooring that I assume came from the factory.

added some roll bar speakers of the exact same type as BBP b/c I'm lazy and it was cheap (also mine don't look quite as good- link to his speaker build. I also plan to have the top off in the summer and I think they look cheap enough that maybe someone wont want to bother trying to take them.
gluing the Annoying button down is a great idea. Glad to have 4crawler suggest/test this solution.
Then I figured with this cold weather, doing some insulation might not be a bad idea. I dont have a lows near me a HD doesnt have a similar replacement, so I bought this stuff for $24. Its like shiny bubble wrap.
Then I took off my side panels and saw this lil guy on the passenger rear side
Im just gonna pretend I didny see that for now
did some measuring
here it with it just shoved in for right now. I plan to glue it in at somepoint.
bare floor with a lil surface rust on th driver side near the flooor tie down. I replaed the rusty tie down with a non-rusty one from my parts car, swept up the bed and called it a day on the cleaning part.
insulated, again not glued down. I also put the mat you see rolled up b/t the insulation and the insulated rubber flooring that I assume came from the factory.
added some roll bar speakers of the exact same type as BBP b/c I'm lazy and it was cheap (also mine don't look quite as good- link to his speaker build. I also plan to have the top off in the summer and I think they look cheap enough that maybe someone wont want to bother trying to take them.
05-06-2014, 06:30 PM
#43
Registered User
Thread Starter
One Hell of an Update
I havent updated at all recently so I've got good chunk of updates for anyone that my accidentally start reading this thread. I'll make up for my absence with some pictures
Back at the end of January I managed to install one of these to put some bump in the trunk
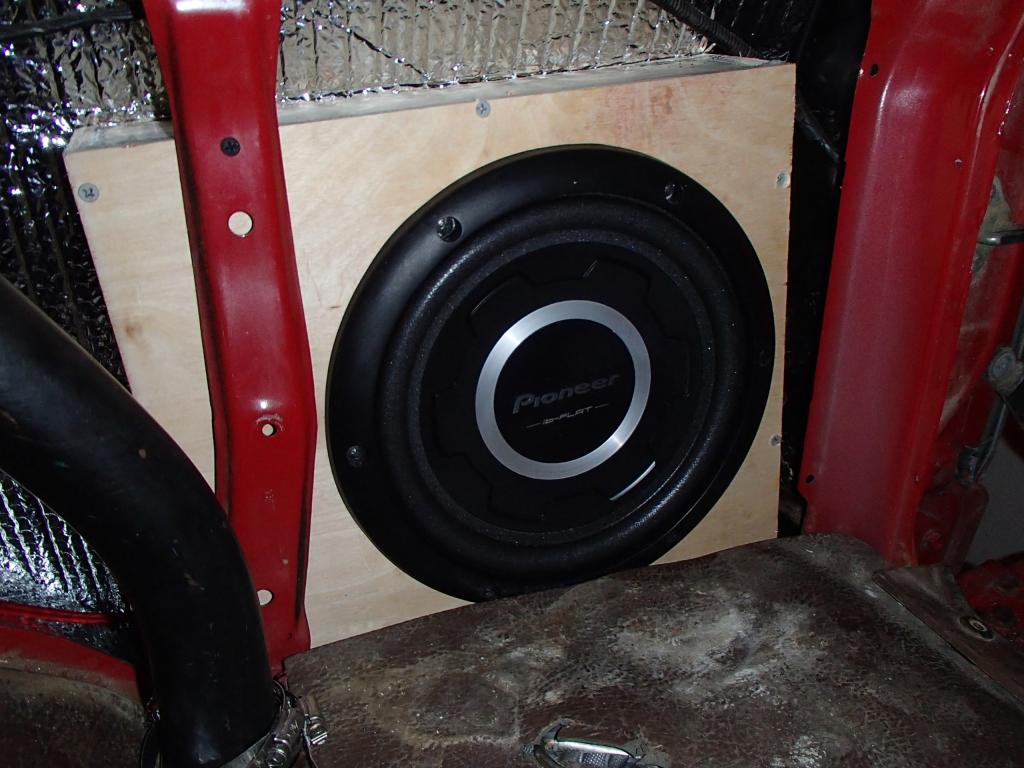
it took me way too much time fiddling with a cardboard template trying to see how big of a box I could fit in this limited space. The sub is supposed to have a 0.35 cuft. sealed box min. I got aroun 0.29 cuft. I think. In any case its only a 3" deep sub and I dont think I really could've got a larger box in there. As it is I had to attach the cover once the rest was slid in. I used 0.5" birch plywood to get as much internal volume as possible.
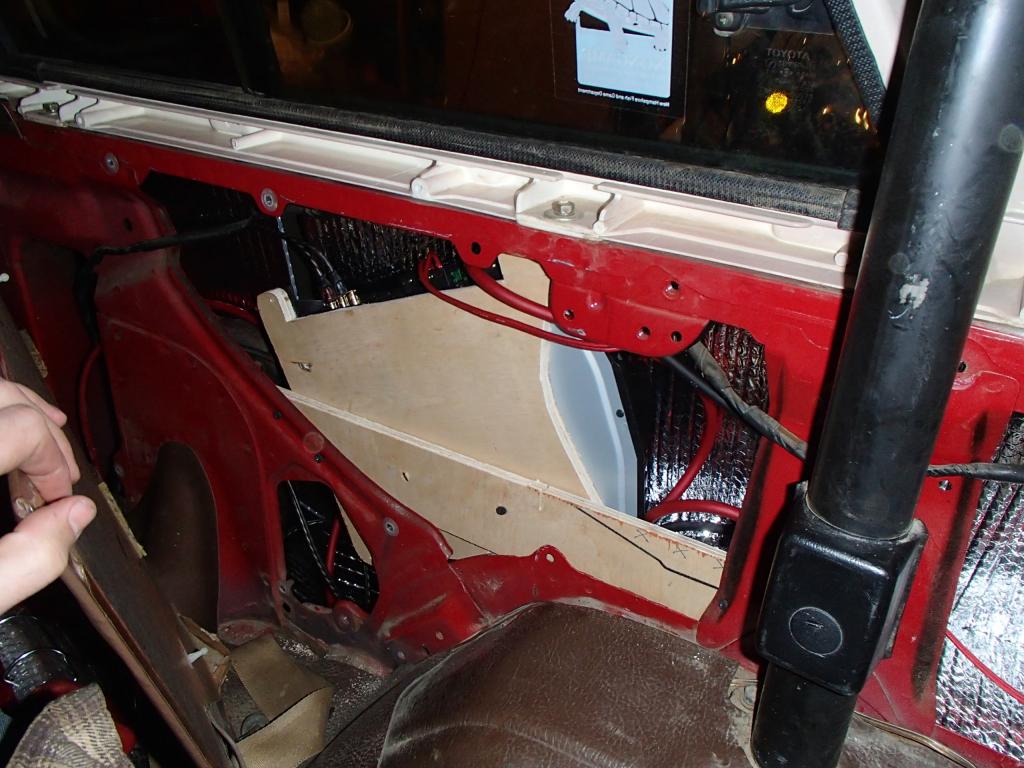
Here's the amps location:
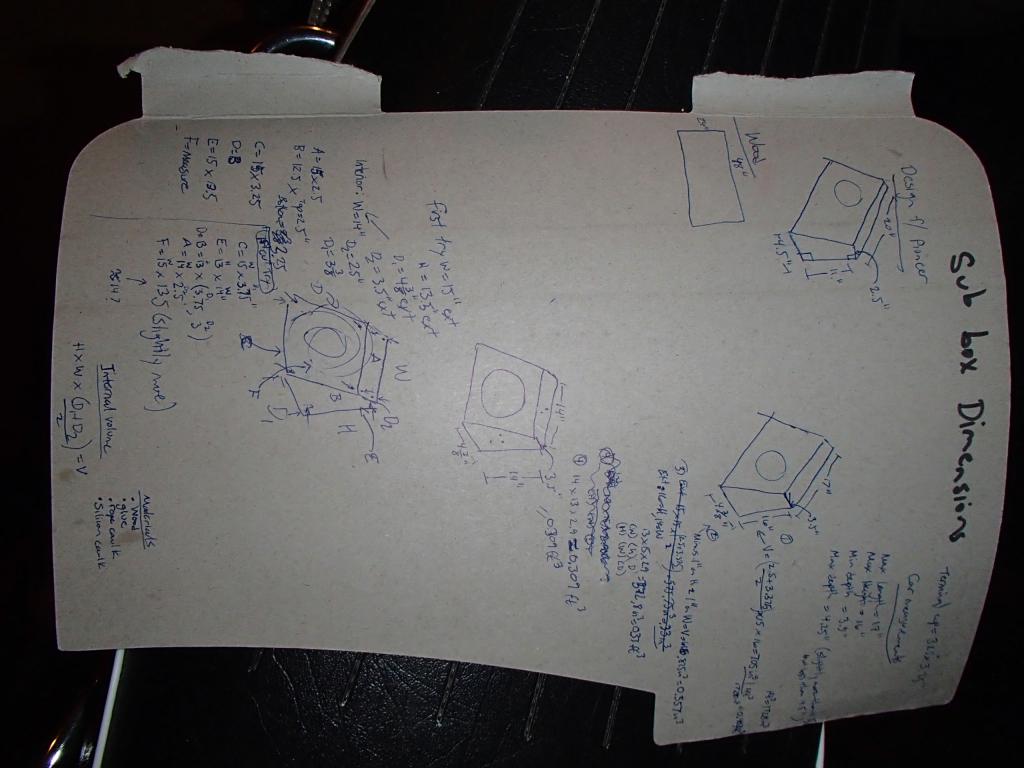
Heres a shot of my dimension sketches
sub exposed
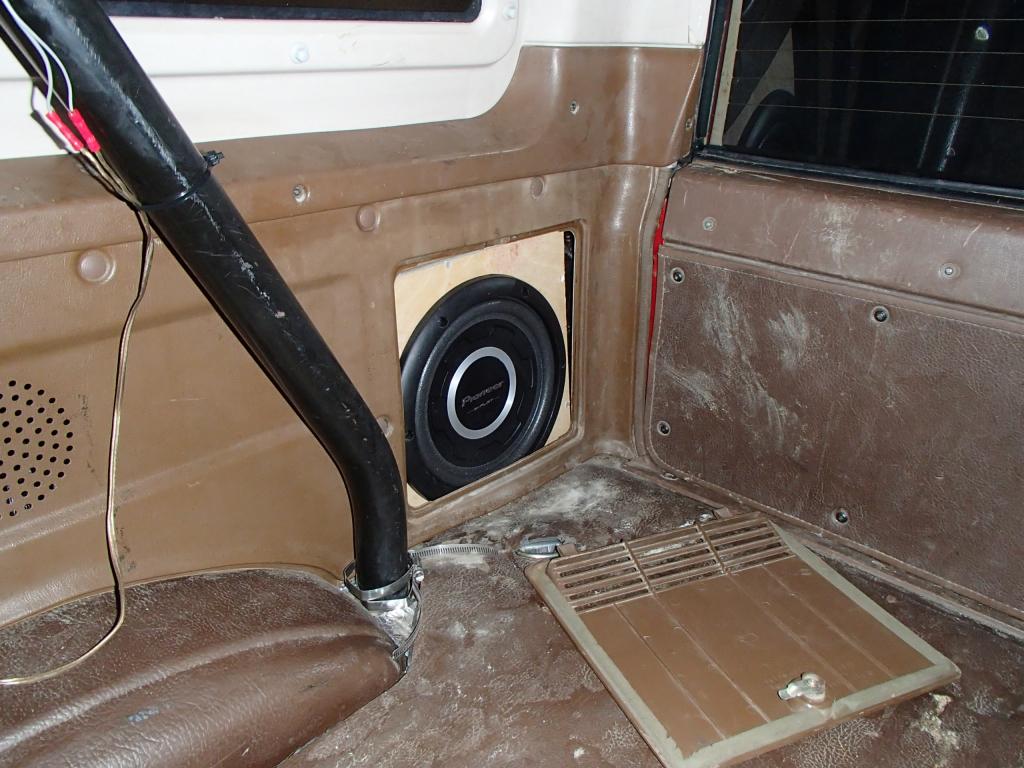
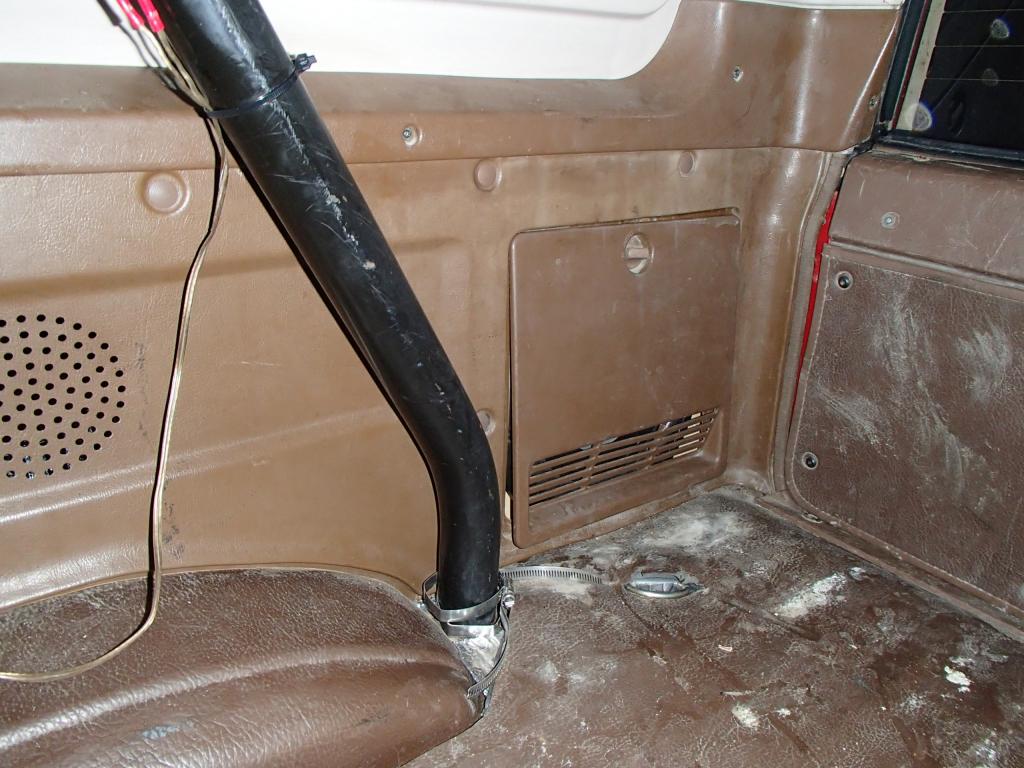
and covered. I still need to trim the vent part of the door so that the hinge at the bottom will work.
power
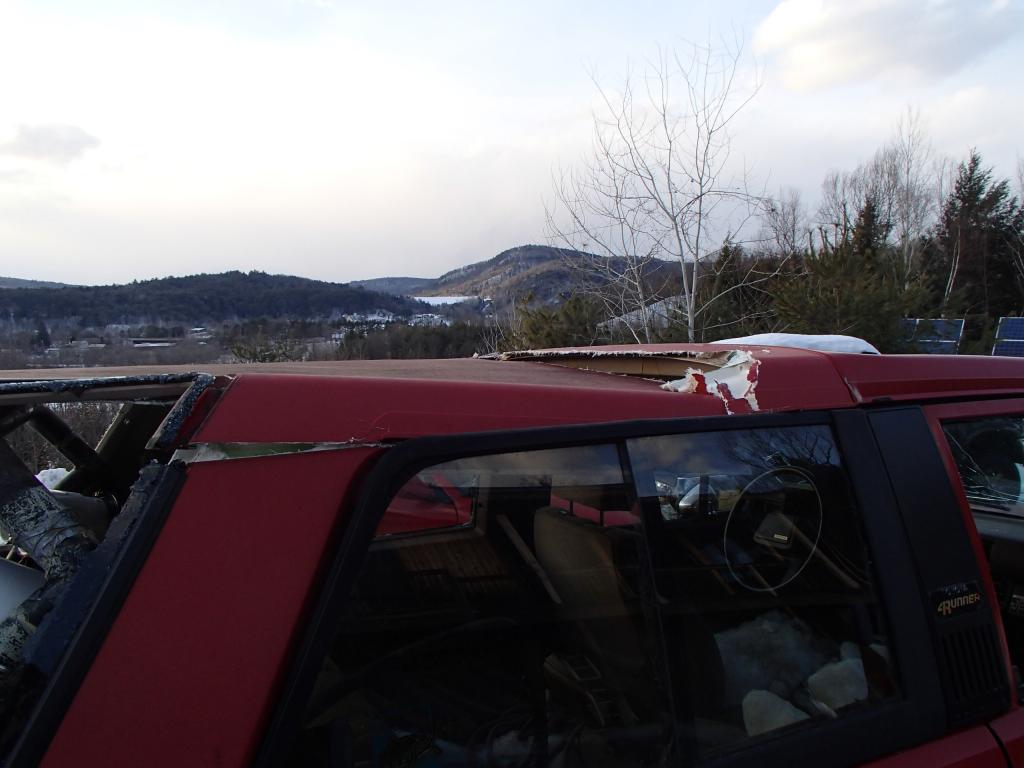
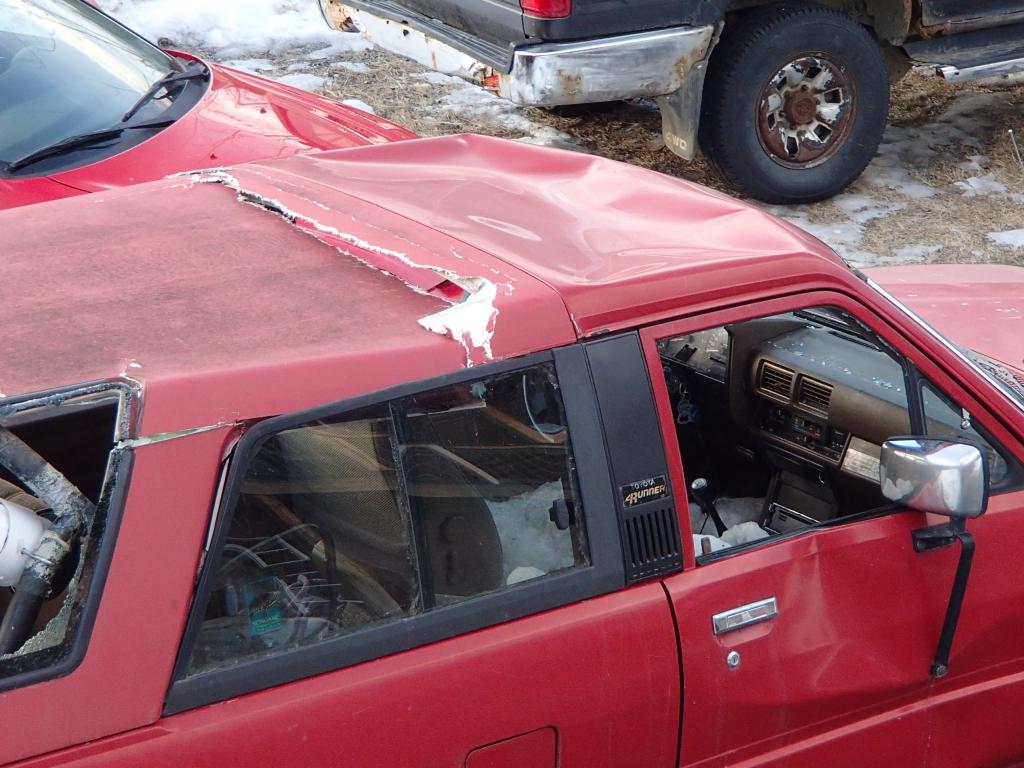
Then, towards the end of February, I fought with some black ice and pavement, and the pavement and black ice won. I was OK but the runner took away some scars.
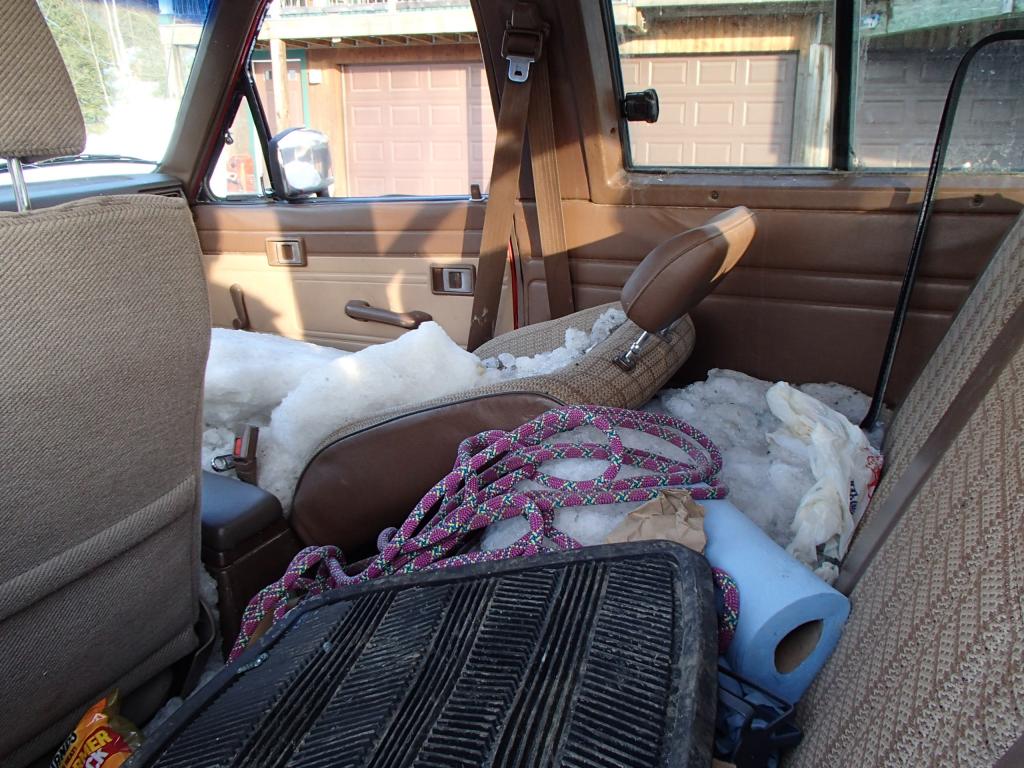
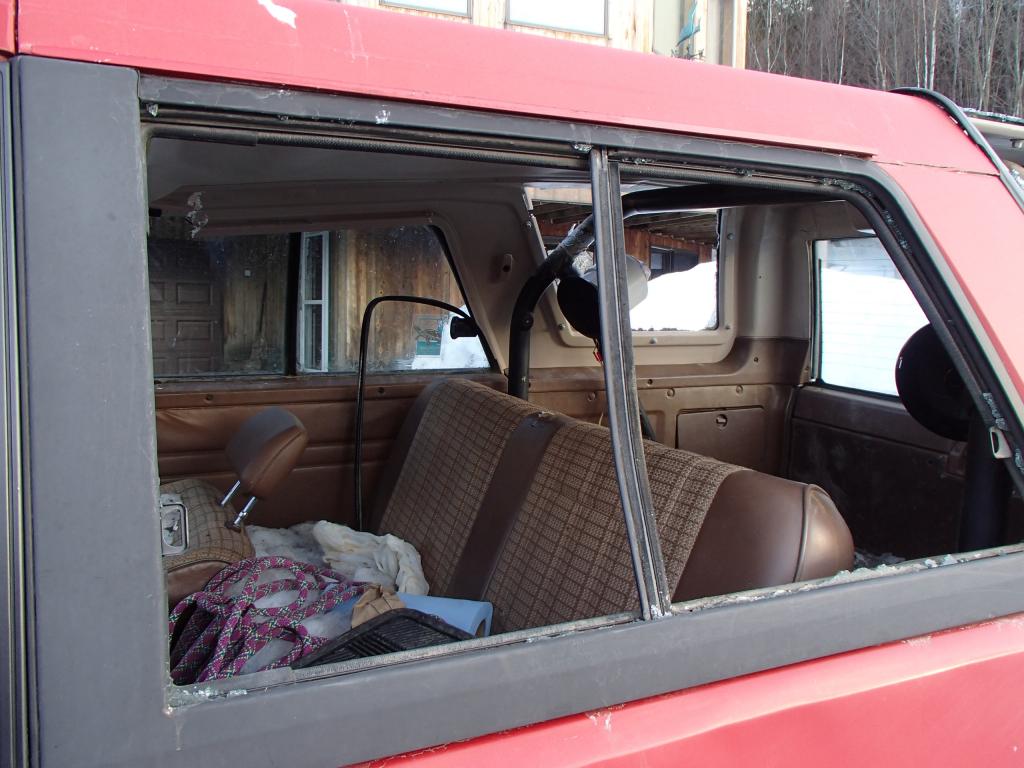
I had to get it towed back to my house. Somehow the tailgate window didn't break.
People asked me if I would be fixing it after this. The answer seemed pretty obvious to me. I was even asked why I would bother trying to fix this. That had me a bit
time to get to work again...
There are some good things in this tho, mainly, at least I didn't get injured.
and the top is removable, so I can take care of a bunch of the damage just by getting rid of that. Some pre-existing rust got exposed by the rollover
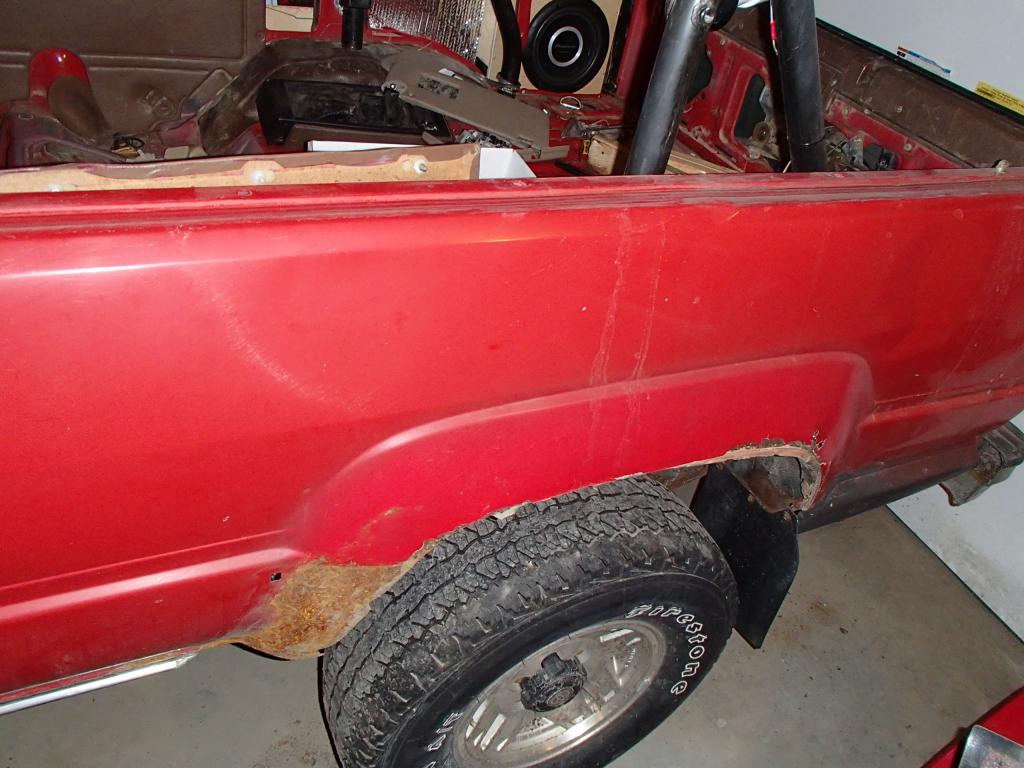
and some was visible before the accident, like these spots on the drivers rear side
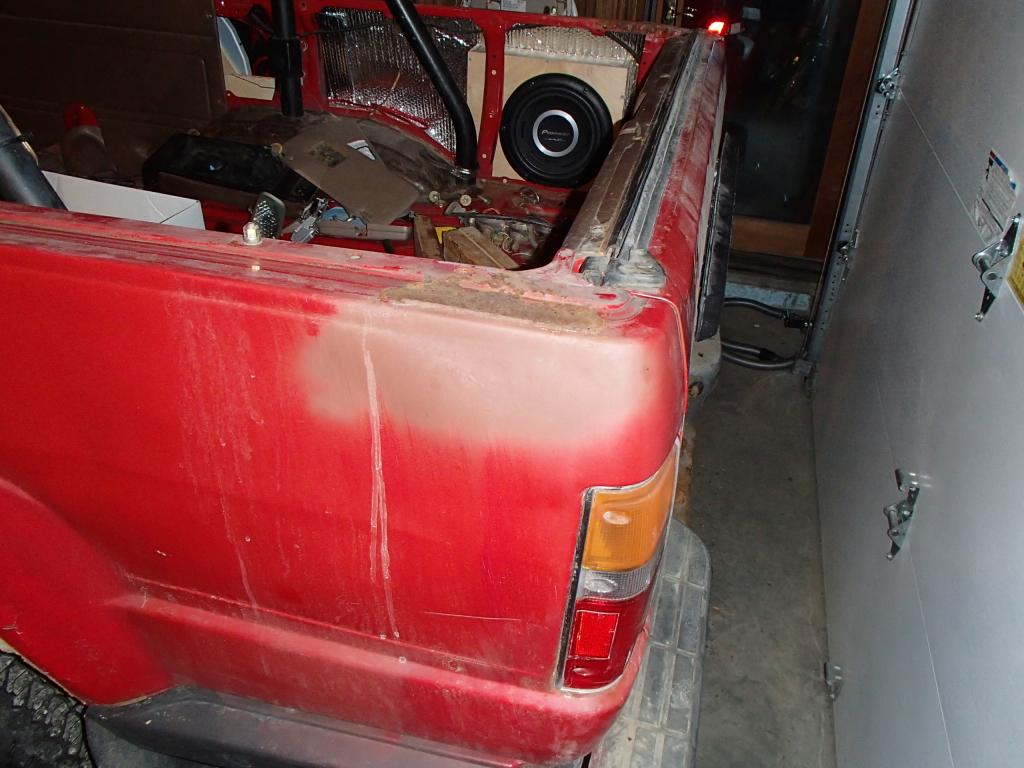
(see the left side of the following pic)
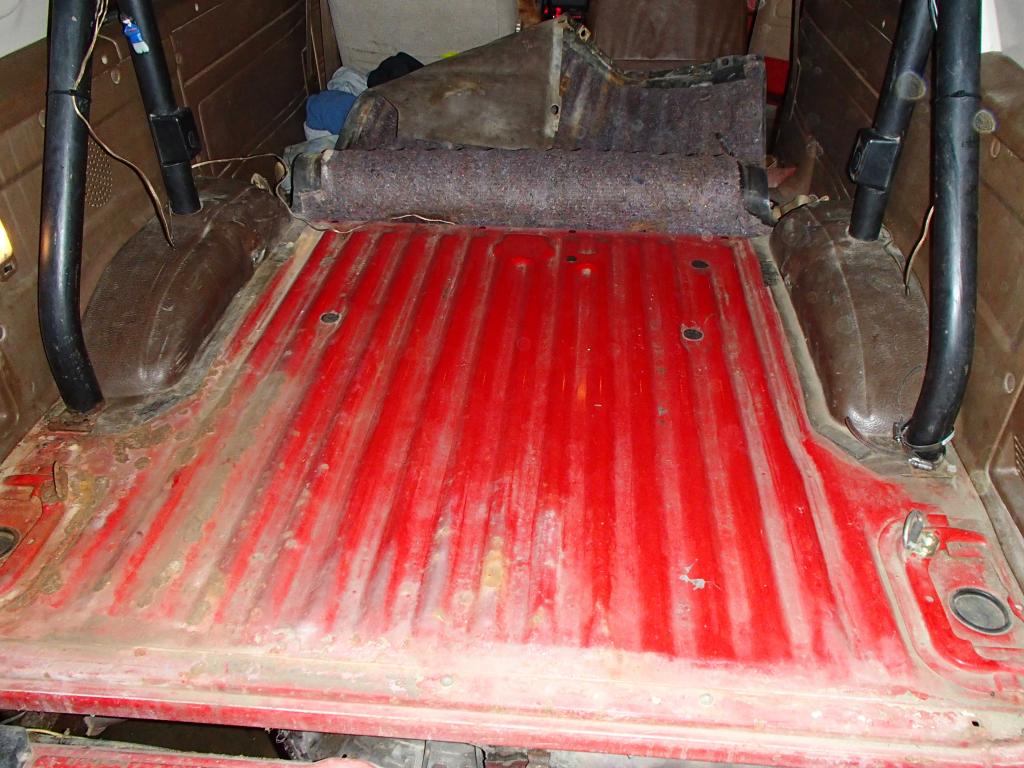
so I had to remove all of the carpeting because there was a lot of moisture trapped in and under it from all of the melted snow from the accident. Also, there was a bunch of glass.
Then I figured I might as well do some bedliner while I had the carpet out. I started by removing the tar sound-deadener.

I used dry ice to help get up most of the biggest pieces (much easier than If I hadn't found out about it).
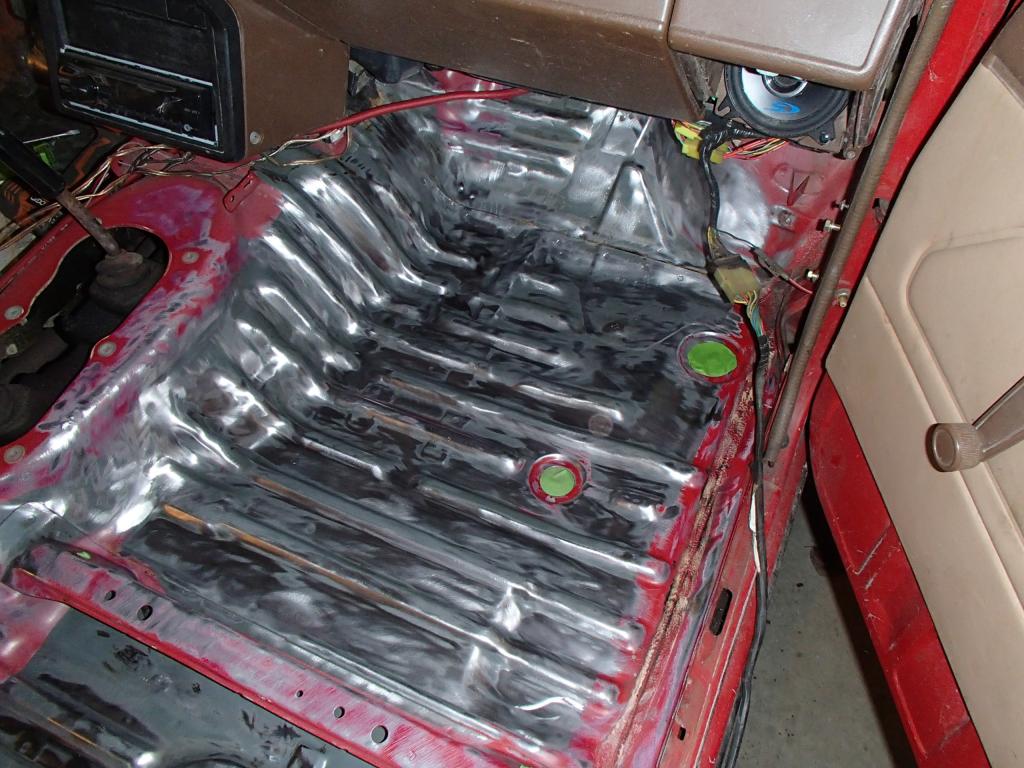
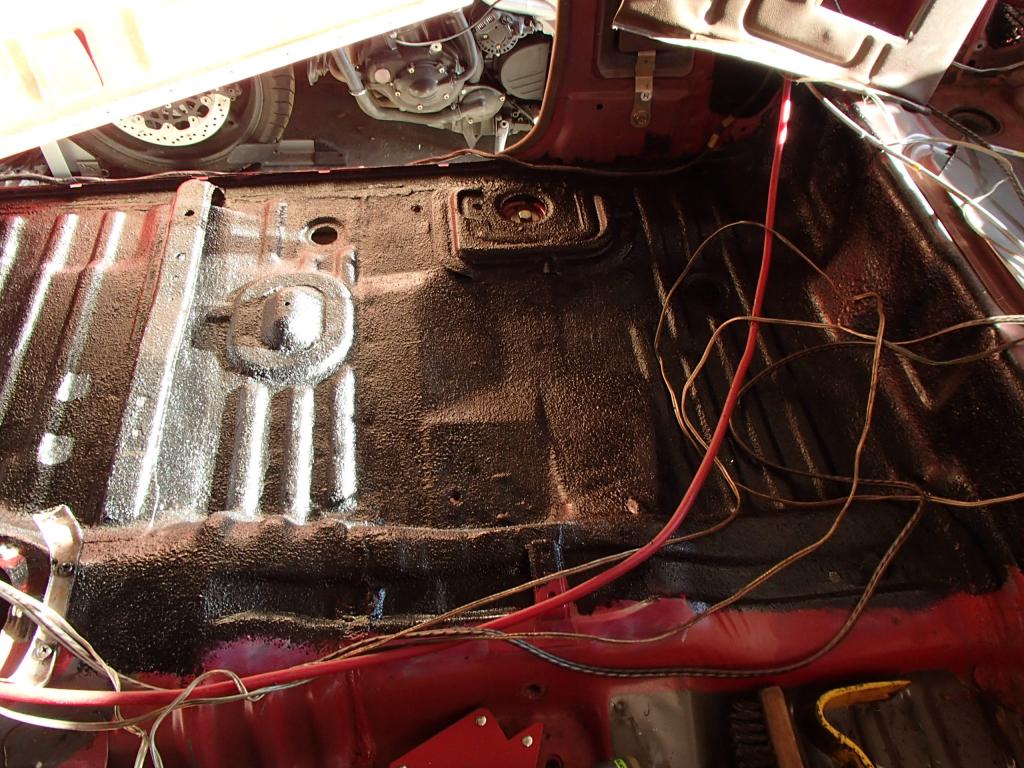
Next I moved on to fixing the small rust spots that were festering under the tar. The only 2 big spots were under the drivers side feet. I cut out larger than the rust and did a roughhh job of cutting out pieces of 16ga metal to replace the cutouts. Lets just say I did manage to get a few real spot welds, then theres some jb..bondo cough cough
moving on. heres a couple shots of prepping the passengers footwell for herculiner
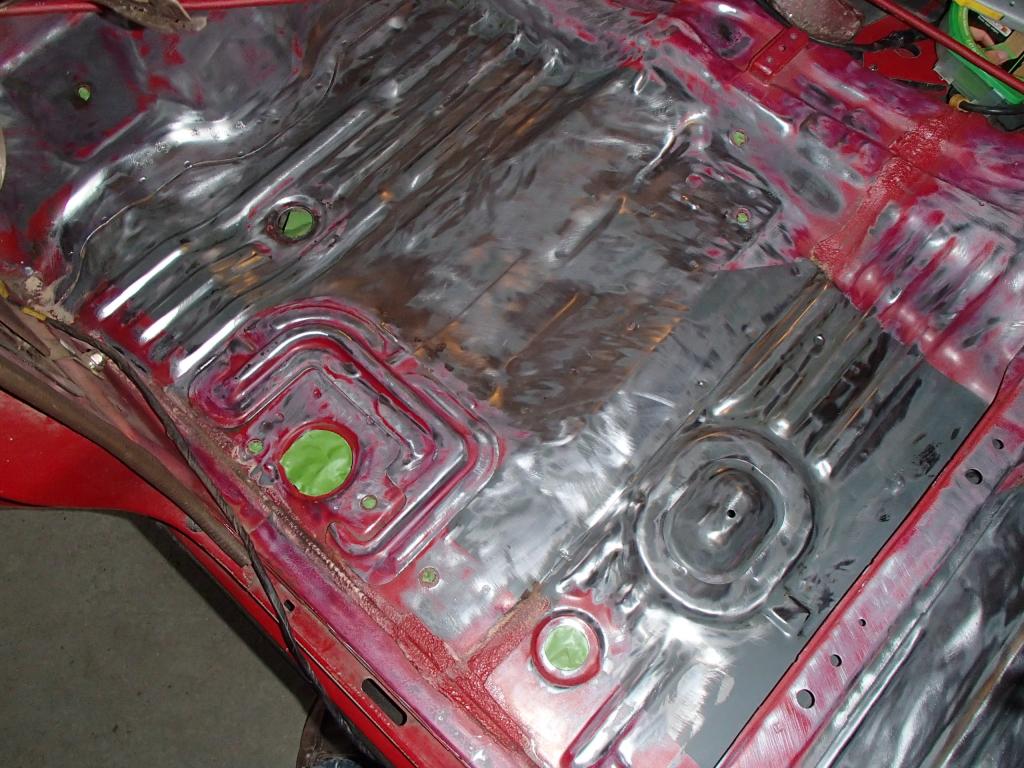
Then a couple after I did 2 coats of herculiner (with some good time spent touching up after the 2nd coat)
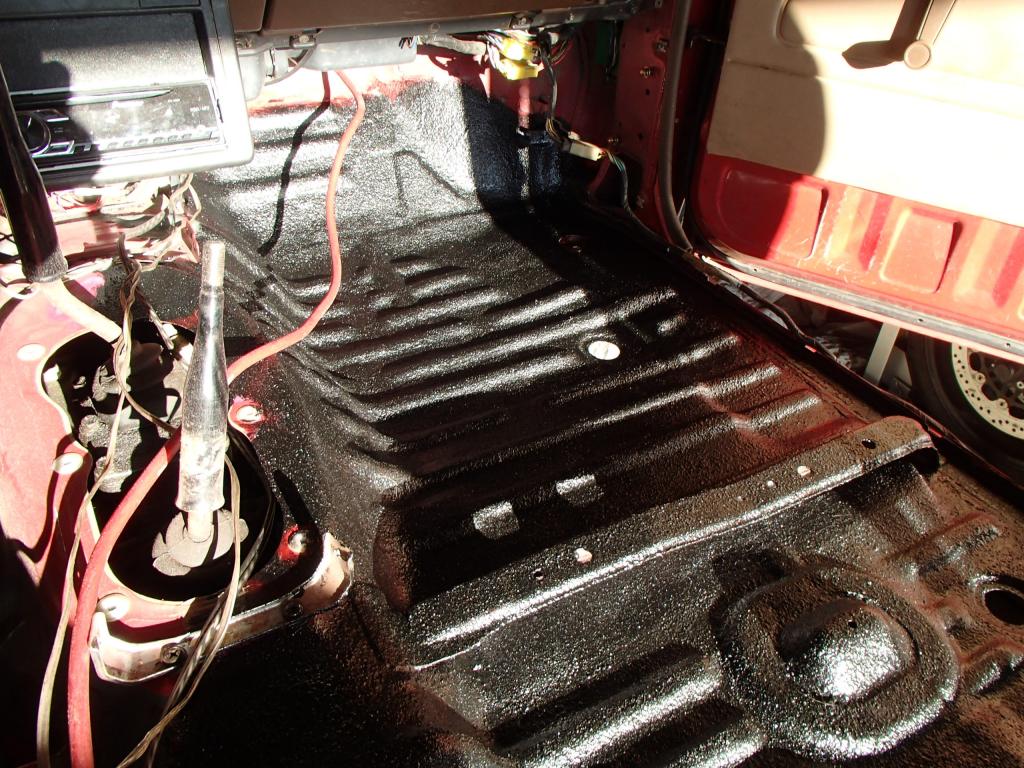
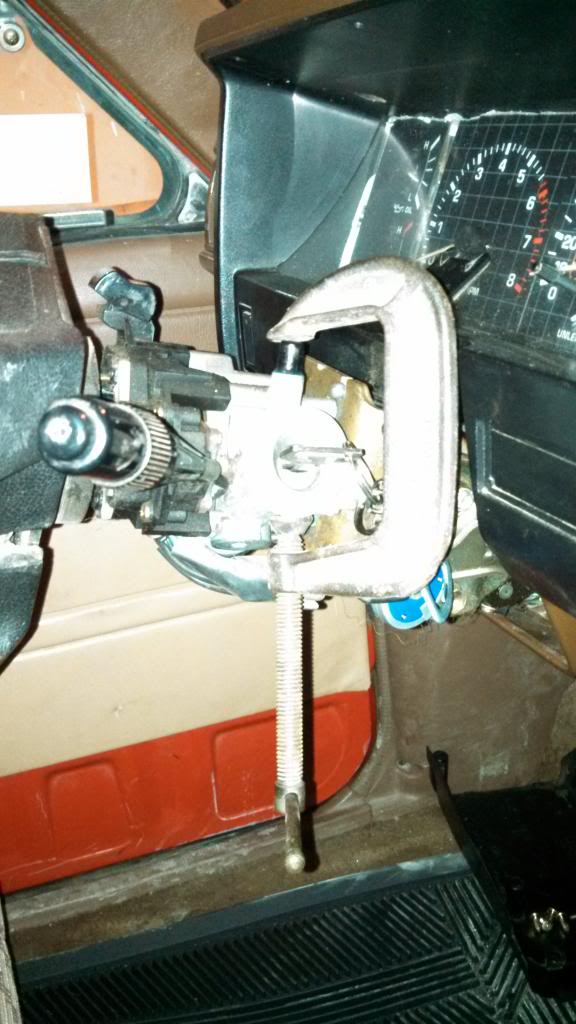
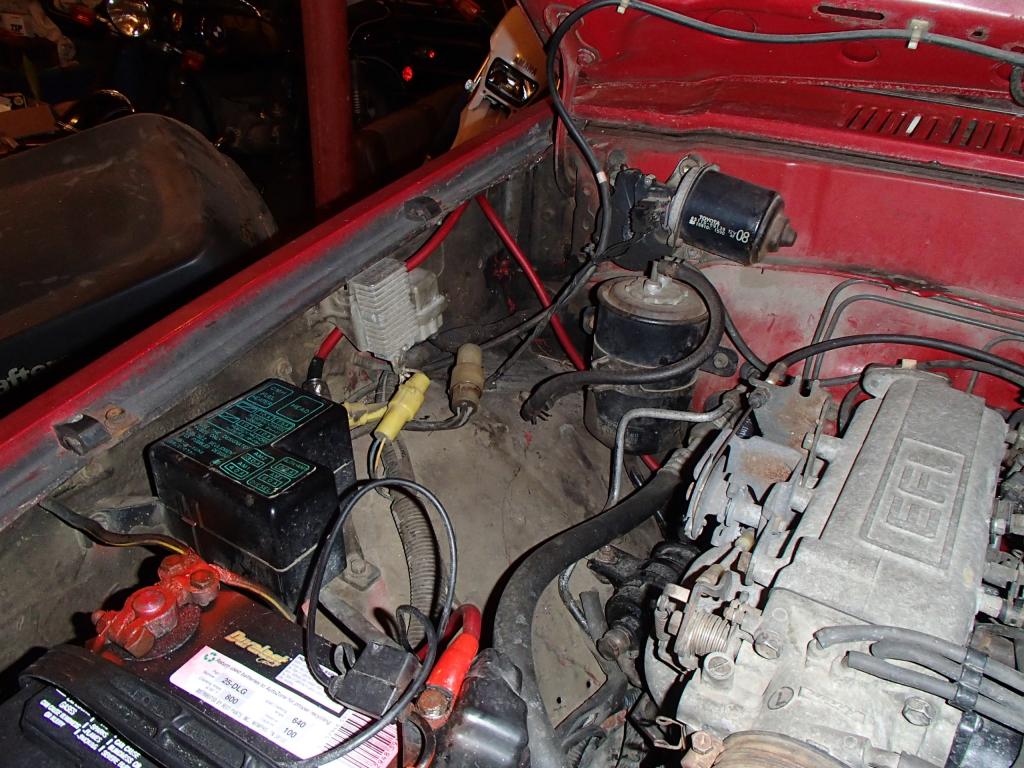
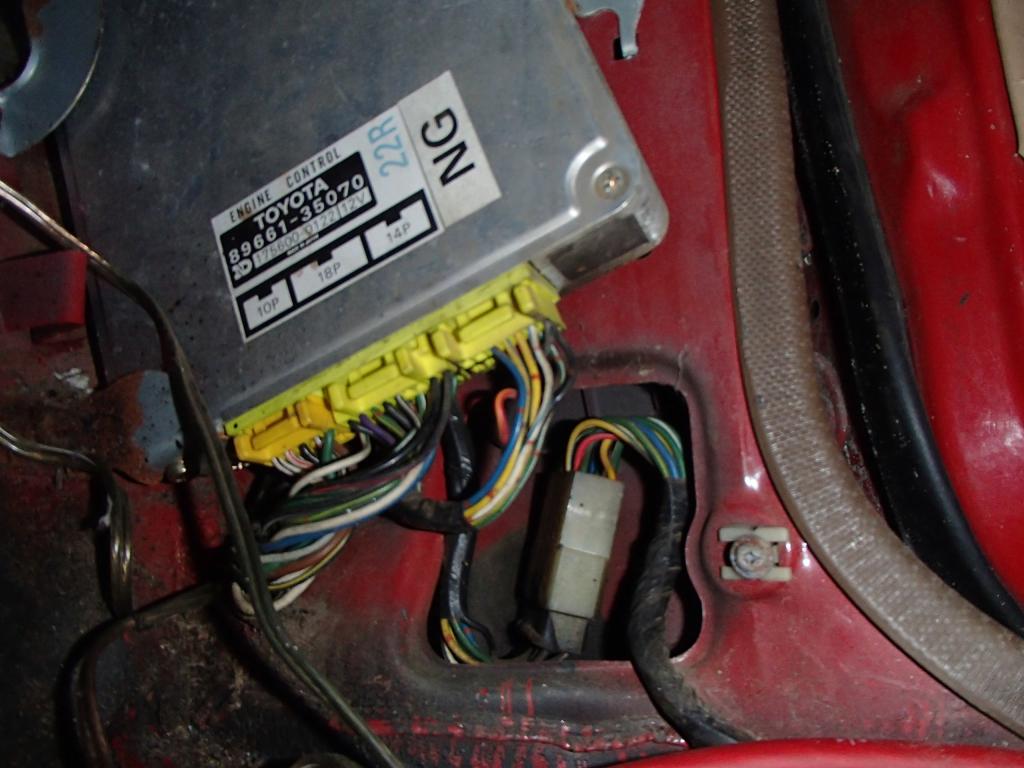
One other thing I almost forgot that I've done since feb is I decided it would be a good idea to relocate the computer basically just how Roger Brown at 4crawler.com did.
Heres a shot of it pre-relocation. Note the rust trying to surround it.
Hopefully I'll be able to finish herculining it this weekend, and then I'll be able to get the interior back in.
Back at the end of January I managed to install one of these to put some bump in the trunk
it took me way too much time fiddling with a cardboard template trying to see how big of a box I could fit in this limited space. The sub is supposed to have a 0.35 cuft. sealed box min. I got aroun 0.29 cuft. I think. In any case its only a 3" deep sub and I dont think I really could've got a larger box in there. As it is I had to attach the cover once the rest was slid in. I used 0.5" birch plywood to get as much internal volume as possible.
Here's the amps location:
Heres a shot of my dimension sketches
sub exposed
and covered. I still need to trim the vent part of the door so that the hinge at the bottom will work.
power
Then, towards the end of February, I fought with some black ice and pavement, and the pavement and black ice won. I was OK but the runner took away some scars.
I had to get it towed back to my house. Somehow the tailgate window didn't break.
People asked me if I would be fixing it after this. The answer seemed pretty obvious to me. I was even asked why I would bother trying to fix this. That had me a bit
time to get to work again...
There are some good things in this tho, mainly, at least I didn't get injured.
and the top is removable, so I can take care of a bunch of the damage just by getting rid of that. Some pre-existing rust got exposed by the rollover
and some was visible before the accident, like these spots on the drivers rear side
(see the left side of the following pic)
so I had to remove all of the carpeting because there was a lot of moisture trapped in and under it from all of the melted snow from the accident. Also, there was a bunch of glass.
Then I figured I might as well do some bedliner while I had the carpet out. I started by removing the tar sound-deadener.
I used dry ice to help get up most of the biggest pieces (much easier than If I hadn't found out about it).
Next I moved on to fixing the small rust spots that were festering under the tar. The only 2 big spots were under the drivers side feet. I cut out larger than the rust and did a roughhh job of cutting out pieces of 16ga metal to replace the cutouts. Lets just say I did manage to get a few real spot welds, then theres some jb..bondo cough cough
moving on. heres a couple shots of prepping the passengers footwell for herculiner
Then a couple after I did 2 coats of herculiner (with some good time spent touching up after the 2nd coat)
One other thing I almost forgot that I've done since feb is I decided it would be a good idea to relocate the computer basically just how Roger Brown at 4crawler.com did.
Heres a shot of it pre-relocation. Note the rust trying to surround it.
Hopefully I'll be able to finish herculining it this weekend, and then I'll be able to get the interior back in.
05-08-2014, 01:27 PM
#45
Registered User
Thread Starter

Thread
Thread Starter
Forum
Replies
Last Post
voiddweller
86-95 Trucks & 4Runners (Build-Up Section)
19
05-02-2016 09:10 PM
WI Girl
95.5-2004 Tacomas & 96-2002 4Runners
5
06-25-2015 03:45 AM


