When you click on links to various merchants on this site and make a purchase, this can result in this site earning a commission. Affiliate programs and affiliations include, but are not limited to, the eBay Partner Network.
Yeah, I am getting ideas...
Thanks again guys!
I just never knew to call them fender liners...
Just looked at mine again. They are almost the same texture and feel and thickness to the rolls of diy gasket material they sell at advance. I don't know how that would hold up though as i don't know the actual composition
Just looked at mine again. They are almost the same texture and feel and thickness to the rolls of diy gasket material they sell at advance. I don't know how that would hold up though as i don't know the actual composition
If you think of it next time you're taking pictures of your truck, would you mind taking a shot of one and posting it? I'm having a hard time finding images- just to get a better idea of shape, etc...
Thanks again!
Those are called gap guards. I did a quick search and found someone selling some for our trucks here They're pretty pricey, so you still may be better off making your own.
Here's a picture I was able to find showing the gap guards on my truck. They're a little beat up so I wouldn't take this as gospel, but this is about the general shape of them. You could really just wing it as far as making them, they don't necessarily have to be the exact same shape as OEM to do the job.
Sweet!
Thank all of you once again. Now I know what they're called, what they look like and I will revisit this when I get to actually making them!
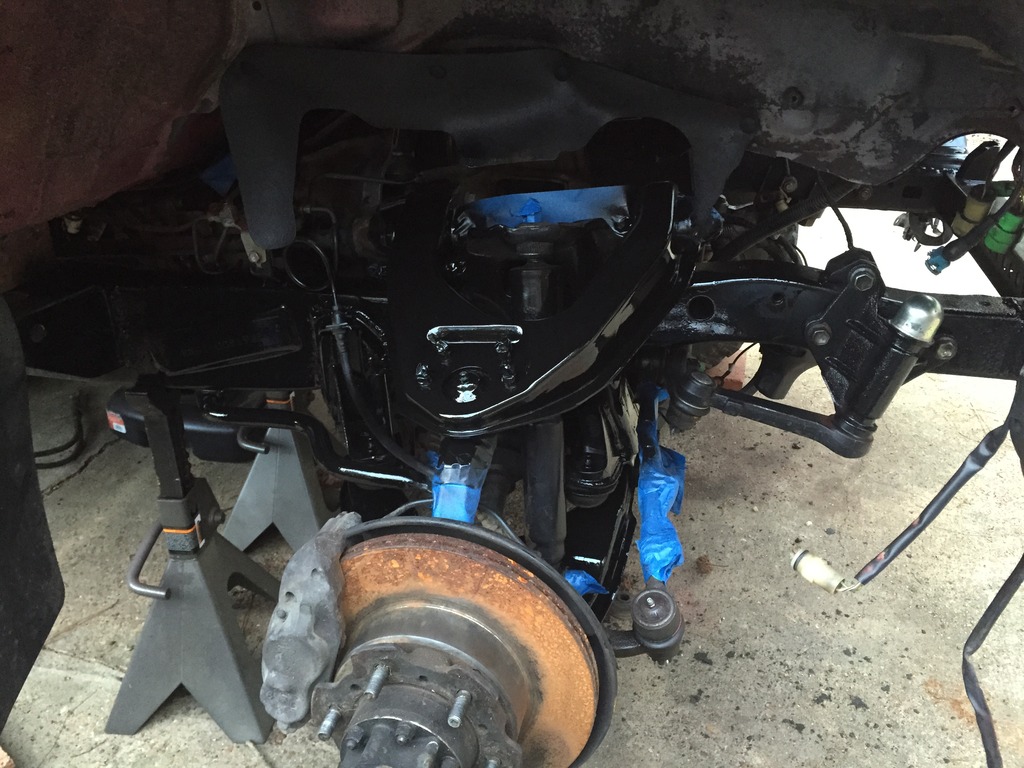
In the meantime, I'm chomping at the bit here in anticipation of getting this motor started. Another piece of the puzzle today:
Local shop got that broken bolt out for me. $12. Way cheaper than me attempting it myself, screwing it up and having to replace the intake.
Unless I'm mistaken or forgetting something (which is entirely possible) I now have all the parts and materials needed to get this motor running.
If you have an ACE Hardware near you they have rolls of rubber matting, several styles, that they sell by the running foot. I saw them when I was looking for a rubber pad to cover a rust spot on my sons' Tacoma. In the link up thread the guy bought matting from Grainger and the clips are for a Ford and look like the Help! hardware they sell at Autozone.
The upper intake isn't bolted up yet. I'll wait until I get the motor in and the wiring harness hooked up. Had to do some repair work to the wiring harness, too. Not sure what is going on- it's cut into and wires cut and swapped- it's ugly, but it was running fine before so I'm just going to clean it up, wrap it up and hope for the best. Saturday is the day the engine is going home!
Mixed up a couple of lines and pumped coolant into my intake. Coolant pouring out the #3 cylinder when I removed the spark plug.
What do I do? Pull the motor back out? Will the cylinder rust after having water in there? Am I screwed? Ugh, like I said- I think I'm going to throw up.
Motor has to come back out. Clean the intake really well. Pull the oil pan and clean it out. What I'm worried about is my cylinder walls getting rust. What can I do? Right now I am not feeling confident enough to pull the head off the motor and all that- what good would that do anyway? Just let me see if there is rust?
Remember that comment I made about there being no substitute for experience? Well, this is what happens when you do this for the first time I guess.
Feeling very discouraged right now.
Pull the plugs pour a little oil in each cylinder after cleaning the intake as best as you can, spray intake out with WD , stand back crank it over.
Put a little more in each cylinder repeat.
Shouldn't have to pull the engine back out
Don't worry about rust. Coolant runs through the inside of the block and the inside of the block is just bare cast iron.
Just do what everyone else has already suggested. Drain the oil and pull the plugs. Spin the motor over to blast as much coolant out as you can. Blow compressed air through the plug holes and the intake ports, then spray WD40 in the cylinders. Put in some fresh oil and start her up. A few drops of coolant leftover in weird places won't do any harm. You might notice some steam right at startup but it's nothing to worry about.
Y'all are great, thanks. I'm home now, had a couple beers and some dinner and found a better outlook. I'm relieved to know this may not be as bad as I feared. Luckily, I hadn't put any oil in it yet.
My nice clean, new motor got its first antifreeze bath.
I pulled the plugs and blew quite a bit out before I left for the night. Got the upper intake off.
So I'll plan to really blow out each chamber with the air compressor, add a bit of oil to each one, turn the motor by hand a few times and hope to get this thing cranking over by the weekend. The shop still has my transmission- the only real wildcard in this situation. He says I should be able to get it Friday, but no promises.
I'll still clean out everything best I can. You guys don't think it'll harm it to sit for a few more days?
I made sure to correct the mistake that got me here.
If had been thinking more about the functions of the different systems as I was putting things back together, I would have caught this.
Really enjoying this build. Looking forward to see you get it on the road! I love seeing daily driven rigs. Sorry to hear about the coolant line, but at least you don't have to pull the motor again! gotta see the silver lining in things haha. don't lose heart, we're all waiting to see you crank this bad boy up!!!
Was hooked to the elbow fitting that pops out of the bottom of the intake, just behind the coolant temp sensors.
The two fittings are right next to each other. As I said, if I'd been paying more attention to how the systems work instead of just getting the dang hoses on, I would have caught this. I'm feeling better about things today. I sure do appreciate everyone's encouragement.
Originally Posted by tyrelephant
Really enjoying this build. Looking forward to see you get it on the road! I love seeing daily driven rigs. Sorry to hear about the coolant line, but at least you don't have to pull the motor again! gotta see the silver lining in things haha. don't lose heart, we're all waiting to see you crank this bad boy up!!!
Thanks! I am dying to get it started, especially now.
Maybe this weekend?? I'm really hoping I can get the transmission tomorrow. It's getting new sincronizers and bearings- I'm headed over to the garage now to start cleaning all the coolant out...

 Feb 8, 2016 | 02:09 PM