
Chuckar's 1986 Pickup Build Thread
 Apr 18, 2012 | 06:55 PM
#61
I'm pretty certain this is JBM715's store.... I have to look through my purchase history but I'll letcha know. Maybe browse through and see if he has it? >>>
http://stores.ebay.com/WNC-AUTO-PART...S-TOYOTA-PARTS
http://stores.ebay.com/WNC-AUTO-PART...S-TOYOTA-PARTS
Apr 19, 2012 | 05:40 AM
#63
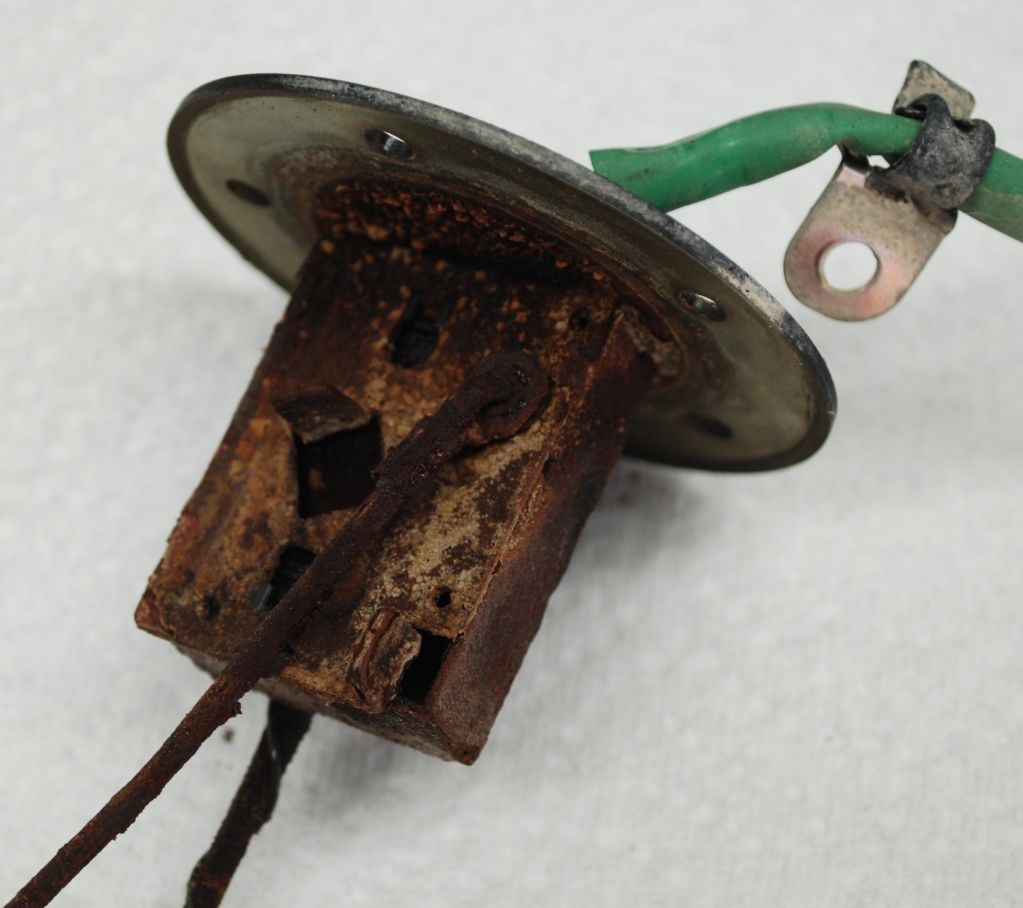
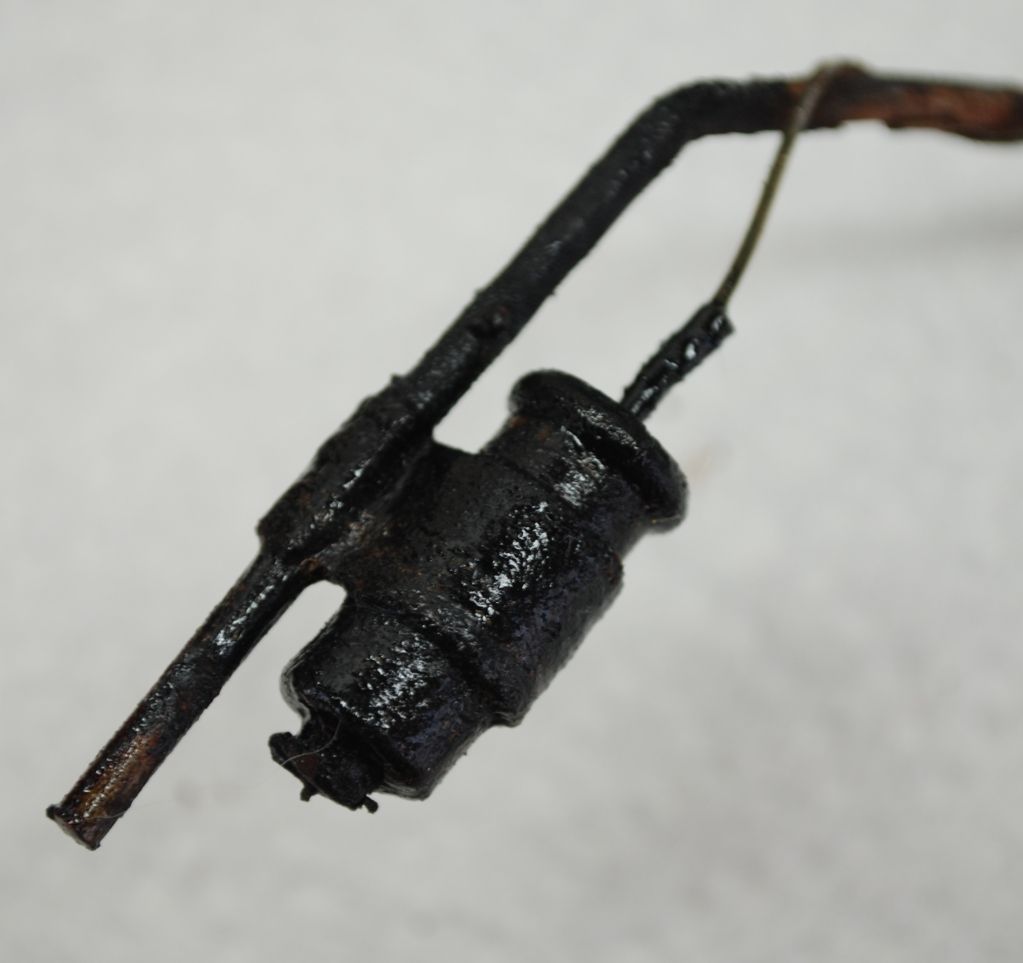
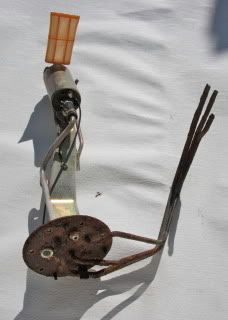
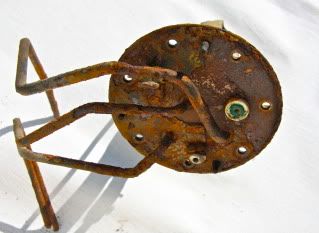
Can you post a pic of the fuel level assembly? Those can clean up with a little rust dissolver and a brass or wire brush. I have had them frozen and within 10 minutes of soaking and scrubbing and moving freely and acurately.
Apr 19, 2012 | 06:05 PM
#64
Thread Starter
Registered User
Joined: Oct 2009
Posts: 92
Likes: 0
From: AZ to close to the border
Terrys87 I will get a pic when I get home from work what kind of rust remover are you using the tank is rusted very bad inside��.and thanks for all the advice sometimes I get wound up and forget to say thanks so thanks that goes for all the people that have been helping me Chef�..drew303��rustED�� and everyone else THANKS
Apr 19, 2012 | 06:39 PM
#65
Fuel lever assembly you say, hmmmmmmmmmmmmmm? hehehe... Yep, I bet that's partly my issue with the "WONT READ LIKE A NORMAL TANK... instead, stays on full forever....then DROPS OFF THE MAP IN A DAY, ...then .....back so slowwwww moving needle on last 1/4 tank to emtpy"... Maybe, lol.
My pleasure, Sir!
My pleasure, Sir!
 Apr 23, 2012 | 01:24 PM
#71
Registered User
Joined: Dec 2006
Posts: 2,880
Likes: 2
From: Olympia, WA
I don't even wanna think about what tthe inside of my 85s tank looks like. its been sitting with nearly full tank of fuel (so the gauge says) for probably at least 2 years. Hope its not rusted out
Apr 24, 2012 | 04:13 PM
#72
Thread Starter
Registered User
Joined: Oct 2009
Posts: 92
Likes: 0
From: AZ to close to the border
Apr 24, 2012 | 07:02 PM
#73
Did you try that link I slapped ya with? lol.... They have lots of stuff... Might have that, ask even if you don't see it on there. They'll get back to you pretty quick. Or did ya find one?
Apr 25, 2012 | 01:20 AM
#74
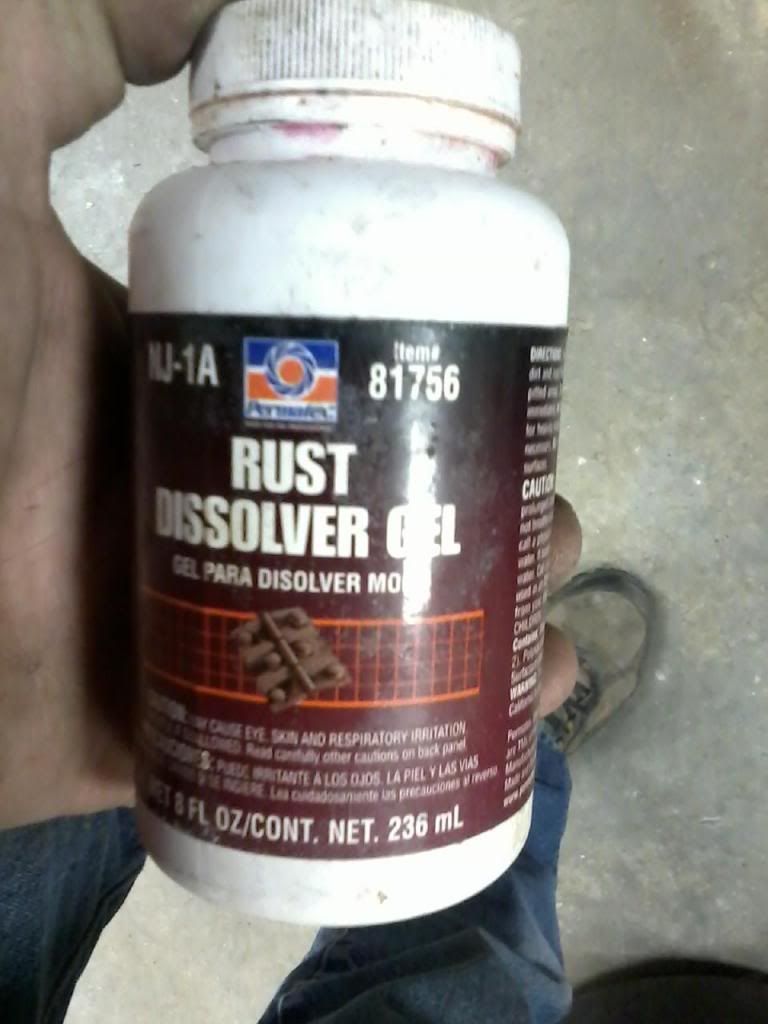
Here is what I would use for getting that and the Fuel Level cleaned and a wire toothbrush. The Rust Dissolver will take 5-10 minutes of soaking and then scrub with a wire brush, should look and work good as new in a total of 20 minutes.
On my second post is how I did my tank. There are several other links. The cheapest is using white vinegar. Will take around 3 days getting it clean. Tap on the outside with a hammer and when soaking it shake the tank occasionally.
I have fixed 4 different trucks with the fuel pump listed. It goes for about $25 if you call them or $30 if ordered thru ebay. It will run $150ish at a part store or $300 at Toyota. Works great and looks factory.
Tank cleaning link #2..... https://www.yotatech.com/forums/f199...thread-227399/
Last edited by Terrys87; Apr 25, 2012 at 01:47 AM.
Apr 28, 2012 | 05:36 PM
#75
Thread Starter
Registered User
Joined: Oct 2009
Posts: 92
Likes: 0
From: AZ to close to the border
Here is what I would use for getting that and the Fuel Level cleaned and a wire toothbrush. The Rust Dissolver will take 5-10 minutes of soaking and then scrub with a wire brush, should look and work good as new in a total of 20 minutes.
On my second post is how I did my tank. There are several other links. The cheapest is using white vinegar. Will take around 3 days getting it clean. Tap on the outside with a hammer and when soaking it shake the tank occasionally.
I have fixed 4 different trucks with the fuel pump listed. It goes for about $25 if you call them or $30 if ordered thru ebay. It will run $150ish at a part store or $300 at Toyota. Works great and looks factory.
Tank cleaning link #2..... https://www.yotatech.com/forums/f199...thread-227399/
On my second post is how I did my tank. There are several other links. The cheapest is using white vinegar. Will take around 3 days getting it clean. Tap on the outside with a hammer and when soaking it shake the tank occasionally.
I have fixed 4 different trucks with the fuel pump listed. It goes for about $25 if you call them or $30 if ordered thru ebay. It will run $150ish at a part store or $300 at Toyota. Works great and looks factory.
Tank cleaning link #2..... https://www.yotatech.com/forums/f199...thread-227399/
Apr 29, 2012 | 03:44 PM
#76
Thread Starter
Registered User
Joined: Oct 2009
Posts: 92
Likes: 0
From: AZ to close to the border
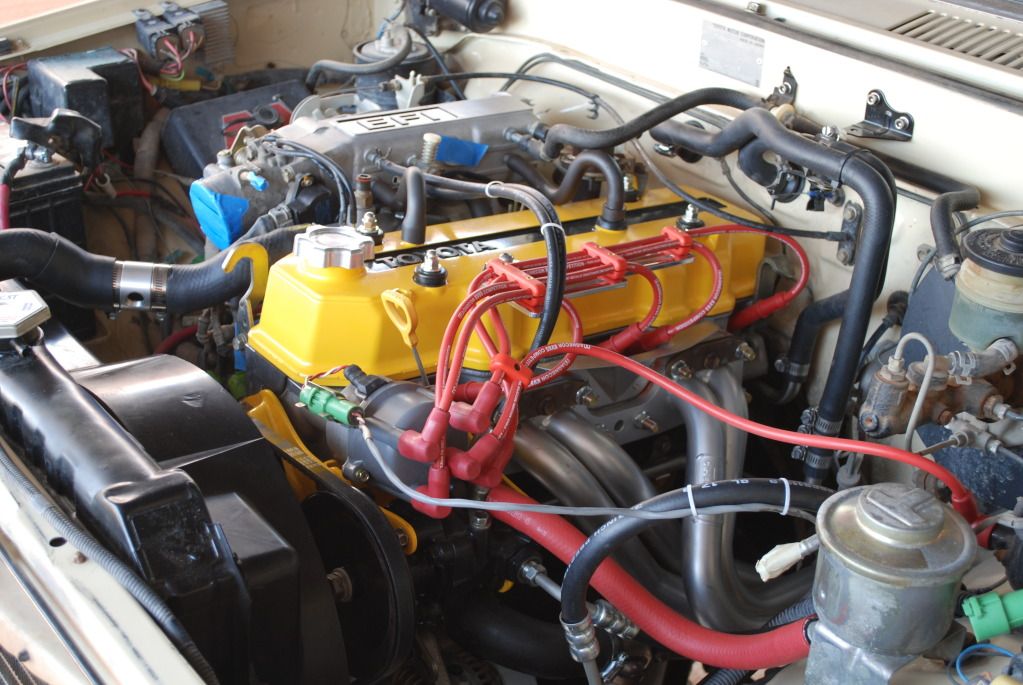
Made some progress today, next I need to remove the plenum it�s just setting on there so I could check the vacuum lines. I will then install the injectors and then the fun begins I have no idea how to run the wires so I am going to need some help any pic�s would be appreciated Thanks in advance Tom 
Apr 29, 2012 | 08:39 PM
#77
Man Chuckar, you do some good work!!!! I hope my engine looks half as clean as yours when I'm done!!! As far as pics go, you might check Big Red 's build thread, he got some good pics of where stuff goes on his thread, hope it helps you out! Keep up the good work!
Apr 29, 2012 | 08:55 PM
#78
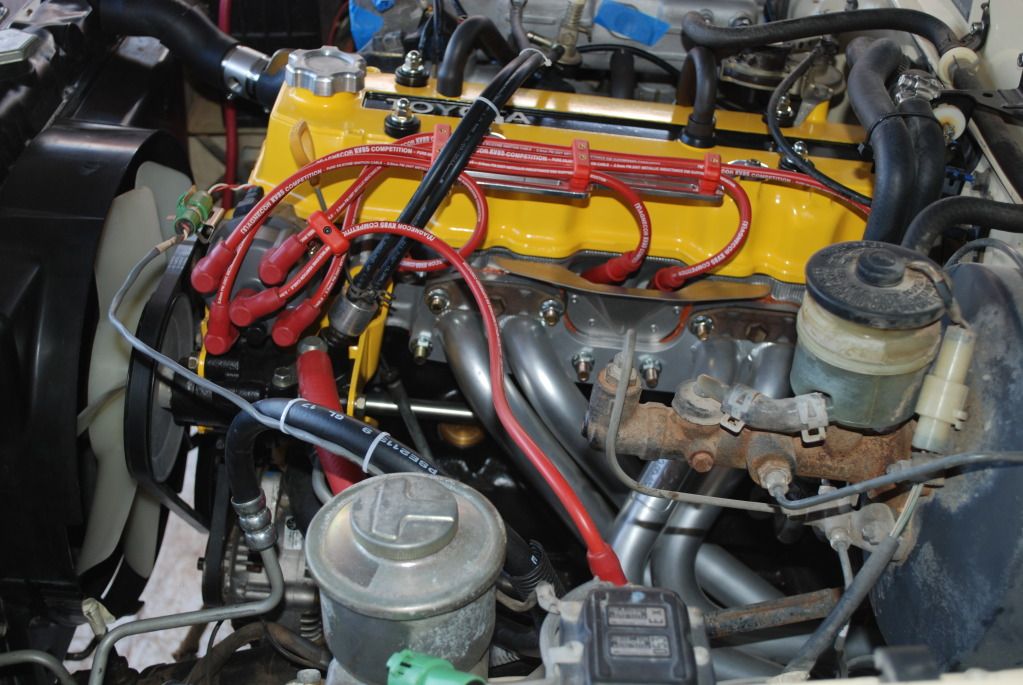
Don't forget to hook up the IACV hose in the back and run it up... nor the electrical connector to the IACV
Also, make sure the rear facing coolant hose It's an elbow that comes off the Intake, comes down vertically downward, then horizontally back, bout an inch on each portion of the elbow... And also the coolant lines for the IACV and the coolant return line that wraps around the stat housing... Also, get all the harness stuff's up and over that center support arm of the lower intake(including the 4wd and reverse wiring)..... Oil pressure sending unit, starter wire connector, etc..
Congratz, man! Looking sick!
Apr 30, 2012 | 02:35 AM
#80
If you keep working with the rust dissolver it should eventually free it up. Might try soaking it in PB Blaster overnite. Motor is looking great.
Your wiring for the tranny/tcase runs thru the intake manifold. It is an easy step to forget. Chef is right about the IACV hook up. Ask me how I know.lol.. I have to get mine connected.
Your wiring for the tranny/tcase runs thru the intake manifold. It is an easy step to forget. Chef is right about the IACV hook up. Ask me how I know.lol.. I have to get mine connected.


