
ChildrenOfBodom's 1987 4Runner Build Up Thread


 Mar 13, 2013 | 11:25 PM
#43
Hey! I saw red and thought of ya right off! Lol. ....
http://losangeles.craigslist.org/lac...679400711.html
http://losangeles.craigslist.org/lac...679400711.html
Mar 14, 2013 | 09:22 PM
#44
Thread Starter
Registered User
Joined: Jul 2009
Posts: 245
Likes: 0
From: Mission Viejo, CA
 don't make fun of me!
Hey! I saw red and thought of ya right off! Lol. ....
http://losangeles.craigslist.org/lac...679400711.html
http://losangeles.craigslist.org/lac...679400711.html
My friend John has an 85 pickup with a 22r-te. He's pretty knowledgeable about them. Nice to have the shop manual in human form.
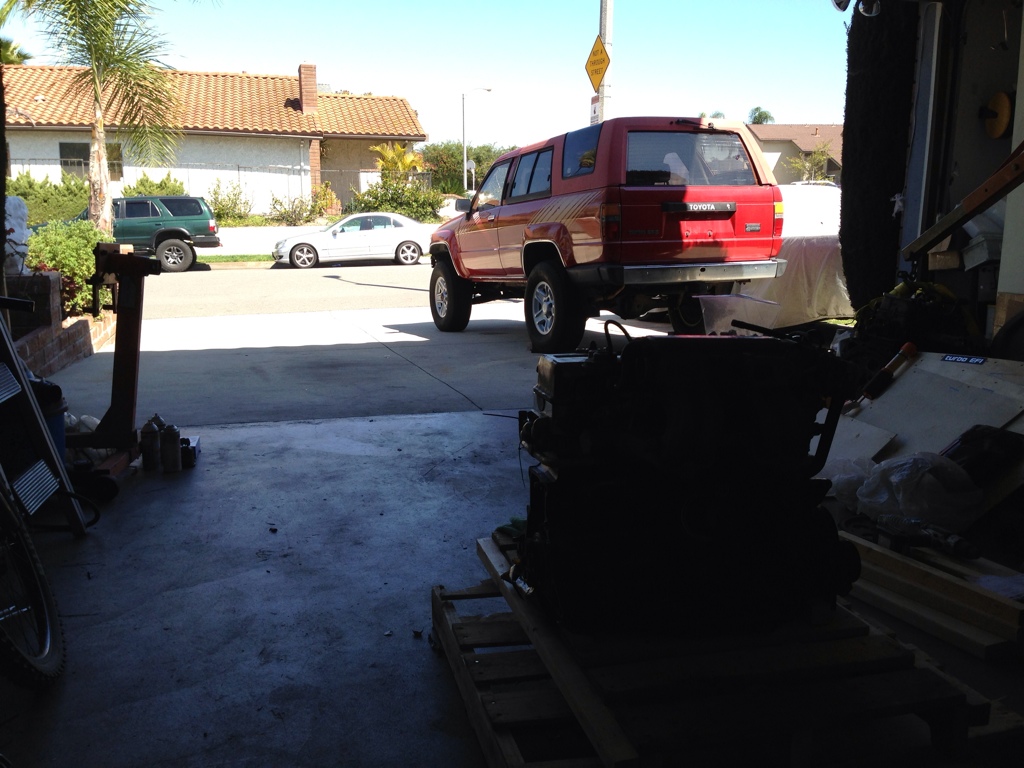
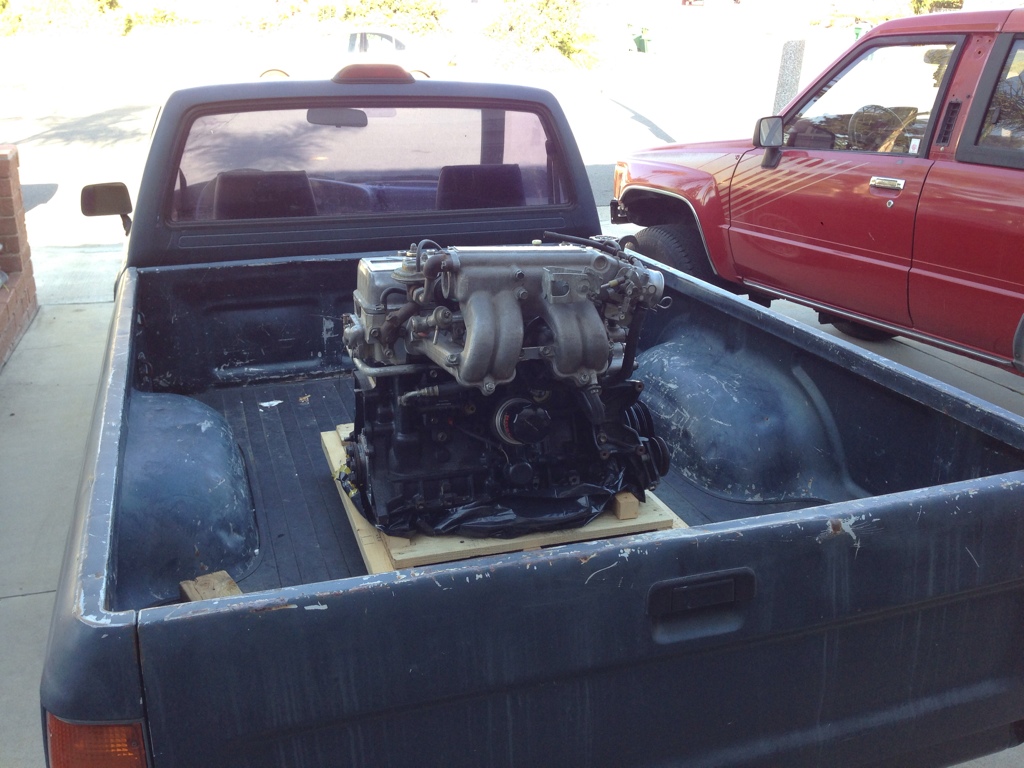
I used one of John's extra trucks to take the motor down to his place.
Took the turbo off and over to the bench. I used a sandstone block to get rid of any high spots on the turbo manifold. These 22R-TE manifolds warp like crazy, this one is actually pretty darn flat.


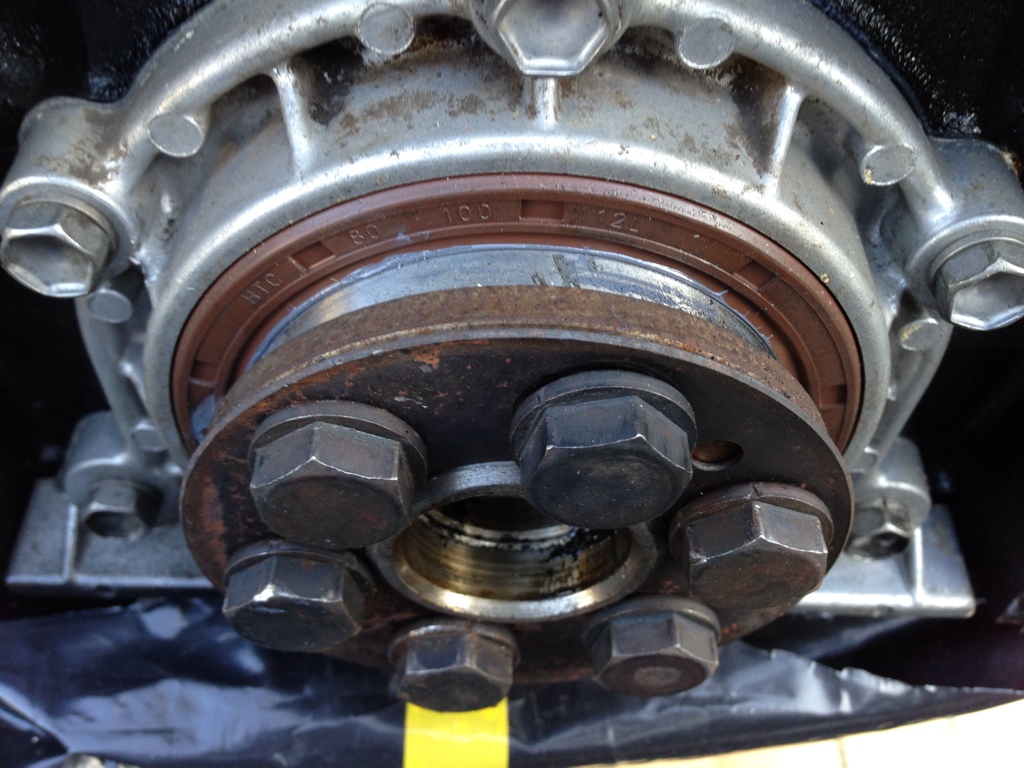
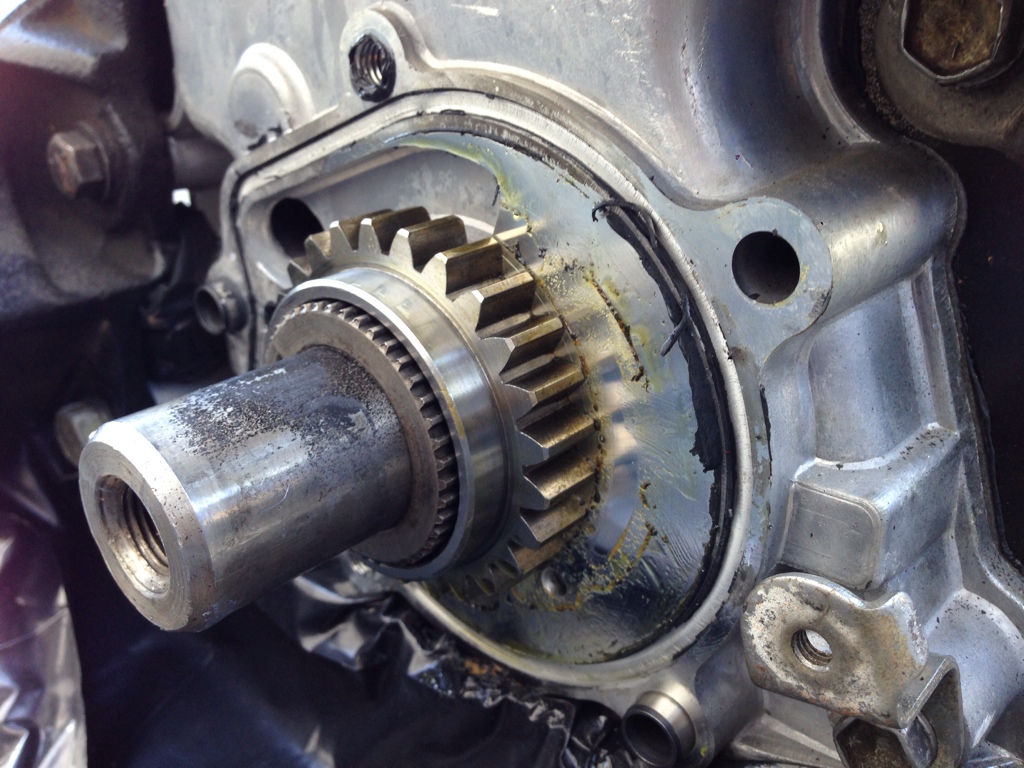
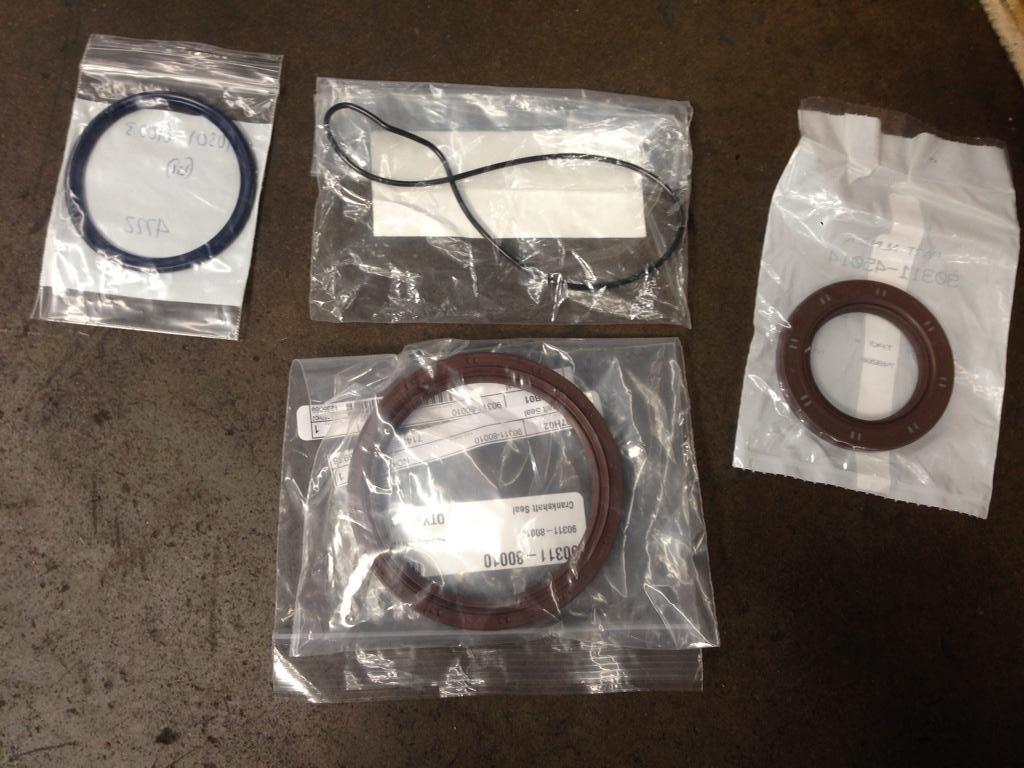
Rear main seal is not the best brand, so I've got another one on order. Last thing I want to do is have to change a rear main after 6 months because of a dried up crappy HTC seal.
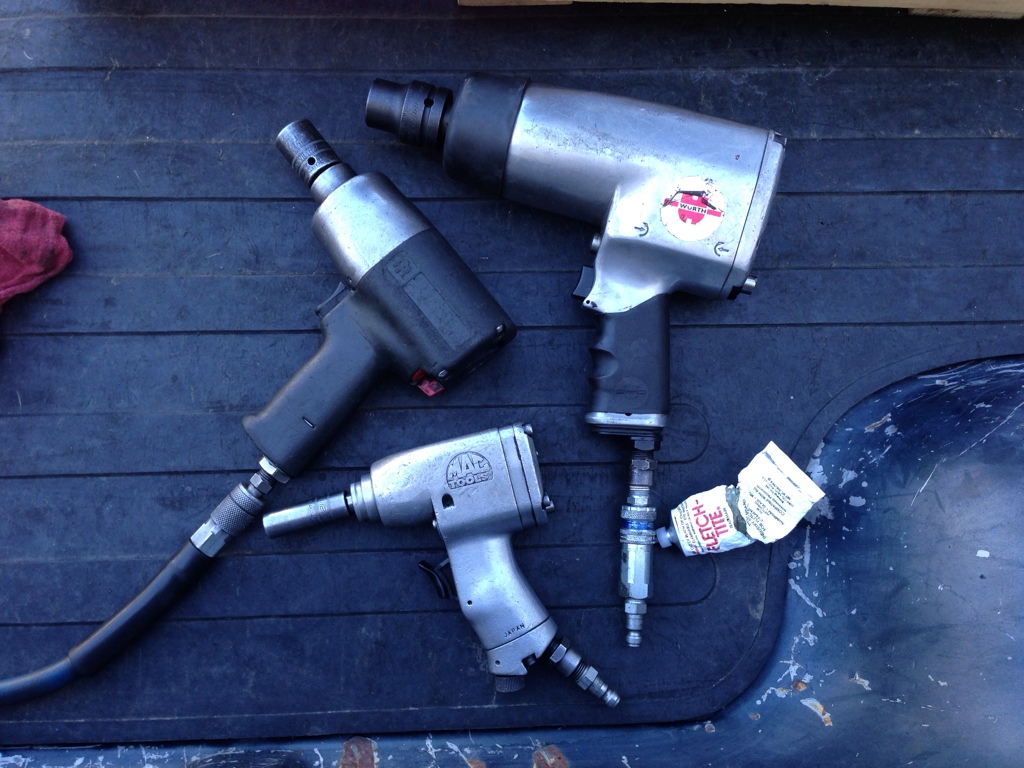
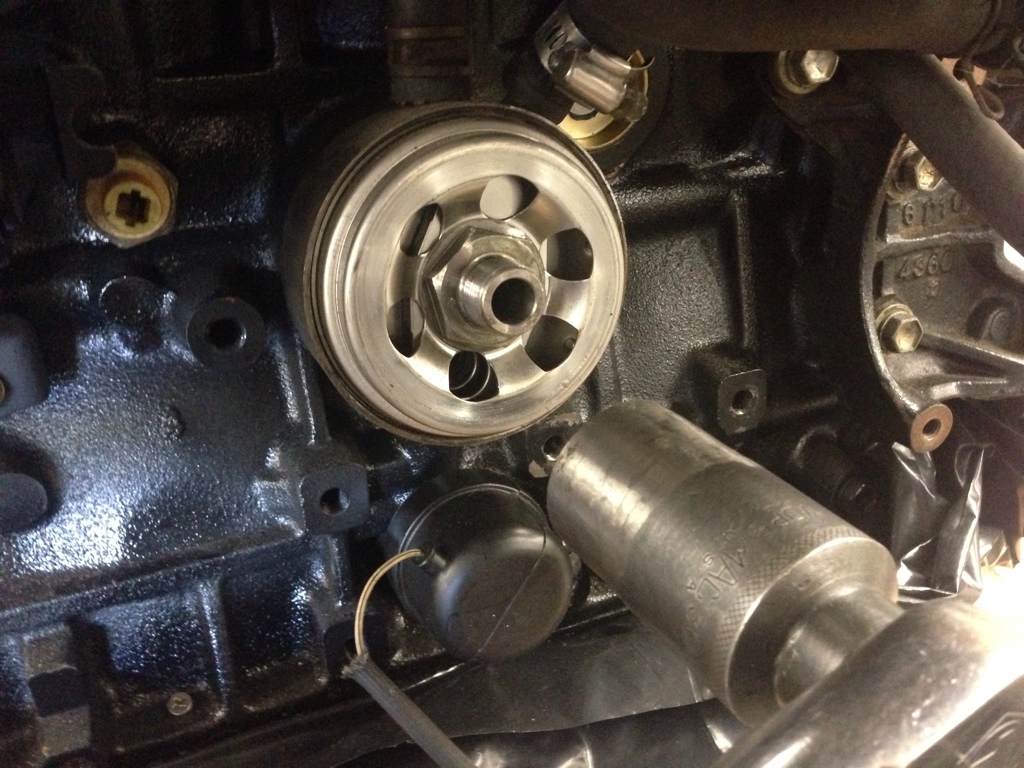
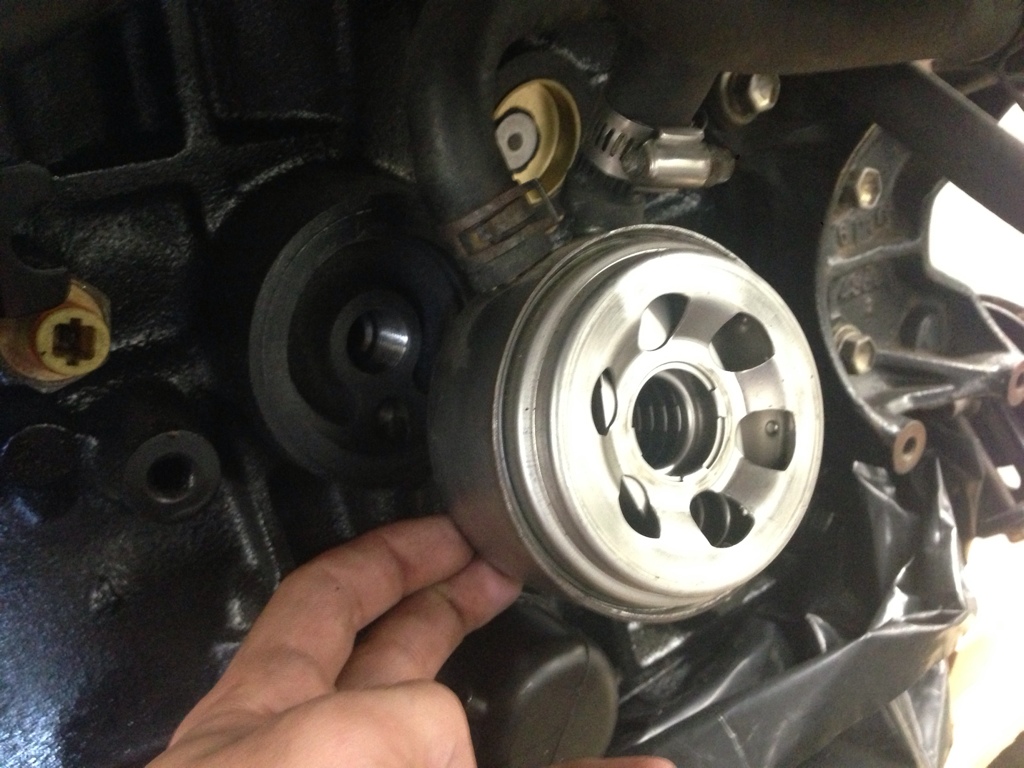
Can you guess which one of these I had to use to remove the crank pulley?
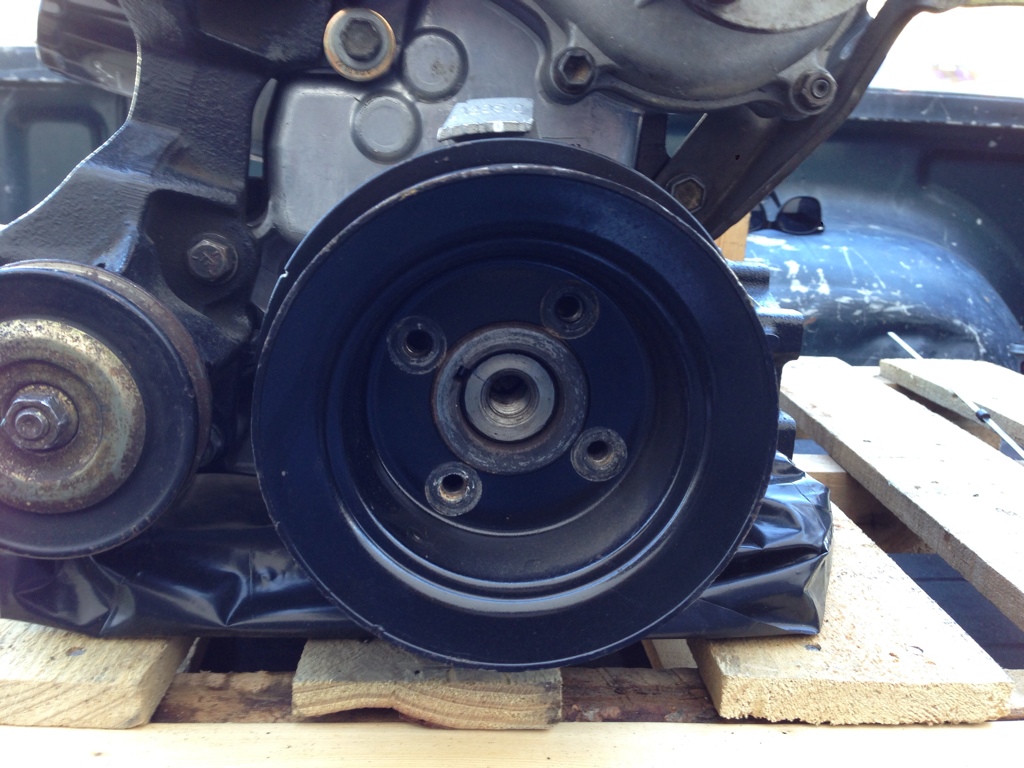
Another HTC seal. These black ones are notoriously bad
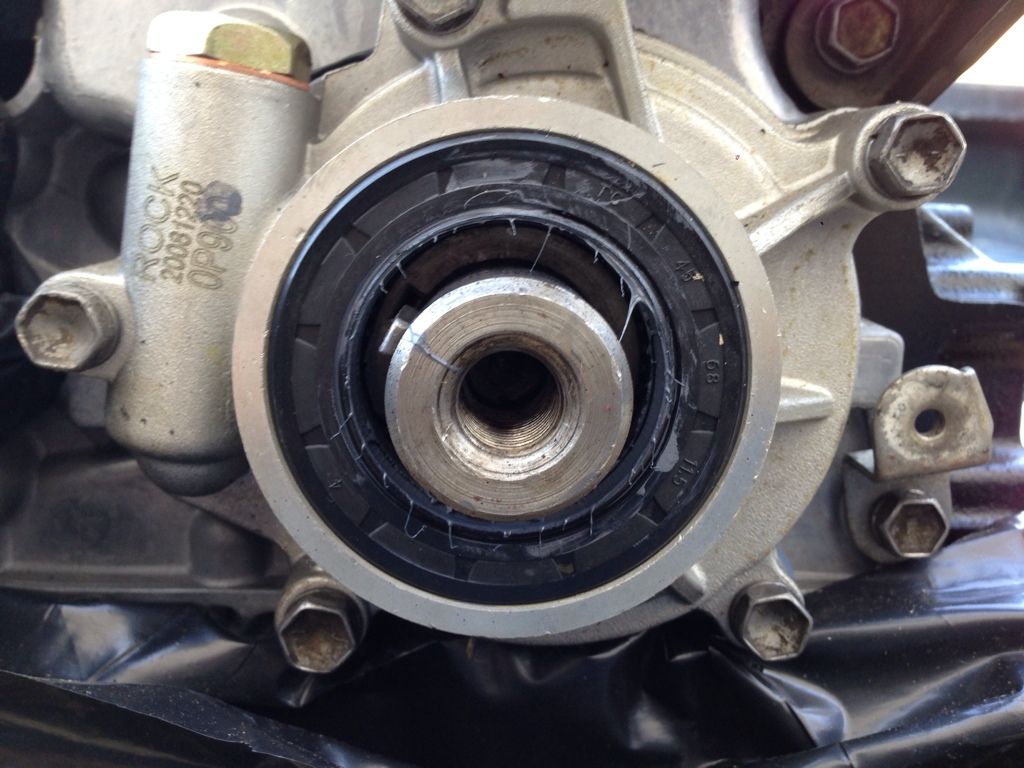
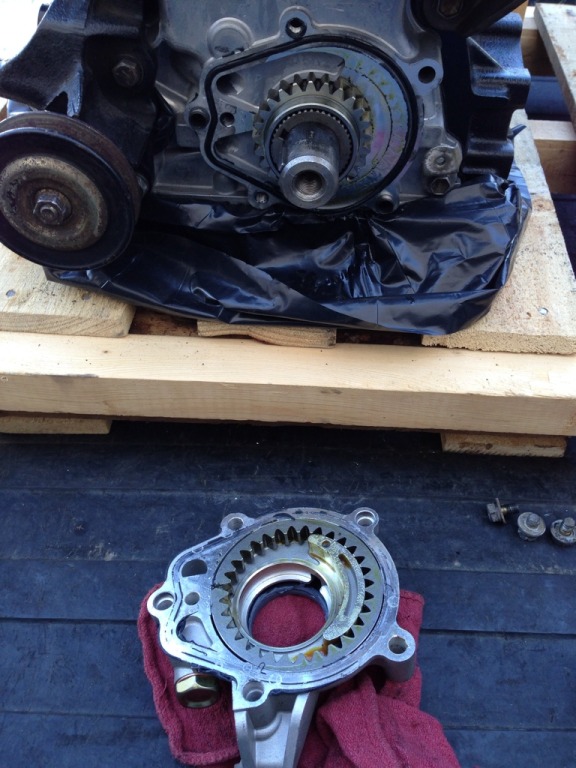
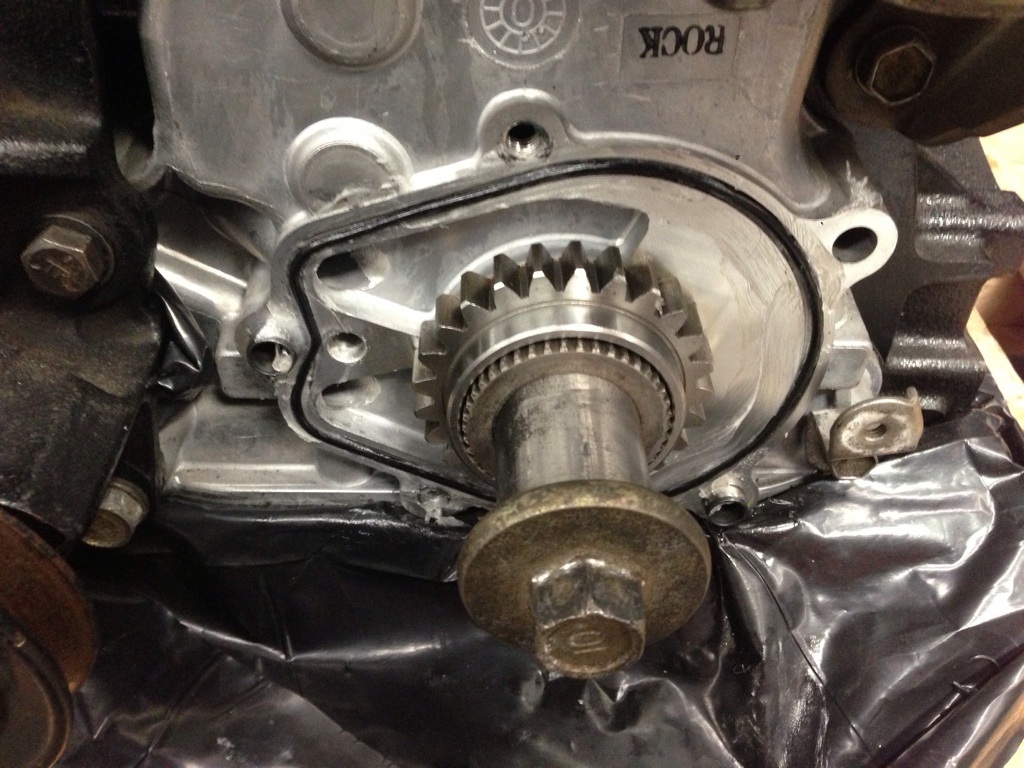
Oil pump had silicone on it too, should only be an O-ring. Some of the silicone made it into the little oil chambers. Some also made it between the gears.
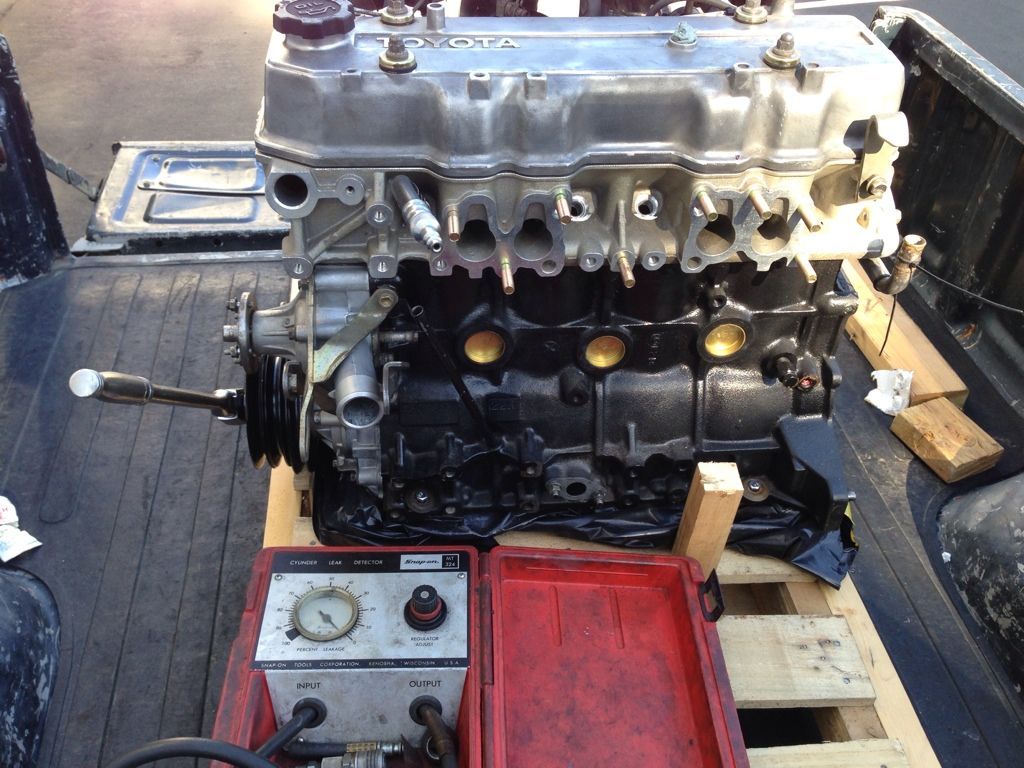
Also performed a compression test. No leakage from any cylinders

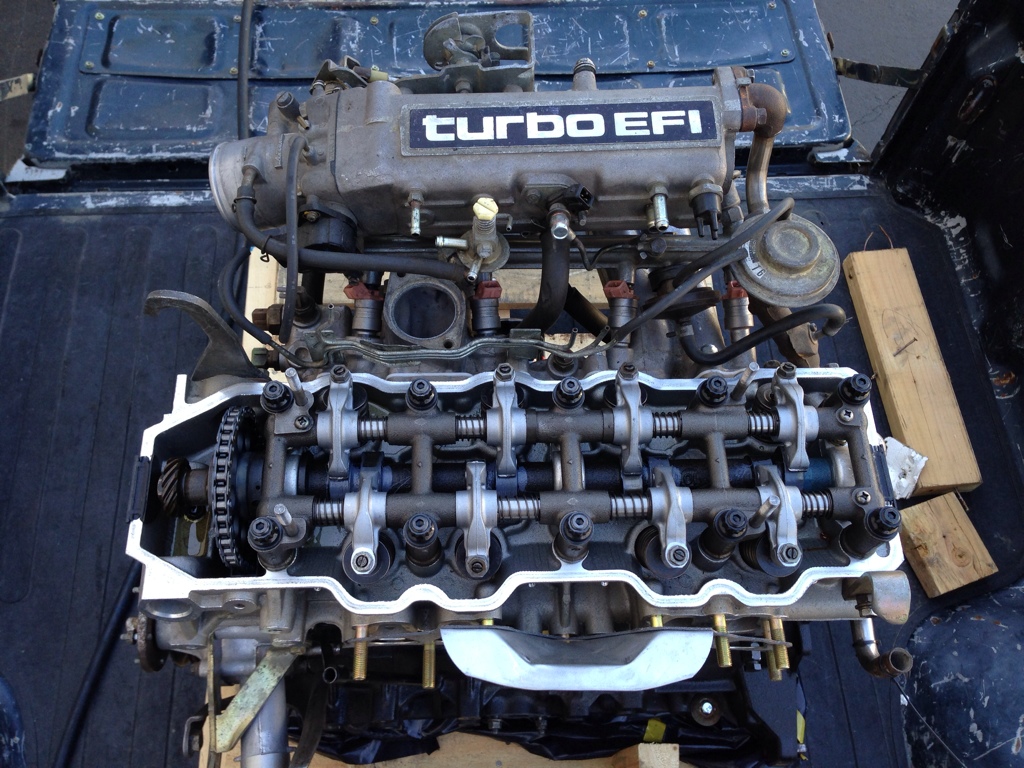
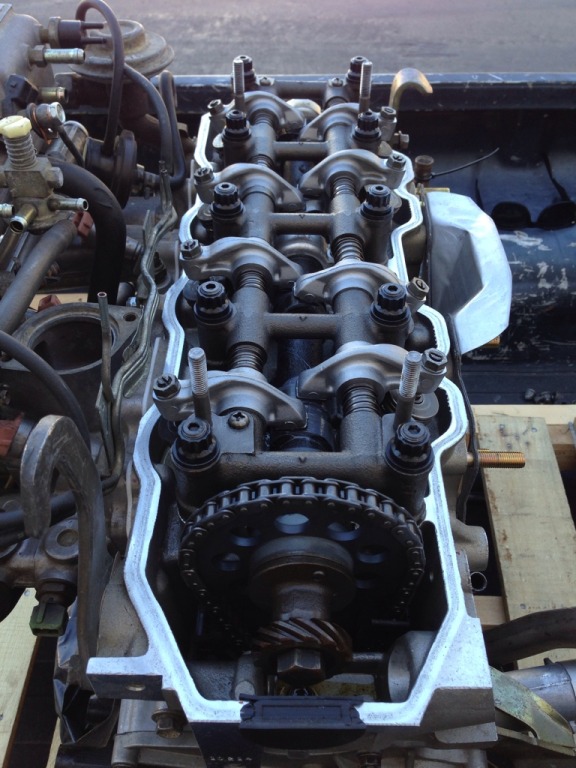
Took off the valve cover. It's an aftermarket head. The cam is nice, but I have no experience with cams on these motors. It looks like the lift is a bit extreme, but I guess I'm speaking too soon
Right now I'm waiting on a new rear main seal, front crank seal, and oil pump O-ring. I'm likely going to be buying a new water pump, too.
Mar 14, 2013 | 10:31 PM
#45
Lookin great man!
Ur right on the seals... I went OEM for that very reason. Wheel bearings, Wheel seals, caliper rebuild kits for the V6 upgrade, CV reboot and repack kit, trans-input shaft bearing retainer seal(good time to do that one on ......manuals, haha), front and rear mains, t-case, pinions, .... All OEM, and IMHO worth every penny of the extra cost over National or any other.
Keep killin it bud!

 hoping I just need glasses.
 Mar 15, 2013 | 04:05 PM
#49
Thread Starter
Registered User
Joined: Jul 2009
Posts: 245
Likes: 0
From: Mission Viejo, CA
Lookin great man!
Ur right on the seals... I went OEM for that very reason. Wheel bearings, Wheel seals, caliper rebuild kits for the V6 upgrade, CV reboot and repack kit, trans-input shaft bearing retainer seal(good time to do that one on ......manuals, haha), front and rear mains, t-case, pinions, .... All OEM, and IMHO worth every penny of the extra cost over National or any other.
Keep killin it bud!
Ur right on the seals... I went OEM for that very reason. Wheel bearings, Wheel seals, caliper rebuild kits for the V6 upgrade, CV reboot and repack kit, trans-input shaft bearing retainer seal(good time to do that one on ......manuals, haha), front and rear mains, t-case, pinions, .... All OEM, and IMHO worth every penny of the extra cost over National or any other.
Keep killin it bud!
Thanks dude!

She's lubed up alright. Lubed up real good. Definitely gonna need some work in other areas before being inserted, though
Yep you got it
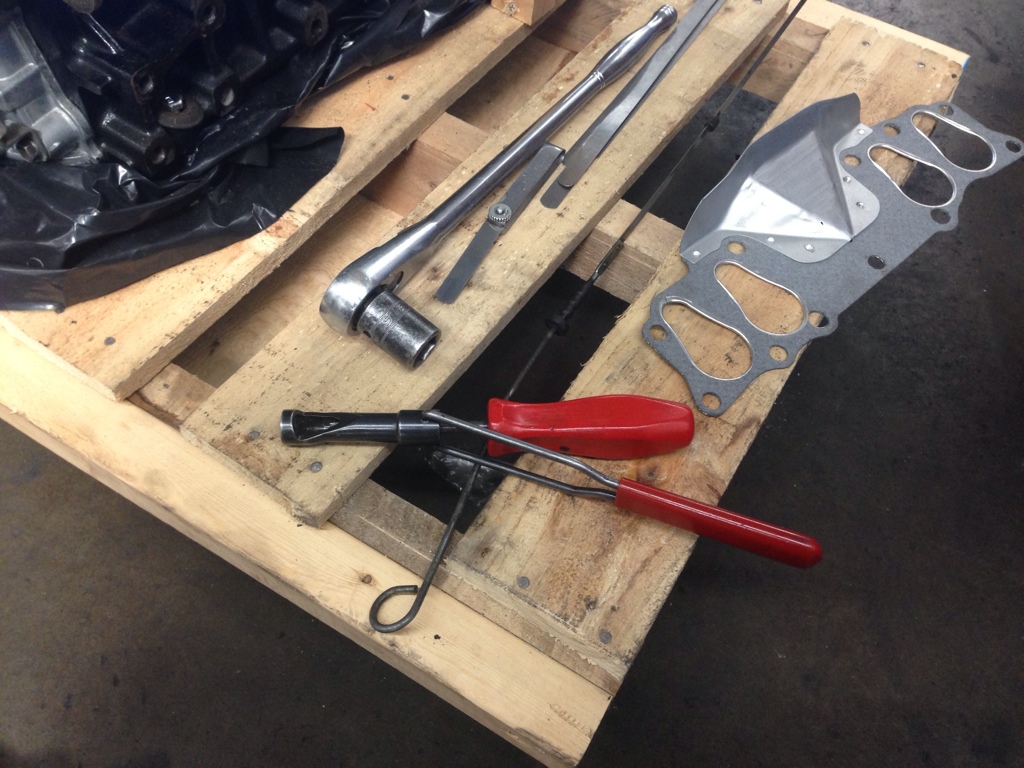
The seals haven't come in yet, so today I had to find other things to do.
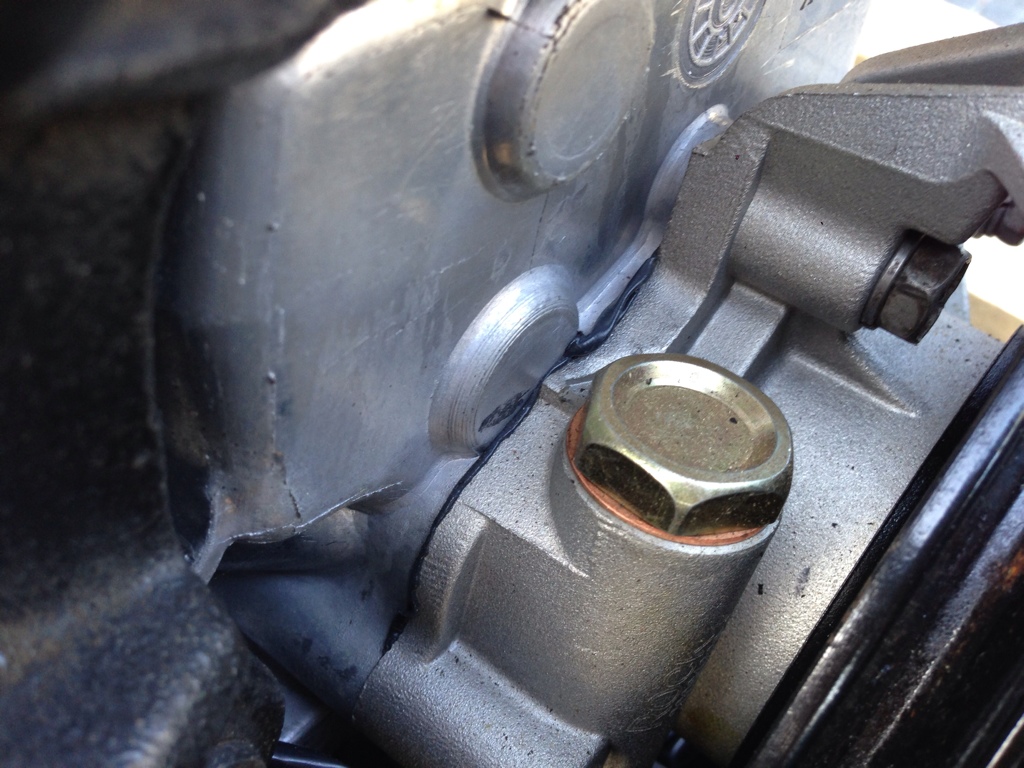
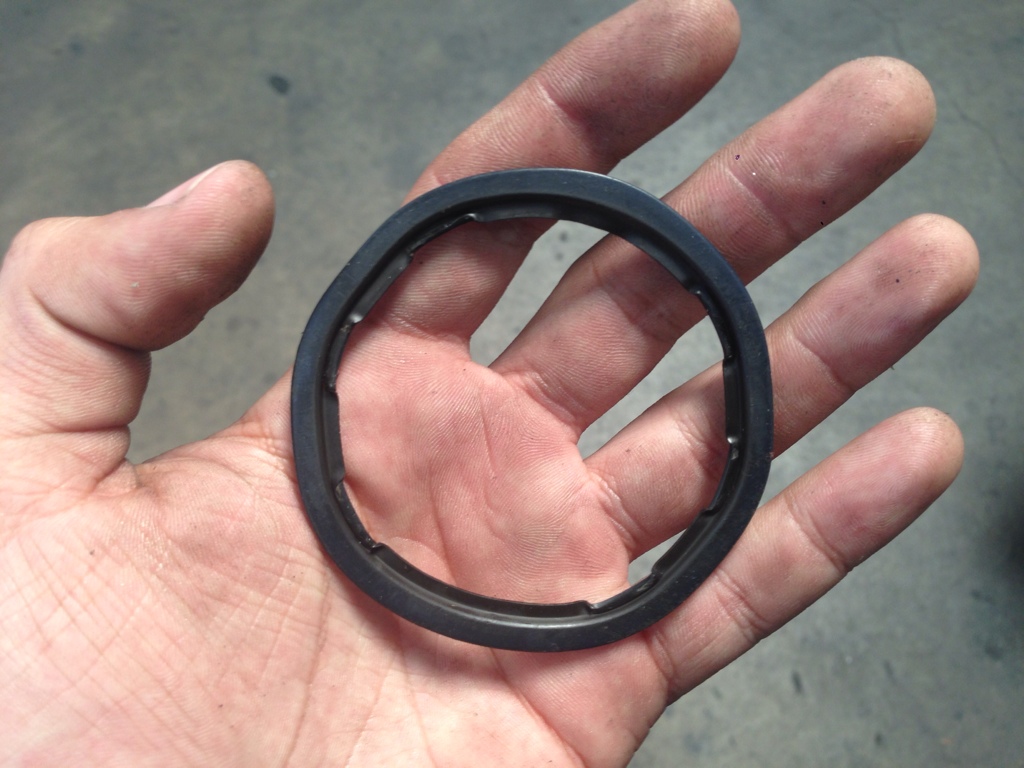
Took off the oil cooler. Sucker needs a 30mm socket. The seal against the block needs replacing.
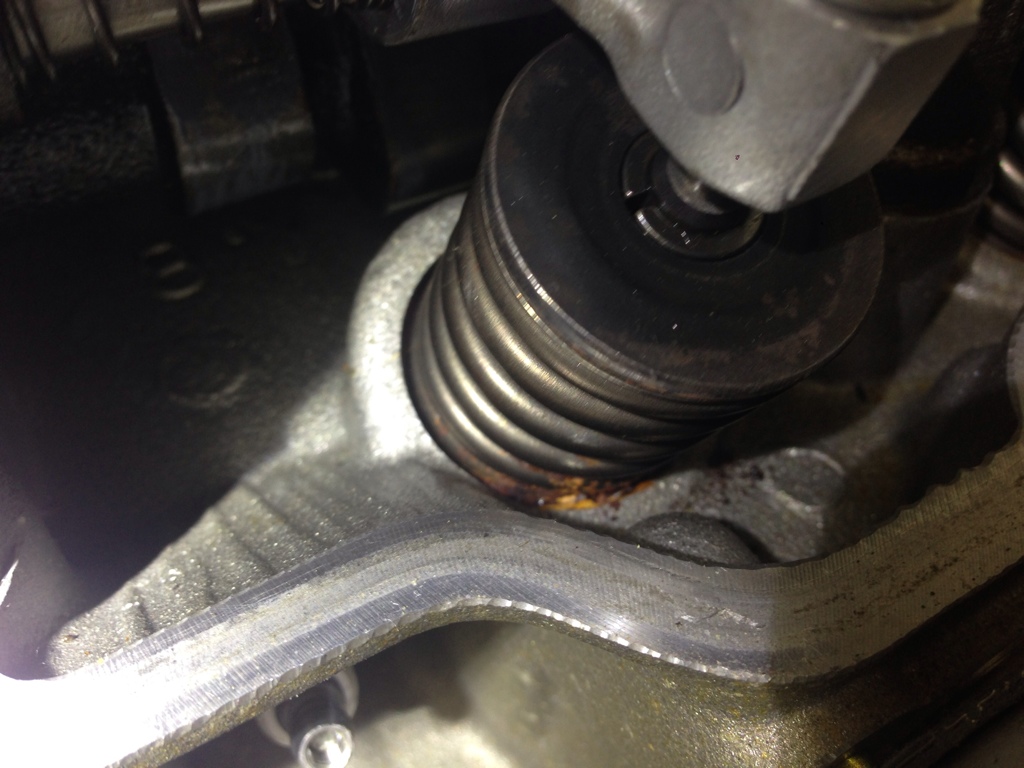
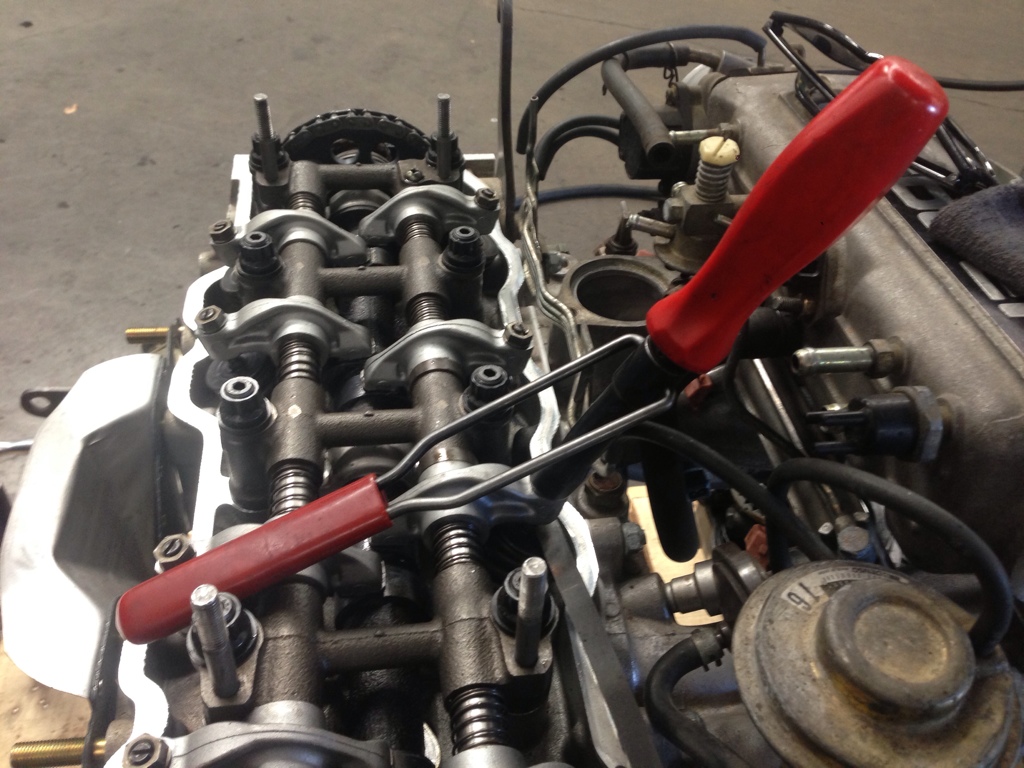
This motor sat for a while after rebuild. The valve springs had some rust going. Had to use the air compressor to get that out.
I performed my first ever valve adjustment. Adjusted the intake valve clearance to .008", exhaust valves set to .011".

Monday is when the new seals should be in.
Last edited by ChildrenOfBodom; Mar 15, 2013 at 04:35 PM.

 Mar 18, 2013 | 04:09 PM
#52
Thread Starter
Registered User
Joined: Jul 2009
Posts: 245
Likes: 0
From: Mission Viejo, CA
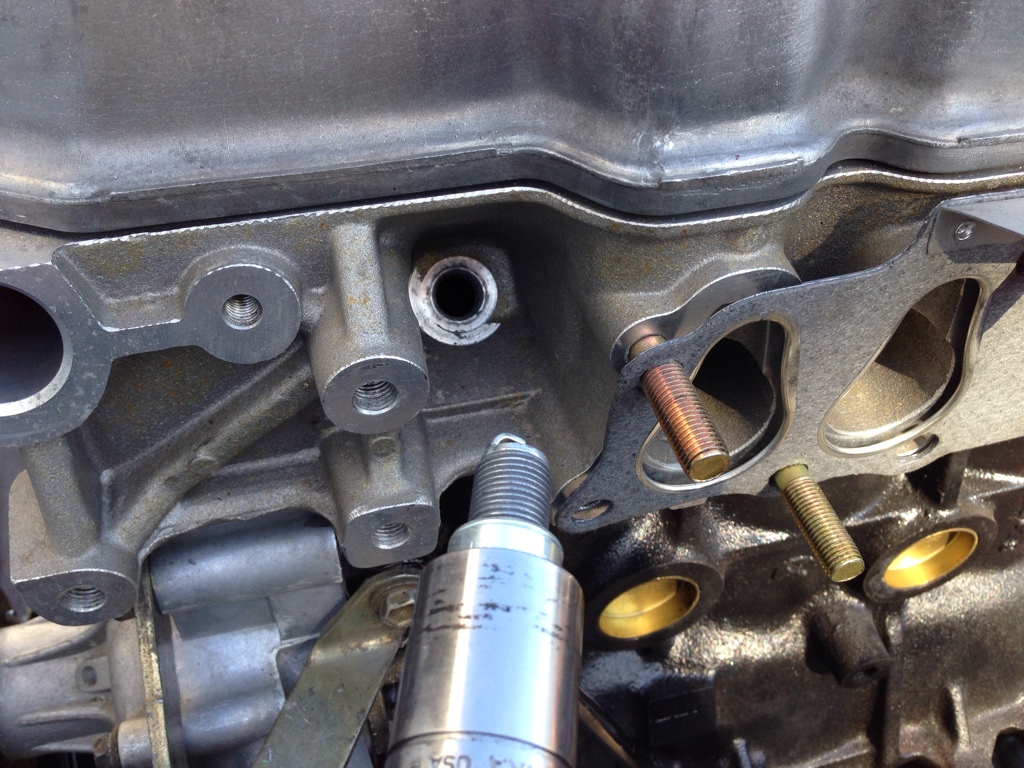
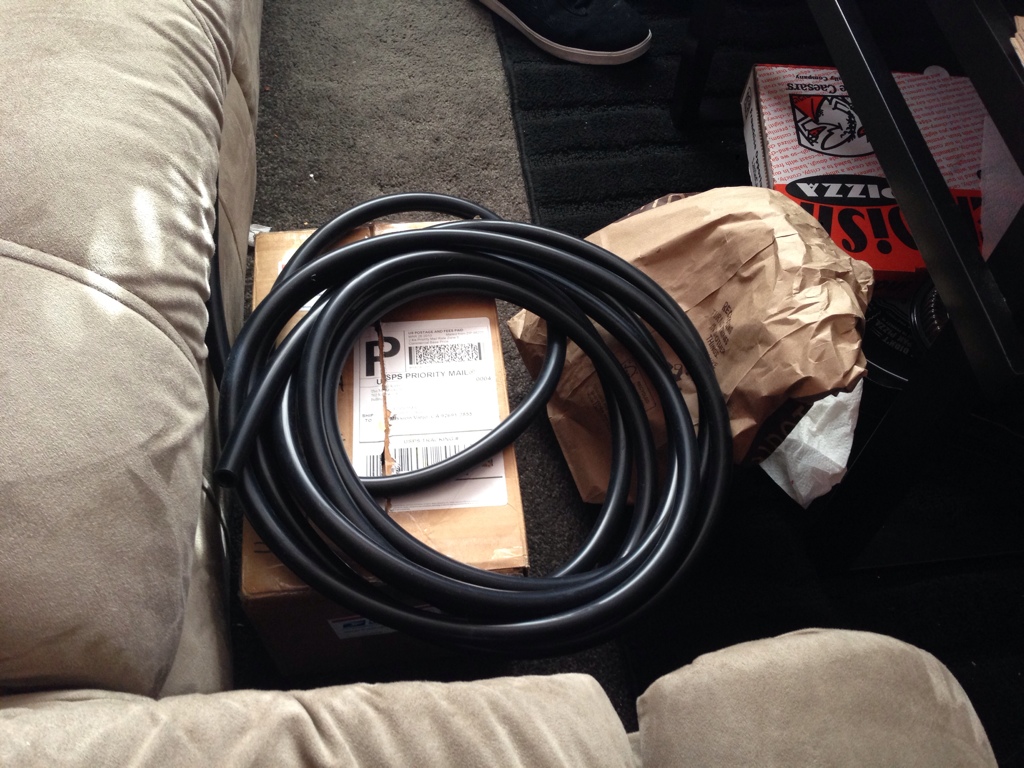
The seals came in today. I have replacement water lines for around the throttle body coming in soon, too.
Oil cooler seal

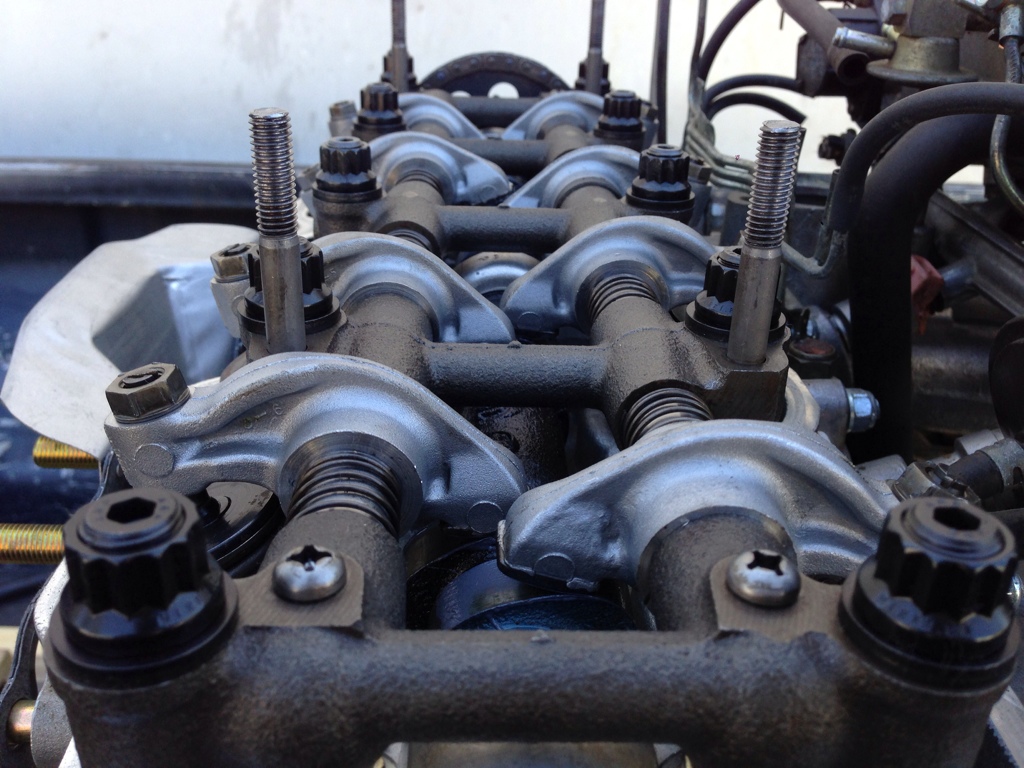
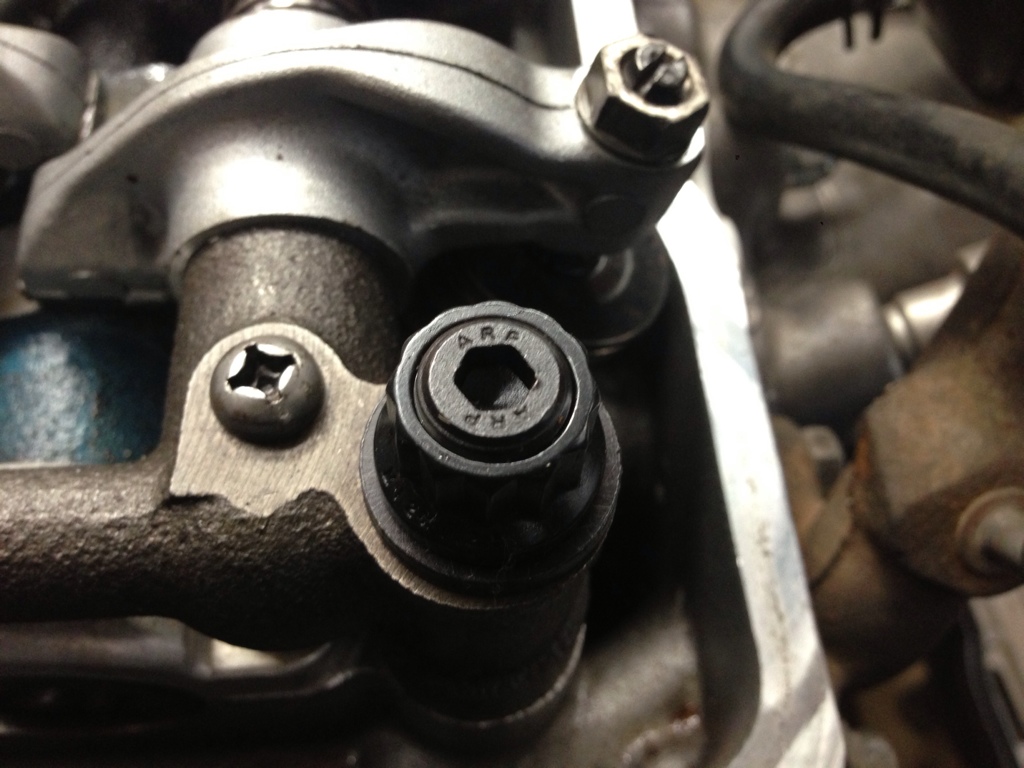
A closer pic of the ARP head studs
 Mar 18, 2013 | 05:06 PM
#53
Hey,
Well, I chose cam lube to break in the new cam coz it was recommended by my machinist and he had it laying around and gifted it. Buddy flecker have it to me as well.
Curious, u said 8 an 11... stock turbo cam? Couldn't remember, sorry. My 261 crawler cam is 7 and 9 thousandths....
That thing has me excited! Nice, nice, nice!
Mar 21, 2013 | 08:44 PM
#54
Thread Starter
Registered User
Joined: Jul 2009
Posts: 245
Likes: 0
From: Mission Viejo, CA
Hey,
Well, I chose cam lube to break in the new cam coz it was recommended by my machinist and he had it laying around and gifted it. Buddy flecker have it to me as well.
Curious, u said 8 an 11... stock turbo cam? Couldn't remember, sorry. My 261 crawler cam is 7 and 9 thousandths....
That thing has me excited! Nice, nice, nice!
Well, I chose cam lube to break in the new cam coz it was recommended by my machinist and he had it laying around and gifted it. Buddy flecker have it to me as well.
Curious, u said 8 an 11... stock turbo cam? Couldn't remember, sorry. My 261 crawler cam is 7 and 9 thousandths....
That thing has me excited! Nice, nice, nice!
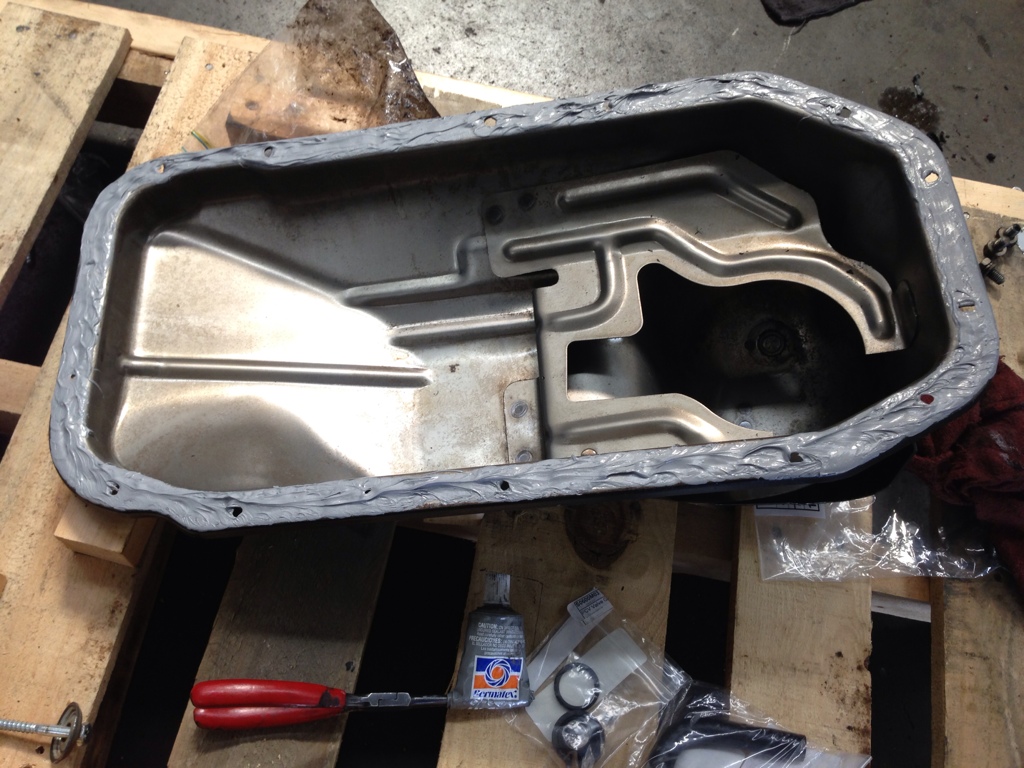
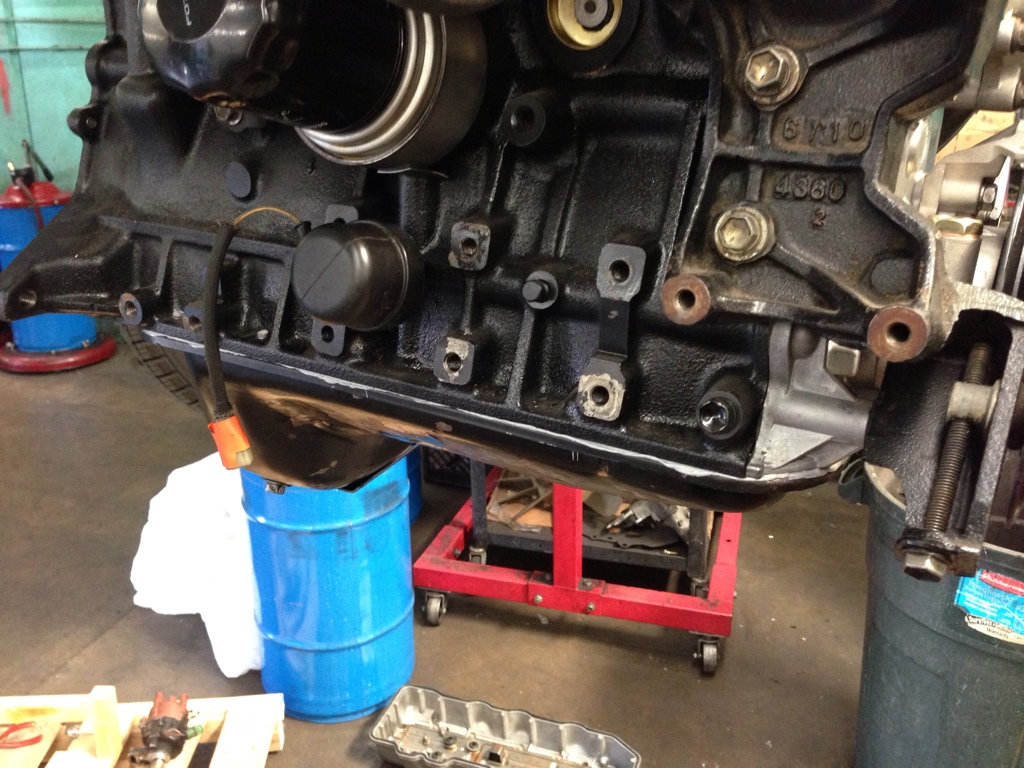
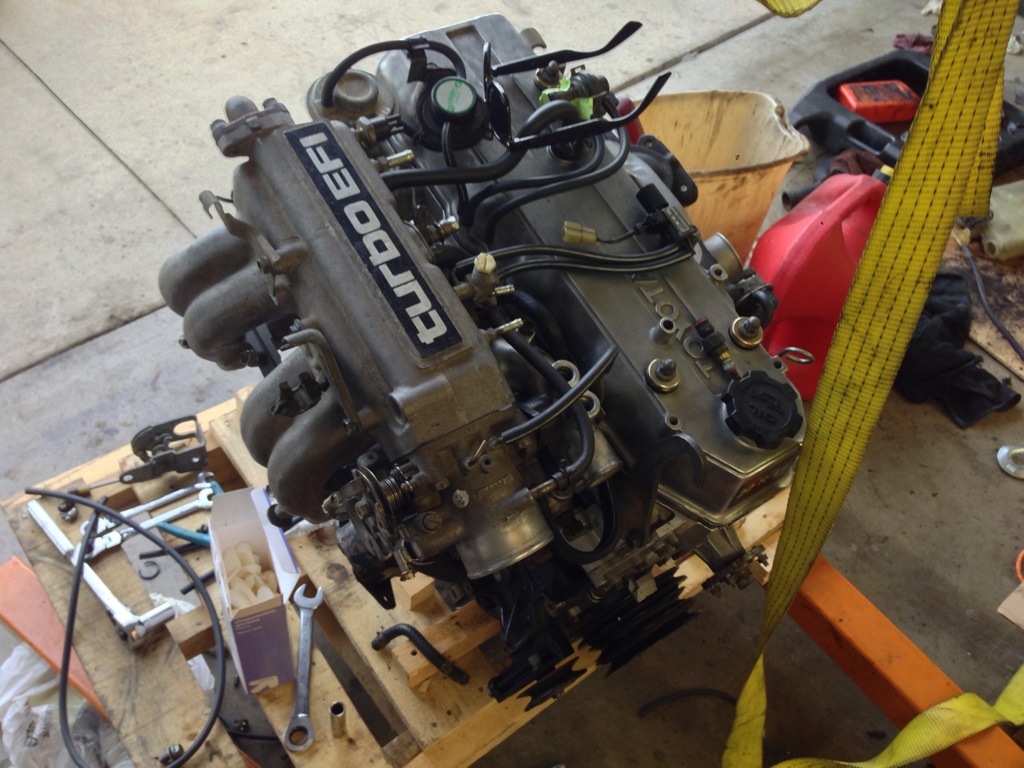
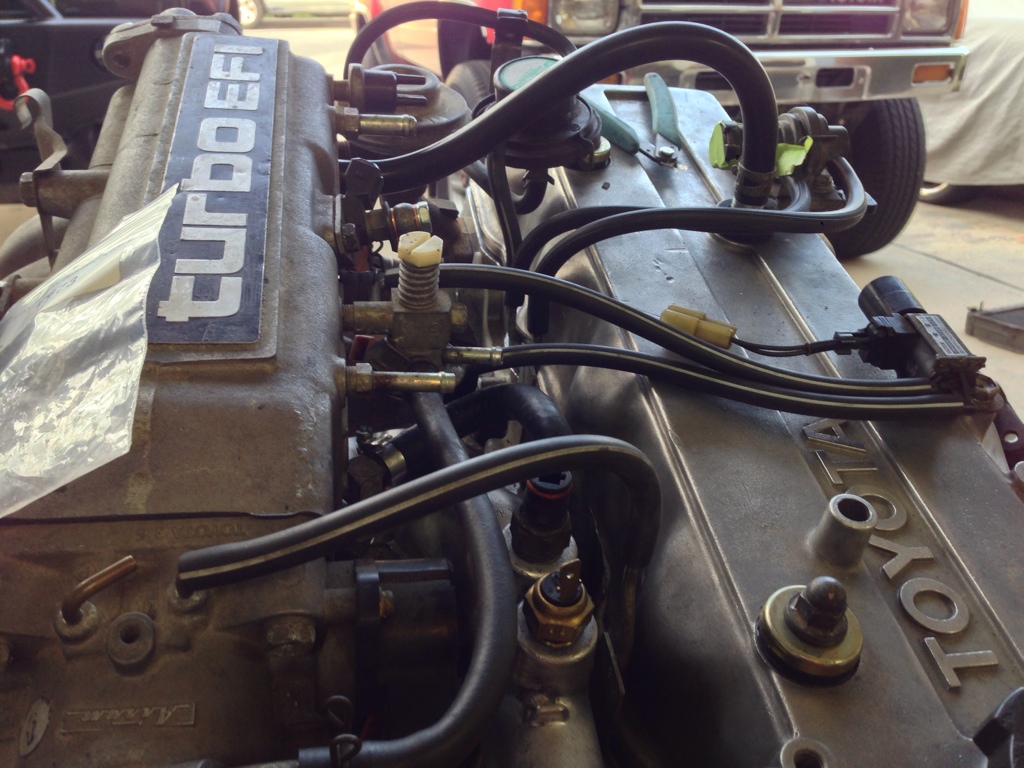
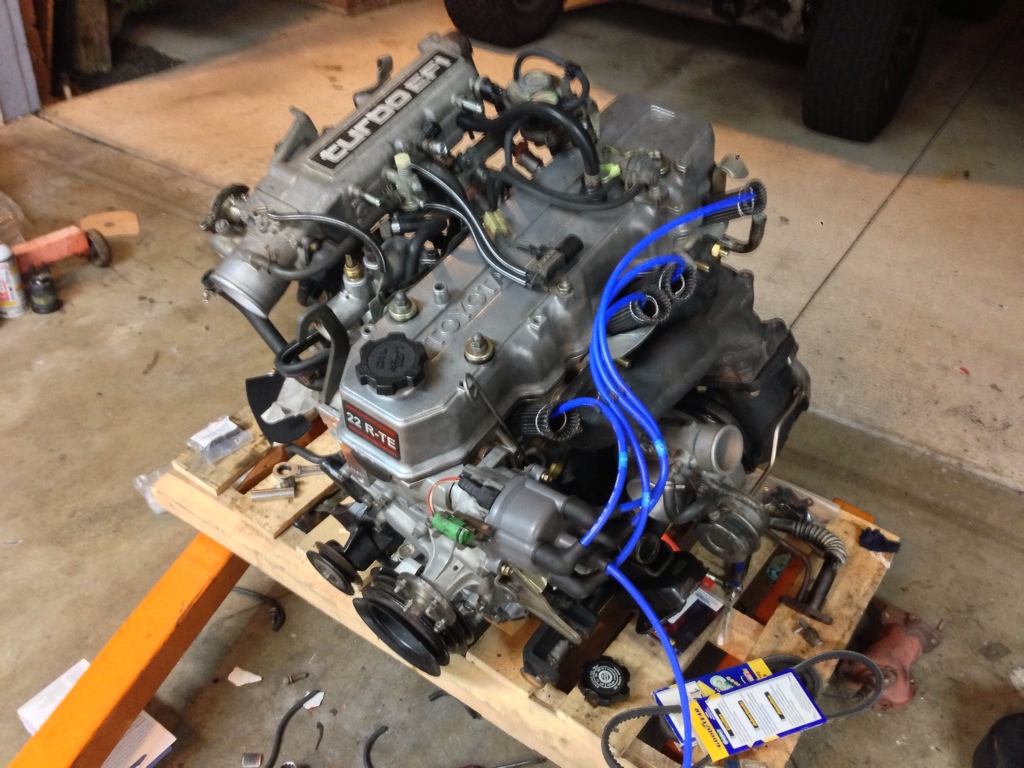
The motor:
There was an oil pan gasket. Ripped that off, oil pan is now installed and sealed with permatex silicone. The seller forgot to send the oil pickup tube and oil pan bolts, so I had to source those. New gasket for the pickup tube and another for the oil drain plug.
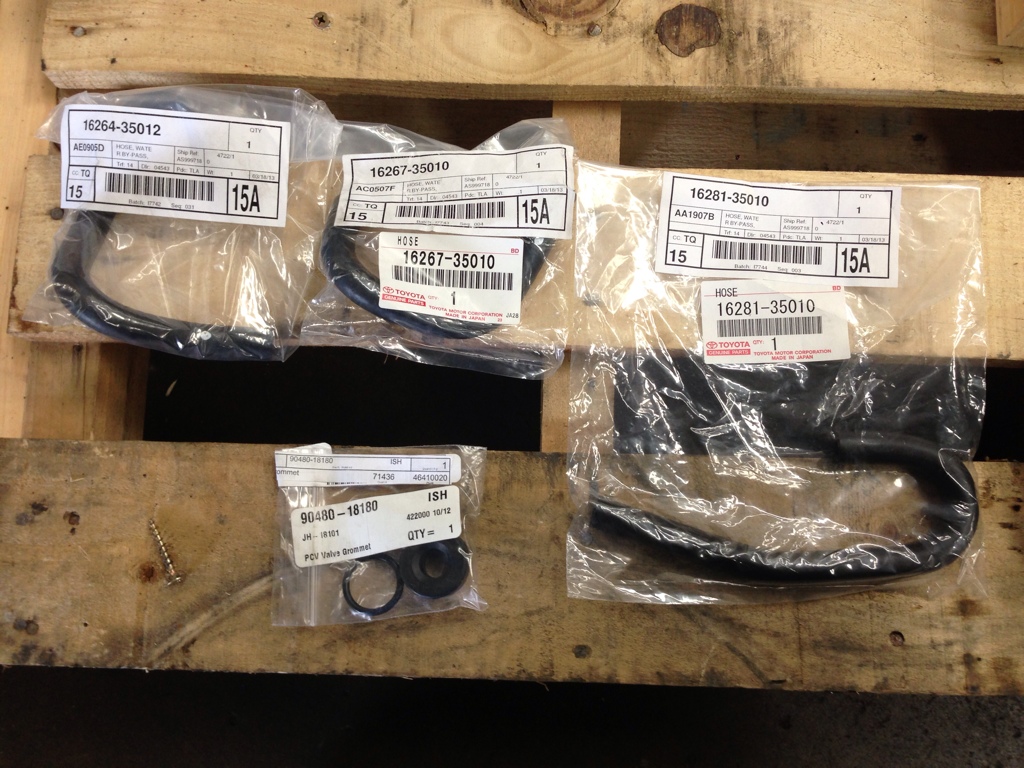
Water lines, PCV grommet, distributor o-ring. Also got a 22re turbo thermostat.
It's back at home and will be installed soon. Waiting for some things to arrive in the mail.
Mar 23, 2013 | 02:35 PM
#56
Thread Starter
Registered User
Joined: Jul 2009
Posts: 245
Likes: 0
From: Mission Viejo, CA
Thanks bud, I look forward to your comments too.
-------------------------------------------------------------------
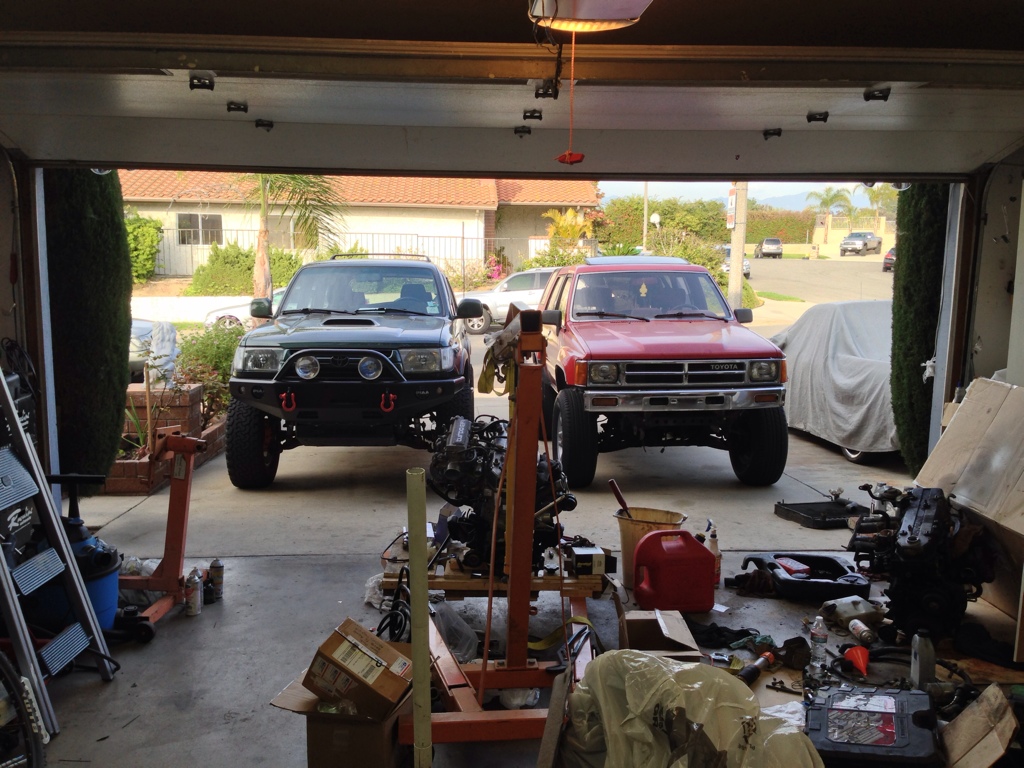
About the motor and it's current stage - it's in my garage, ready to be dropped in. The only setback is the oil lines from the CT-26. Those lines are the last thing I want to install inside of an engine bay. Once I can get those on the motor, I'll drop it in.
Also stopped by autozone. Bought two radiator hoses, Duralast Gold cap and rotor kit, STP drop in air filter, PCV valve, and thermostat gasket. My friend from NY also sent me an OEM battery tie down.
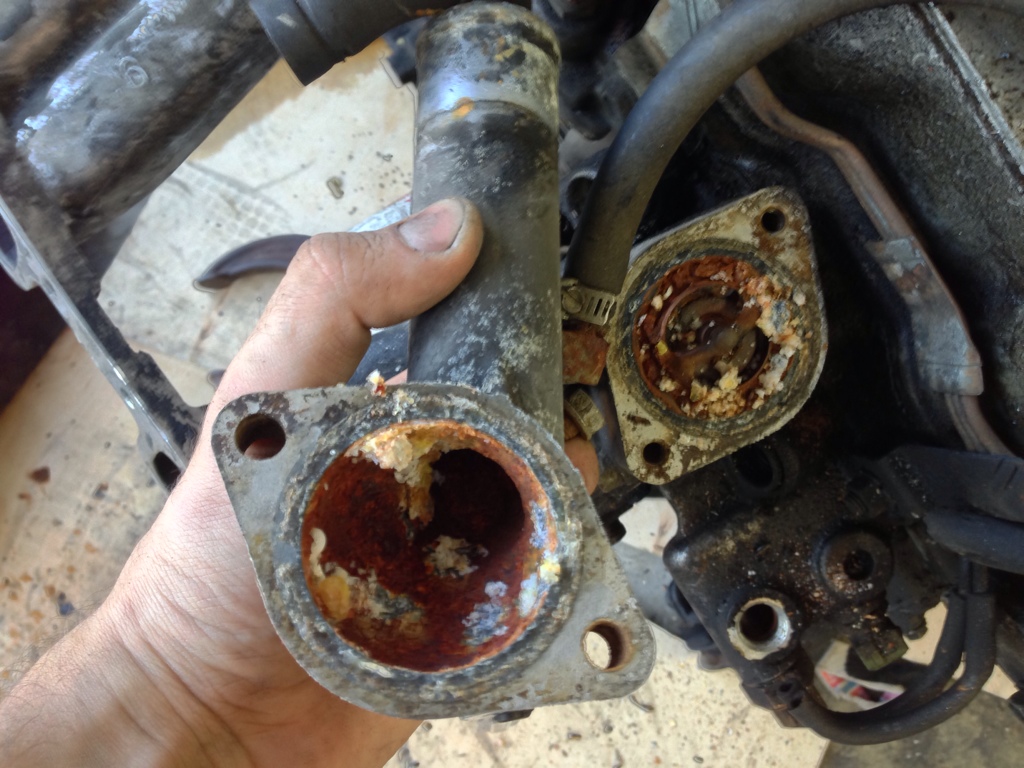
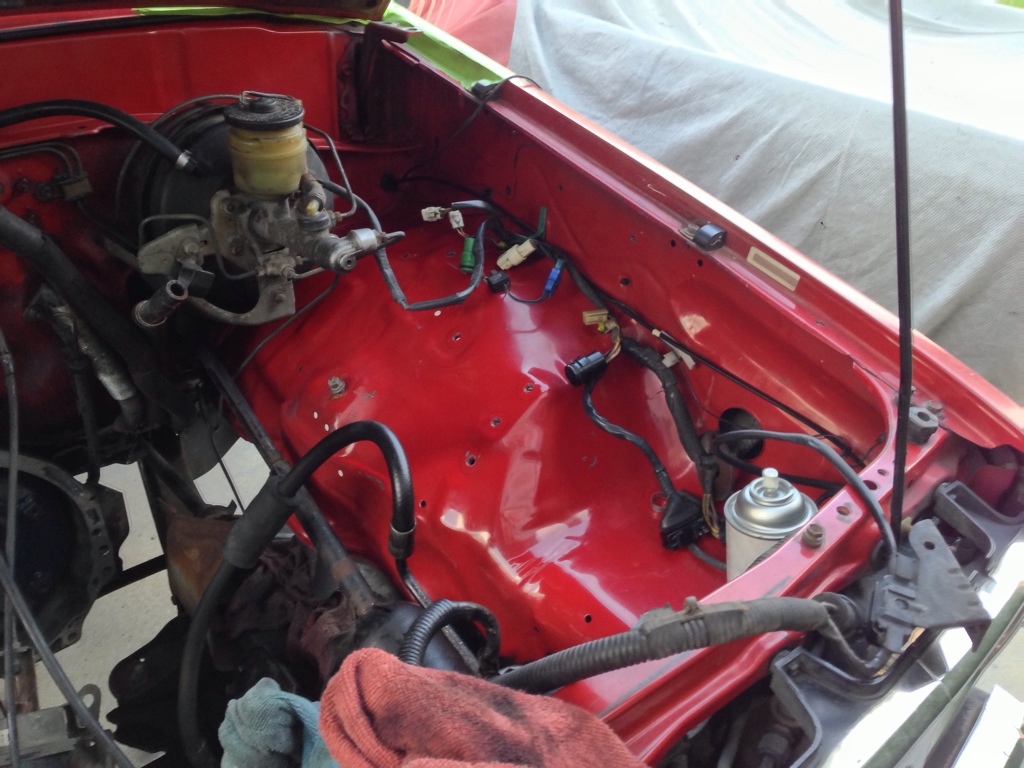
In the meantime, I'm cleaning up other things. The old motor was nastier than I have ever seen a motor get. Anything cooling related is drastically nasty. Too bad I need to use some of it! Can't believe this thing ran!
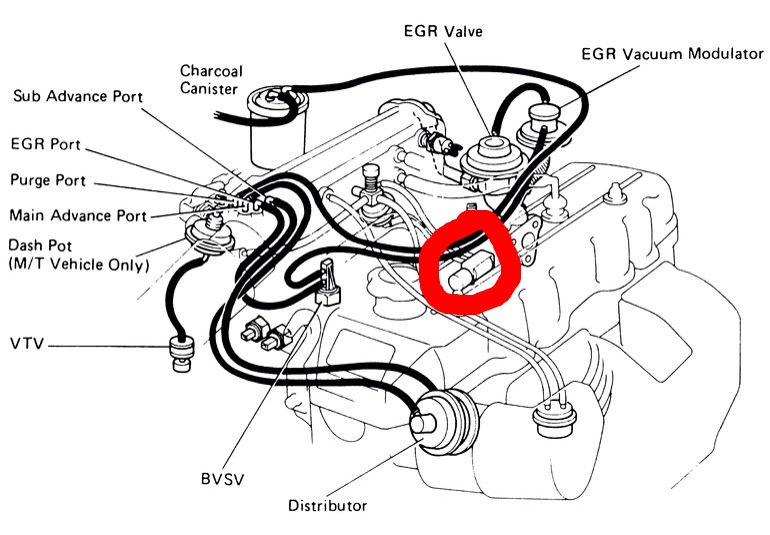
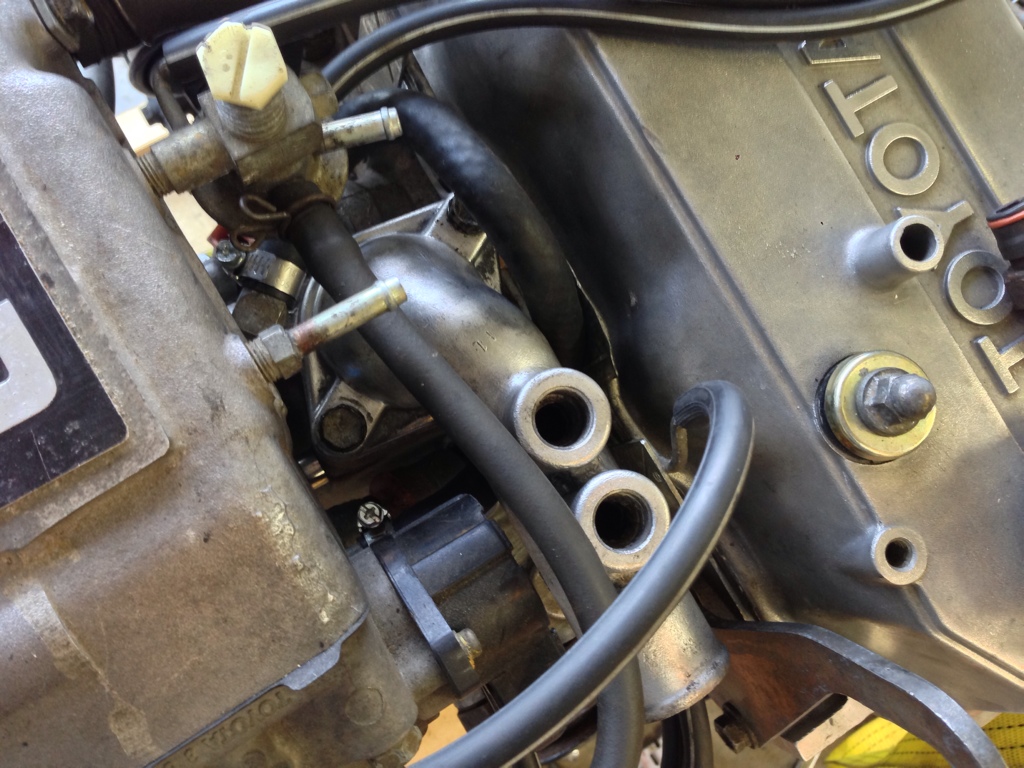
And last, can anyone identify this item, please? A vacuum solenoid for something. I broke the vacuum leads off and want to replace it. Thanks!
-------------------------------------------------------------------
About the motor and it's current stage - it's in my garage, ready to be dropped in. The only setback is the oil lines from the CT-26. Those lines are the last thing I want to install inside of an engine bay. Once I can get those on the motor, I'll drop it in.
Also stopped by autozone. Bought two radiator hoses, Duralast Gold cap and rotor kit, STP drop in air filter, PCV valve, and thermostat gasket. My friend from NY also sent me an OEM battery tie down.
In the meantime, I'm cleaning up other things. The old motor was nastier than I have ever seen a motor get. Anything cooling related is drastically nasty. Too bad I need to use some of it! Can't believe this thing ran!
And last, can anyone identify this item, please? A vacuum solenoid for something. I broke the vacuum leads off and want to replace it. Thanks!
Last edited by ChildrenOfBodom; Mar 23, 2013 at 04:59 PM.
Mar 23, 2013 | 05:32 PM
#57
Idle up VSV. for P/s and A/c
It's my understanding the VSV are pretty much interchangable. There are maybe two types one applies vacuum the other applies atmospheric pressure when active.
Here is photo picture, can't make out the part number
https://www.yotatech.com/forums/f123.../#post50849156
It's my understanding the VSV are pretty much interchangable. There are maybe two types one applies vacuum the other applies atmospheric pressure when active.
Here is photo picture, can't make out the part number
https://www.yotatech.com/forums/f123.../#post50849156
Mar 26, 2013 | 05:41 PM
#58
Thread Starter
Registered User
Joined: Jul 2009
Posts: 245
Likes: 0
From: Mission Viejo, CA
Idle up VSV. for P/s and A/c
It's my understanding the VSV are pretty much interchangable. There are maybe two types one applies vacuum the other applies atmospheric pressure when active.
Here is photo picture, can't make out the part number
https://www.yotatech.com/forums/f123.../#post50849156
It's my understanding the VSV are pretty much interchangable. There are maybe two types one applies vacuum the other applies atmospheric pressure when active.
Here is photo picture, can't make out the part number
https://www.yotatech.com/forums/f123.../#post50849156
------------------------------------------------------------------
Not much progress to post. I cleaned up the thermostat housing and installed it, along with 82 degree thermostat and new seal. Also installed the 3 main water lines and some more vacuum stuff (including VSV). Also got my cap and rotor ready.
Ordered these items:
- Bic Performance CT26 outlet flange 3/8"
- CT26 inlet and outlet MLS gaskets
- Innovate MTX-L Wideband Kit
- 2ft. black silicone vacuum tube 10mm (PCV, breather)
- DENSO Oxygen sensor, upstream
- LC Engineering weld in O2 sensor flange (2-bolt)
- NGK Spark plug wires 8mm
- spark plug wire boots (black)
- 10 brass nuts 10x1.25mm for turbo manifold
- Oil pan drain plug
- All new belts
- Front sway bar bushings
- Monroe steering damper
- Coolant temp sensor
Mar 30, 2013 | 05:45 PM
#59
Thread Starter
Registered User
Joined: Jul 2009
Posts: 245
Likes: 0
From: Mission Viejo, CA
[YOUTUBE]kbF-EajO_O8[/YOUTUBE]
Did some more cleaning of the engine bay.
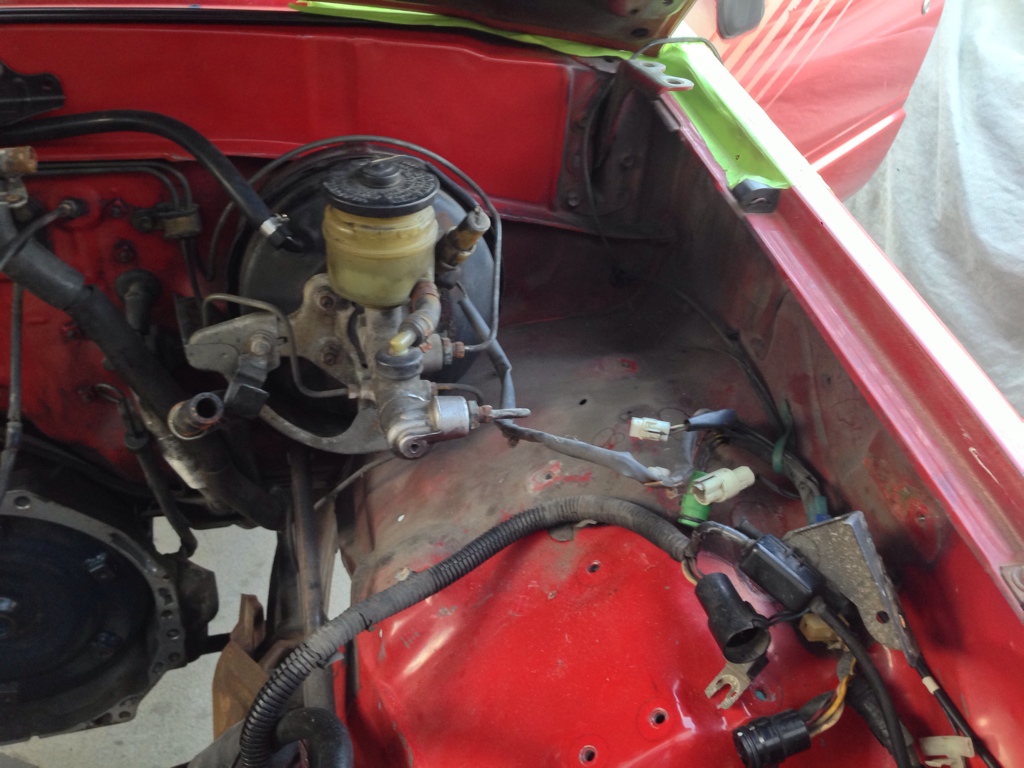
Ordered 2 feet of 10mm silicone vacuum line... they sent me 10! Replaced vacuum hoses for brake booster with silicone.
PCV hose replaced with silicone
Coolant temp sensor
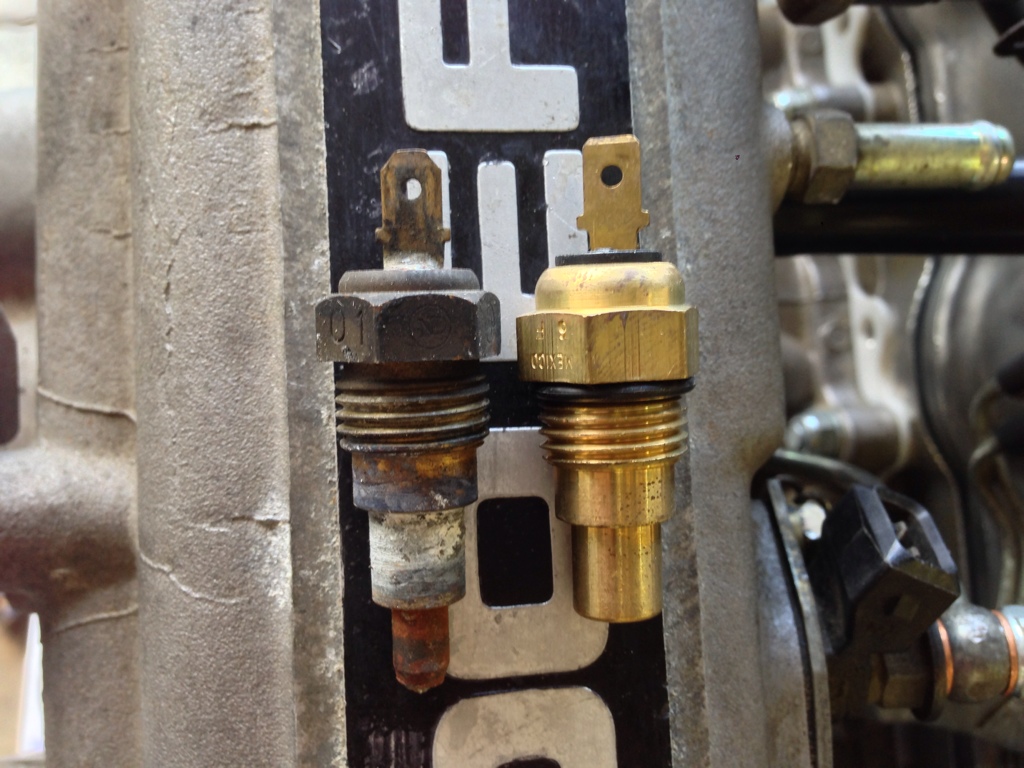
As she sits now.
I have some new factory parts that came with the truck when I bought it. Gotta install the coolant hose next to the intake side of the turbo. Going to order up some ebay silicone couplers and intake tubing and mock something up.
Oil lines for the CT-26 arrived. Still trying to get the old ones from the old turbo off. I'm going to do my best to see if I can use the CT20 oil line, but I need a closer look with the line off. Ordered a set of gaskets for the turbo lines.
Still waiting for the wideband and CT26 outlet flange.
Did some more cleaning of the engine bay.
Ordered 2 feet of 10mm silicone vacuum line... they sent me 10! Replaced vacuum hoses for brake booster with silicone.
PCV hose replaced with silicone
Coolant temp sensor
As she sits now.
I have some new factory parts that came with the truck when I bought it. Gotta install the coolant hose next to the intake side of the turbo. Going to order up some ebay silicone couplers and intake tubing and mock something up.
Oil lines for the CT-26 arrived. Still trying to get the old ones from the old turbo off. I'm going to do my best to see if I can use the CT20 oil line, but I need a closer look with the line off. Ordered a set of gaskets for the turbo lines.
Still waiting for the wideband and CT26 outlet flange.
Last edited by ChildrenOfBodom; Apr 12, 2013 at 09:41 PM.


