
ChefYota4x4's 1987 4Runner Build-Up Thread
 Feb 18, 2013 | 09:03 AM
#5881
Thread Starter
Registered User
iTrader: (5)
Joined: Jun 2009
Posts: 19,281
Likes: 20
From: Lake Havasu, AZ

The family is looking good. Glad to see you are getting to spend some time with them. Talking to you yesterday sounds like the chemicals did a number on you. Hope things are getting better.
Your brake upgrade is looking great and sounds like it was a big improvement.
Here is how you can bypass the safetys on your tailgate that you were asking about. Orientate your plug like it is shown in the picture and run a wire from the plug to a good ground. For what you are wanting to do it will work for a temporary fix. I did mine permanent. I knew the motors in the back of some cars would interchange just wasnt sure which one it was. Mine actually work great. While you are back there, put some silicon spray on your window tracks and that will make it alot easier on your motor as well.
Hey Mark...just an FYI.
So I started my rotor/pad project yesterday. Planned on repacking the bearings. For one thing it's a messy job. First off I find that whichever mechanic I had replace the rotors once before used a chisel to take those 54MM nuts off....but I said "OK" I can live with those marred up bolts. Then I find one of my bearing races has a pretty large and deep pitted area. I did not plan on replacing bearings/races, so the project comes to complete STOP.
So....you might want to think of having new bearings on hand if you don't already.
By the way, do you have any idea what the characters on top of this 82' supra hood badge mean? Apparently it's worth some $$, one sold for $65 on ebay recently. It would be a cool return for something I threw in my tool bag from the yard!
Thanx for the excellent tips... I did do all new Koyo Bearings and races from Napa years ago when I did my rotors.... hopefully I can di just an off and on after only 15k or so... we will see, right?

Last edited by ChefYota4x4; Feb 18, 2013 at 09:29 AM.
Feb 18, 2013 | 09:21 AM
#5882
Thread Starter
Registered User
iTrader: (5)
Joined: Jun 2009
Posts: 19,281
Likes: 20
From: Lake Havasu, AZ
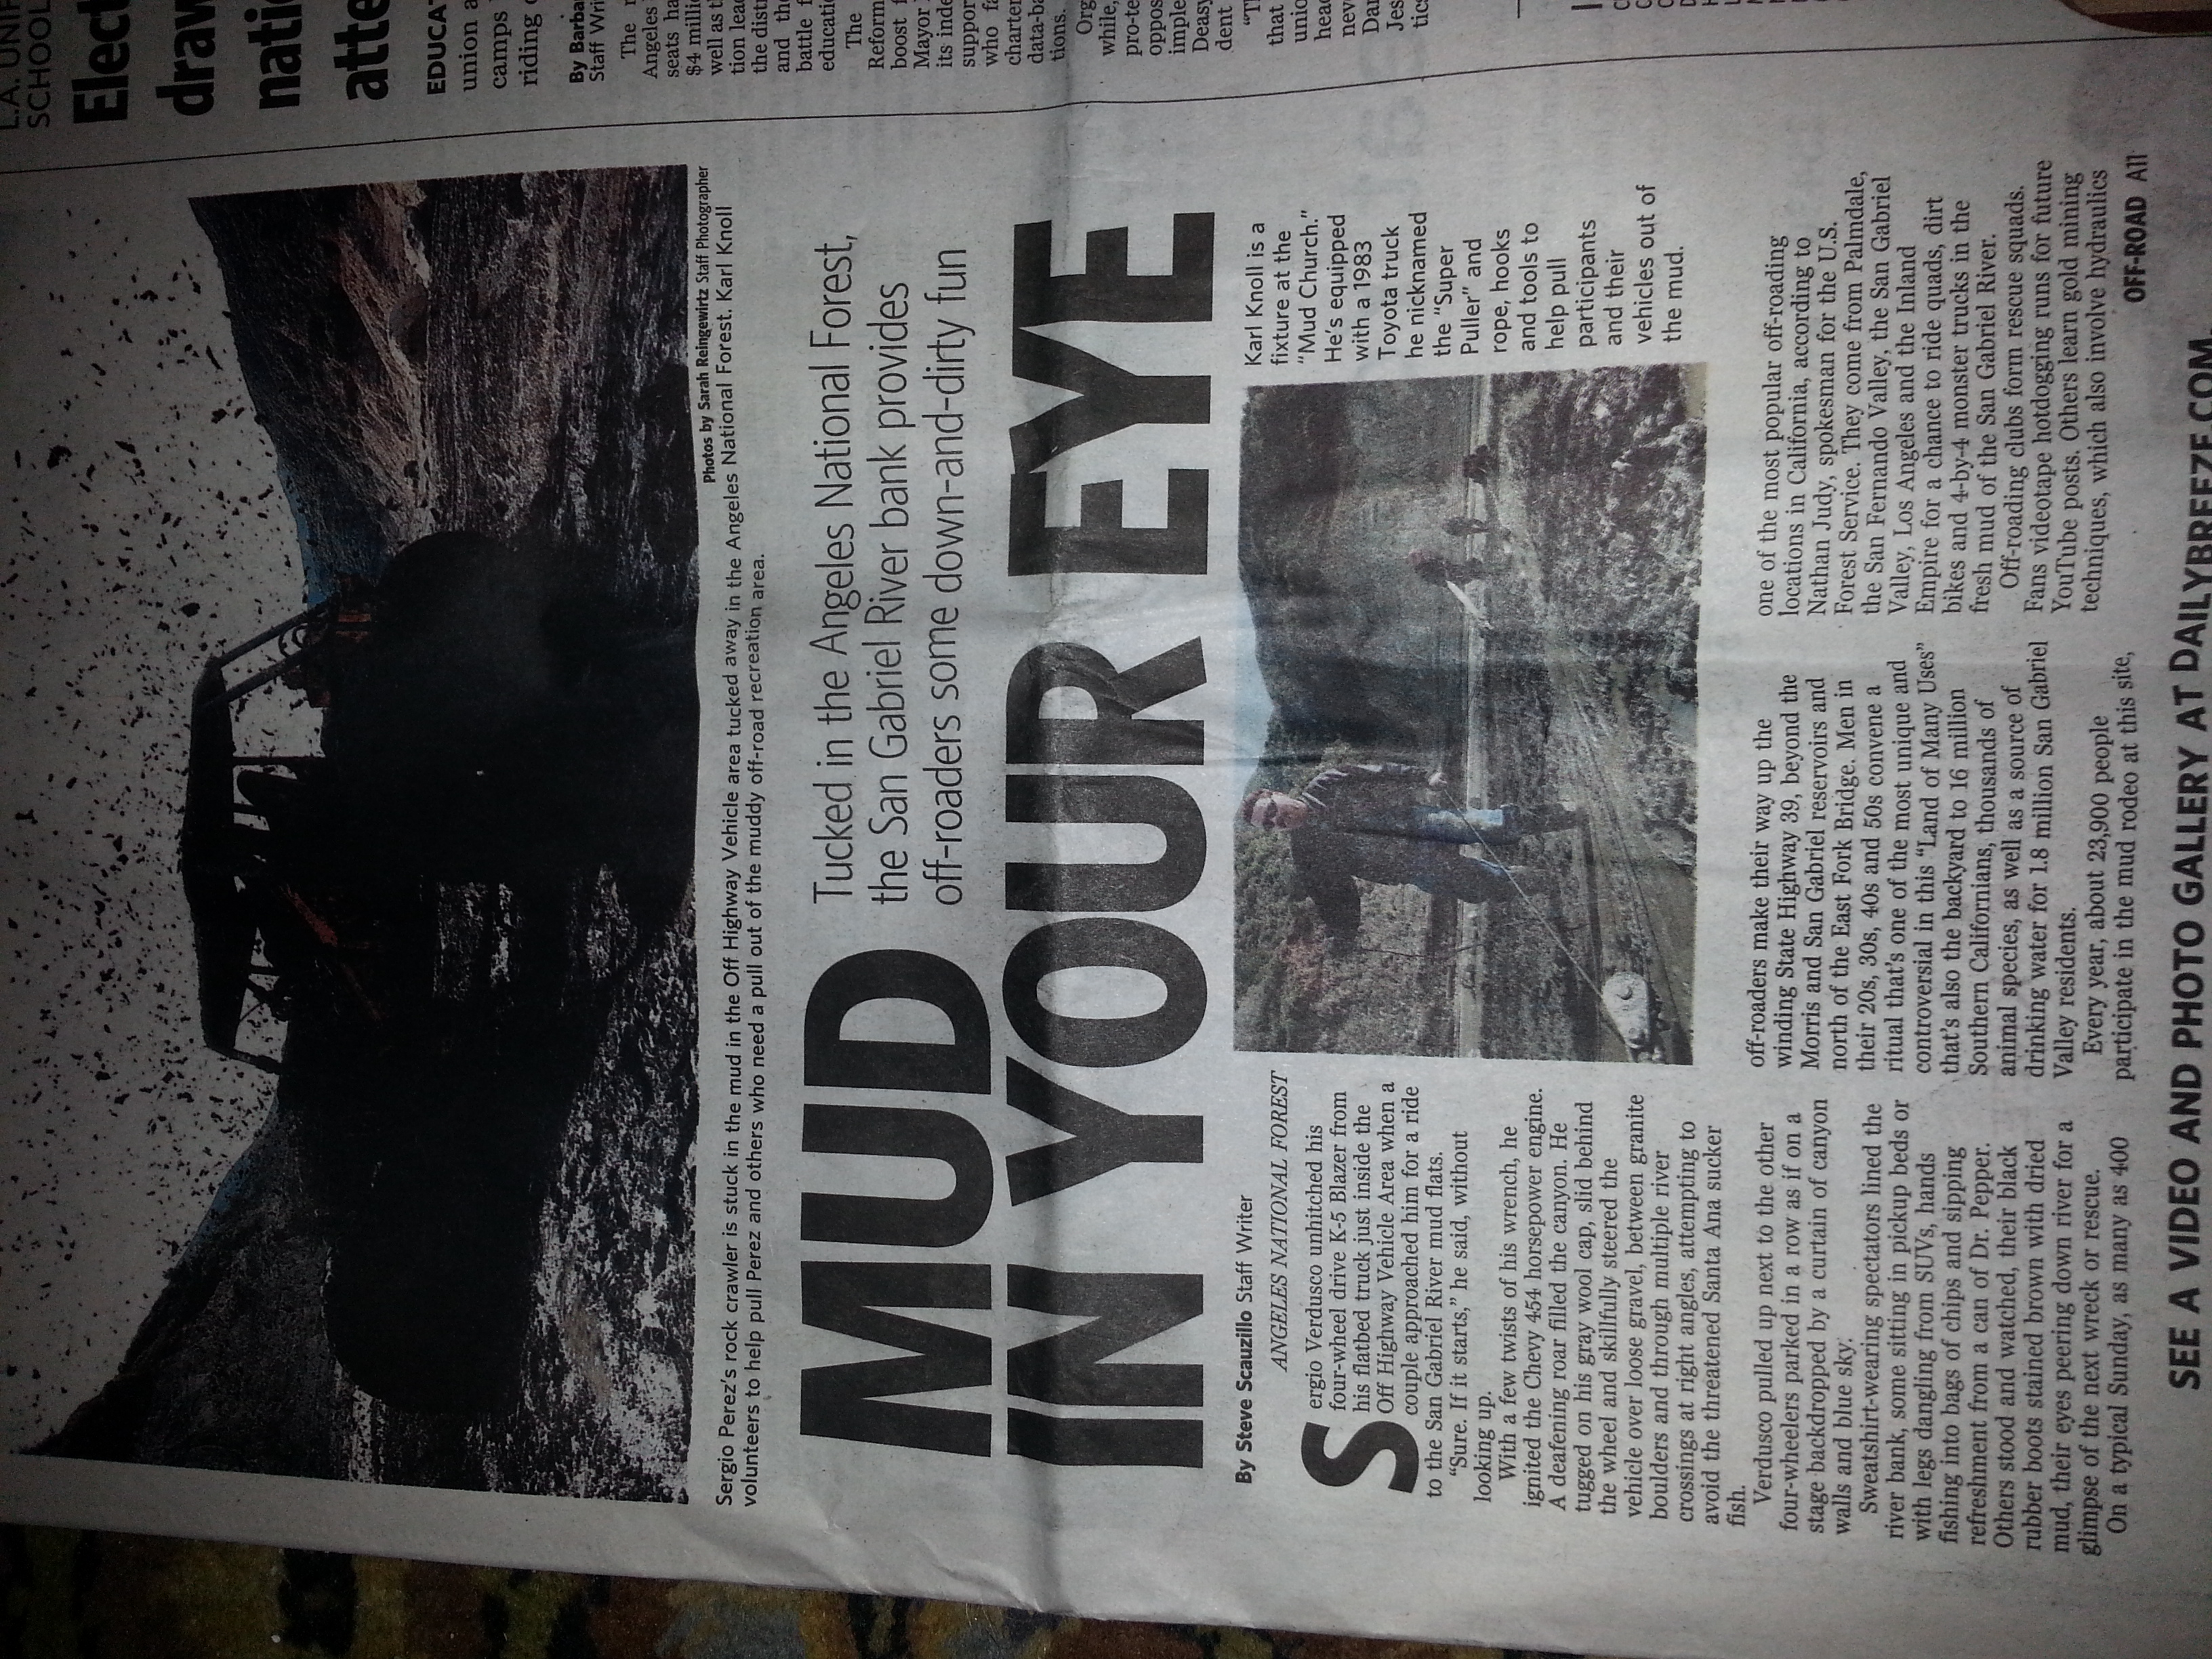
Just wanted to share this front page/FULL PAGE article in the Daily Breeze Newspaper with u all...... I recommend reading it online, and note the "83 TOYOTA PULLS ALL THE STUCK VEHICLES FROM THE MUD, ONE BY ONE" portion..... hahahah.... BUTTTTTT, also note the carefully worded "highly controversial event where off road vehicles traverse streams where the endangered 'santa ana puffer fish' live and 'through drinking water of citizens in the valley below' portion... The article goes beyond that, and it's continued on another page... I'll let u read it as I want to avoid what I would like to say as when formerly part time writing at freedom torch and human events dot com.... This is Yotatech, so I wont, to that extent,....but its important to see whats coming if ur a wheeler. I'll just leave it at this; People I've known for 30 years, 20 or so years ago, would always say, "OH C'MONNN, they can't and wont take that away!", even here in CA..... They dont say such things any longer... And its not an "ALL SCATHING COMMENTARY" on the sport... Just trust me.... they've already blocked off TONS of OHV areas here in the ANGELES CREST NAT. FOREST, ... ask Redeth, I took him up there, where they now even have PILONS all over, impassable ones! Anyway, interesting, IMHO, to see this as a front page article. And, well, I'm sure the San juaquin farmers disnt think the delta smelt fish would put 40, 000+ of them in poverty in a dust bowl.... but oh well, eh????>>>>
Last edited by ChefYota4x4; Feb 18, 2013 at 09:27 AM.
Feb 18, 2013 | 11:48 AM
#5883

Registered User
Joined: Apr 2007
Posts: 1,580
Likes: 1
From: Park City, UT
Hey, it's not your fault if people can't keep up! Not like I'm saying I can, my whole build thread consists of maybe 4 posts involving building.
Definitely gonna check out that article. We flew over that place when we were on the Williams fire last season, watched a Blazer/Bronco(it was hard to tell exactly from our altitude) that was stuck being pulled by some guy taking a run at it and yanking him. Starting probably 15 ft from bumper to bumper and the chain/strap looked at least 50 ft long, so he was really getting a run at it!
Definitely gonna check out that article. We flew over that place when we were on the Williams fire last season, watched a Blazer/Bronco(it was hard to tell exactly from our altitude) that was stuck being pulled by some guy taking a run at it and yanking him. Starting probably 15 ft from bumper to bumper and the chain/strap looked at least 50 ft long, so he was really getting a run at it!
Feb 18, 2013 | 11:21 PM
#5884
Thread Starter
Registered User
iTrader: (5)
Joined: Jun 2009
Posts: 19,281
Likes: 20
From: Lake Havasu, AZ
ANOTHER busy and productive day, homies.... lets get to it...........
Jack up rig, slap some stands under her, remove wheels.....
1. Push back pads from disc/rotor, Unbolt caliper from steering knuckle, pull up caliper and hang from upper A-arm with mechanics wire or zip ties, careful not to crimp or damage brake line....
2. Remove frewheel hub cover, axle end nut, remove freewheel hub body, remove c-clip and pull 54mm nuts and star washer.
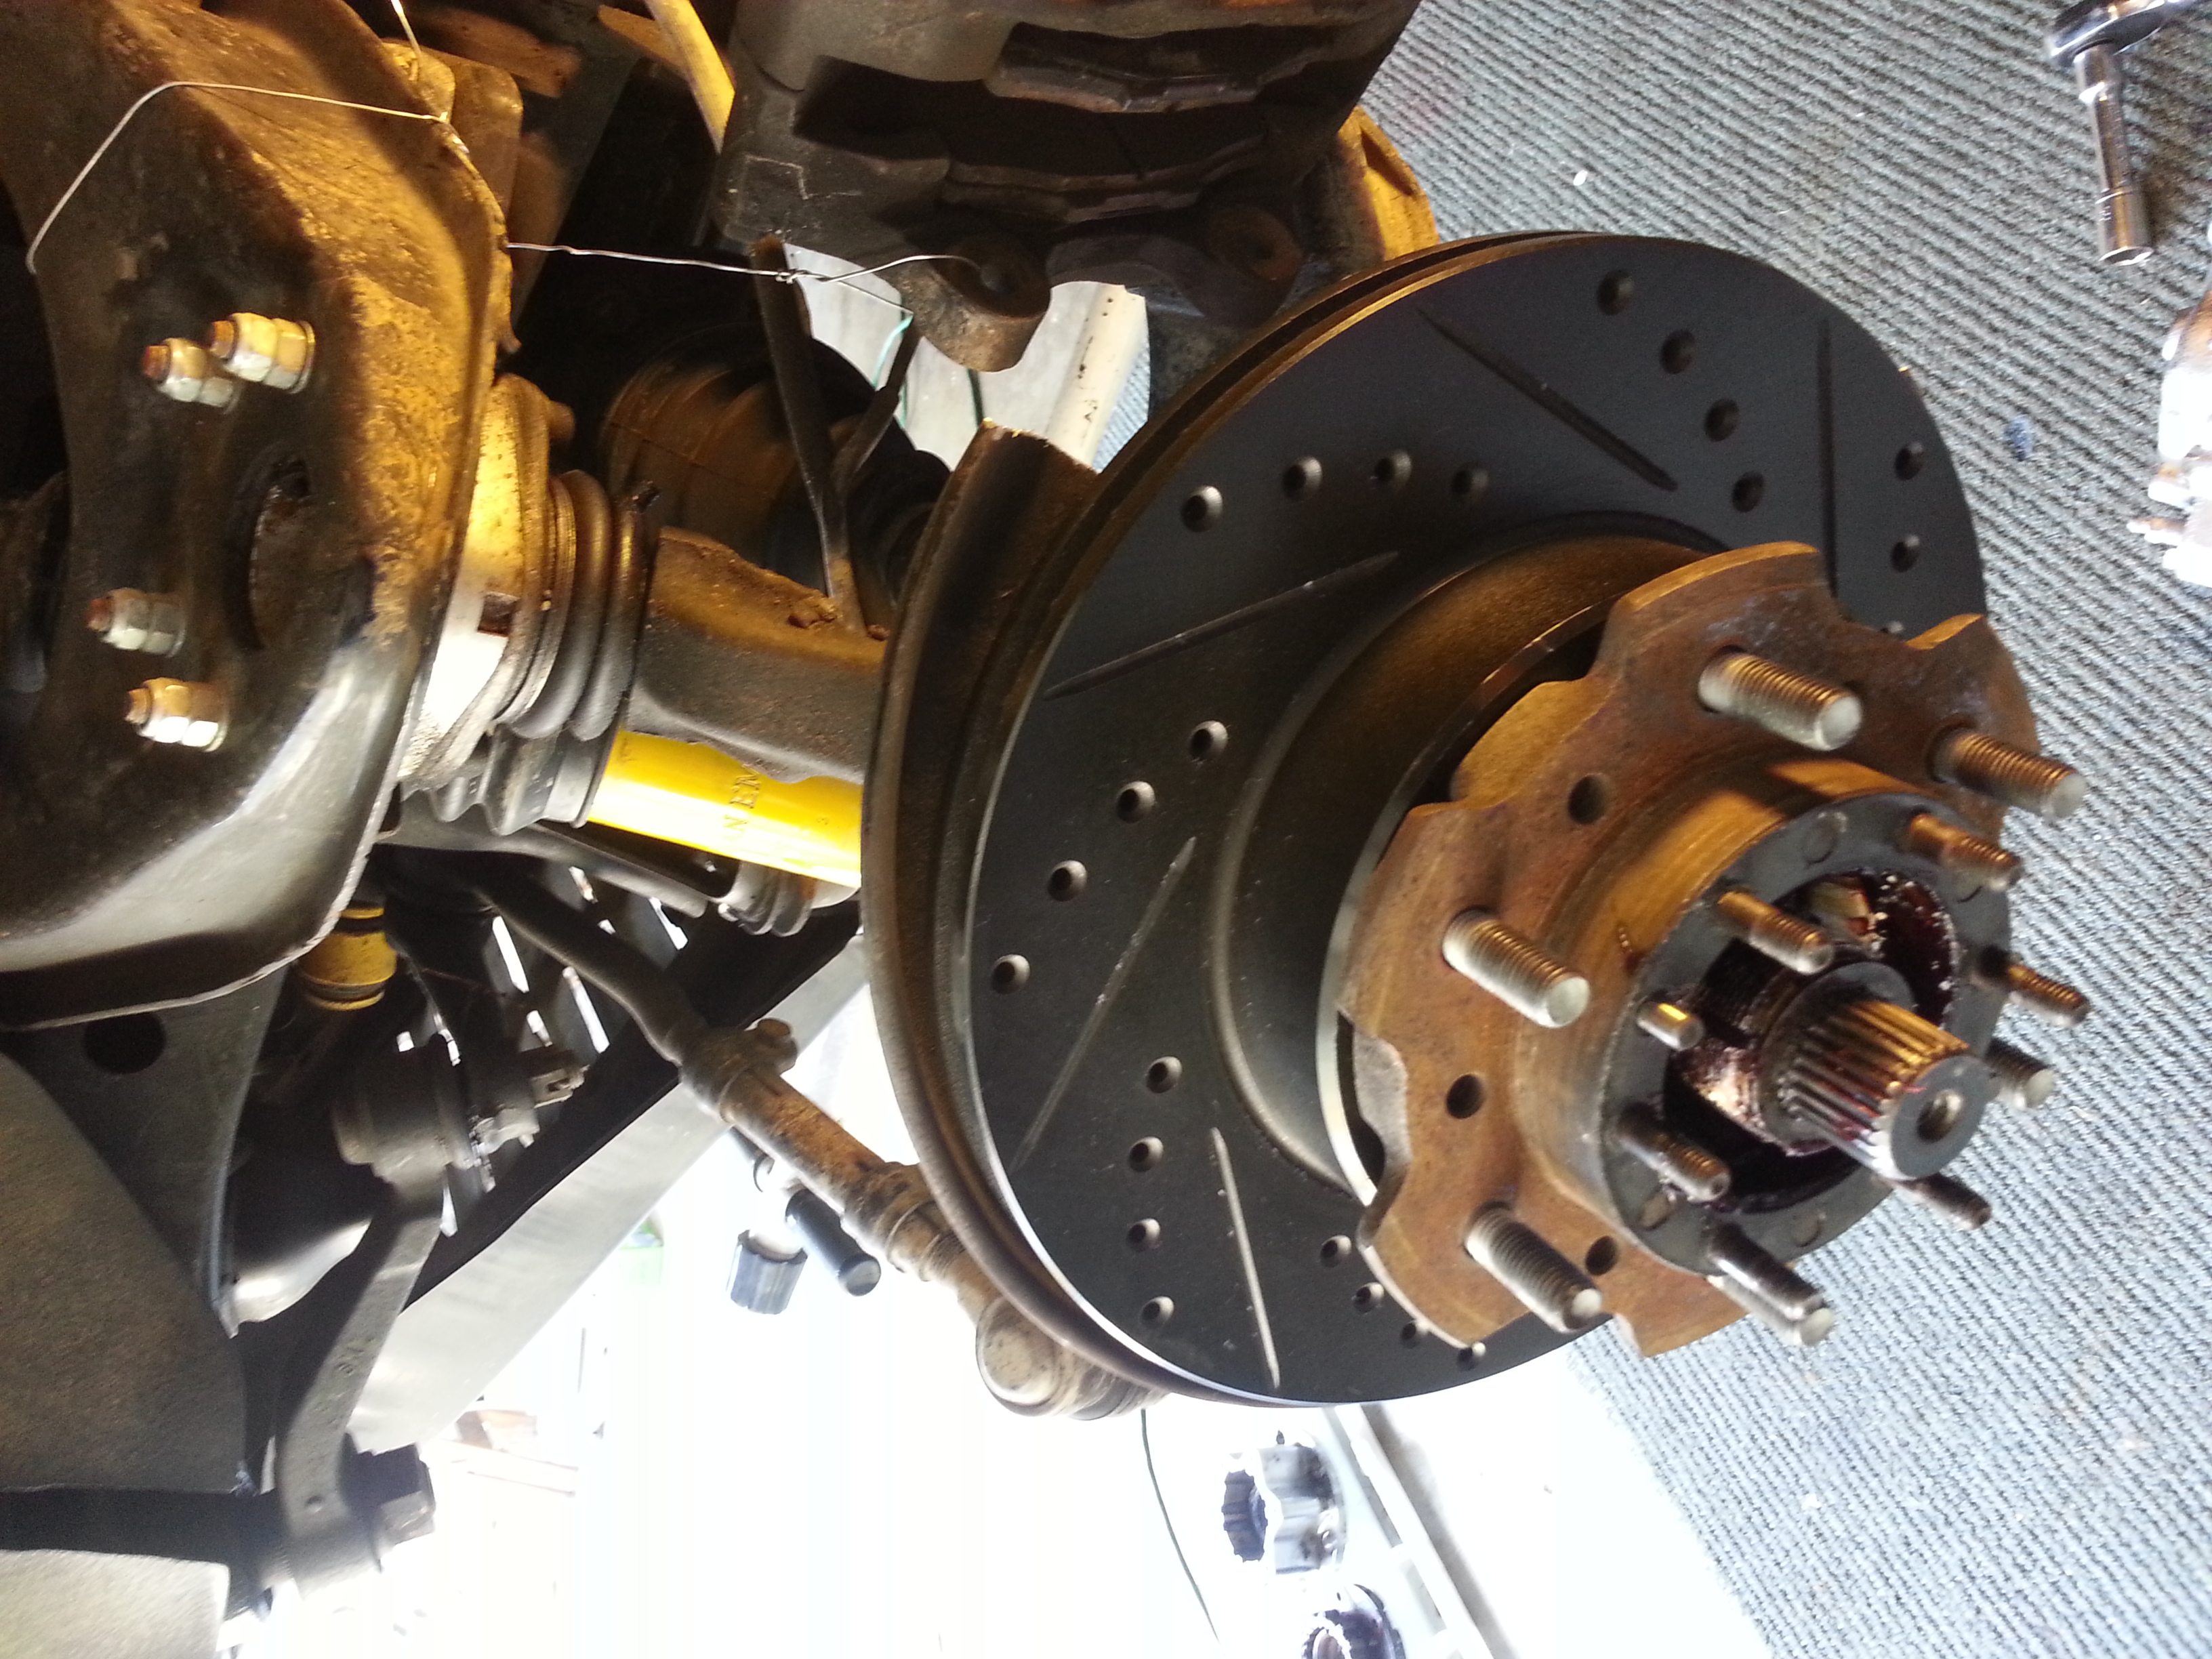
3. While next pulling the rotor with the wheel hub, be careful not to let the outer bearing fall on the ground. I take a paper plate and force it over the lug nut studs, that way the bearing can remain in there until u can lay the hub down......
Hub and rotor removed.....
I use a 1/2" drive impact to remove 6 bolts holding rotor and wheel hub together...
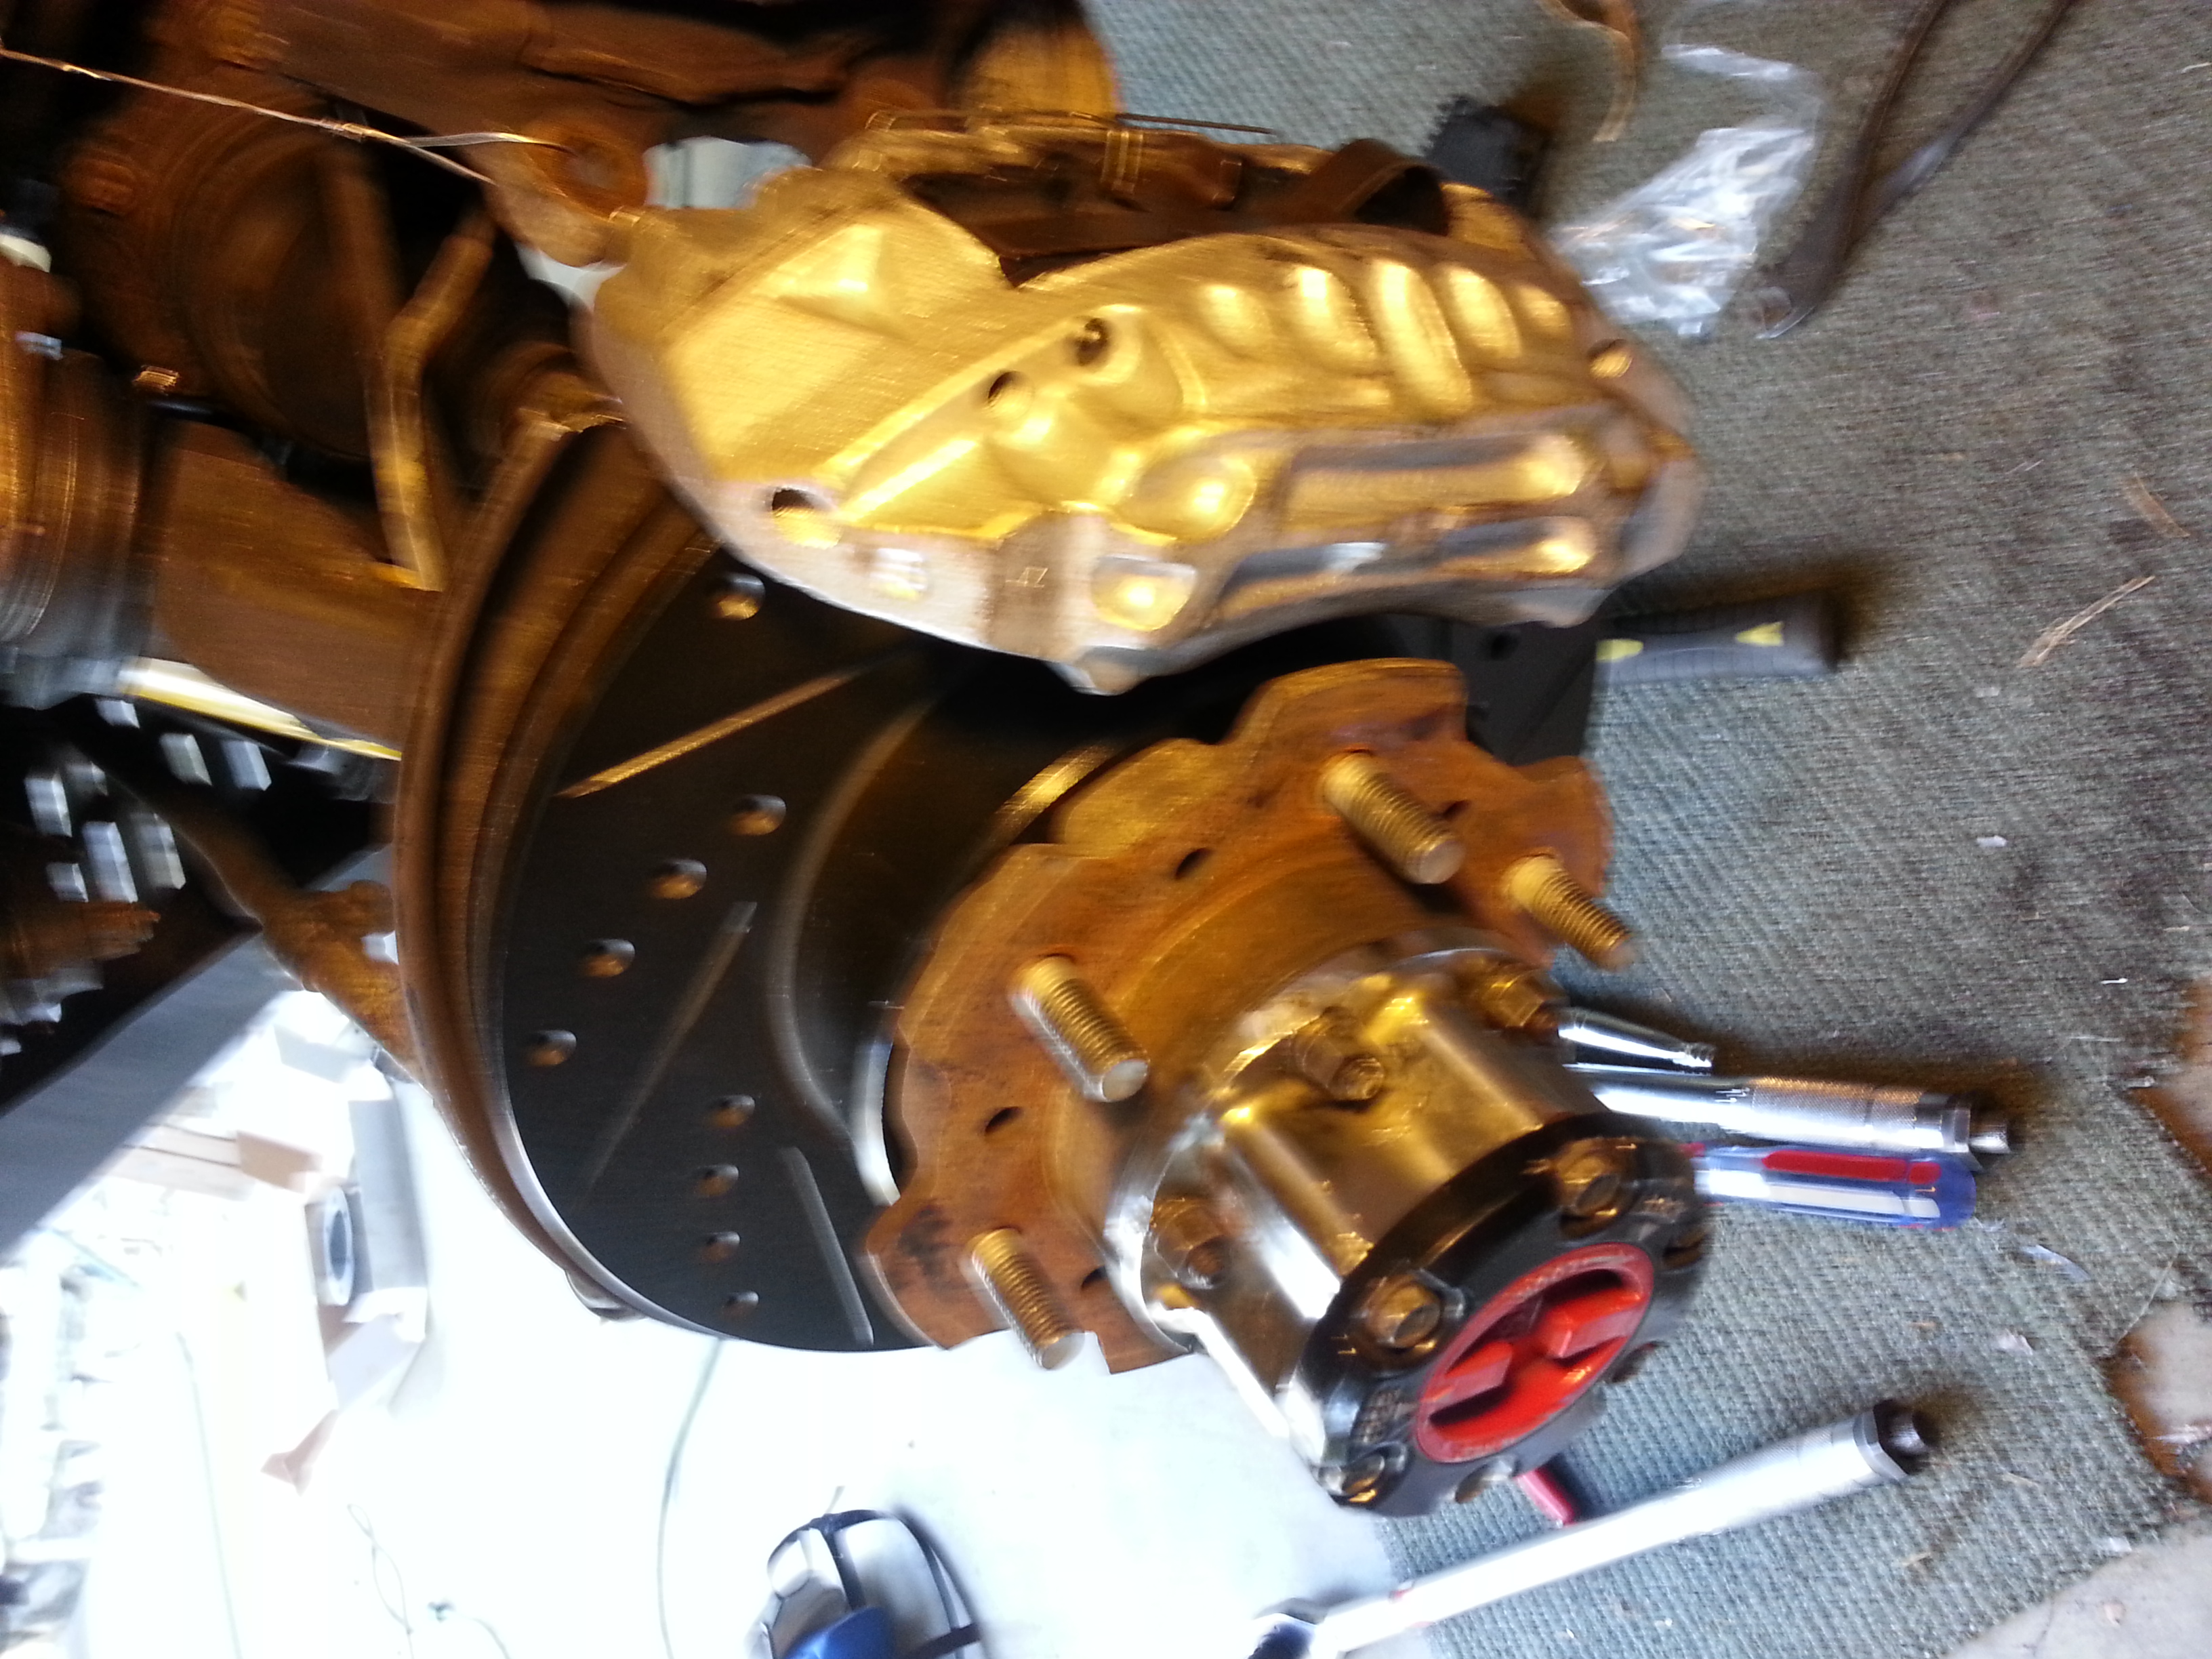
Stood the HART Black Zink V6 rotors next to the 4cyl rotors....
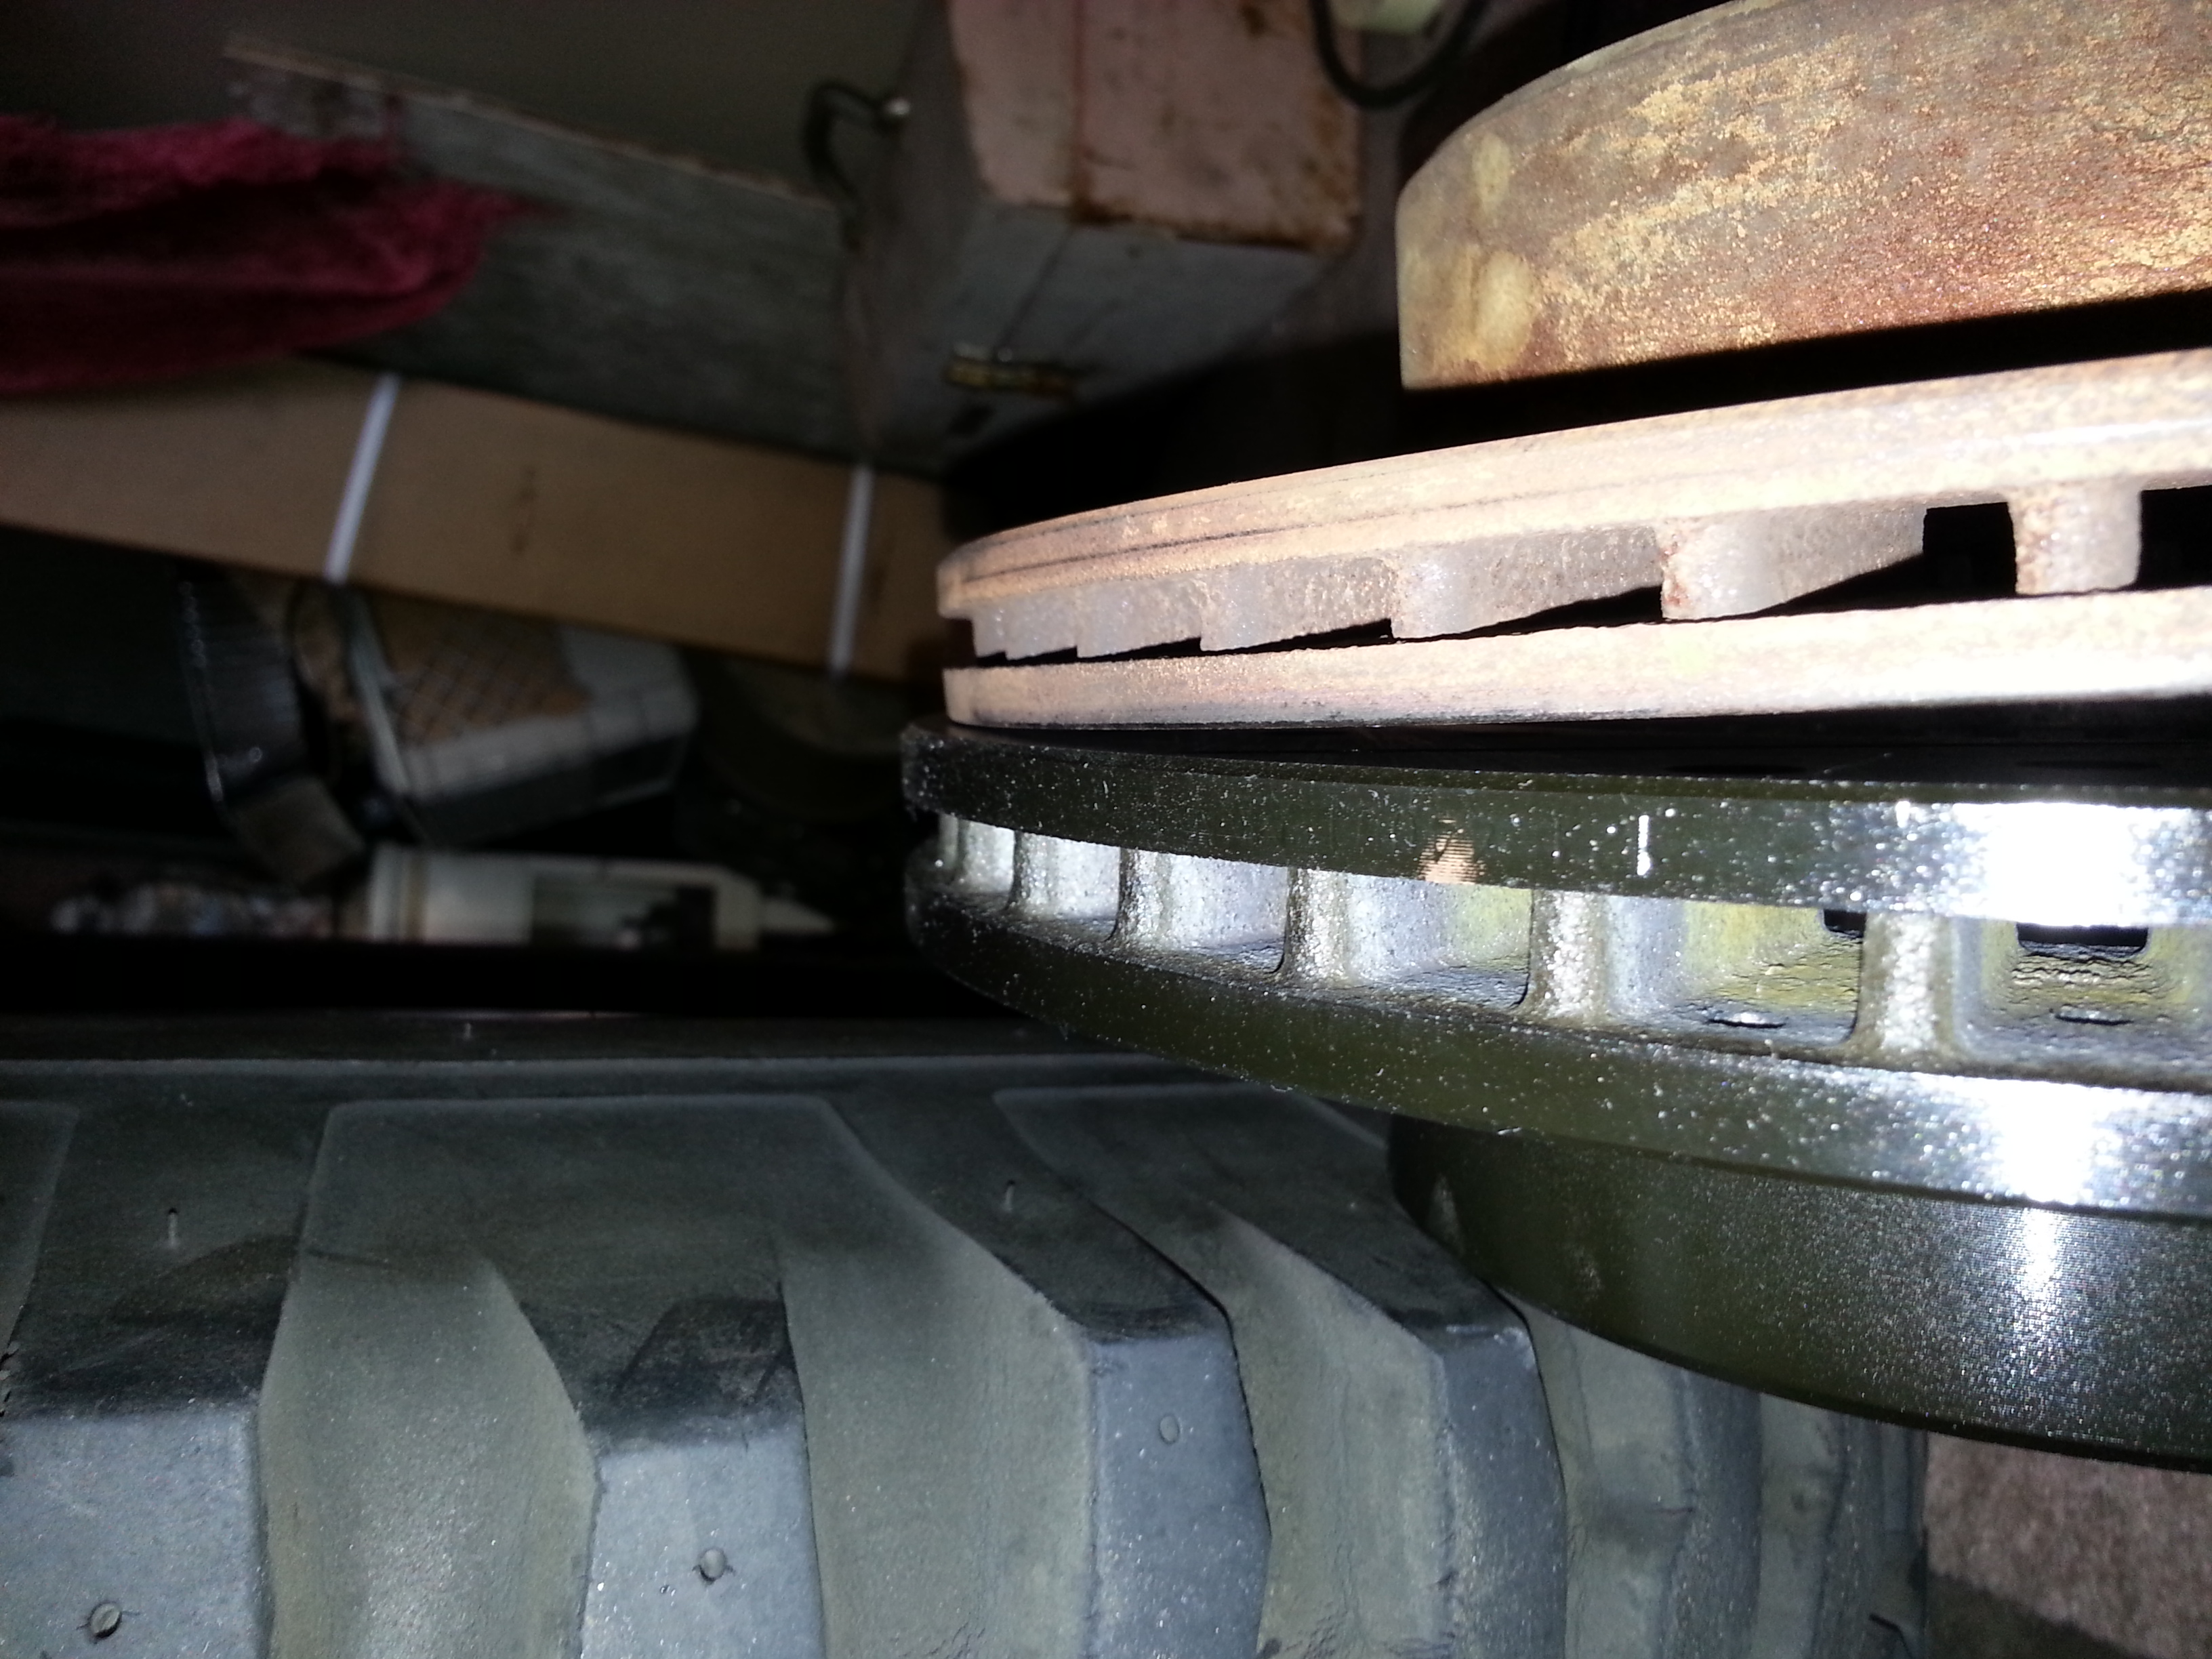
(They are not quite that much taller as they appear, but they're both taller by a tiny bit and clearly both wider and thicker each fin...)
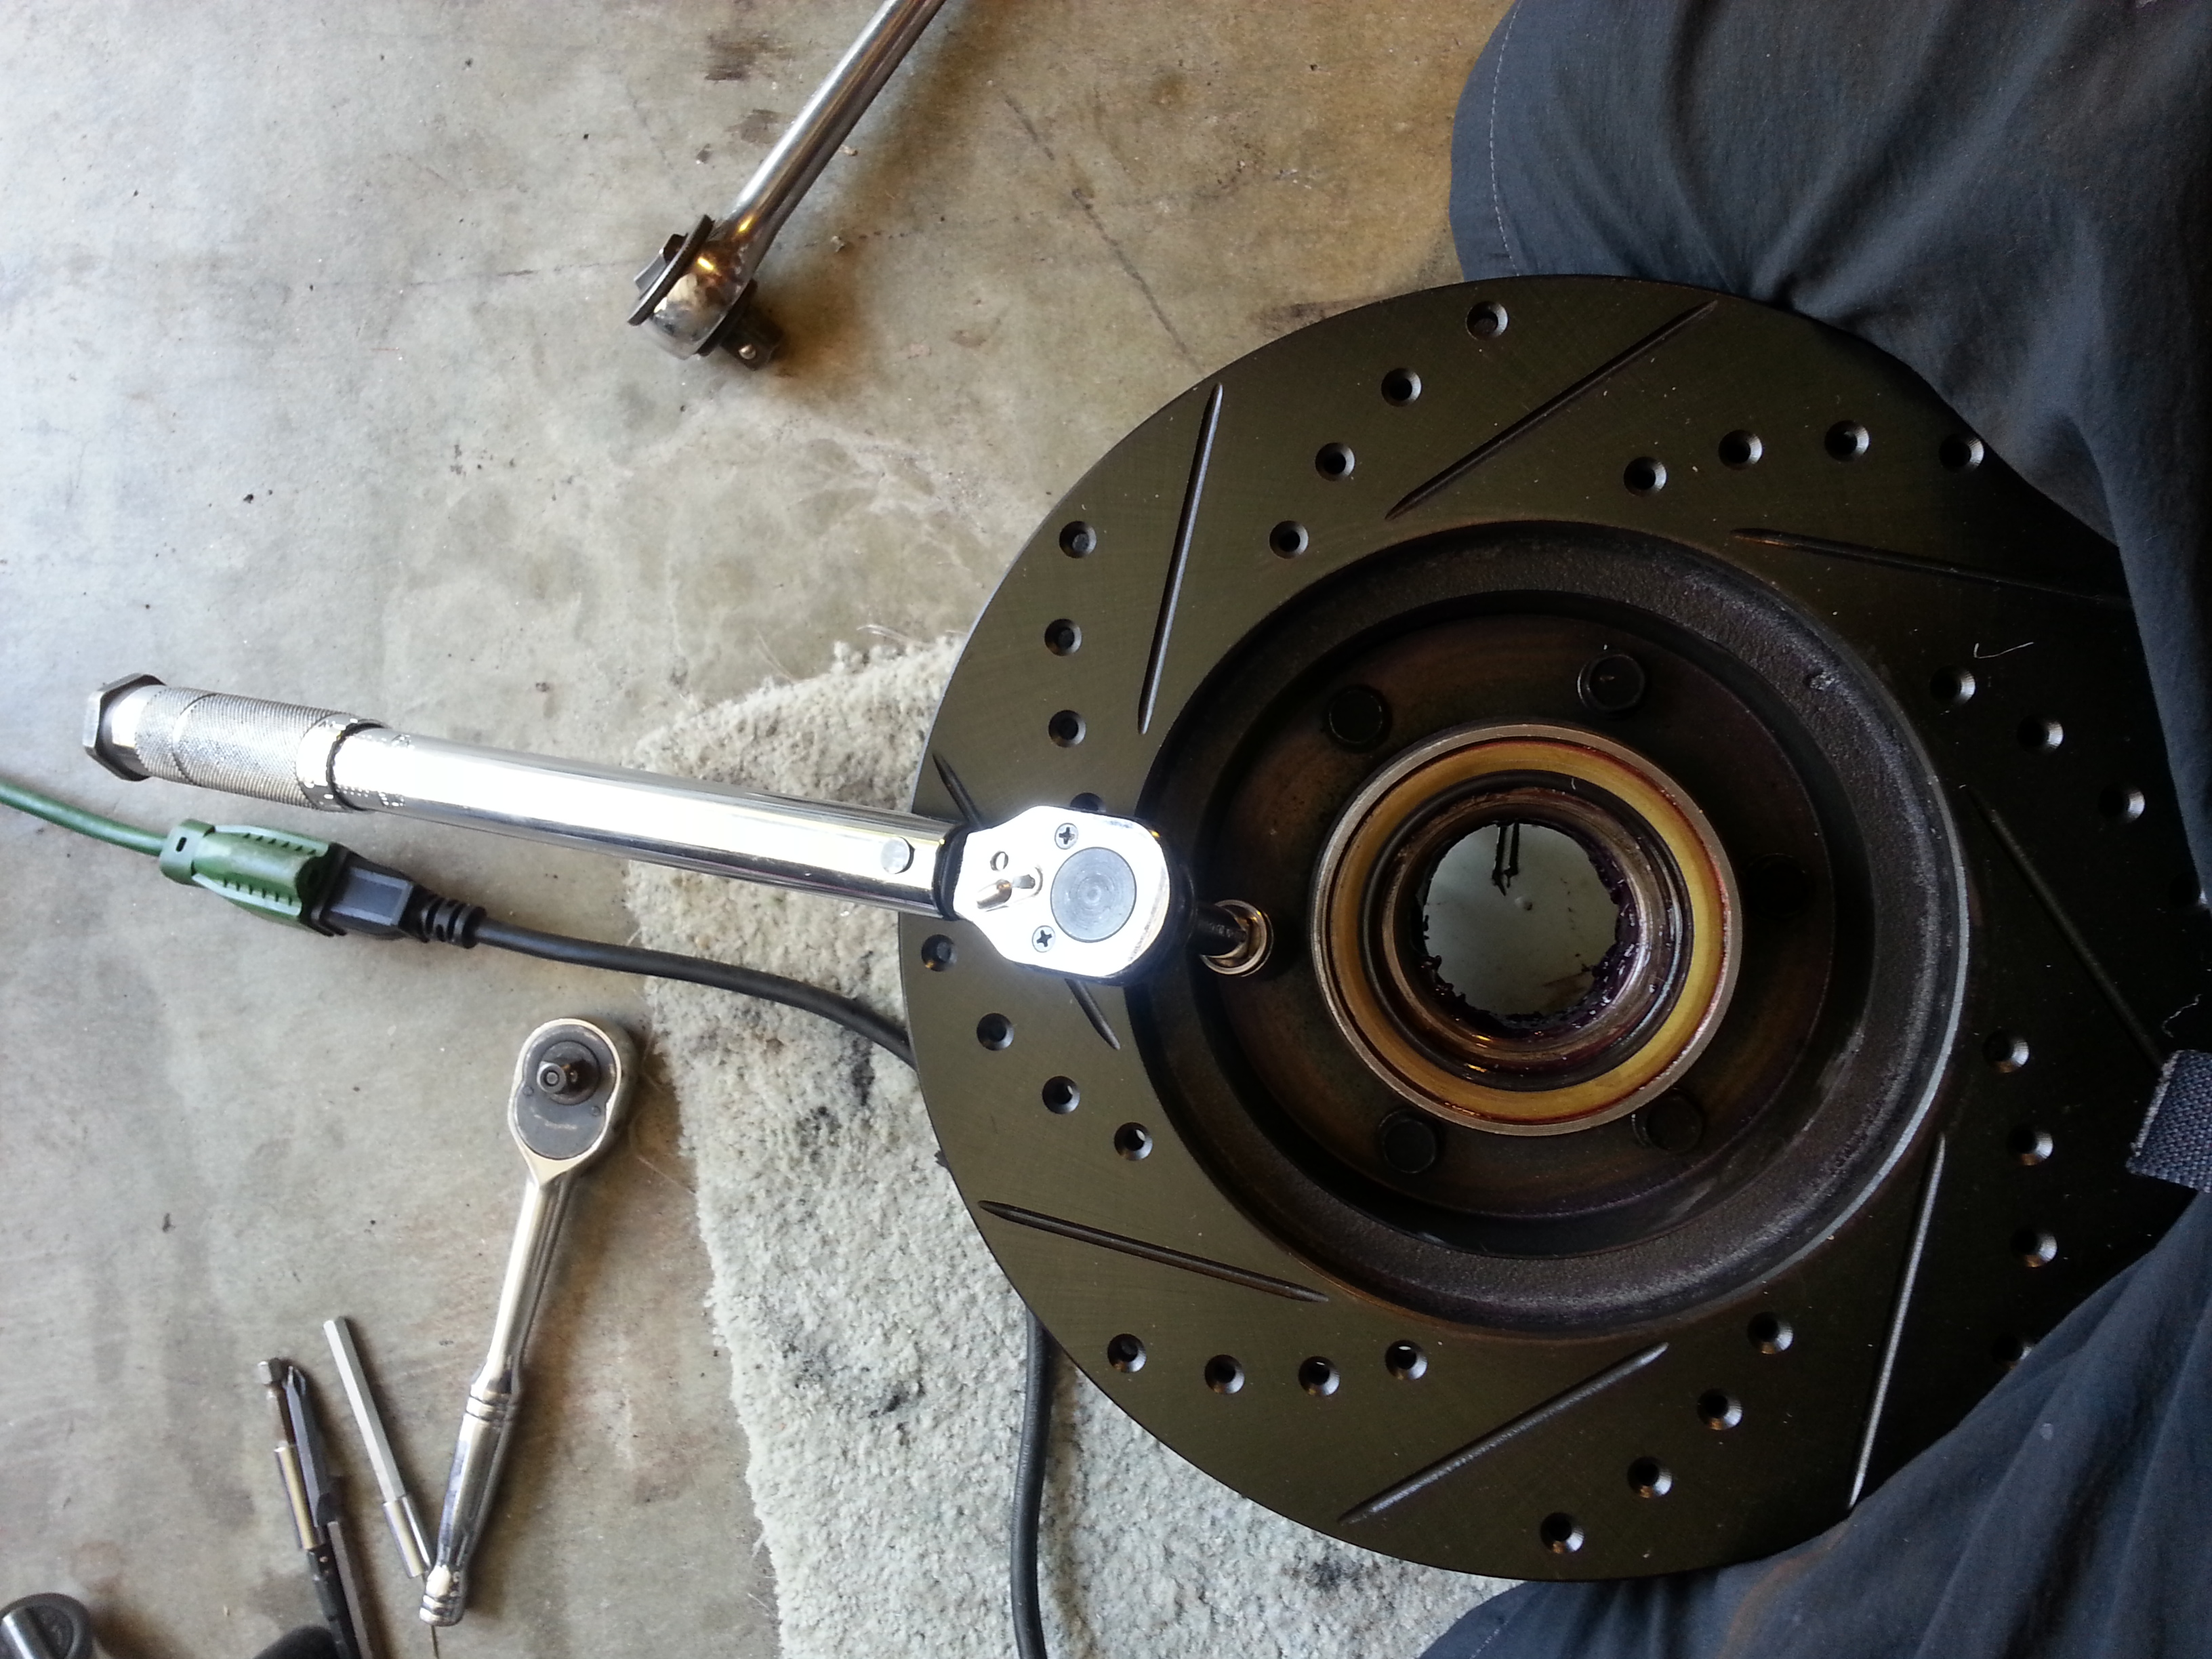
Got new rotors on my hubs.....
Torque as directed. .....
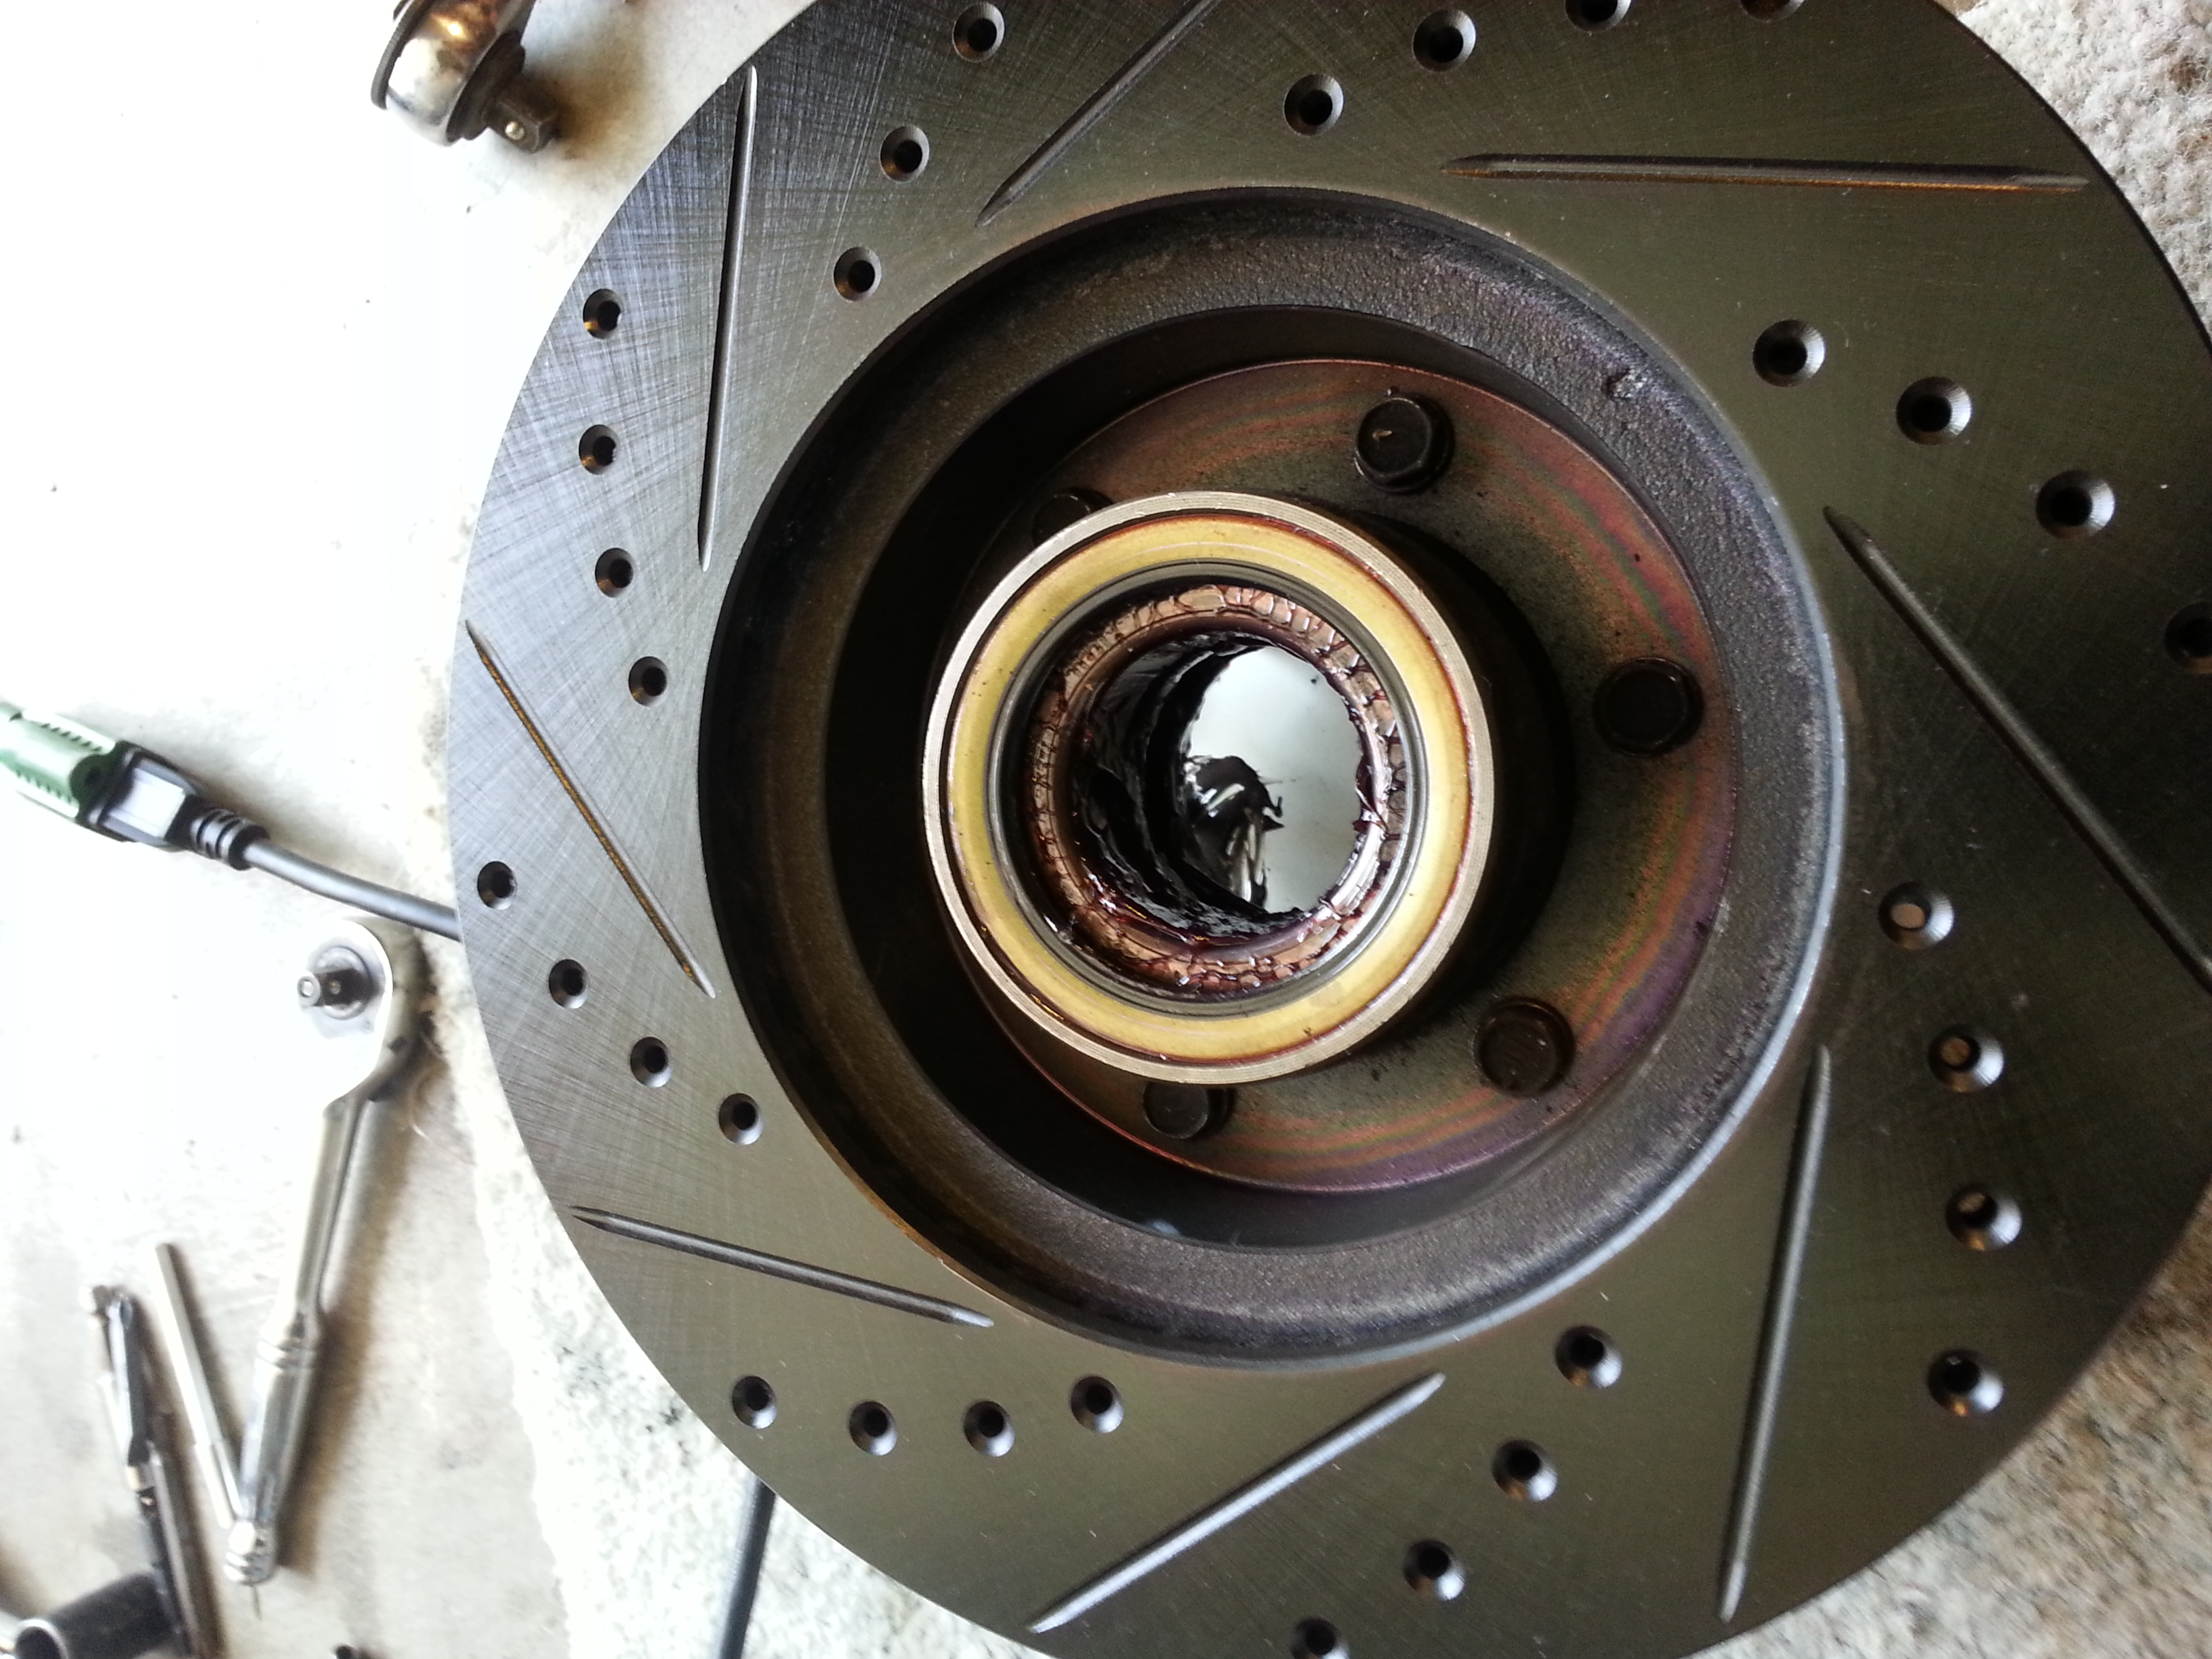
All my bearings and races are newer KOYO Japan(maybe 15k mi. on em?) , and I think it looked pretty nice in there, Syn Power grease and all!....
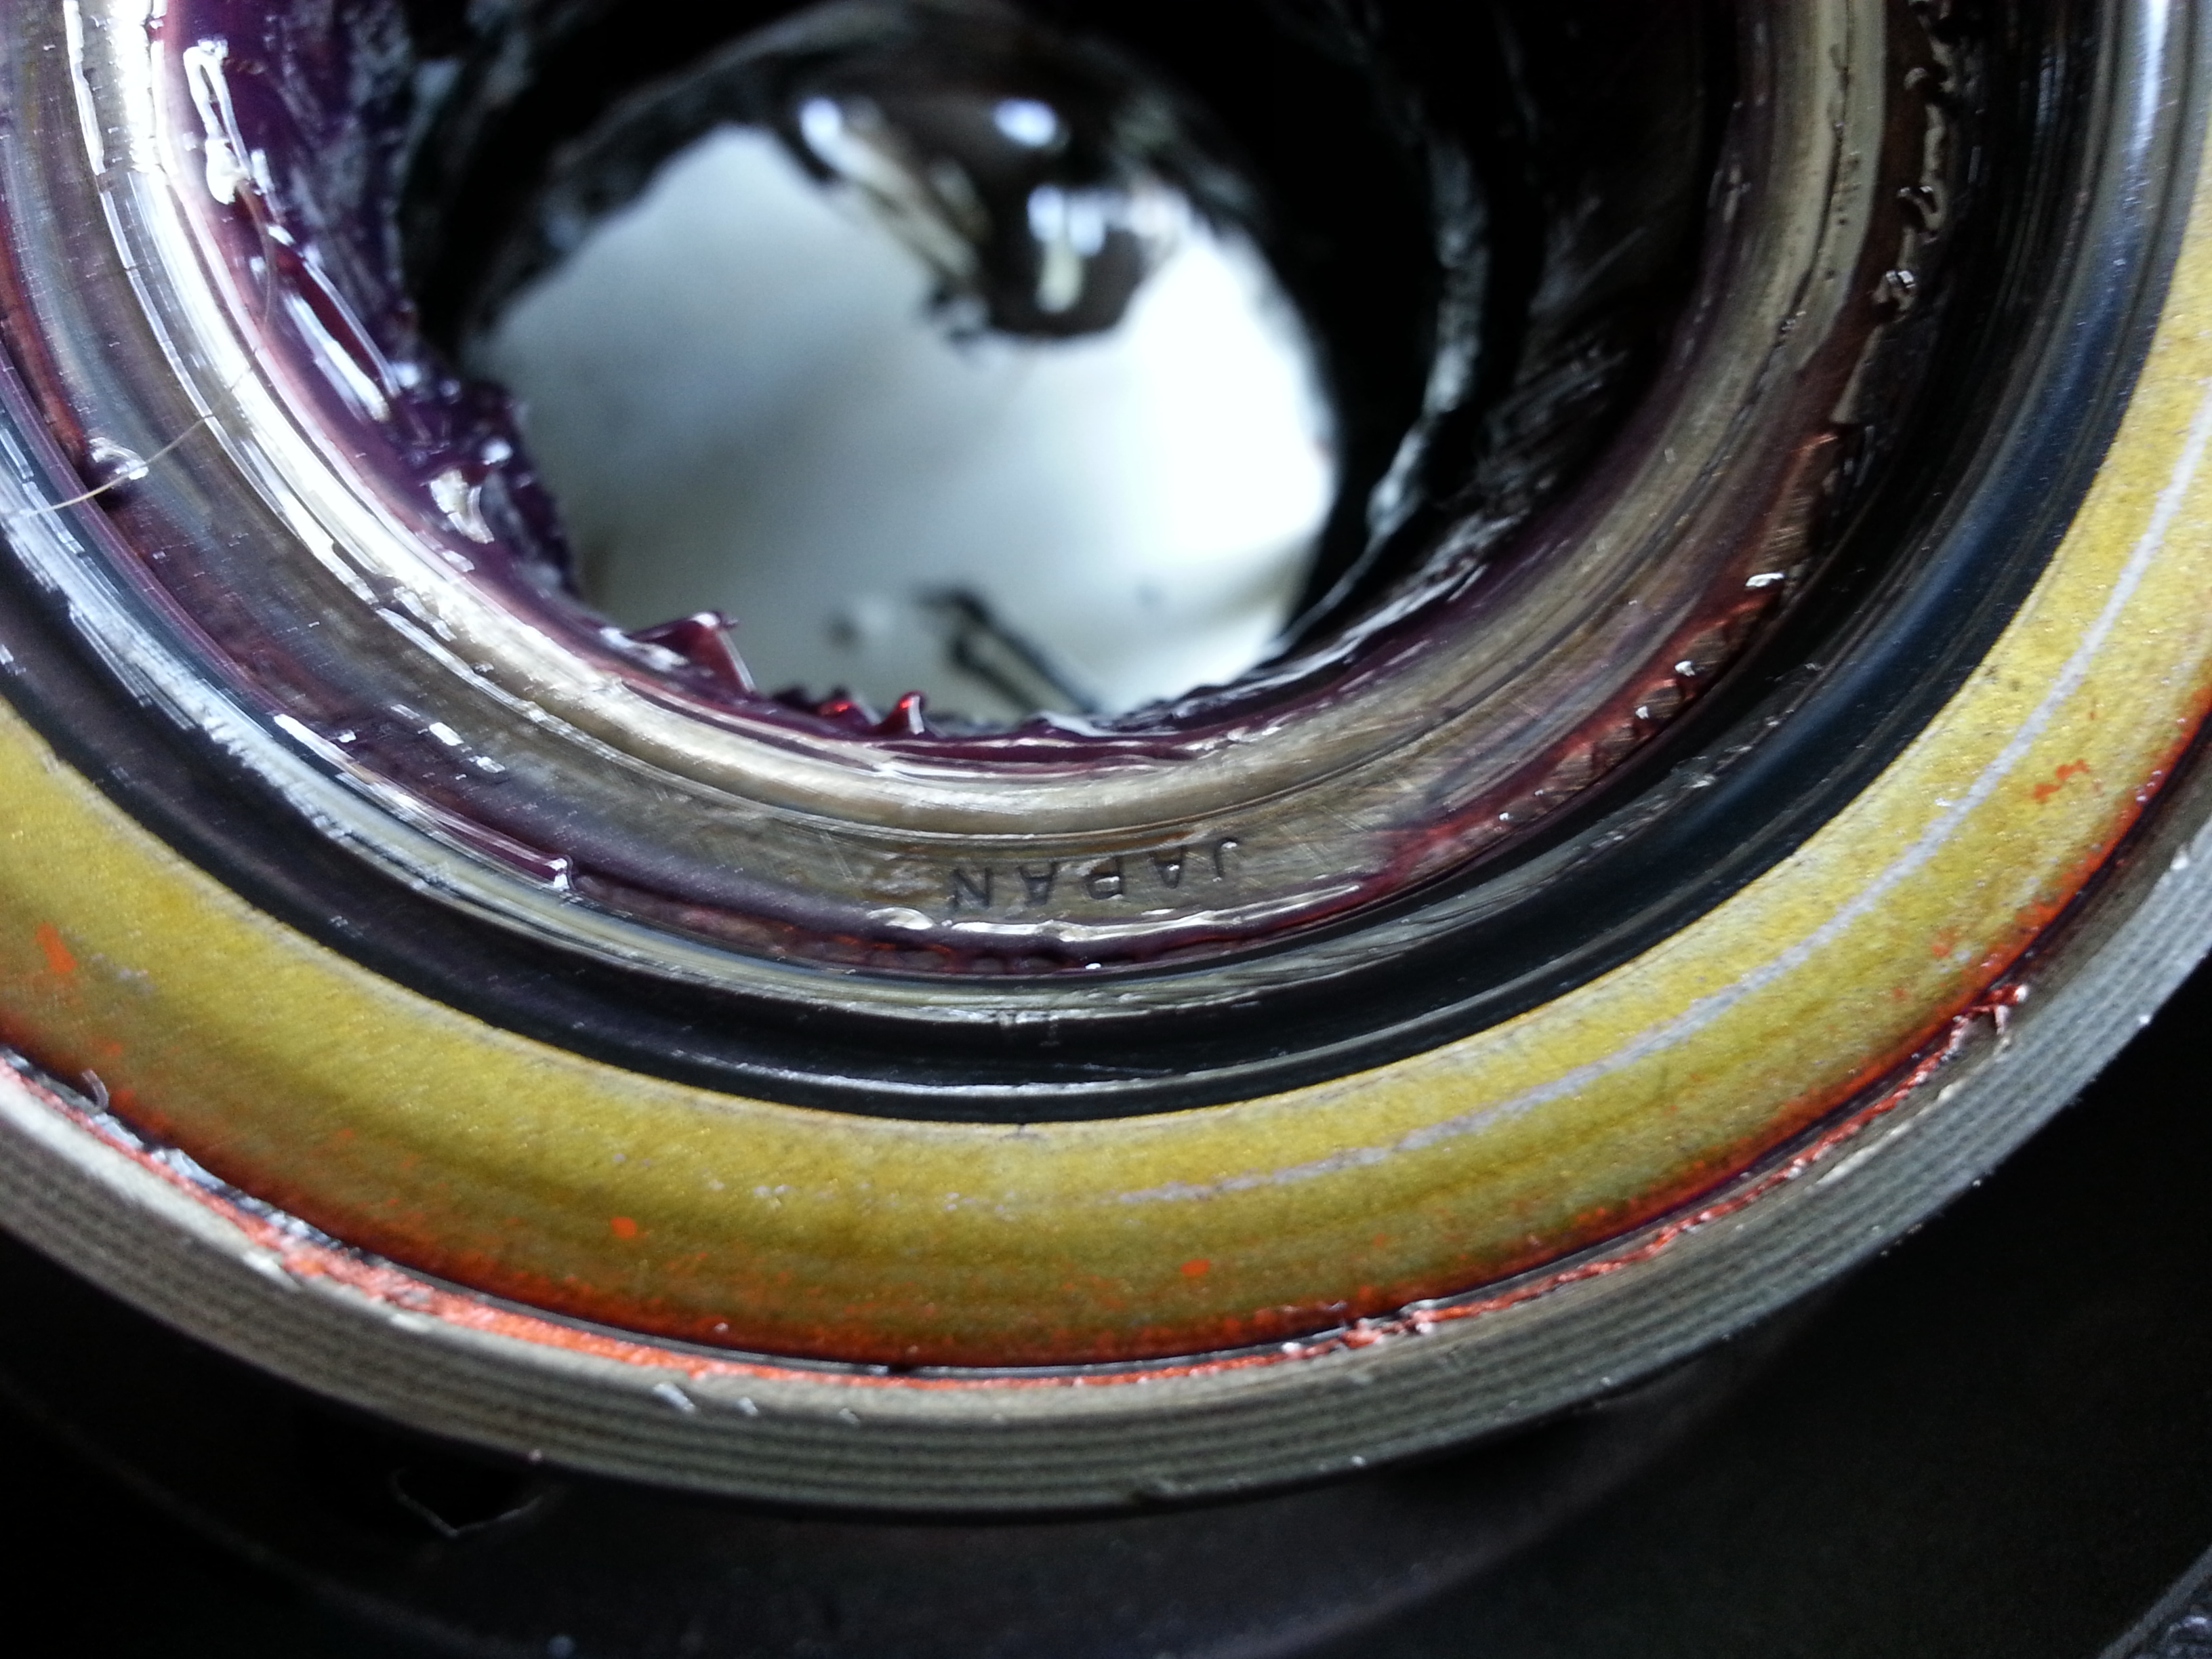
(If u do this and haven't repacked or inspected ur bearings in a while, this is the time... but u will need a replacement seal ready and bearings sourced in advance, in case u need to pick some up. GET A BEARING PACKER AND GOOD GREASE! and shop around, you CAN find OEM Japan bearings for a reasonable cost. NOT cheap, but they are WAY better quality than most parts stores are gonna have.)
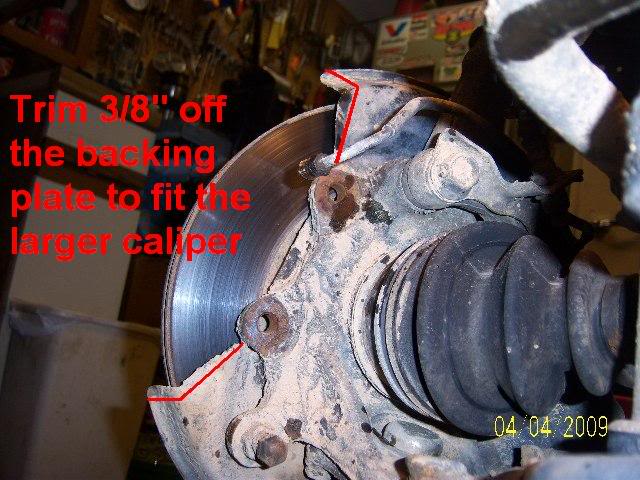
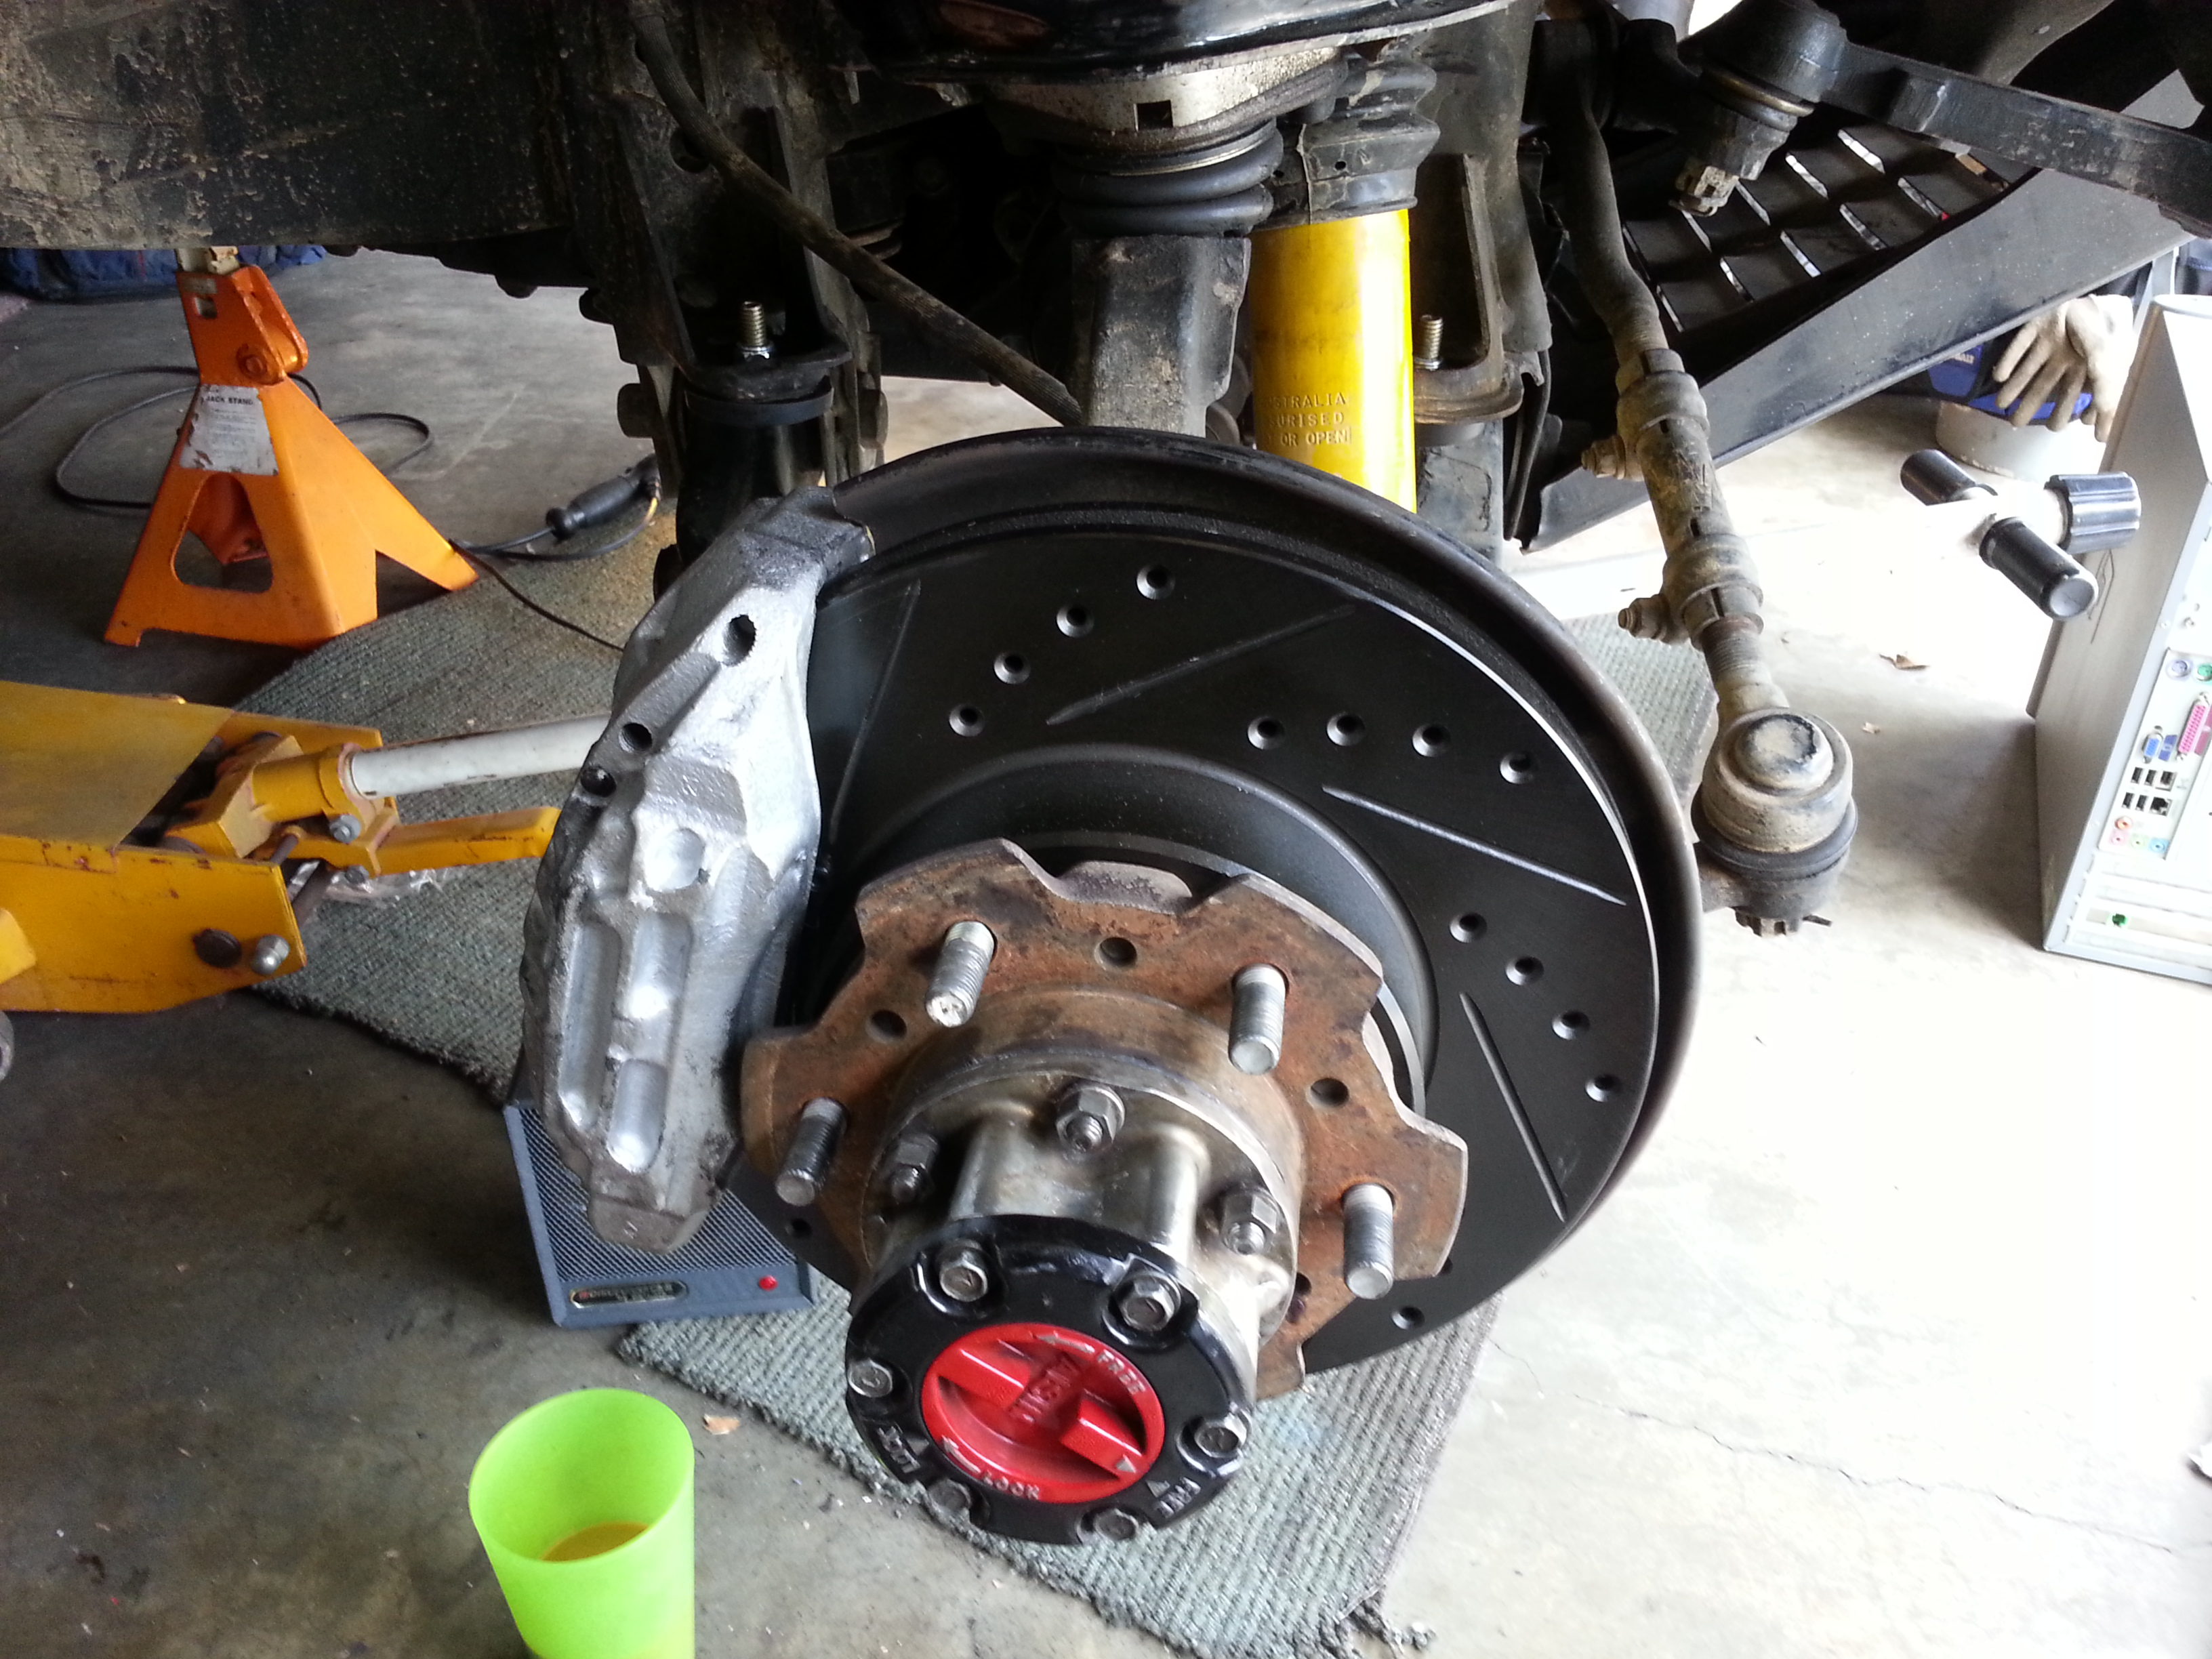
Cut backing plate on both sides around 1/5" and see if V6 calipers will fit with bolts just started into steering knuckle. (You need to do this before u put ur hub and rotor back on...... )[pic borrowed from CORAX, one of my main sources on this swap/upgrade].....
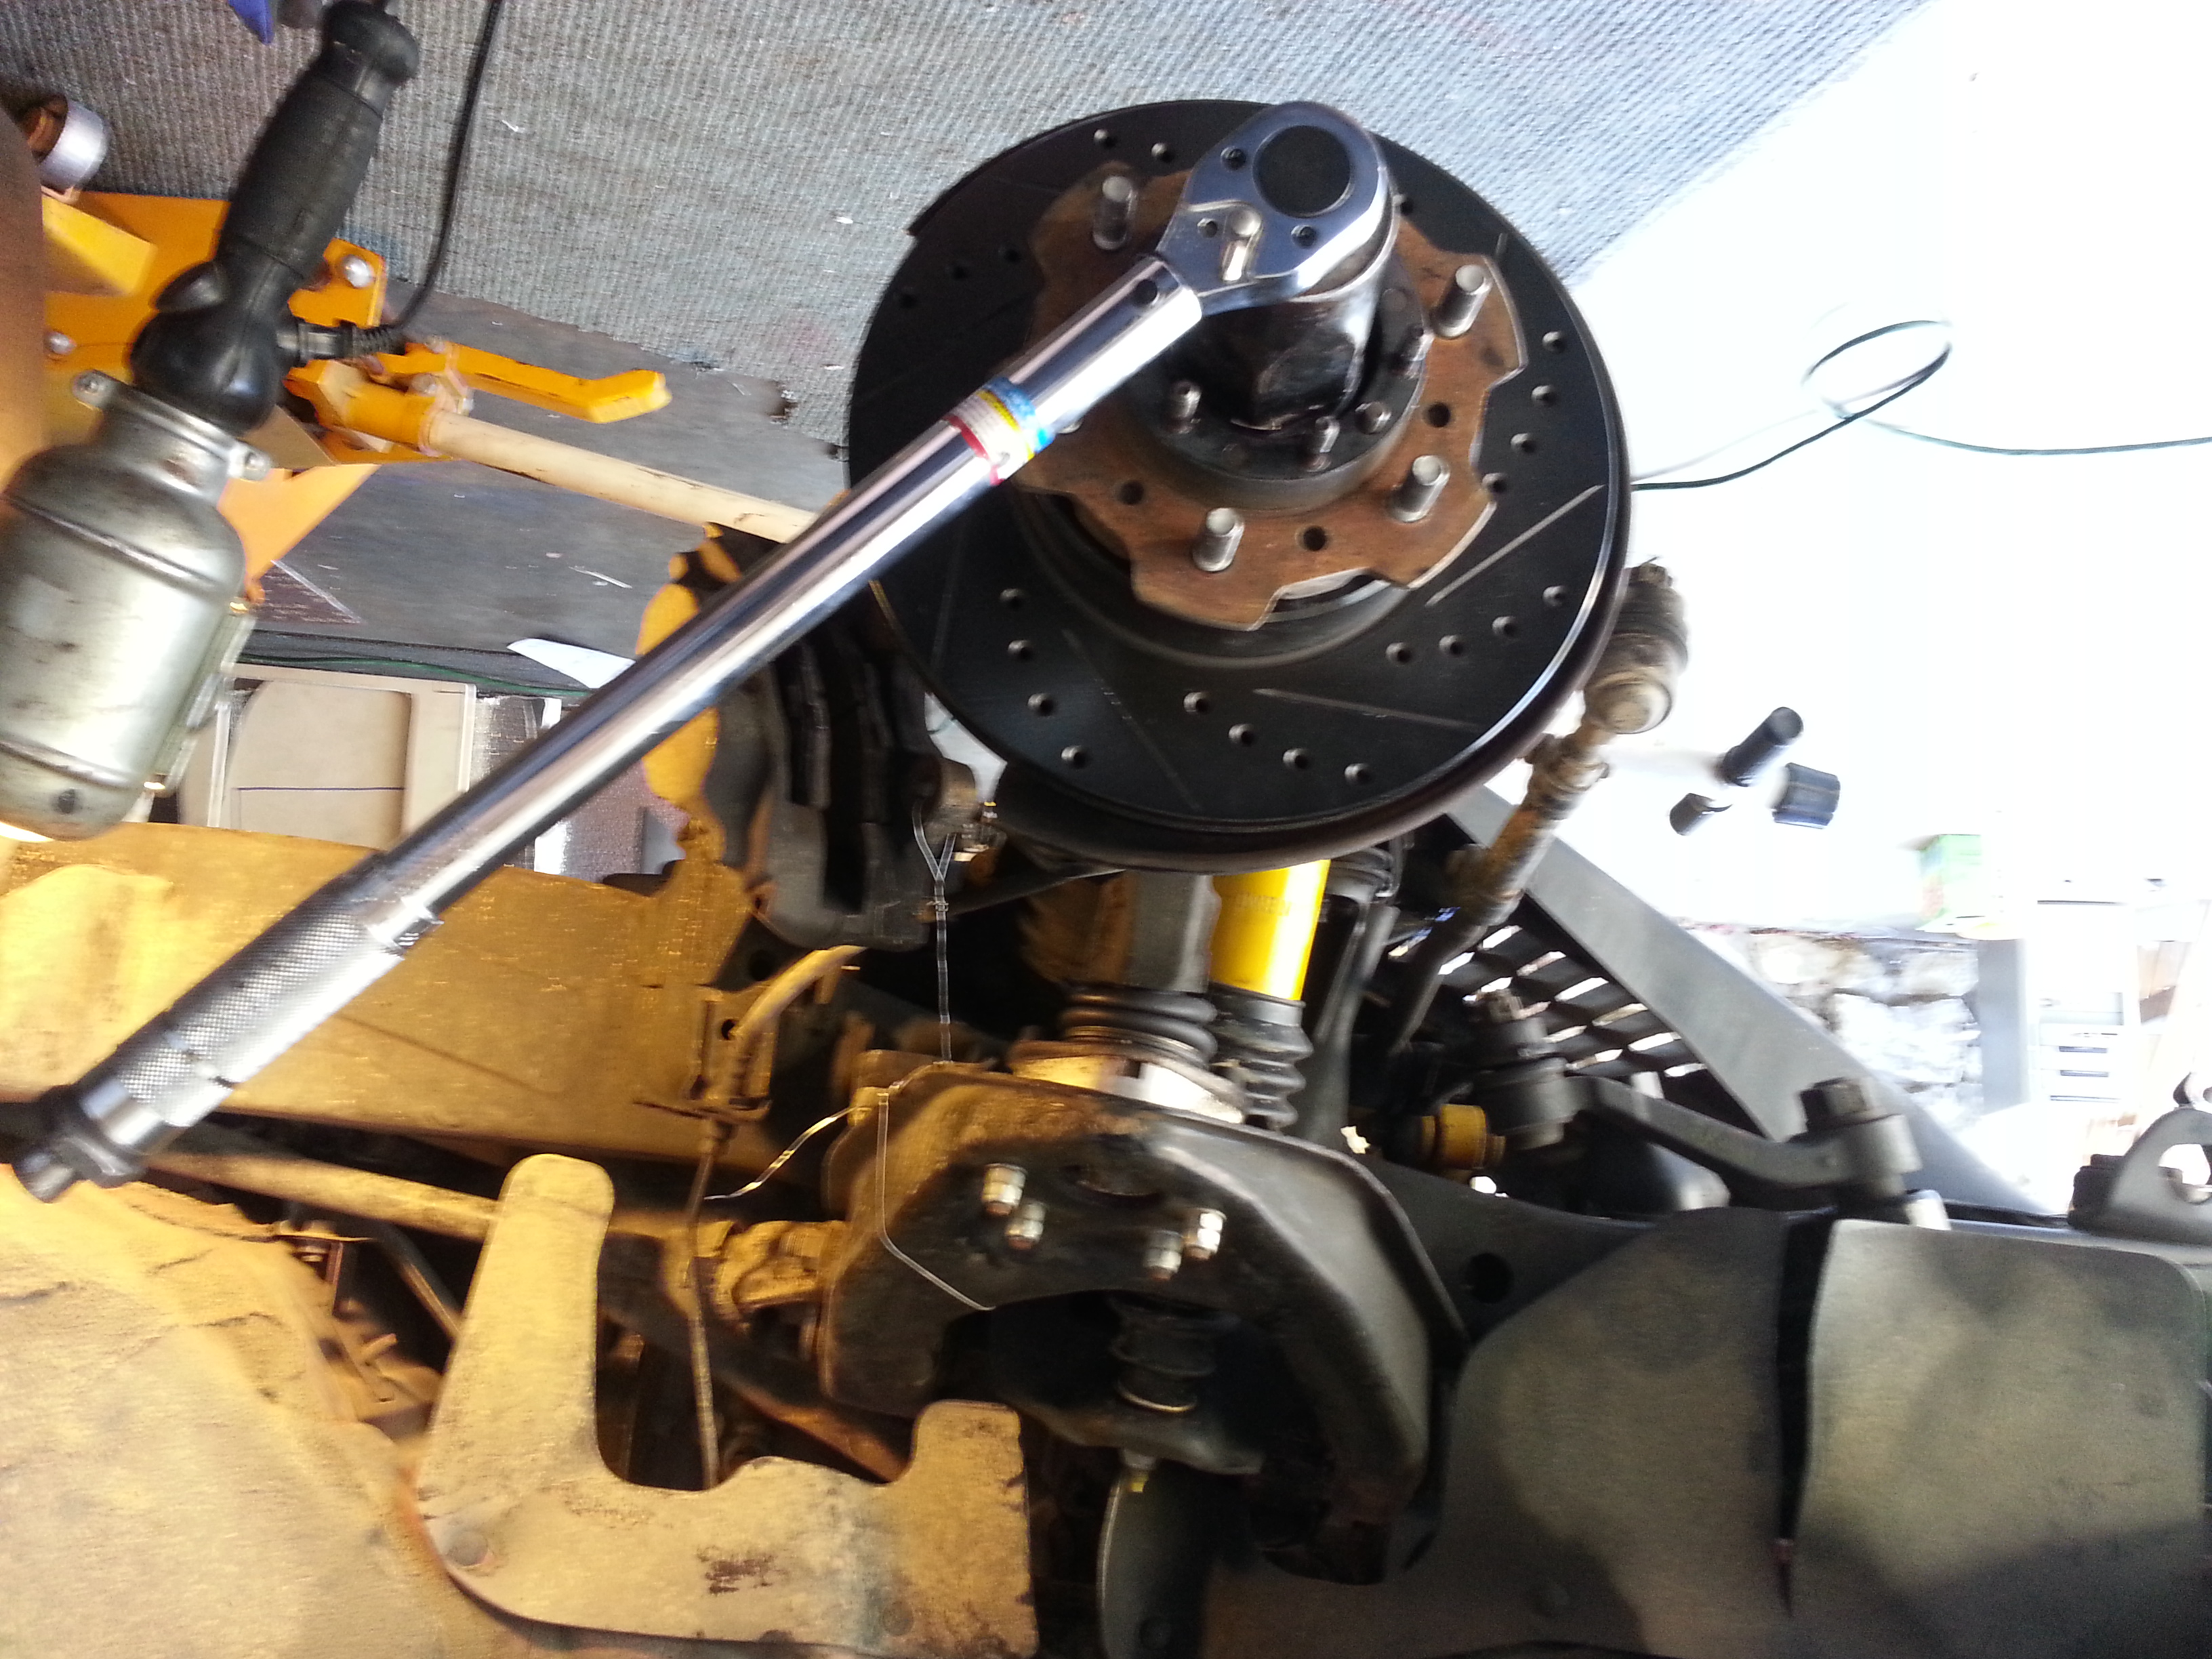
Once u know the caliper will fit, Mount new rotor w/hub (be sure u grease the spindle, well, first) ...
Now reinstall well packed outer bearing and outer washer, then bearing preload nut, to specs! (This is even in the Haynes. ..... and if u want your bearings to last, do it the way Toyota did it in the first place, with the preload tension spring, 54mm socket, and then make sure you torque the outer nut 2 specs .) > > >
http://www.off-road.com/trucks-4x4/t...ent-18322.html. > > >
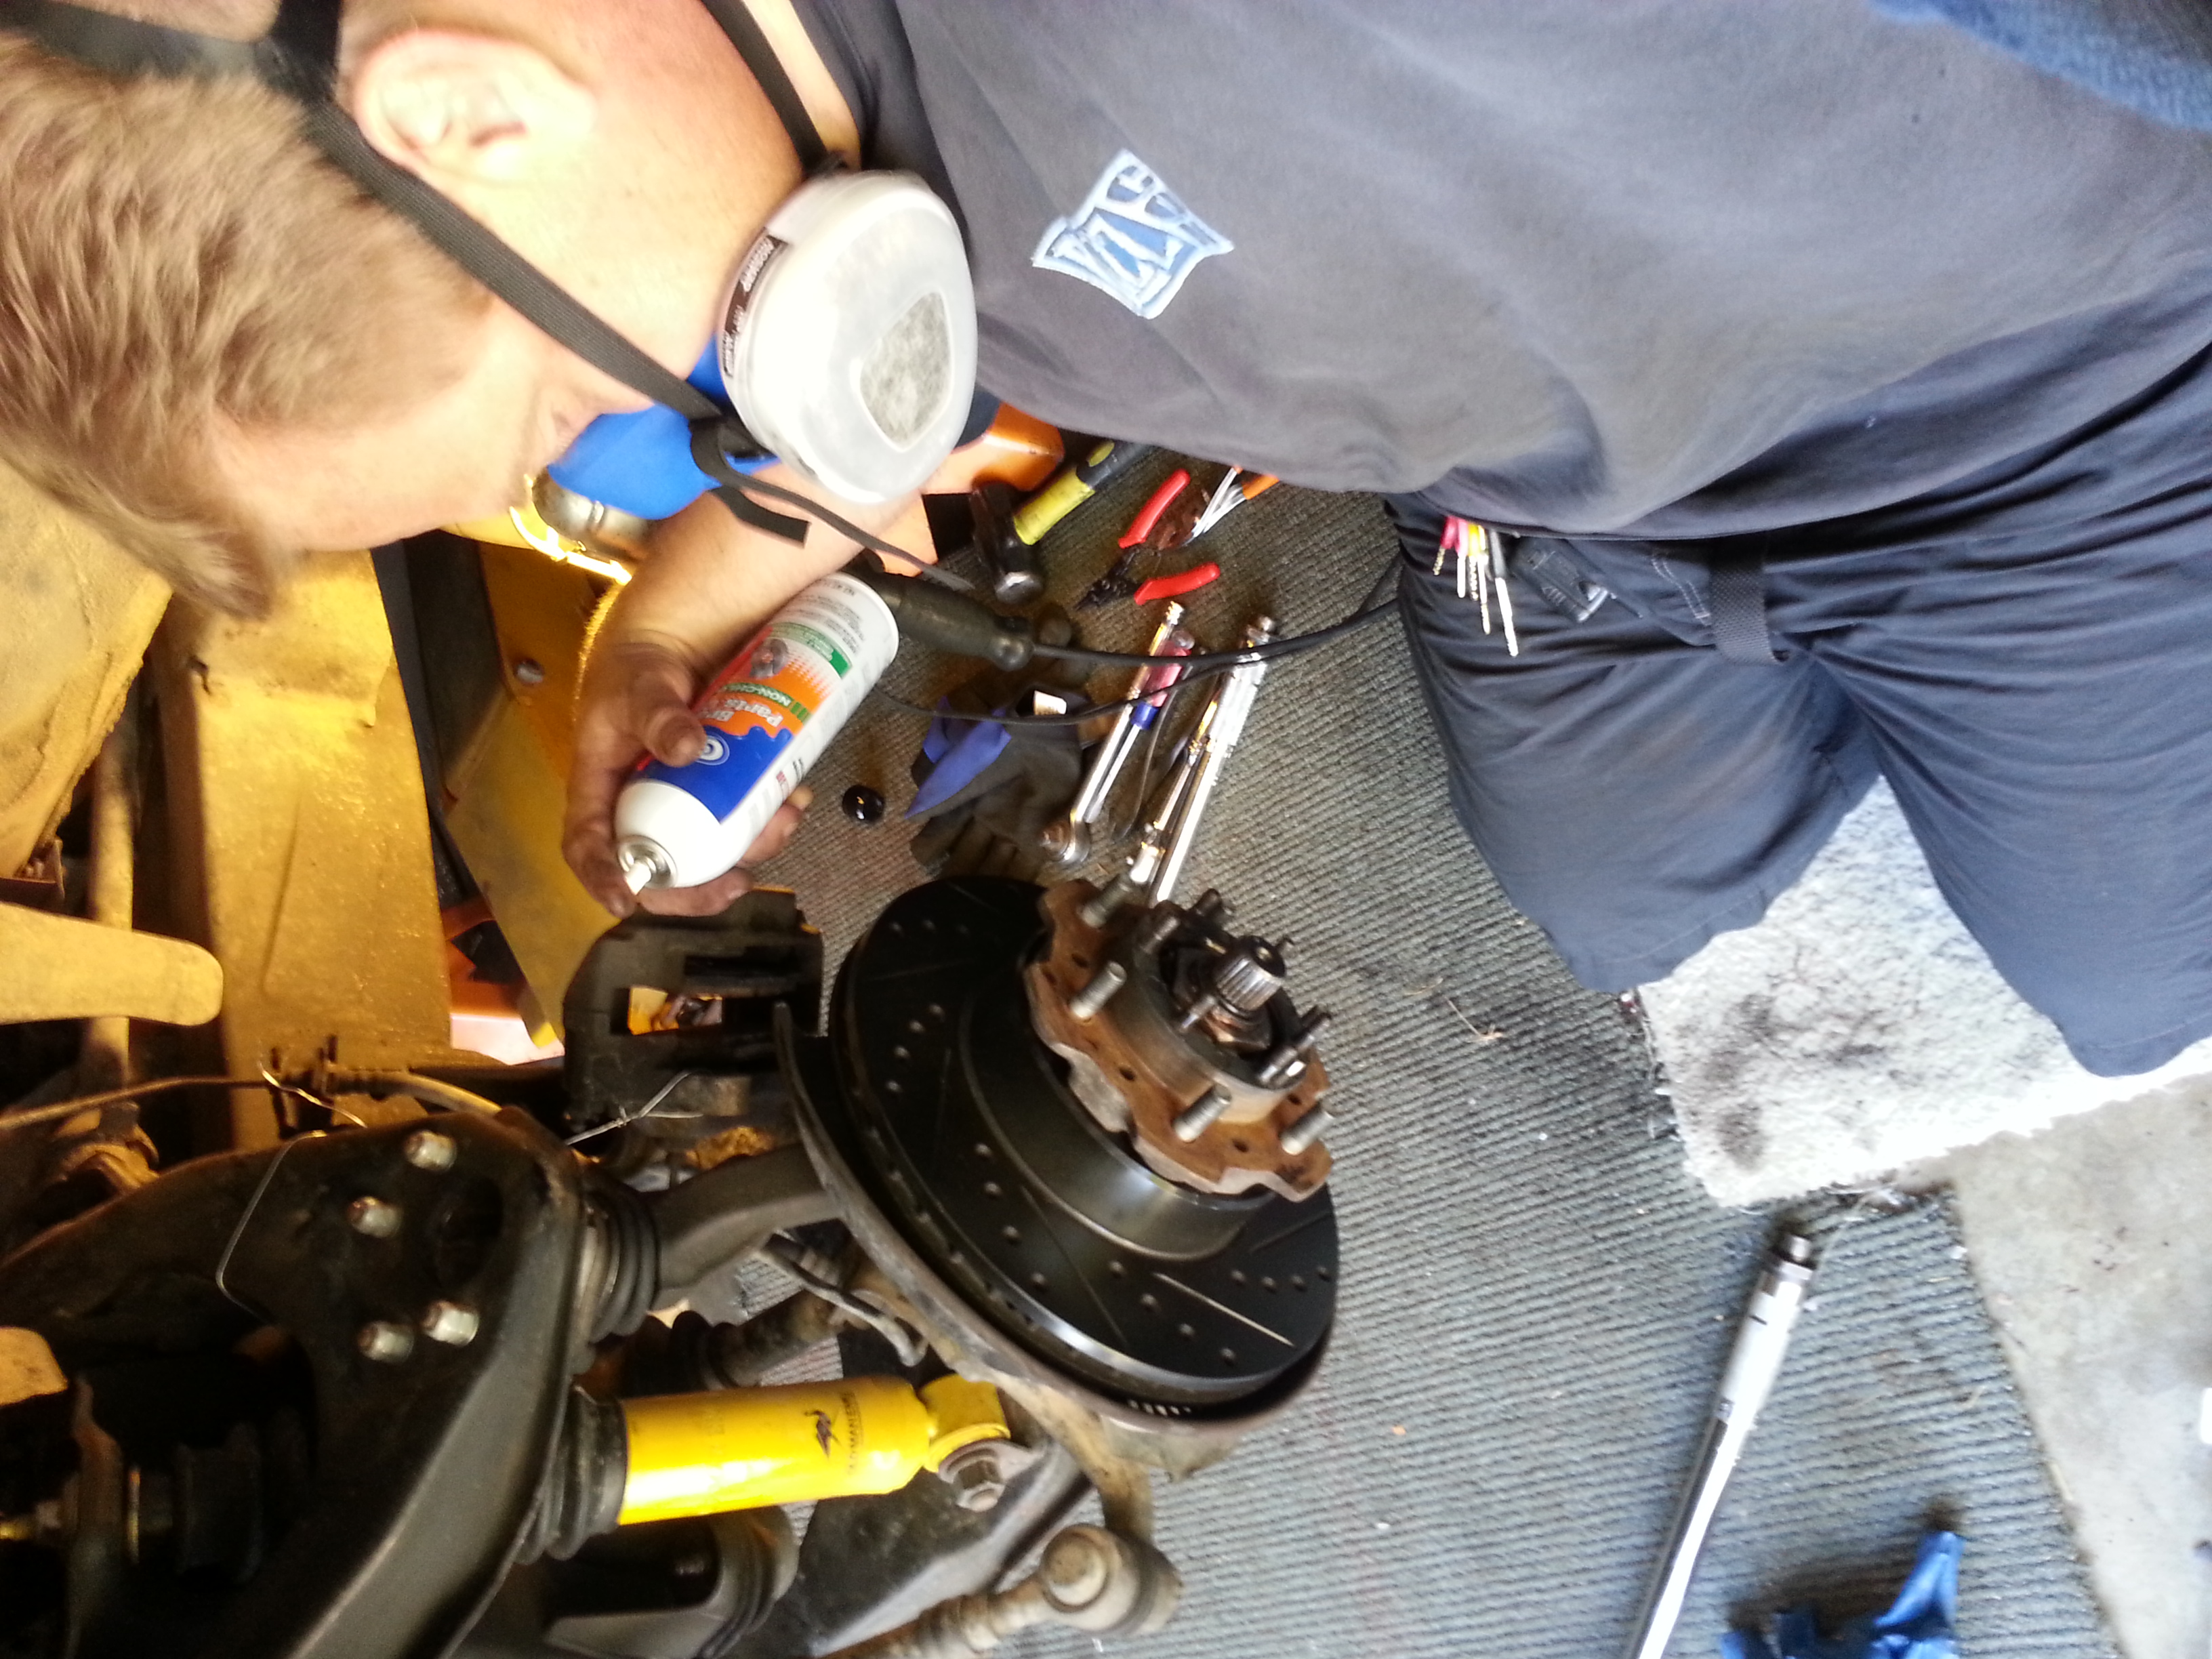
I was very careful to keep my hands of the rotor, should always wear gloves, change them often, during this job. .... but I cleaned a couple spots with brake cleaner, wearing a respirator (PLEASE don't take your young and super healthy lungs for granted and think u don't need one. .... I've met many men who are now in dire straights due to never using even dust masks. .. Some are young.... And even lost an uncle to chemical exposure, he cleaned rail road parts).....
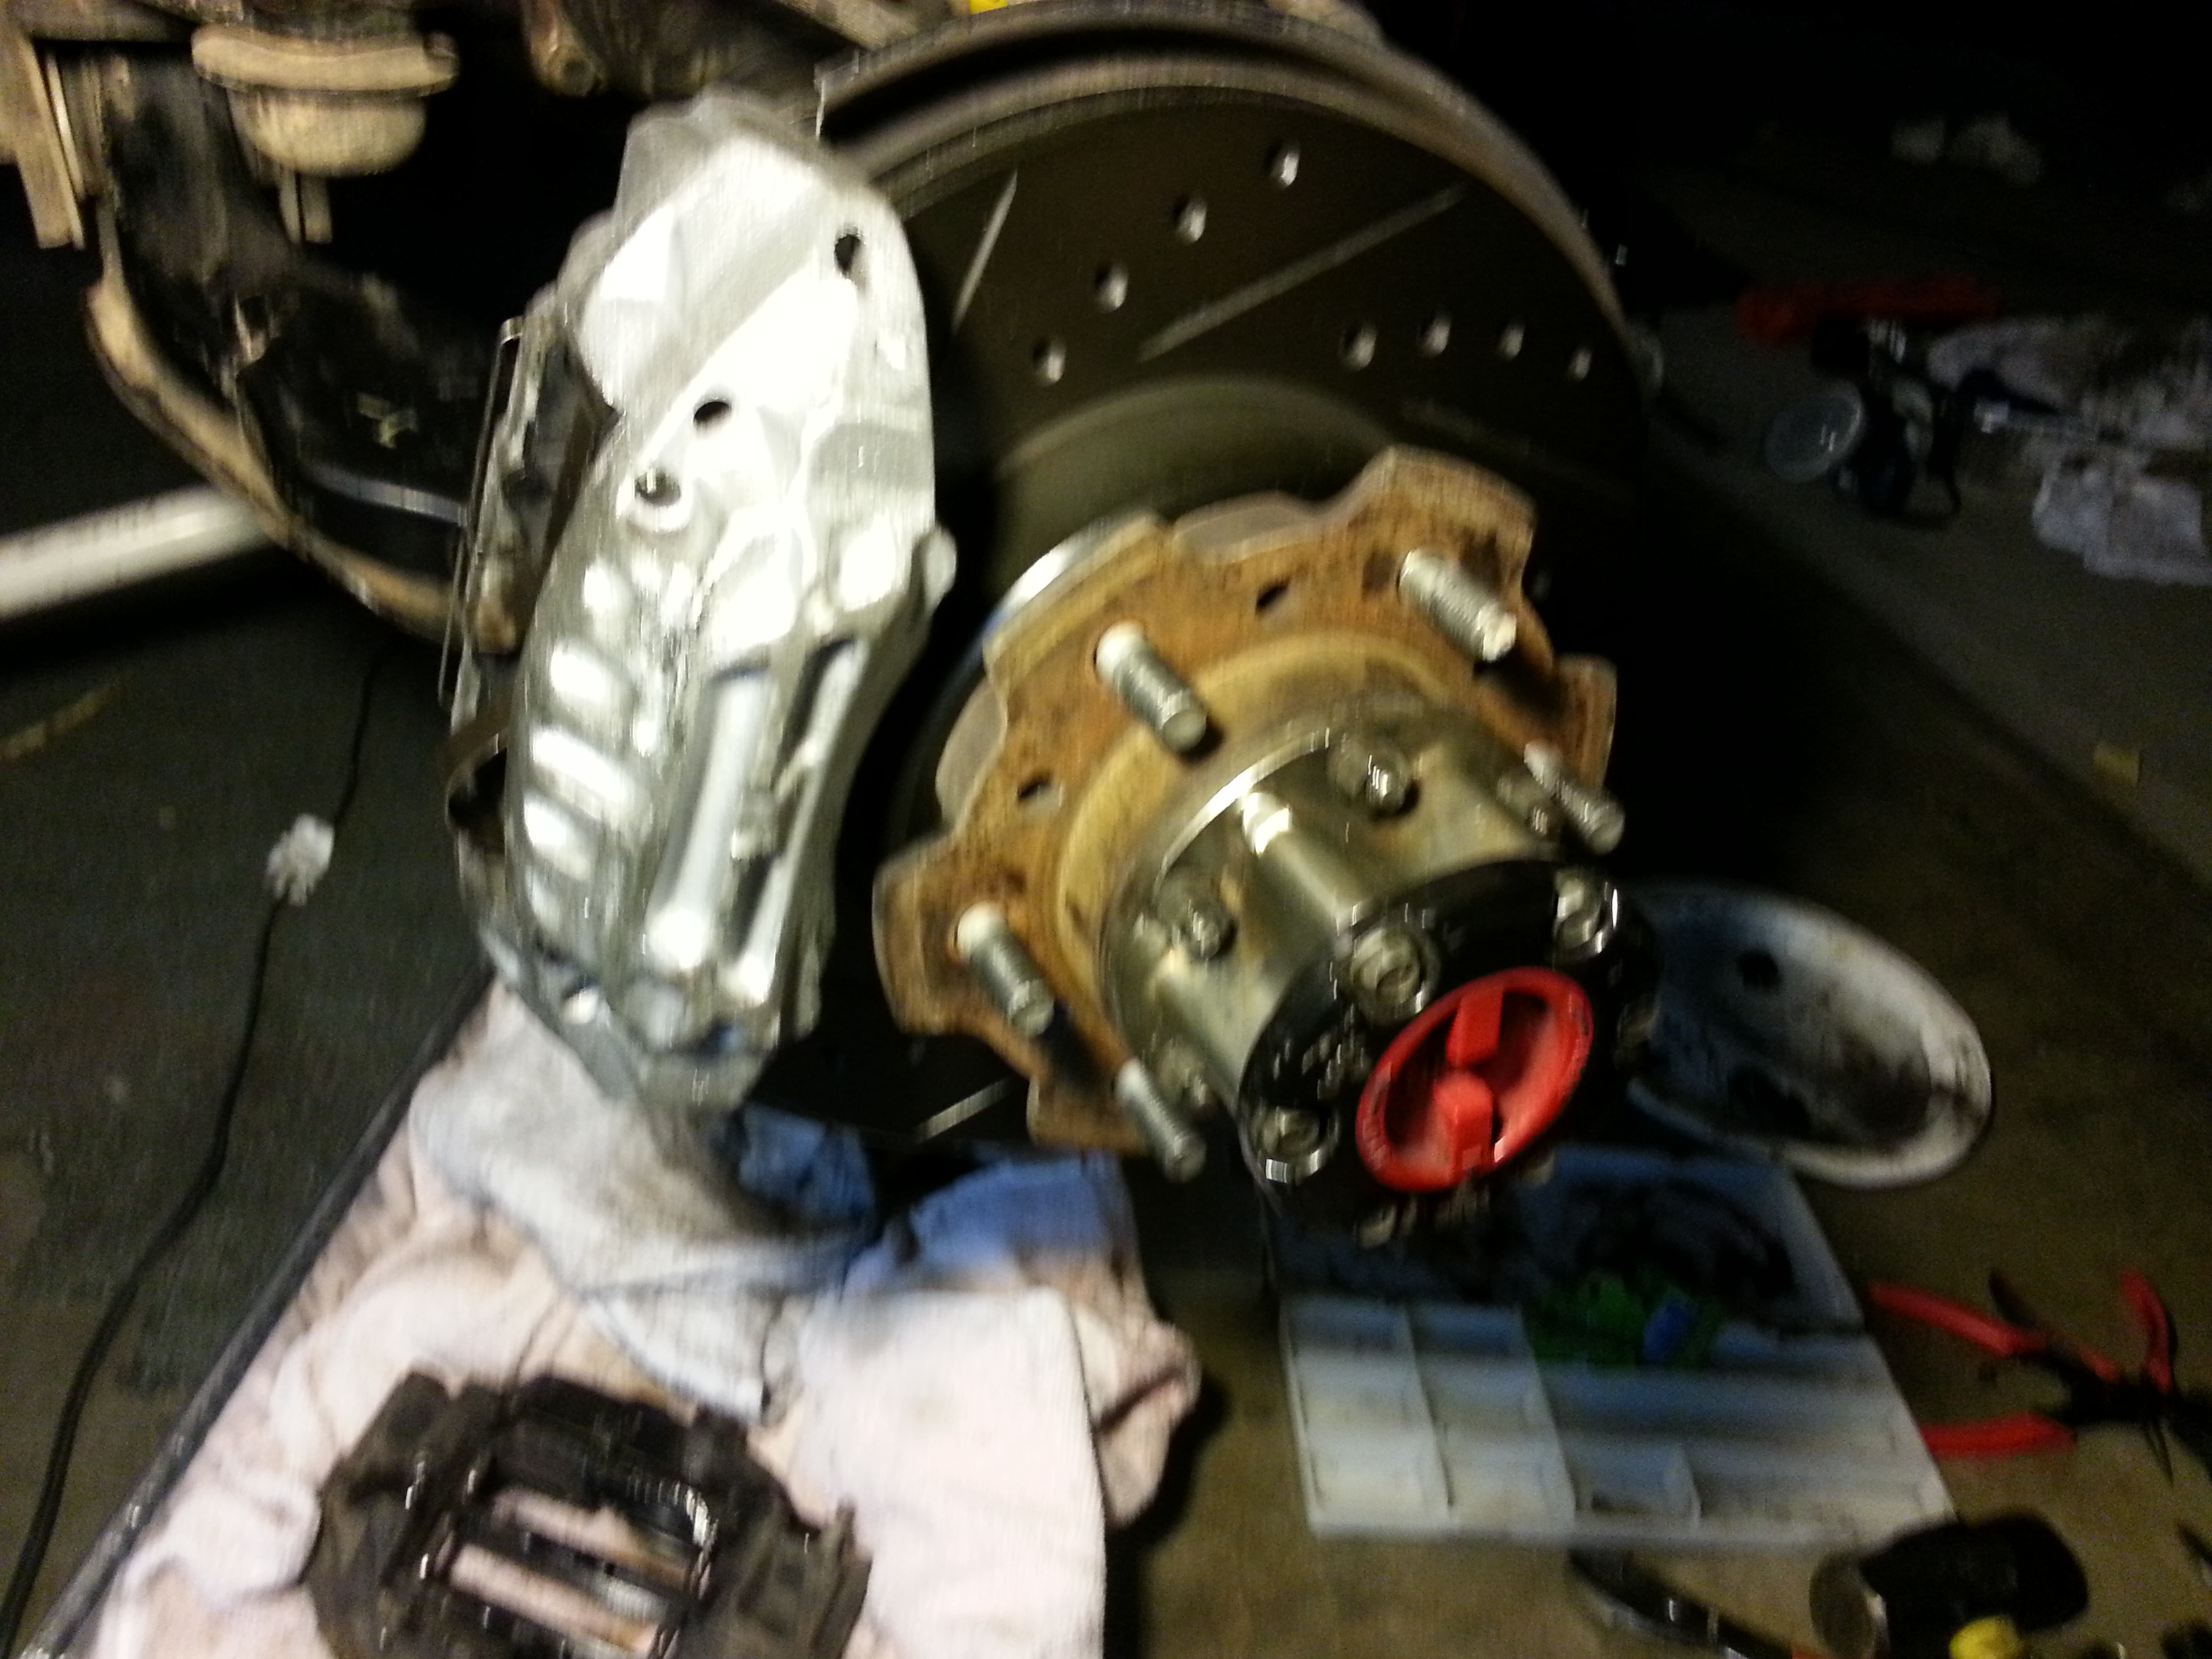
Installed the manual locking hubs back on. ....
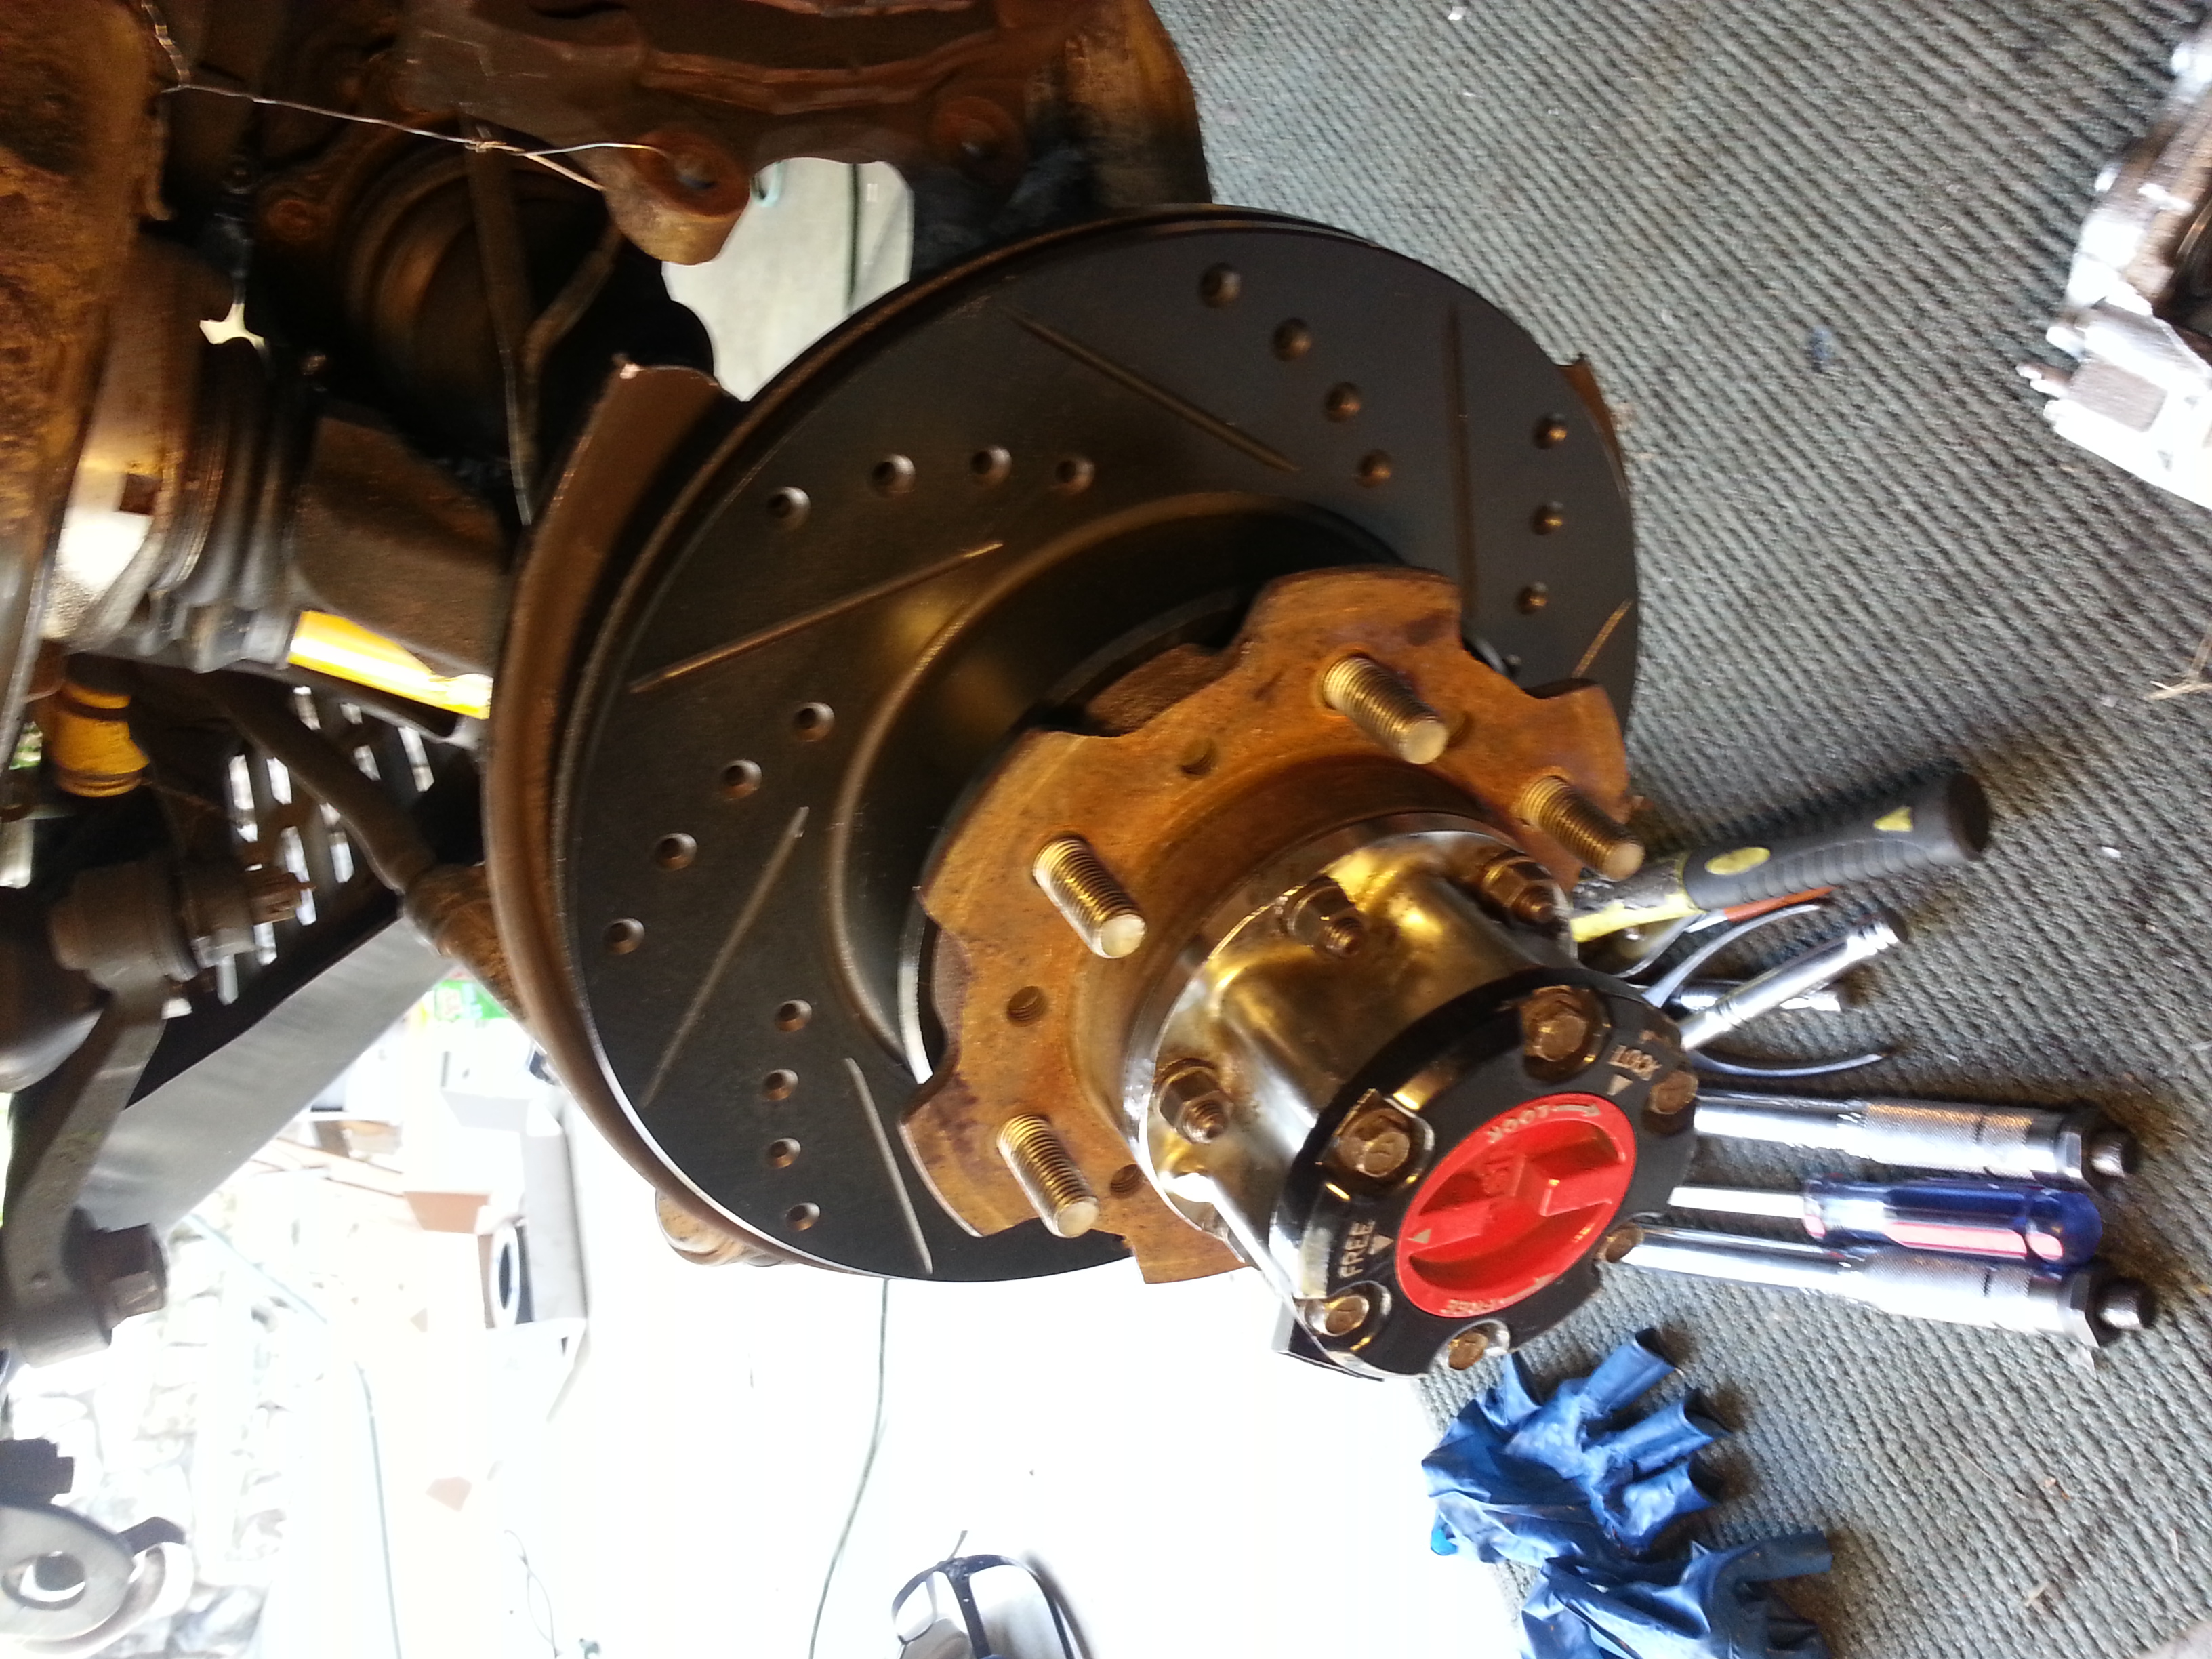
Then I slapped the totally refurbished Aisin V6 Calipers, brake-lubed everything pertinent, THEN FINALLY, disconnected the brake line to the 4cyl caliper, did my mild bending into place madness, CARWFULLY got the brake line installed in the new to me calipers,...... and THEN??? WELL, then I called it SUSIE! hahaha.....
Did the same to the other side....
......and the front will now stop hard enough to remove the shell from the roof! Haha...
There she sits till tomorrow, when I can slap in the new wheel cyls, bleed her out and then call her out for a good time in the mountains! Wooot! Hehe.......
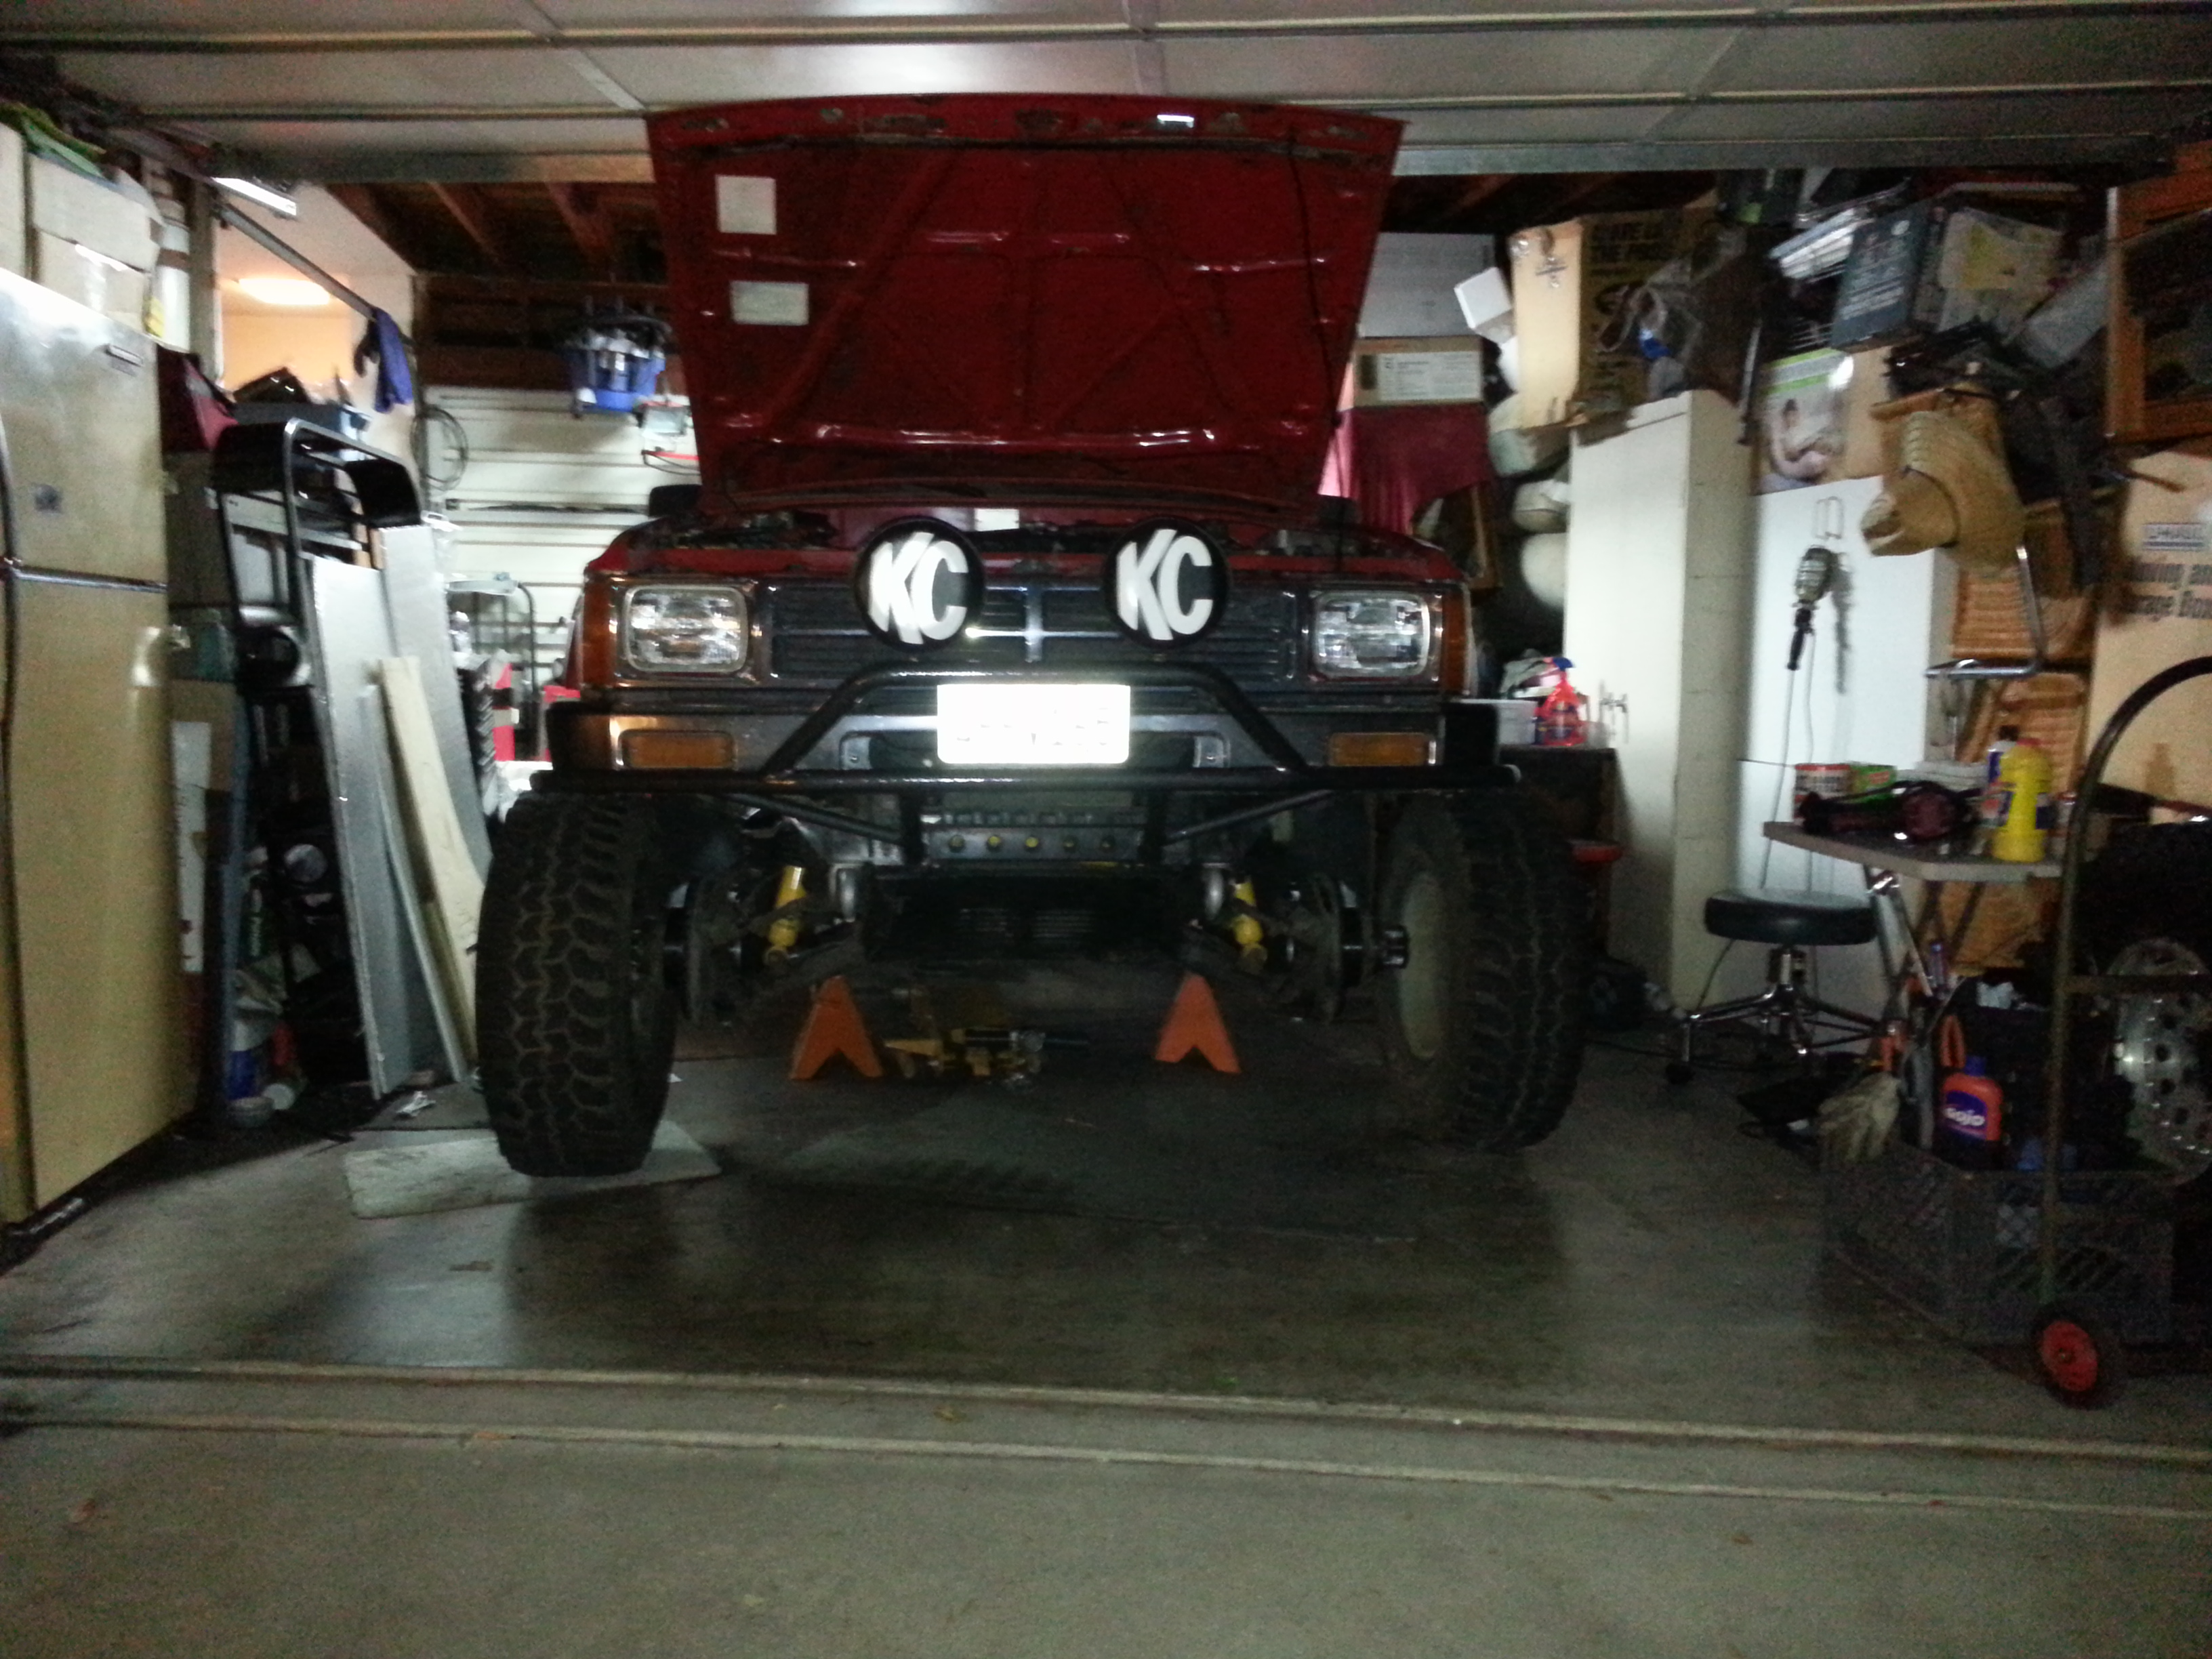
Jack up rig, slap some stands under her, remove wheels.....
1. Push back pads from disc/rotor, Unbolt caliper from steering knuckle, pull up caliper and hang from upper A-arm with mechanics wire or zip ties, careful not to crimp or damage brake line....
2. Remove frewheel hub cover, axle end nut, remove freewheel hub body, remove c-clip and pull 54mm nuts and star washer.
3. While next pulling the rotor with the wheel hub, be careful not to let the outer bearing fall on the ground. I take a paper plate and force it over the lug nut studs, that way the bearing can remain in there until u can lay the hub down......
Hub and rotor removed.....
I use a 1/2" drive impact to remove 6 bolts holding rotor and wheel hub together...
Stood the HART Black Zink V6 rotors next to the 4cyl rotors....
(They are not quite that much taller as they appear, but they're both taller by a tiny bit and clearly both wider and thicker each fin...)
Got new rotors on my hubs.....
Torque as directed. .....
All my bearings and races are newer KOYO Japan(maybe 15k mi. on em?) , and I think it looked pretty nice in there, Syn Power grease and all!....
(If u do this and haven't repacked or inspected ur bearings in a while, this is the time... but u will need a replacement seal ready and bearings sourced in advance, in case u need to pick some up. GET A BEARING PACKER AND GOOD GREASE! and shop around, you CAN find OEM Japan bearings for a reasonable cost. NOT cheap, but they are WAY better quality than most parts stores are gonna have.)
Cut backing plate on both sides around 1/5" and see if V6 calipers will fit with bolts just started into steering knuckle. (You need to do this before u put ur hub and rotor back on...... )[pic borrowed from CORAX, one of my main sources on this swap/upgrade].....
Once u know the caliper will fit, Mount new rotor w/hub (be sure u grease the spindle, well, first) ...
Now reinstall well packed outer bearing and outer washer, then bearing preload nut, to specs! (This is even in the Haynes. ..... and if u want your bearings to last, do it the way Toyota did it in the first place, with the preload tension spring, 54mm socket, and then make sure you torque the outer nut 2 specs .) > > >
http://www.off-road.com/trucks-4x4/t...ent-18322.html. > > >
I was very careful to keep my hands of the rotor, should always wear gloves, change them often, during this job. .... but I cleaned a couple spots with brake cleaner, wearing a respirator (PLEASE don't take your young and super healthy lungs for granted and think u don't need one. .... I've met many men who are now in dire straights due to never using even dust masks. .. Some are young.... And even lost an uncle to chemical exposure, he cleaned rail road parts).....
Installed the manual locking hubs back on. ....
Then I slapped the totally refurbished Aisin V6 Calipers, brake-lubed everything pertinent, THEN FINALLY, disconnected the brake line to the 4cyl caliper, did my mild bending into place madness, CARWFULLY got the brake line installed in the new to me calipers,...... and THEN??? WELL, then I called it SUSIE! hahaha.....
Did the same to the other side....
......and the front will now stop hard enough to remove the shell from the roof! Haha...
There she sits till tomorrow, when I can slap in the new wheel cyls, bleed her out and then call her out for a good time in the mountains! Wooot! Hehe.......
Last edited by ChefYota4x4; Feb 19, 2013 at 12:07 AM.
Feb 19, 2013 | 12:59 AM
#5885
Registered User
Joined: Apr 2007
Posts: 1,580
Likes: 1
From: Park City, UT
Freakin awesome man! Doesn't look like that was too hard, but the devil is in the details. So do the pads make full contact with the rotor, or does it overhang like the specs say they will? Another thing, never had experience with slotted rotors, but they're directional, right? Were there instructions for which way they go?
Good idea on the paper plate to catch the outer bearing, I think I'll be using that when I go ahead and assemble the axle for good.
Good idea on the paper plate to catch the outer bearing, I think I'll be using that when I go ahead and assemble the axle for good.
Feb 19, 2013 | 08:13 AM
#5887
Contributing Member
Joined: Mar 2003
Posts: 11,334
Likes: 0
From: COTKU,Ontario,Canada
Good job Mark
Looks really sweet... I'd have maybe painted the calipers "brembo" [or is that "Toyota"] red... gonna have to do the brakes on mine this year some time think I'm gonna paint mine this time.
On that badge it does'nt look like any particular Kangi character looks to me more like a stylized dragon motif.
Feb 19, 2013 | 09:52 AM
#5888
Registered User
Joined: Apr 2012
Posts: 2,817
Likes: 2
From: Los Angeles CA
Sup Mark. Sorry i couldnt help ya bleed'em out yesterday. had plans so i had to get going. Looks like you did a sweet job though. Always like how you pay attention to detail. 
So what time did you end up finishing the install yesterday?
So what time did you end up finishing the install yesterday?
Feb 19, 2013 | 10:05 AM
#5889
Registered User
iTrader: (4)
Joined: May 2010
Posts: 720
Likes: 16
From: People's Republic of California
Nice work Mark! looks good!
Aviator you're right...after spending some time researching the net and other forums it is in fact a Dragon!! I can totally see that now. I'm going to keep it.
Aviator you're right...after spending some time researching the net and other forums it is in fact a Dragon!! I can totally see that now. I'm going to keep it.
Last edited by Grego92; Feb 19, 2013 at 10:07 AM.
Feb 19, 2013 | 01:42 PM
#5891
Great write up and hope the mask saved you some problems. I am going to mark this page for future reference.
When you get the chance can you list the suppliers and the parts that they provide such as Aisian,Dakin,Denso and what they produce, bearings,clutches.... You are be a walking encyclopedia when it comes the part suppliers that Toyota used and alot of times I can find them on ebay.
When you get the chance can you list the suppliers and the parts that they provide such as Aisian,Dakin,Denso and what they produce, bearings,clutches.... You are be a walking encyclopedia when it comes the part suppliers that Toyota used and alot of times I can find them on ebay.
Feb 19, 2013 | 03:03 PM
#5893
Registered User
Joined: Aug 2011
Posts: 1,507
Likes: 2
From: Fraser Valley, British Columbia
How much are you into the brakes?
I think one of mine is seizing. My front right grabs and I've smelt it before, it comes and goes. I think with the extreme cold it may also have warped the rotor. It feels like when you bend a disk on a bike as she coasts to a stop.
So if I fix one side might as well do the other. I don't know if the best option is find rebuild kits or buy new calipers.
You bought new (rebuilt) V6 calipers right?
As usual checking how much you've done I feel lazy.
Nice work.
EDIT///
Totally agree with what you said about dust masks bro. People under use them too often. There are all kinds of hidden nasties in the chemicals we use. For professional mechanics I've read that testicular cancer is higher than normal. The chemicals and oils from working without gloves absorb through the skin settling in your nuts.....
In the iron ore mines I worked at in Australia few wear dusk masks if they can get away with not wearing them. Even though they hit asbestos pockets as it's the same area as the old asbestos mines....
I wore mine whenever I could get a respirator.
Last edited by Red Wagon; Feb 19, 2013 at 03:14 PM.
Feb 19, 2013 | 09:43 PM
#5896
Contributing Member
Joined: Mar 2003
Posts: 11,334
Likes: 0
From: COTKU,Ontario,Canada
Mark go get yourself some primo rack time mano.
The one problem with masks is sometimes you just can't wear them because they get in the way... for example when you're working in confined spaces sometimes there is only room for one forearm, the can of lube, and your head to see where the spray is going...
the problem is hardly anything is built to be "maintained"... Sure it goes together nice when they build it but when you have to service it every 100/200 hrs there is no time to take half the plane apart to get that nice easy access... you have to squeeze in where you can... fortunately most of the lubricants/chemicals we use these days are "safe" ... long as you don't concentrate and "huff" them.
Feb 19, 2013 | 11:11 PM
#5897
Thread Starter
Registered User
iTrader: (5)
Joined: Jun 2009
Posts: 19,281
Likes: 20
From: Lake Havasu, AZ
Hey Y'all, ....haha... WOW, I'll make it quick as possible...
Freakin awesome man! Doesn't look like that was too hard, but the devil is in the details. So do the pads make full contact with the rotor, or does it overhang like the specs say they will? Another thing, never had experience with slotted rotors, but they're directional, right? Were there instructions for which way they go?
Good idea on the paper plate to catch the outer bearing, I think I'll be using that when I go ahead and assemble the axle for good.
Good idea on the paper plate to catch the outer bearing, I think I'll be using that when I go ahead and assemble the axle for good.
http://www.newtiburon.com/forums/sho...d.php?t=161858
Paper Plate Technique FTW! lol... They're VERY HD Paper Plates, btw.. You know the ones... Coated types that ACTUALLY HOLD a plate of food without collapsing? hehe. it works GREAT
Thanks alot, man... I feel good supporting a local machining Company... I KNOW how hard it is in L.A., CALIFORNIA, period, to function/break even after all the CAP and TRADE style regulations and fees, etc., going on. IT'S UNREAL! They appear to be VERY good quality and to specs... BUT, I know, time will tell.. So for those who are waiting to see how they work/if they grenade on me, lol.... I GET IT, I do...Totally understand. I'll keep you all updated on them......
Good job Mark
Looks really sweet... I'd have maybe painted the calipers "brembo" [or is that "Toyota"] red... gonna have to do the brakes on mine this year some time think I'm gonna paint mine this time.
On that badge it does'nt look like any particular Kangi character looks to me more like a stylized dragon motif.
Looks really sweet... I'd have maybe painted the calipers "brembo" [or is that "Toyota"] red... gonna have to do the brakes on mine this year some time think I'm gonna paint mine this time.
On that badge it does'nt look like any particular Kangi character looks to me more like a stylized dragon motif.
 .... YES, it's a Dragon, lol... BTW, .... know what "Cressida" means? hehee.... They gotz their own symbol too
  ... And thanks, man... Means a lot from another DETAIL INTENSIVE BROTHA!
HEY, MANG! Sup SC, ..... glad to see ya round! How's the projects coming? Haven't seen any updates.... Did my sub' get jacked up?

Great write up and hope the mask saved you some problems. I am going to mark this page for future reference.
When you get the chance can you list the suppliers and the parts that they provide such as Aisian,Dakin,Denso and what they produce, bearings,clutches.... You are be a walking encyclopedia when it comes the part suppliers that Toyota used and alot of times I can find them on ebay.
When you get the chance can you list the suppliers and the parts that they provide such as Aisian,Dakin,Denso and what they produce, bearings,clutches.... You are be a walking encyclopedia when it comes the part suppliers that Toyota used and alot of times I can find them on ebay.
Encyclopedia? ME? hahaa... I think you're the man on that, along with a few others on here. I'm learning though, right?
 hehehe.
 Very nice thing to say, Richard... Thanks, man!
 .... Appreciate you as well, man.
 How much are you into the brakes?
I think one of mine is seizing. My front right grabs and I've smelt it before, it comes and goes. I think with the extreme cold it may also have warped the rotor. It feels like when you bend a disk on a bike as she coasts to a stop.
So if I fix one side might as well do the other. I don't know if the best option is find rebuild kits or buy new calipers.
You bought new (rebuilt) V6 calipers right?
As usual checking how much you've done I feel lazy.
Nice work.
Well, ... so far, .............. 46$ on a KILLER deal from PYPart 50% off Weekend for Pristine Aisin 1" master cyl, 95 v6 4runner Calipers and 94 V6 dual Diaphragm booster.........
Ended up with OEM Seal/Rebuild kit for the calipers for free/still have some credit/ at toyotapartszone.com . I had a credit. They're reasonable, especially if you're going to finally order some other stuff. In fact, check with dealerdirectparts.com... I believe they're free shipping over 100$. If not, check all the trademotion dealers for Toyota and take the best price, ya know?
V6 Angle Drilled and Slotted Rotors/ Hart Black Zinc; 120$ or so to my door(They are free shipping through Amazon.com, I believe)..... Got them in VERY short timing.
So, full new/or restored/or like new/ ....but all pretty much new, haha, "V6 Brake Upgrade" was, for me, so far, ... 166$? I think I did pretty good on that... VERY grateful.... Got blessed on some deals and GREAT info from Corax and others!
 hehehe.
 Mark go get yourself some primo rack time mano.
The one problem with masks is sometimes you just can't wear them because they get in the way... for example when you're working in confined spaces sometimes there is only room for one forearm, the can of lube, and your head to see where the spray is going...
the problem is hardly anything is built to be "maintained"... Sure it goes together nice when they build it but when you have to service it every 100/200 hrs there is no time to take half the plane apart to get that nice easy access... you have to squeeze in where you can... fortunately most of the lubricants/chemicals we use these days are "safe" ... long as you don't concentrate and "huff" them.
 haha.
Feb 19, 2013 | 11:53 PM
haha.
Feb 19, 2013 | 11:53 PM
#5898
Thread Starter
Registered User
iTrader: (5)
Joined: Jun 2009
Posts: 19,281
Likes: 20
From: Lake Havasu, AZ
OK, ....
Today, I bled the system at around 7am... Then I did a lot of driving to a gig and back, ... Bled again, pulled the Freewheel Hubs again and reset the wheel bearing preload..... 100 MILES later and already, as usual, ..... the spindle adjusting nut was hand loose(Even though I'd fully packed the bearings and spindles properly, as always.... There's always a lil area here and there to fill when spinning at 80mph, lol...)...
Finished putting it all back together again on a break from the days runaround...
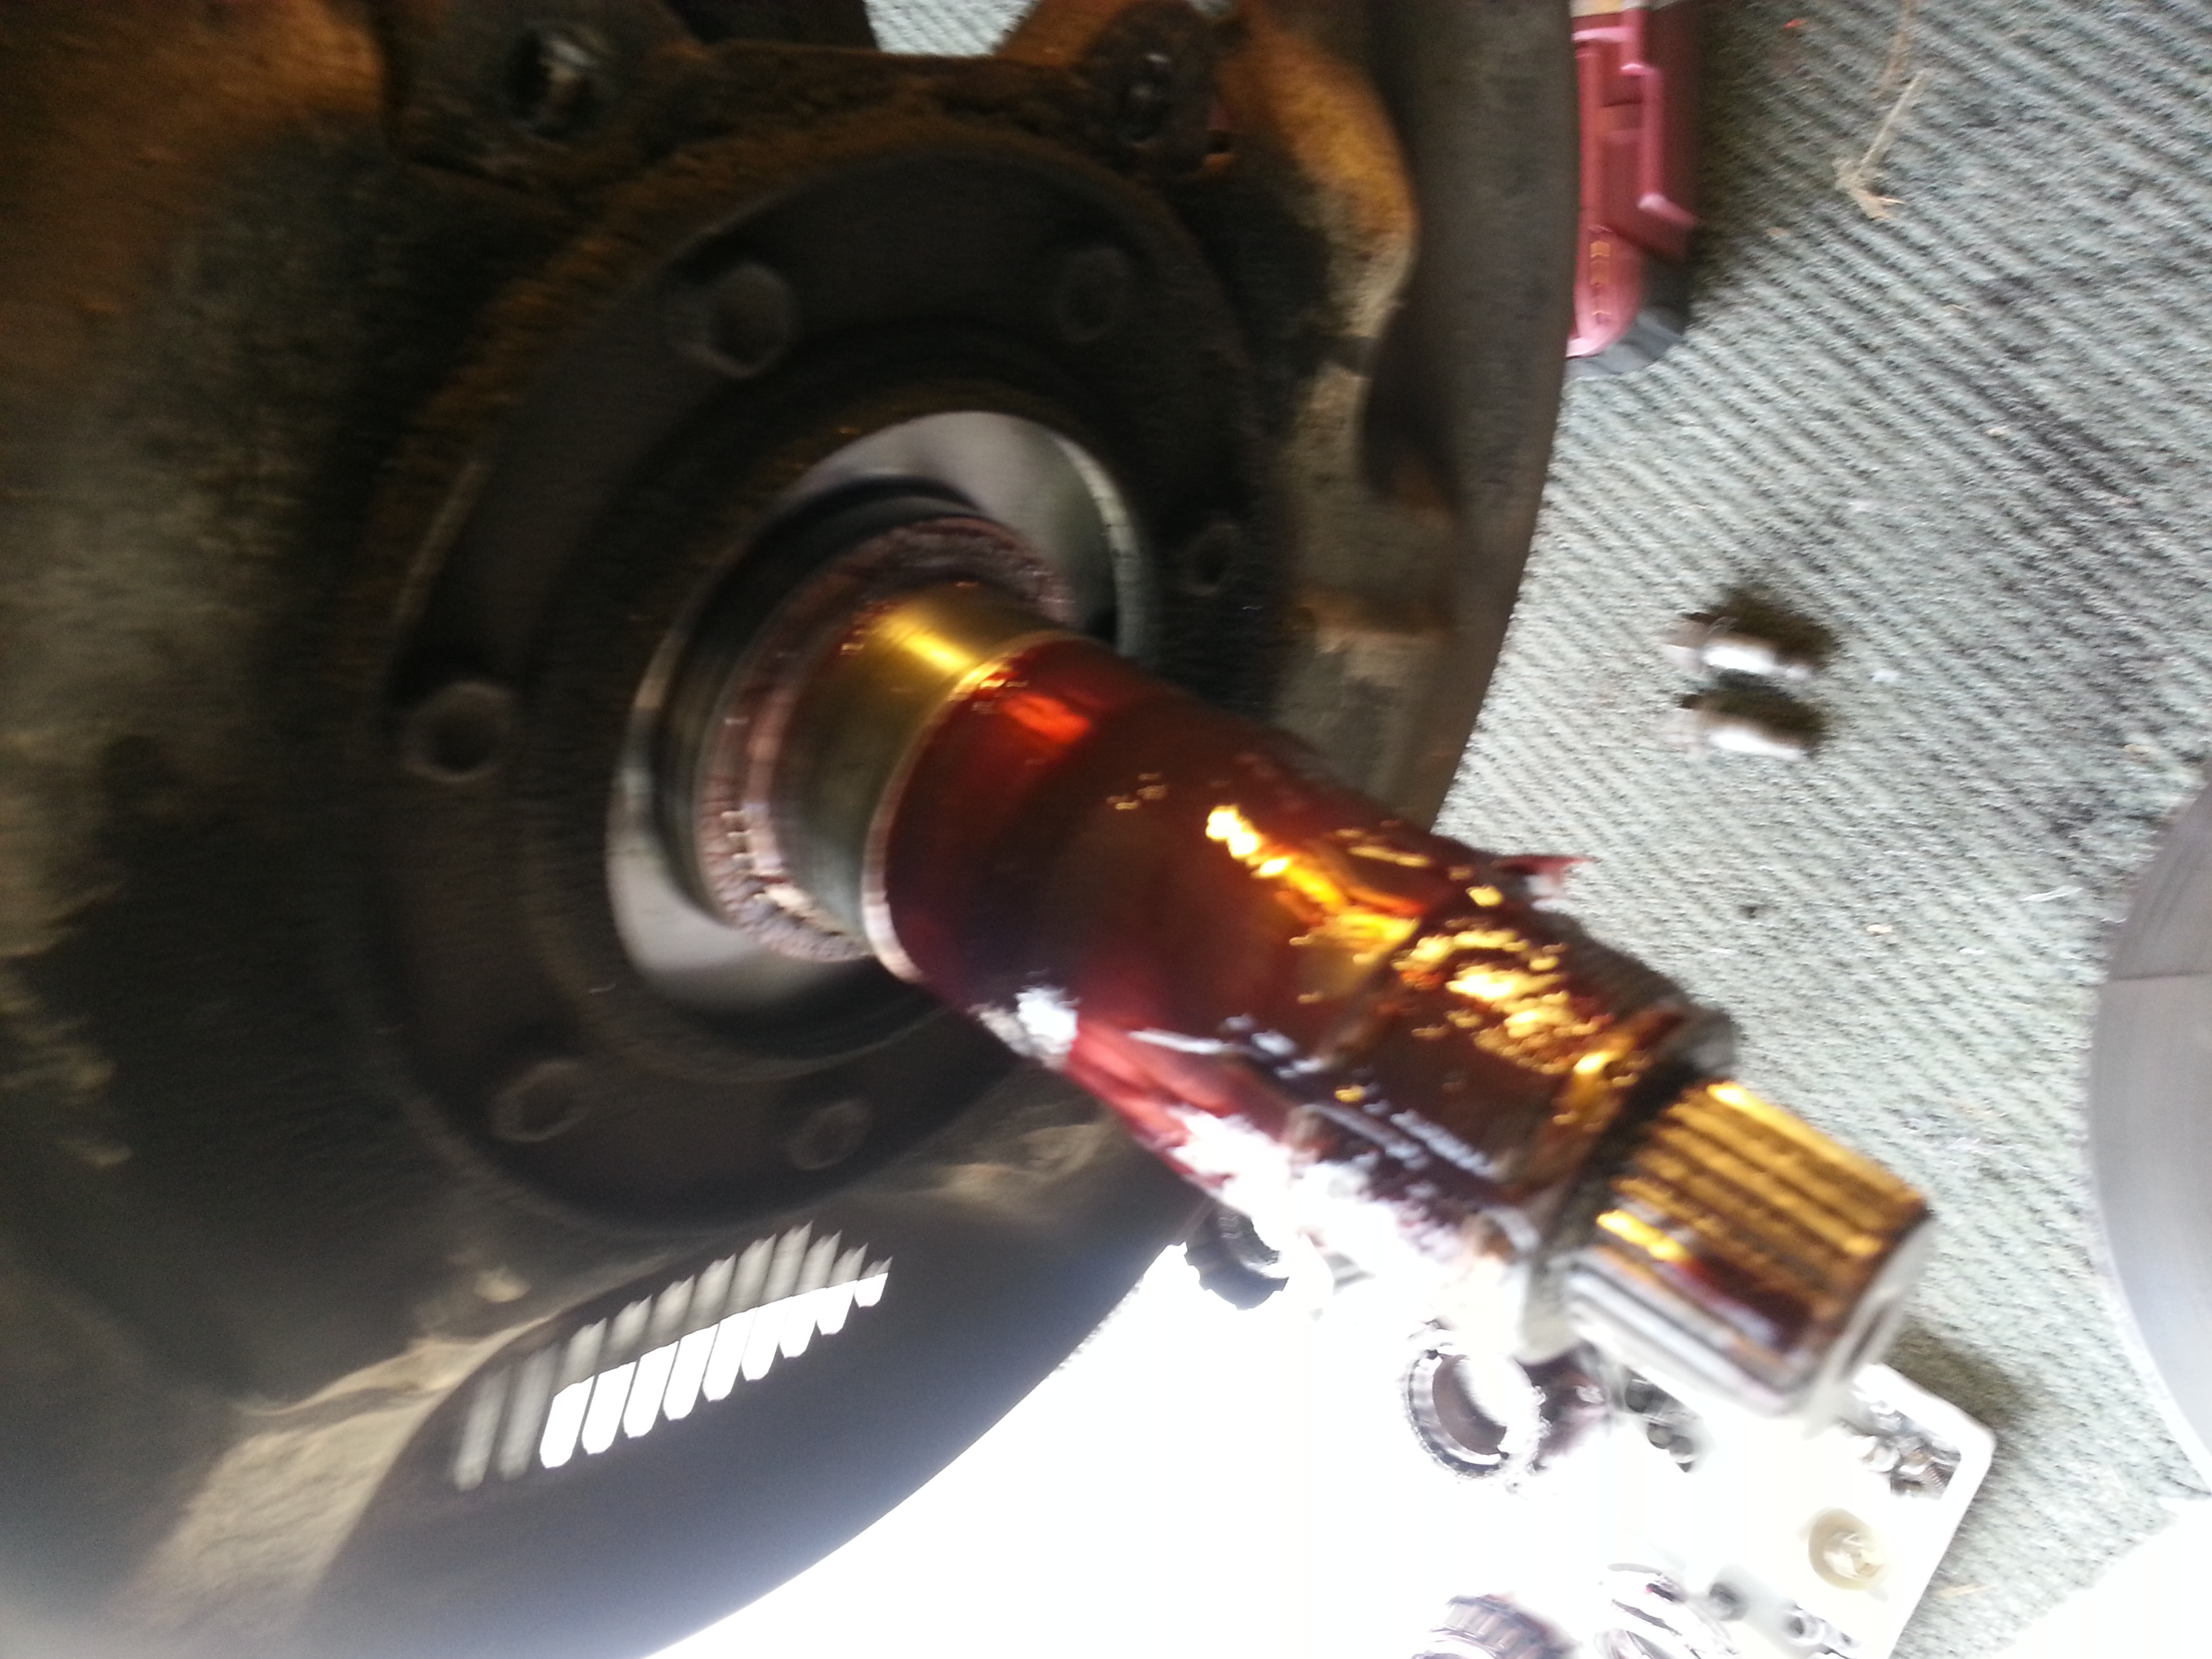
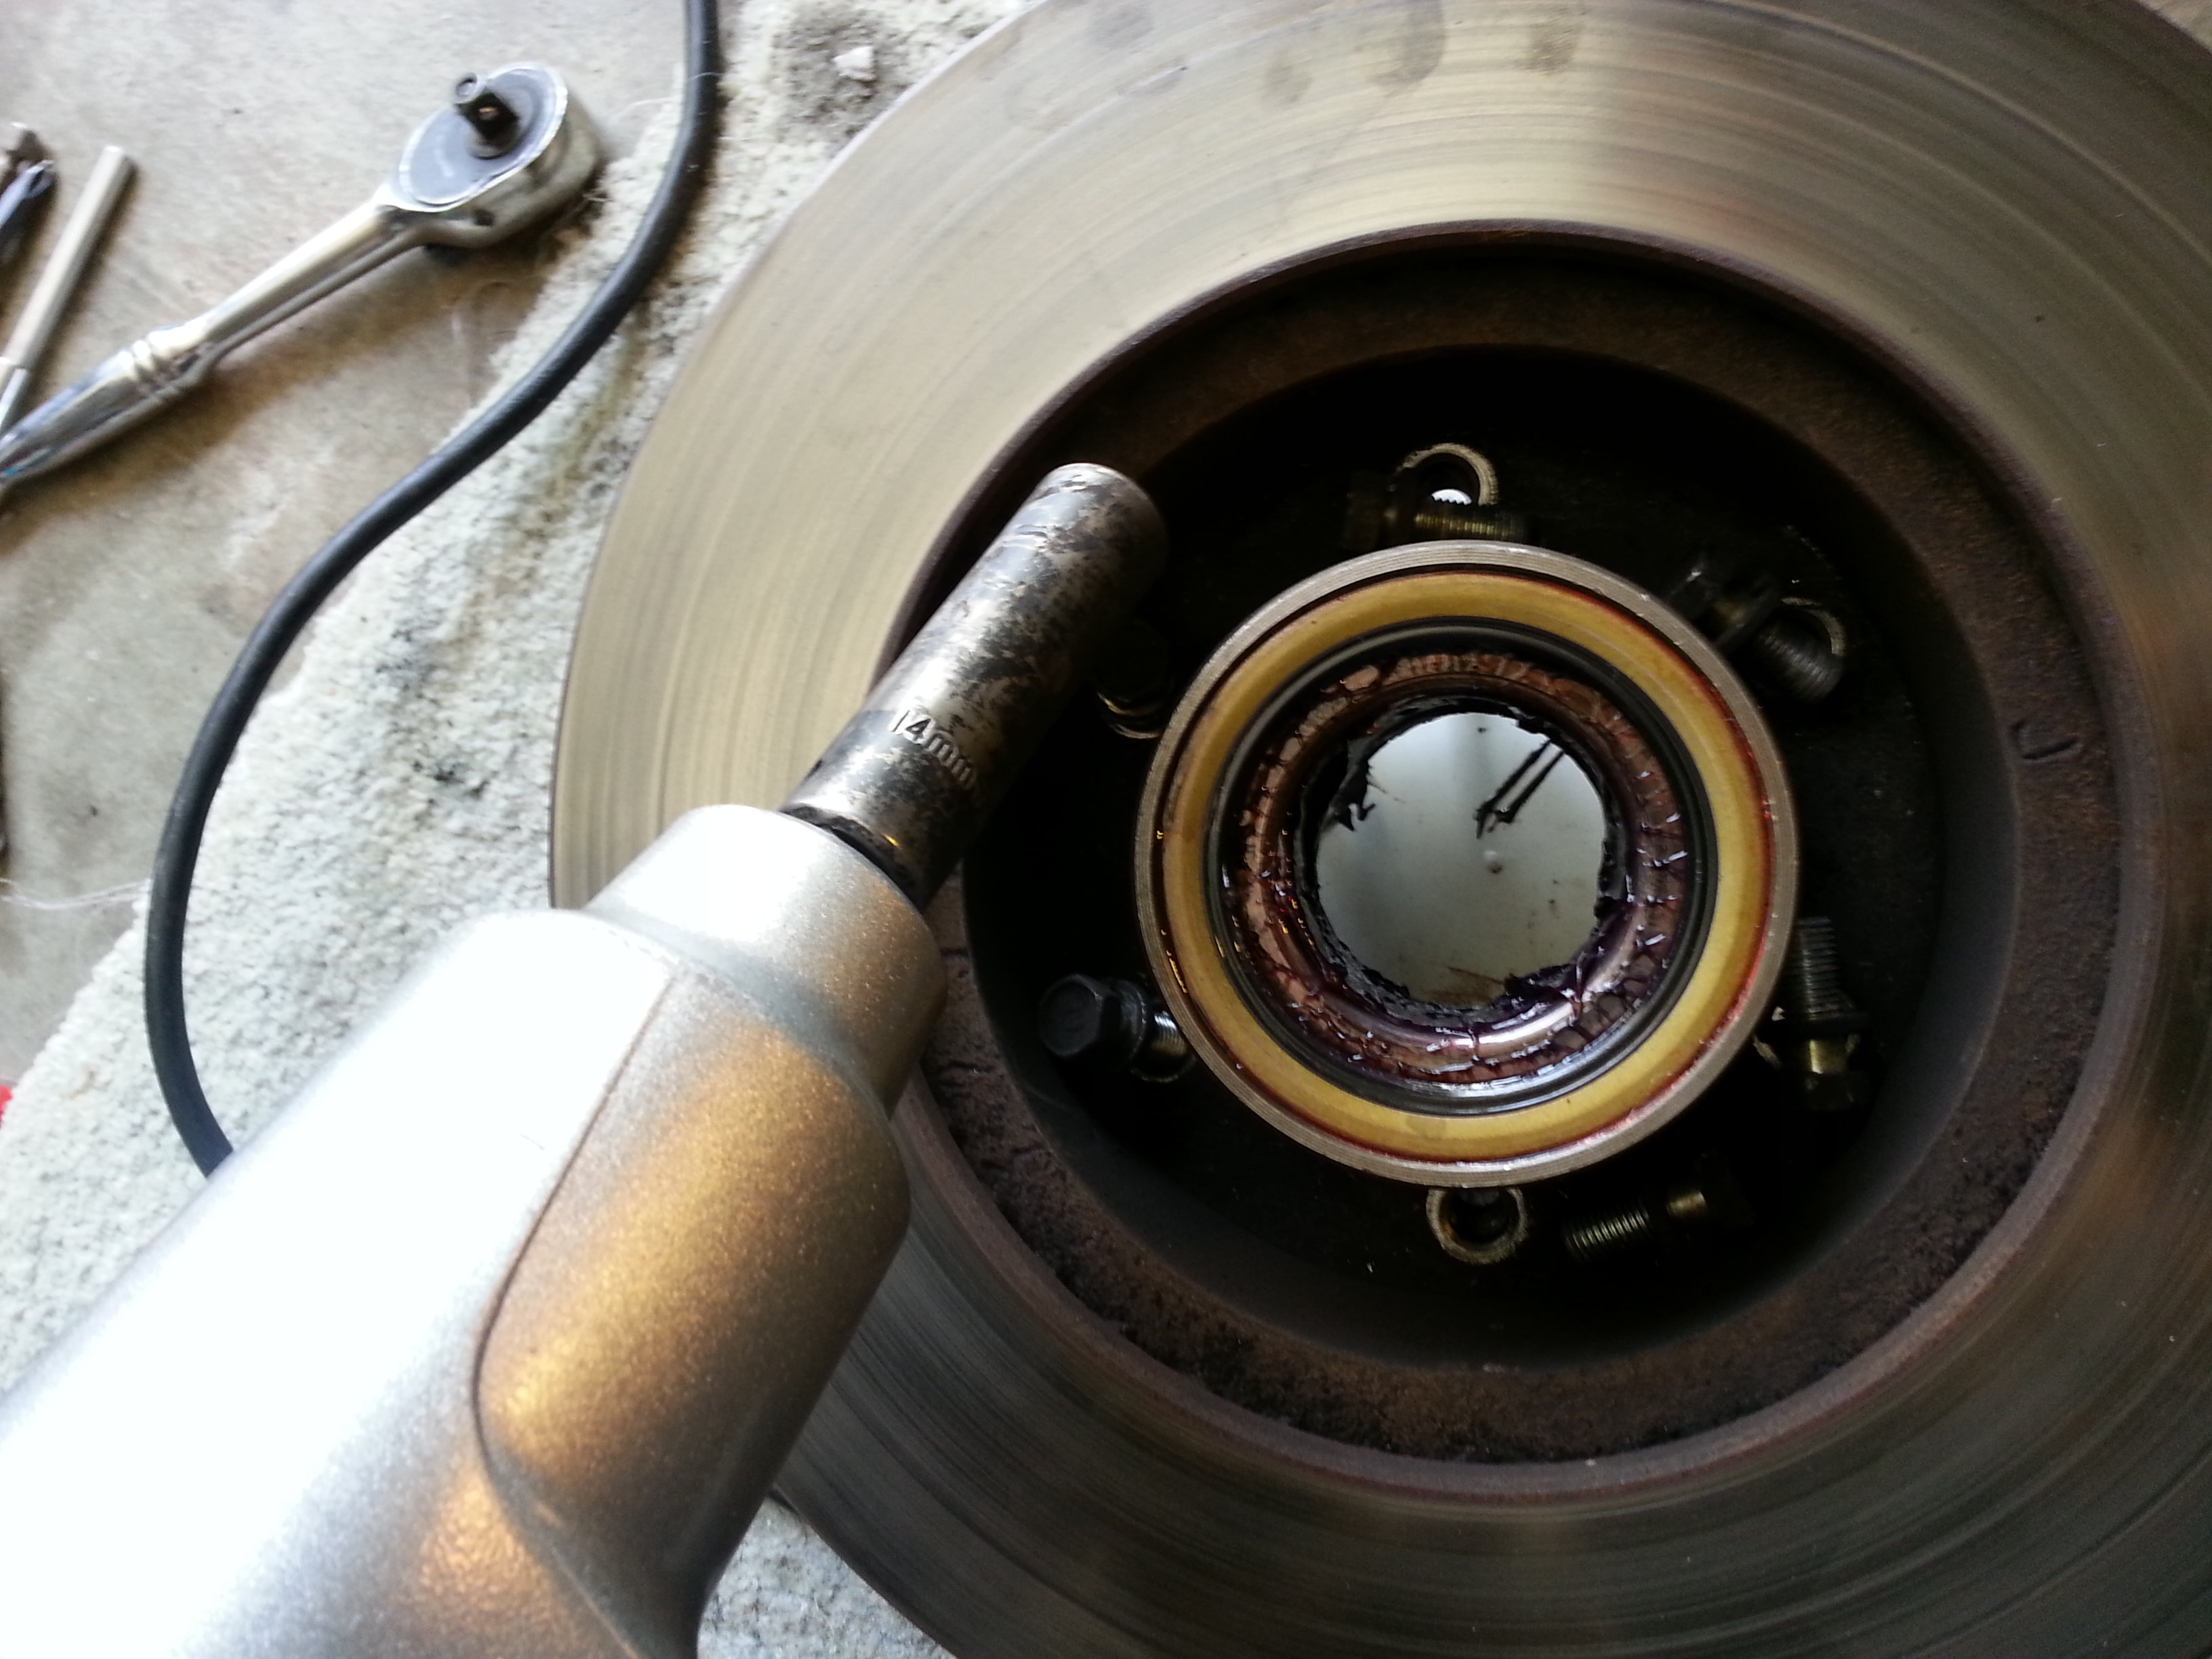
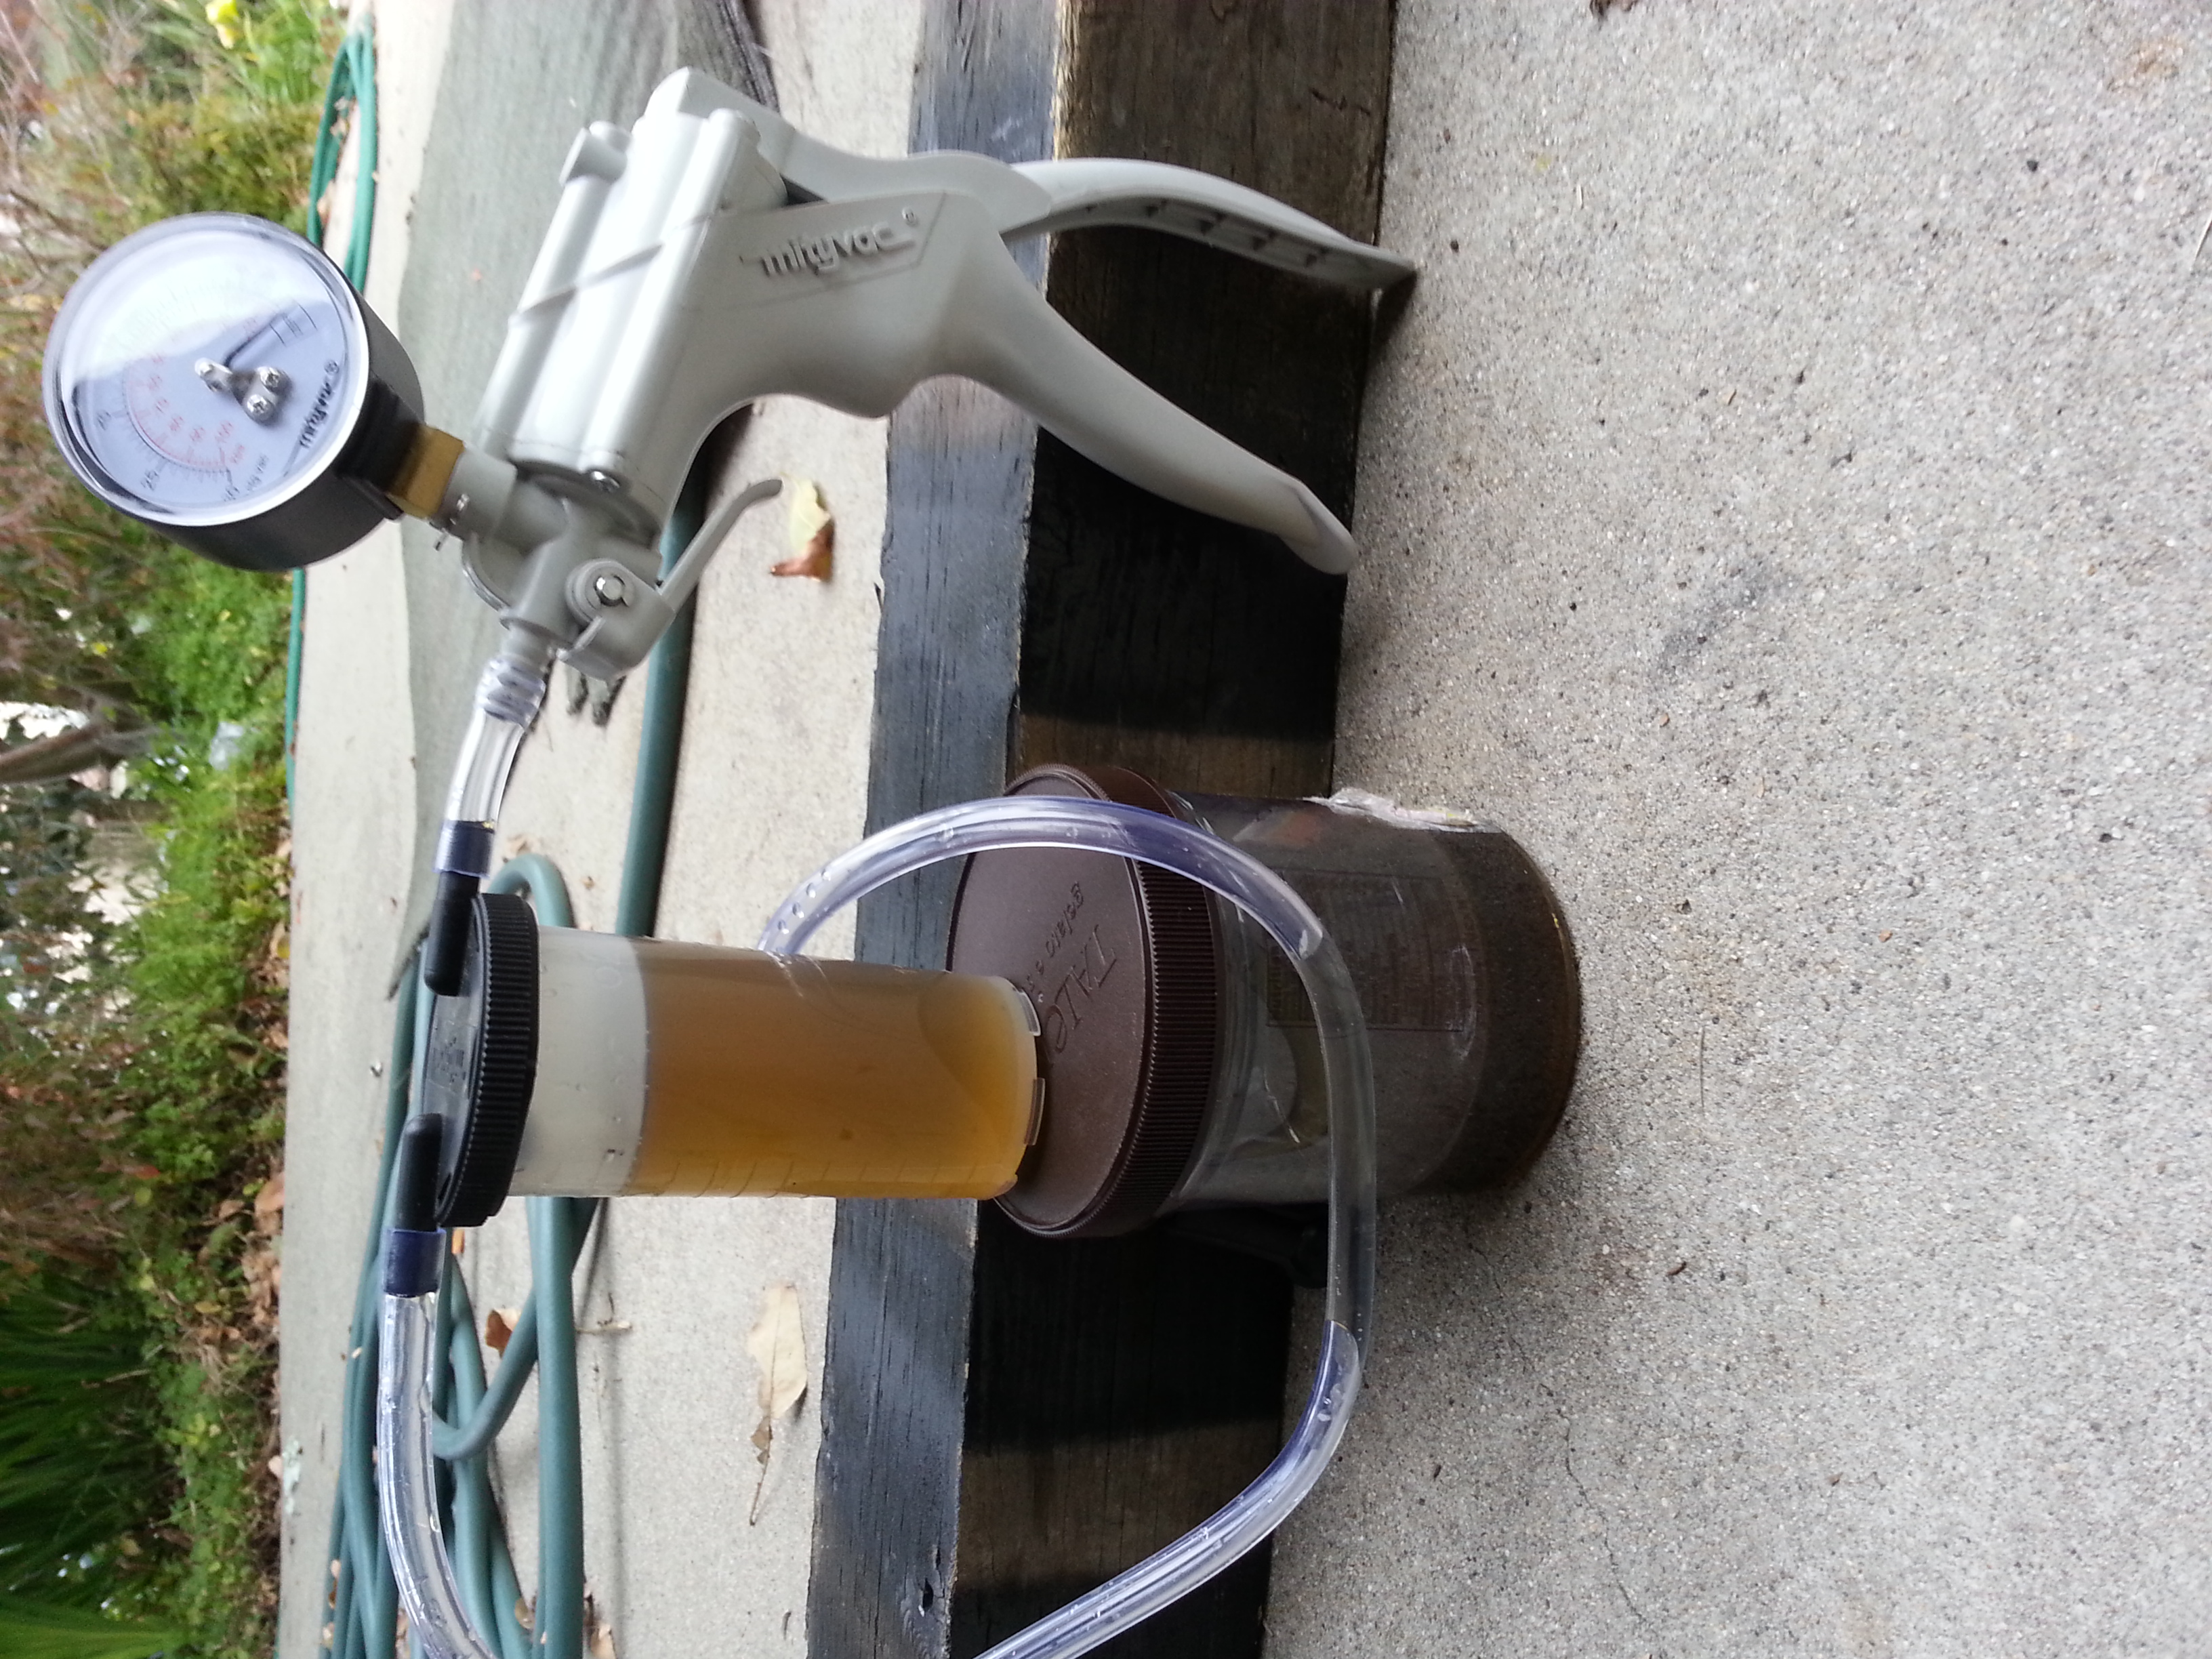
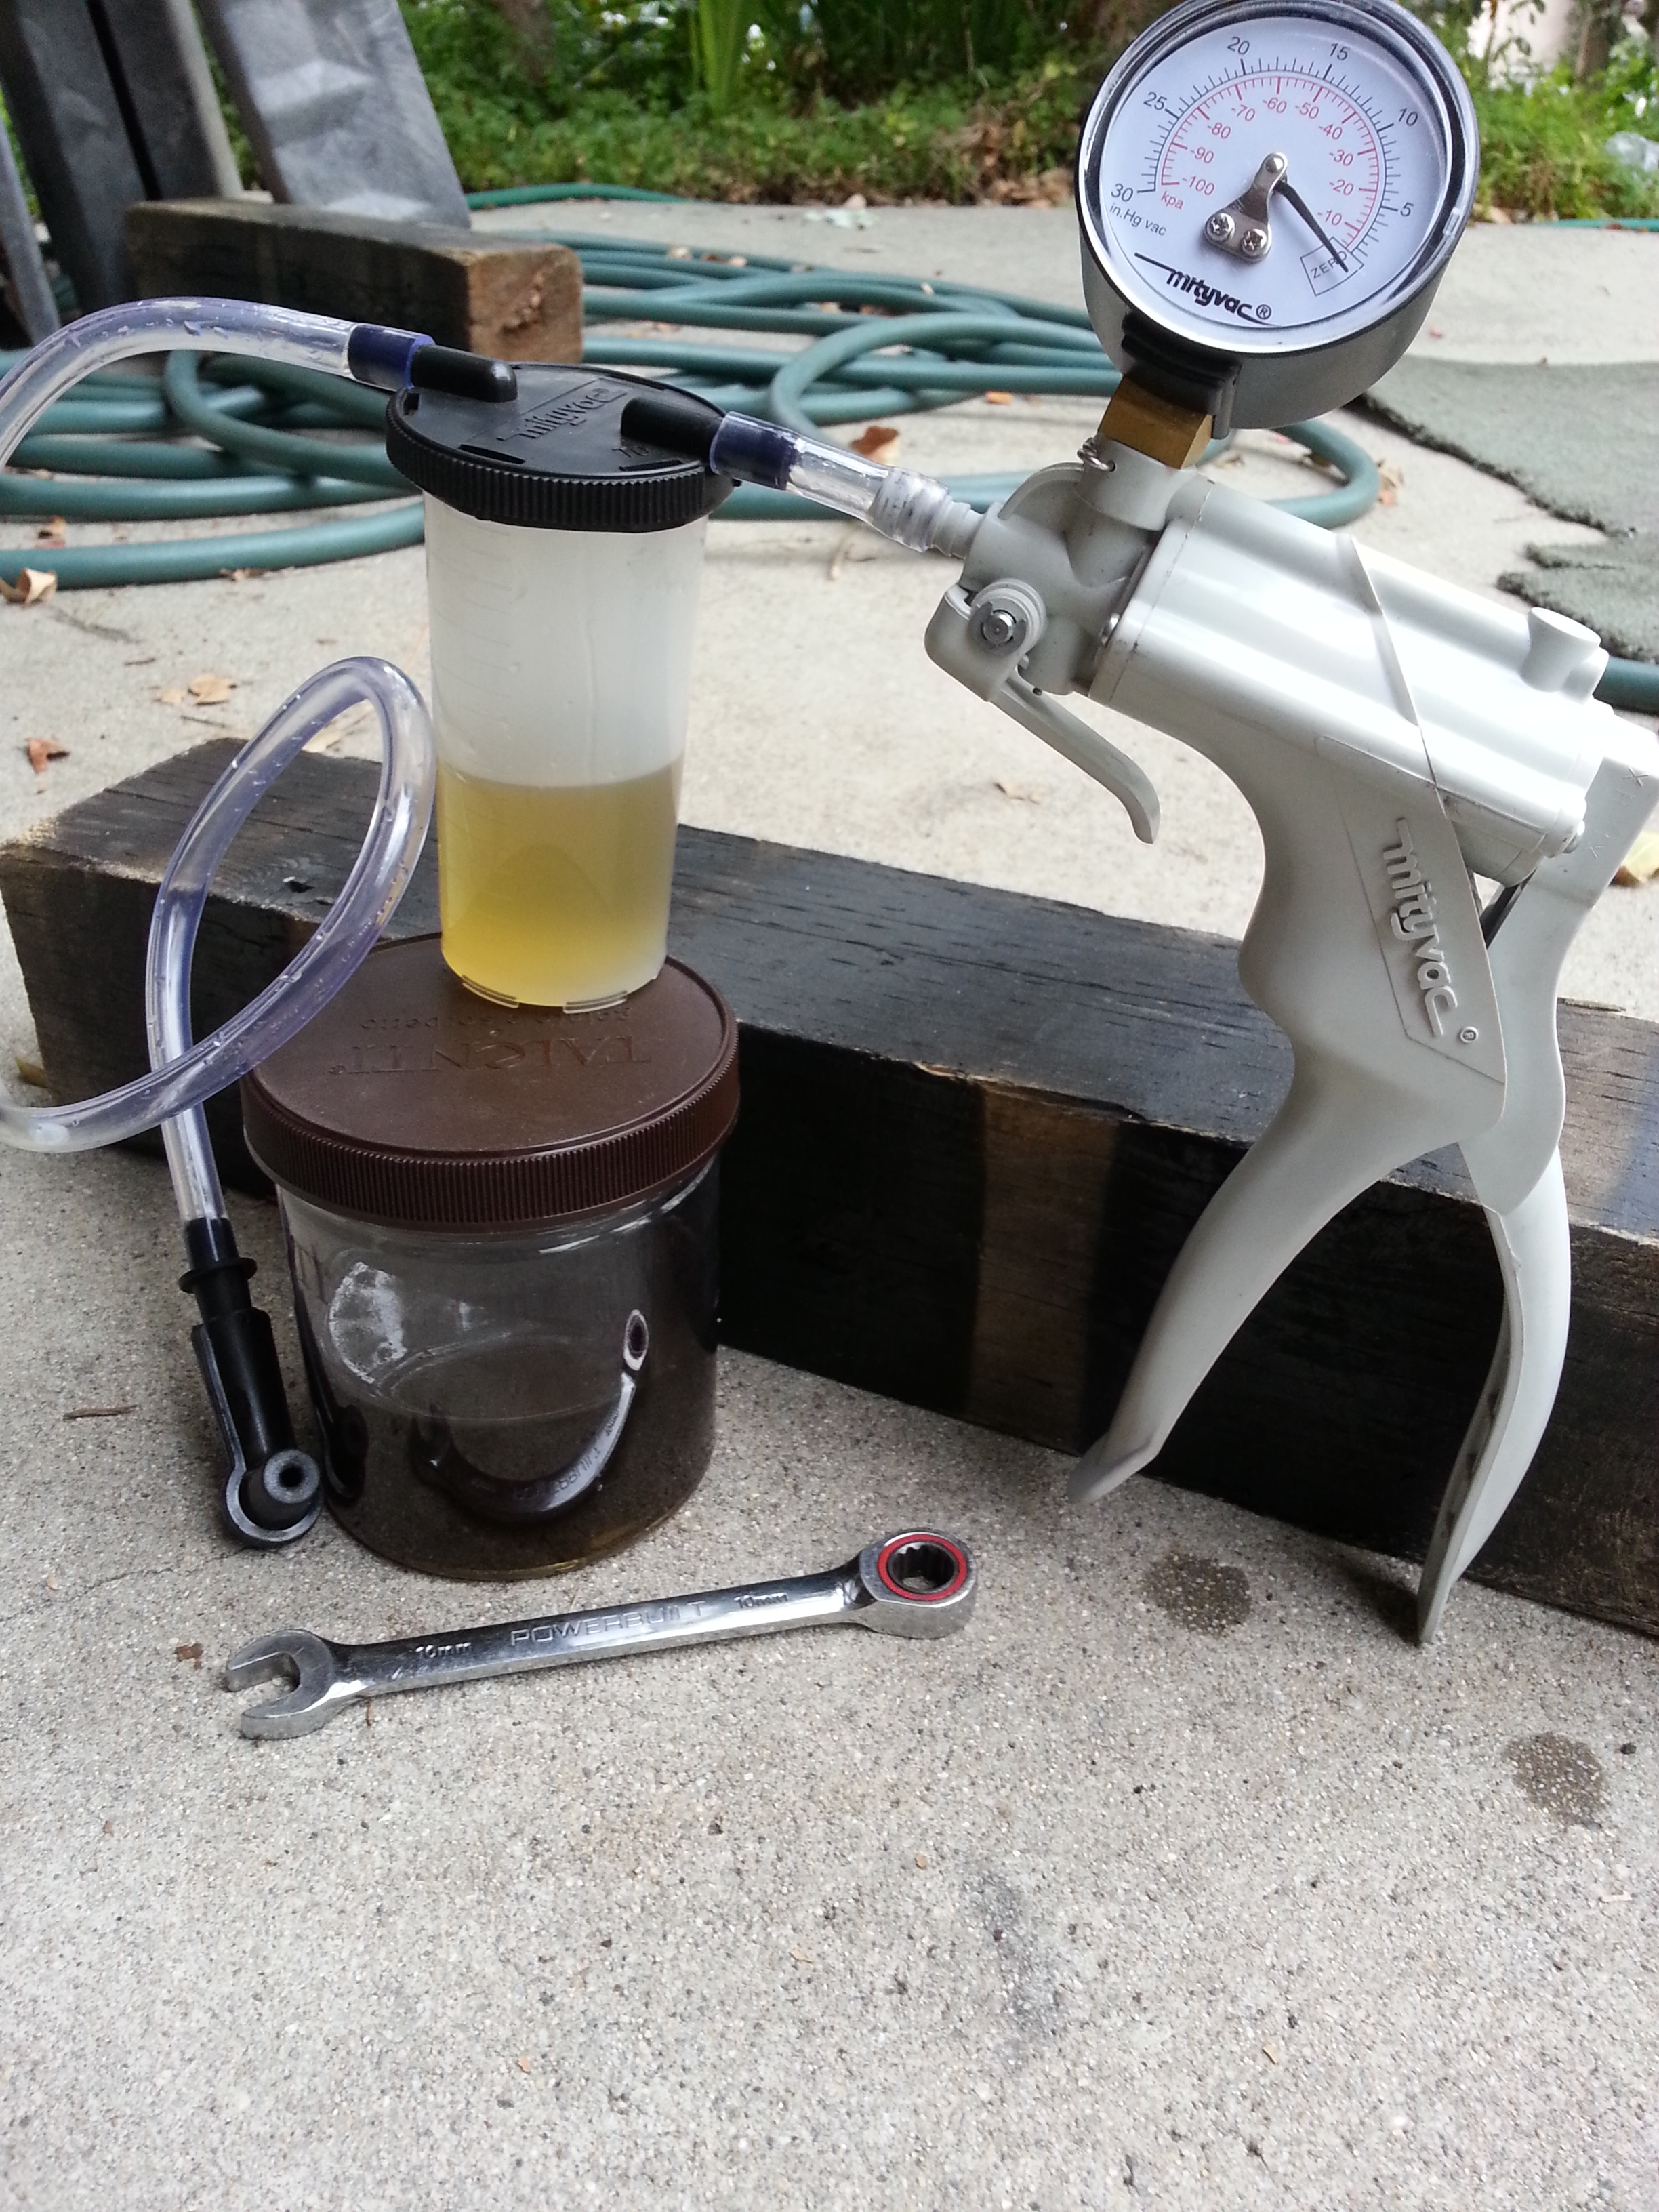
LOVE my Mighty-VAC, .... Always made use of it for testing Emissions issues and ...... Bleeding. You can see from the initial pumping through the first caliper, it was NASTY(the Larger lower container)... Then second run, lil better(same first pic but in the Mighty-VAC Reservoir)...... Finally, clean enough to run(Second pic, in Mighty-VAC reservoir)... BUT, I did another after that last one in the second pic(no time for another pic/too dirty to handle the Note2, lol)...
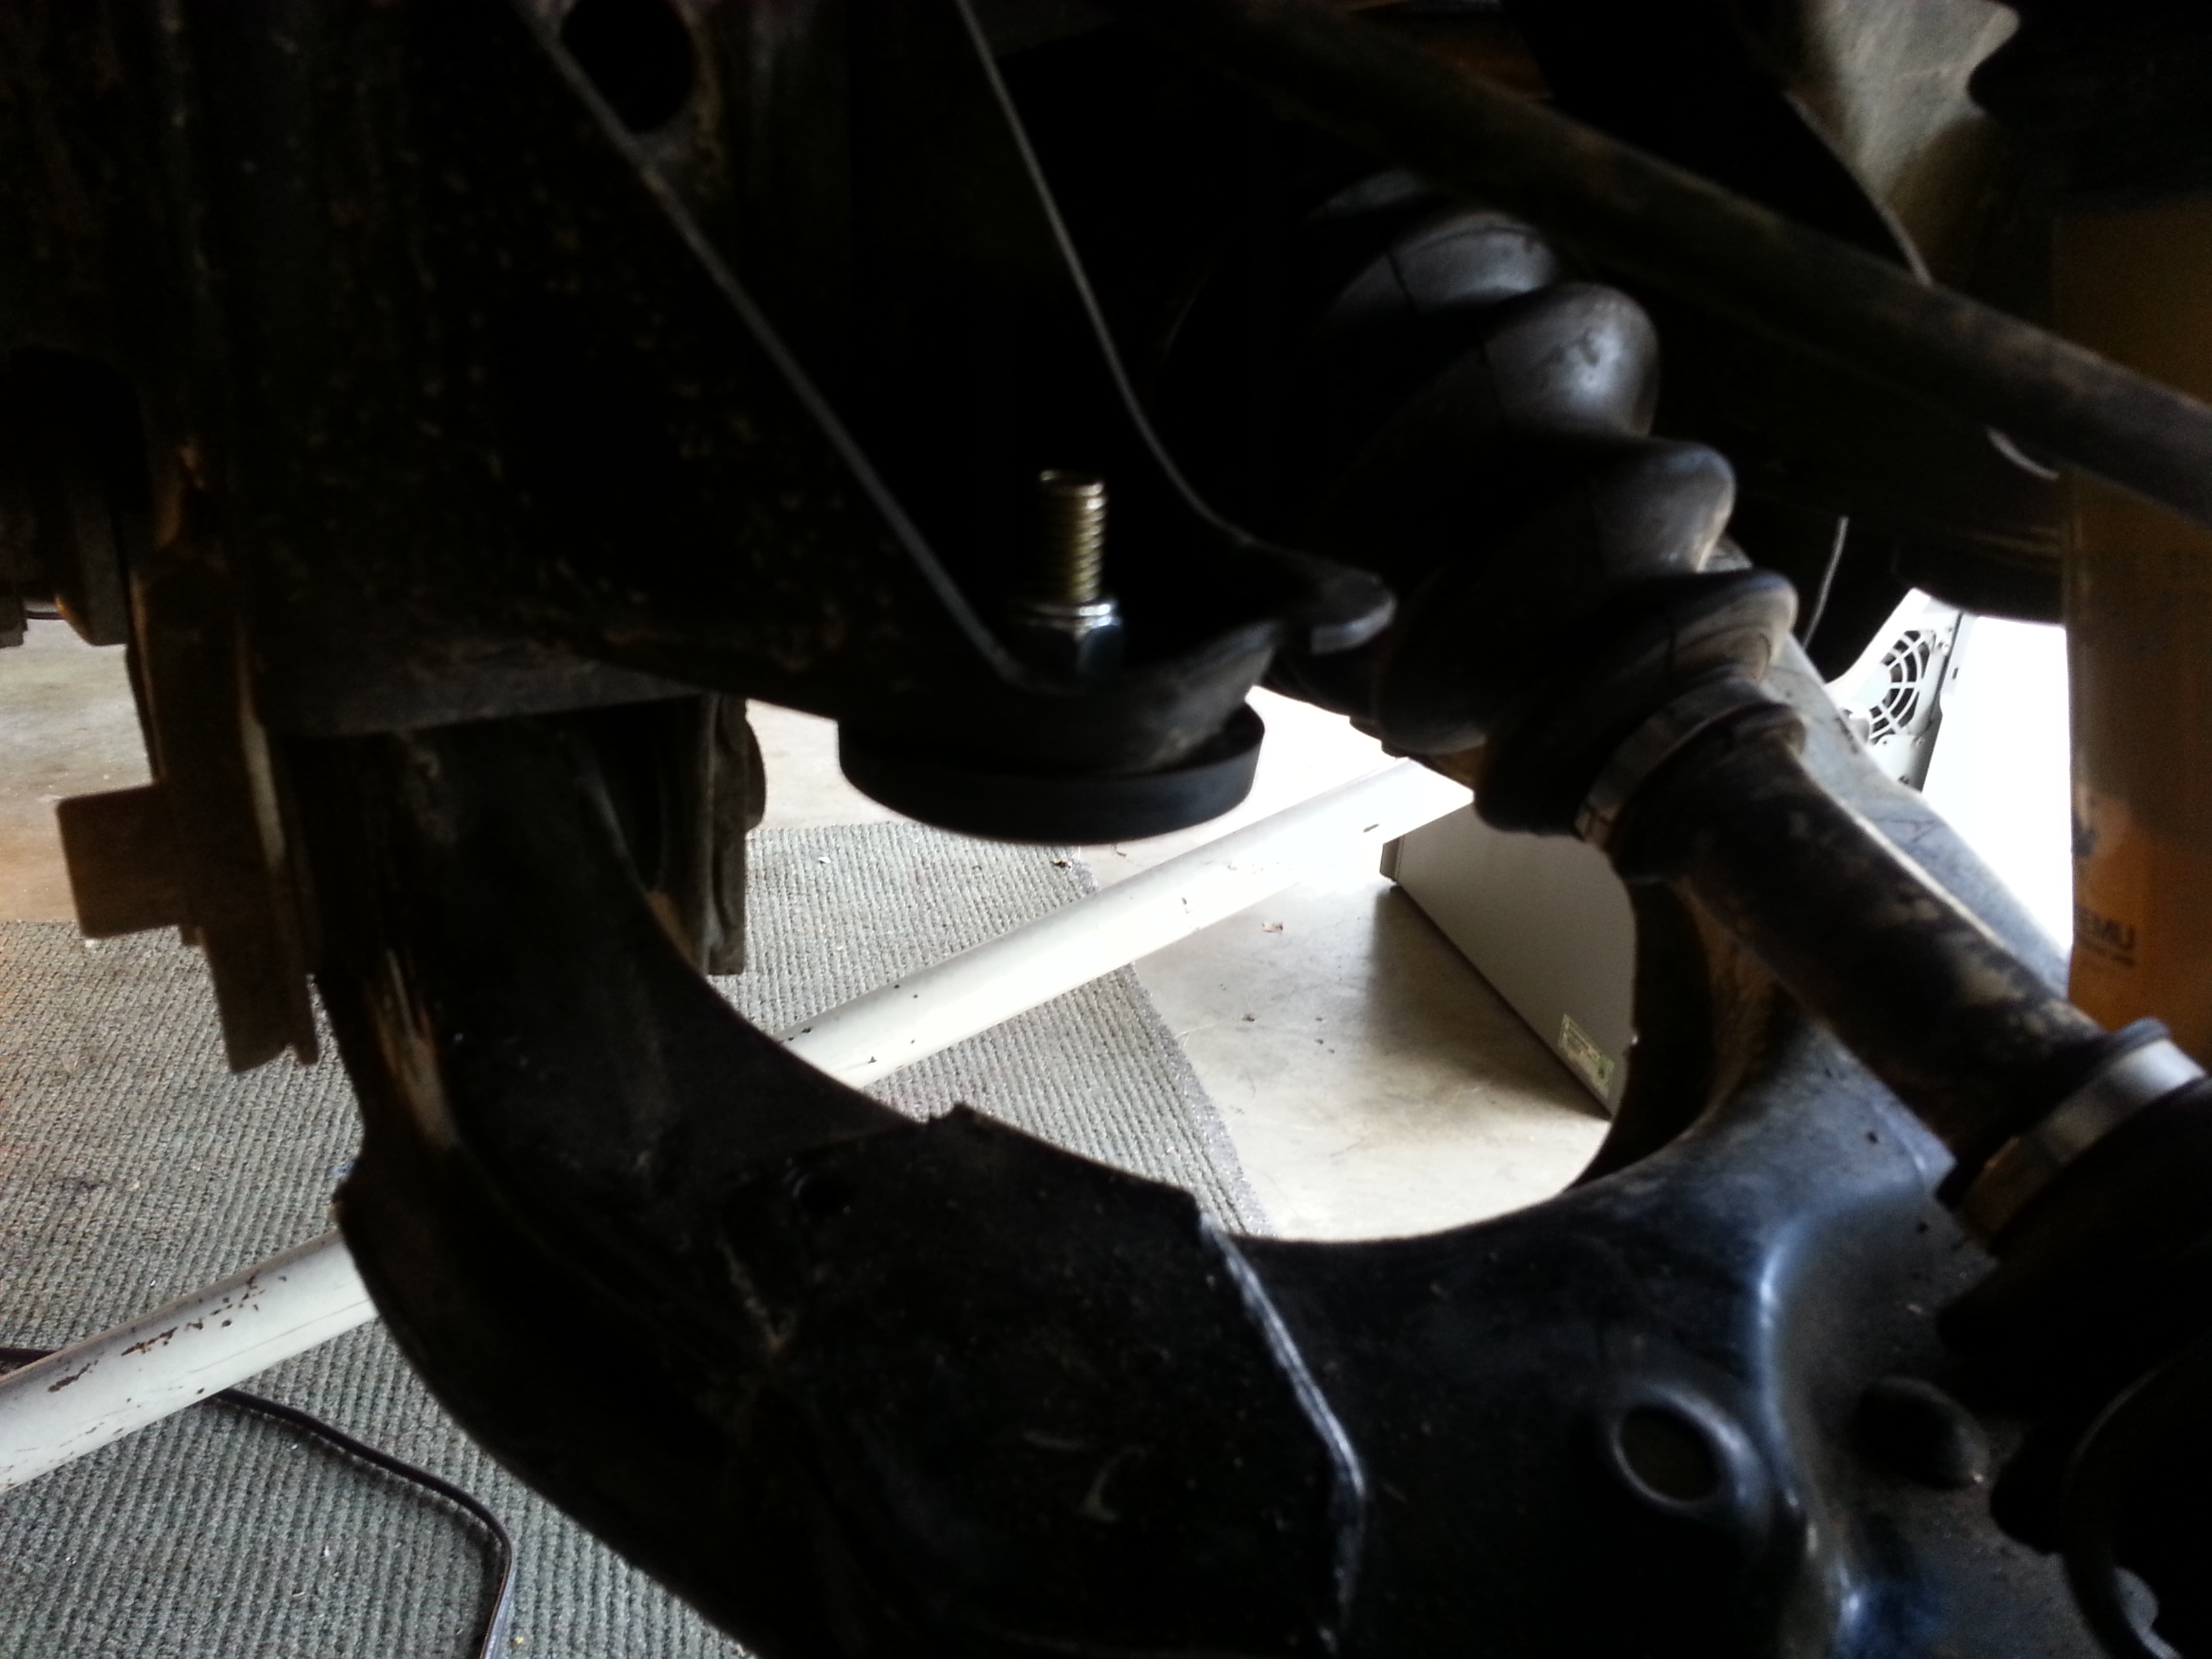
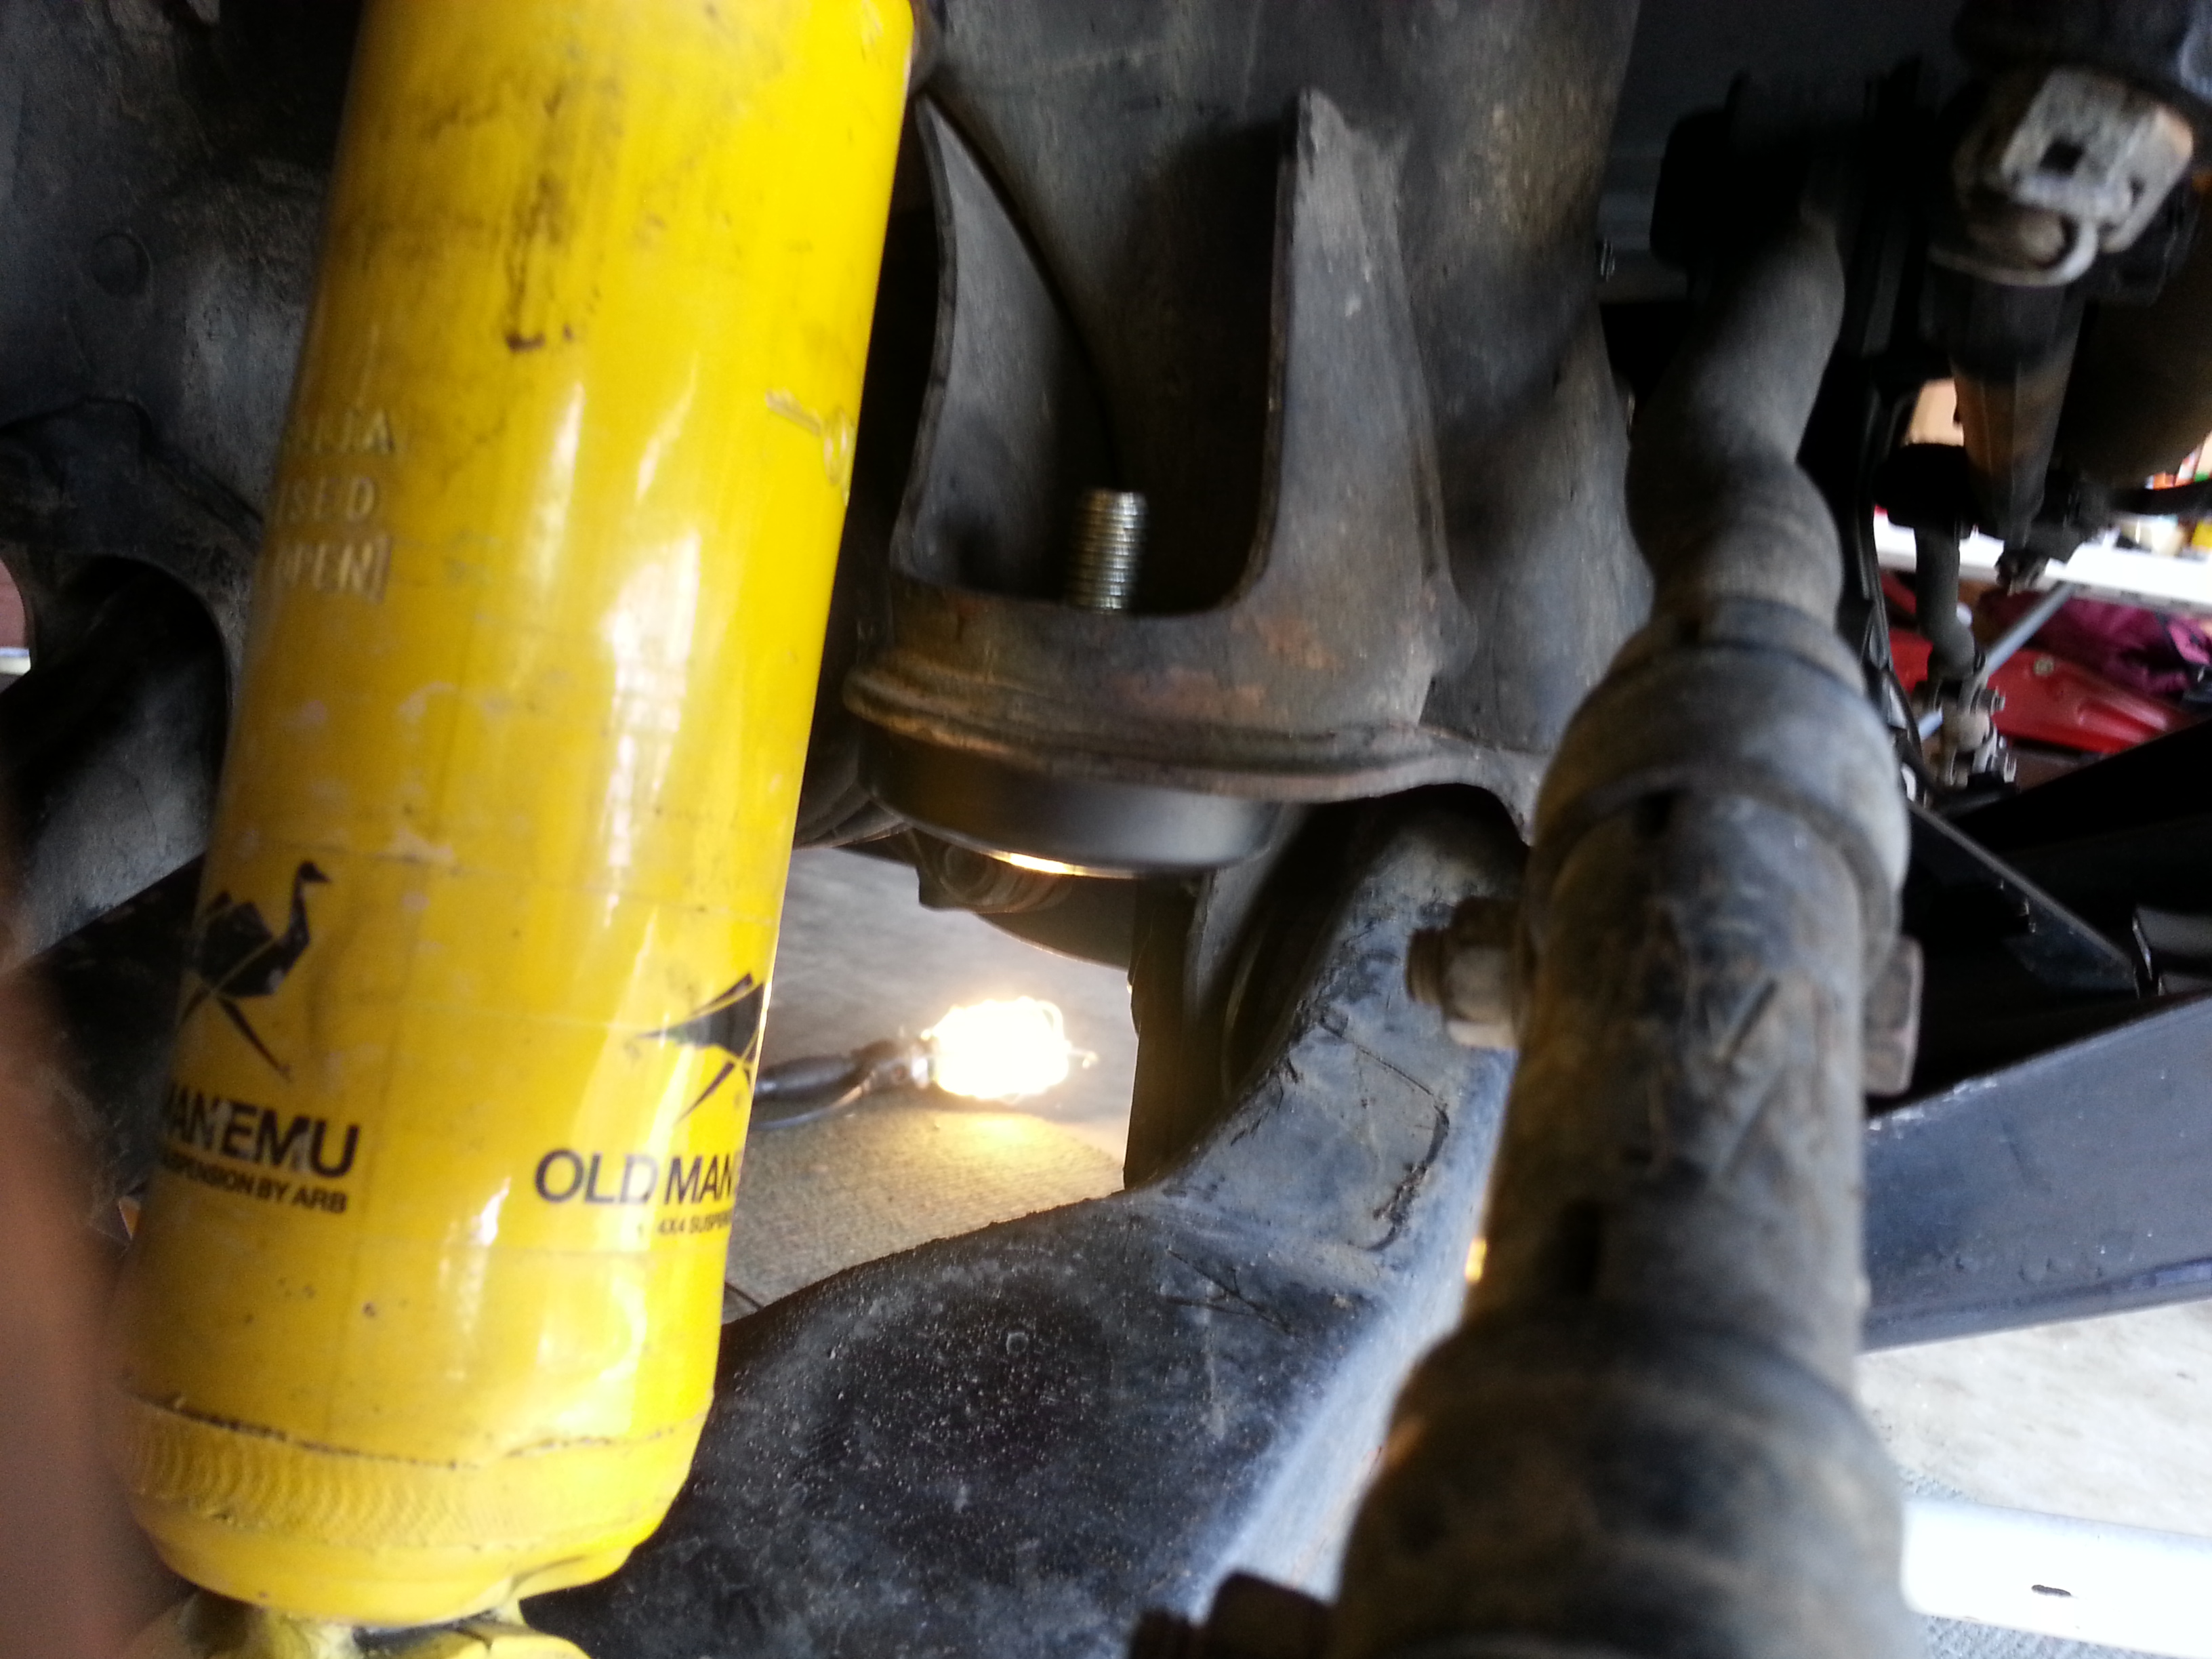
Installed the Low Profile Upper Bump Stops while out there as well... Check another thing off the list .... (WAS A PITA on one of them!.... Was frozen up well, even after soaking really well, many times, with Naval Jelly and PB Blaster)...... Anyway, DONE! lol.....
Today, I bled the system at around 7am... Then I did a lot of driving to a gig and back, ... Bled again, pulled the Freewheel Hubs again and reset the wheel bearing preload..... 100 MILES later and already, as usual, ..... the spindle adjusting nut was hand loose(Even though I'd fully packed the bearings and spindles properly, as always.... There's always a lil area here and there to fill when spinning at 80mph, lol...)...
Finished putting it all back together again on a break from the days runaround...
LOVE my Mighty-VAC, .... Always made use of it for testing Emissions issues and ...... Bleeding. You can see from the initial pumping through the first caliper, it was NASTY(the Larger lower container)... Then second run, lil better(same first pic but in the Mighty-VAC Reservoir)...... Finally, clean enough to run(Second pic, in Mighty-VAC reservoir)... BUT, I did another after that last one in the second pic(no time for another pic/too dirty to handle the Note2, lol)...
Installed the Low Profile Upper Bump Stops while out there as well... Check another thing off the list
.... (WAS A PITA on one of them!.... Was frozen up well, even after soaking really well, many times, with Naval Jelly and PB Blaster)...... Anyway, DONE! lol.....
Feb 20, 2013 | 12:07 AM
#5899
Registered User
Joined: Apr 2007
Posts: 1,580
Likes: 1
From: Park City, UT
Good read on the brake rotors. A little confusion about centrifugal and centripetal force, but the gist is there. I think I've always seen the slots going the other direction, probably cause it looks faster that way, but the explanation there makes sense.
Oh yeah, I definitely know the plates you're talking about. For awhile when I was working at Home Depot and not making the money I do now, that was all I had, and they're dishwasher safe, even!
Btw, keep an eye on my thread Mark, I should have some suspension work going on this weekend.
Oh yeah, I definitely know the plates you're talking about. For awhile when I was working at Home Depot and not making the money I do now, that was all I had, and they're dishwasher safe, even!
Btw, keep an eye on my thread Mark, I should have some suspension work going on this weekend.
Feb 20, 2013 | 06:16 AM
#5900
Registered User
Joined: Aug 2011
Posts: 1,507
Likes: 2
From: Fraser Valley, British Columbia
Thanks Chef. I'll get googling after some more sleep and start looking up your parts. I lost where you rebuilt them in the sea of pages you have!
I can't imagine they take long to rebuild and I like saving money where I can. Also depends on shipping. I saw that Marlin Crawler has a brake package with already rebuilt calipers. I'll have to do the math.
I might get an Fj80 master as an upgrade.
As for progress, mods are exciting. Maintenance jobs are harder to self motivate.
The cold is almost over way up here and my back is on the mend. No excuses coming soon. I've got work to do on the wagon.
Last edited by Red Wagon; Feb 20, 2013 at 06:17 AM.


