
ChefYota4x4's 1987 4Runner Build-Up Thread
 Feb 22, 2013 | 01:32 AM
#5921
Thread Starter
Registered User
iTrader: (5)
Joined: Jun 2009
Posts: 19,281
Likes: 20
From: Lake Havasu, AZ
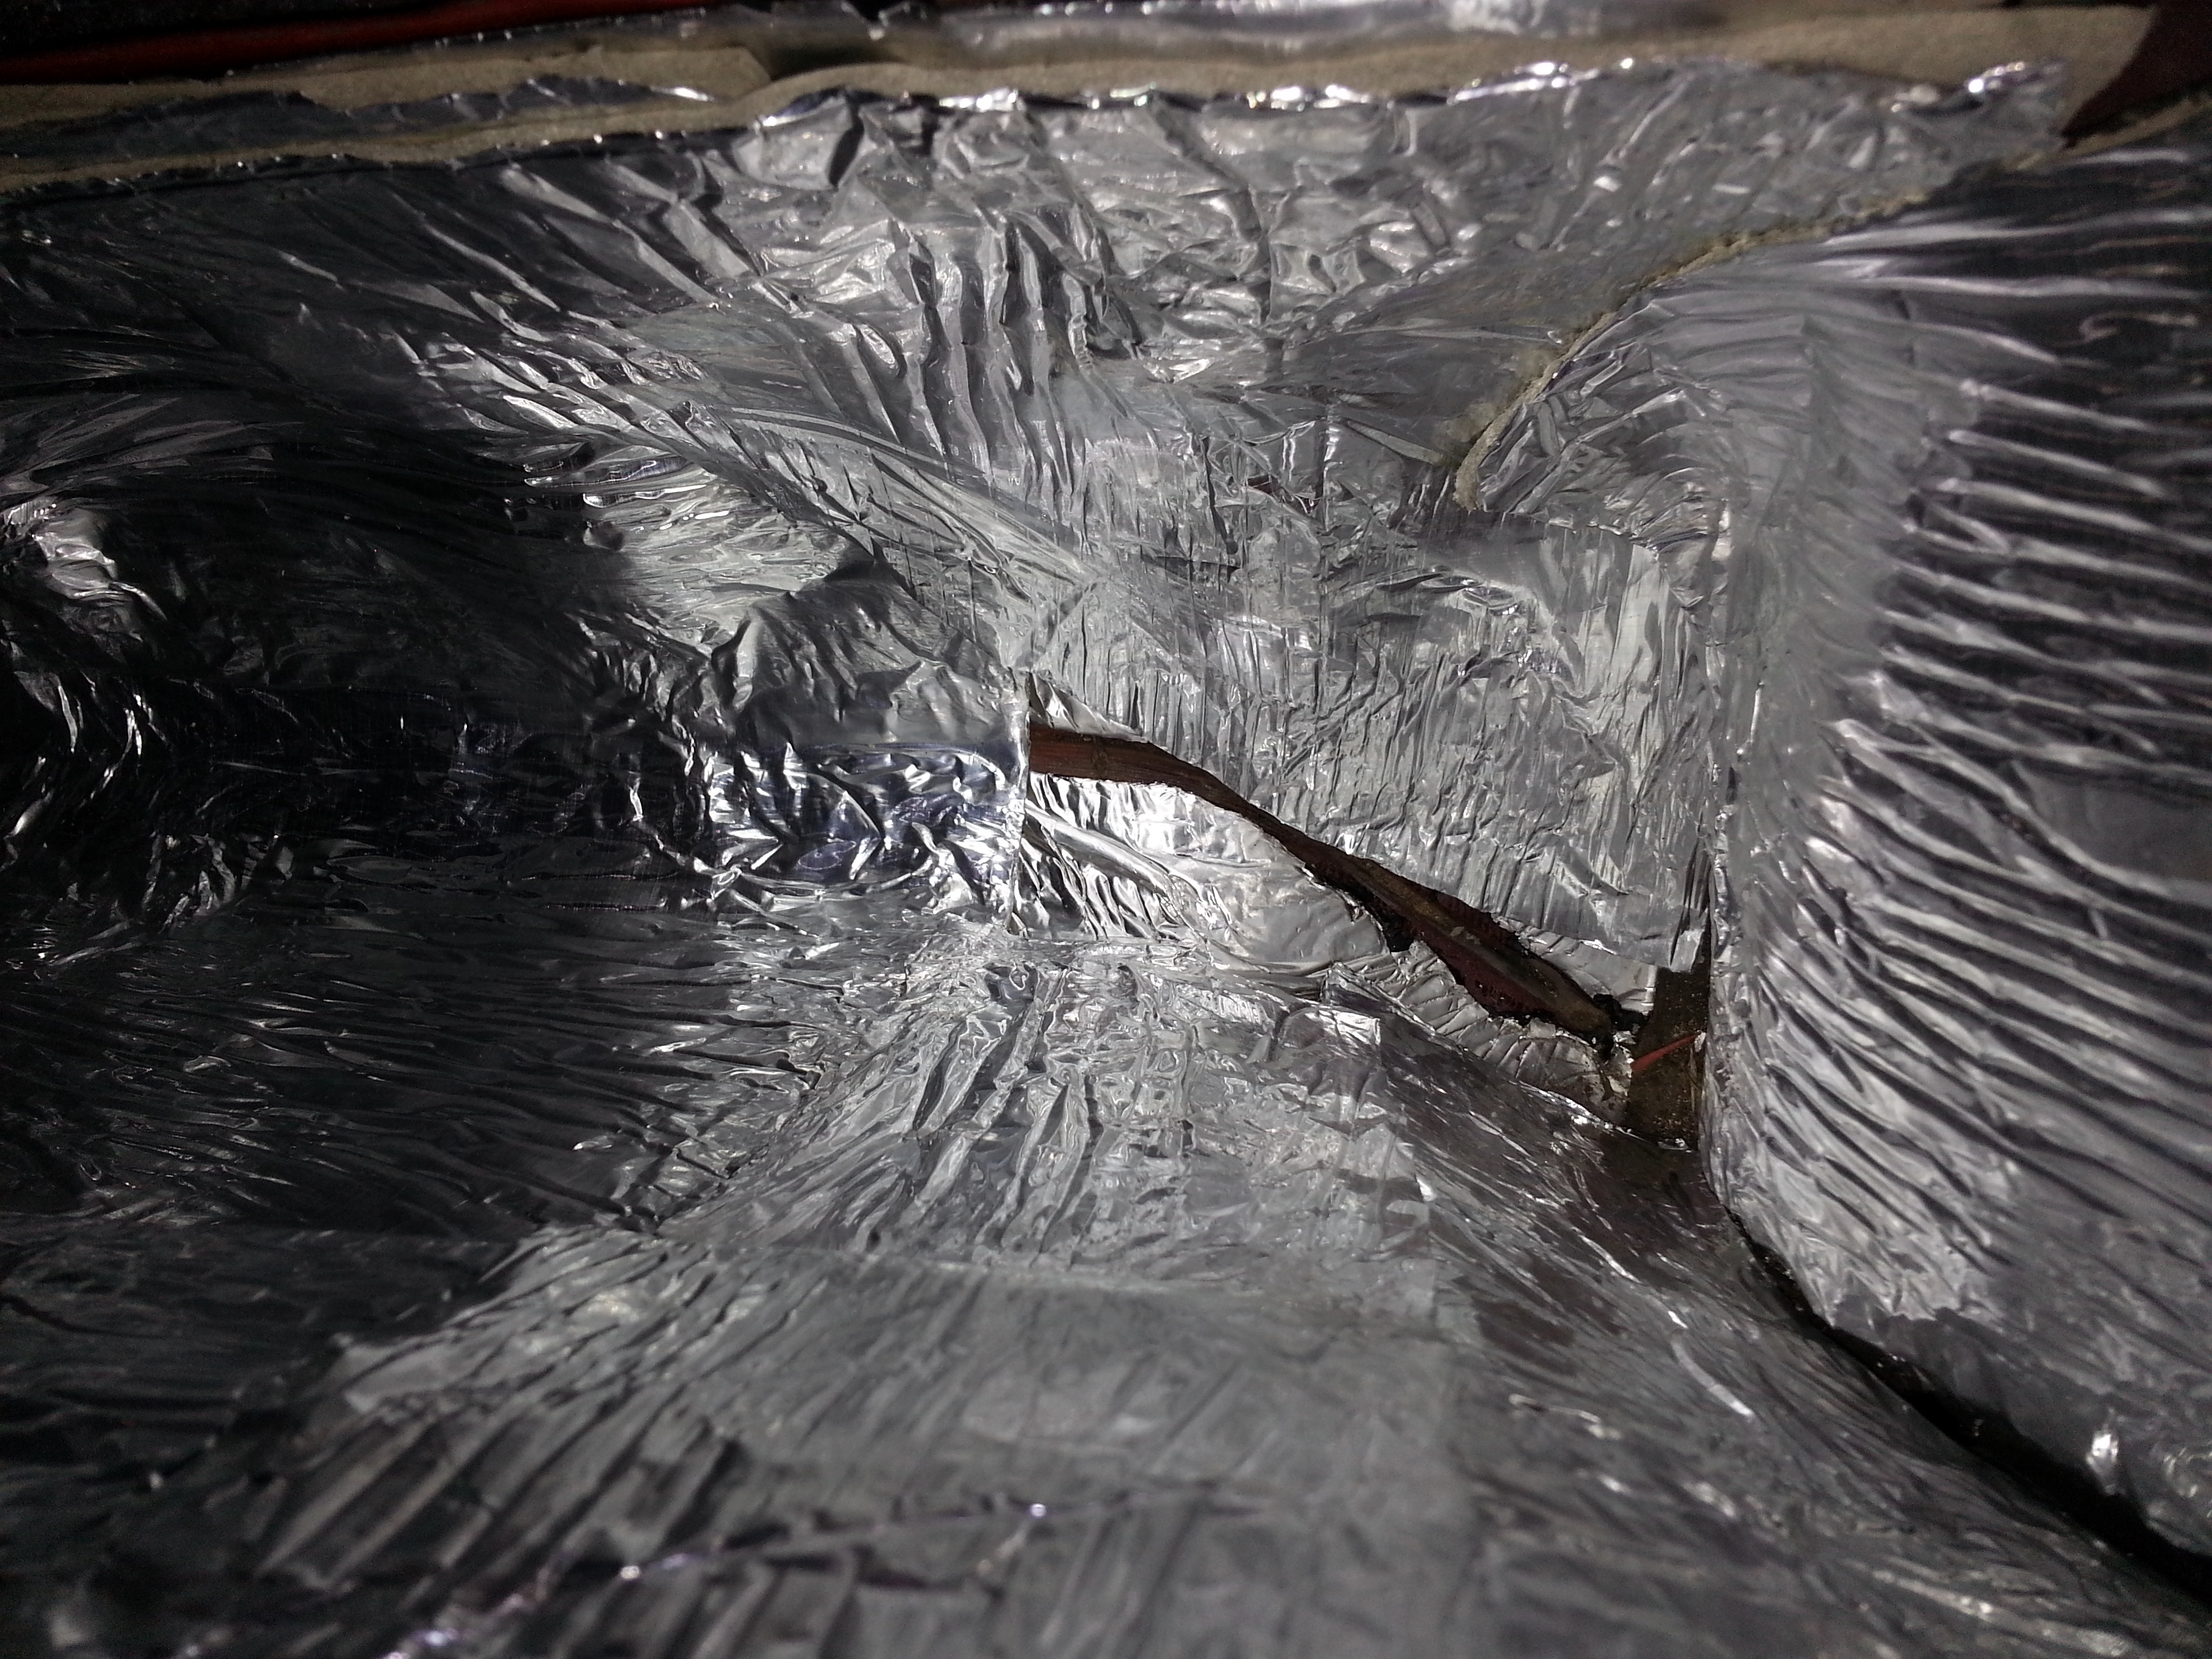
Finished the insulation today in the rear cargo panels, dampened and frost King insulated, both, really well..........
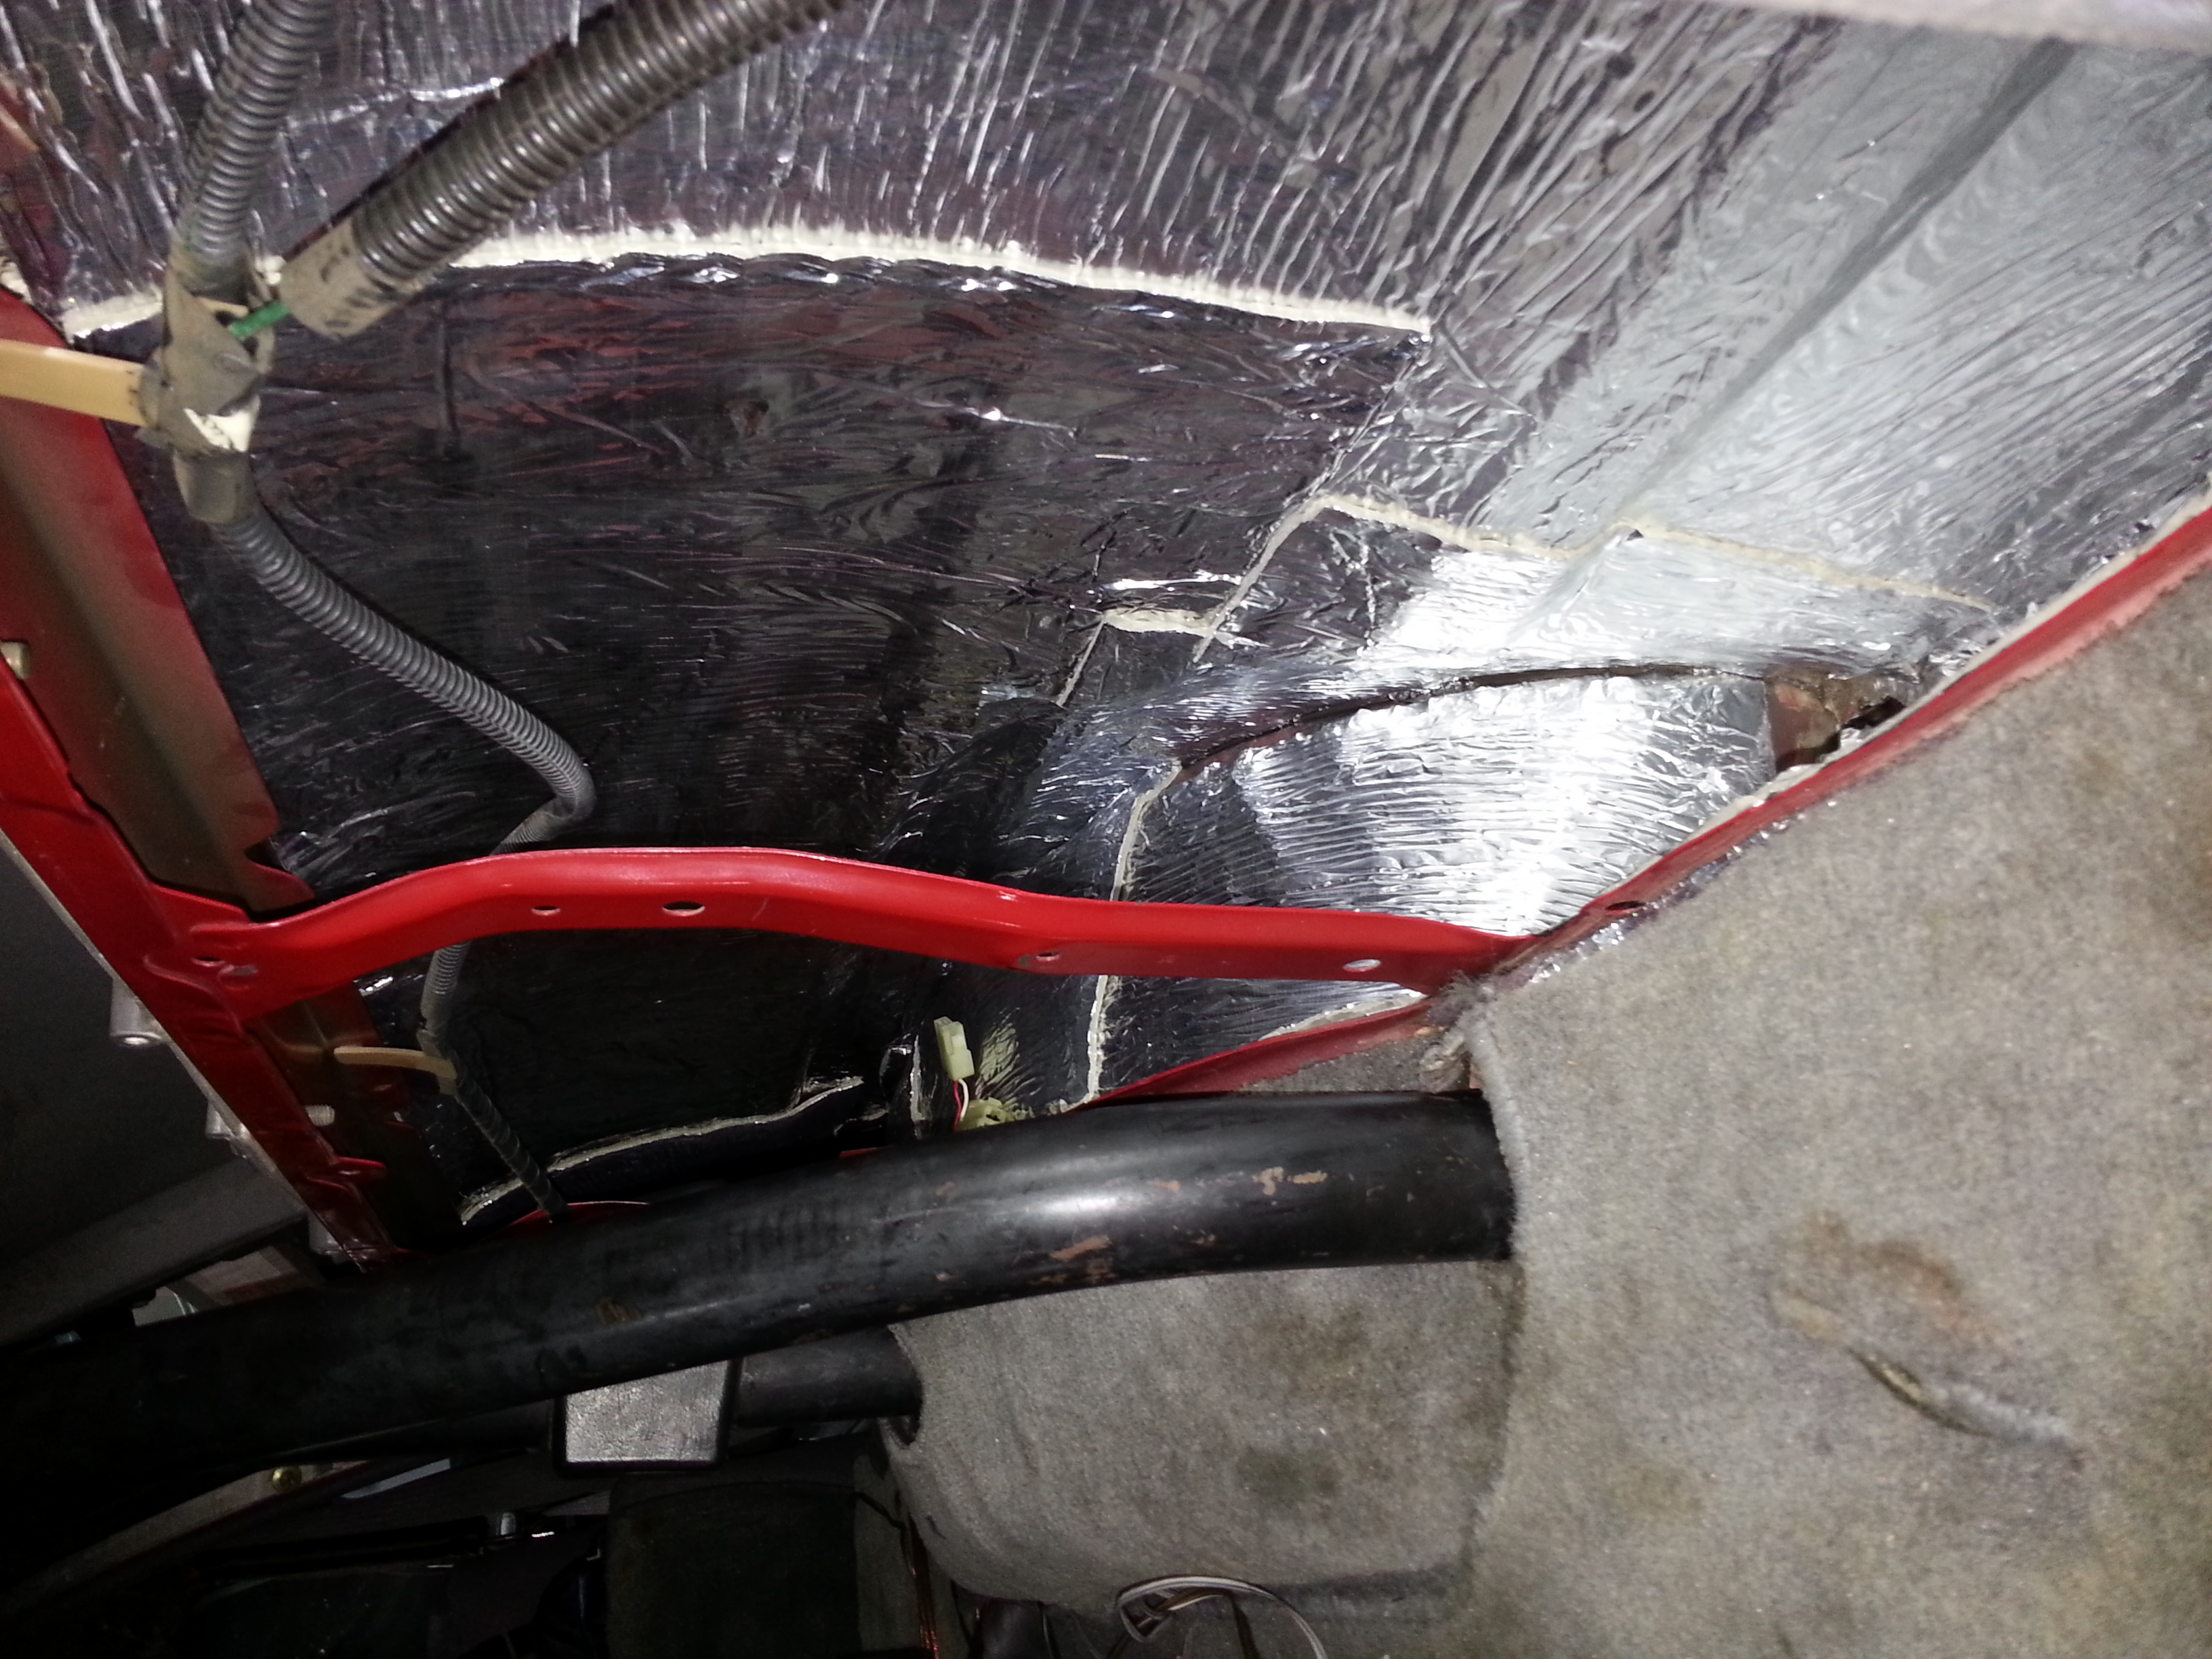
Here is the only place I leave it open for drainage at the body/panel welds
Back edge where I put my rear diff extended breather, where the taillight wiring grommet is....
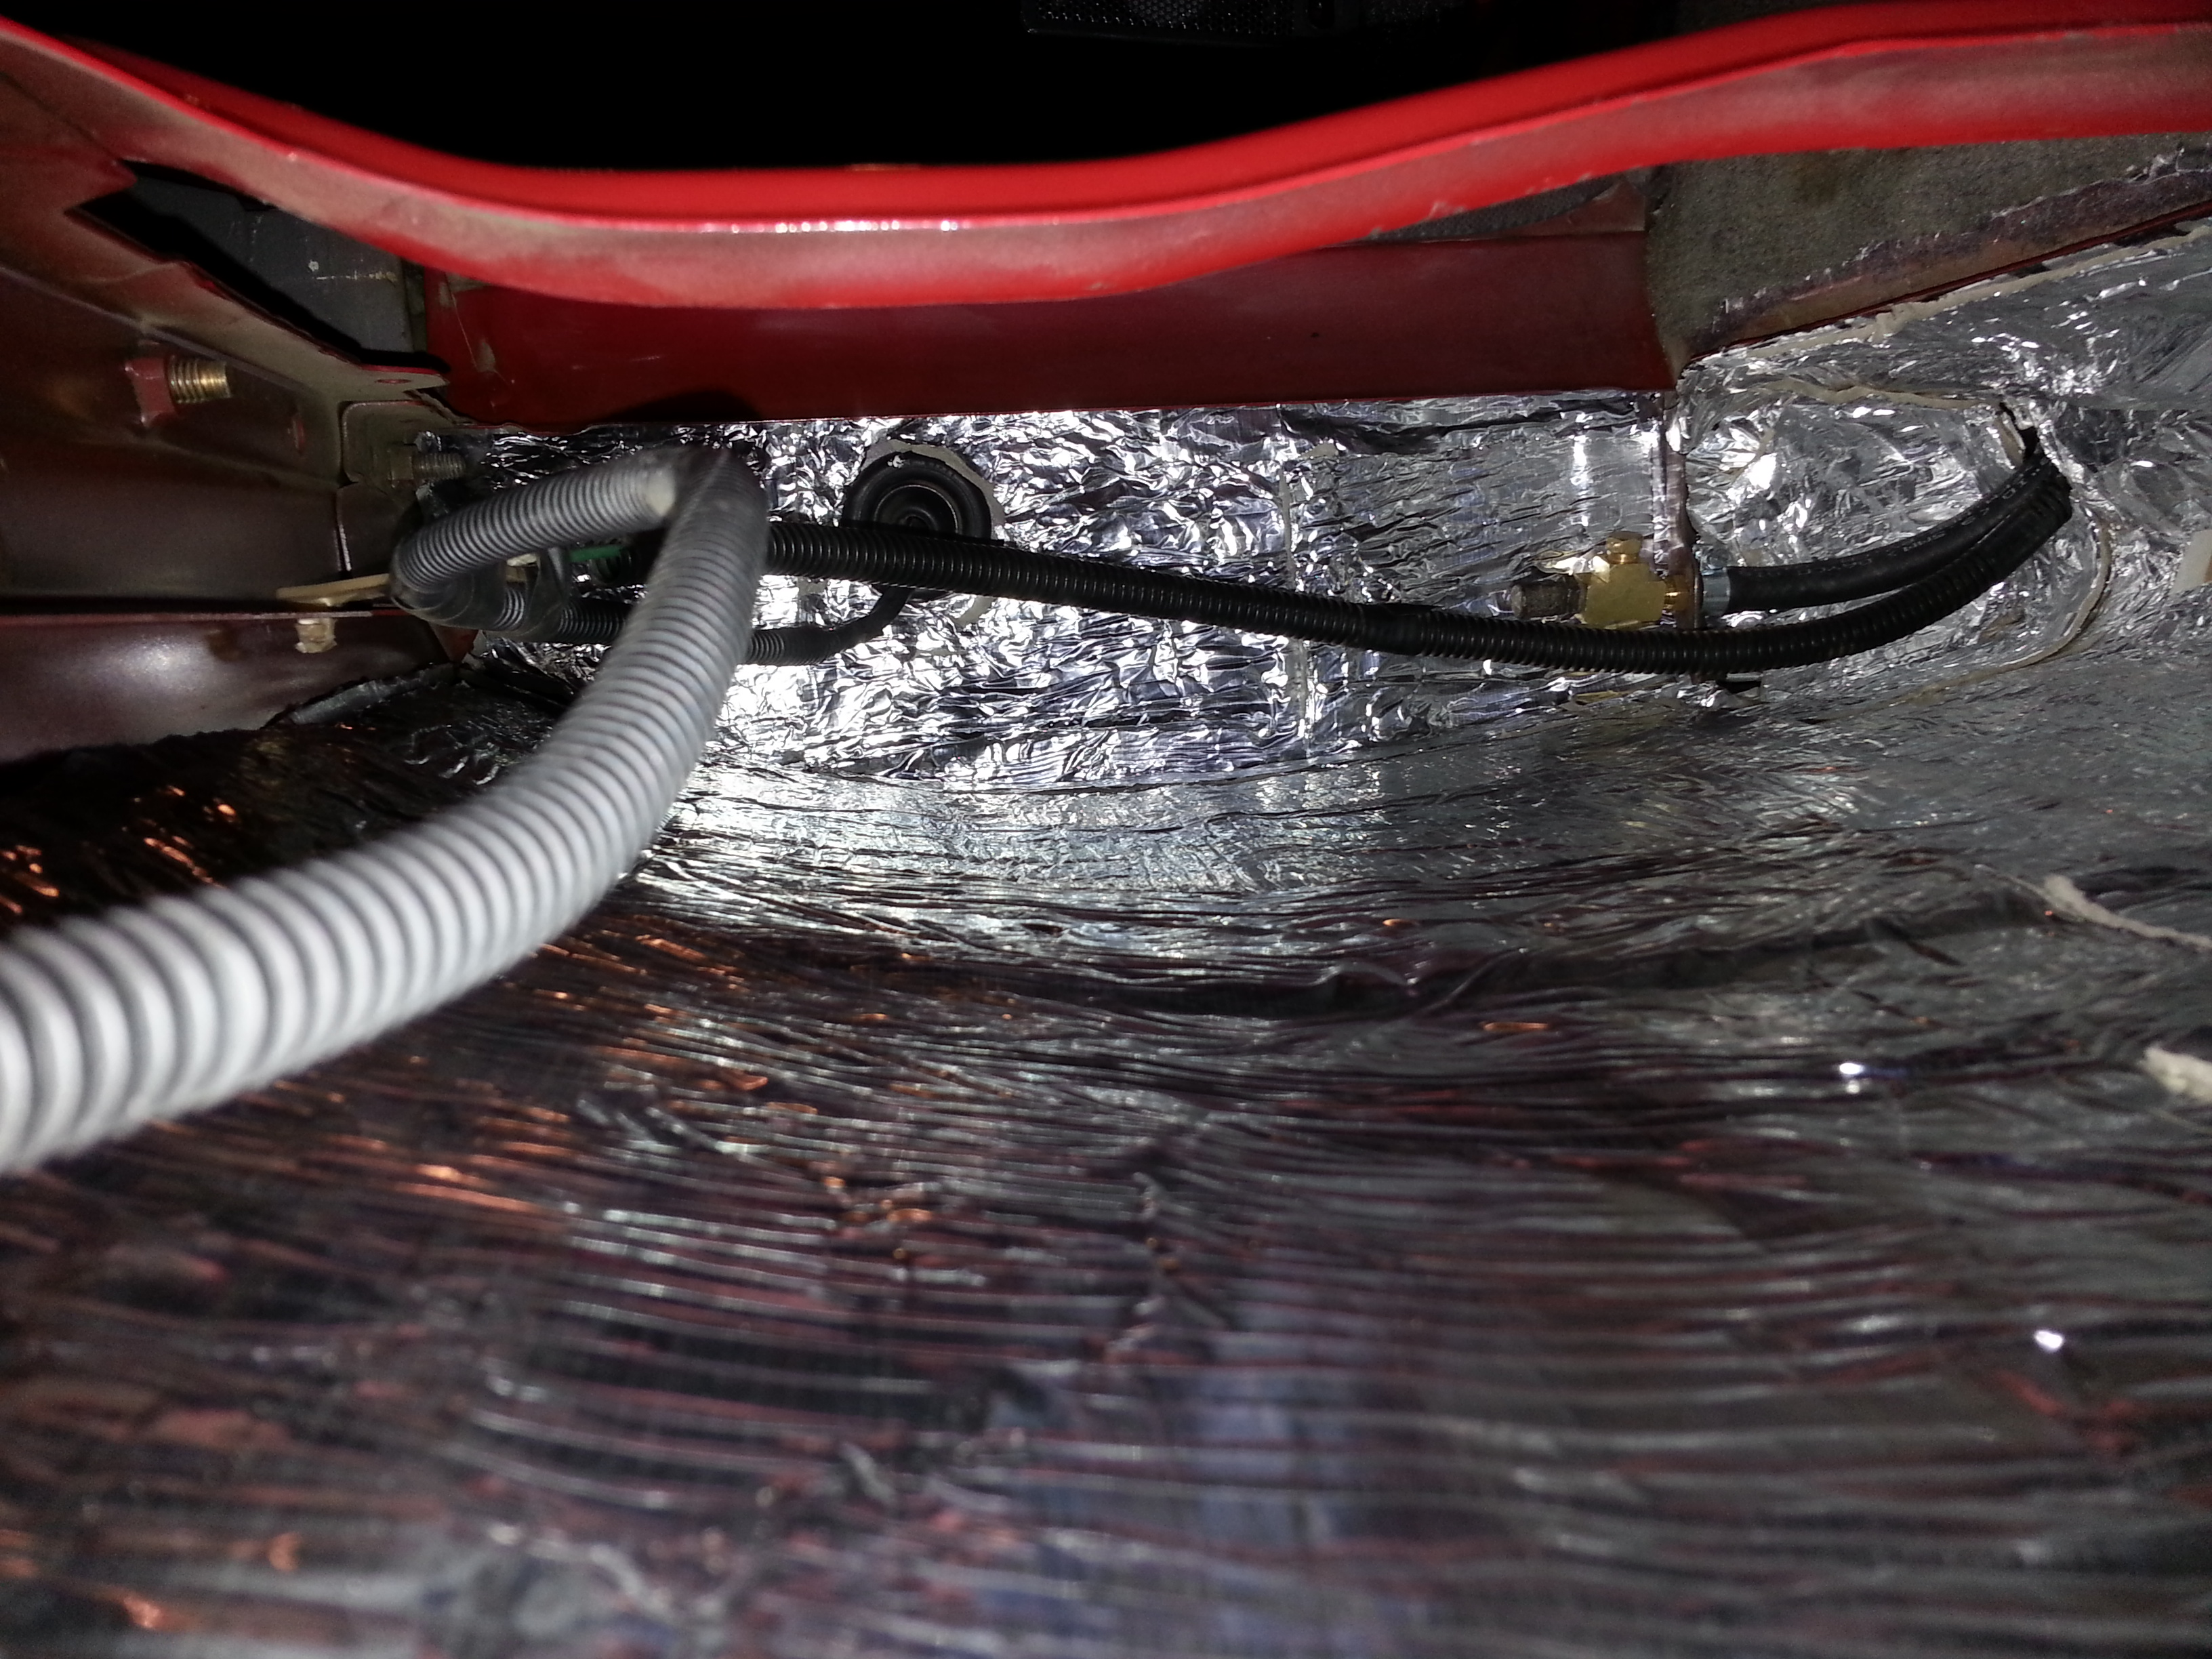
Nice and snug around the gas pipe housing........
Lil video of the cargo panel insulation, finally done with that........
Here is the only place I leave it open for drainage at the body/panel welds
Back edge where I put my rear diff extended breather, where the taillight wiring grommet is....
Nice and snug around the gas pipe housing........
Lil video of the cargo panel insulation, finally done with that........
Feb 22, 2013 | 02:14 AM
#5922
Some of the parts Toyota uses are Niachi,Aisian,Denso,Kuzeh that I know of. Sometimes I can look up the manufacture and find other sources then just the dealer for better prices. I am getting ready to bump an old thread https://www.yotatech.com/forums/f123...-parts-258178/ for more infomation and can you post what you know on it?
Feb 22, 2013 | 08:39 AM
#5923
Thread Starter
Registered User
iTrader: (5)
Joined: Jun 2009
Posts: 19,281
Likes: 20
From: Lake Havasu, AZ
Hey Terry, how u be, sir?
Sure.... My original wheel bearings were Mushino-Japan?... Started with an "m", lol. ...
BUT, ..... HERE YA GO >>>>>
>>>>>
http://www.toyota-global.com/company.../kyohokai.html
Sure.... My original wheel bearings were Mushino-Japan?... Started with an "m", lol. ...
BUT, ..... HERE YA GO
>>>>>http://www.toyota-global.com/company.../kyohokai.html
Feb 22, 2013 | 08:53 AM
#5924
Thread Starter
Registered User
iTrader: (5)
Joined: Jun 2009
Posts: 19,281
Likes: 20
From: Lake Havasu, AZ
Hey guys, sorry bout that video. ..  haha...... I will do one during the day to replace it. ... .....
BUT, parked in the direct sun for 3 hours now and IT IS AMAZING how well these things, together, insulate heat and coldn as well as deal with noise annoyance via vibration, outside noise pollution, etc. Very stoked on this, and cant thank RAD4Runner enough for reminding me of this frost king stuff.
Also, still can't decide, but have to, quick, as to whether or not to do the 10" sub in the back panel/passenger side.... grrrrr! I really like the idea of saving space, etc. ... But losing the sound quality a bit of a quality sub, along with losing that space as storage for my tow straps, tie downs, compressor, etc... Kinda sux. Could just make another door, but WHERE?!? hahaha....with a 10" and 6x9 and 2 lights.... trust me..... there would be no more practical room.....
haha...... I will do one during the day to replace it. ... ..... BUT, parked in the direct sun for 3 hours now and IT IS AMAZING how well these things, together, insulate heat and coldn as well as deal with noise annoyance via vibration, outside noise pollution, etc. Very stoked on this, and cant thank RAD4Runner enough for reminding me of this frost king stuff.
Also, still can't decide, but have to, quick, as to whether or not to do the 10" sub in the back panel/passenger side.... grrrrr! I really like the idea of saving space, etc. ... But losing the sound quality a bit of a quality sub, along with losing that space as storage for my tow straps, tie downs, compressor, etc... Kinda sux. Could just make another door, but WHERE?!? hahaha....with a 10" and 6x9 and 2 lights.... trust me..... there would be no more practical room.....
Feb 22, 2013 | 06:44 PM
#5925
Thread Starter
Registered User
iTrader: (5)
Joined: Jun 2009
Posts: 19,281
Likes: 20
From: Lake Havasu, AZ
Sup homies? 
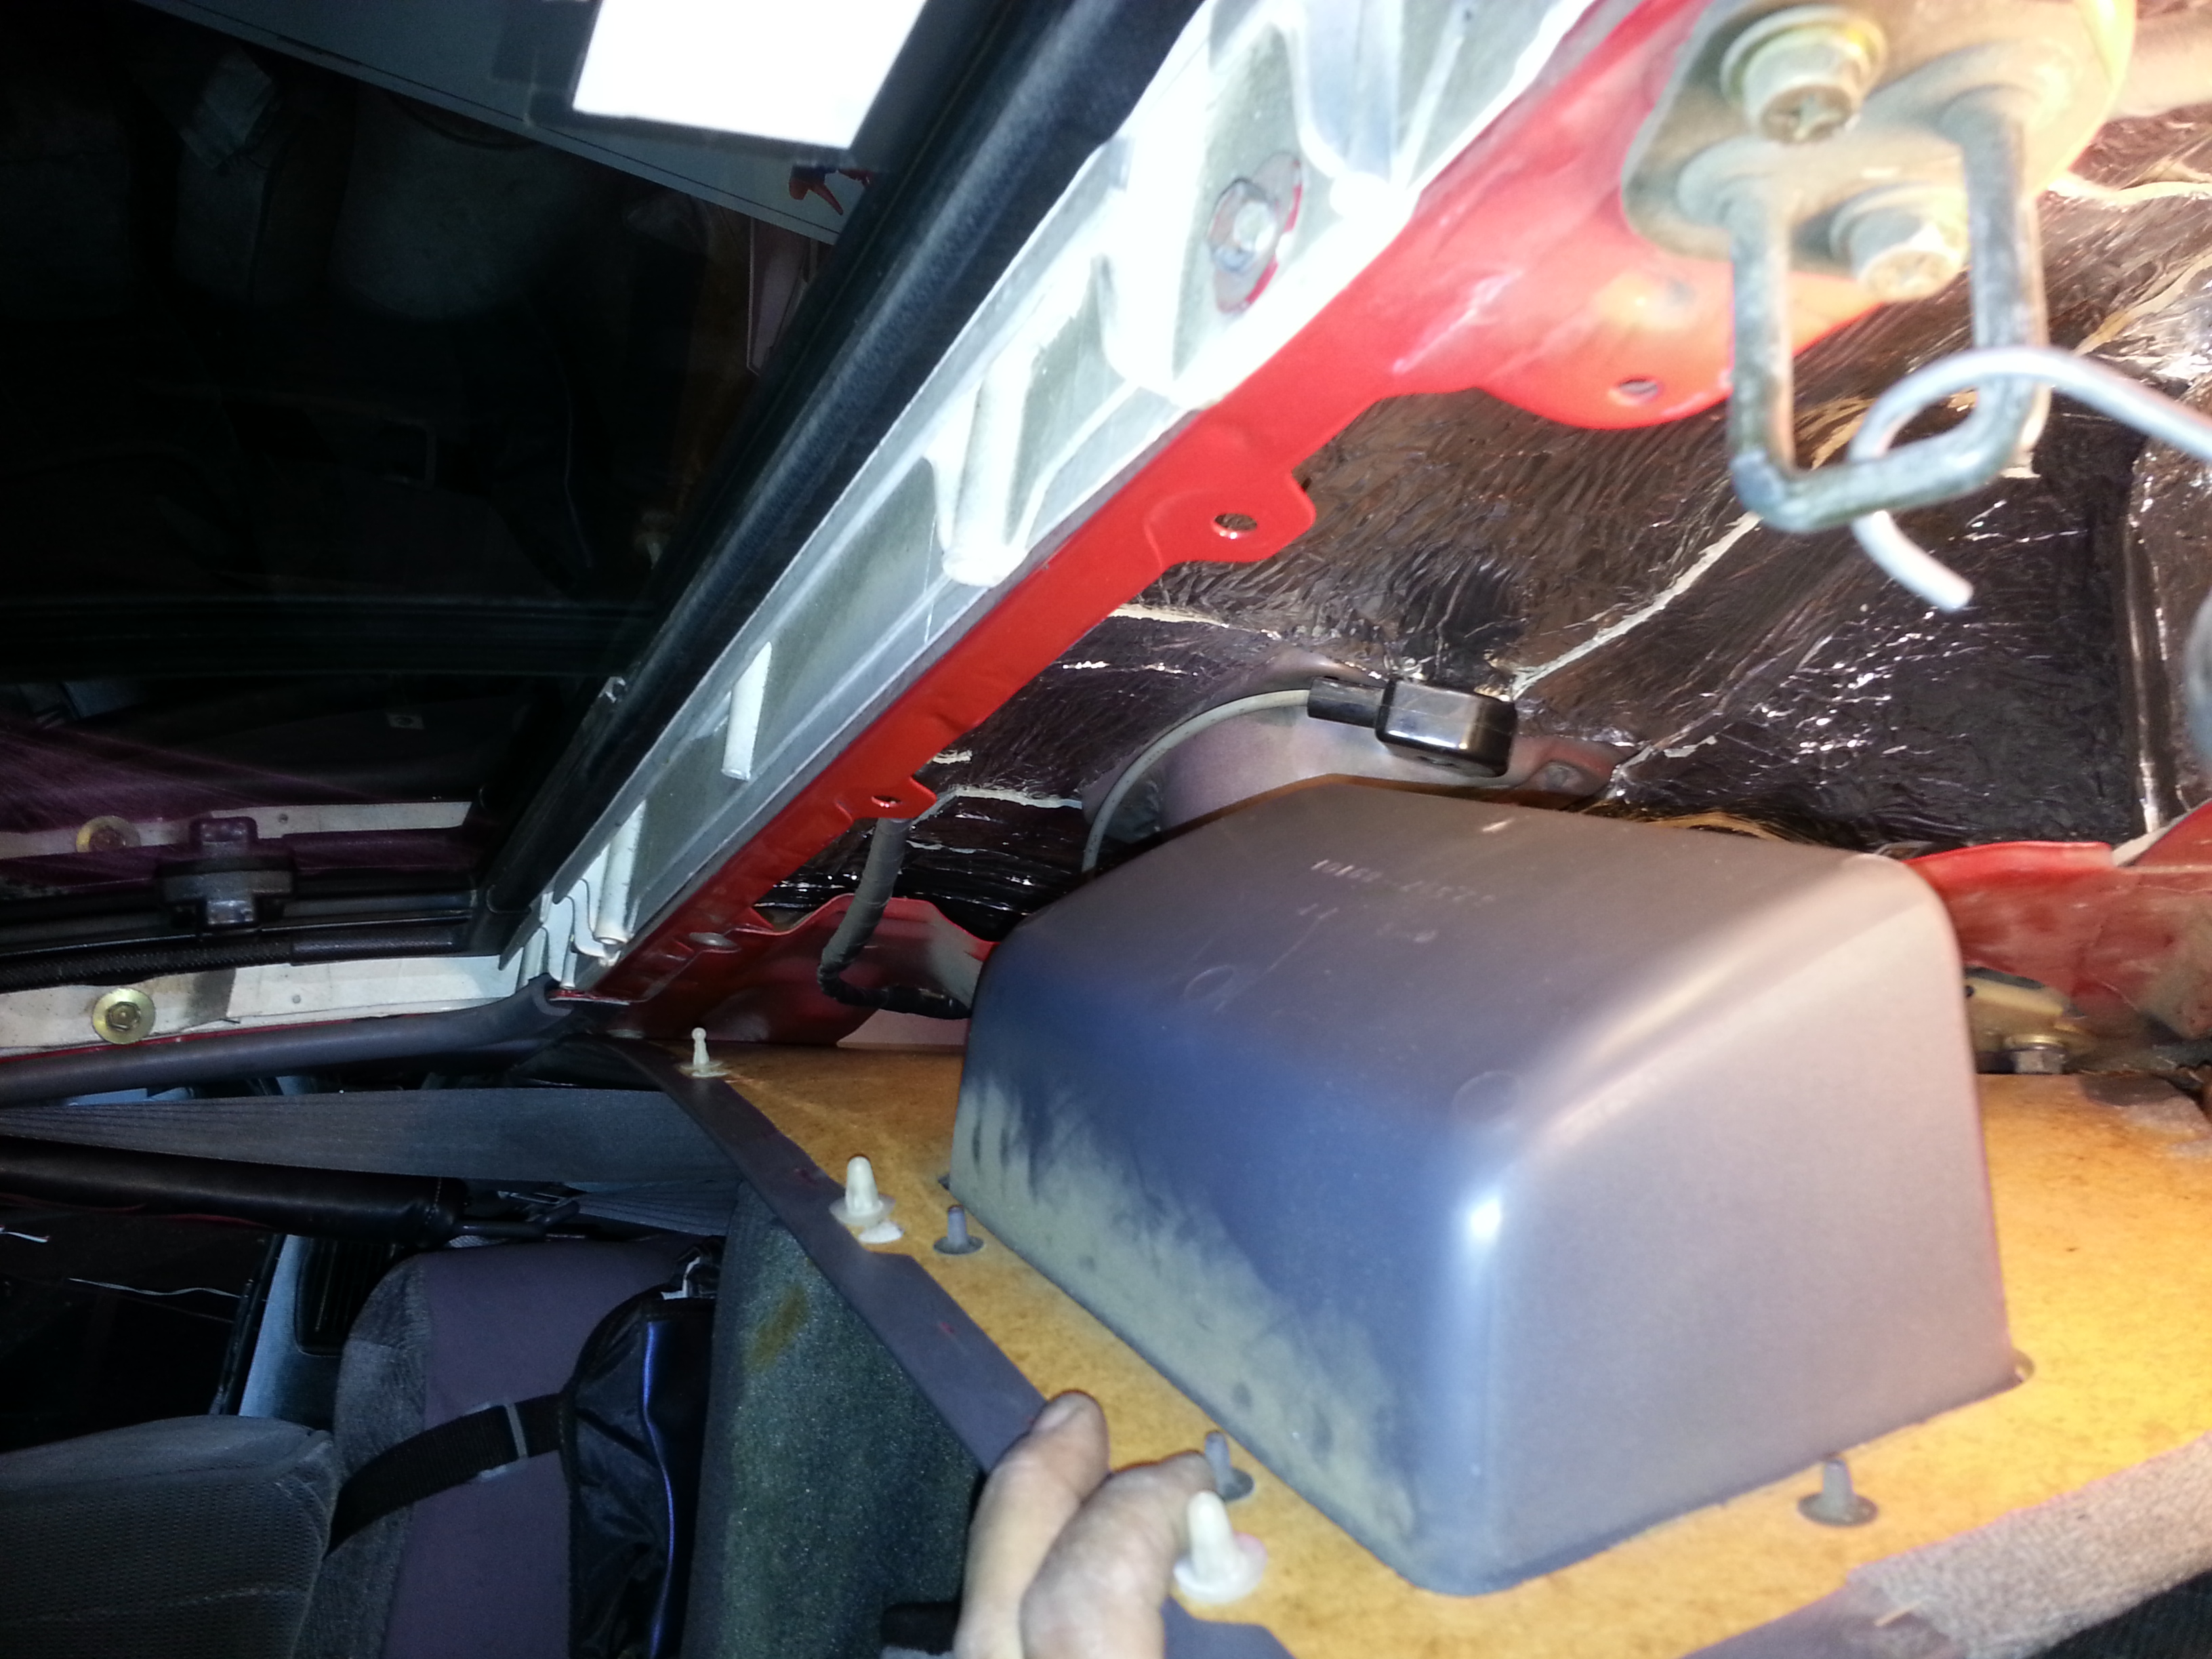
Got the passenger side rear most panel cut to fit, speaker hole for the 6x9 ready, cut the hole for the second large light for the panel like on the other side, cut the carpet to fit on the passenger side and all the holes for the speaker and light and back seat latch keep. ... Pics later. .. I'm pleased so far!
Got the passenger side rear most panel cut to fit, speaker hole for the 6x9 ready, cut the hole for the second large light for the panel like on the other side, cut the carpet to fit on the passenger side and all the holes for the speaker and light and back seat latch keep. ... Pics later. .. I'm pleased so far!
Feb 22, 2013 | 08:11 PM
#5927
Registered User
Joined: Apr 2012
Posts: 2,817
Likes: 2
From: Los Angeles CA
Really cant wait to see your panels finished. Probably gonna jack some ideas off you for that. Awesome job on the soumd proofing amd insulation. Youre definitely gonna sleep very warm during next weeks off road trip.
Feb 22, 2013 | 10:43 PM
#5928
Thread Starter
Registered User
iTrader: (5)
Joined: Jun 2009
Posts: 19,281
Likes: 20
From: Lake Havasu, AZ
I had an accident with one of my old and faithful Pioneer 6x9's, so I had to use my 2 month old gift cert for my Bday.....
http://m.bestbuy.com/m/e/product/det...=1218207655439
Great reviews and I have a buddy there did me a solid and tossed me the last box as "open box" for 79$! Wooooooot! I really was grateful!
Appreciate it, Richard. Yeah, the thing is reallllly well insulated now, that's for sure. ... but the doors and tailgate are still needing it. .... It will go a long way though, all that I've gotten done.
Last edited by ChefYota4x4; Feb 22, 2013 at 10:56 PM.
Feb 23, 2013 | 06:26 AM
#5929
Thanks Mark for the link.. How you come up with this info is something I really appreciate.
The insulation makes such a nice difference. I am eventually going to add that to mine as well. Good to see you are busy at it and sounds like you are feeling better. Speaker.. welllll not so much.
The insulation makes such a nice difference. I am eventually going to add that to mine as well. Good to see you are busy at it and sounds like you are feeling better. Speaker.. welllll not so much.
Feb 23, 2013 | 09:31 AM
#5930
Thread Starter
Registered User
iTrader: (5)
Joined: Jun 2009
Posts: 19,281
Likes: 20
From: Lake Havasu, AZ
Hahaha, no oroblem for the man whom works so hard at making info, tutorials, pics and the like, available for us, ur grateful Yotatechian brothers! Hehe...
Yeah, sucked on the speaker.... I've tried, for 2 decades, to not only shop at goodwill and salvation army (where I've obtained 10k $ worth of wuality camping, home electronics and clothing for maybe 10r of their worth!).... , but I also tried to make the QUALITY, non China aforementioned products, last as long as possible. I just finally buried a 25 yr old pair of Rogers Sound Lab Speakers...... SOUND WAY better than most today! I just grabbed a Harmon Kardon receiver for my moms tv/audio needs for 20$ at goodwill, 3 days ago..... nearly brand new and GREAT QUALITY! ........
.....Alas new 6x9s were needed, and I usually get car audio new. These Polk DXi series are really nice, I've heard em.... good base and non tin sounding highs. And a great deal, with 4 yr warranty for under 100 $ out the door.
Feb 23, 2013 | 07:12 PM
#5932
Contributing Member
Joined: Mar 2003
Posts: 11,334
Likes: 0
From: COTKU,Ontario,Canada
Gee Mark you been a busy little beaver... did you POR {or other rust prevention measure} those seams first? ... so many "little" and not so projects waiting for fundage on my beast... new is better for speakers but you can sometimes have good success with used on other components like HUs and amps and EQs... this is a good time of year to look as the shops are getting in the new stuff for the spring/summer car audio season and taking their demo boards apart these "used but not installed" units can be a good choice as "shade tree hackers" aka guys like us  have not generally messed with them.
have not generally messed with them.
Feb 23, 2013 | 08:56 PM
#5933

I was looking at some pictures earlier and was wondering if the 10inch speaker would fit above the wheel well. It looks like it'd fit, is it too short or does something silly I'm not seeing like the fuel tube get in the way.
Also I know you already have your rear lights sourced but some led strip lights along the upper rim of the trim would buy you a few more sq' inches of mounting space for switches and what-nots'.
Again a little late but the key to good deep bass is a proper filter and box. The average computer subwoofer box uses a sub 4" speaker, it's all low-pass filter and box design
Feb 23, 2013 | 11:00 PM
#5934
Thread Starter
Registered User
iTrader: (5)
Joined: Jun 2009
Posts: 19,281
Likes: 20
From: Lake Havasu, AZ
Gee Mark you been a busy little beaver... did you POR {or other rust prevention measure} those seams first? ... so many "little" and not so projects waiting for fundage on my beast... new is better for speakers but you can sometimes have good success with used on other components like HUs and amps and EQs... this is a good time of year to look as the shops are getting in the new stuff for the spring/summer car audio season and taking their demo boards apart these "used but not installed" units can be a good choice as "shade tree hackers" aka guys like us have not generally messed with them.
have not generally messed with them.I was looking at some pictures earlier and was wondering if the 10inch speaker would fit above the wheel well. It looks like it'd fit, is it too short or does something silly I'm not seeing like the fuel tube get in the way.
Also I know you already have your rear lights sourced but some led strip lights along the upper rim of the trim would buy you a few more sq' inches of mounting space for switches and what-nots'.
Again a little late but the key to good deep bass is a proper filter and box. The average computer subwoofer box uses a sub 4" speaker, it's all low-pass filter and box design
Well, it MIGHT fit, VERY snug, but would gave to be set out a bit due to the depth and the fact that its a 10" JL comp sub with fay magnet/deep, and that portion is like 10.5" total, height. .. That was my original plan, then the rear part, like STANZ.... but I want the 6x9s no further back than that, and no closer to the back seats...... So, since this is an enclosed box, built just for the JL, and it sounds sooooo nice how it is..... I just decided I dont NEEEEED IT in the panel.... and when I pull the top, I wanna be able to pull the sub and leace it home. The Polks will be wayyyyyyy Harder to pull where the pioneers are now, between the roll bar, cul u have to unscrew them to get out... and I will be putting straps over , eventually, lock nutted from the back and torx bolts from the front. Not for now though. But will be putting in other holders and such in the carpeted panels.
I like the strips, RAD's is really nice..
. But Richard/Redeth can tell ya, even with the 2/3 with the deck lamp I have now, its really bright and they can all be used as "DOOR/ON/OFF", and I just like the OEM look of em, haha... Its pretty clean though, I think u will like it when all done with the carpet, extra anchor hooks, the Polks, nice access doors with hinges and locks.... and lit up pretty good.
I tell ya, CO, ..... the door lock detection switch trick is GREAT, its constantly coming in handy!
.... Just tonight, loading up the CON-FERR, side rails, and tools and such, in back? ..... its lit up like Christmas the second I pop the gate....THANKS AGAIN, Bryan89, .....grateful for u sharing that idea!

Great input, CO, thanx for taking the tome to share... I appreciate it! I know ur a problem solver.... I'm sure its got its share of things I will like to do differently, later on.... but so far, just the learning part has been worth it..
Feb 23, 2013 | 11:29 PM
#5935
Thread Starter
Registered User
iTrader: (5)
Joined: Jun 2009
Posts: 19,281
Likes: 20
From: Lake Havasu, AZ
I had a pretty physically rough day. We got kind of a last minute notice that a friend of my mom was going to have to evacuate her house of 50 years by Wednesday. it's just so sad... Unfortunately, she didn't have hardly anything done up to this point, and I understand to some degree... Most of her friends are women, are older, and the men are older is well and just not capable of moving the heavy, solid oak everything and thousands of books around. I filled 47 paper boxes, you know the kind from Office Depot that hold several reams, with just books! She's a PhD, so what she's got a lot of books. The other problem was that a large amount of this stuff was still in the third story room and attic. The attic, very unfortunately, has a 3 foot tall door, which you enter through a closet. Holy mackerel, was that some hot work. She had a 200 pound butcher block coffee table in that room in the very back of the attic. That had to come out and go down 3 flights of stairs as well. That along with many many trips up and down the stairs and out front and back in again with several heavy things wound up wiping me out but good! But, as sad as I am for her, at least she has a pretty nice place to go to where she will share a home and guest house with her daughter. She's a wonderful woman, and she has been a wonderful friend to my mother 4 at least 40 years... So the bottom line is, I was very glad to be able to help, but very sad to see her have to leave. Not only this, but her husband just died after a brutal battle with cancer that took about 2 years. It hasn't been but a few months since he passed. Pretty much right before my stepfather passed. Please, keep her in your prayers, well wishes, whatever is clever for you....
Yeah, was pretty rough day, but on the way home , I got a message from my daughter Kayla......
Let's just say, I think this face could cheer up any grandpa, I am I right? Hahahaha......

Yeah, was pretty rough day, but on the way home , I got a message from my daughter Kayla......
Let's just say, I think this face could cheer up any grandpa, I am I right? Hahahaha......
 Feb 27, 2013 | 01:35 AM
#5938
Thread Starter
Registered User
iTrader: (5)
Joined: Jun 2009
Posts: 19,281
Likes: 20
From: Lake Havasu, AZ
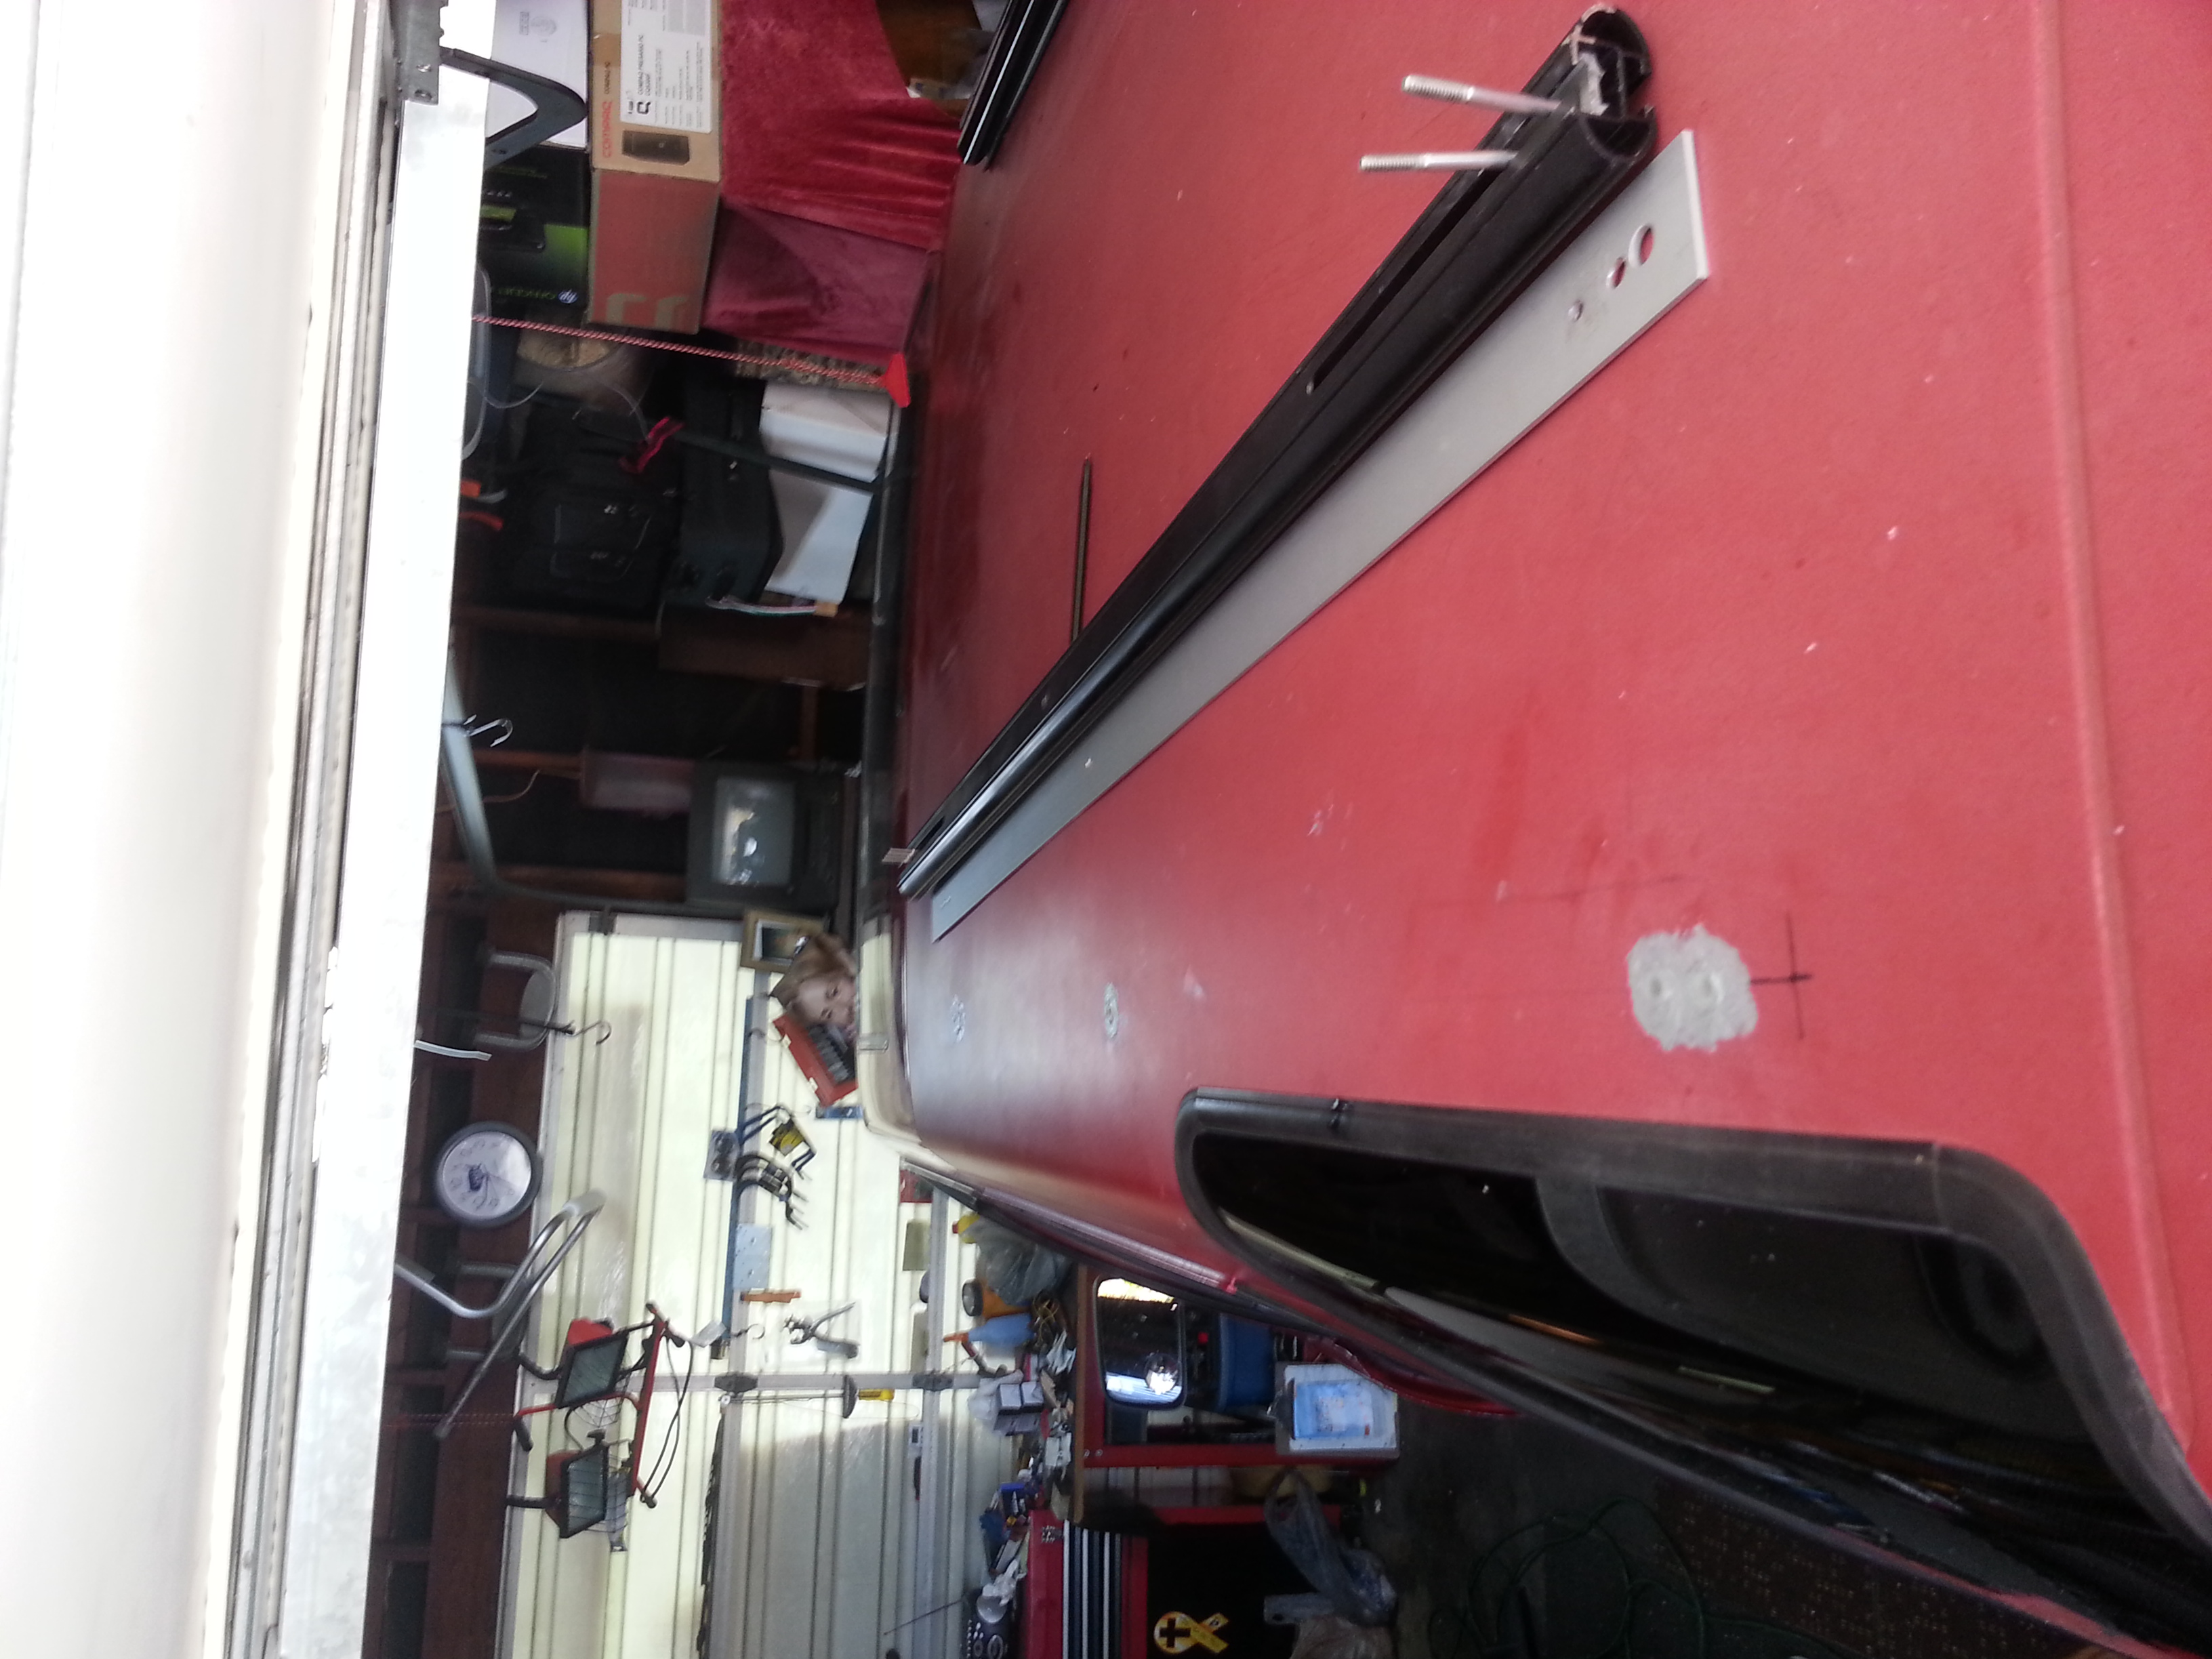
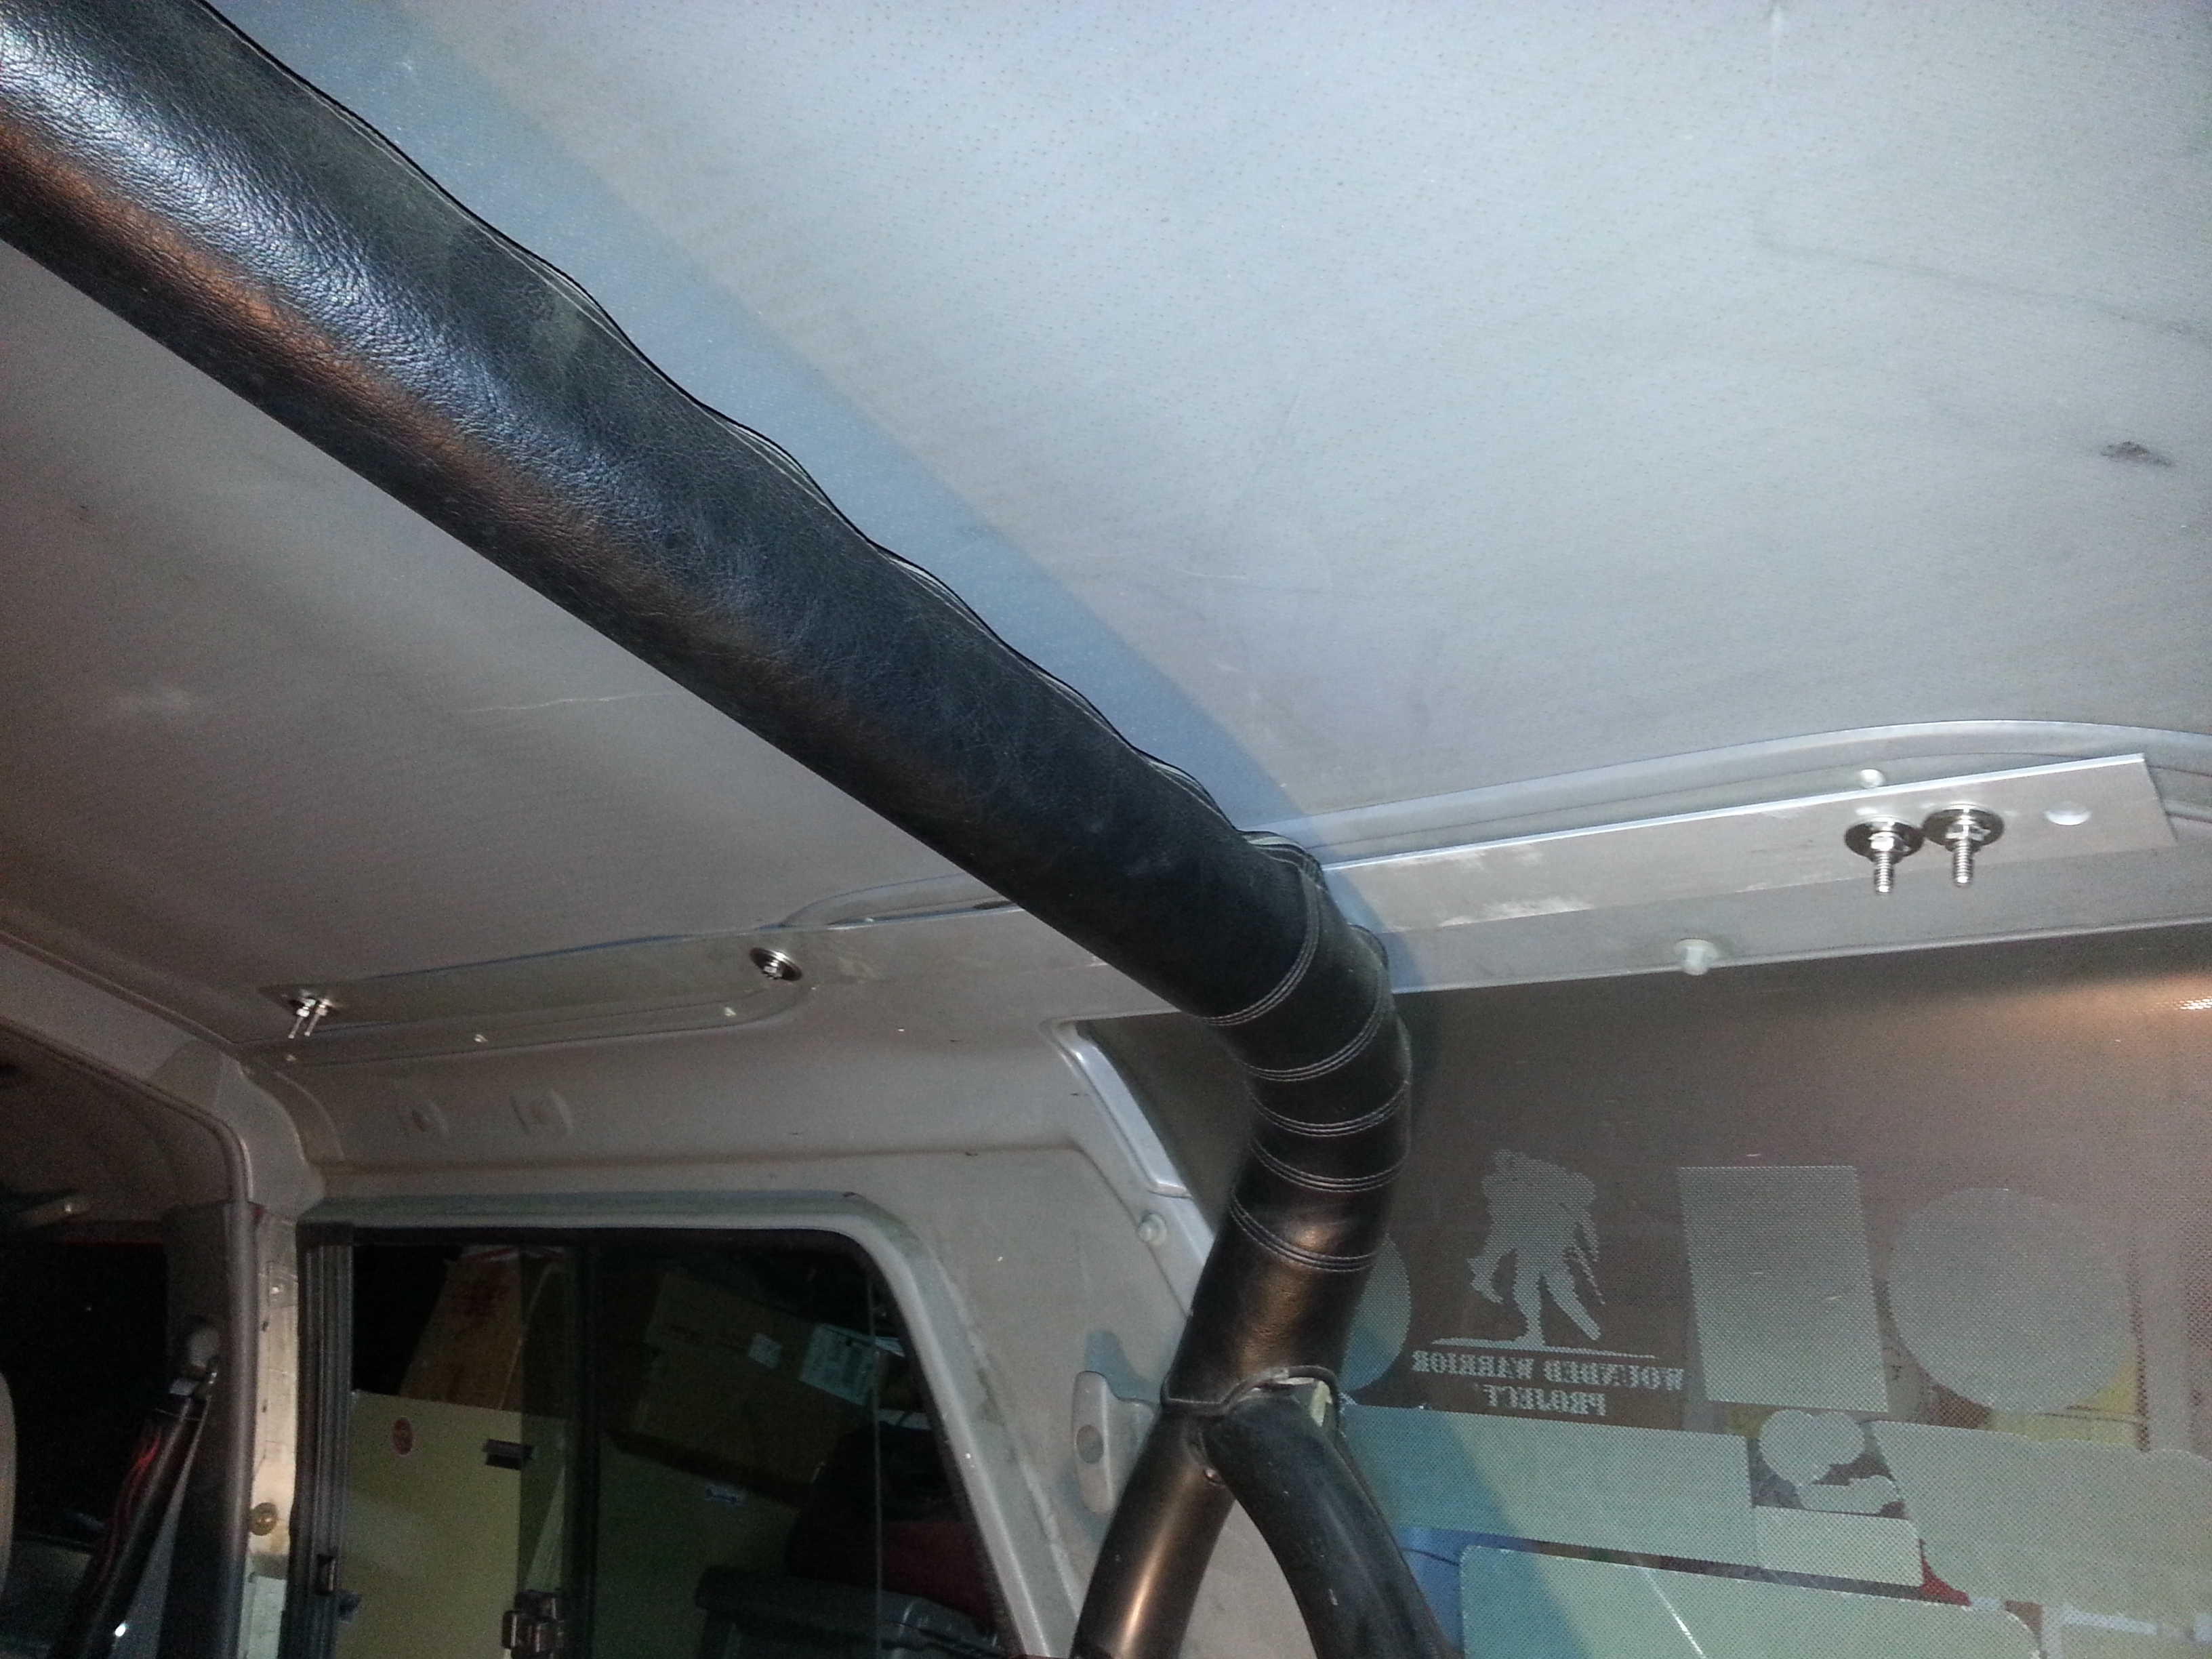
Wellllll, finally got around to doing one of my larger mods/plans..... Con-Ferr roof rack cage on Thule side rails....
Thank you, first, to Richards(redeth) father. He got me started, drilling out some pilot holes for what I eventually did, over the next 48hrs.... Thanx again, Richard, for asking ur pops to help me. Appreciated!
***************************************
I will do a video soon, as this is pretty hard to explain, lol..... but I'll do my best......
1. The Thule cross bars, that I used as flush mounted side rails, are a lil tricky to mount, but I like that they have 2 t-tracks, so I used them.......

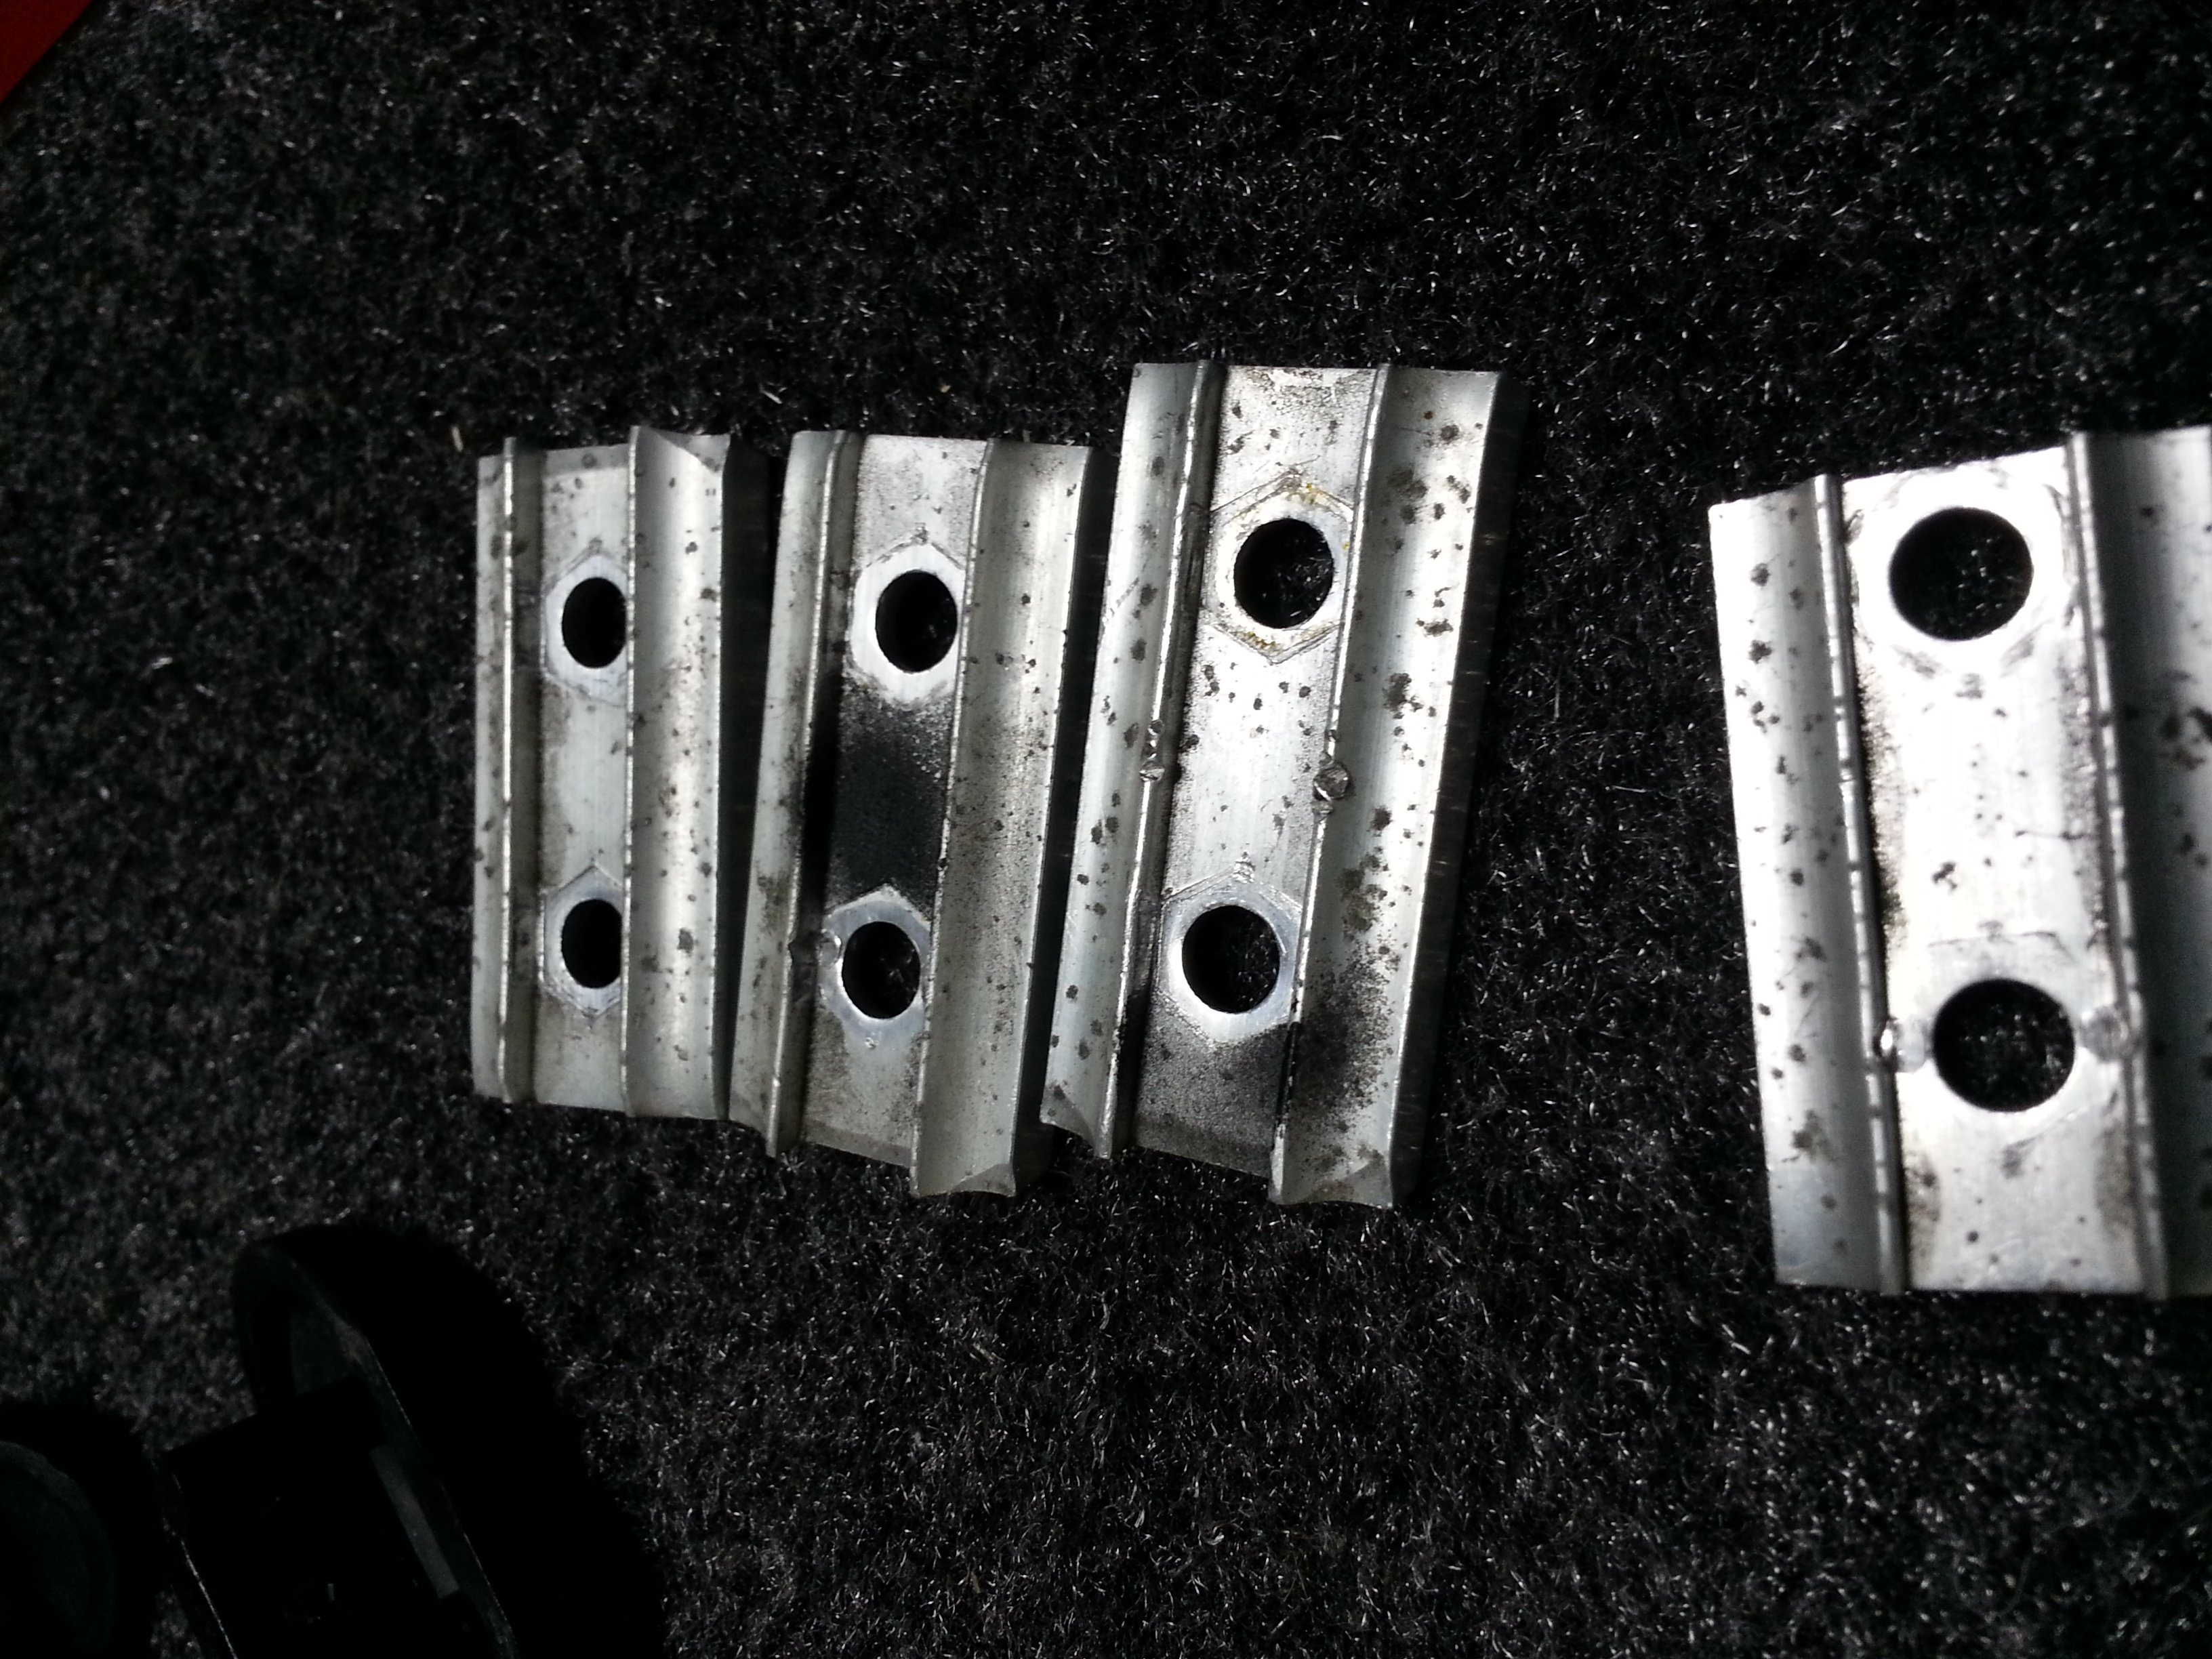
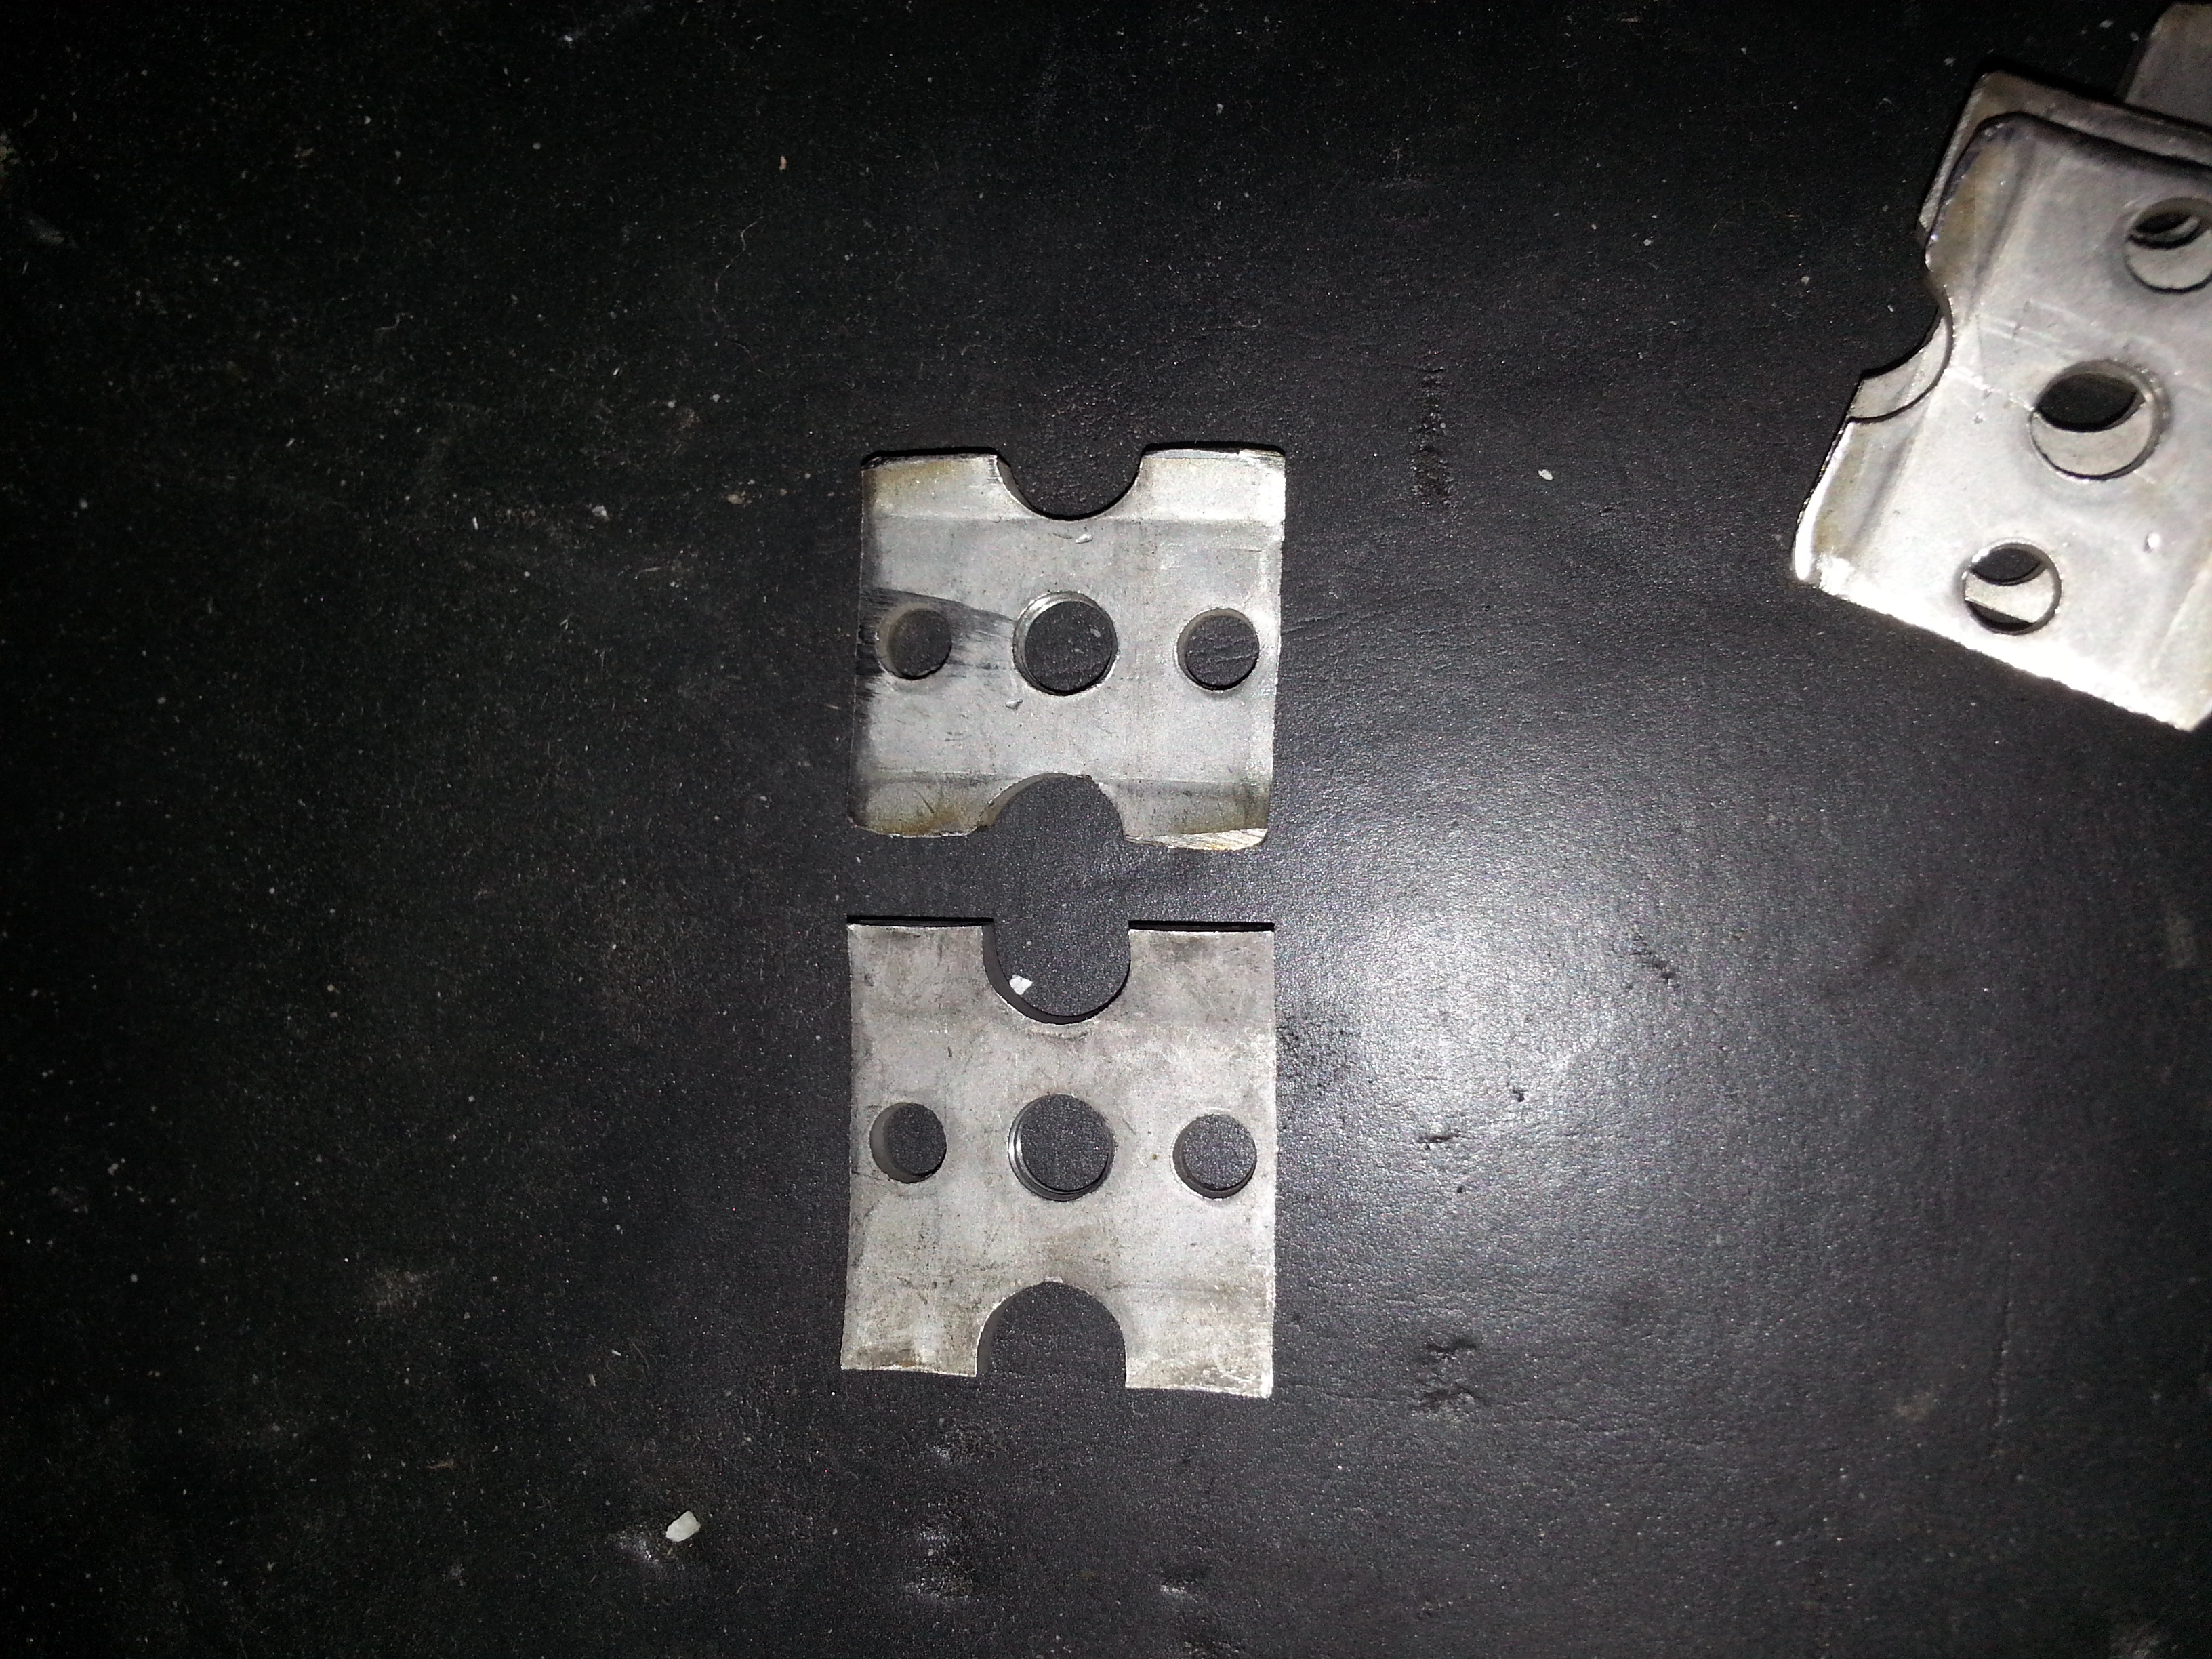
They use these washers, which are aluminum, that hold two bolts each. ....

The bolts lock in the top side of the washers......
End caps for the Thule bars.....

2. With one washer holding two bolts on each end, the holes had to be precise, and Richards pop lined things up pretty well and drilled them out.......He used 1/4" bit for his final stage after a smaller 1/8" bit pilot...
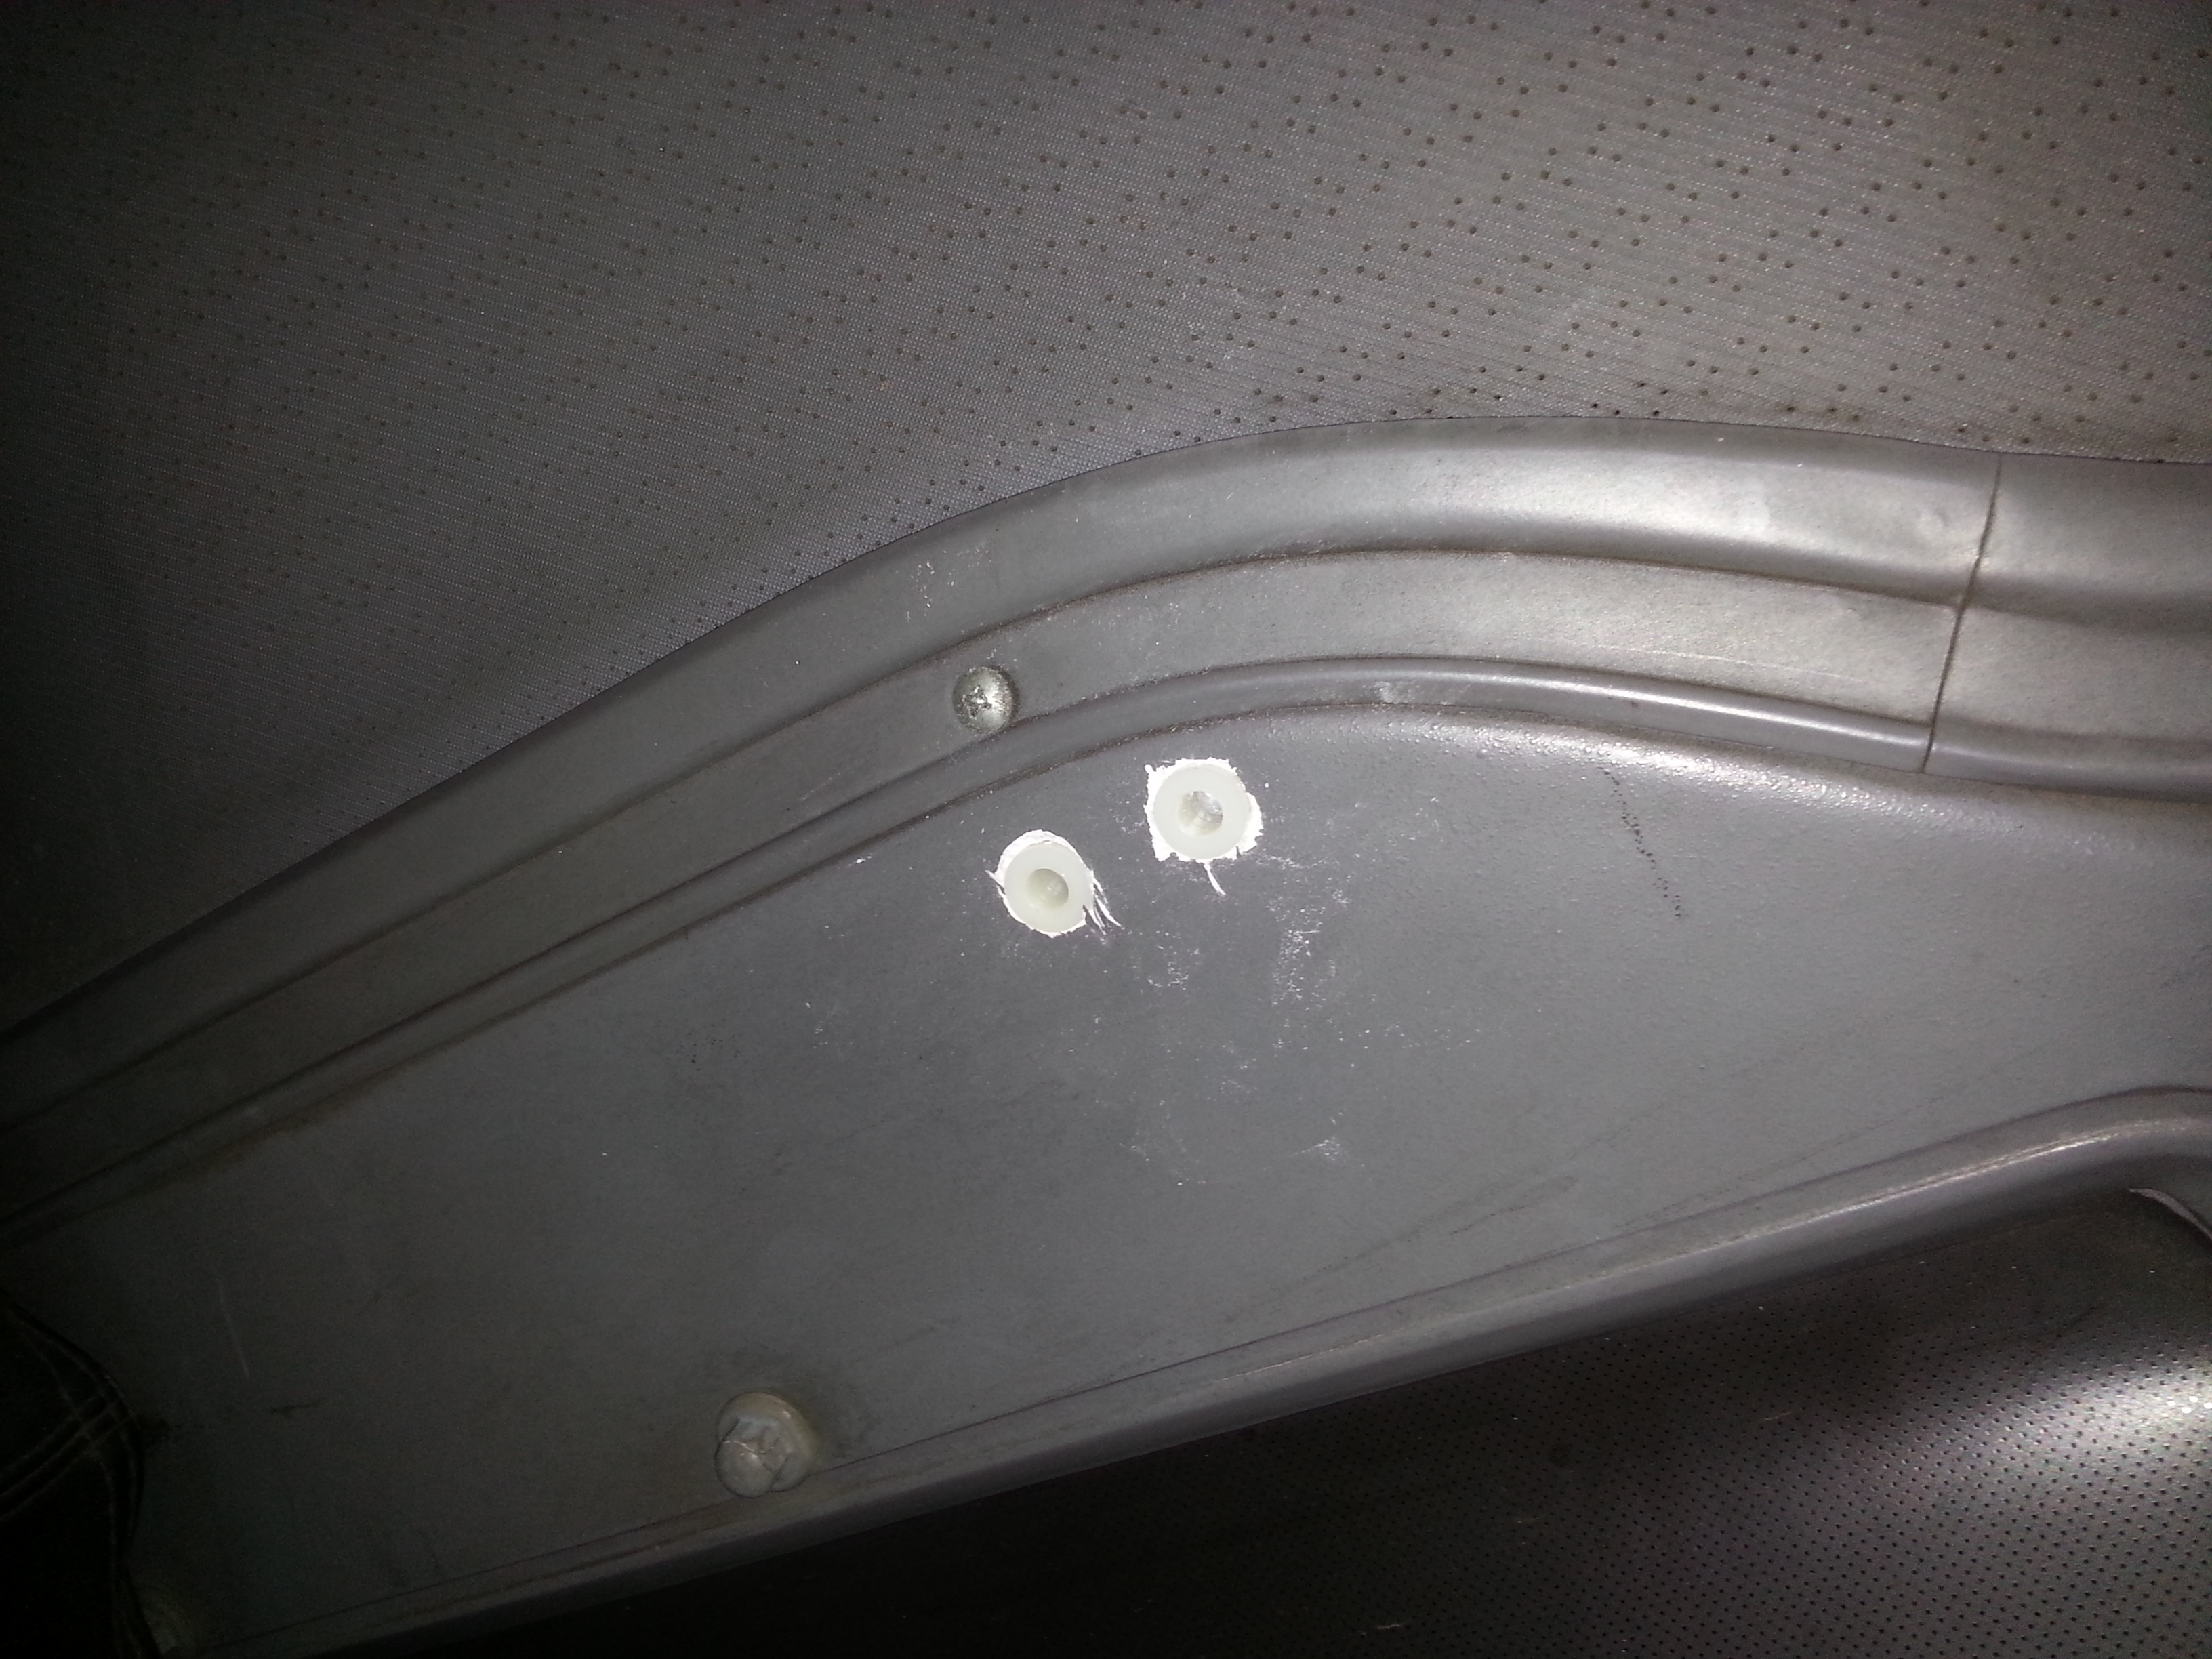
I then drilled out in two more steps to 1/2", then added a center hole as well, in 4 steps, ending in 1/2", and finally added nylon washers......
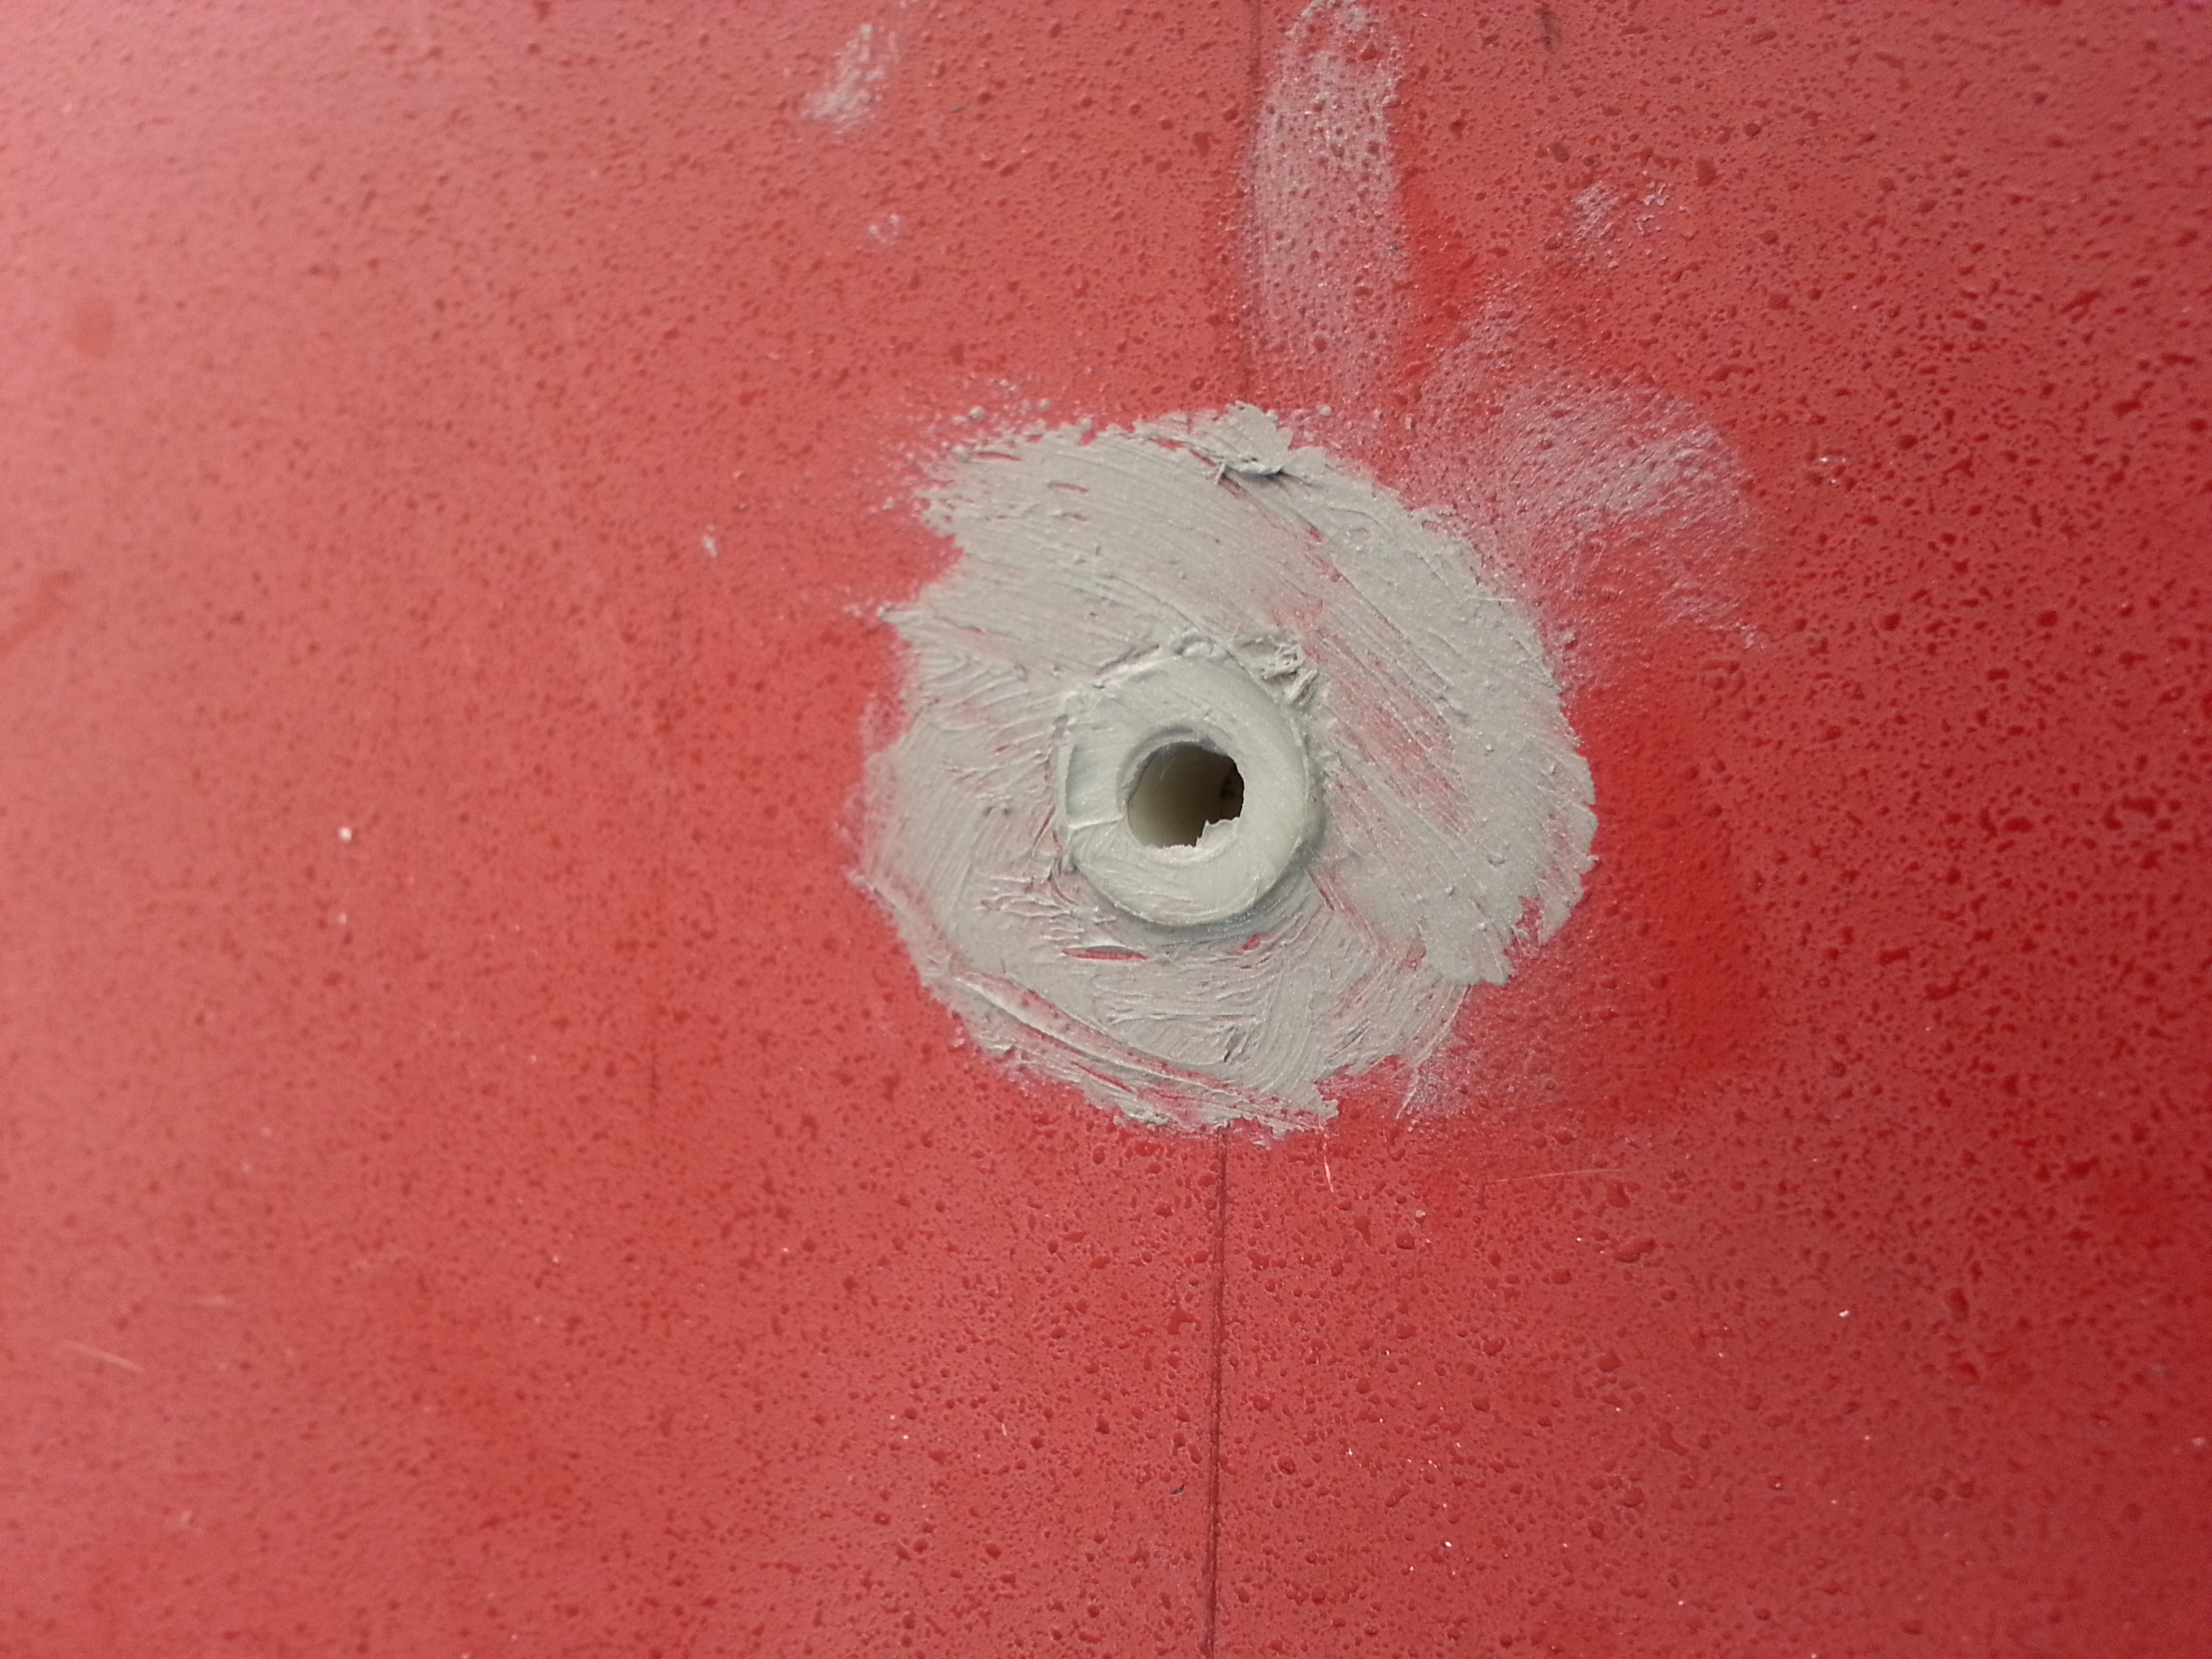
1/2" x .257" x 1" in the rear where is thicker sure to being layers of fiberglass and empty space.....
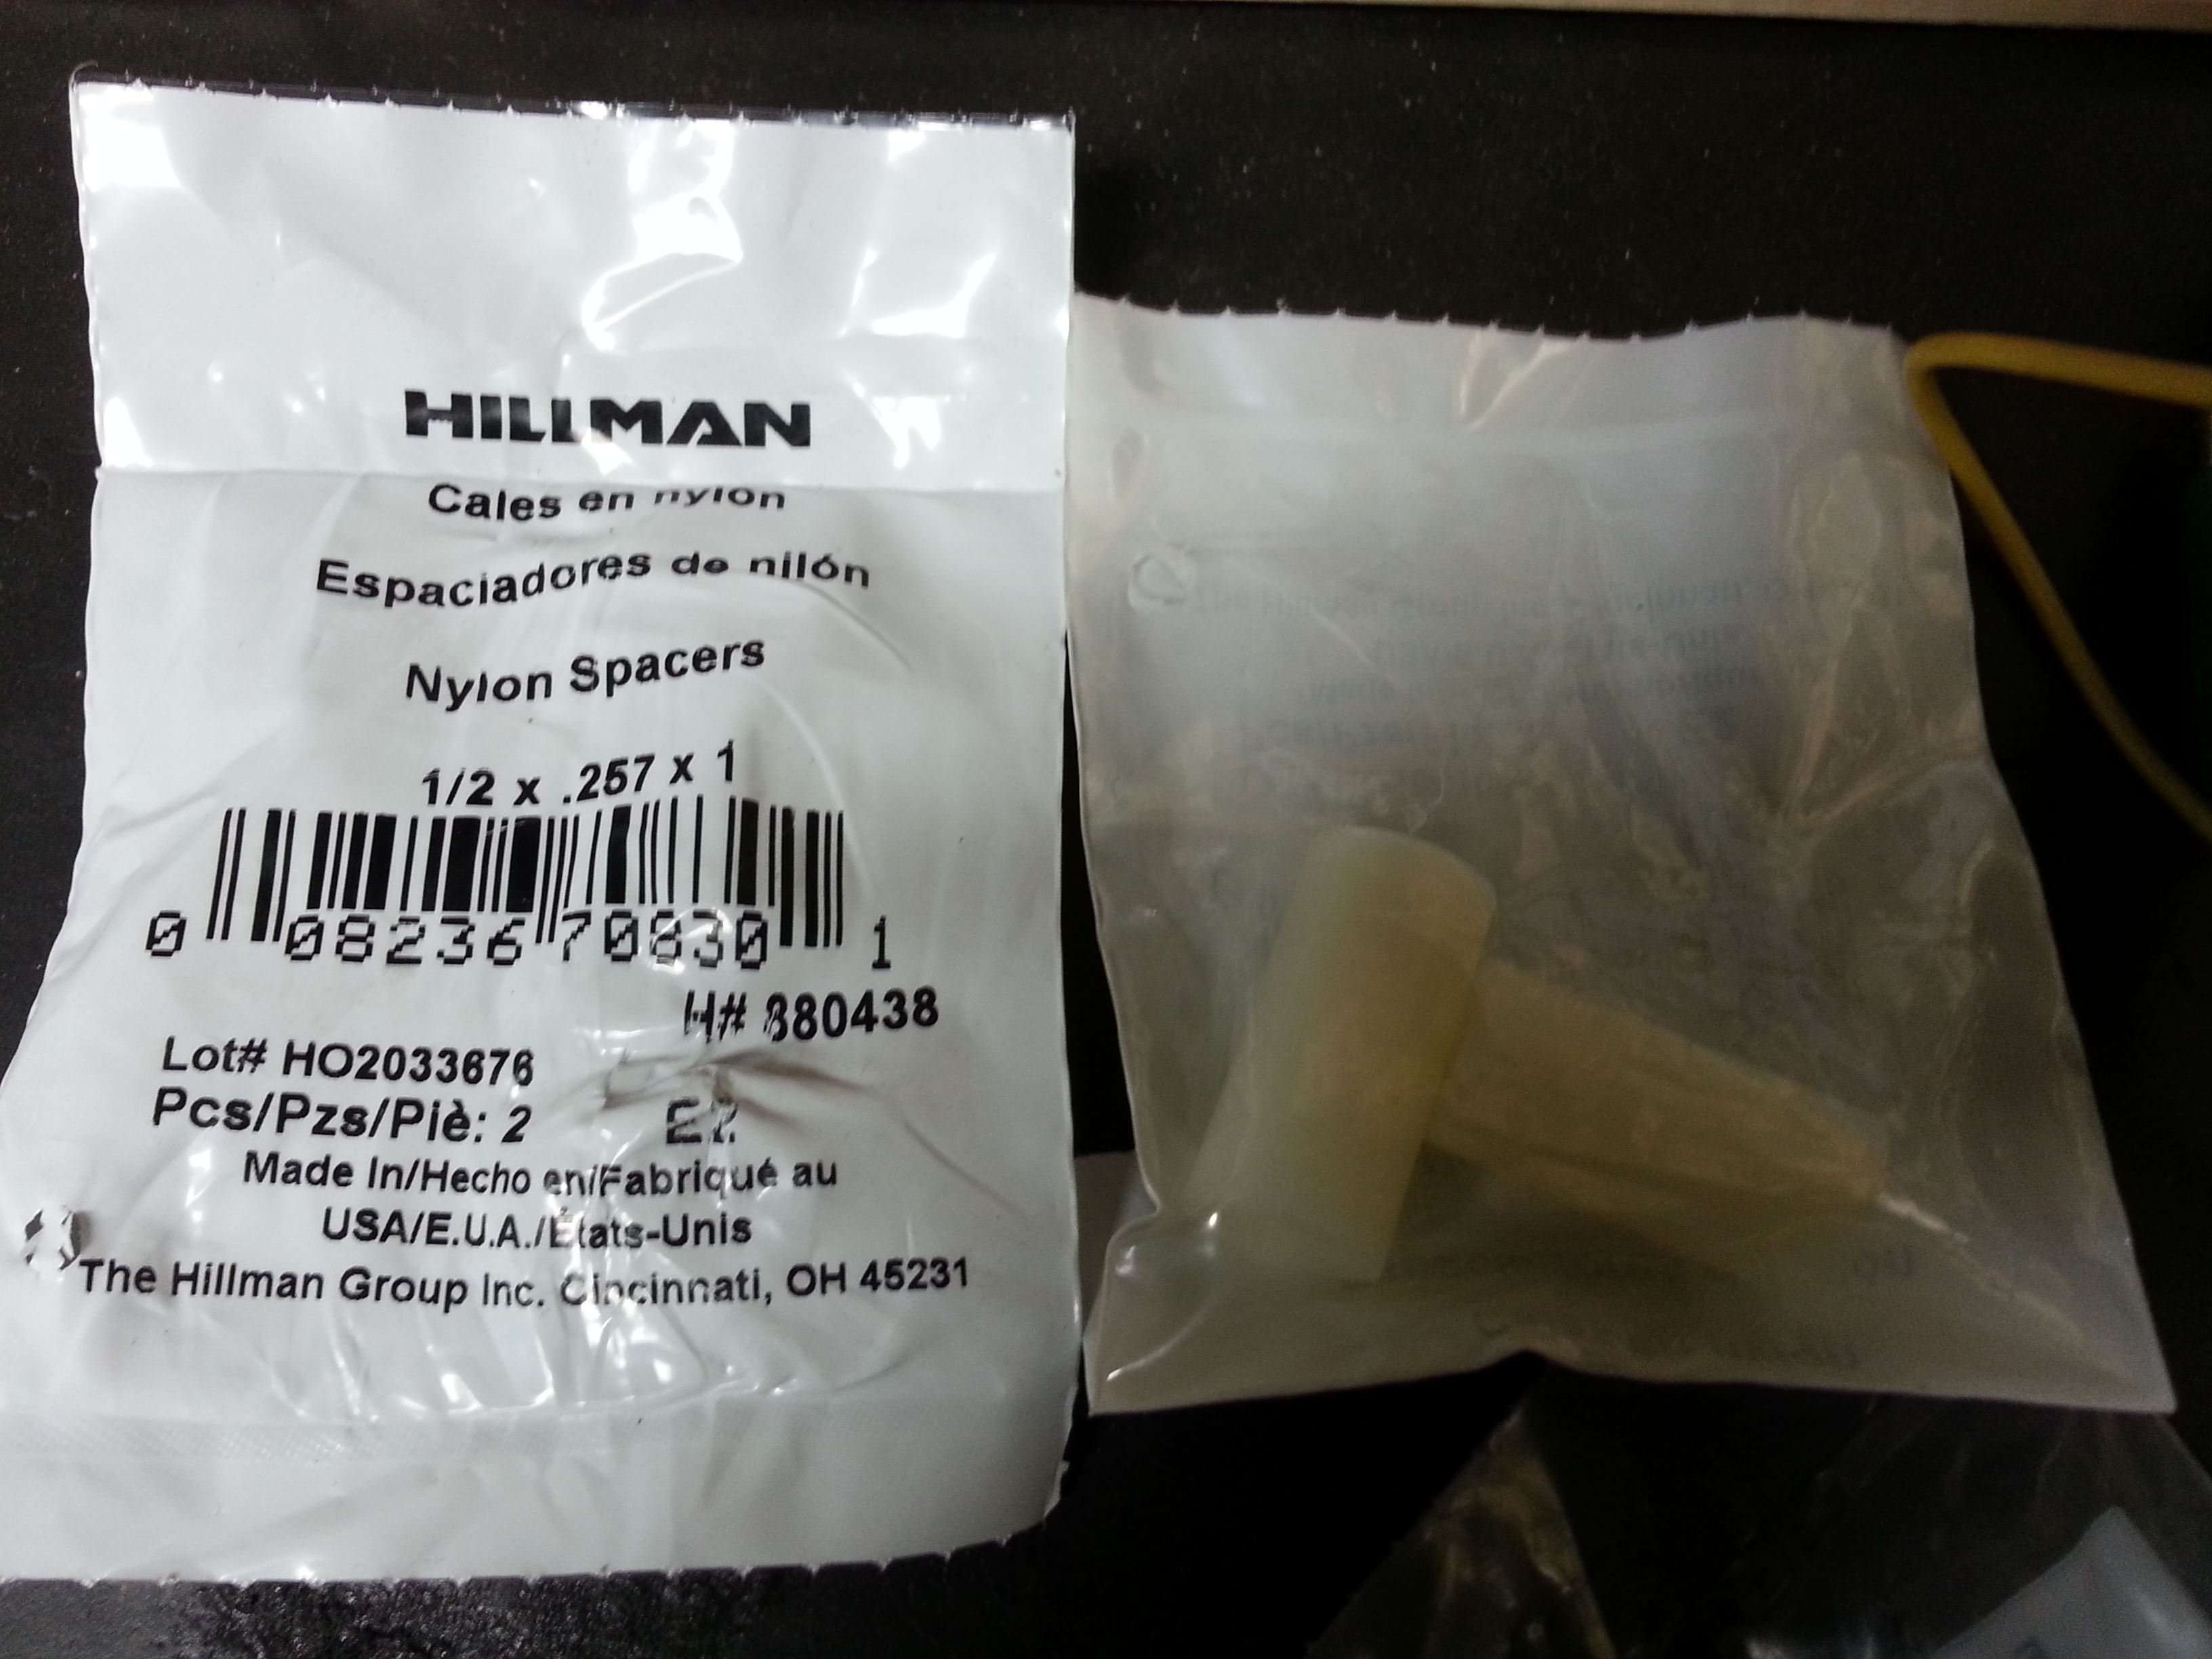
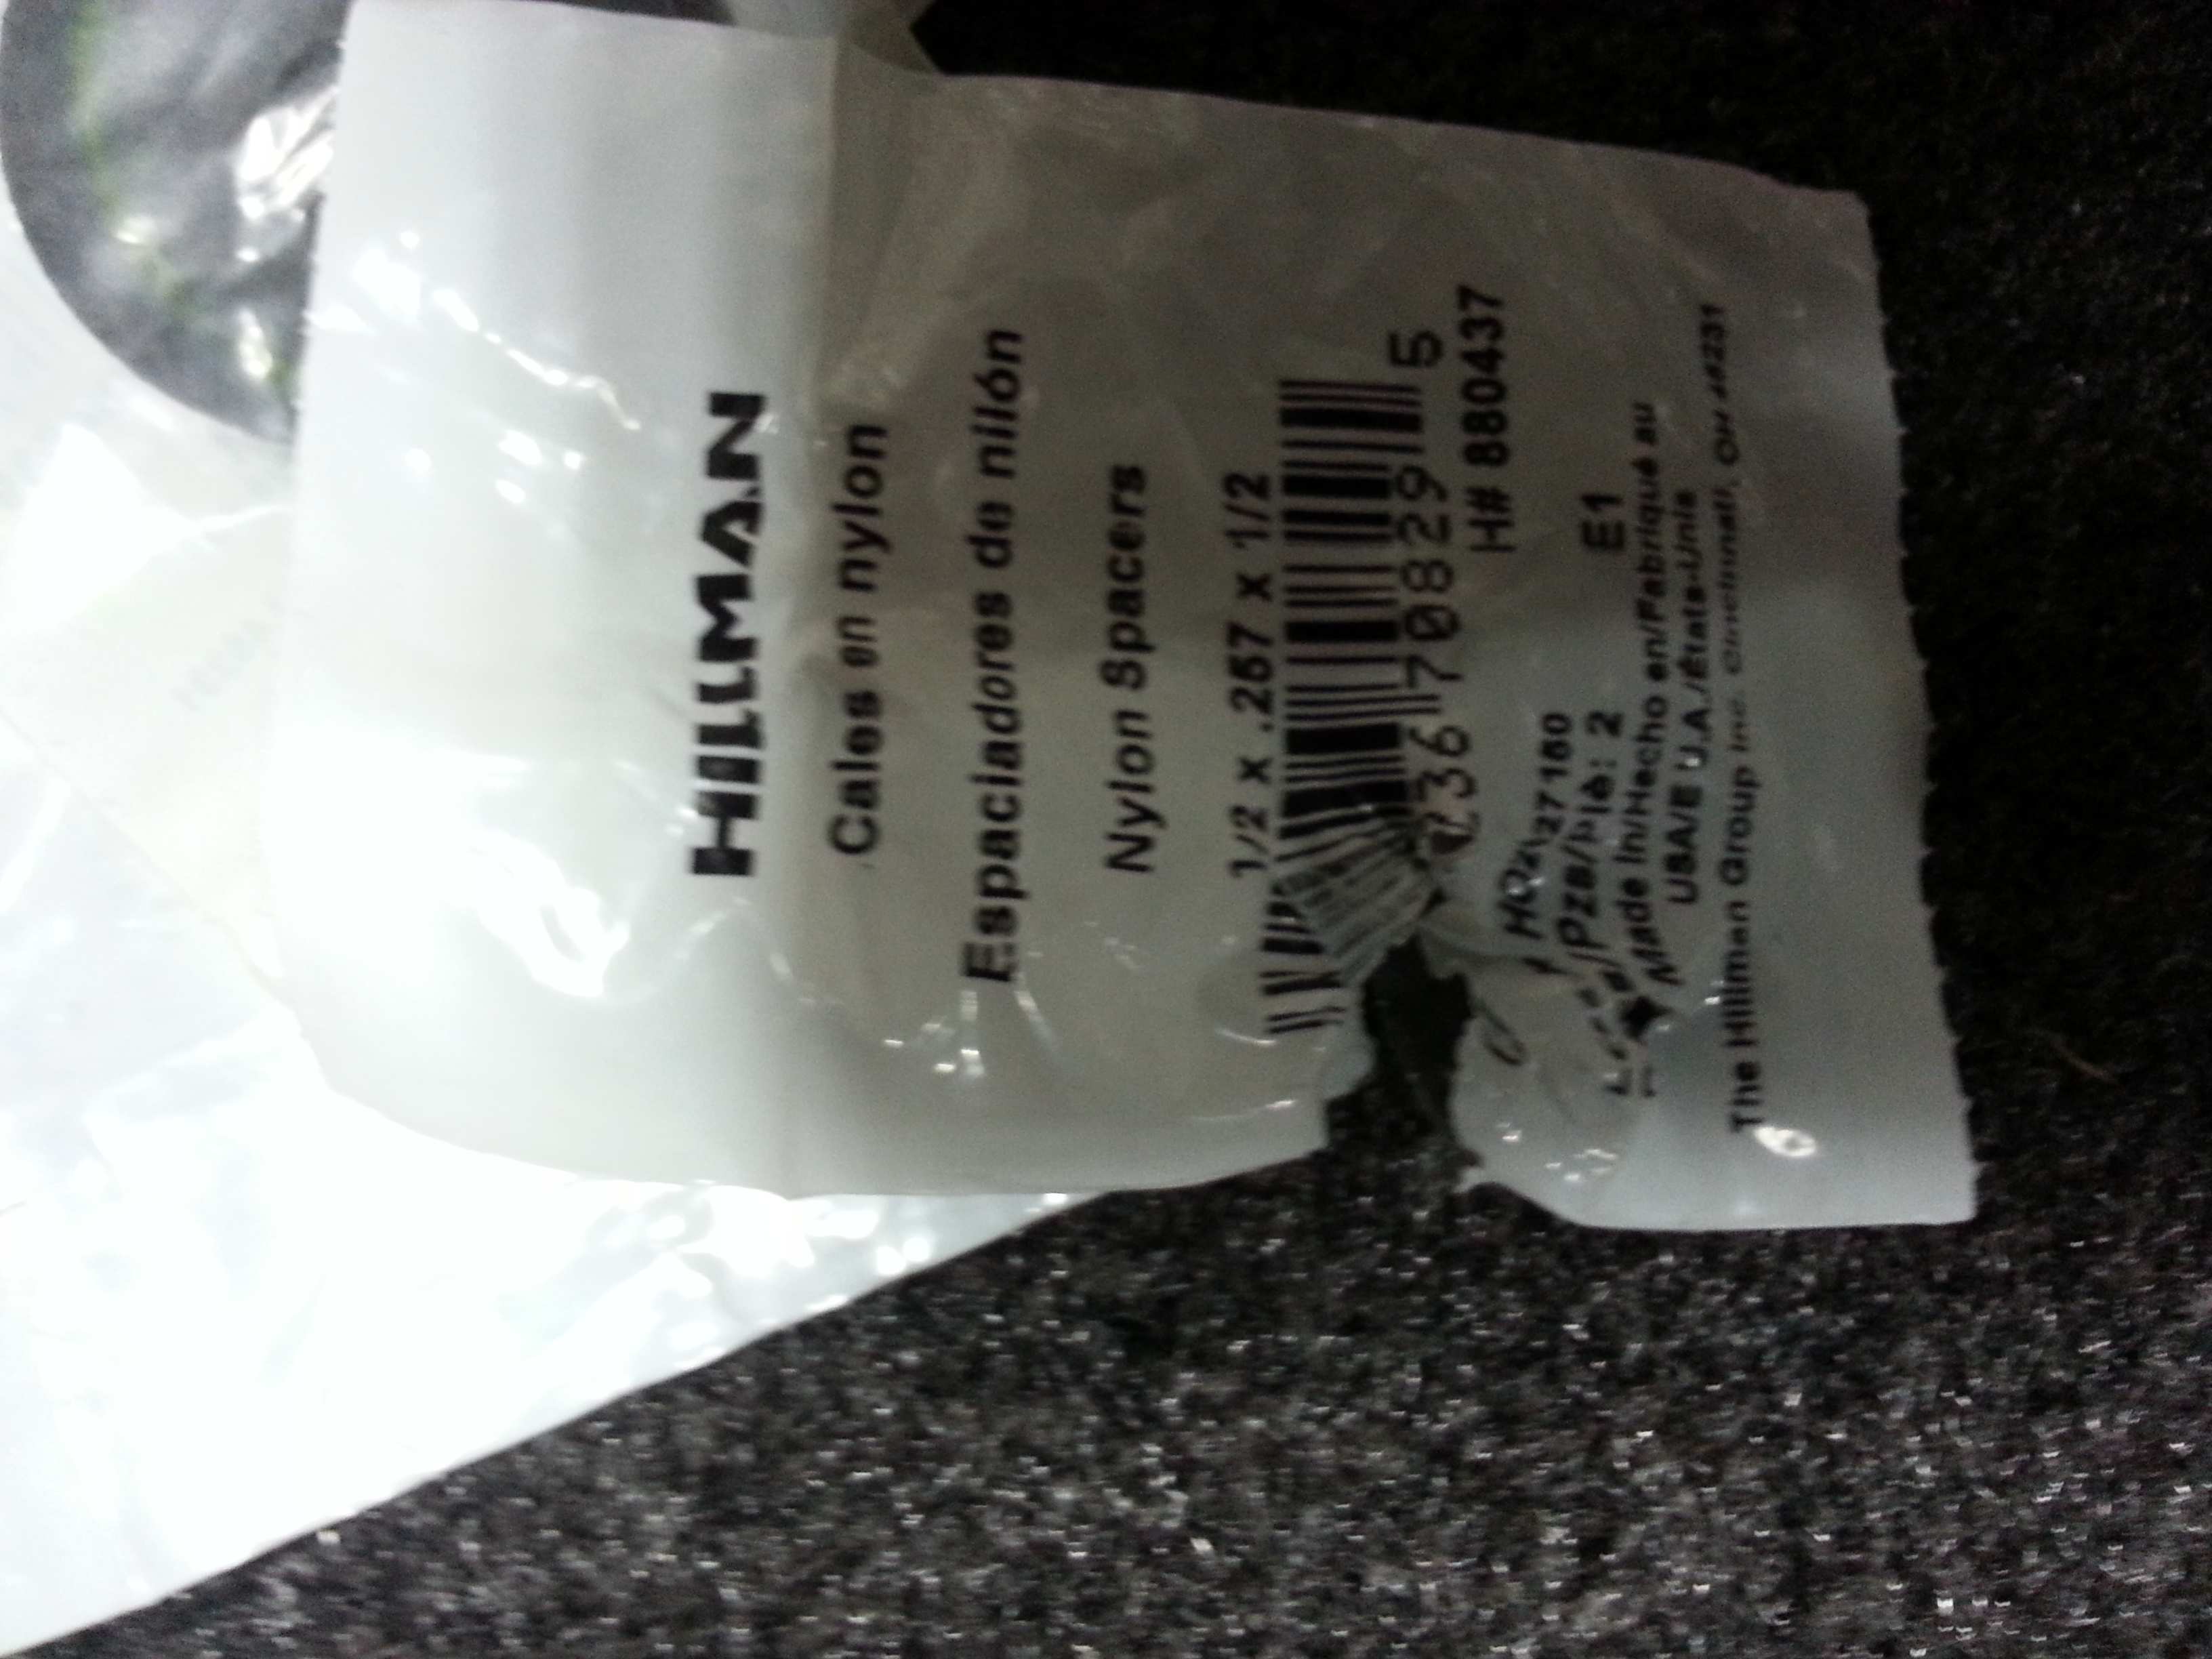
These allow me to fill the space from top and bottom and then crush the bolts and nuts together really tight. I used 1/2" x .257" x 1/2" nylon washers in the middle and front holes. ...
3. For all the hardware I used stainless and aluminum.... 1/4 -20's, 2" and 2.5" for the front and rear with the 2 bolt washers, and M6 - 1.00 for the center hole, which I used a square support nut on theleft. ... the shaved down bent/support square-nut was one of 8 I used to mount the Con-Ferr to the Thule rails.....
In this, above, the bolt came from the bottom up into the t-track of the thule rail.
On top, I used a 2" wide, 1/8" thick aluminum 48" ruler and cut piece of 9' home depot garage door seal. ...

In the bottom, the same ruler, stainless nuts, lock washers and 1" OD-1/4" ID washers to help with the load distribution as well.......
4. On top, I used the stuff I mentioned, and I used gray rtv on all the bolt entries and holes of the nylon washers........
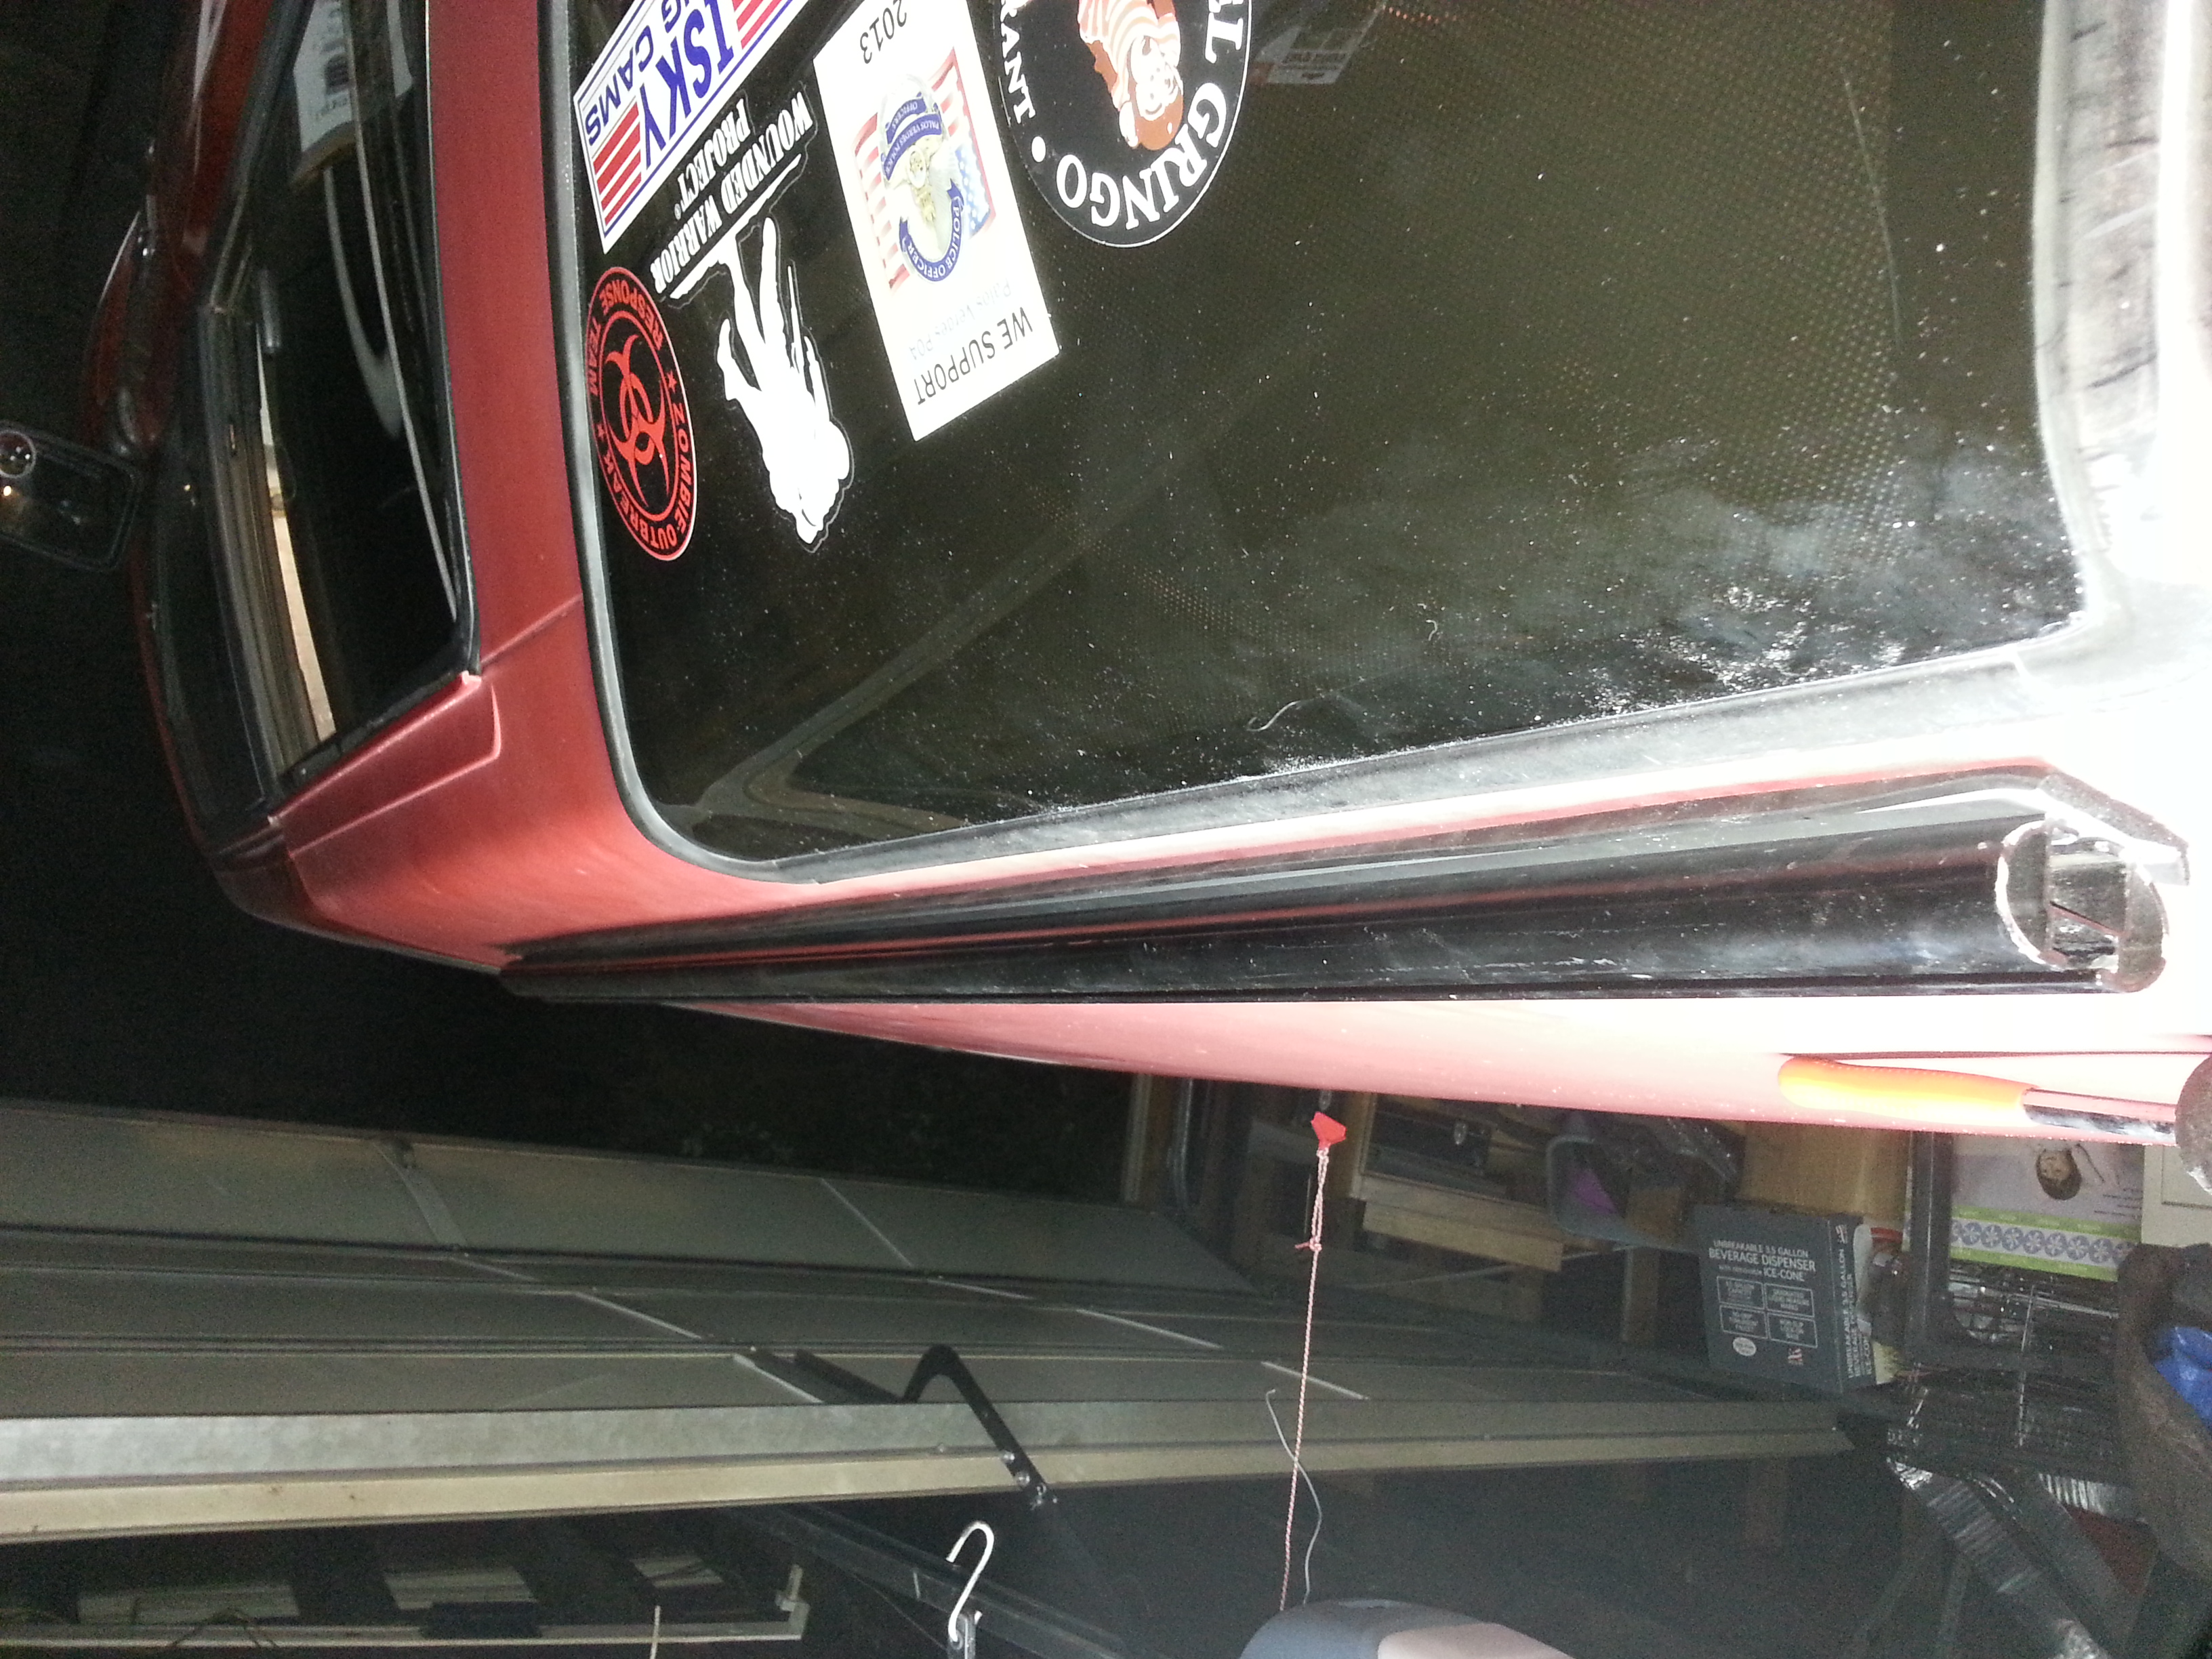
Finally, I mounted it, and I can't begin to tell you guys how solidly this is mounted. ... I have no concern the thing will crush or shear(largely cuz of the nylon washers......
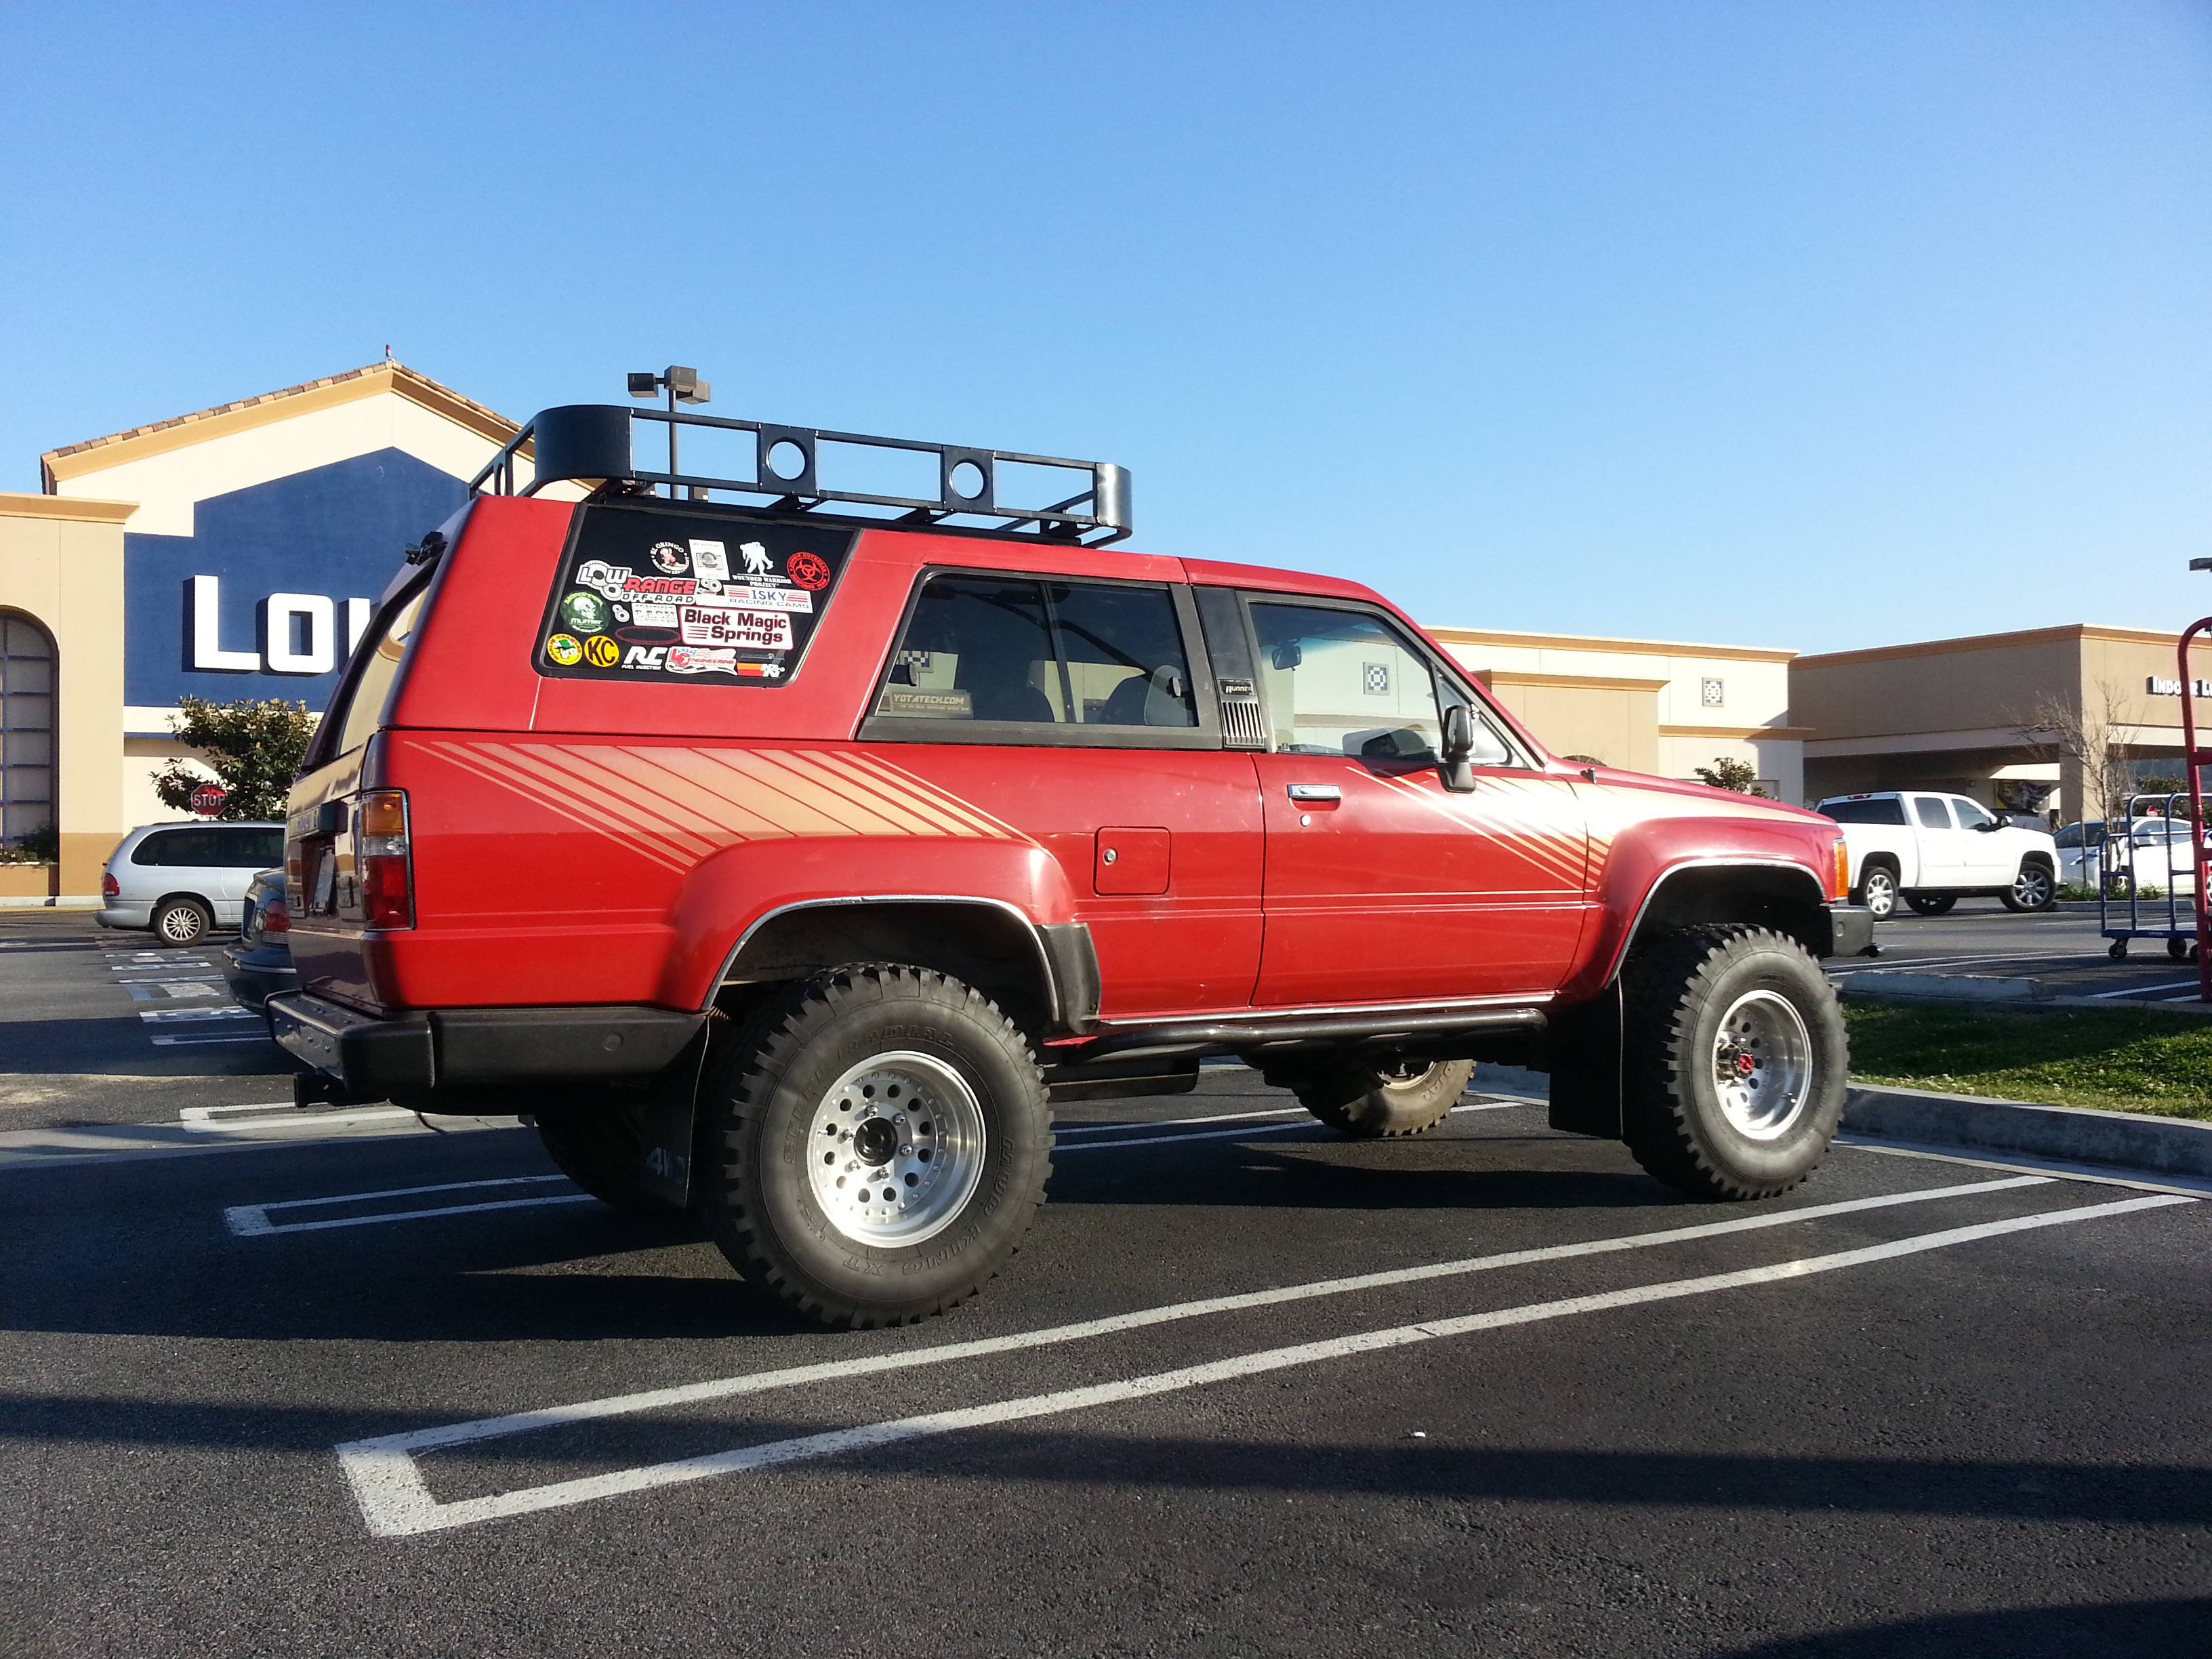
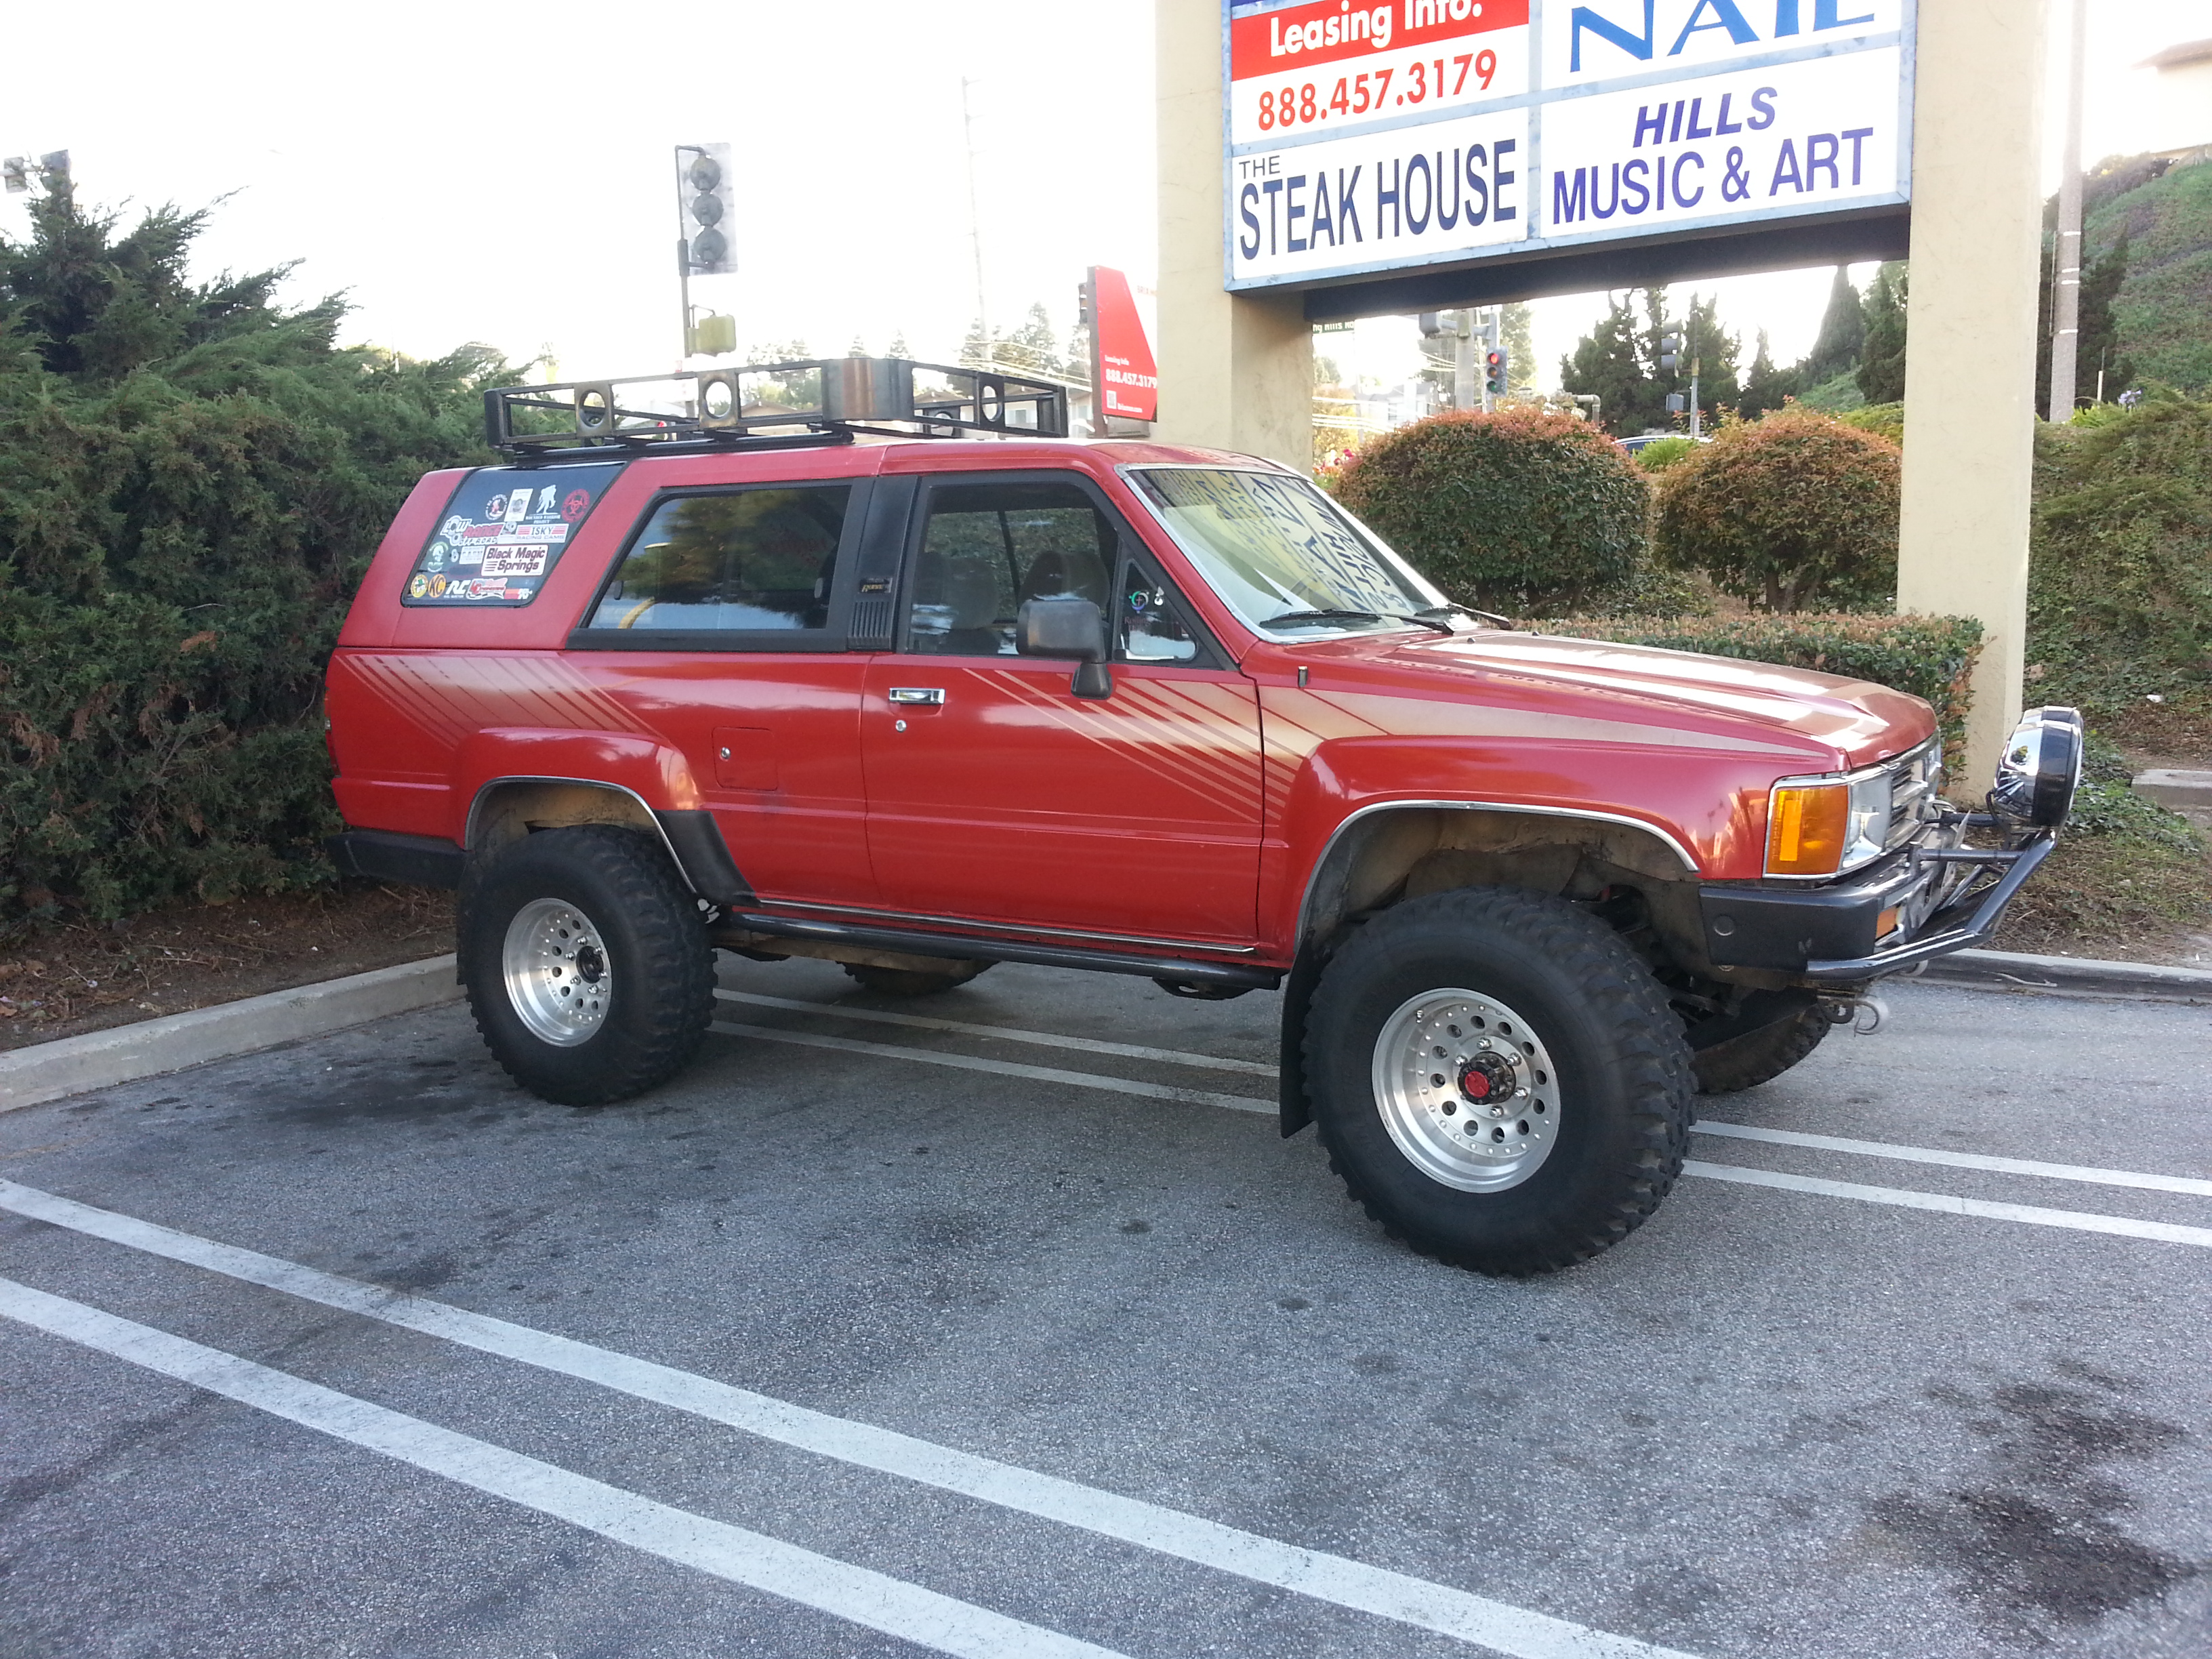
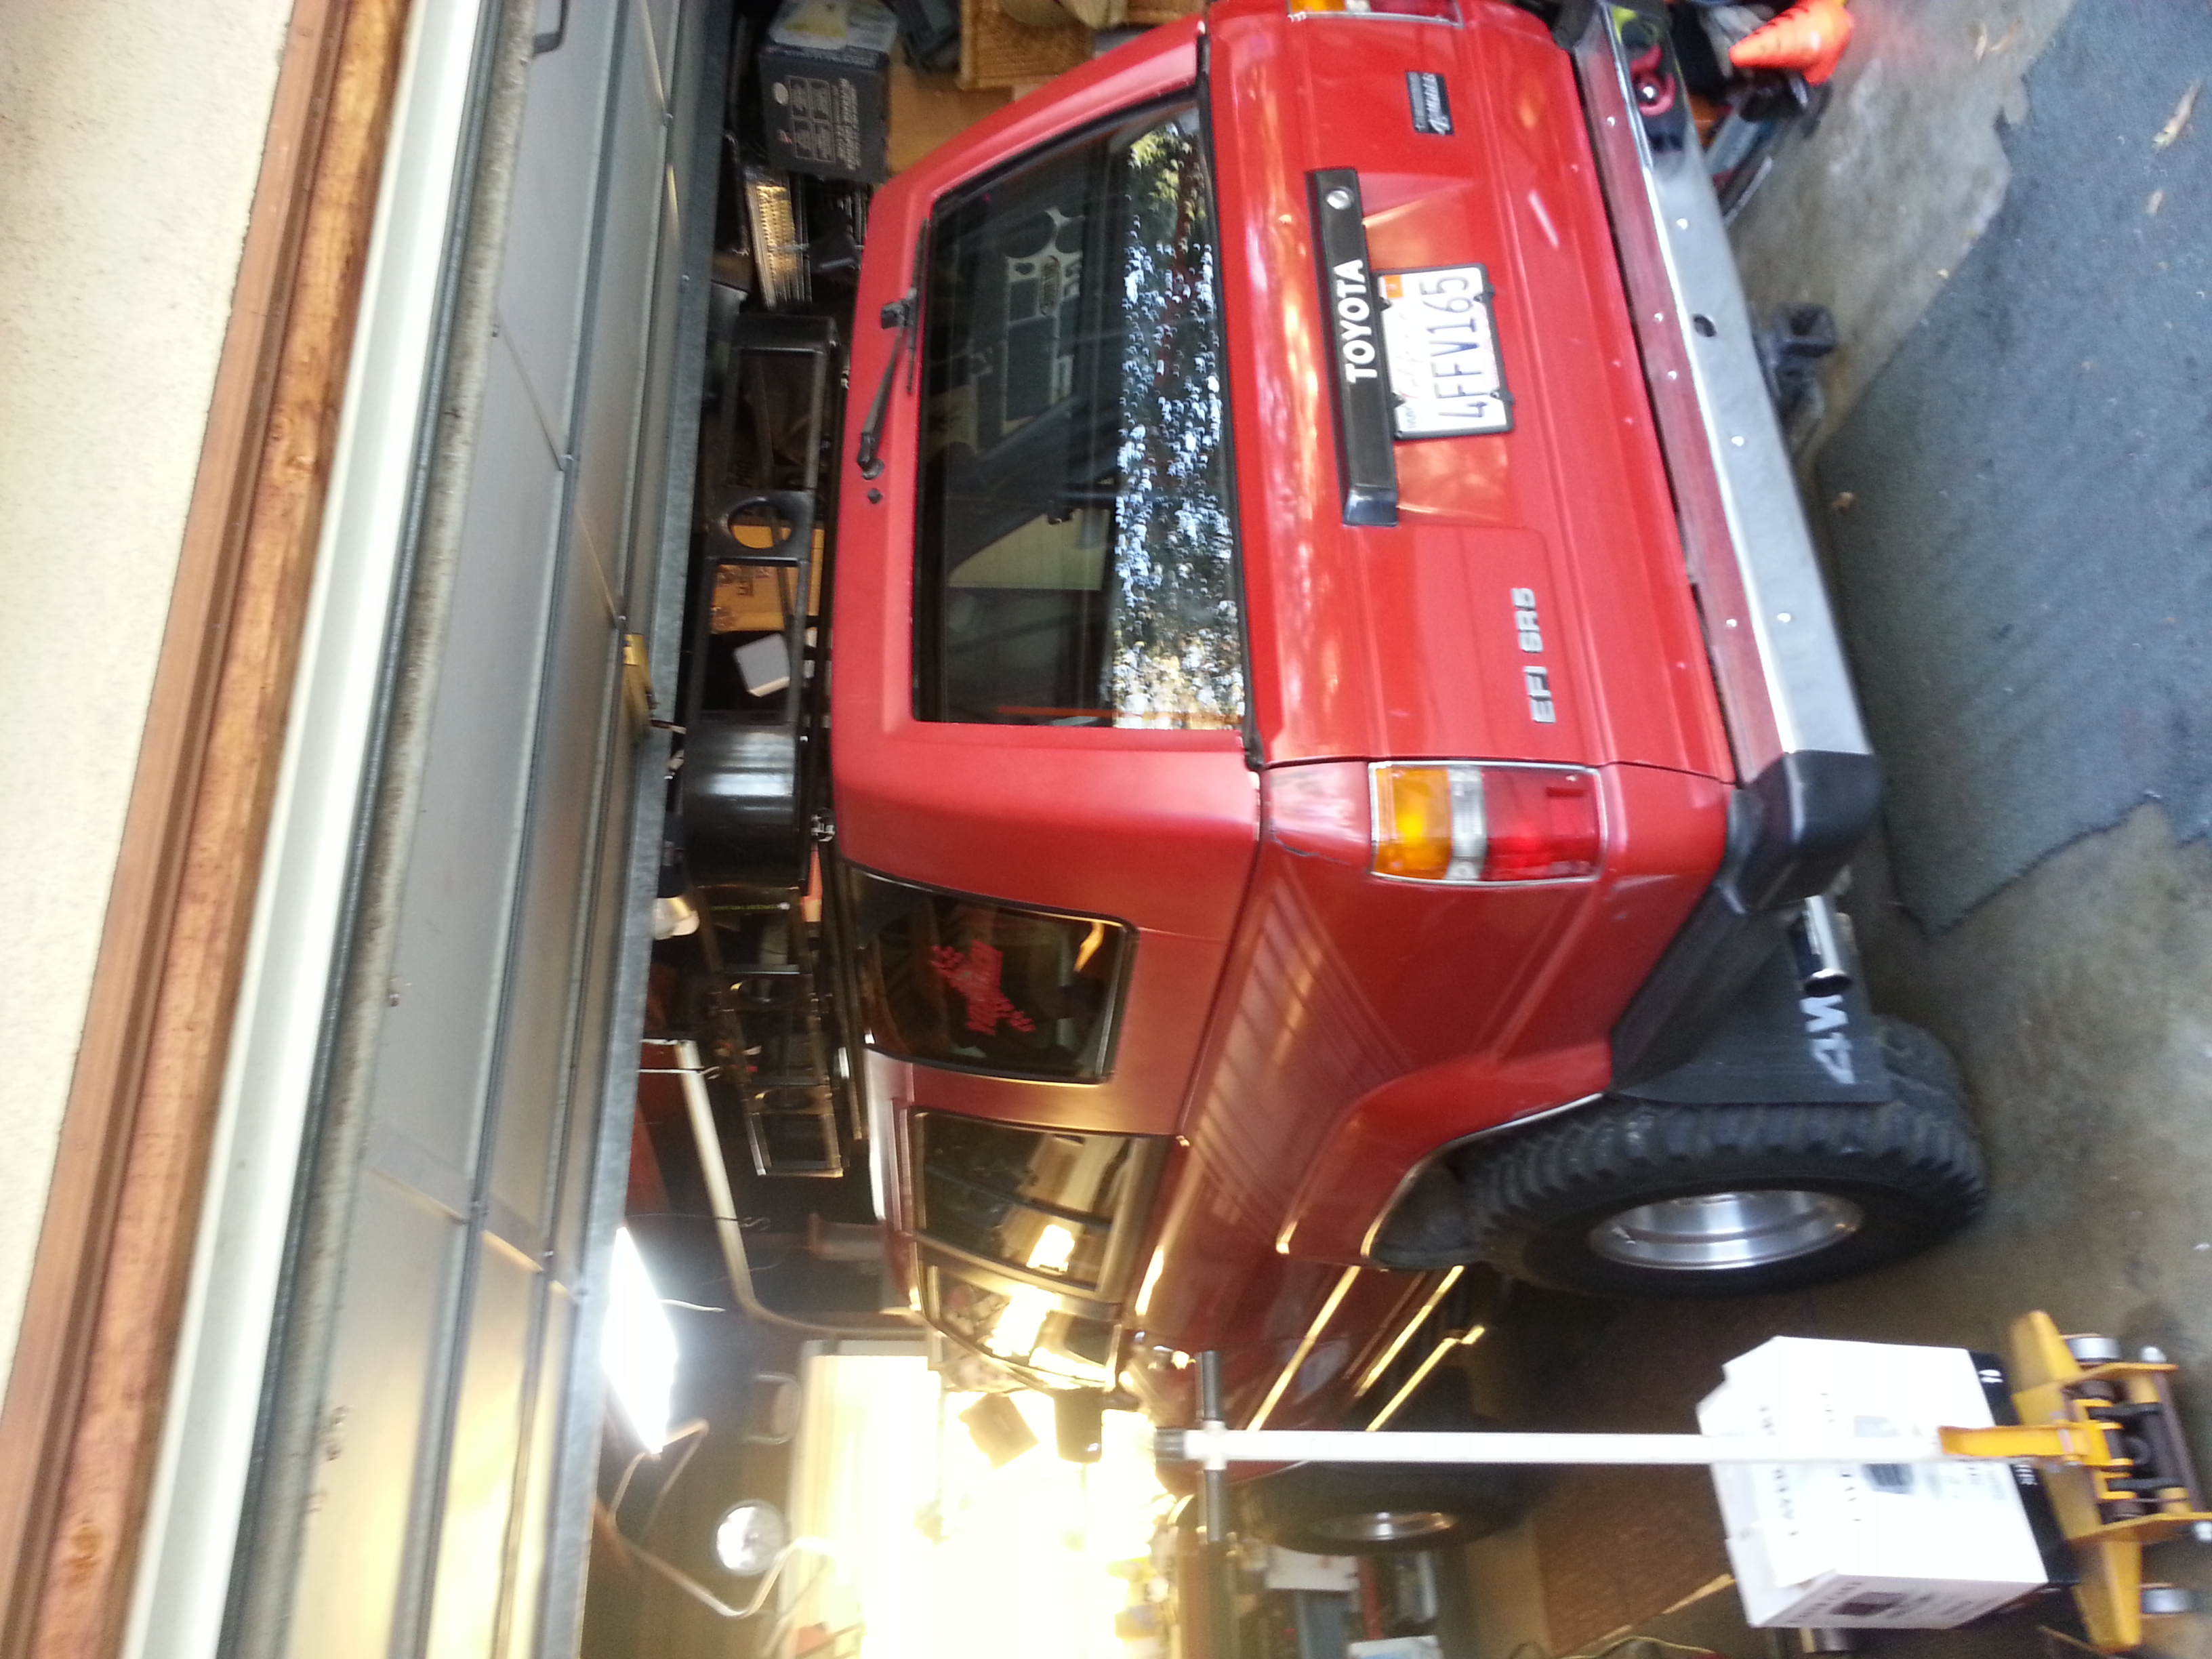
She fits, with a couple inches to spare, woot! Lol. .........
Thank you, first, to Richards(redeth) father. He got me started, drilling out some pilot holes for what I eventually did, over the next 48hrs.... Thanx again, Richard, for asking ur pops to help me. Appreciated!
***************************************
I will do a video soon, as this is pretty hard to explain, lol..... but I'll do my best......
1. The Thule cross bars, that I used as flush mounted side rails, are a lil tricky to mount, but I like that they have 2 t-tracks, so I used them.......
They use these washers, which are aluminum, that hold two bolts each. ....
The bolts lock in the top side of the washers......
End caps for the Thule bars.....
2. With one washer holding two bolts on each end, the holes had to be precise, and Richards pop lined things up pretty well and drilled them out.......He used 1/4" bit for his final stage after a smaller 1/8" bit pilot...
I then drilled out in two more steps to 1/2", then added a center hole as well, in 4 steps, ending in 1/2", and finally added nylon washers......
1/2" x .257" x 1" in the rear where is thicker sure to being layers of fiberglass and empty space.....
These allow me to fill the space from top and bottom and then crush the bolts and nuts together really tight. I used 1/2" x .257" x 1/2" nylon washers in the middle and front holes. ...
3. For all the hardware I used stainless and aluminum.... 1/4 -20's, 2" and 2.5" for the front and rear with the 2 bolt washers, and M6 - 1.00 for the center hole, which I used a square support nut on theleft. ... the shaved down bent/support square-nut was one of 8 I used to mount the Con-Ferr to the Thule rails.....
In this, above, the bolt came from the bottom up into the t-track of the thule rail.
On top, I used a 2" wide, 1/8" thick aluminum 48" ruler and cut piece of 9' home depot garage door seal. ...
In the bottom, the same ruler, stainless nuts, lock washers and 1" OD-1/4" ID washers to help with the load distribution as well.......
4. On top, I used the stuff I mentioned, and I used gray rtv on all the bolt entries and holes of the nylon washers........
Finally, I mounted it, and I can't begin to tell you guys how solidly this is mounted. ... I have no concern the thing will crush or shear(largely cuz of the nylon washers......
She fits, with a couple inches to spare, woot! Lol. .........
Feb 27, 2013 | 08:06 AM
#5940
Registered User
Joined: Apr 2012
Posts: 2,817
Likes: 2
From: Los Angeles CA
Glad we were able to help Mark. I'm just happy we were given a chance to hack up and drill holes in to your perfect truck! Haha  jk
jk
It was fun though. Glad we were able to make this project of yours worth while. It came out really awesome. Now all that is left if to test that baby out on the trail this weekend. Woot cant wait. Were gonna be the only two guys with roof racks.
jk It was fun though. Glad we were able to make this project of yours worth while. It came out really awesome. Now all that is left if to test that baby out on the trail this weekend. Woot cant wait. Were gonna be the only two guys with roof racks.


