86-95 Trucks & 4Runners (Build-Up Section) Post your build-ups here

ccraviotto's 1987 4Runner Long Travel Build-Up Thread

Thread Tools
 
Search this Thread
 
Old Jun 2, 2011 | 04:44 AM
  #121  
xxxtreme22r's Avatar
Registered User
 
Joined: Aug 2009
Posts: 13,574
Likes: 72
From: Wilkes-Barre, PA, USA
are those just for the center diff/BLT setup right? Either way they look sick.
Reply
Old Jun 3, 2011 | 08:34 AM
  #122  
BlazeN8's Avatar
Registered User
 
Joined: Jun 2009
Posts: 977
Likes: 4
From: Southern California
The axles I am showing are the ones I designed to work with the the Blazeland Long Arm kit and a 7.5 Center Mount Differential with a 4" Drop Bracket kit. I also built a prototype bracket kit to bolt the differential into place. Its still in the testing phase, but so far things are looking good.
Reply
Old Jun 3, 2011 | 10:40 AM
  #123  
Numbchux's Avatar
Registered User
 
Joined: Nov 2006
Posts: 580
Likes: 33
From: Saginaw, MN
7.5" supra diff? or is it possible to modify the truck IFS diff for center mount?

would those axles work with an 8" supra diff?
Reply
Old Jun 3, 2011 | 05:35 PM
  #124  
corax's Avatar
Registered User
 
Joined: Aug 2007
Posts: 1,133
Likes: 7
From: PDX
How did I miss this thread?!? Time to add another thing to the to do/dream list . . . great work guys

Originally Posted by motorhead
Something like this might work well on a 5m/7m swap with a cressida pan without a bracket lift, as the pan sits in front of the ifs diff ...
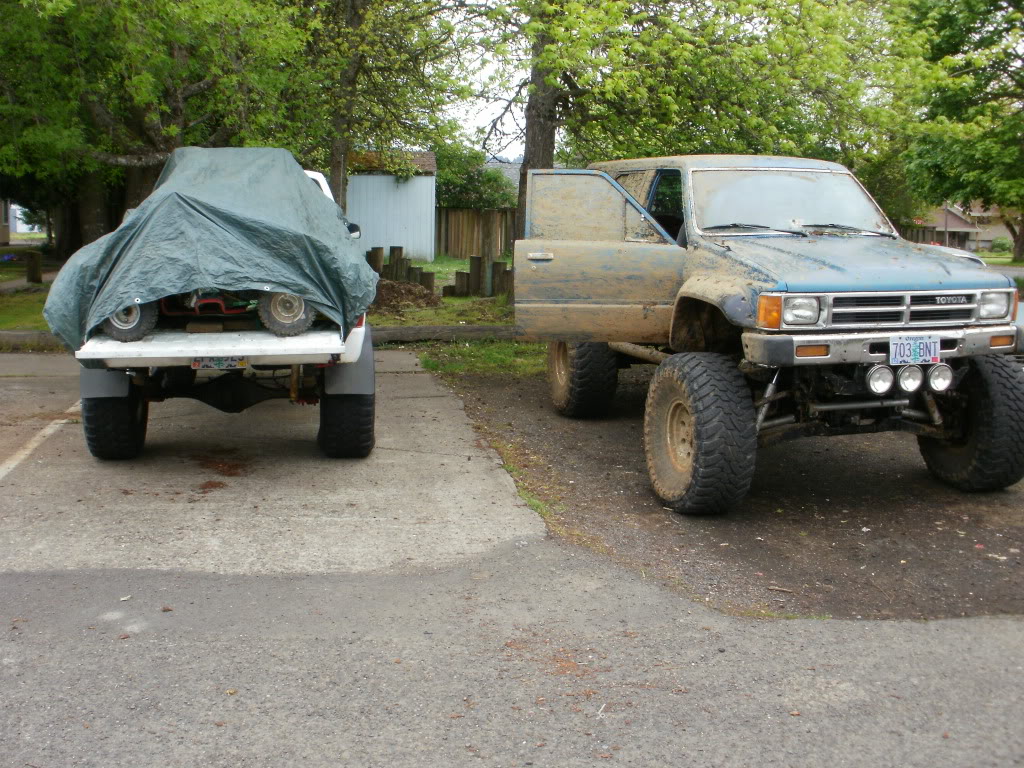
Yep, plenty of room for the diff with my 7MGE. Here's a pic from my swap thread
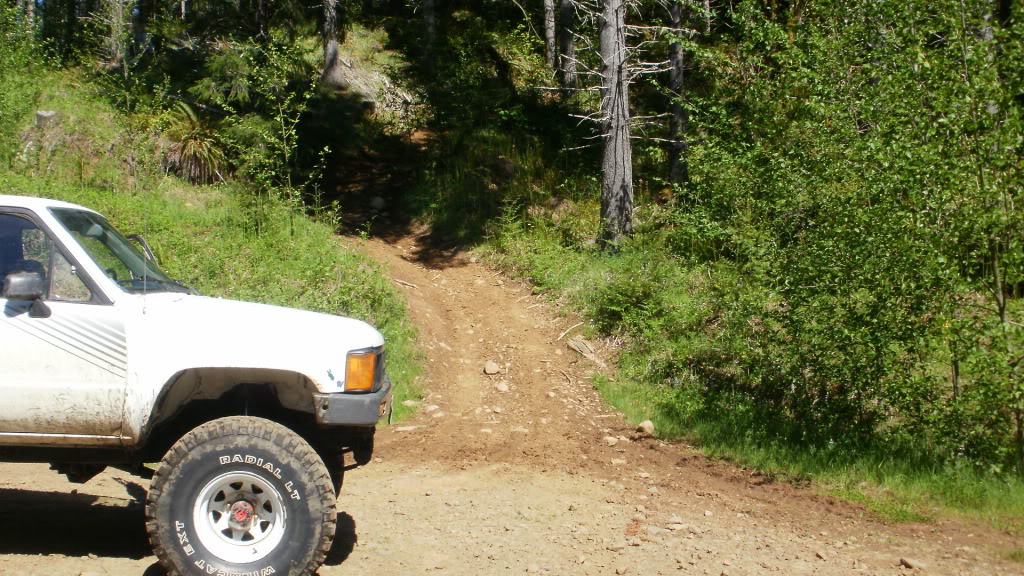
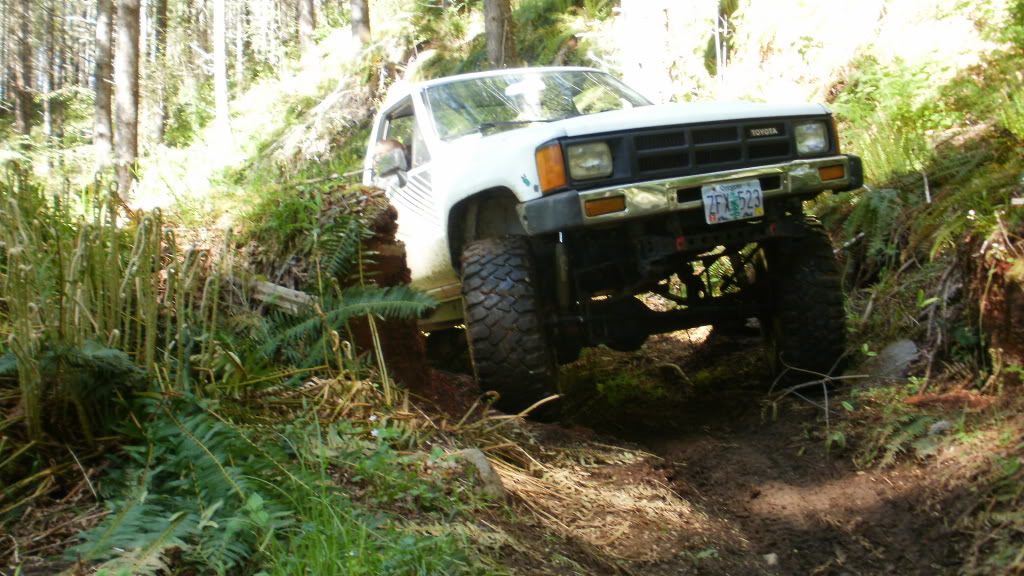
Reply
Old Jun 6, 2011 | 03:30 AM
  #125  
ccraviotto's Avatar
Thread Starter
Registered User
 
Joined: Oct 2010
Posts: 149
Likes: 0
From: sheridan oregen
took my good old 85 out for a work party Name:  brownscamp005.jpg
Views: 399
Size:  221.3 KB
Attached Images
File Type: jpg
brownscamp005.jpg (221.3 KB, 106 views)

Last edited by ccraviotto; Jun 6, 2011 at 10:58 AM.
Reply
Old Jun 6, 2011 | 03:45 AM
  #126  
ccraviotto's Avatar
Thread Starter
Registered User
 
Joined: Oct 2010
Posts: 149
Likes: 0
From: sheridan oregen
OREGON DEPONENT OF FORESTRY AND tRASKMOUNTAIN TRAIL RUNNERS open a black diamond trail [IMG][/IMG] trail

Last edited by ccraviotto; Jun 16, 2011 at 09:58 PM.
Reply
Old Jun 6, 2011 | 03:49 AM
  #127  
ccraviotto's Avatar
Thread Starter
Registered User
 
Joined: Oct 2010
Posts: 149
Likes: 0
From: sheridan oregen
the lower trail head Name:  kids018.jpg
Views: 396
Size:  215.6 KB
Attached Images
File Type: jpg
kids018.jpg (215.6 KB, 99 views)

Last edited by ccraviotto; Jun 6, 2011 at 11:00 AM.
Reply
Old Jun 6, 2011 | 11:06 AM
  #128  
ccraviotto's Avatar
Thread Starter
Registered User
 
Joined: Oct 2010
Posts: 149
Likes: 0
From: sheridan oregen
Name:  kids020.jpg
Views: 399
Size:  149.7 KB kinda tight hear.
Attached Images
File Type: jpg
kids020.jpg (149.7 KB, 108 views)
Reply
Old Jun 6, 2011 | 11:09 AM
  #129  
ccraviotto's Avatar
Thread Starter
Registered User
 
Joined: Oct 2010
Posts: 149
Likes: 0
From: sheridan oregen
[IMG][/IMG] lots of work .

Last edited by ccraviotto; Jun 9, 2011 at 05:39 PM.
Reply
Old Jun 6, 2011 | 11:11 AM
  #130  
ccraviotto's Avatar
Thread Starter
Registered User
 
Joined: Oct 2010
Posts: 149
Likes: 0
From: sheridan oregen
my good old 85.[IMG][/IMG] ODF trail machine.

Last edited by ccraviotto; Jun 16, 2011 at 09:56 PM.
Reply
Old Jun 6, 2011 | 11:34 AM
  #131  
geronimojaldin's Avatar
Registered User
 
Joined: Feb 2009
Posts: 36
Likes: 0
2 words for that 4runner TOTALLY AWESOME!!!!!
Reply
Old Jun 16, 2011 | 08:52 PM
  #132  
ccraviotto's Avatar
Thread Starter
Registered User
 
Joined: Oct 2010
Posts: 149
Likes: 0
From: sheridan oregen
started working on a upper a arm jig. I am going to build a + 5 upper arm. My first attempt will be to build off of a factory arm. i did a mock-up using some random pieces of plywood.[IMG][/IMG] .

Last edited by ccraviotto; Jun 20, 2011 at 10:25 AM.
Reply
Old Jun 16, 2011 | 08:57 PM
  #133  
ccraviotto's Avatar
Thread Starter
Registered User
 
Joined: Oct 2010
Posts: 149
Likes: 0
From: sheridan oregen
figuring how much lift i need to get the ball joint at proper angle.[IMG][/IMG]
Reply
Old Jun 16, 2011 | 09:09 PM
  #134  
ccraviotto's Avatar
Thread Starter
Registered User
 
Joined: Oct 2010
Posts: 149
Likes: 0
From: sheridan oregen
using the arm as a temp-let to drill the jig makes life easy.[IMG][/IMG]

Last edited by ccraviotto; Jun 16, 2011 at 10:00 PM.
Reply
Old Jun 16, 2011 | 09:13 PM
  #135  
ccraviotto's Avatar
Thread Starter
Registered User
 
Joined: Oct 2010
Posts: 149
Likes: 0
From: sheridan oregen
first hole.[IMG][/IMG]
Reply
Old Jun 16, 2011 | 09:17 PM
  #136  
ccraviotto's Avatar
Thread Starter
Registered User
 
Joined: Oct 2010
Posts: 149
Likes: 0
From: sheridan oregen
I found that my mock up plywood jig worked well for some more drilling.[IMG][/IMG]
Reply
Old Jun 16, 2011 | 09:35 PM
  #137  
ccraviotto's Avatar
Thread Starter
Registered User
 
Joined: Oct 2010
Posts: 149
Likes: 0
From: sheridan oregen
my jig will not match my existing a arm . i was maxed out on my alignment cams with the top of tire still tipping out very slightly.So i am going to shorten the a arm by 3/8 of an inch. All-so i am going to add some more caster <move the ball joint back about 1/2 inch>. [IMG][/IMG]

Last edited by ccraviotto; Jun 20, 2011 at 10:10 AM.
Reply
Old Jun 16, 2011 | 09:40 PM
  #138  
ccraviotto's Avatar
Thread Starter
Registered User
 
Joined: Oct 2010
Posts: 149
Likes: 0
From: sheridan oregen
ball joint spacers make a nice temp-let.[IMG][/IMG]
Reply
Old Jun 19, 2011 | 10:50 AM
  #139  
BlazeN8's Avatar
Registered User
 
Joined: Jun 2009
Posts: 977
Likes: 4
From: Southern California
Its fun designing new stuff, keep up the good work! I am interested in seeing how you will interface the factory crossshaft with the poly bushings into your new arms. The way the bushings fit into the factory steel shells is unique. Creating custom bushings may not be an option. I approached energy suspension to have some reproductions made for the discontinued Rancho arms and unless I was ordering them in the thousands it was a dead end. You might want to press the steel shells out of a pair of factory UCAs and weld them into some tube? Or find some universal bushings and design the fitment around the universal bushings. Maybe forgo using the factory crosshafts and use some some hiem joints and weld some tabs to the frame? I was wanting to tear into the Downey or TC design and see how they did the bushings on the factory crossshafts but decided to stick with the factory bushing design to keep cost and ease of servicable / replacable componants user friendly.

Last edited by BlazeN8; Jun 19, 2011 at 08:02 PM.
Reply
Old Jun 20, 2011 | 07:54 AM
  #140  
BlazeN8's Avatar
Registered User
 
Joined: Jun 2009
Posts: 977
Likes: 4
From: Southern California
I was looking at my CADD file of the UCA Extension Brackets and could revise it to meet your specifications. I drew a +4" UCA a while back that turned out nice. Drawing a +4.625" with a .500" back and a 2.000" drop shouldn't be a problem. I would charge you the standard $200 for the brackets themselves and a CADD drafting fee. My CADD rate is $85 an hour. It should take me about an hour to draw it up and another hour to convert the file to work with the laser cutter and to do the coordination.
Reply


All times are GMT -8. The time now is 10:08 AM.