
Bump's '90 4Runner Build-Up

 Jul 6, 2014 | 04:32 PM
#102
Thread Starter
Registered User
Joined: Apr 2013
Posts: 478
Likes: 4
From: Louisiana
Thanks Jason.
I did a little more work today. I should have time to work on it this week and next weekend so I started prepping to install the drivetrain. Goal is to have it in by end of next weekend.
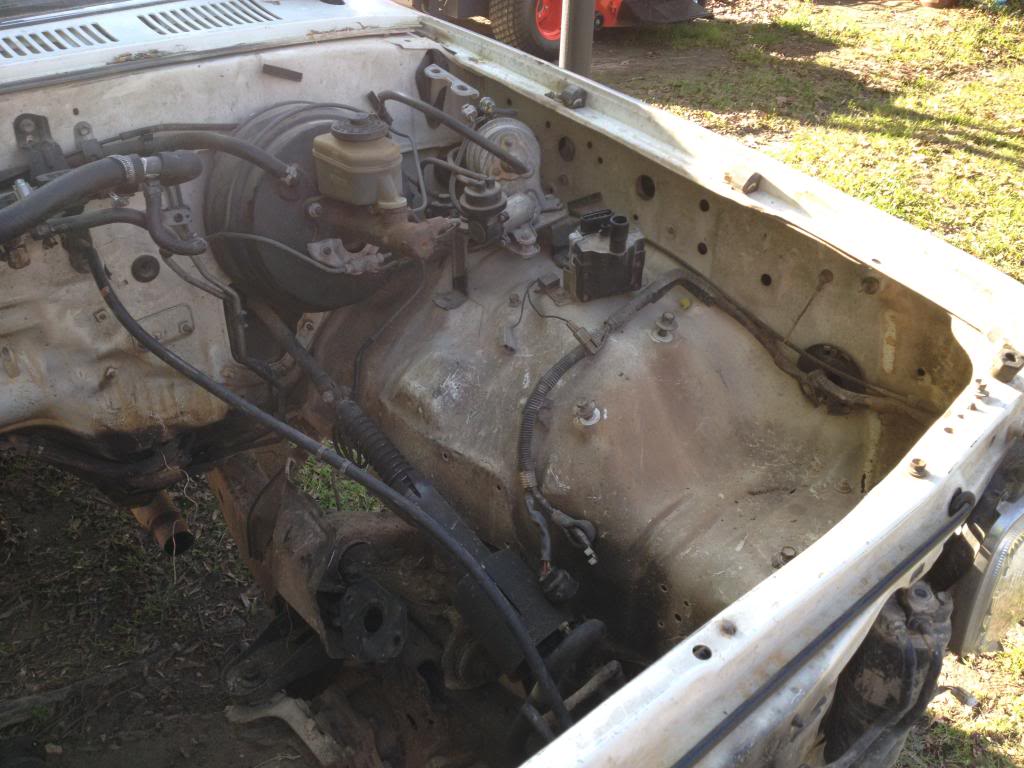
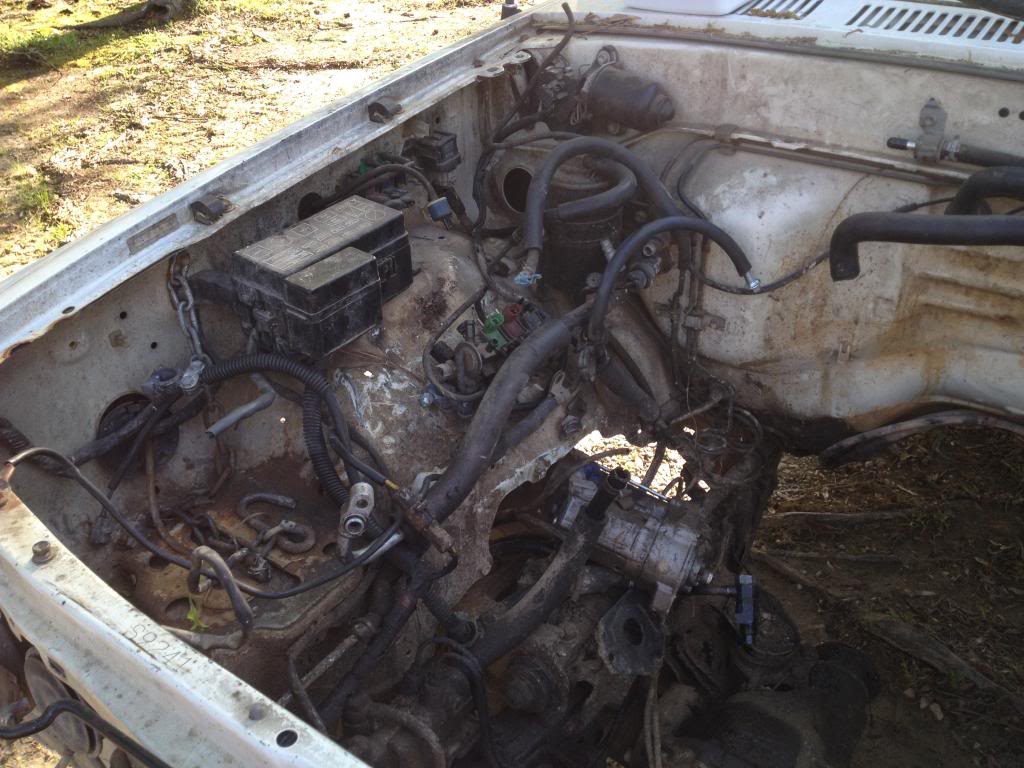
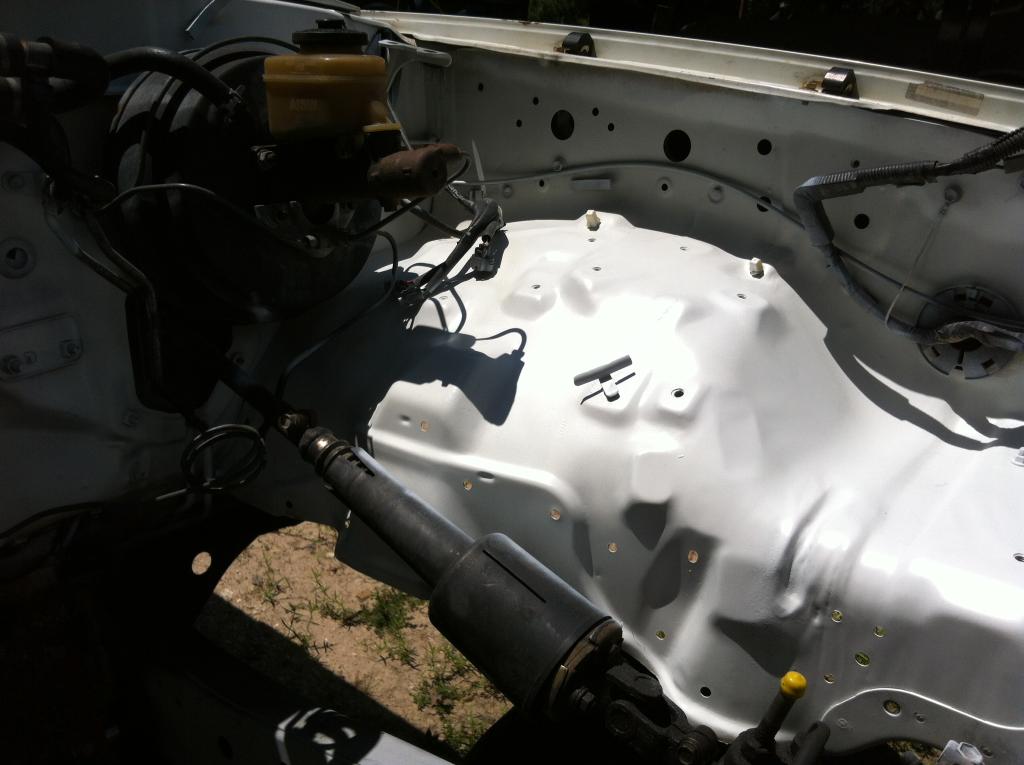
I cleaned up the engine bay some more and gave it a fresh coat of paint. I thought I had a pic of it after pressure washing but I don't. So here is a before any cleaning and after.
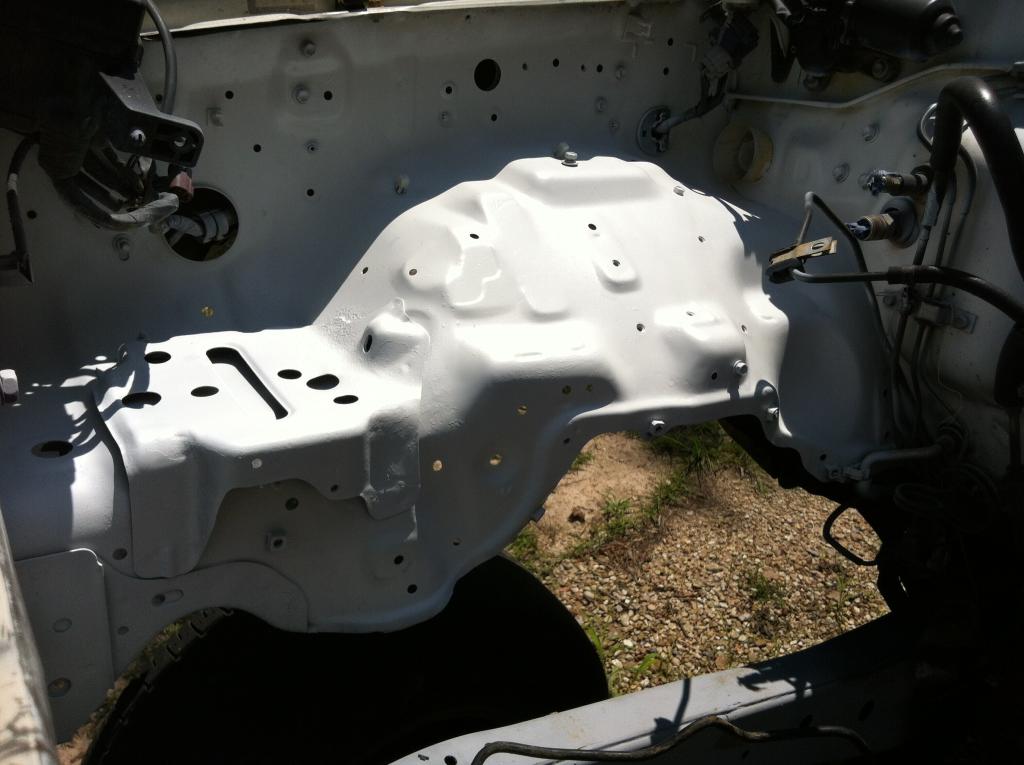
I still want to put one more coat on but I ran outta paint. I'll do it tomorrow
I also started building a motor mount before I called it quits.
Hopefully have good updates next weekend.
I did a little more work today. I should have time to work on it this week and next weekend so I started prepping to install the drivetrain. Goal is to have it in by end of next weekend.
I cleaned up the engine bay some more and gave it a fresh coat of paint. I thought I had a pic of it after pressure washing but I don't. So here is a before any cleaning and after.


I still want to put one more coat on but I ran outta paint. I'll do it tomorrow
I also started building a motor mount before I called it quits.

Hopefully have good updates next weekend.
Last edited by bump530; Jul 7, 2014 at 08:01 AM.
Jul 12, 2014 | 06:44 PM
#103
Thread Starter
Registered User
Joined: Apr 2013
Posts: 478
Likes: 4
From: Louisiana
A little preview of what I've been up to today.
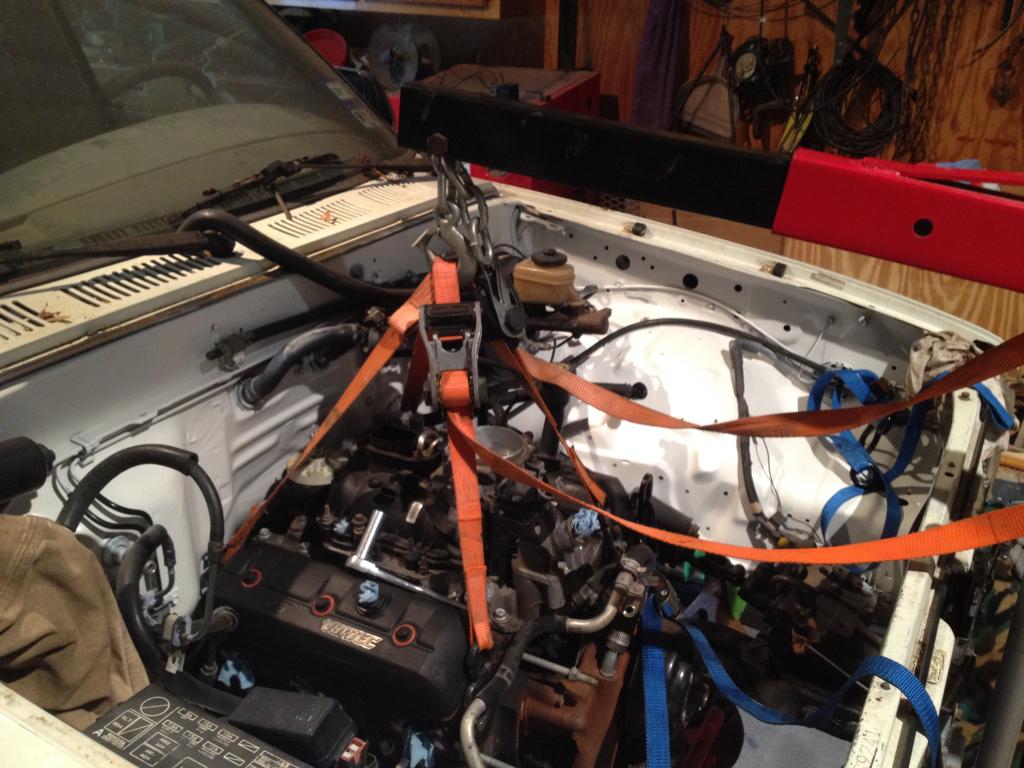
I'll have more updates tomorrow. Today was slow going because I was mainly by myself and it seemed everything that could go wrong did lol. But I think I have found the happy place for the drive train. Got a buddy coming over tomorrow to look at it before I weld the mounts in. It's always helpful to have a fresh set of eyes look at it.

I'll have more updates tomorrow. Today was slow going because I was mainly by myself and it seemed everything that could go wrong did lol. But I think I have found the happy place for the drive train. Got a buddy coming over tomorrow to look at it before I weld the mounts in. It's always helpful to have a fresh set of eyes look at it.

 Jul 12, 2014 | 07:32 PM
#105
Thread Starter
Registered User
Joined: Apr 2013
Posts: 478
Likes: 4
From: Louisiana
Jul 13, 2014 | 03:21 PM
#106
Thread Starter
Registered User
Joined: Apr 2013
Posts: 478
Likes: 4
From: Louisiana
Well I didn't get as much done as planned. I did get the motor mounts tacked in place. I also started on the new crossmember. By started I mean I got a plan and some plates made lol.
Motor mounts tacked in
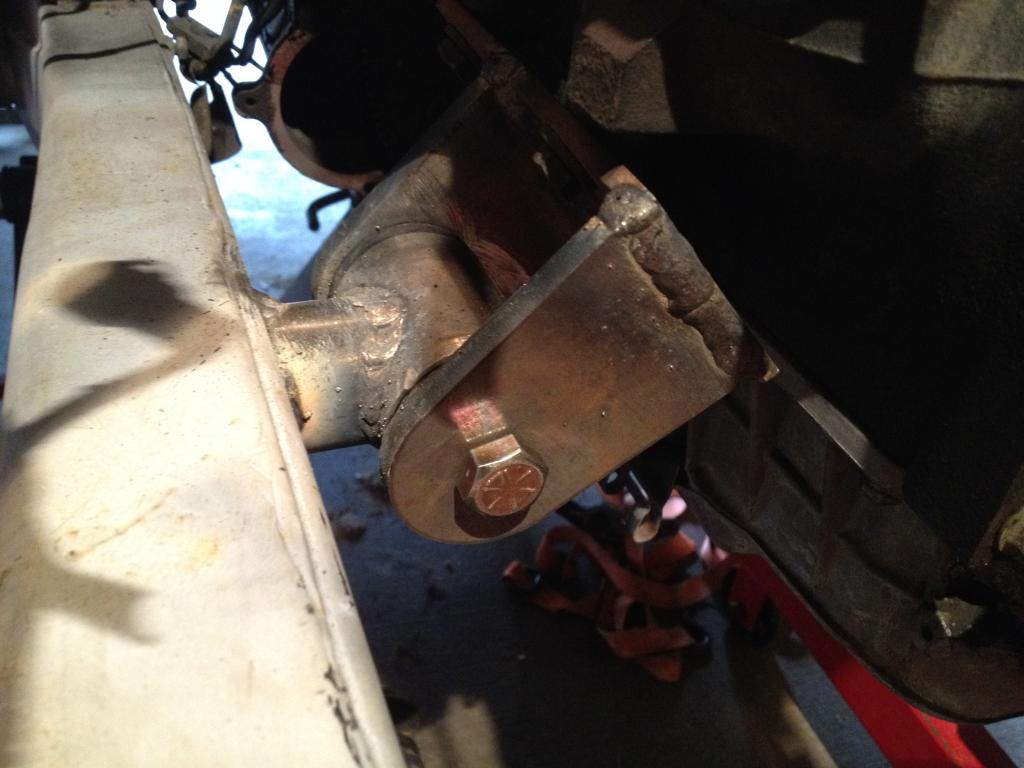
Motor mounts tacked in
 Jul 18, 2014 | 10:31 AM
#107
Thread Starter
Registered User
Joined: Apr 2013
Posts: 478
Likes: 4
From: Louisiana
Small update. Ive got a set of Summit s10 2wd headers and some bushings to fit 1.5"x.120 DOM on order. Im going to use the 1.5" DOM and bushings to build a poly tcase mount from the factory mount (Similar to the TG and 4xinnovations). I also bent up a piece of 1.25" pipe to use for a crossmember. Its going to mount to the stock location. I tried to use the factory crossmember but it didnt line up. The drivetrain has been shifting back about 4" (or more). It looks like Im going to gain about a 1" of clearance with the new crossmember, better than nothing I guess. I plan to change it all up when i do dual tcases in the future.
I leave for Colorado on sunday for vacation. So when I get back I should have everything to finish mounting up the drivetrain. Then its on to the rear leaf springs.
I leave for Colorado on sunday for vacation. So when I get back I should have everything to finish mounting up the drivetrain. Then its on to the rear leaf springs.

 Jul 28, 2014 | 02:29 PM
#112
Thread Starter
Registered User
Joined: Apr 2013
Posts: 478
Likes: 4
From: Louisiana
Well I got my back from my vacation. We rented a jeep (I know) and did a little off-roading. That gave me even more motivation to get this thing going.
My headers came in when I was gone. Yesterday, I fit them up. I think the passenger side will work without mods. The driver side looks like I can get by with just cutting the collector flange off and rotating it.
Headers
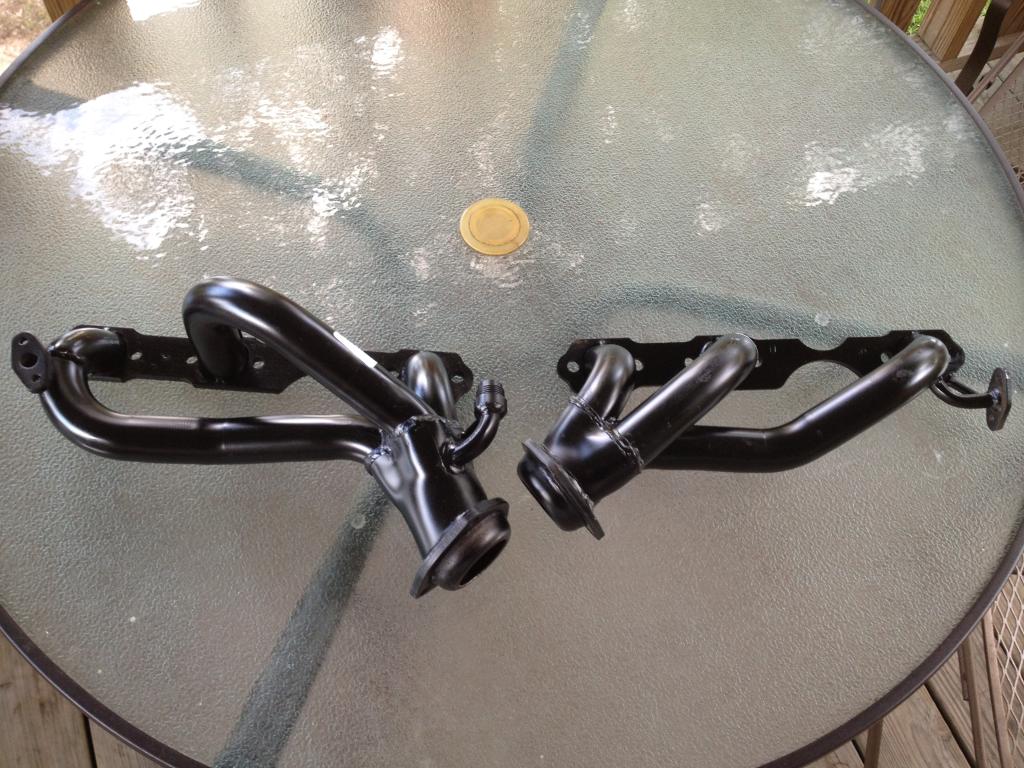
Passenger side
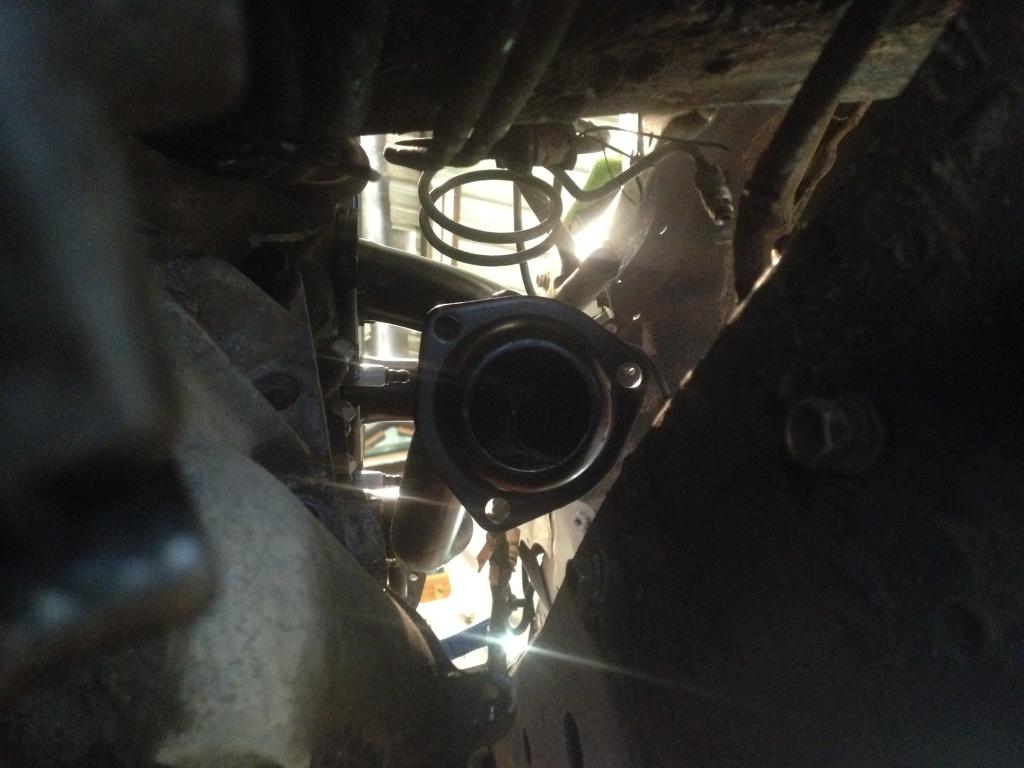
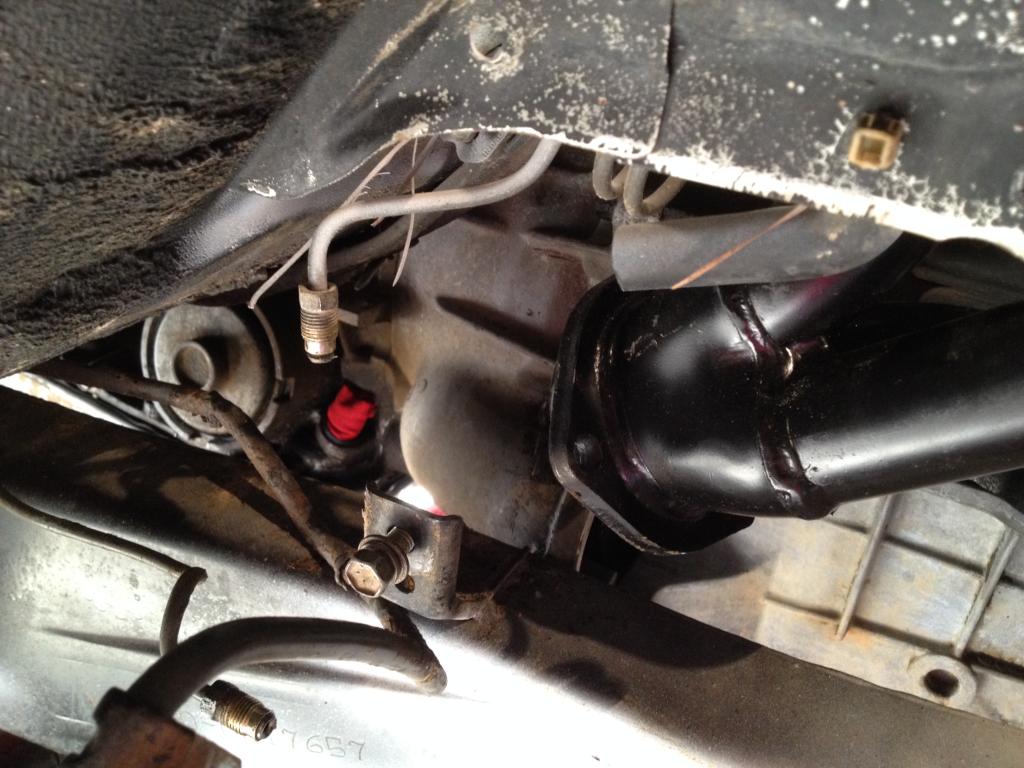
Driver side
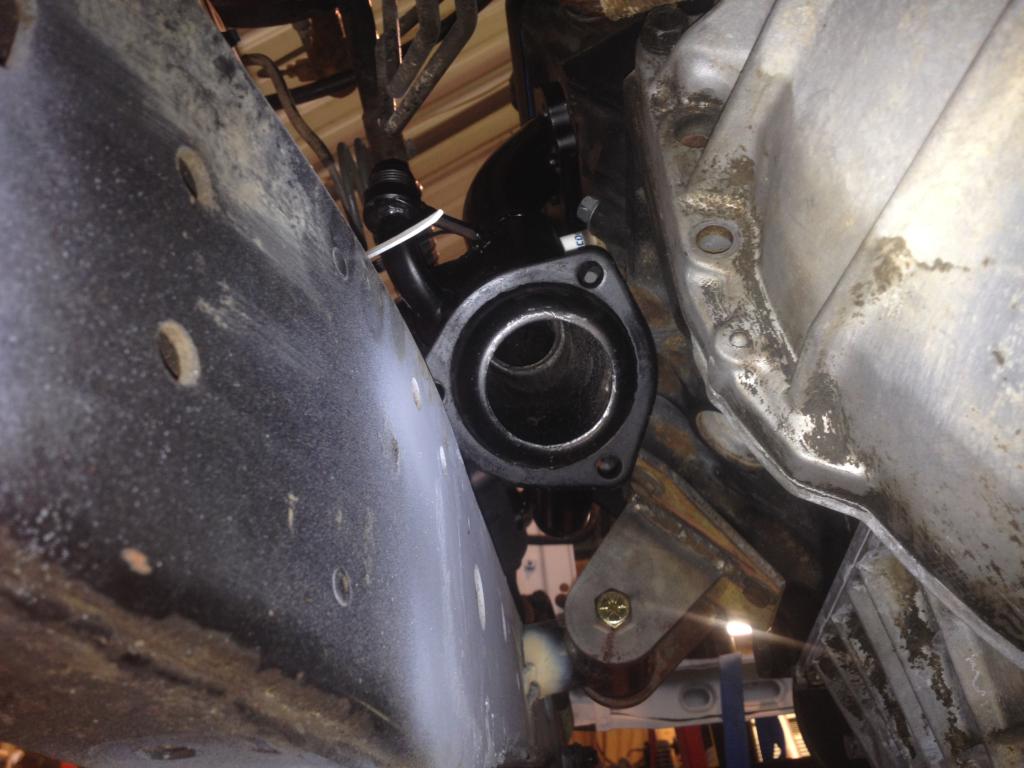
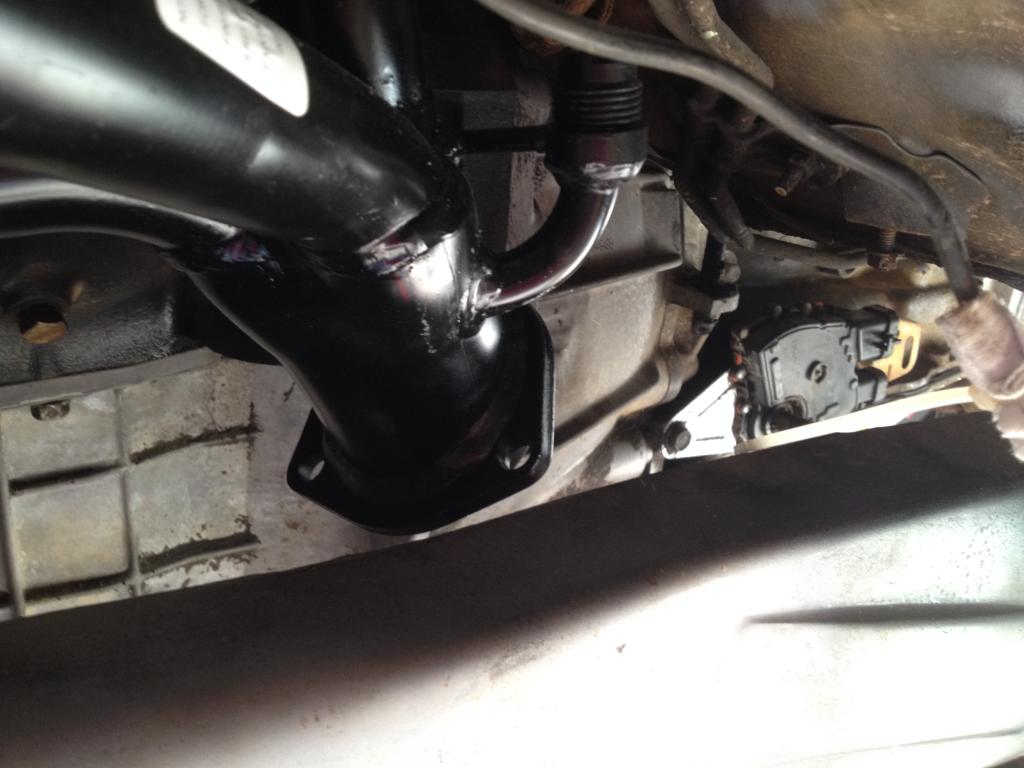
I also got my bushings in to make the tcase mount. I'll get some pics of it when I build the mount. Hopefully tomorrow.
Jul 29, 2014 | 04:46 AM
#114
Thread Starter
Registered User
Joined: Apr 2013
Posts: 478
Likes: 4
From: Louisiana
Thanks. Im hoping to make a little more progress this week. Plan is to have the motor mounts fully welded and the cross member built.
I had a blast wheeling. All we did was the Alpine Loop in Silverton, Co, but it was nice. Its just a senic route. I do have some pics of the scenery I could upload, just havent yet.
I had a blast wheeling. All we did was the Alpine Loop in Silverton, Co, but it was nice. Its just a senic route. I do have some pics of the scenery I could upload, just havent yet.
Jul 30, 2014 | 04:29 AM
#115
Thread Starter
Registered User
Joined: Apr 2013
Posts: 478
Likes: 4
From: Louisiana
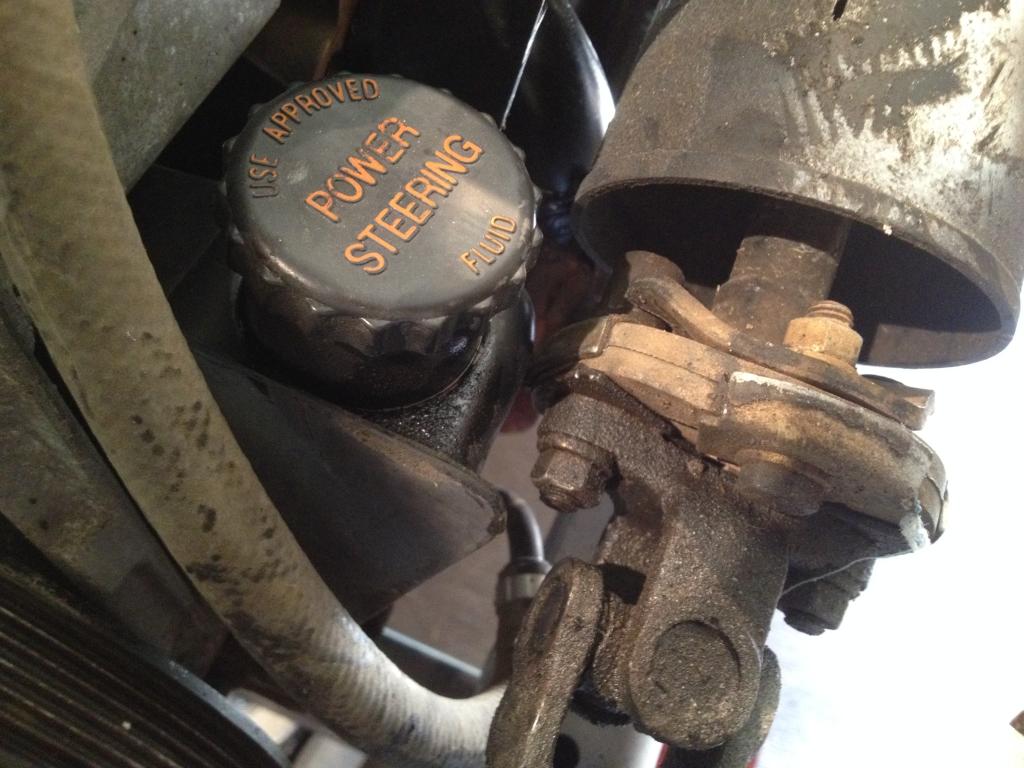
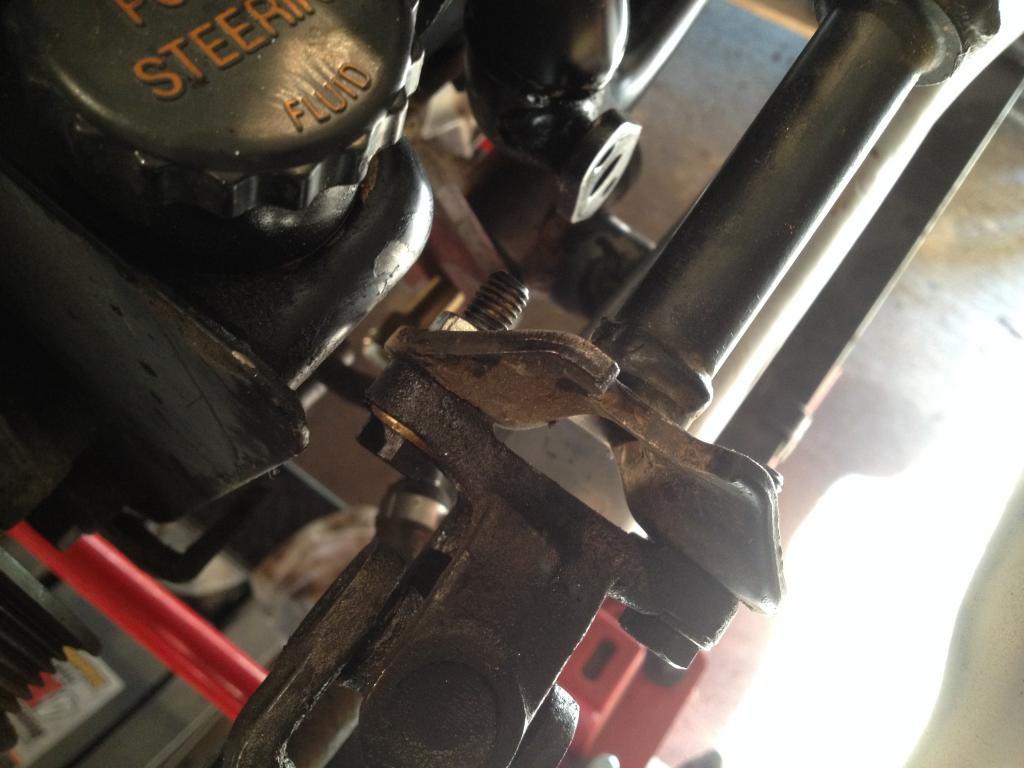
Did some more work, but didnt make much progress (I had some "help" from my 5 year old lol). I mounted up the AC/Power Steer Pump bracket and found out the steering rag joint was hitting the power steering pump. Decided I didnt want the rag joint anyways so I took it out. I also unbolted the steering box and slide it as far forward as I could without cutting the body (prolly will cut it later). Ill have plenty of clearance once I build the new steering box plate.
I started working on the tcase mount. I cut down the stock mount and wire wheeled the rubber off it. But thats as far as I got before I quite. Ill work on it some more Thursday.


I started working on the tcase mount. I cut down the stock mount and wire wheeled the rubber off it. But thats as far as I got before I quite. Ill work on it some more Thursday.
Aug 15, 2014 | 05:55 AM
#116
Thread Starter
Registered User
Joined: Apr 2013
Posts: 478
Likes: 4
From: Louisiana
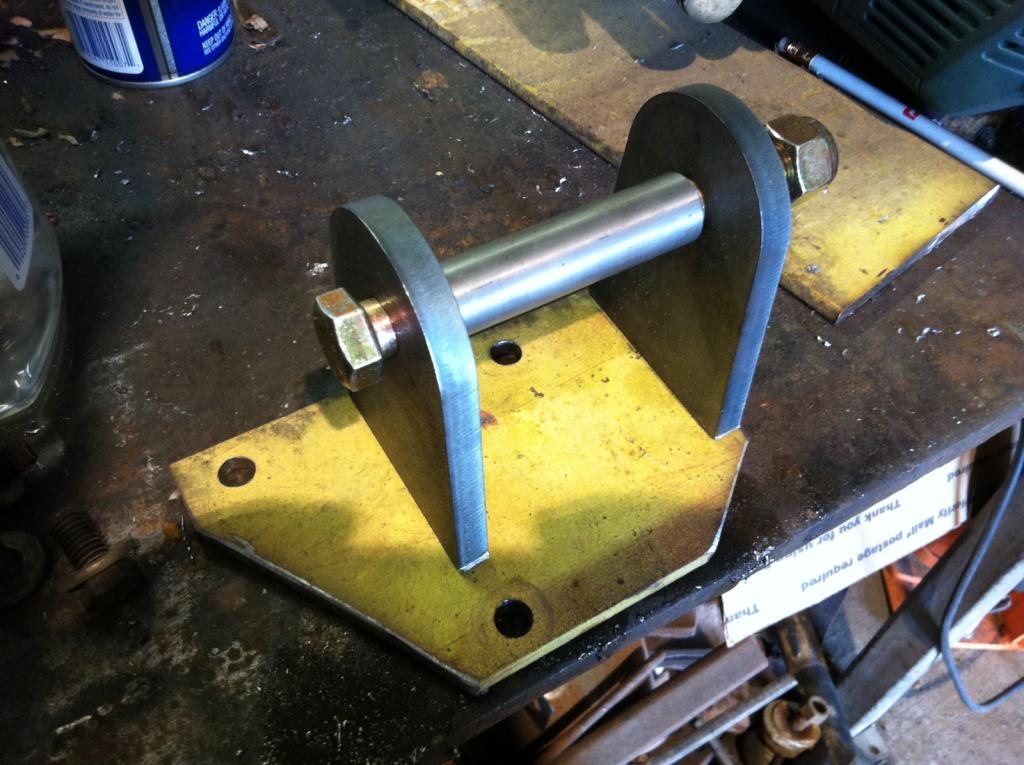
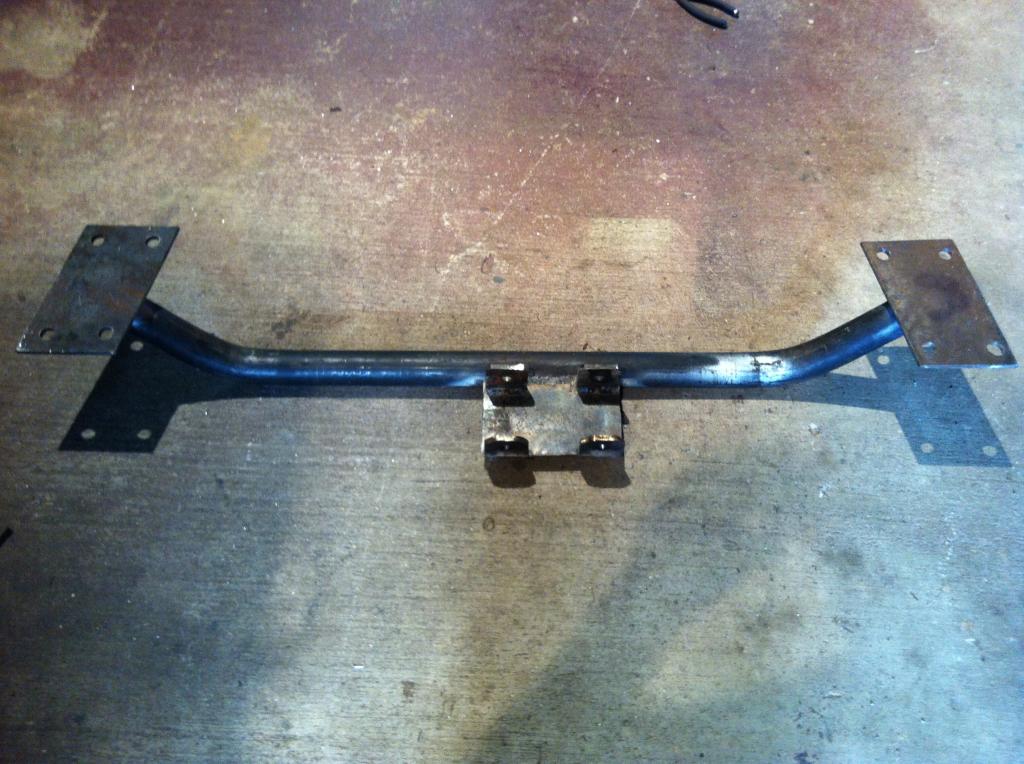
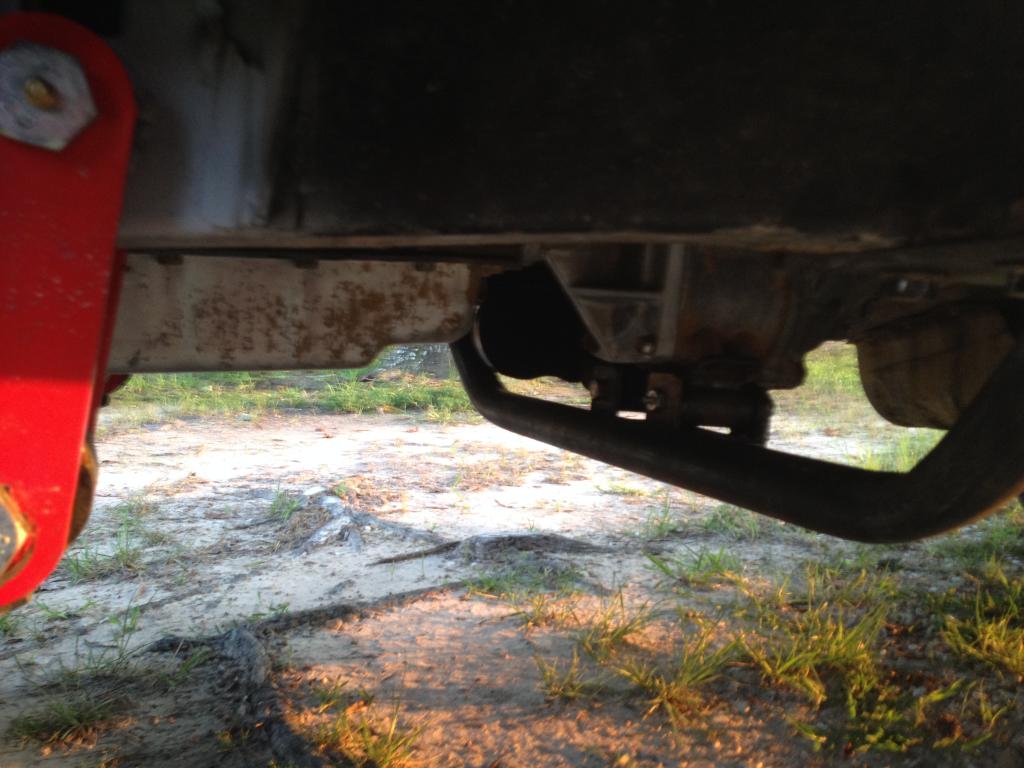
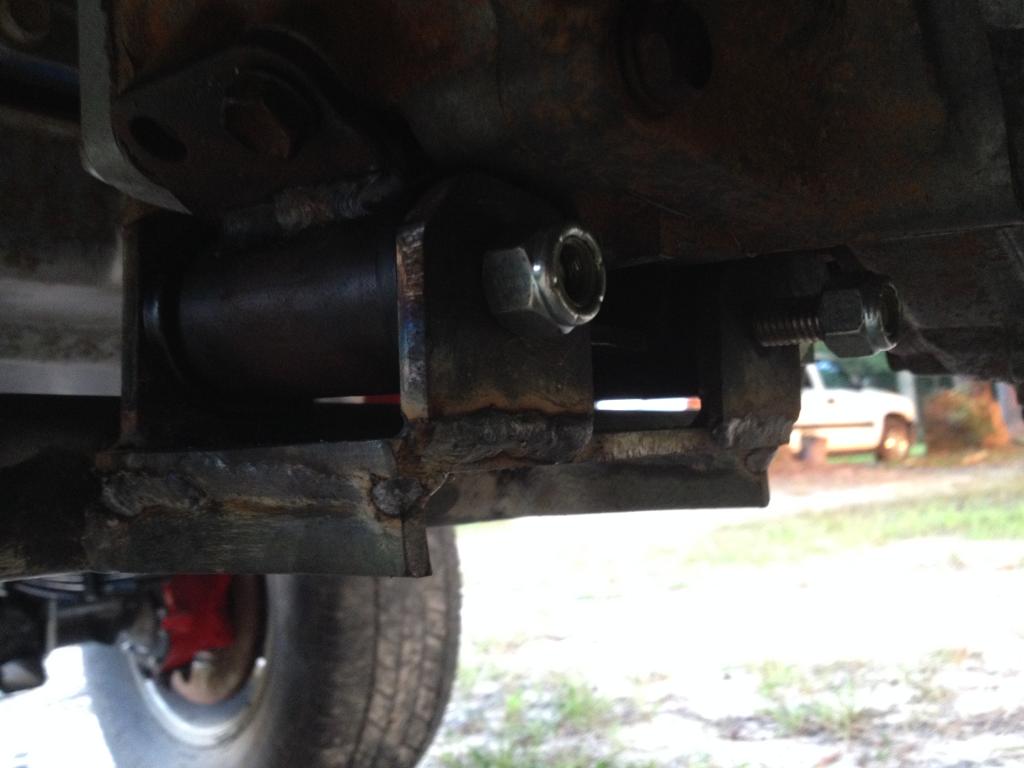
I finished the tcase mount and crossmember. They still need to be cleaned up and welded, but I will do that whenever I pull the motor to finish welding up the motor mounts.
Stock part of the tcase mount that bolts to the tcase with bushings installed
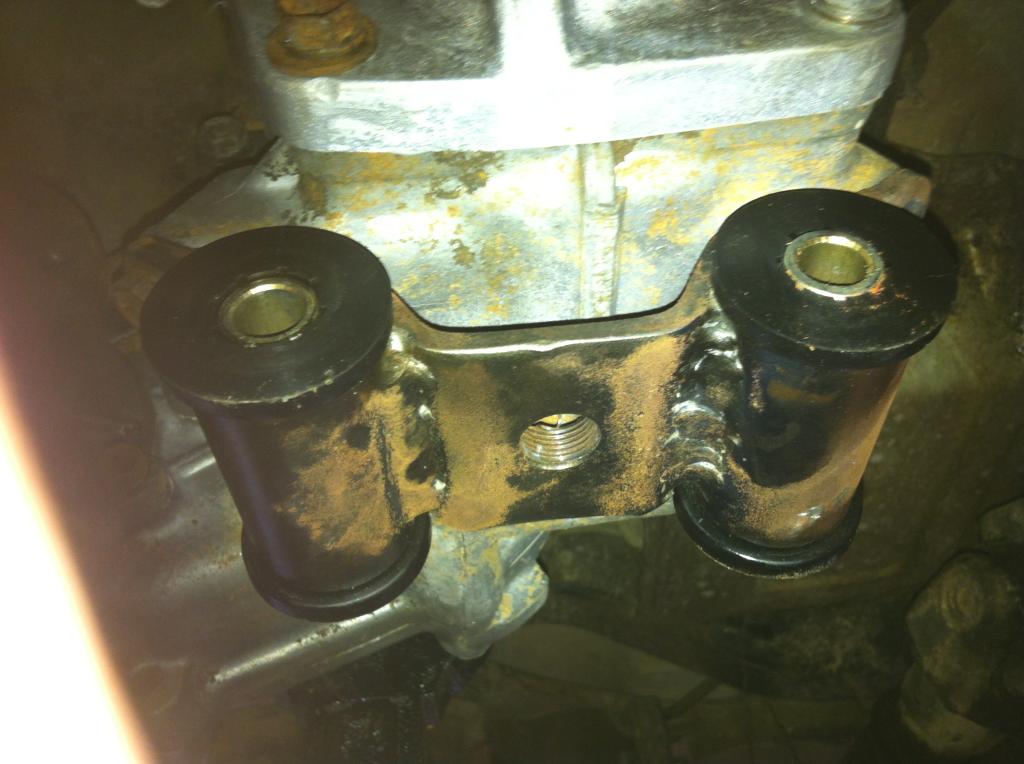
The lower part of the tcase mount that will be welded to the crossmember
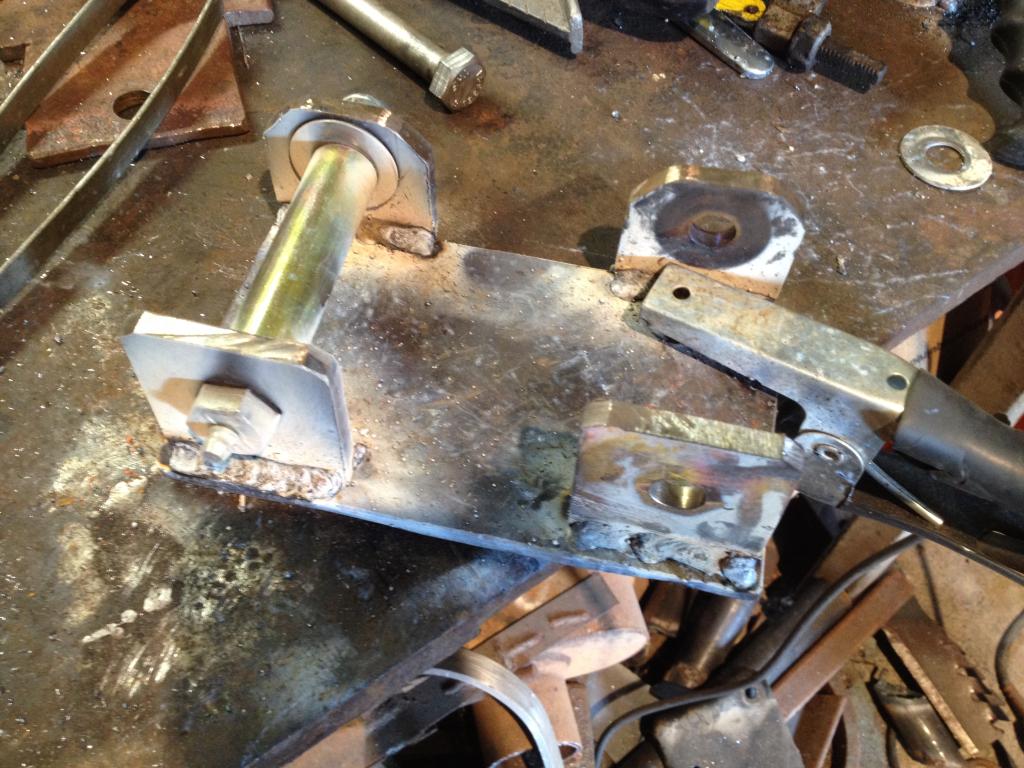
Crossmember. (I will probably add some gussets when I pull it off for paint)
Installed
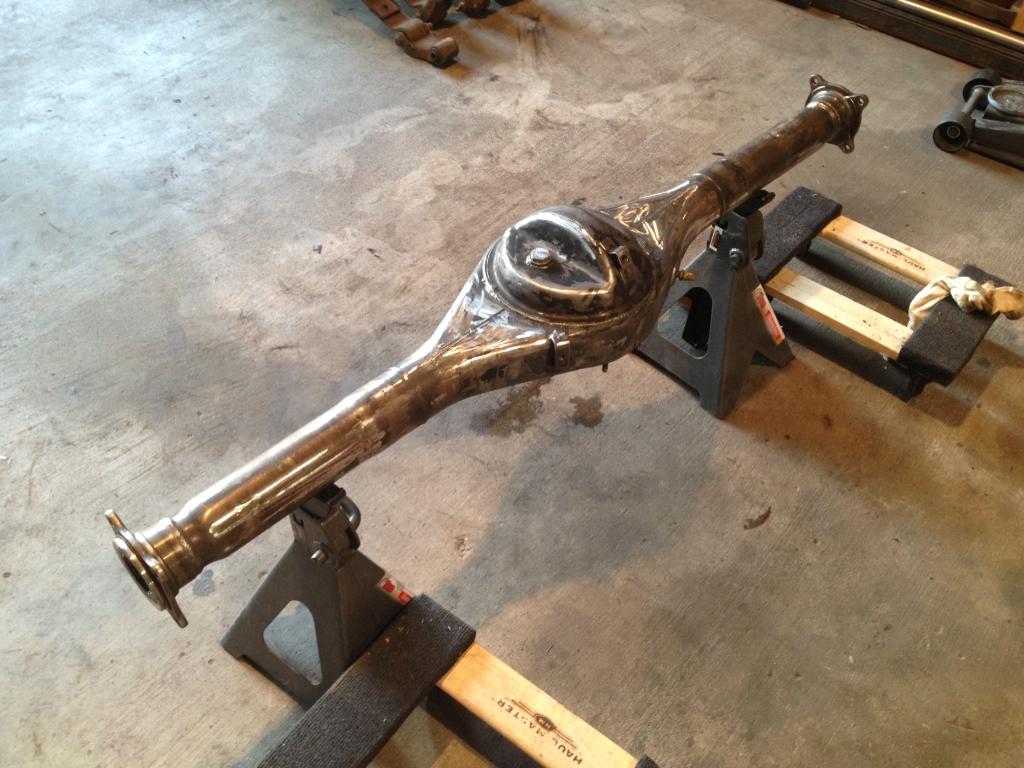
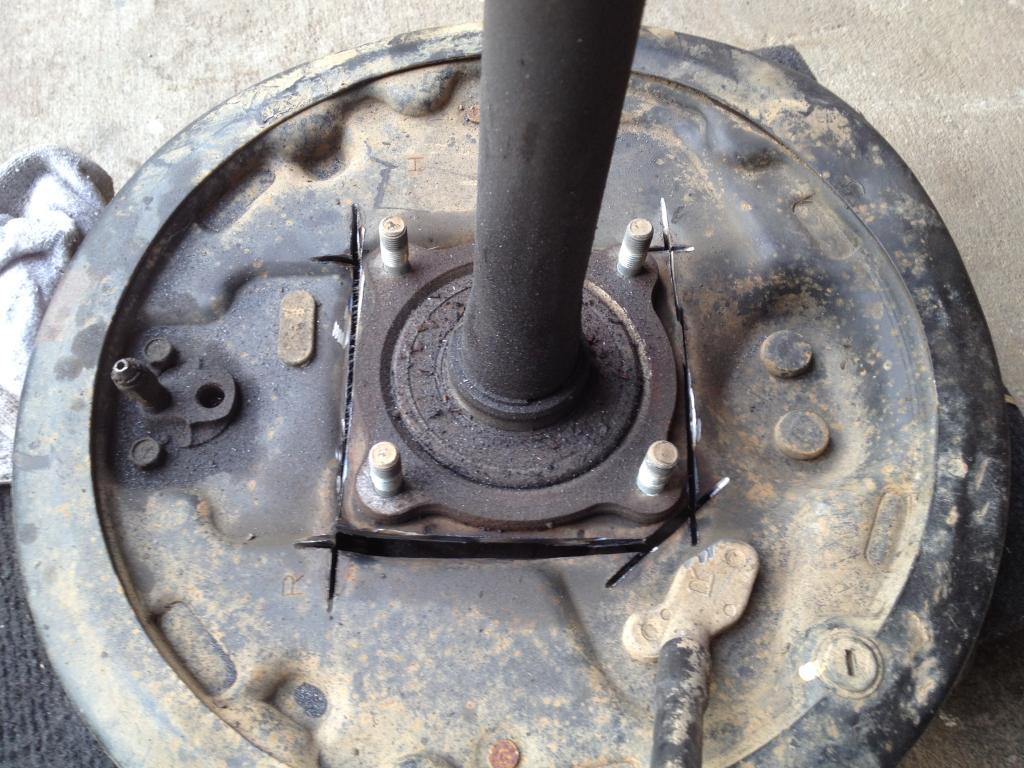
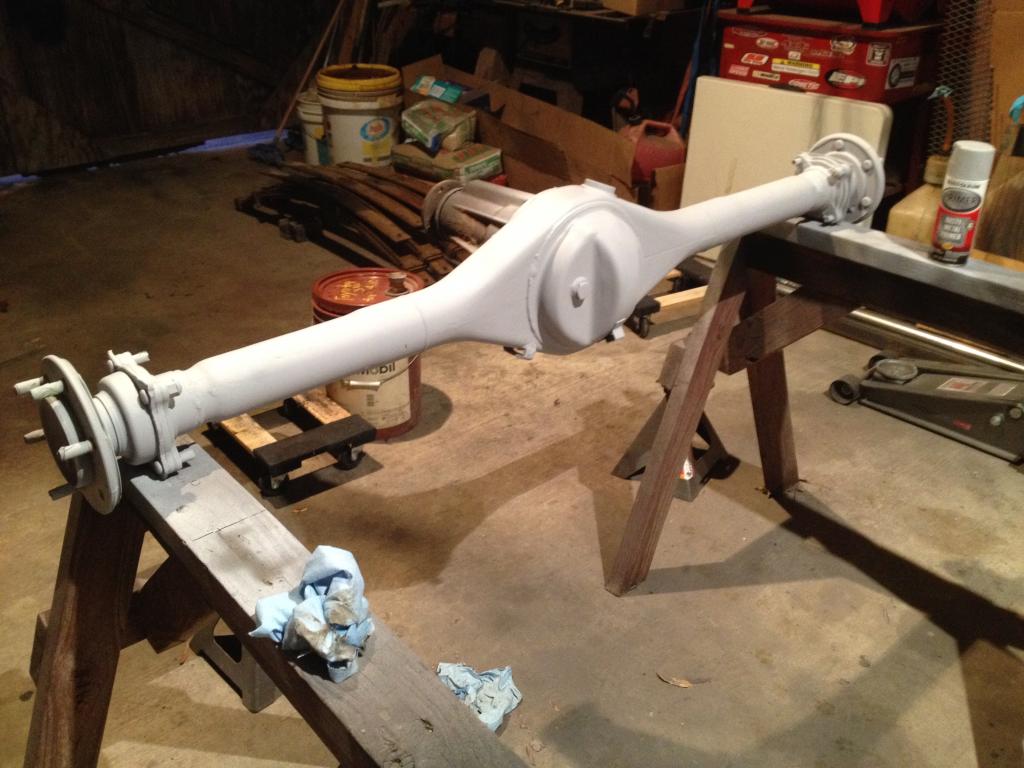
I started back on the rear housing yesterday. I got it cleaned up. I will probably put some primer on it today and wait to finish painting it until after I get the leaf mounts welded on.
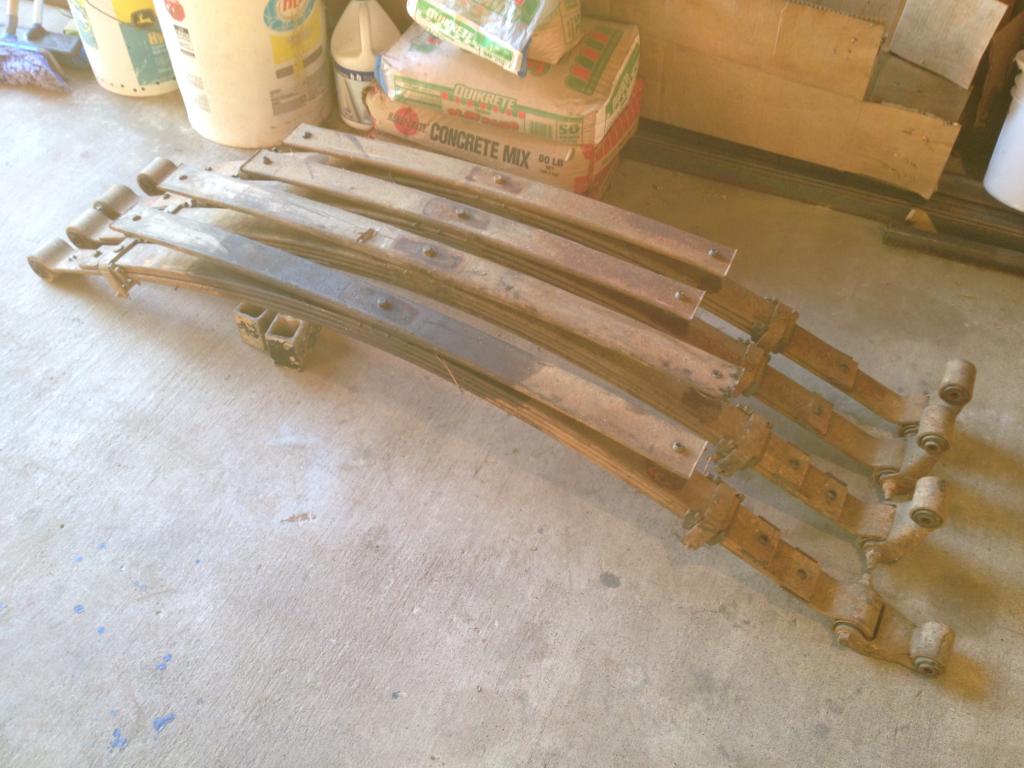
2 sets of 63s. The set closest is a 4 leaf w/overload and the other two are 3 leaf w/overload. I plan to use the 4 leaf and cut down the over load. I may add some of the other set as needed. Or I may just use some toyota springs I have lying around.
I had planned on taking off from work next thursday and friday to get the rear leaf springs done, but something came up and I cant. Hopefully it wont be long before I can start cutting the rear out of the 4runner.
Stock part of the tcase mount that bolts to the tcase with bushings installed

The lower part of the tcase mount that will be welded to the crossmember

Crossmember. (I will probably add some gussets when I pull it off for paint)

Installed


I started back on the rear housing yesterday. I got it cleaned up. I will probably put some primer on it today and wait to finish painting it until after I get the leaf mounts welded on.

2 sets of 63s. The set closest is a 4 leaf w/overload and the other two are 3 leaf w/overload. I plan to use the 4 leaf and cut down the over load. I may add some of the other set as needed. Or I may just use some toyota springs I have lying around.

I had planned on taking off from work next thursday and friday to get the rear leaf springs done, but something came up and I cant. Hopefully it wont be long before I can start cutting the rear out of the 4runner.
Aug 15, 2014 | 12:03 PM
#118
Thread Starter
Registered User
Joined: Apr 2013
Posts: 478
Likes: 4
From: Louisiana
Actually its not. The crossmember is about an inch higher than the factory one. I have everything about as high as I can get it without a body lift or doing some mods. My trans has about 1/4" or less clearance at the floorboard/trans tunnel near the gas pedal. I could pound that area in, but Ive read of ppl pouding it too much and not being able to push the pedal all the way. There is a shield above the tcase and I have about the same amount of clearance. The crossmember wont be too hard to shorten up some if I chose to and the motor mounts are just tacked. But I believe the drivetrain is in its happy place without major tunnel mods or a BL. Before I fully weld the motor mounts, I will look at it again to make sure I dont want to try to raise it up just a little.
Aug 22, 2014 | 04:54 AM
#119
Thread Starter
Registered User
Joined: Apr 2013
Posts: 478
Likes: 4
From: Louisiana
I did make some progress. I cut the rear brake backing plates down to get ready for rear disk brakes. I just rough cut them for now. I plan to knock the studs out and remove the remaining peice when I build the disk brake plate. I also installed a spare 3rd member in the housing along with the axles and primed it. I had intentions on taking off from work today and yesterday but that didnt pan out. So plan is now to work on getting the rear suspension togther labor day weekend since Im on call for work (hopefully I dont get called out lol) and my wife and kids are headed to spend time with her dad.

 Aug 22, 2014 | 07:42 AM
#120
Registered User
Joined: Oct 2008
Posts: 1,621
Likes: 7
From: Sacramento, Crawlifonia
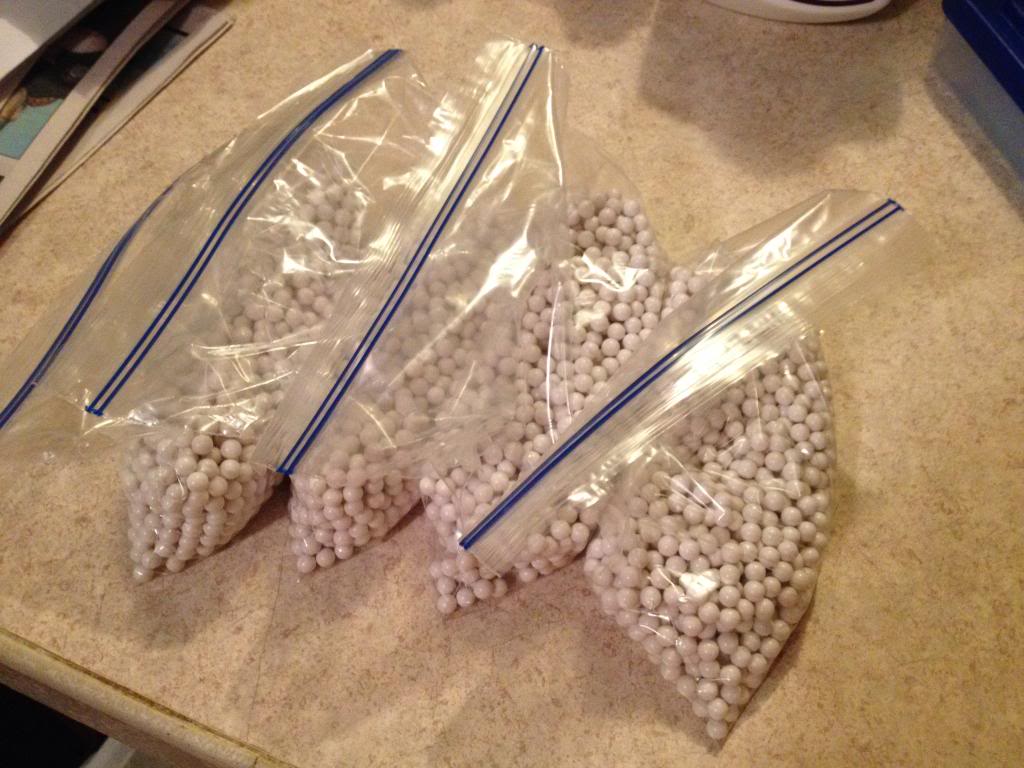
This is 8.75oz of BBs for each tire for balancing(Thats a 5000 pack split evenly between the 4)
 [/QUOTE]
Hey, its cool to find than I am not he only one rocking airsoft BBs as tire balance. I will never go back to weights.
 [/QUOTE]
Hey, its cool to find than I am not he only one rocking airsoft BBs as tire balance. I will never go back to weights.


