When you click on links to various merchants on this site and make a purchase, this can result in this site earning a commission. Affiliate programs and affiliations include, but are not limited to, the eBay Partner Network.
You are getting a good education and learning how to do for yourself. That is a good thing
Such never comes for free. So long as no one gets hurt, it's a bargan
I feel like bargain is a strong word haha. But, yes, I will be glad for what I have learned when this is all done. We really don't know what it takes to make our tires road worthy. I'm sure it'll come in handy.
Last edited by stovetop36; May 30, 2018 at 06:28 AM.
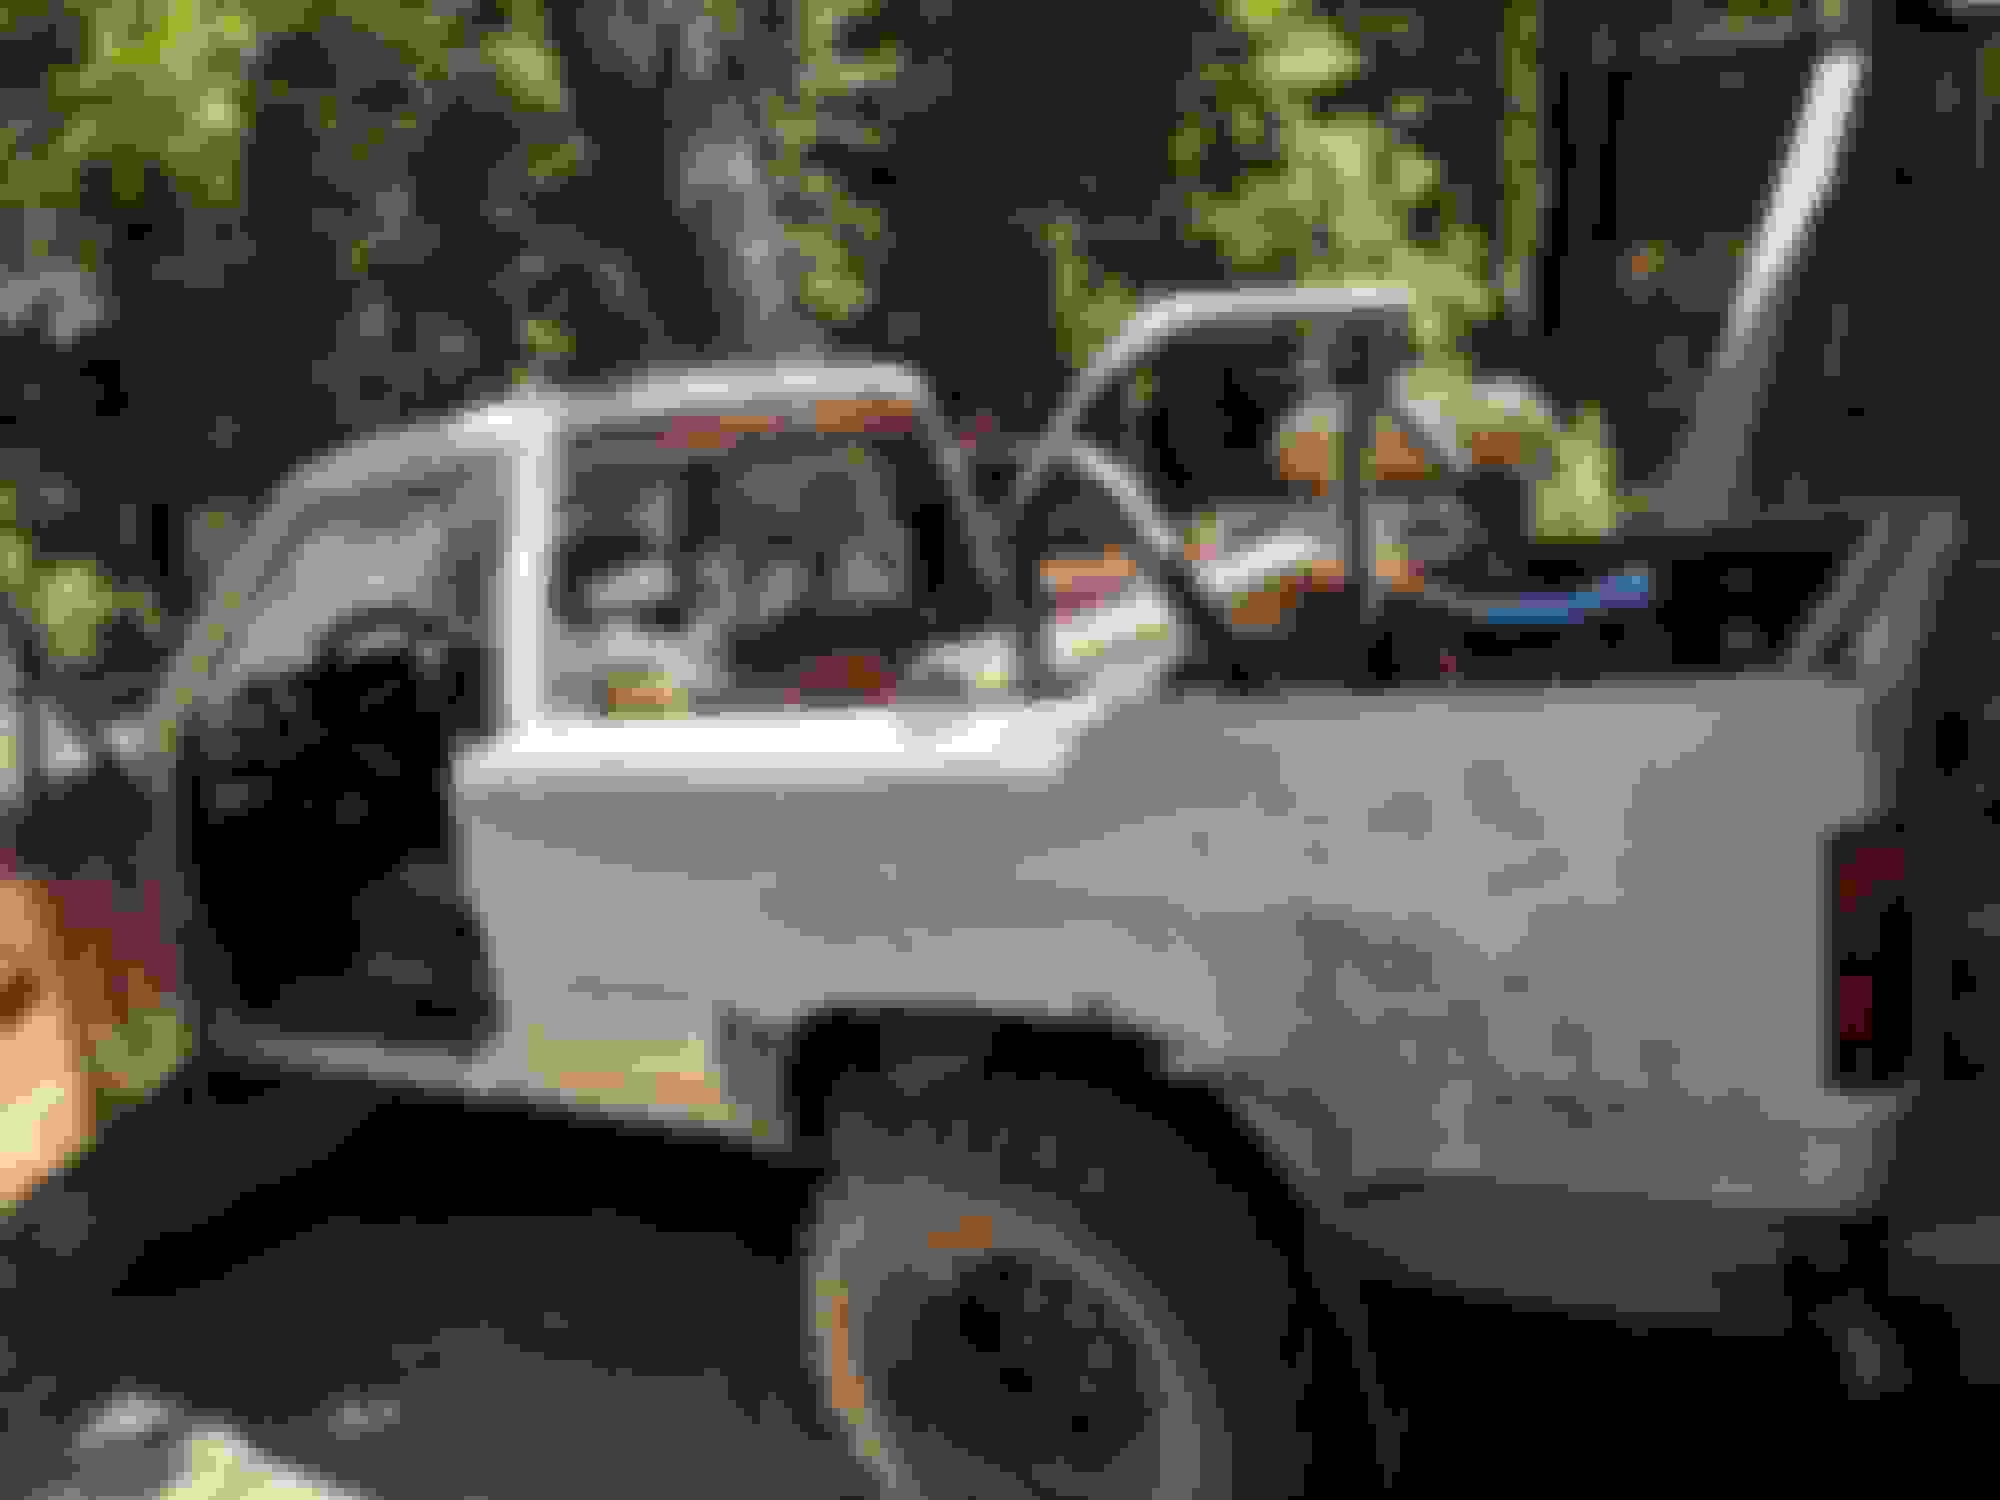
Looking fine. Nothing new persay, 4crawler even sells a great setup for this. But found I had just the right bolt and this works even better with the top off. I wrapped foam around it so the kids don't bust their skull. Made a quick diy sun shade out of a triangle shade. They sell these all over. Not highway worthy but with 8 bolts to make it work I'll install it when I get to the trail.
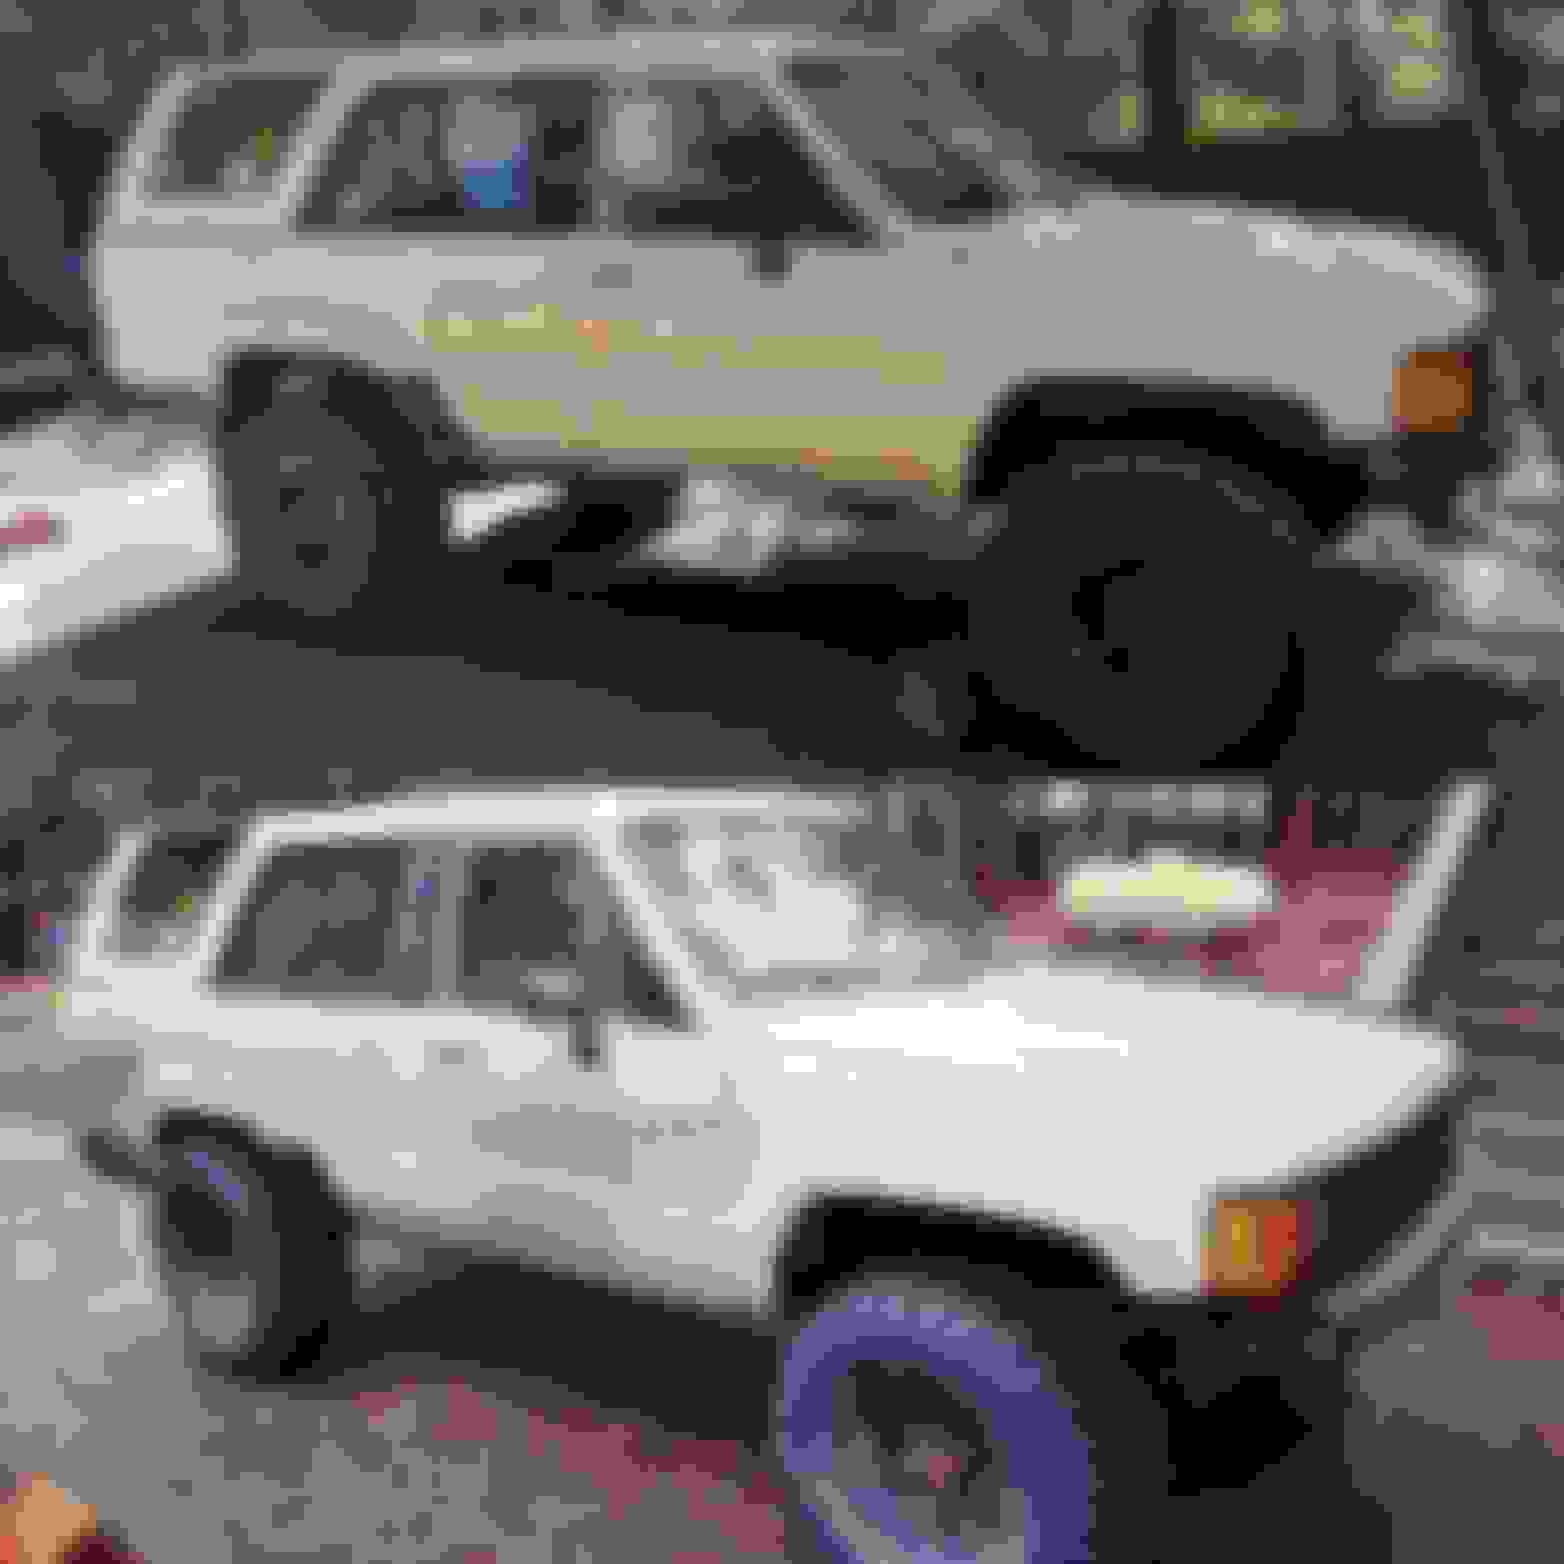
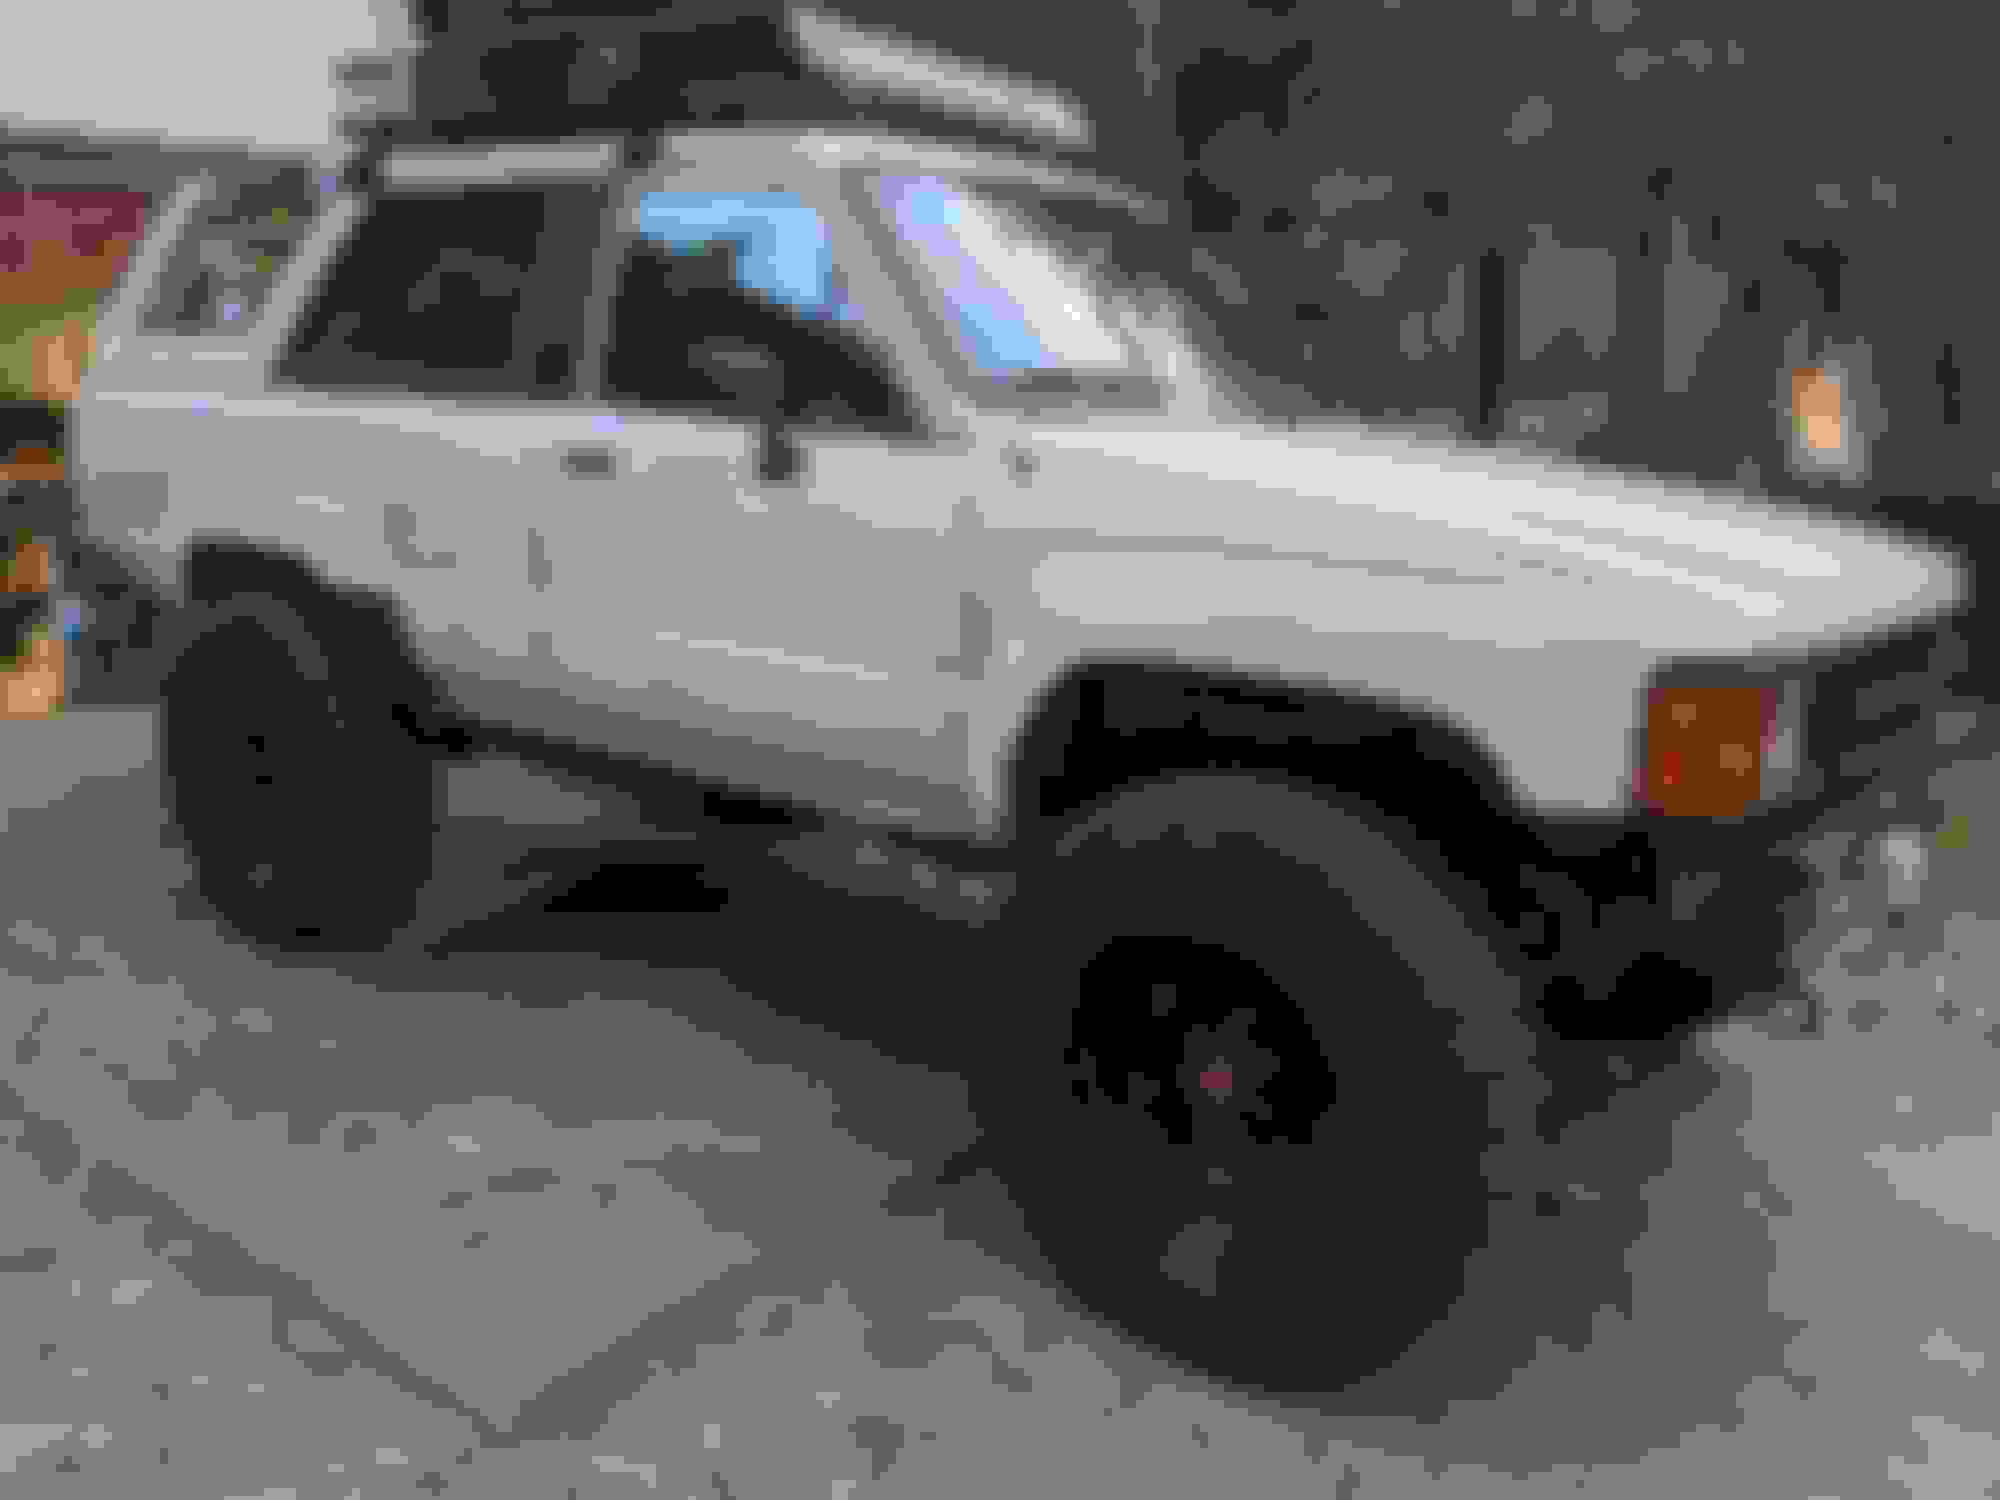
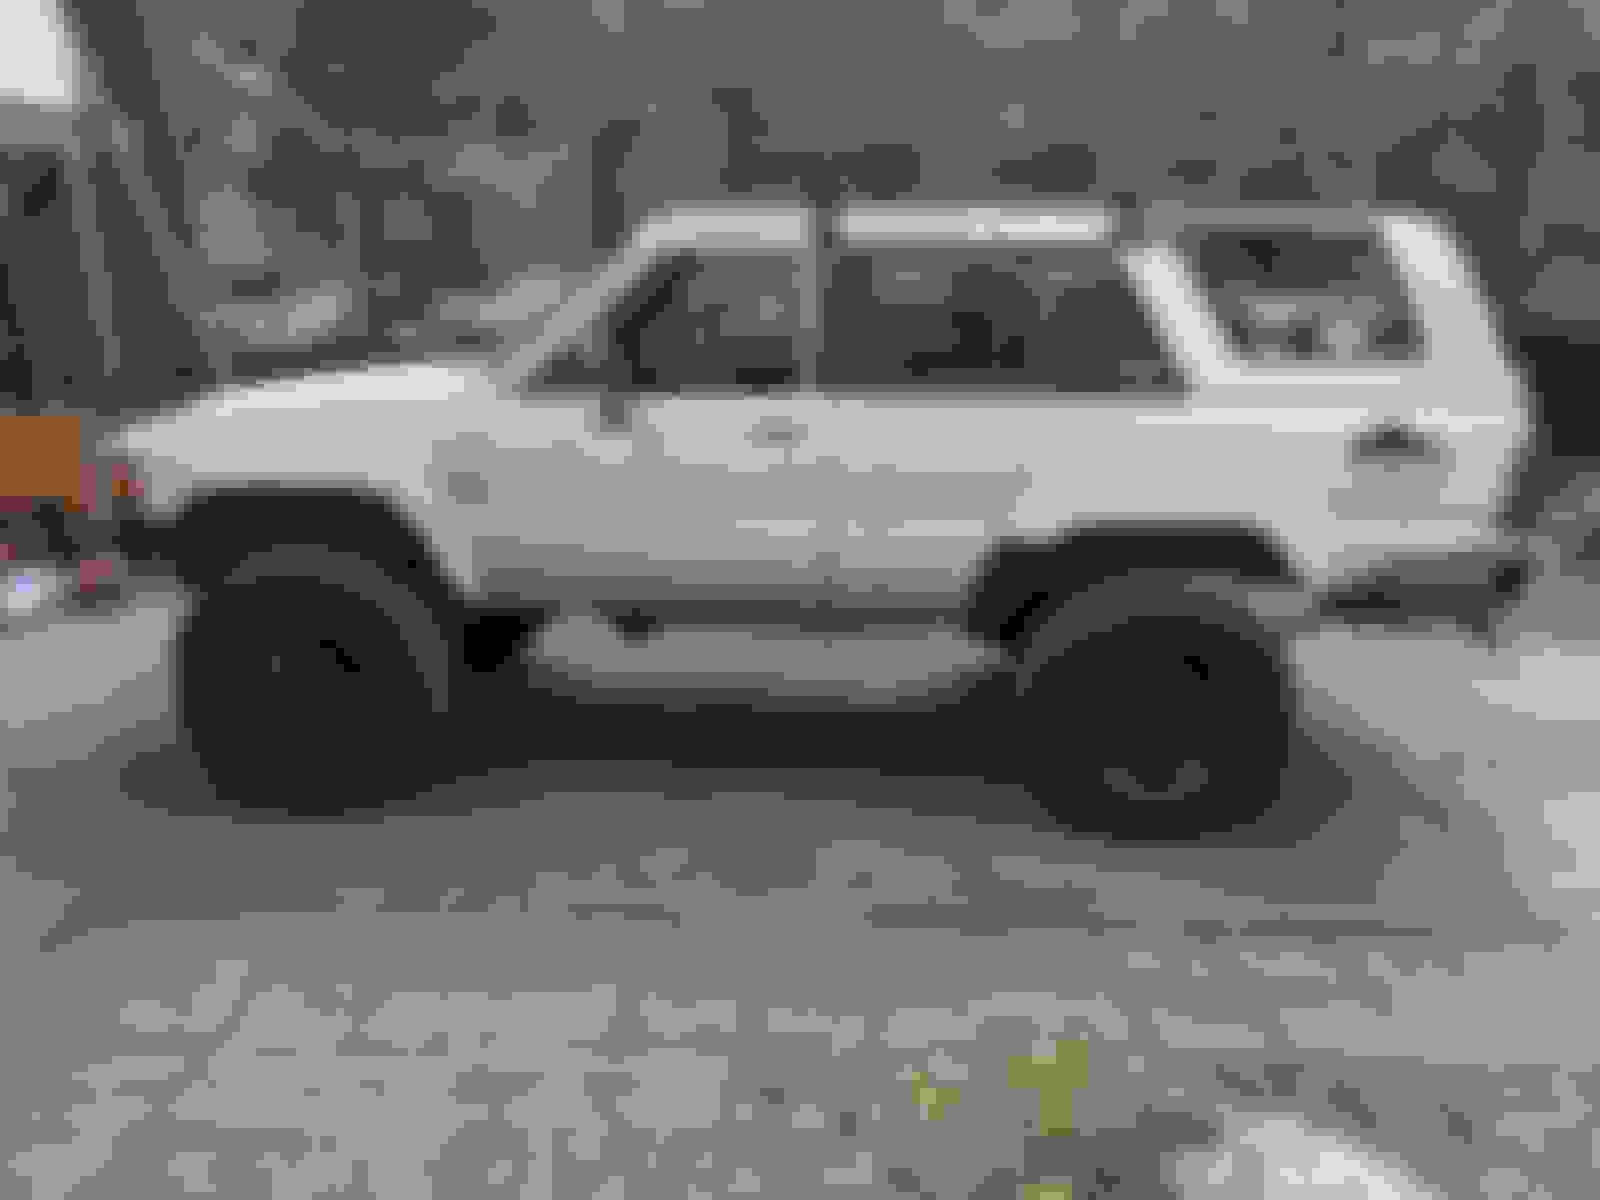
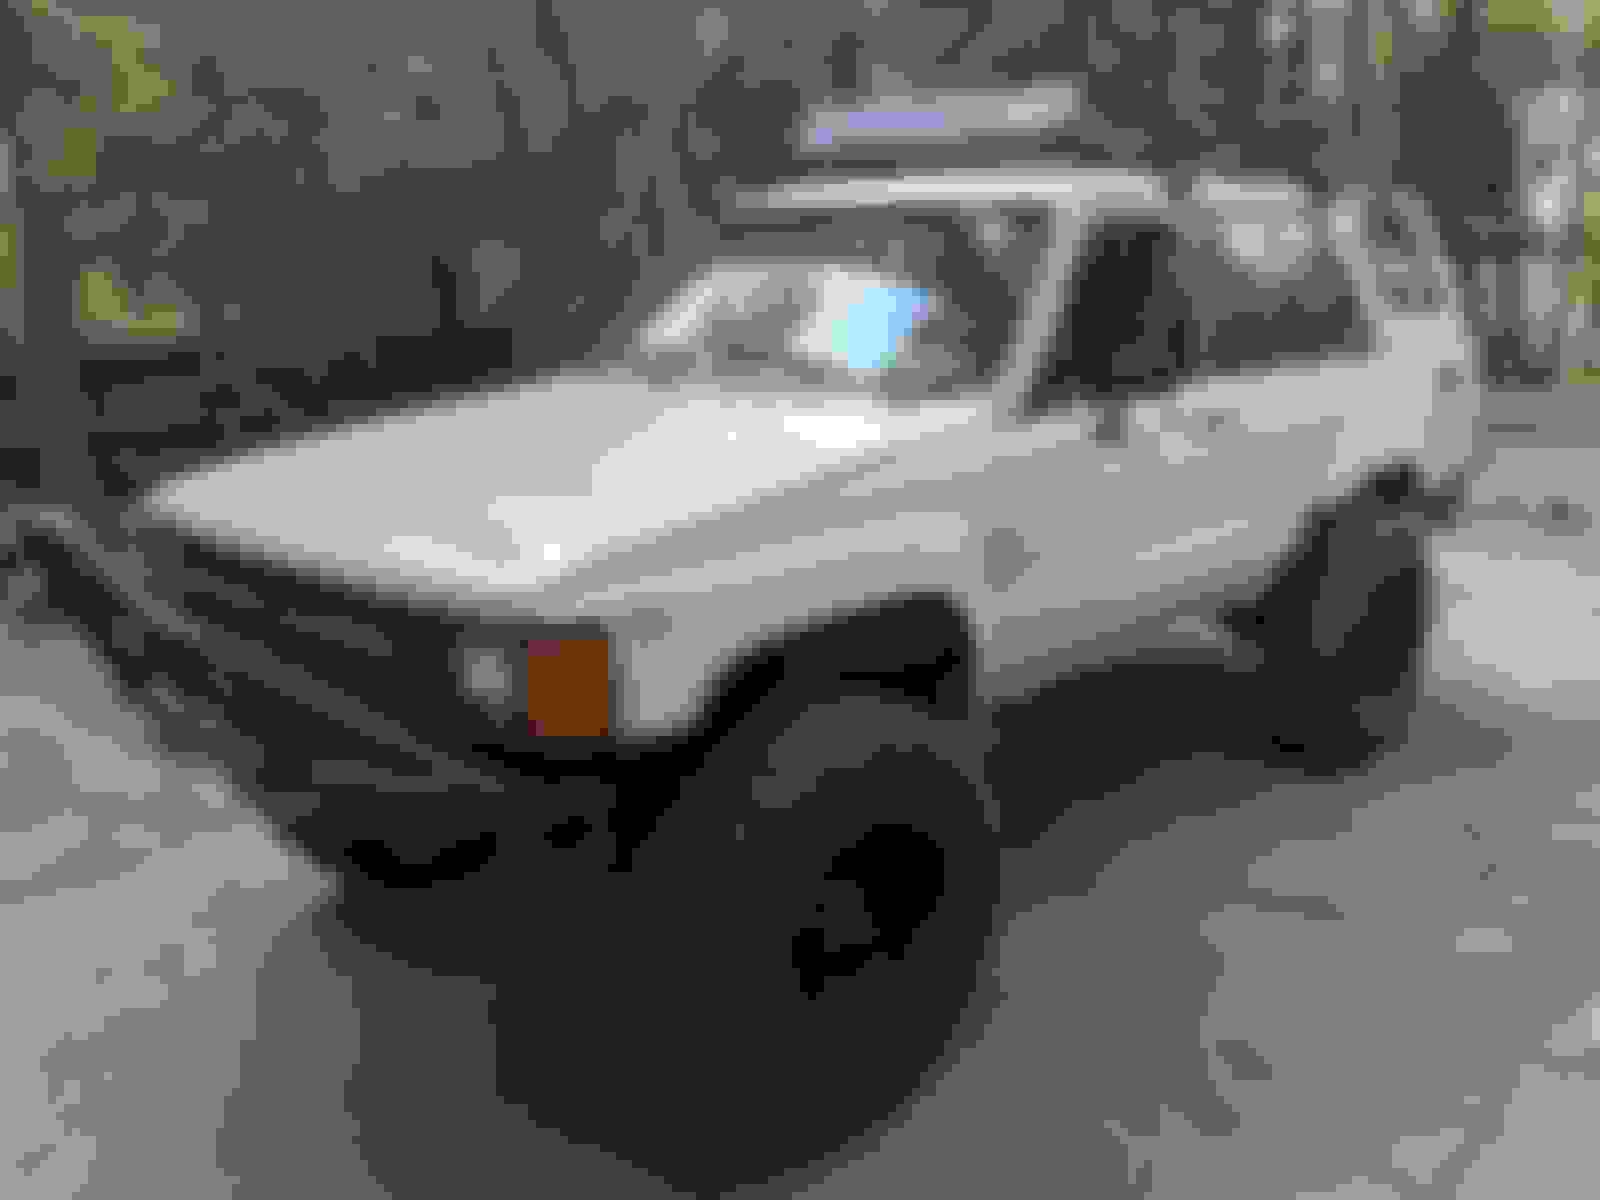
So after a decade I finally lifted my rig. Only 2 inches but wow what a difference. I wanted to do a thorough write up because I think I have stumbled a great alternative to a Zuk mod. The long term goal is to put Chevy 63s on the Runner but, I am only just now learning to weld and between the springs, shocks, kit, etc. I was not ready to spend 400$ getting them on. Also a SAS my some day be in the cards but, I would much rather armor up with sliders, new cross member, winch, etc.
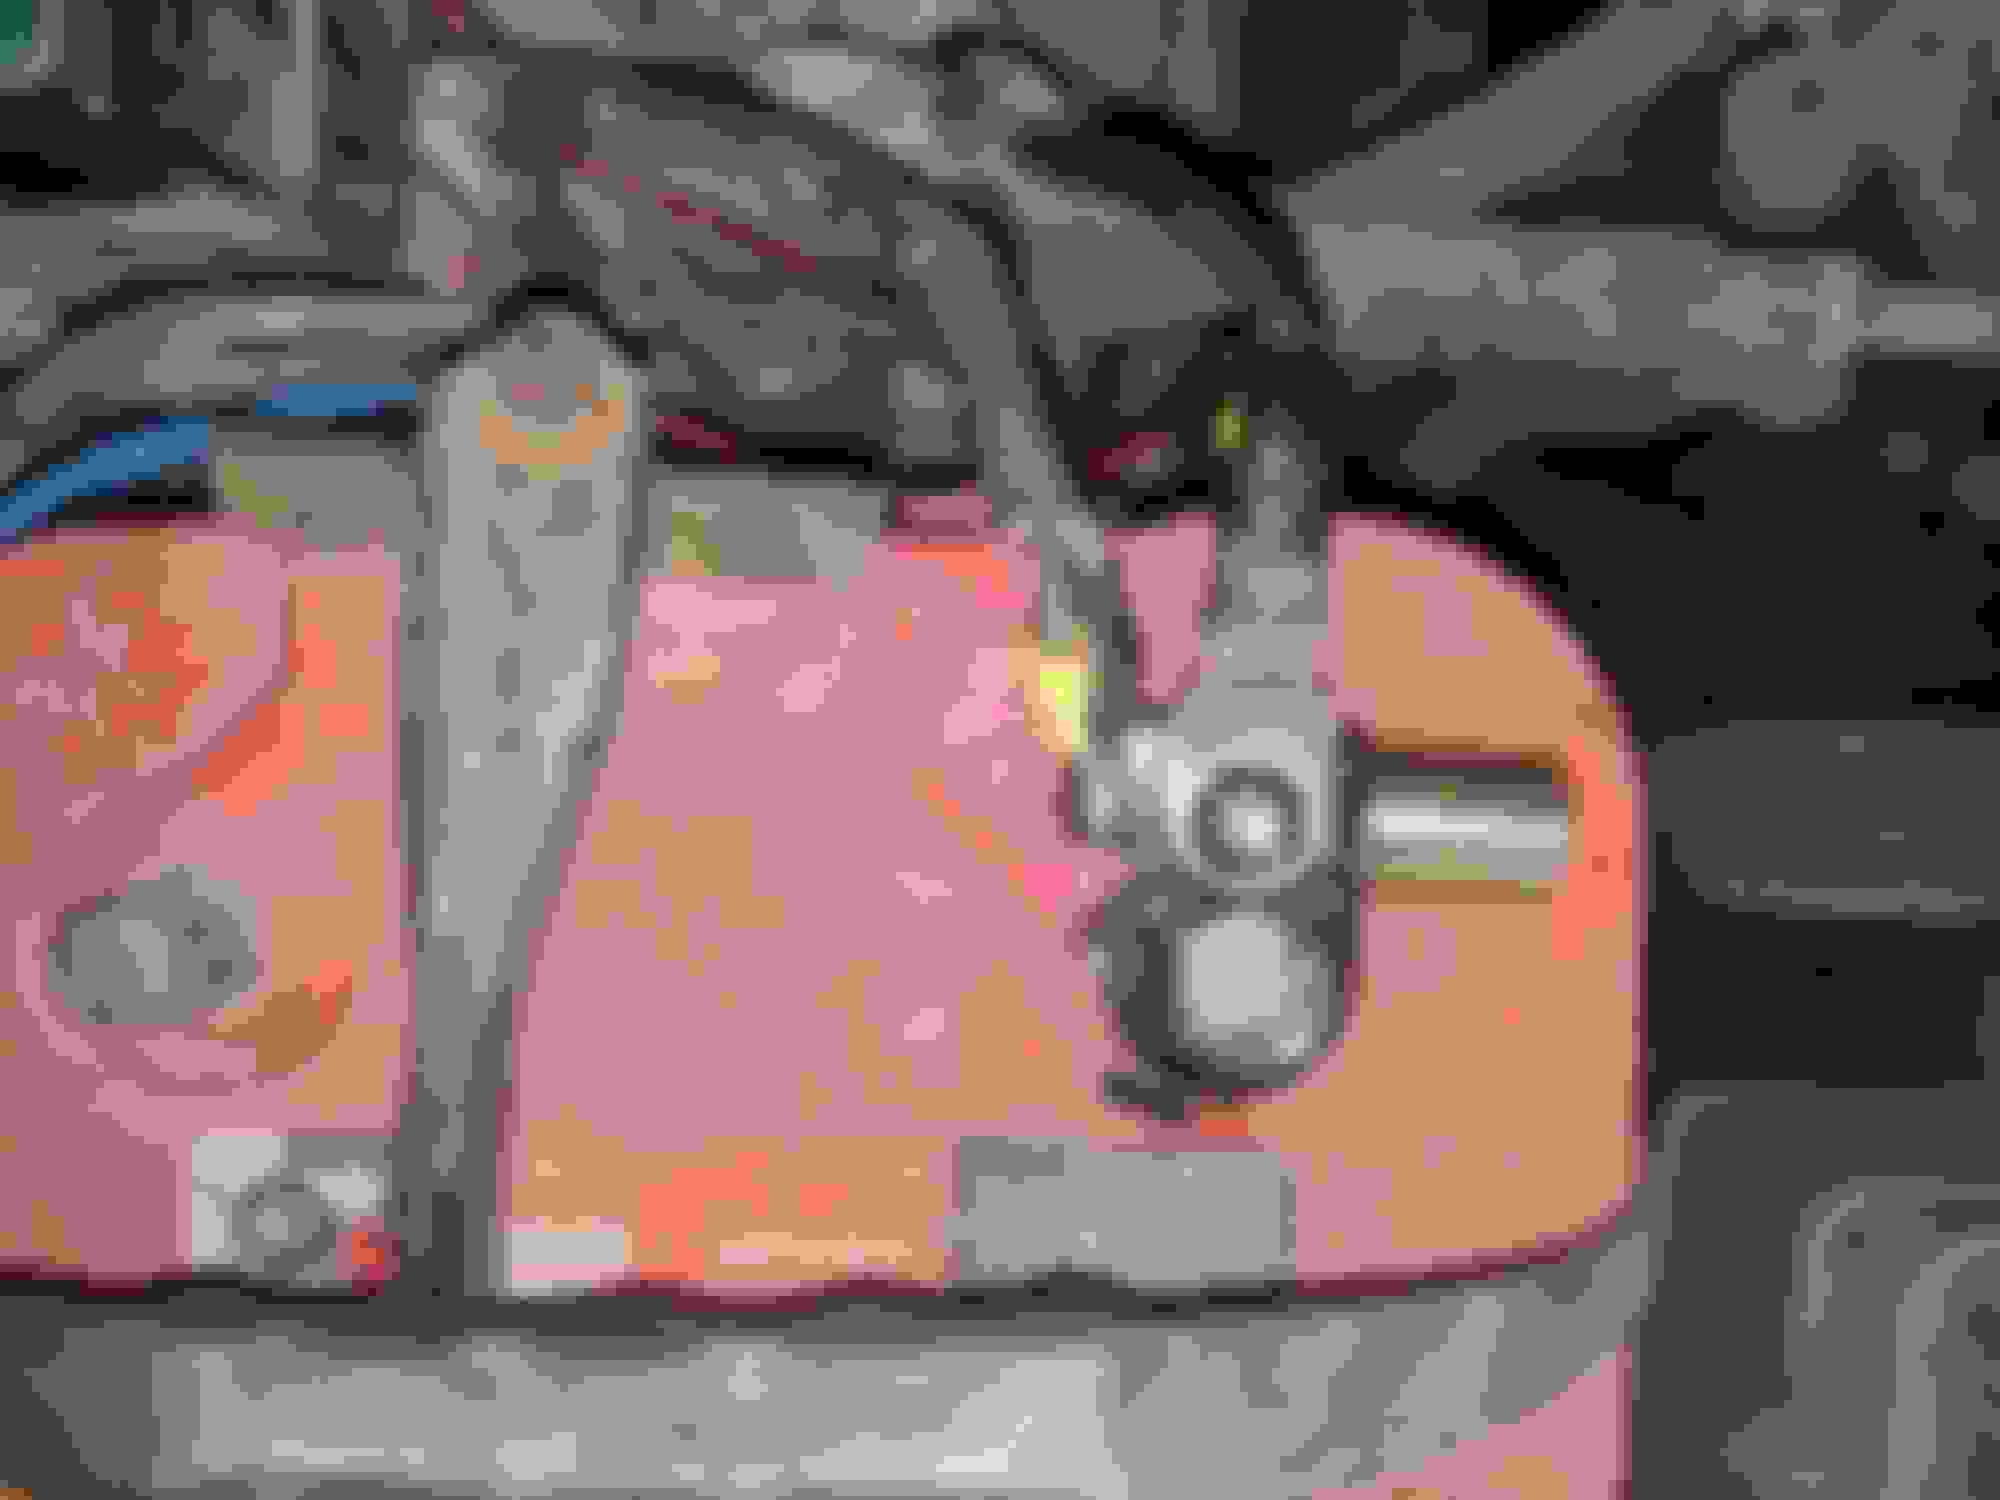
I bought a complete IFS front end from a guy for 80$ I just wanted it for spare parts but, I got lucky and there was a 1.75 inch ball joint lift on it. So I bought some diff drop pucks and went to work. After put the BJ spacers on the lift was closer to about 2.5". I think the way the BJ spacers sit change the geometry of the IFS and torsion bars to gain more lift. But I can say the ride was crap and totally bouncy. I backed off the torsion bars just shy of 1" and the front end sat right where I wanted, clear my 33s with no rubbing and the ride is actually improved over what it was before the lift. I think the take away here is really play with the height and ride. I have seen people crap on BJ spacers for the ride but, this rig is completly adjusatable. Spend some time and dial it in. Also I would not run this without diff drop spacers. You could see myy CV axles were stressed before I put them on and dropped the lift a little. But no binding on their first trip out so the diff spacers are def worth it. So that's not revolutionary but, the rear end is what I am especially proud of.
In reality it wasn't my idea but is credited to https://www.instagram.com/toyotaplumrunner/ he shared a post where he put some helper shocks he had lying around on his runner. He had 2" Old Man Emu springs that had sagged. So to get the bounce back he put these helper shocks in. They look like coil overs and I guess they kind of are. They are a basic shock with a spring over it to put some lift back in those tired leafs. After some conversations he thought they would work perfectly with my BJ spacer lift. I was a litte skeptical because I was rocking stock leafs but, since my shocks were toast I figured if I didn't get enough lift I could always add slightly longer shackles to level it off.
the shock/spring is Gabriel 43163 Rear Spring Assist Load Carrier Shocks 90$ from Amazon. They were designed for a Chevy I think.
In a couple places people carried on that it would ruin the ride, limit flex and not worth the money. Just do the Zuk mod. But talking to the Plum Runner he said the ride was great and didn't limit flex. I have never been a fan of the Zuk mod. It seemed janky and really was more of a mod if you had the parts around or found them at a junk yard. So I decide to give the Assist Load shocks a go. I am really glad I did. I will say the whole truck with the lift is slightly more bouncy on the highway just because everything is a tad stiffer. However on the trail I couldn't be happier. Kicking down a fire road at 25 mph they are smoother and ride plenty soft while having good handling. In the rocks they are great too, absorb the bounce and I swear kept my tires down and gave me more traction. My wife even commented how much better the ride seems.
I thought the BJ lift and these springs would just clear tires. I did not expect to improve the ride. But I think between new shocks, giving life back to dead leafs and actually letting off the torsion bars a bit this has been perfect. I am really happy with the setup.
A few tech notes, the stock bushings that come with the Load Assist shocks will not work at all with the Toyotas. They come out pretty easy with some lube and a hammer. If you have stock Toyota shocks the bushings from those should work. I had old Rancho Shocks and the bushings were def a different size. I found a shock bushing kit at Napa that was perfect but, the same bushing can be found on Amazon too. Make sure you measure and order the right fit for the new shocks.
this is the style of bushing that came with the Napa kit. The Napa kit came with a bunch of hardware I didn't need but, I was in a hurry and wanted this done. If I wasn't so impatient I would have ordered the cheaper kit from Amazon.Also these shocks have a pretty tough spring. I was not able to even use my HiLift to get the rig up high enough to put these on. I connected the upper mount of the shock then had to use a ratchet strap to compress the shock enough to get them on. A friend would have been really helpful here. Other than that they wee pretty easy to get on.
Pictures!! As you can see they do not limit flex either. The spring is completely compressed but the rig is sitting on the bump stop and has really jammed the tire in the wheel well. They did not limit on the extension either. My shackles were completly straight and This is the most extension I have gotten before the Assist Shocks. I decide a little while ago I wasn't going to keep waiting on modifying my truck. I kept saying well if I do this, then I might as well do this. And my budget would get out of hand, then I wouldn' do anything. This lift is not it's final form but for about 110$ for the rear springs and bushing I am really happy with it.
Before on the bottom, After on top. How she sits now. Has a little rake after lowering the torsion bars but, once loaded with tools and camping gear its dead level.
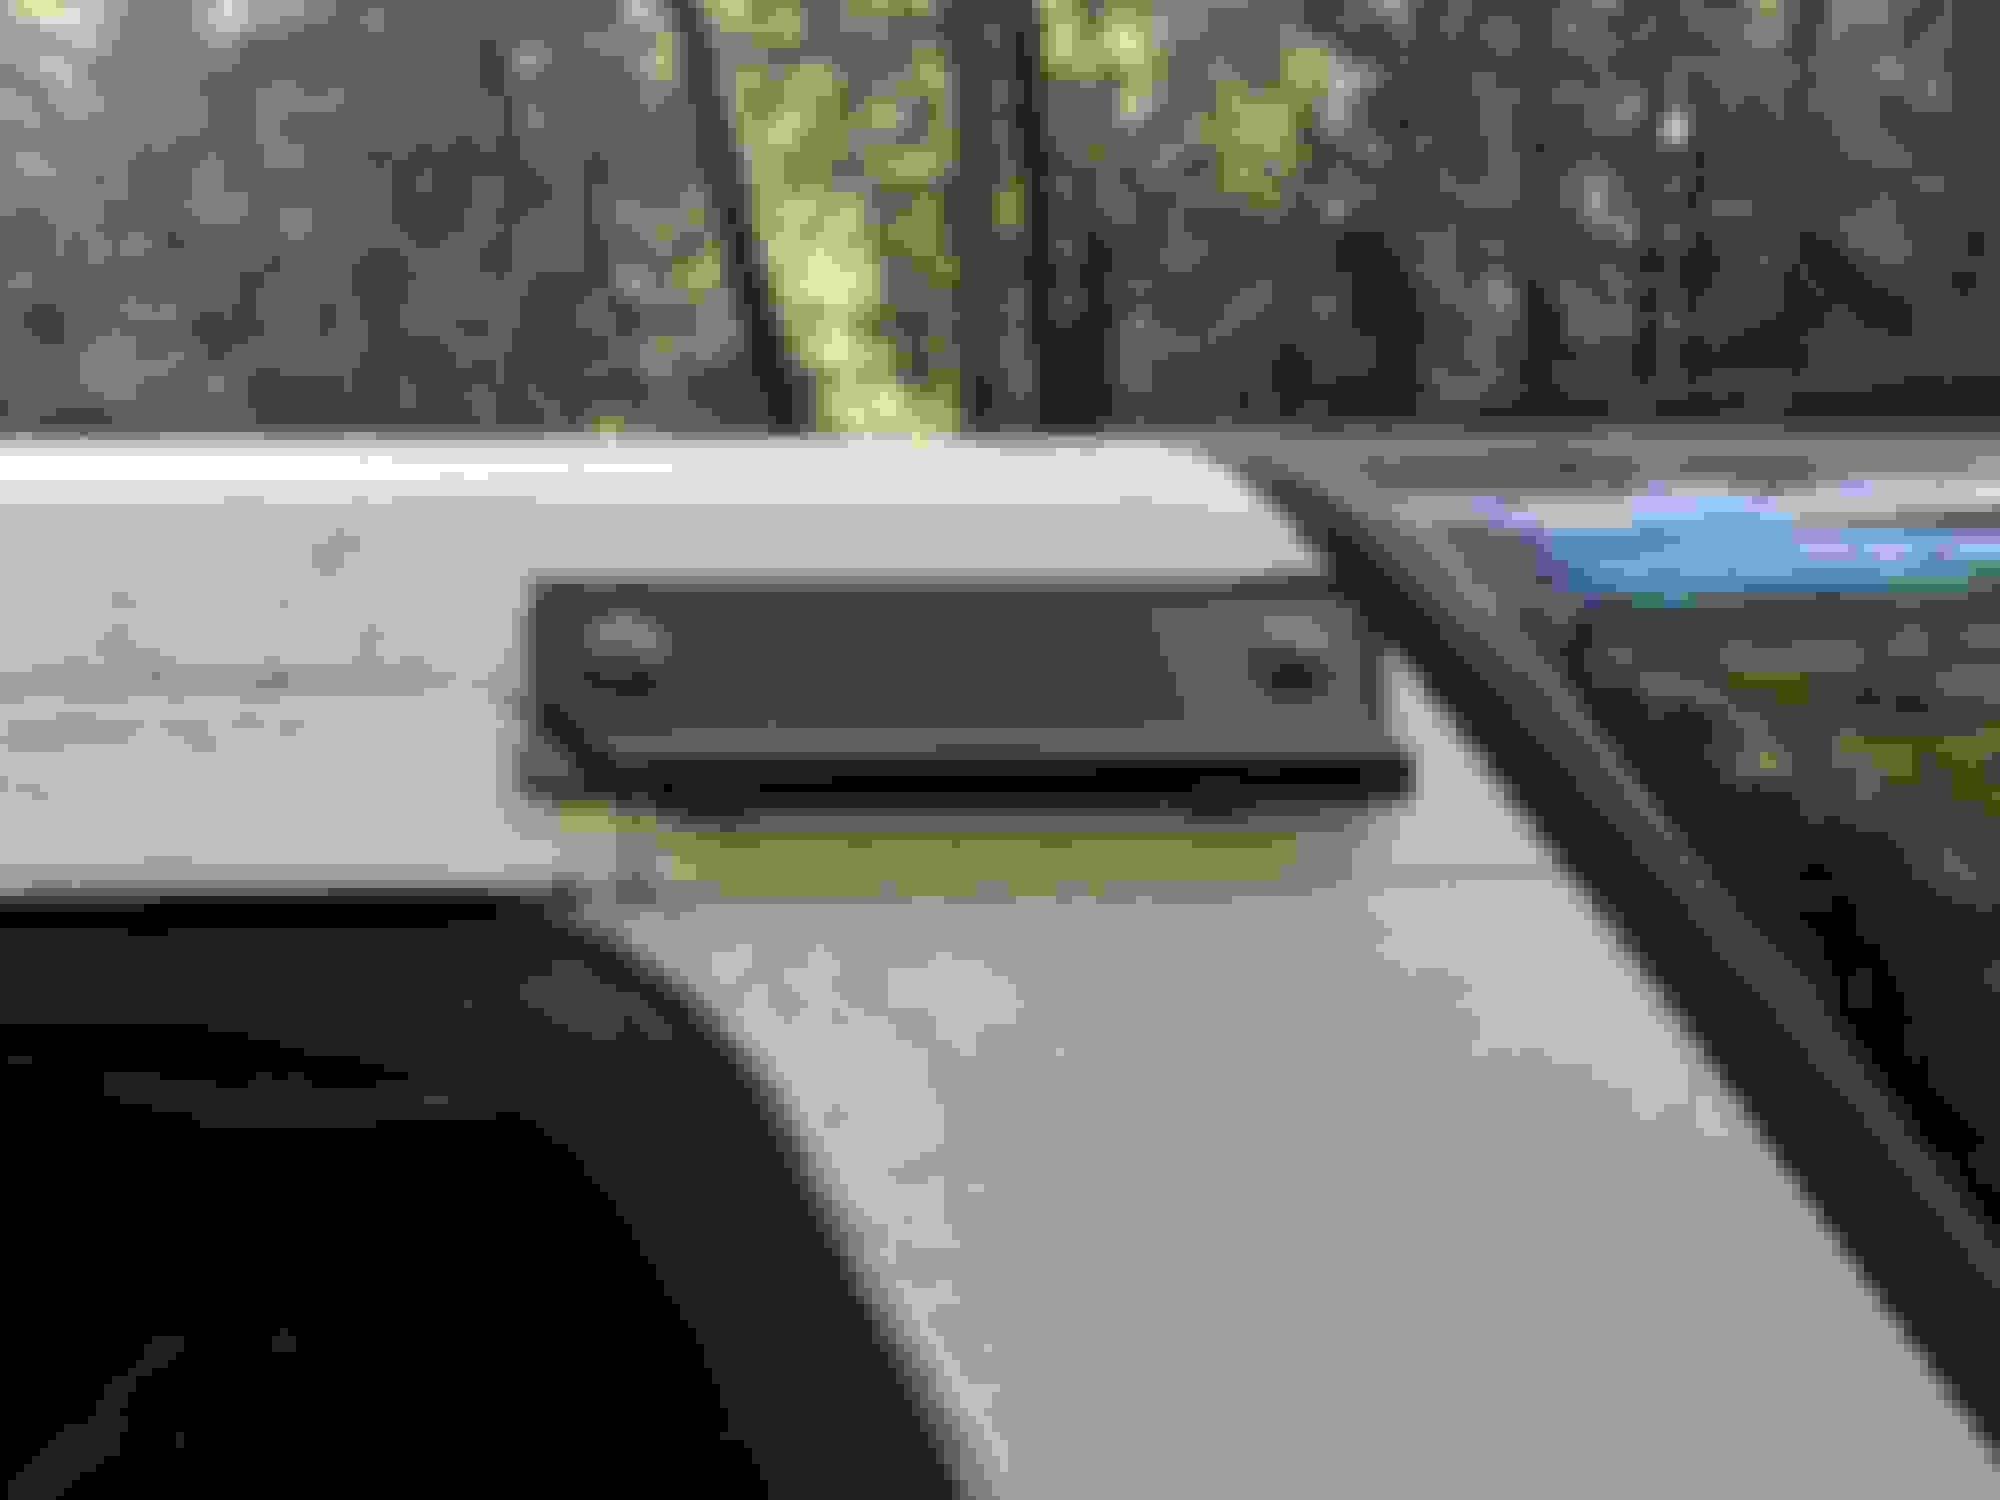
I wanted a roof rack but obviously with these fiberglass tops that's a bit of a challenge. This rig sees a lot of trail time so I wanted it to be as slim and tight to the truck as possible. I had entertained using a lumber rack that's meant to go over camper shells but decided that sticks out to much for me. My top is in great shape so for a long time I wrote off drilling into it. I decided these mounts meant for a fiberglass camper was the way to go. Only 4 holes. I liked it being on the side instead of the top in terms of potential leaks and at 4 small holes I could repair them of I had to.
You can see in one picture I did decide to modify the bracket a little. They are aluminum and cut easily. The fiberglass top has a lifted edge around the window so to get the bracket to sit as flat as possible against the rubber seal I clipped a corner off the bracket. Another install note. Make sure to drill the holes at a bit of an angle. The fiberglass top angles in a bit and so will the bracket. So you want to drill your holes perpendicular to the way the bracket sits. Not parallel with the ground. Otherwise the bolts will bind up. On the inside there is a flat metal bar to distribute the weight and if you mount this all at the same height the inside bar misses any curves in the fiberglass top. It come with a rubber seal but I did add some flexible adhesive around the bolt holes for good measure. Remember this is a working mount so something like silicone which is for static use is likely not a good choice. I used a flexible glue. E6000 I've used it in shoes for a long time. Stay flexible after years and holds like gang Buster's. Never had it separate.
The gutter mounts have little notches meant for a Thule roof rack I assume. My cross bars are a bit wide. I considered cutting the tabs but I was able to center my bars on them and it's holding tight. But something to consider if you're willing to spend the money on Thule bars. They may line up better. I also chose this roof basket because with the removable center section I could use these gutter mounts on just the can and use the basket in a small configuration if I take the top off.
I think this is about as neat and tight to the rig as I can get without spending a fortune. We'll see once it's loaded with stuff but so far really happy with it.
Amazon had these mounts for 55$ last week so look around for the best price Thule 542 Artificial Raingutters 300, 387, and 953 Gutter Feet
the gutters are a good thing to add. i used a pair of thule gutters, and installed them about 5 years ago. i did not use any sealant for the bolts, beyond the supplied rubber gasket in the kit, and have had no leaks from the gutter add-ons to date. i mounted the gutters just slightly lower than you did, and slightly more to the rear, so didn't need to trim the gutter or the hard top. my roof racks are 60s vintage, inherited from my grandfather. work well to tote my kayak around.
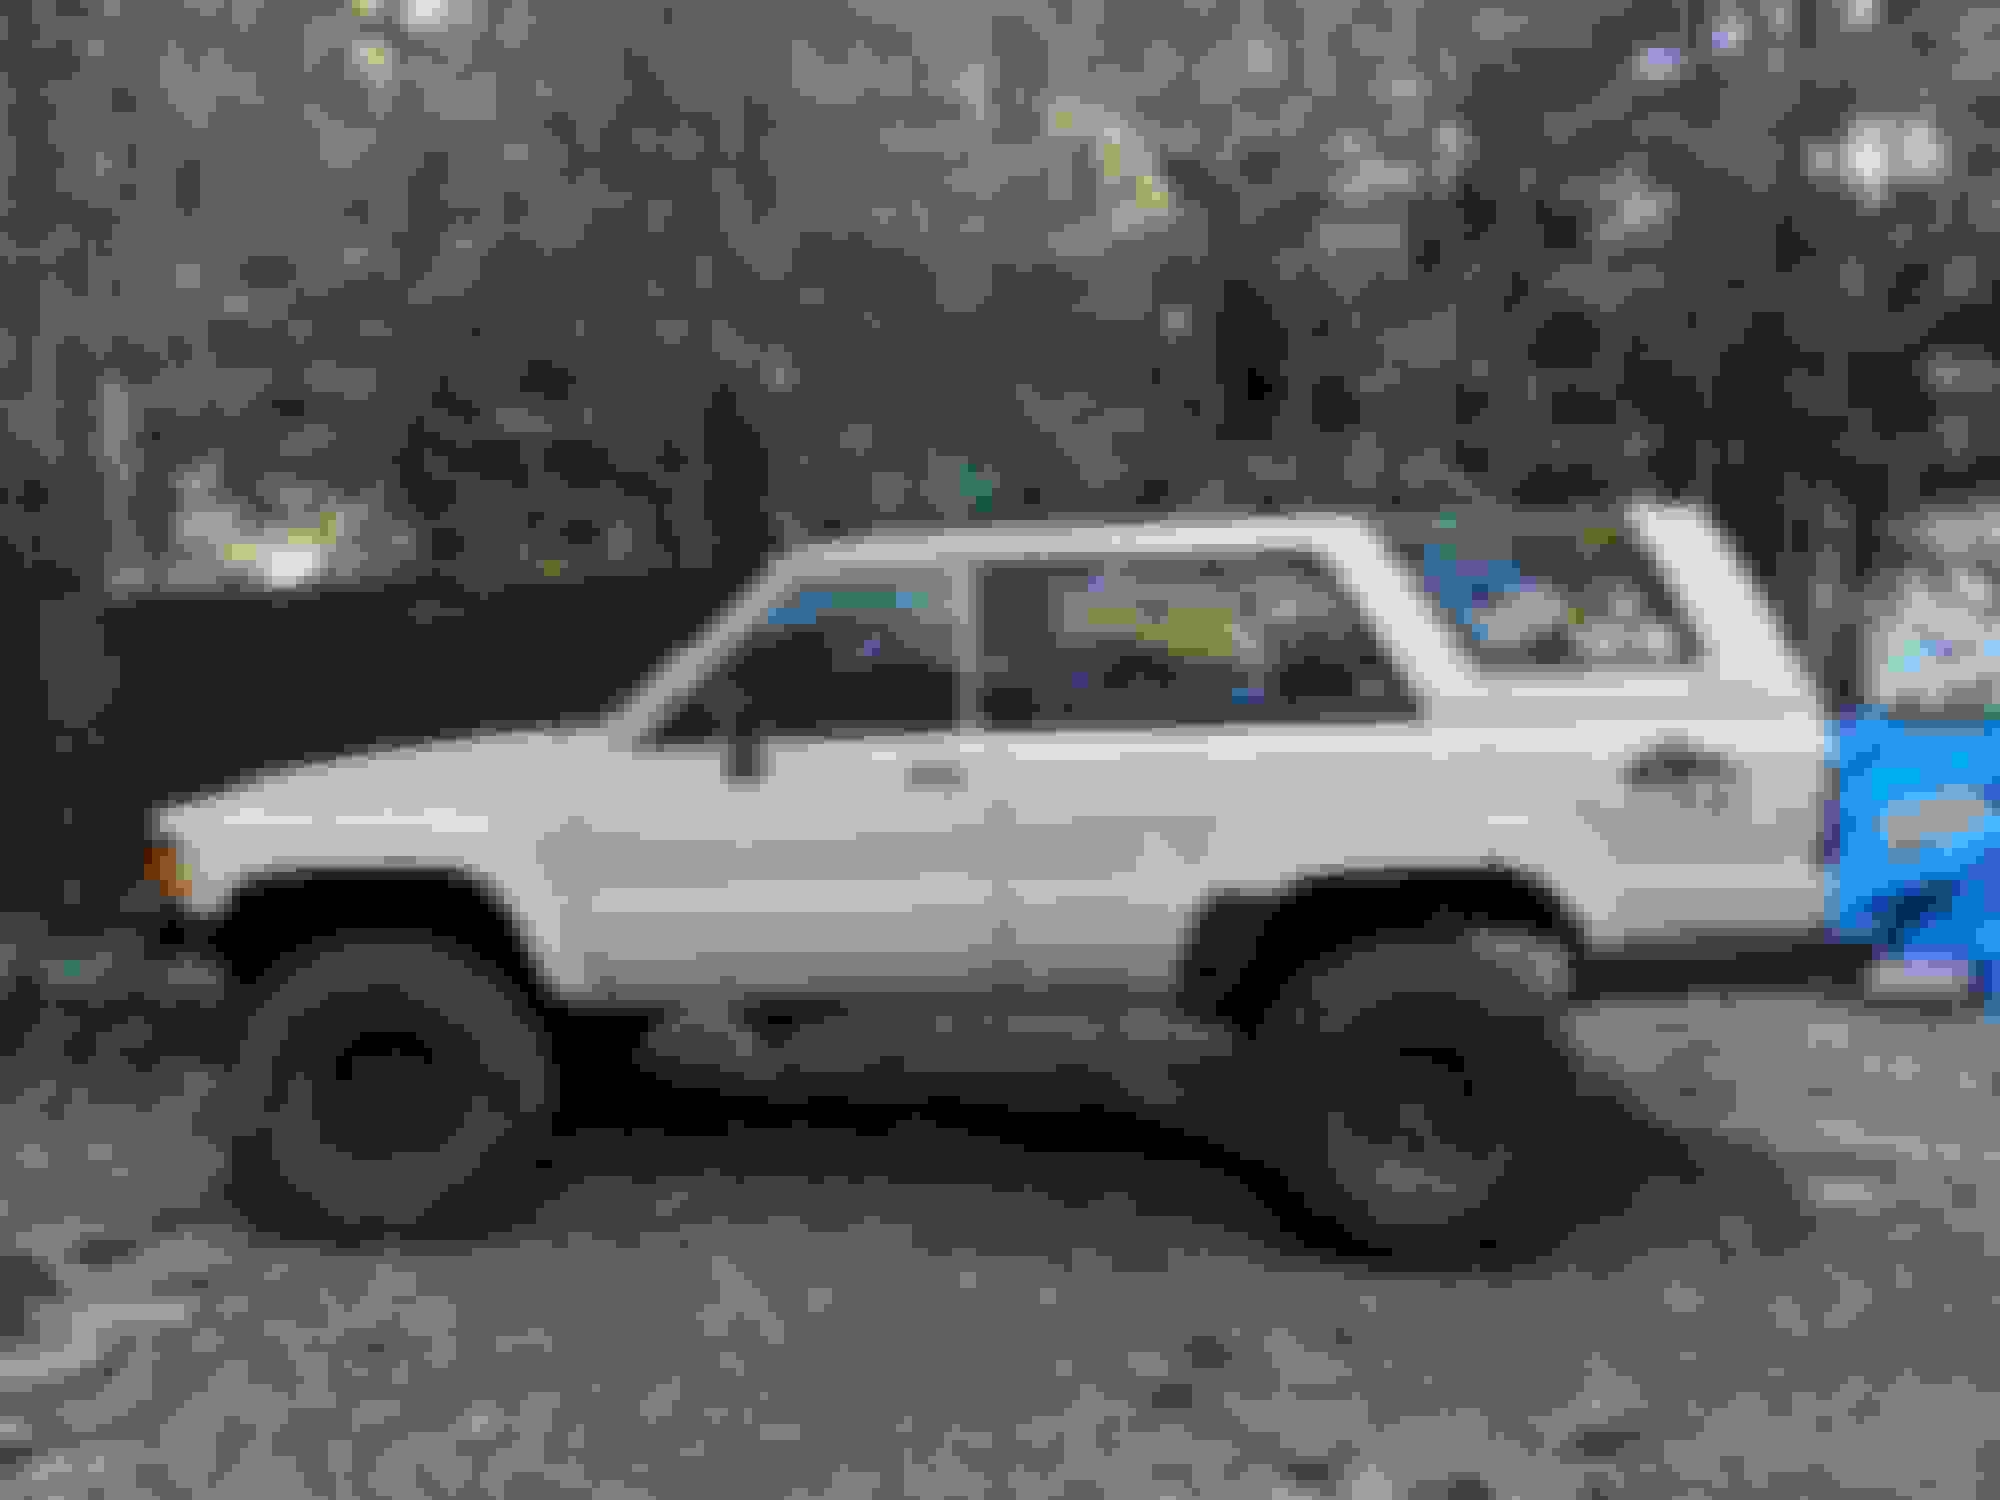
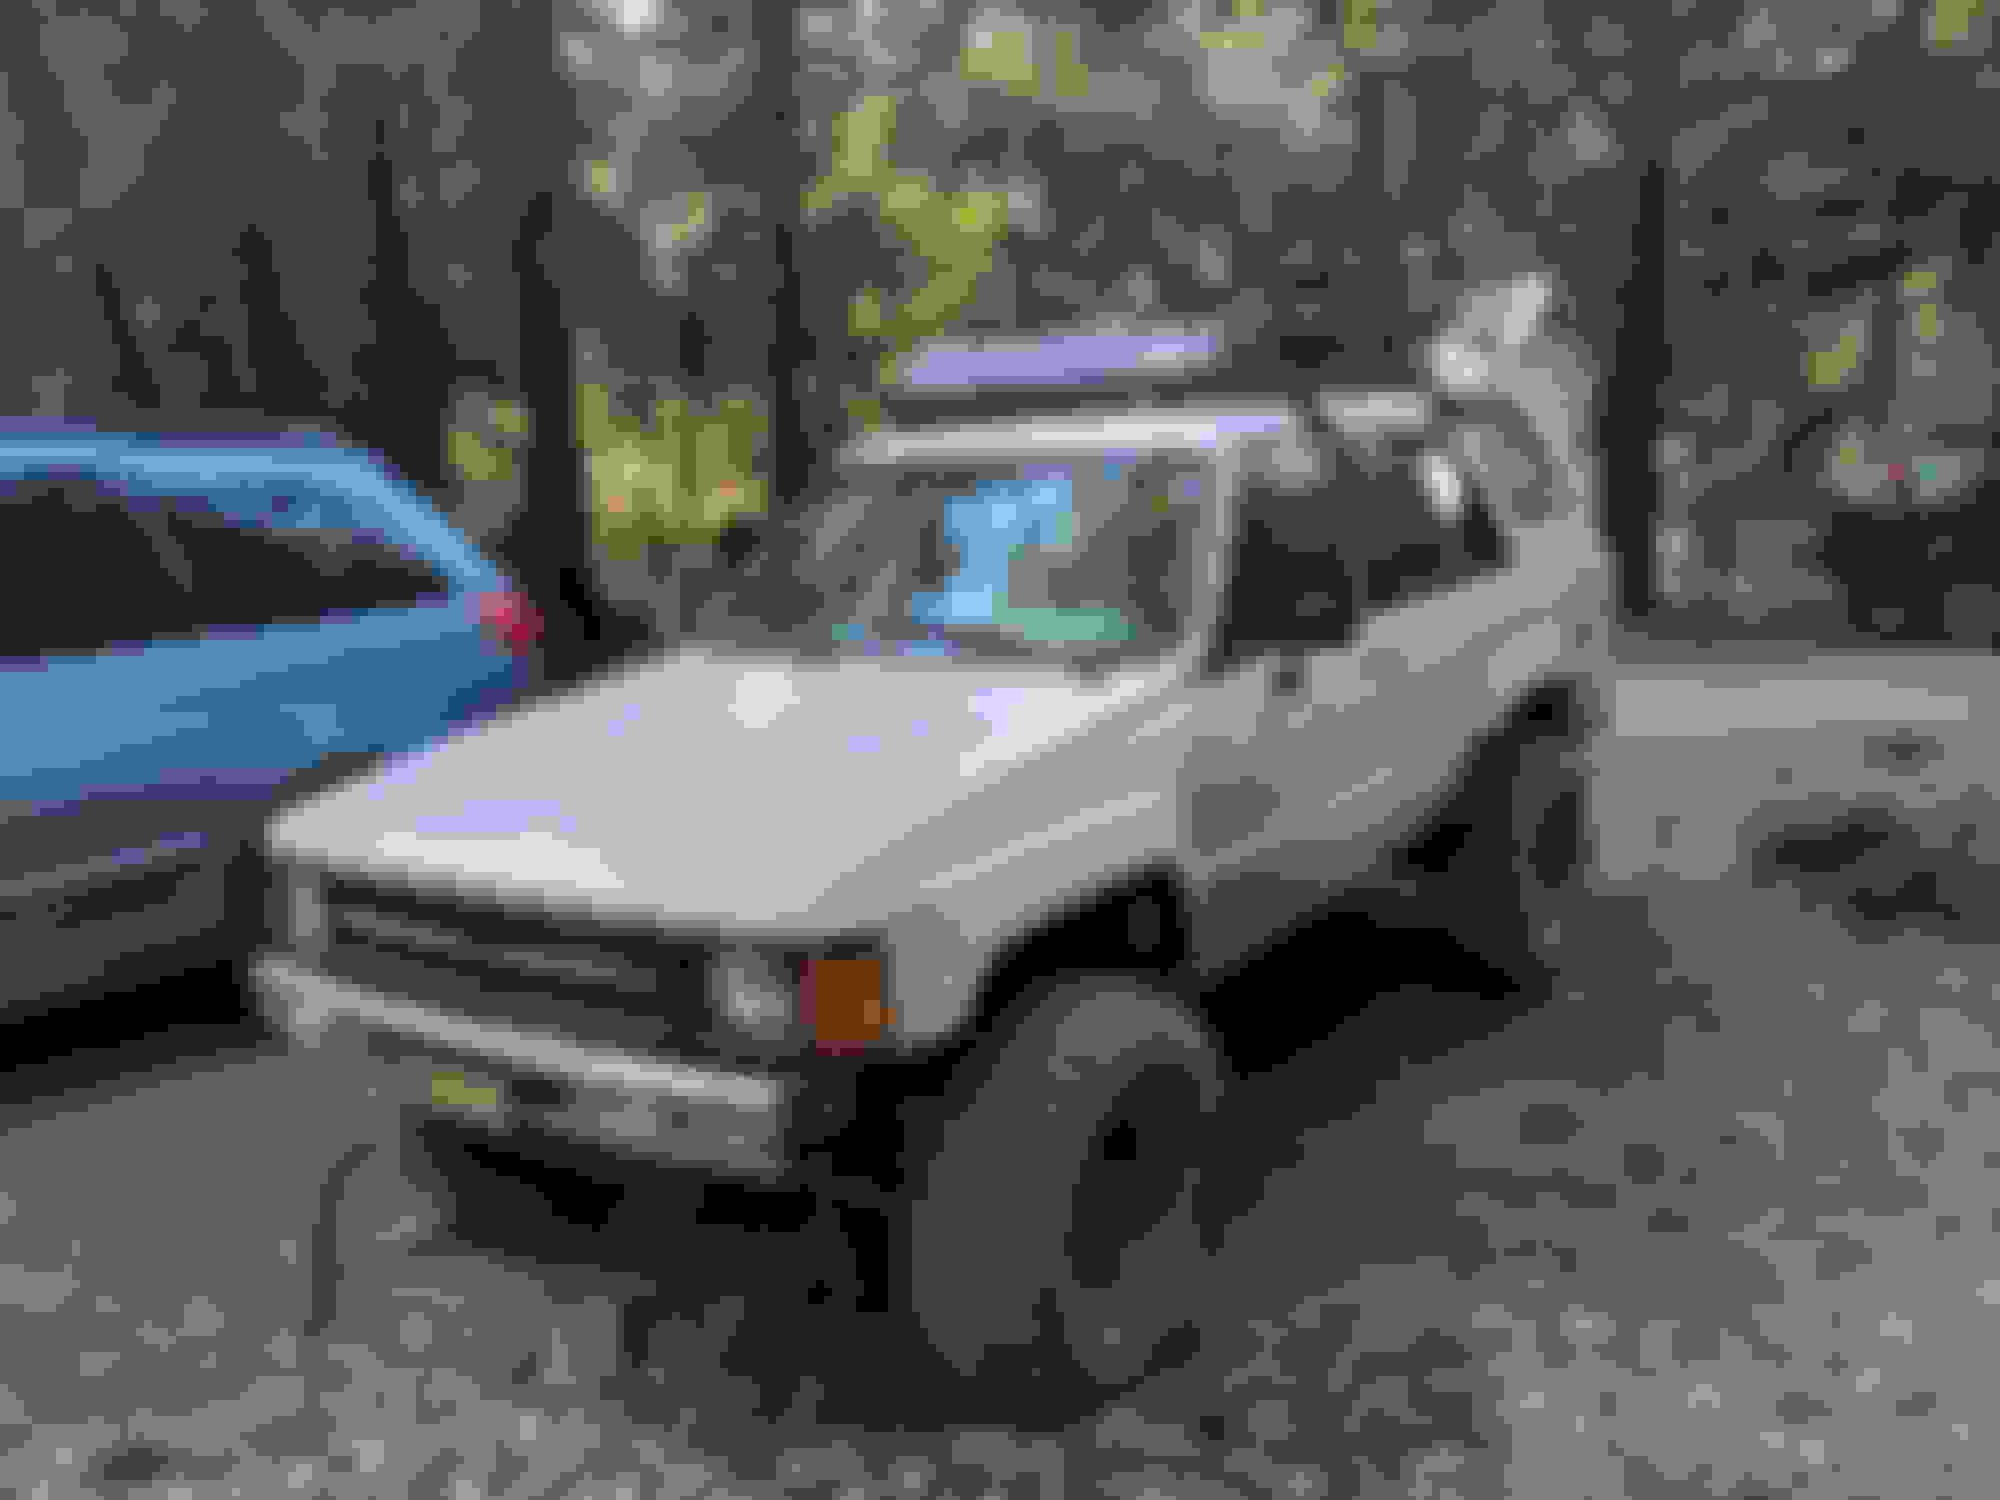
NEW TIRES!! Milestar Patagona Mud Terrains 295/75/r17
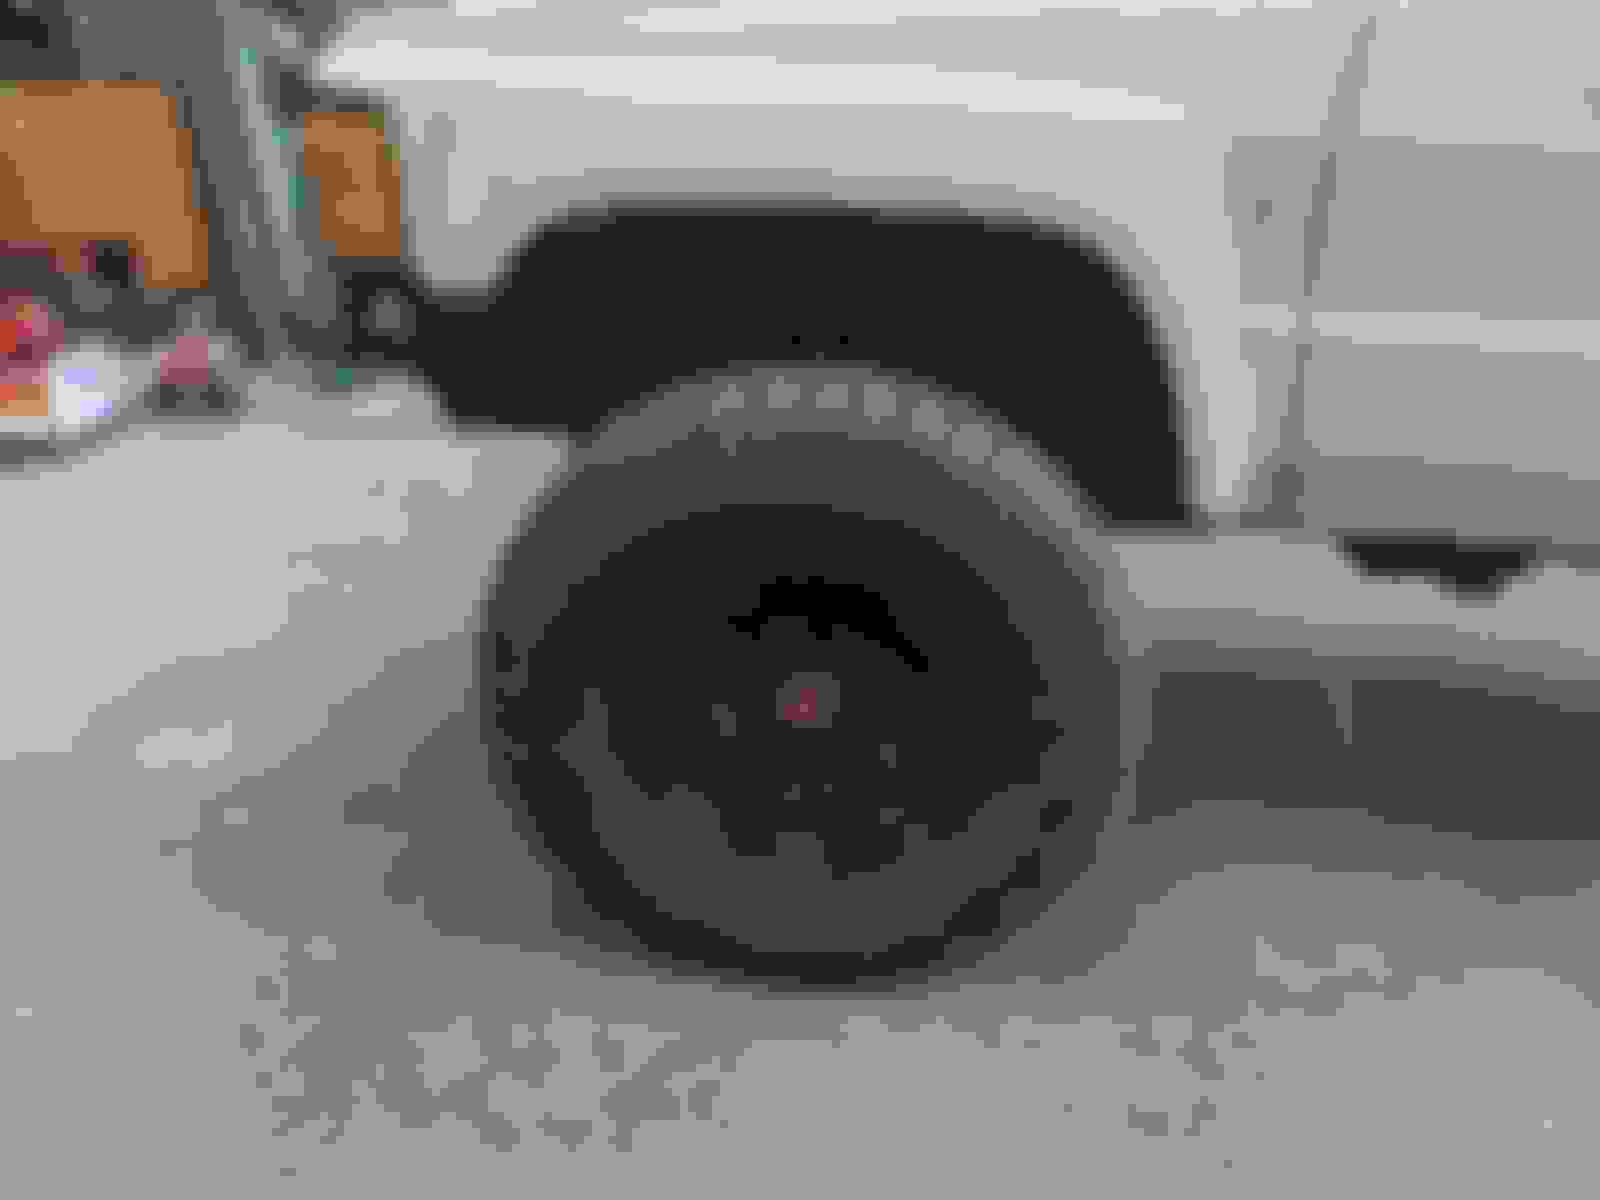
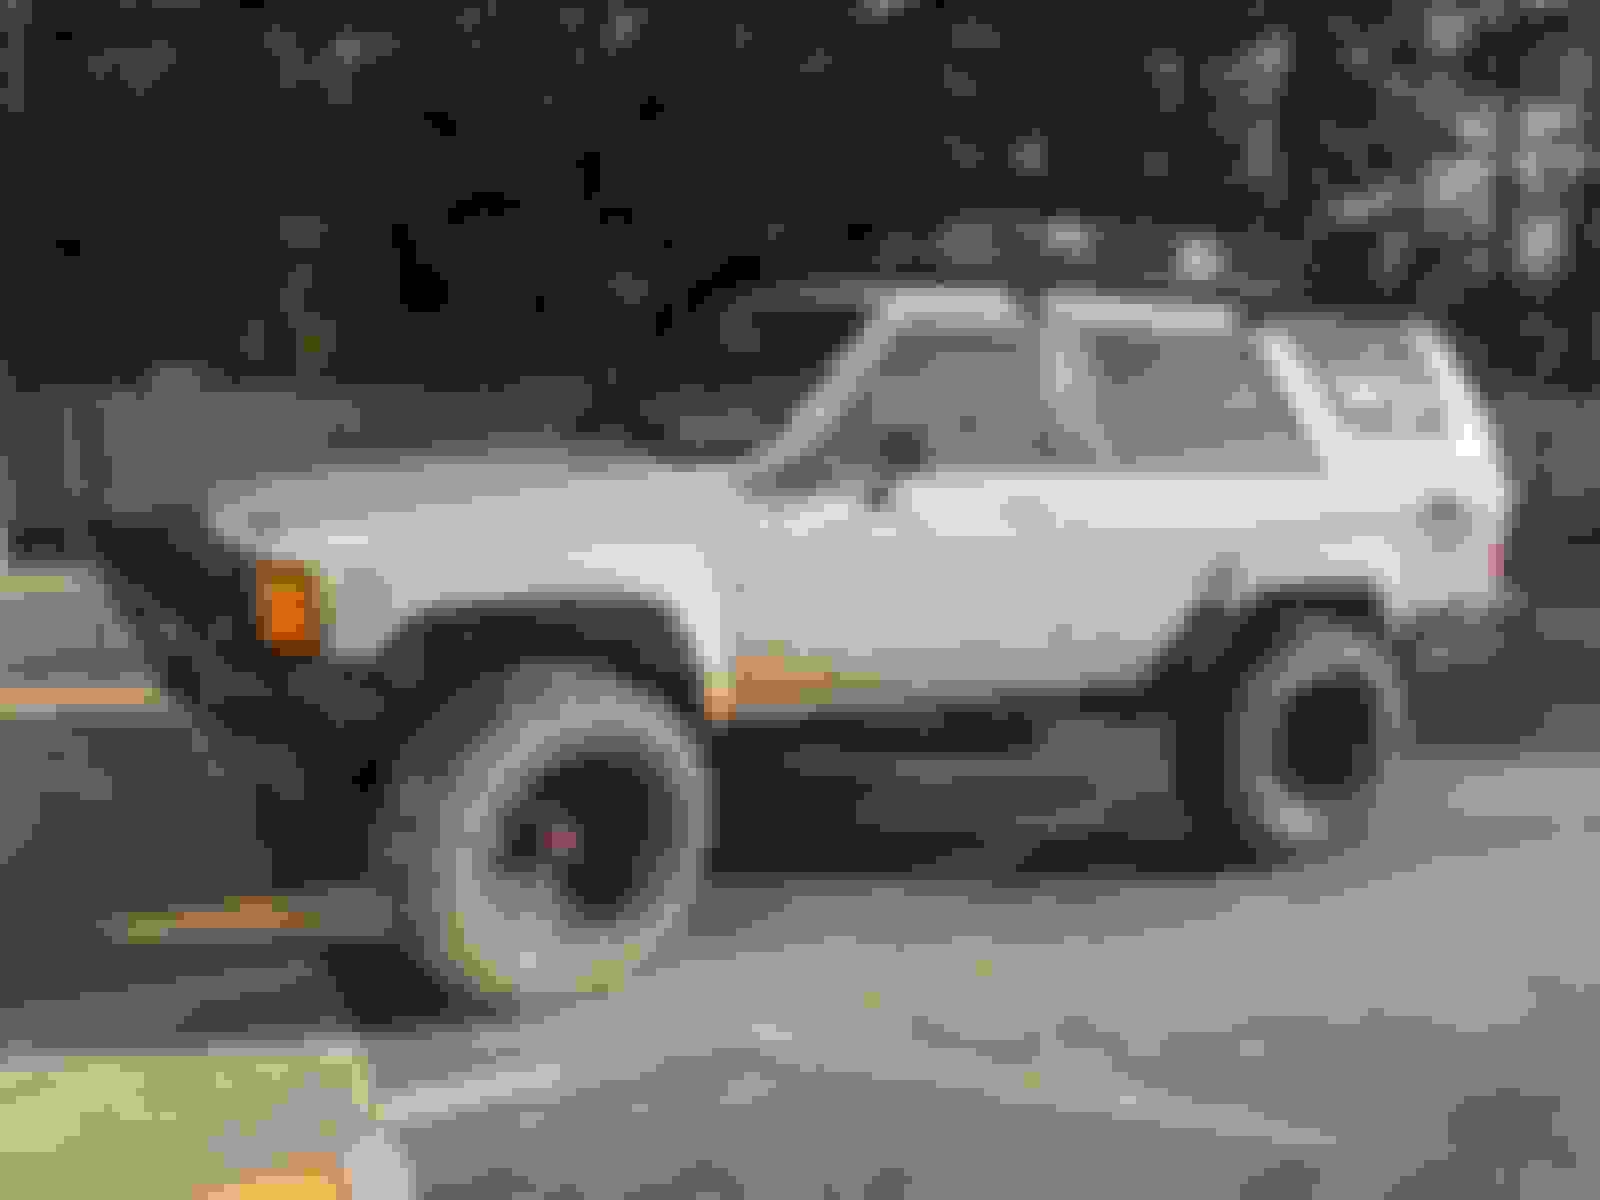
Been doing plenty to the White Buffalo and best of all NEW TIRES. This was a LONG time coming. Decided to go with Milestar Patagonia MTs 295/75/r17 they call them 34s but in reality they are 33.5x12" I would have liked to stay with 15s just to keep as much rubber to flex as possible but they do not make tires in the sizes I wanted on 15" rims. So it was 16s or 17s and my buddy happen to have a set of brand new 17s he sold to me for cheap. Easy choice. Even with the two inch lift I can tell there will be rubbing issues but, I have a 1" body lift waiting in the garage that should fix that. Any other rub should be taken care of easy with just a little trimming. She looks so good with new shoes. Best of all I am rid of those dreadful used tires I bought they were nothing but trouble and really felt like they had become a liability. I won't do that again.
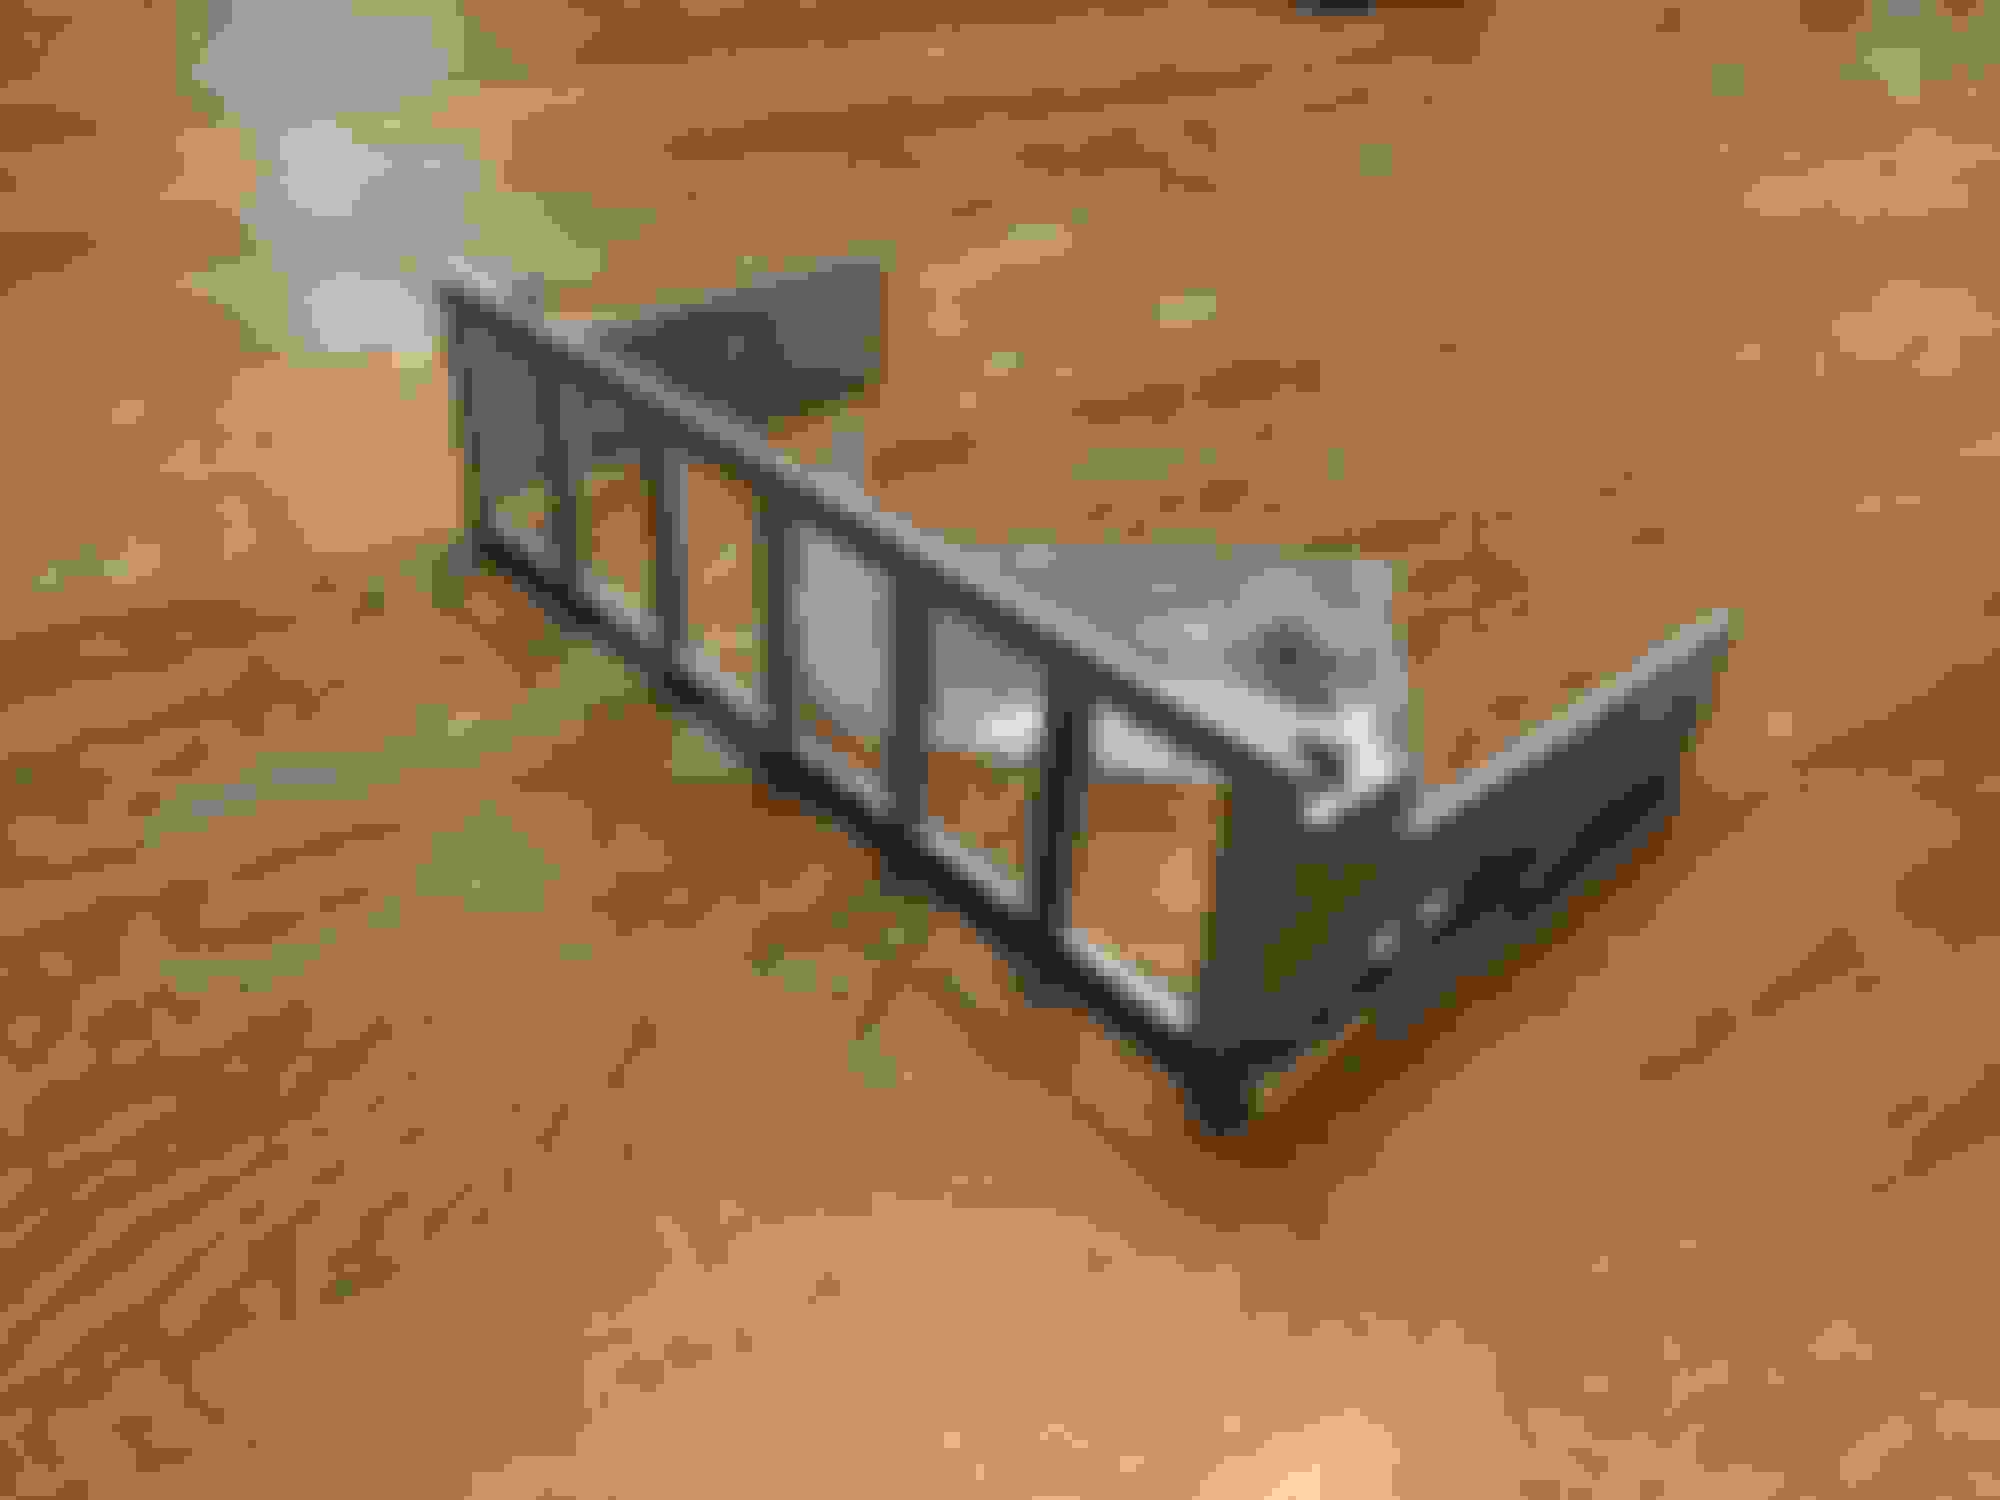
The other amazing upgrade is the rear swing out bumper you can see. This was an absolute score. Swing out bumpers are so expensive I really hadn't even planned on getting one any time soon. This popped up on a local Facebook group and some how I was first in line. A screaming deal at 400$ It is actually a Trail Gear Rock Defense bumper mated to the swing out portion of a Smittybilt Atlas bumper meant for a JK. Just using a vertical support the fella joined them pretty easily. Really stoked on this thing.
In my last post I said a lot had been going on and really its all been electrical. With some winter down time and Covid-19 having me work from home I have had a lot of time to get some work done. It all started by diving in putting in some stereo upgrades. This included a Rockville 10" under seat sub woofer, some JBL component speakers and an Pioneer 4x75 watt amp I had in my 1990 Bronco from high school. Props to Pioneer this thing still works almost 25 years later.
As I started installing these speakers the electrical build kinda took on a life of it's own. As I dove in I realized how rotten a lot of my electrical had gotten. The fuseable link from the battery to the under hood fuse box was half its length and was basically 7 corroded strands of wire. Well replacing that caused me to realize I had a parasitic draw, still don't entirely have that figured out but thats another story. Trying to eliminate the draw made me look at all my major wiring, the big 3. Well after 36 years it was pretty well toast. Turns out I had collected a lot of large gauge wire over the years so I had what I needed to get it done. HOWEVER, when you do one thing on these trucks you gotta do another. KnuKonceptz makes stereo stuff but their battery terminals are amazing. The ones I went with can hold 5 0awg wires. I Have 5 wires on mine and still have a separate brass post for when it needs a jump. REALLY happy with these. http://www.knukonceptz.com/mobile-au...tery-terminal/
I decided to run all the wires and lights on the roof rack. It took some work but I was able to run all the wires inside of the tubing of the roof rack. I will put a waterproof connector up top so I could easily disconnect things if need be. Still need to do that and clean up the wiring there. Then I ran all the wires down the B-pillar in behind the passenger seat. Then I had to make some holes in the firewall to gain access under the hood. If you have to get a waterproof hole into the firewall or anywhere else I highly recommend cable gland style grommets. You can tighten them down over any style of wire and they create a awesome seal. They should also be more durable than just a basic rubber style grommet. https://www.cabletiesandmore.com/nyl...hoCriYQAvD_BwE
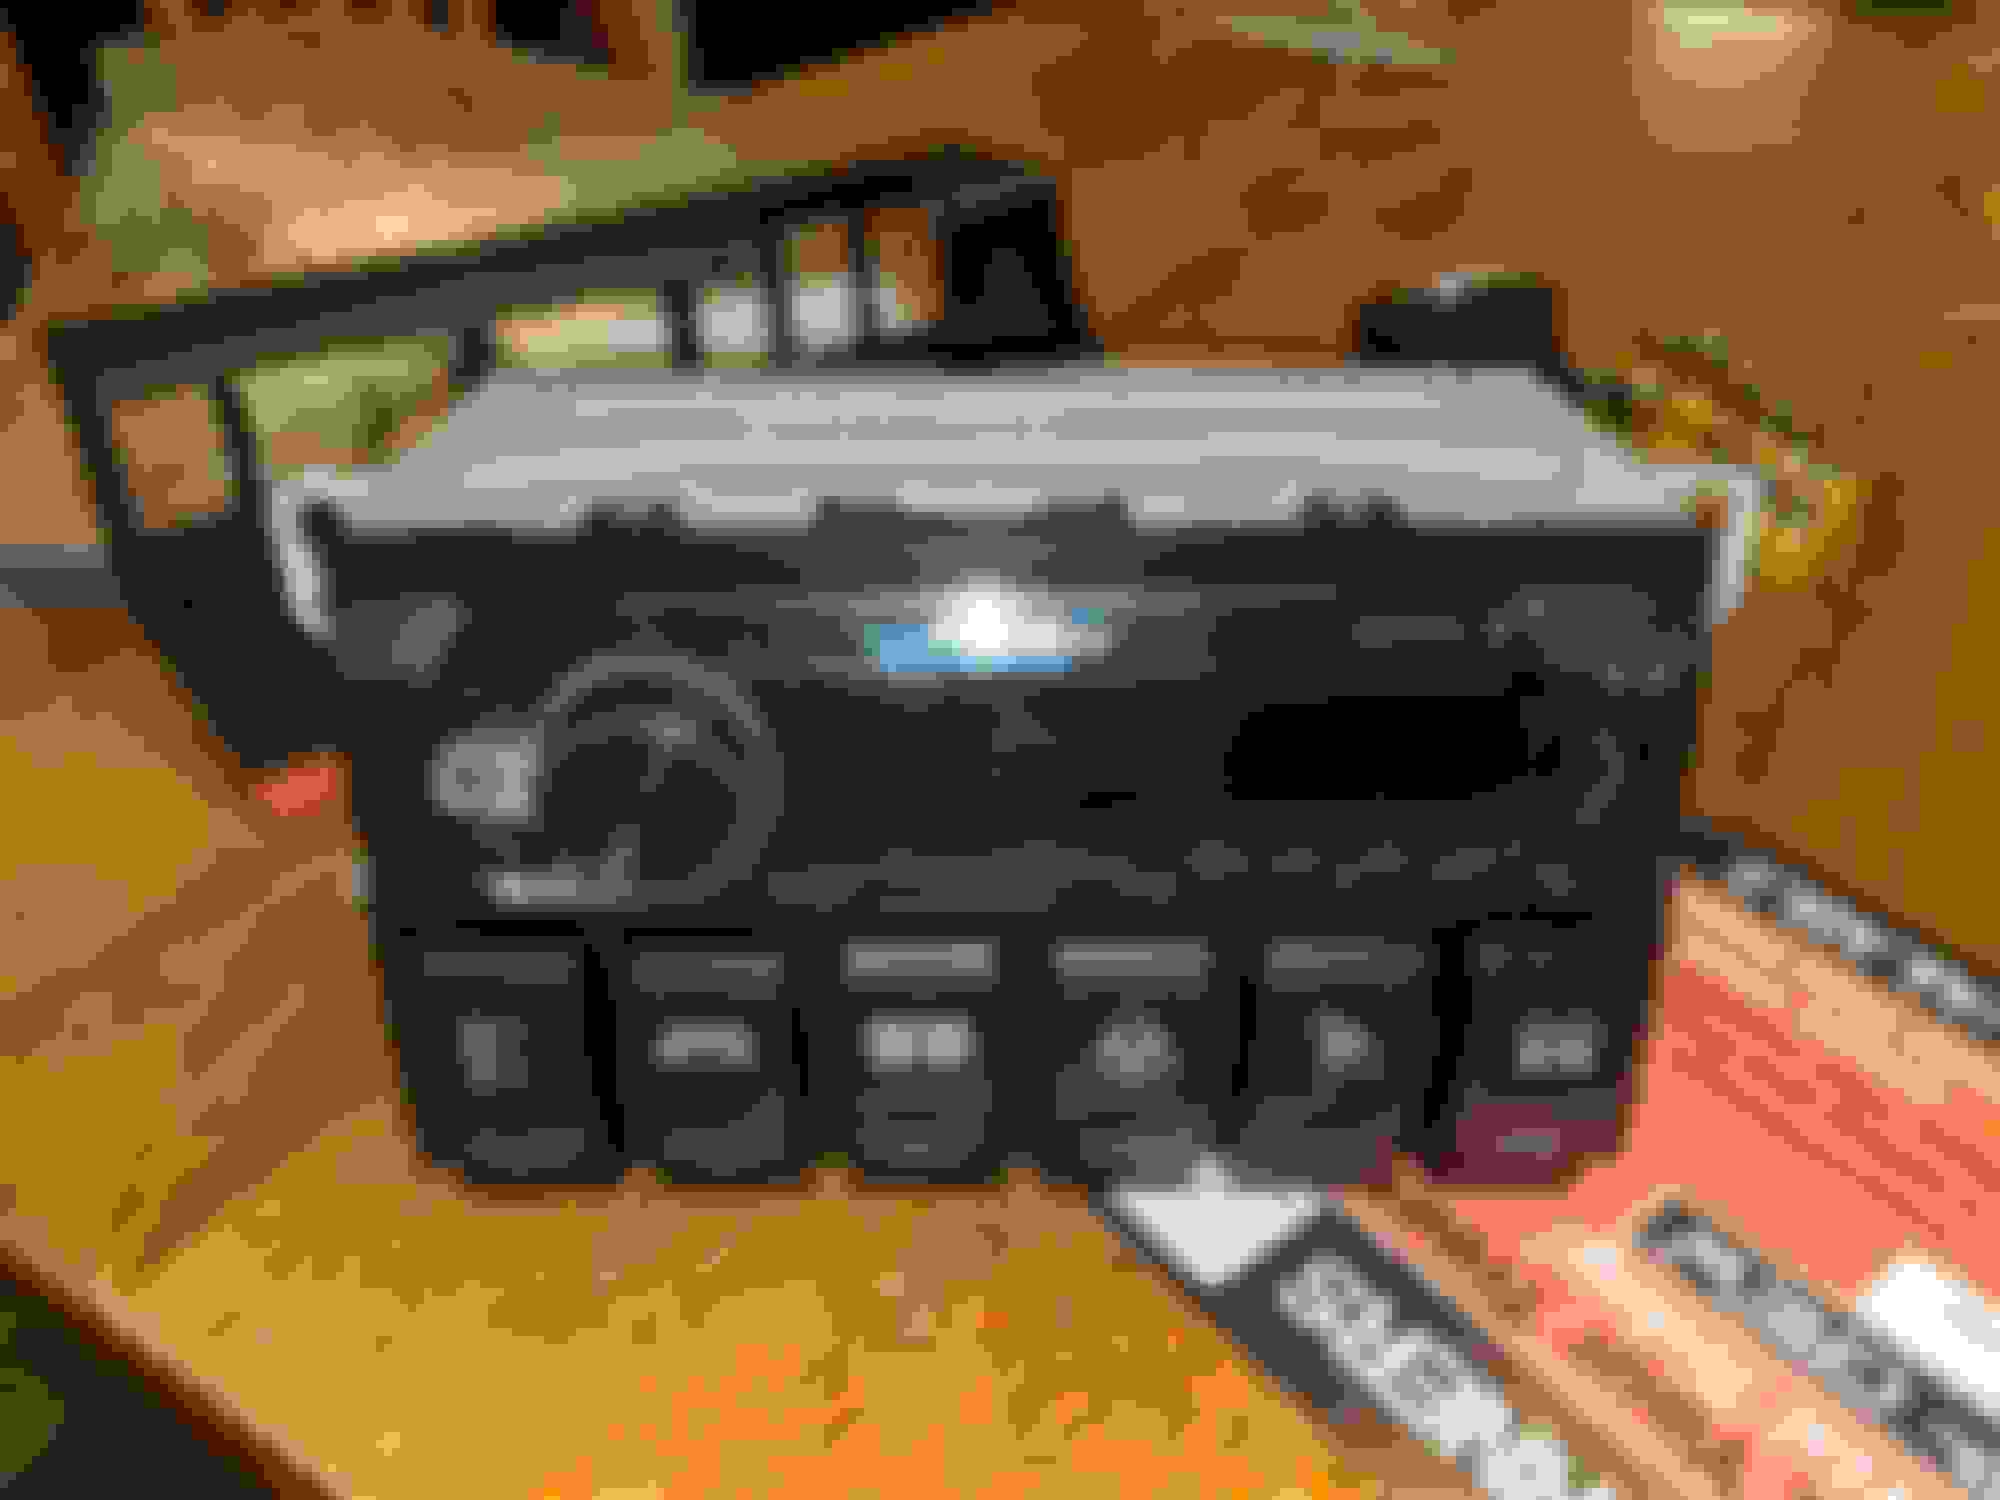
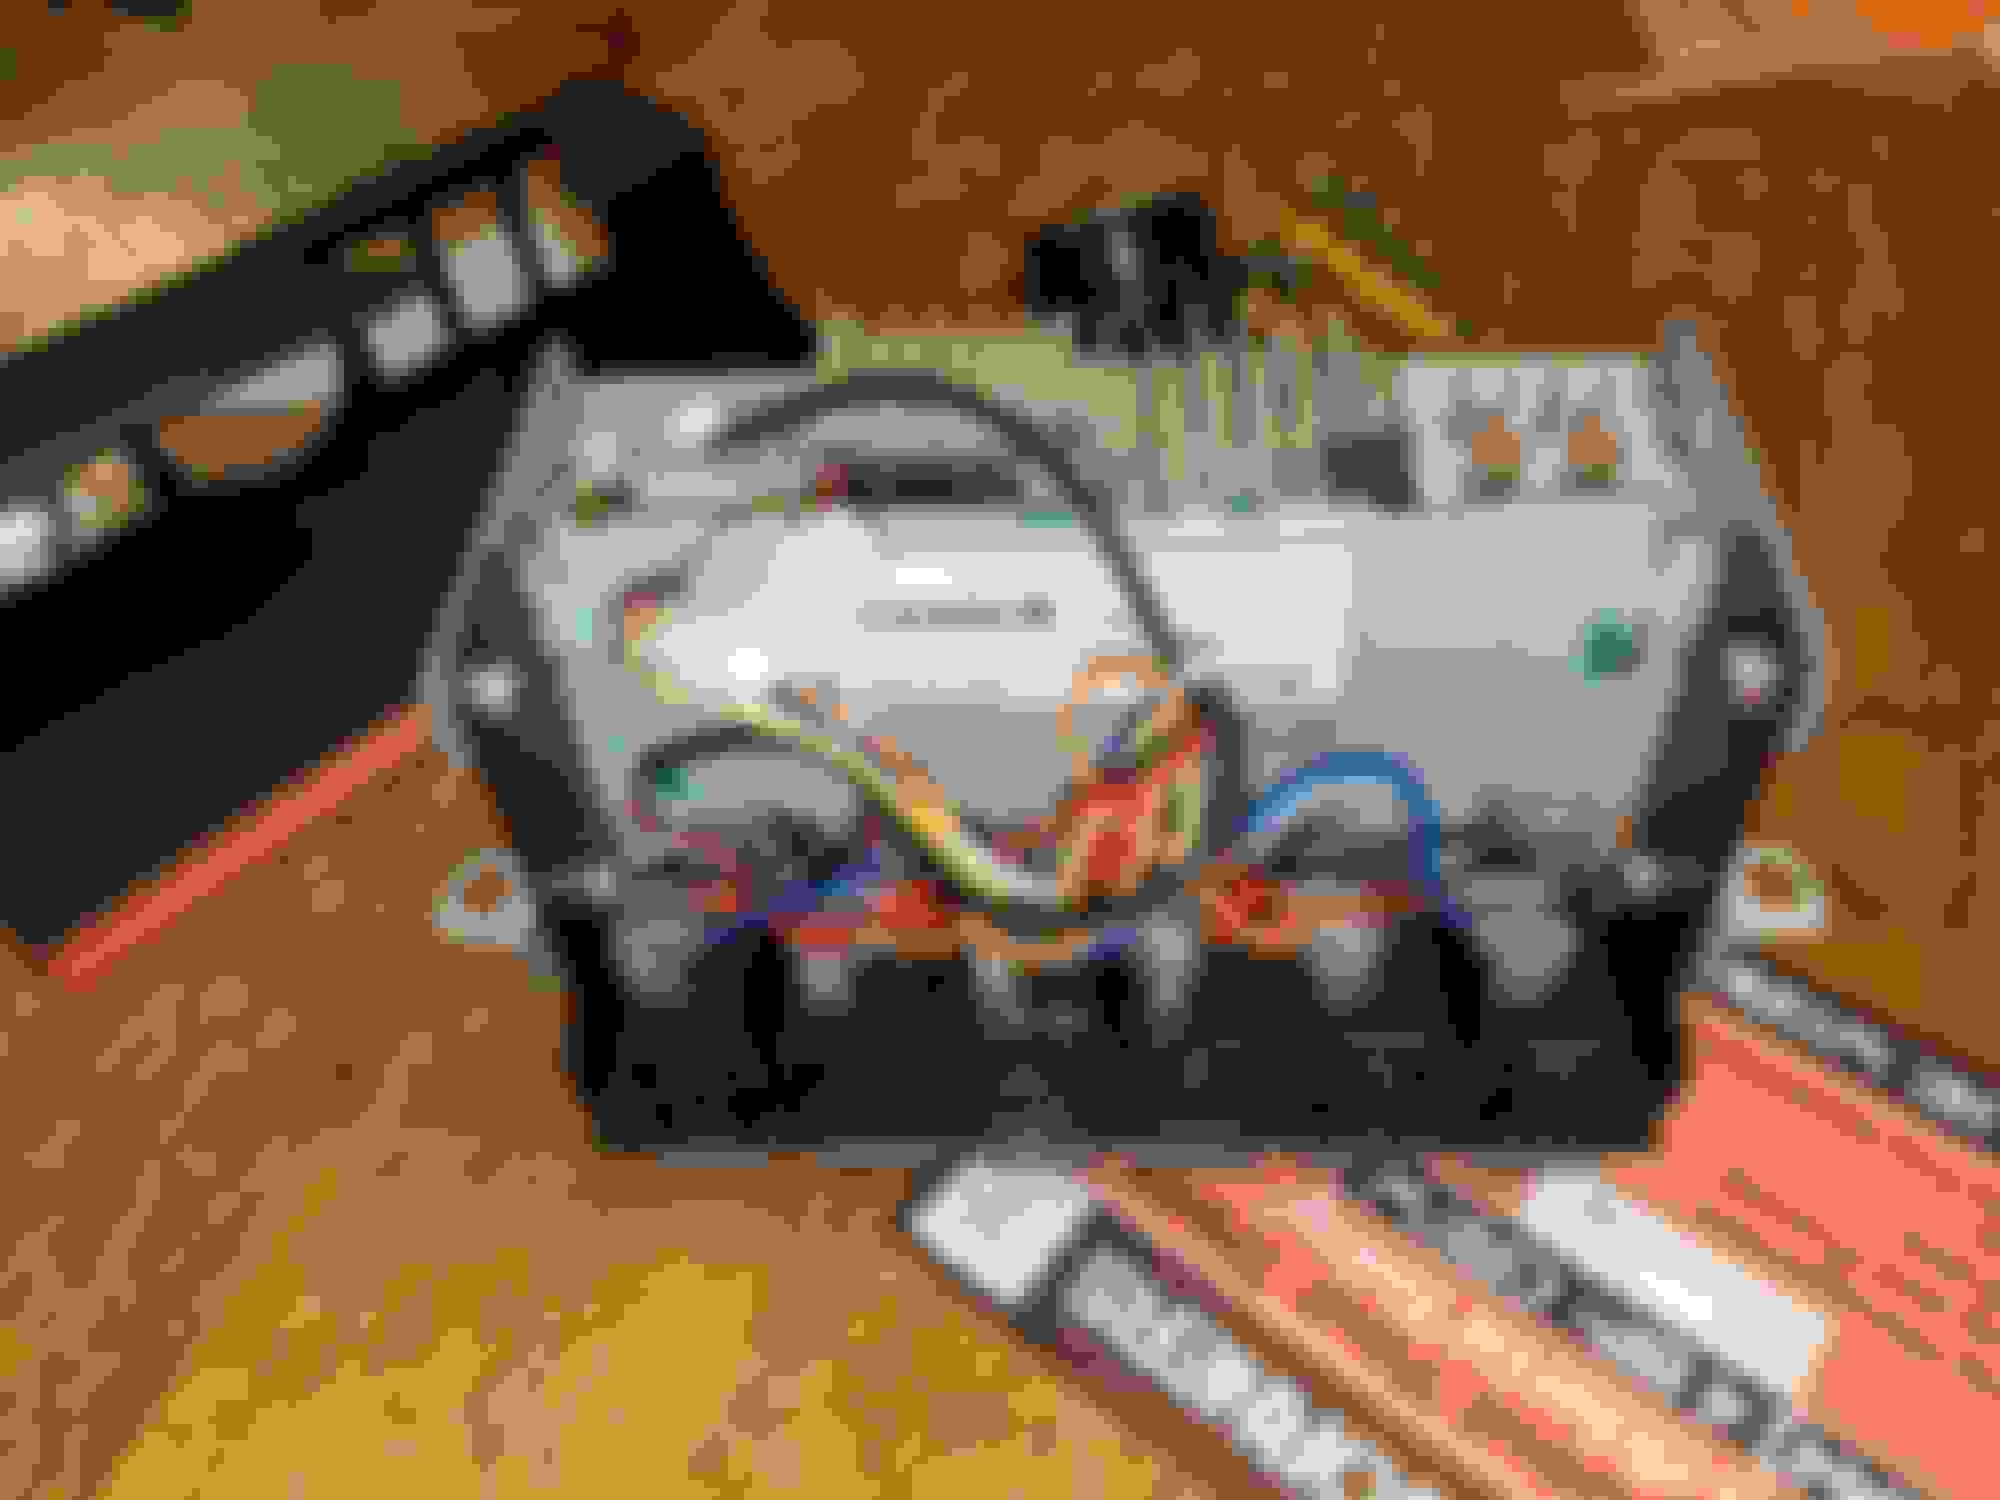
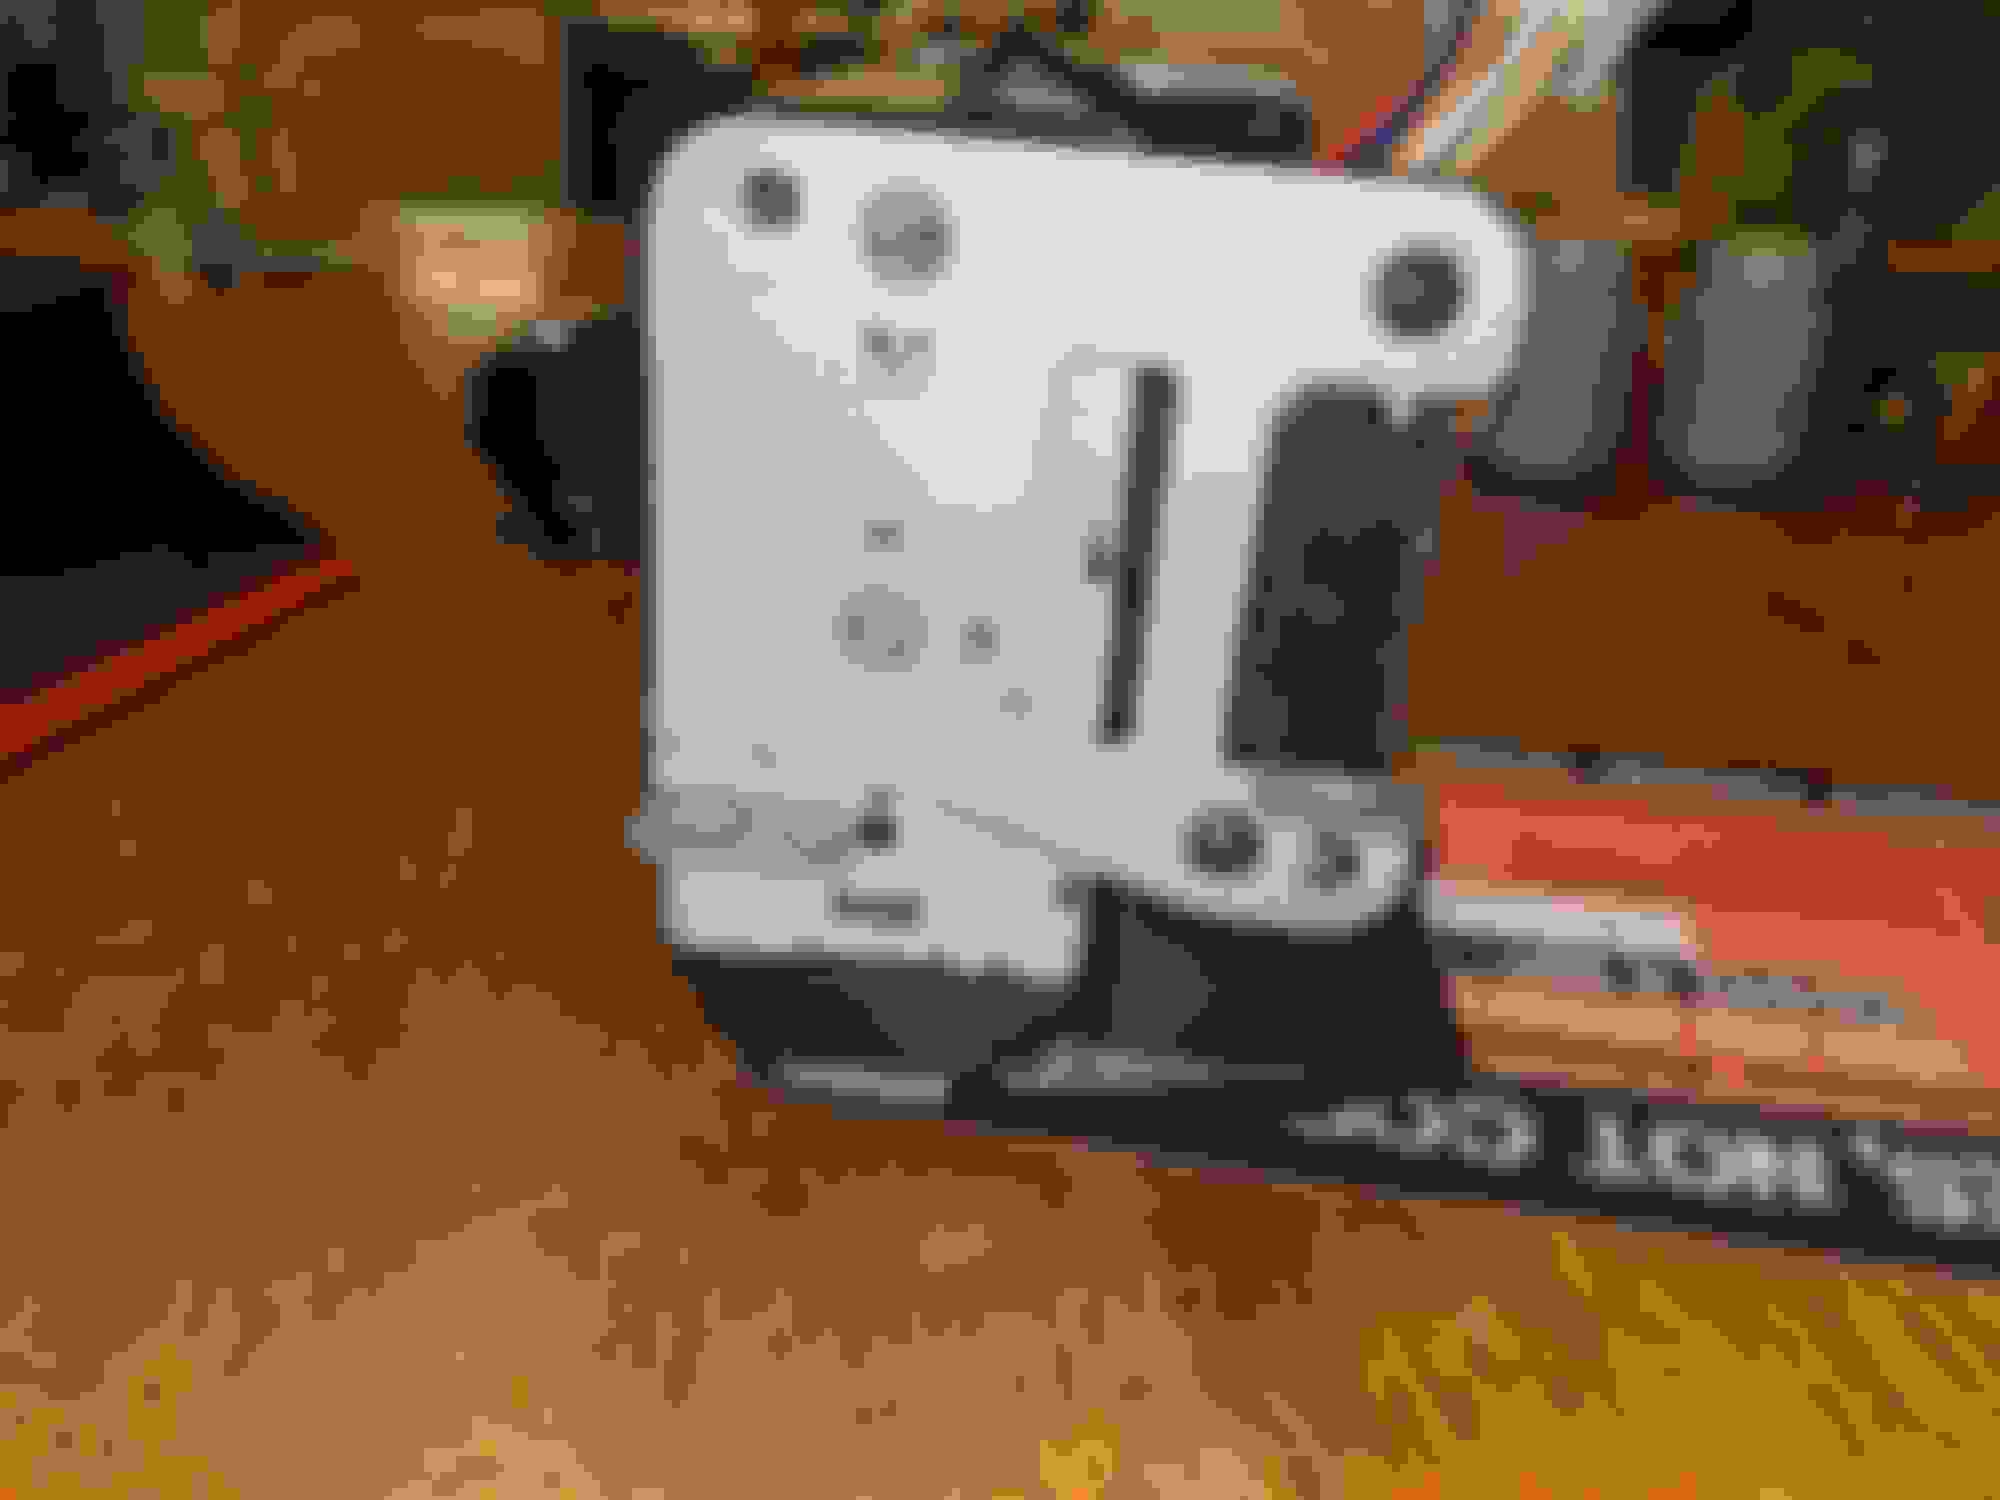
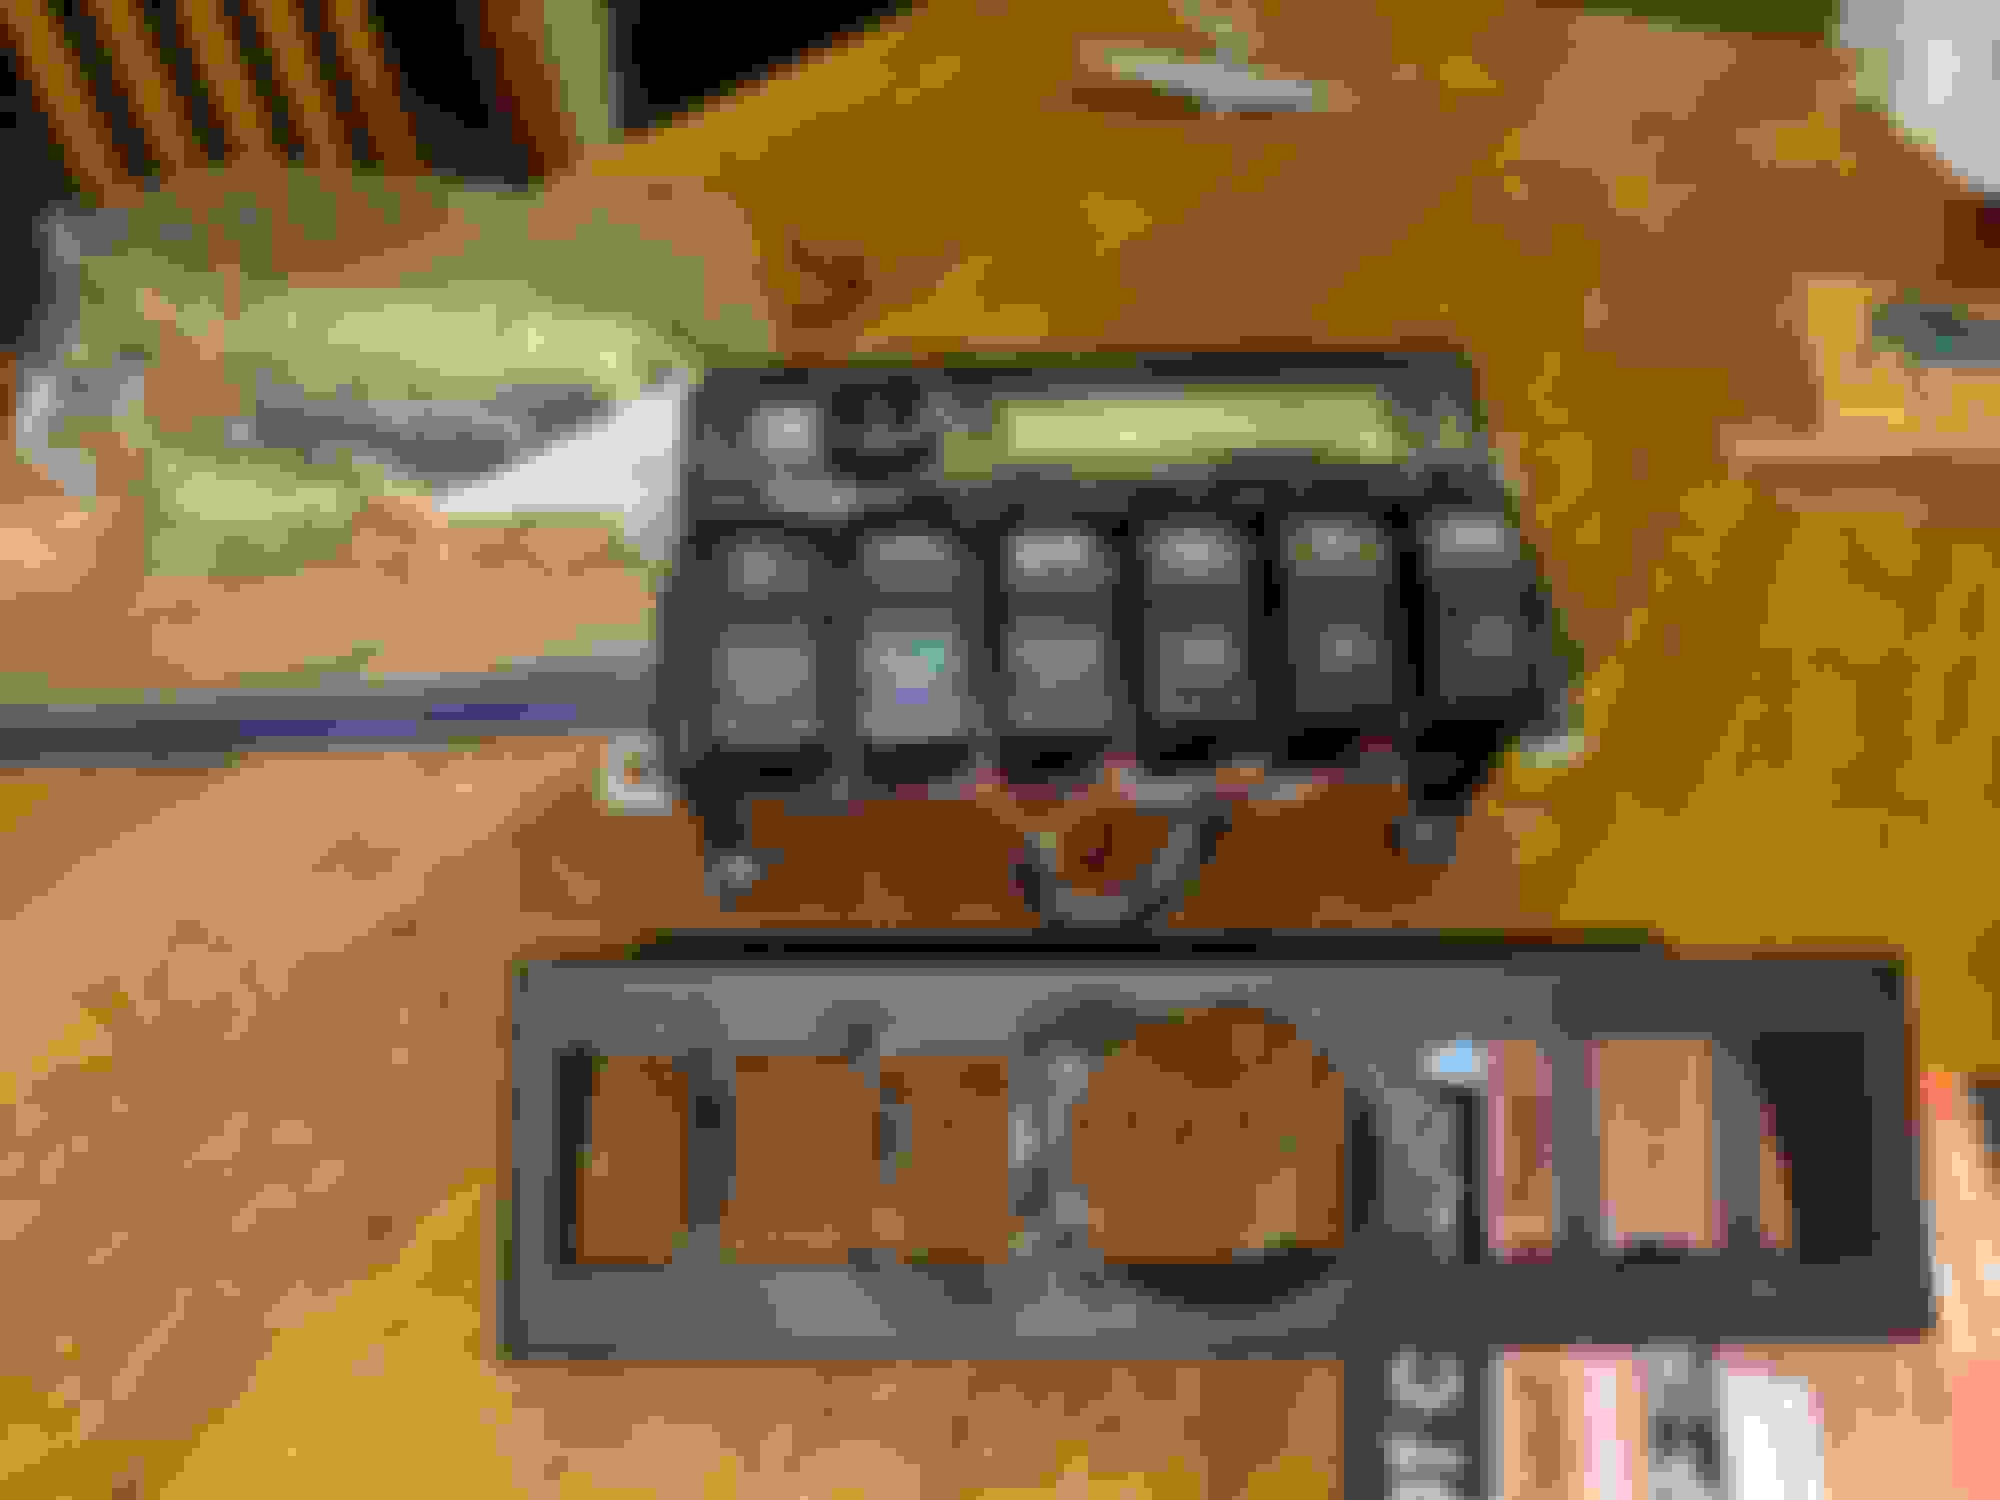
So while I was redoing all this wiring it was time to FINALLY get all the things together that I needed to a full bit of wiring and switches for all the off road LEDs I had collected over the years. So I added every bit of wire, switch, harness, relay and connector I needed to my Amazon cart and it was well over 200$. Turns out there are a lot of out of the box solutions for this kind of thing. Eventually I settled on a setup that was actually meant for a Jeep Jk. Took some modifying but, it was only 100$ for all the switches, wiring, relays, fuses, breaker and a sweet box it was all mounted in. Smoking deal. From another post in Yotatech I found a 6 gang switch panel that fits under the radio. It is meant for a Tacoma but a couple extra holes and it works great in the First Gen. Really happy with how everything turned out. https://www.paranoidfabrications.com...6-switch-holes
I also put my speakers in a new ABS panel I made for the tailgate. So far these are holding up well but I do have to be careful about smashing things into them. I have my eye on some tough boat speakers that will lay more flat.
I did my best to document all this and am really happy with how I did everything. I will just dump all the pics here since I have quite a few. And the last picture is the giant ass mess I have made.
It always bothered me that there is so much space between the plastic panels and the body that is basically unuseable. My stock panels really got destoryed over the years and since I had planned to install a new stereo setup and wanted to hide as much behind them as possible I thought now was a good time for new panels. I decided on ABS because its easy to work with, can be molded, cuts like wood and is thin. I wanted to be able to use as much of the space behind the panels for storage as possible. So I used the old panels as templates but cut these panels into smaller pieces so they could easily be removed and allow access. I used magnets instead of clips again for easy removal. So far they have held well but haven't really put them through a long trip. I figure if they bother me a small cam bolt or something should fix it up. Love the way these turned out and my god it opened up a lot of storage. Its not easy to get to so I am keep the "hope I never need this stuff there" spare parts, emergency kit etc. I was able to put the spare parts for an entire front end in just one spot. Pretty great use of space.
If you have spent any time on 4crawler.com you have probably come across their 1" body lift. They darn near recommend it for most rigs, for clearance of tires but also for more clearance to mount sliders. I finally got mine installed with new bushings as well. I highly recommend it. The install was easy (thank you California for a dry climate and non-seized bolts) and with the new bushings the ride comfort is noticeable. No modifications where need to install it, just take out the old and put in the new. With this and just a tiny bit of fender trimming I am now clearly 295/75/r17s Patagonia Mud Terrains. They call them a 34 and I do cus it sounds good but they are a true 33.5x12. Def a bit upgrade. Also got my hands on some killer deals lately. Trail gear front bumper and a custom bumper in the rear. The previous owner mated a trail gear bumper with the swing out of a SmittyBilt Atlas bumper meant for a JK. The rig is looking mighty these days.

 May 29, 2018 | 03:20 PM