22re build
#2
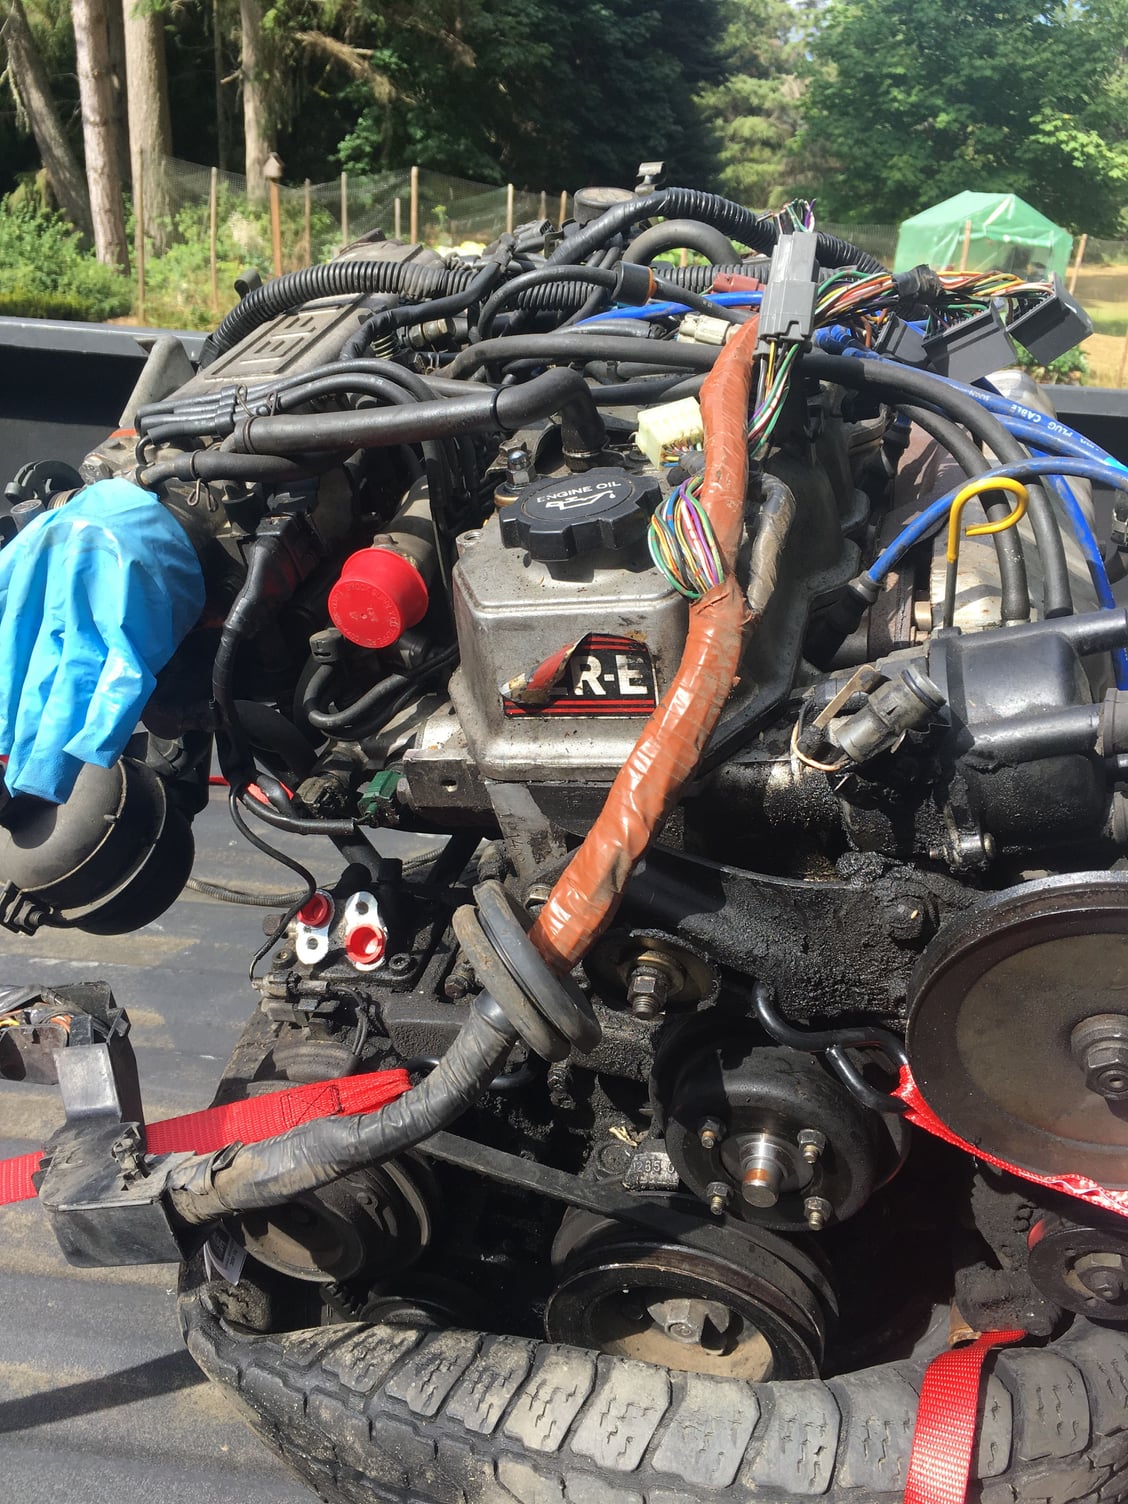
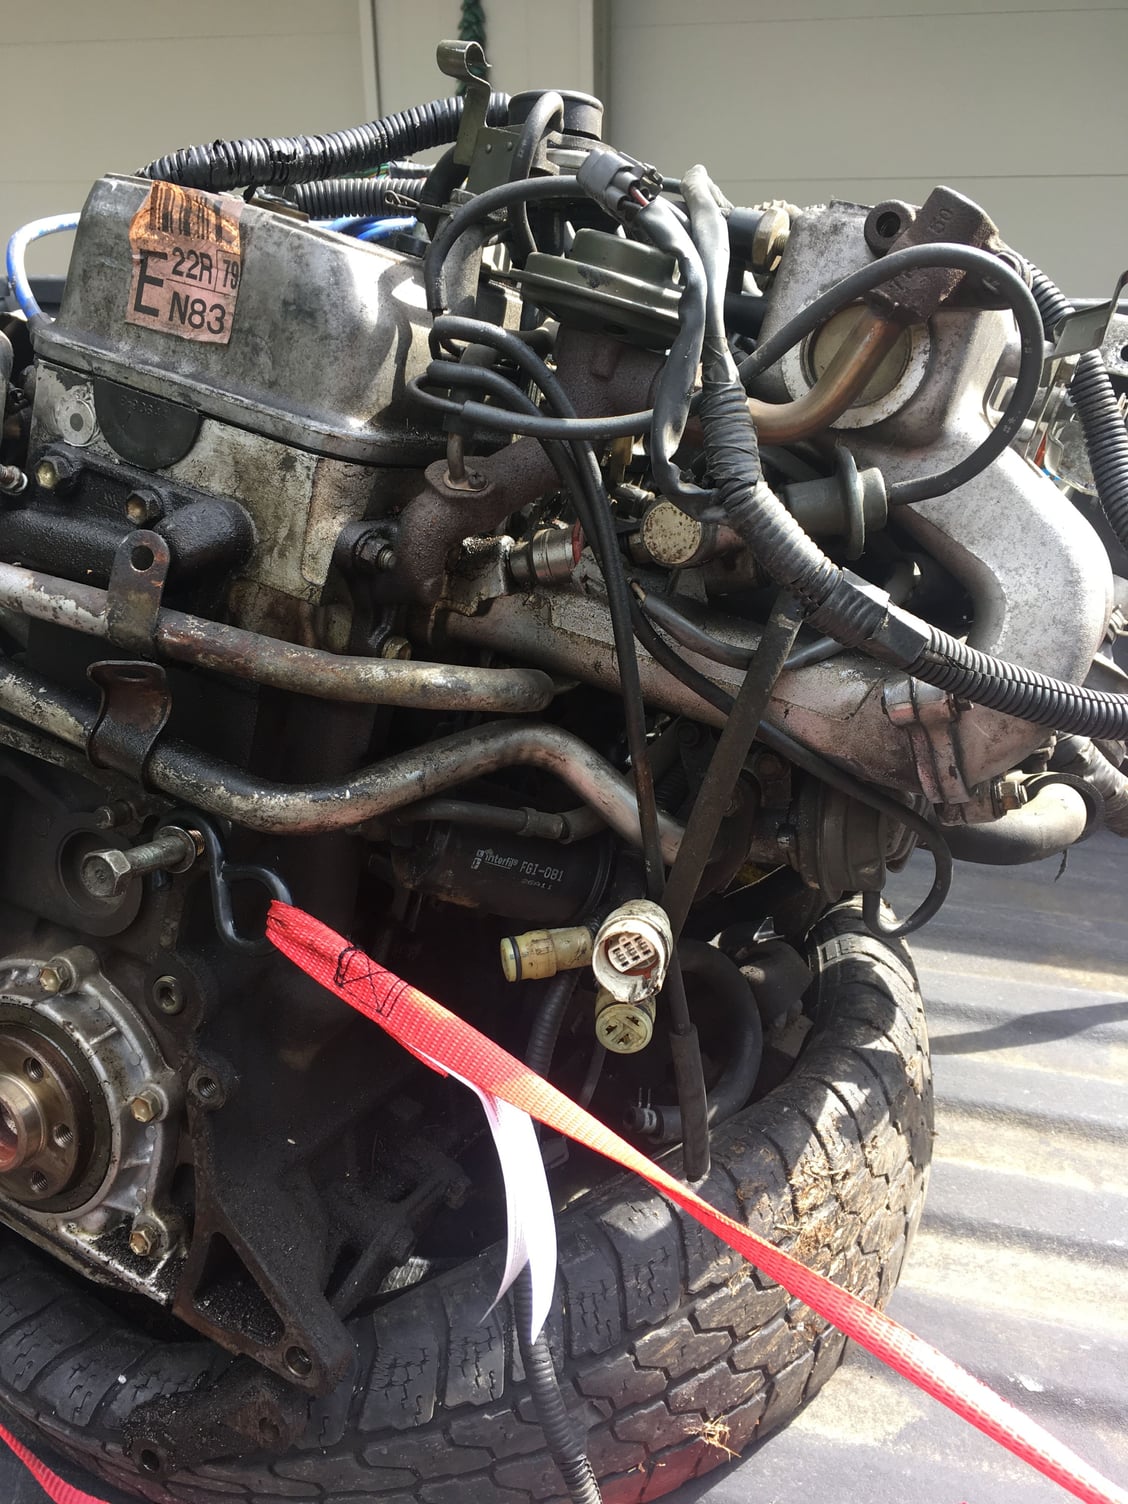
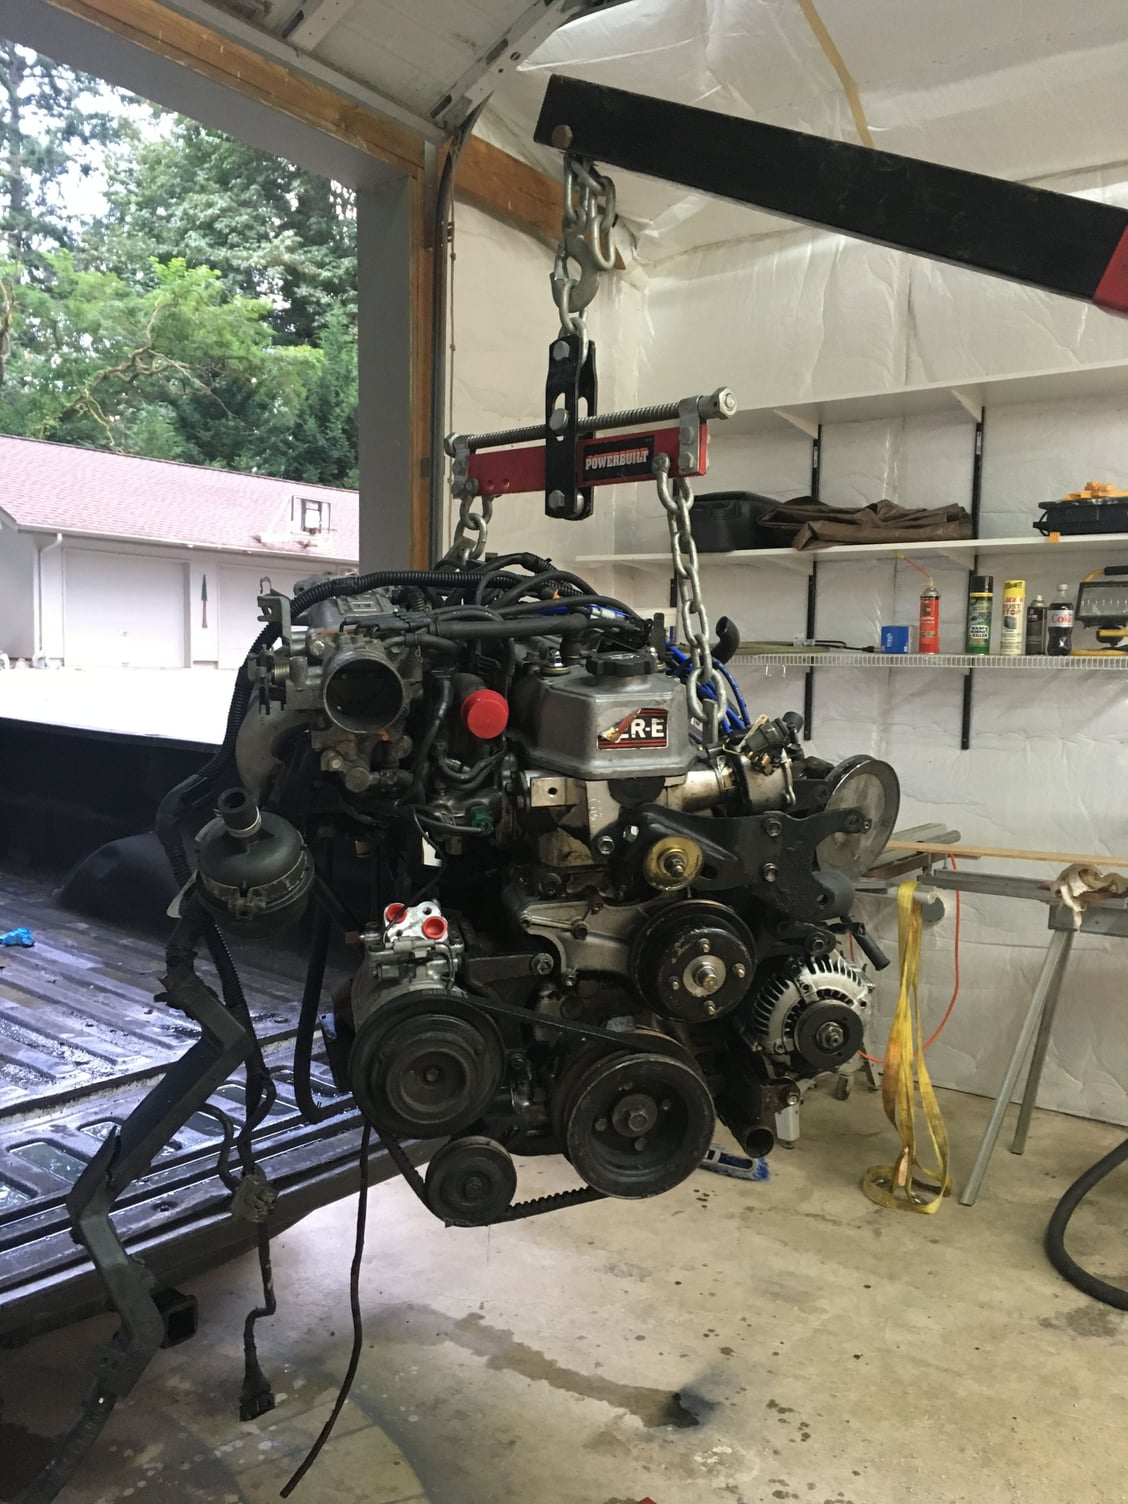
This build started last August 2018 as a project with my young cousin who owns a clean and stock 87 4runner. His runner runs well, but he often talked about eventually doing a build, but college has kept him busy. I picked up this 22re at a junkyard out of a wrecked 89 pickup 2wd auto trans, with 189,000 miles. As with most junkyard claims, I was told it runs. The price was $600 and included all accessories (alt, ps, ac), wiring harness and computer. It was an oily mess and appeared to have had the at least the head and front over off by a PO. I discussed with Chris as "plug-and-play". We would build the motor and get it as ready as we could for a swap.
Last edited by Herky; 05-30-2019 at 10:12 PM.
#3
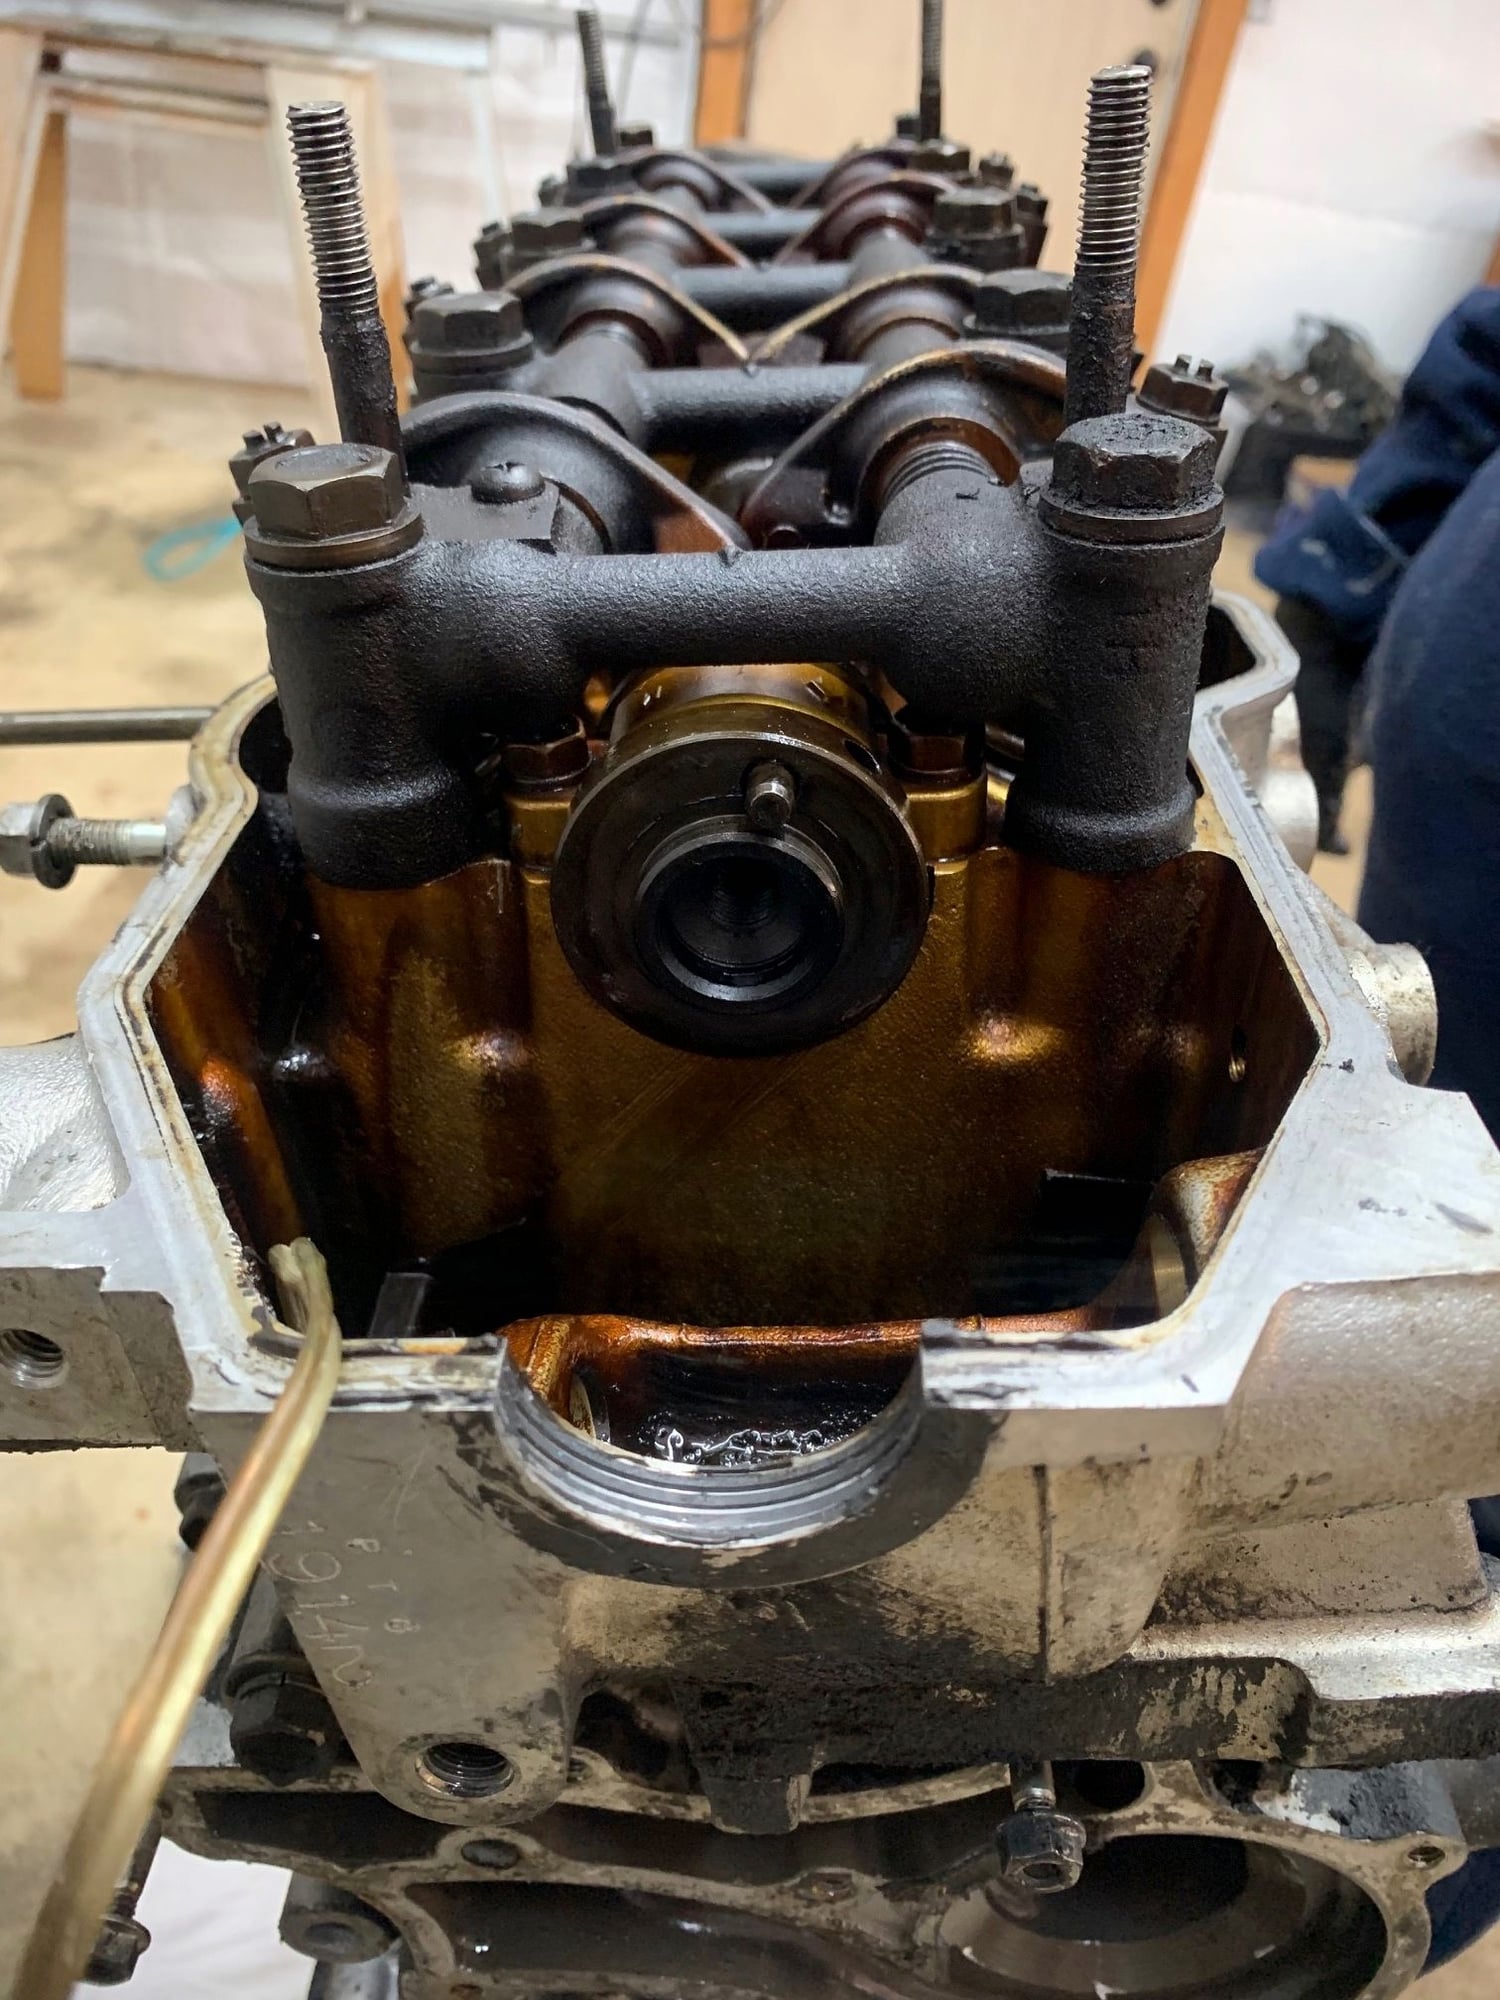
Head and front cover had been off before. This engine was a dirty mess.
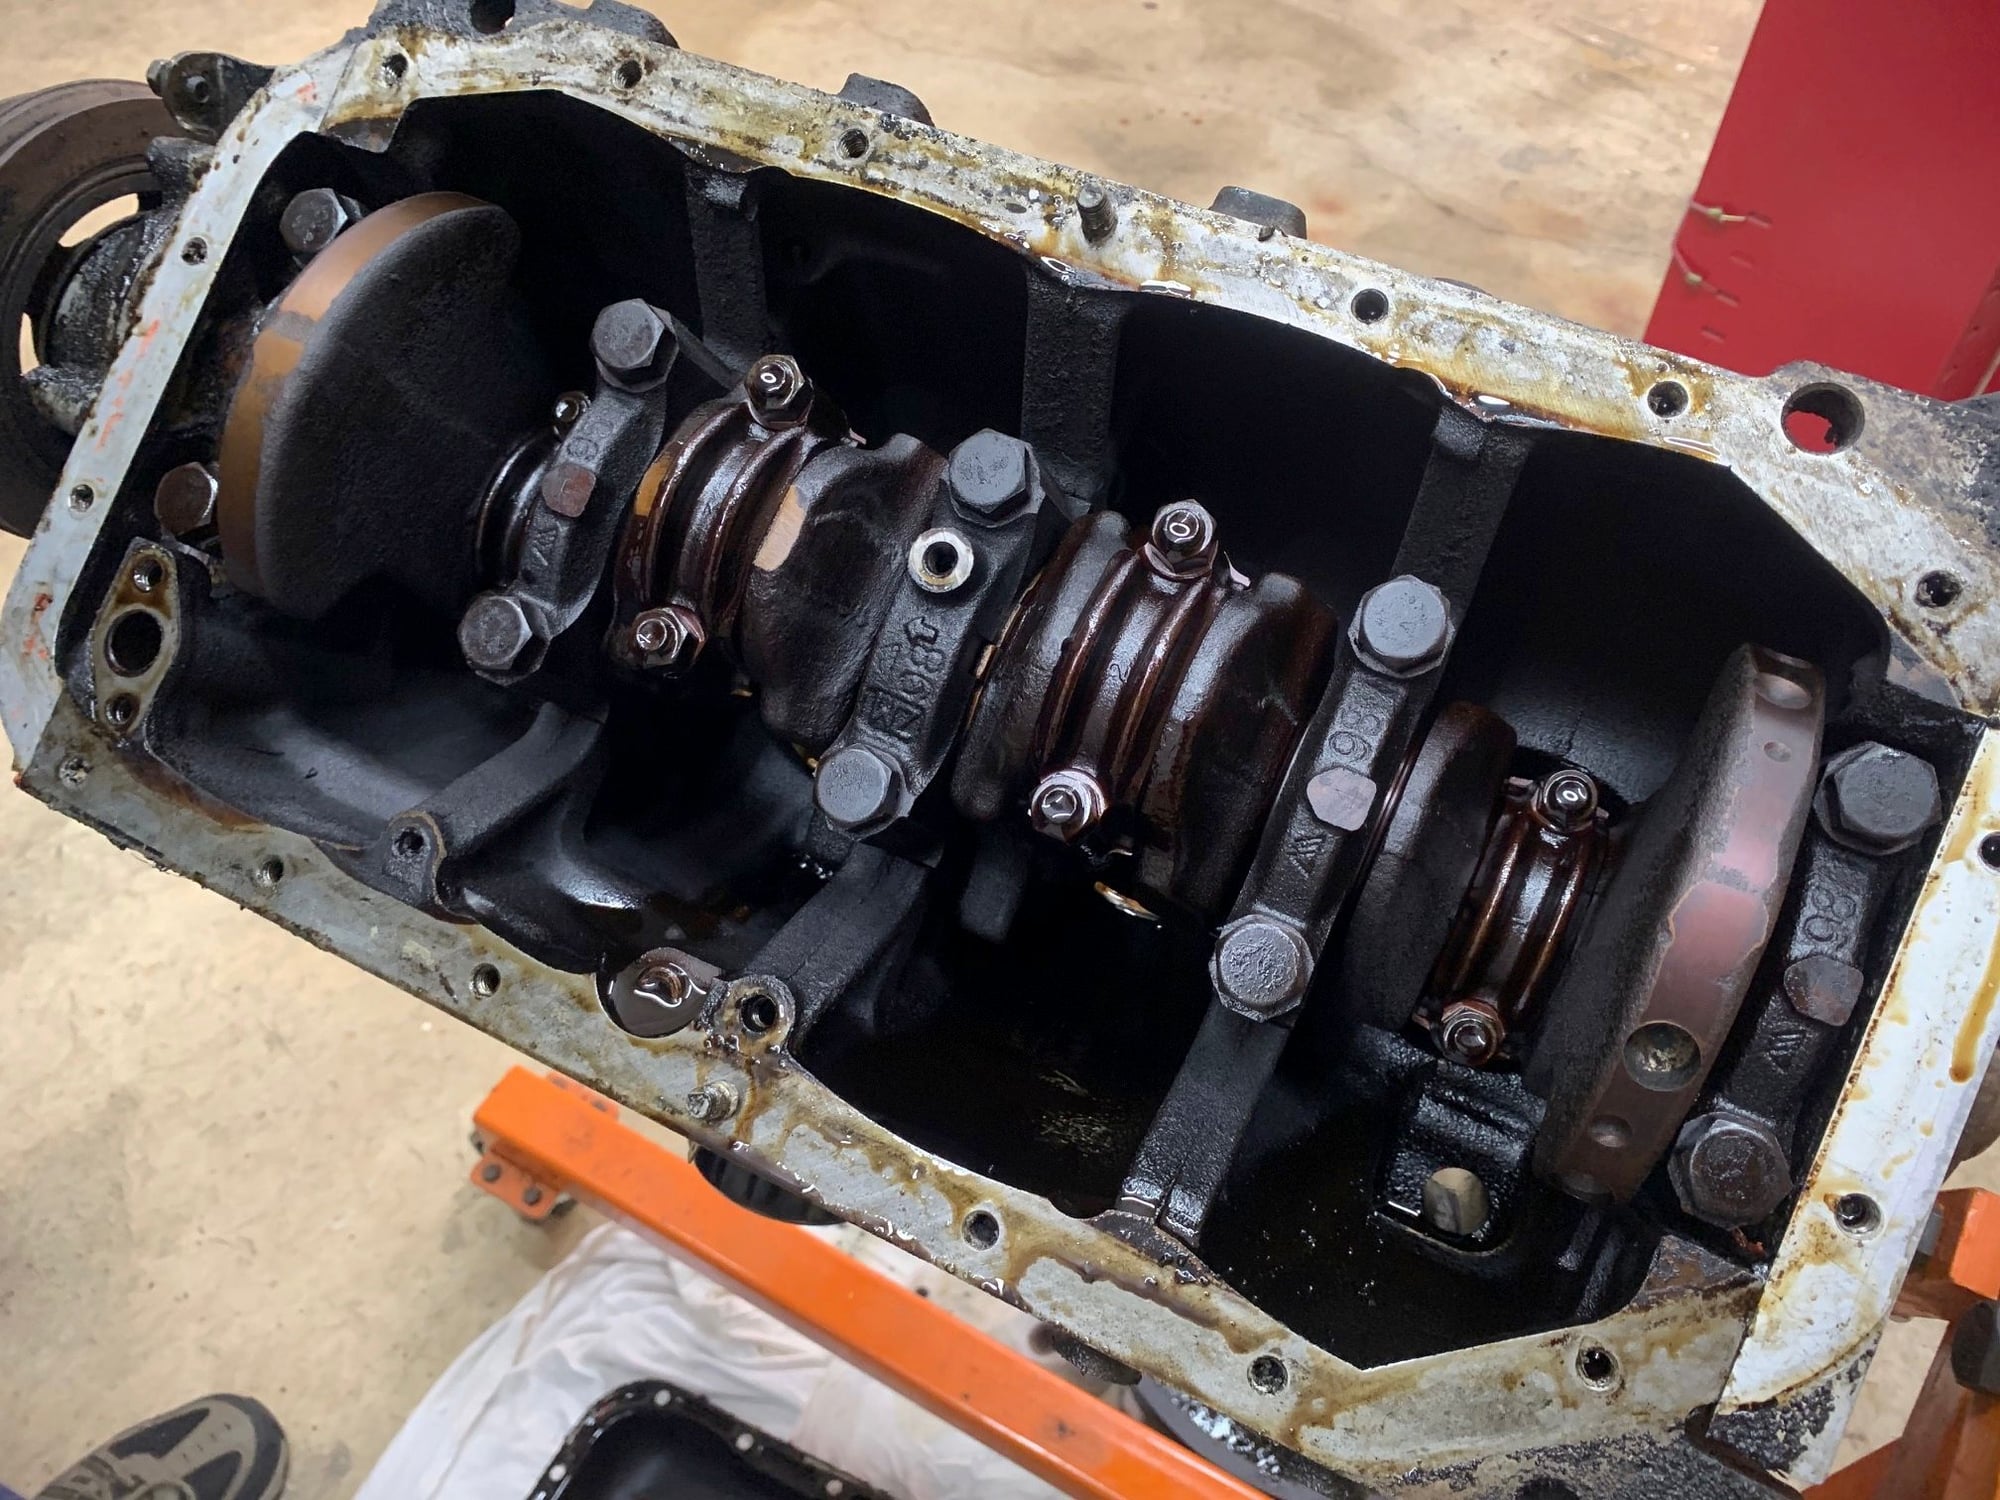
Forgot to take photos, but main and rod bearings surprisingly in great shape. Time for the machinist to take over.
#4
22re build
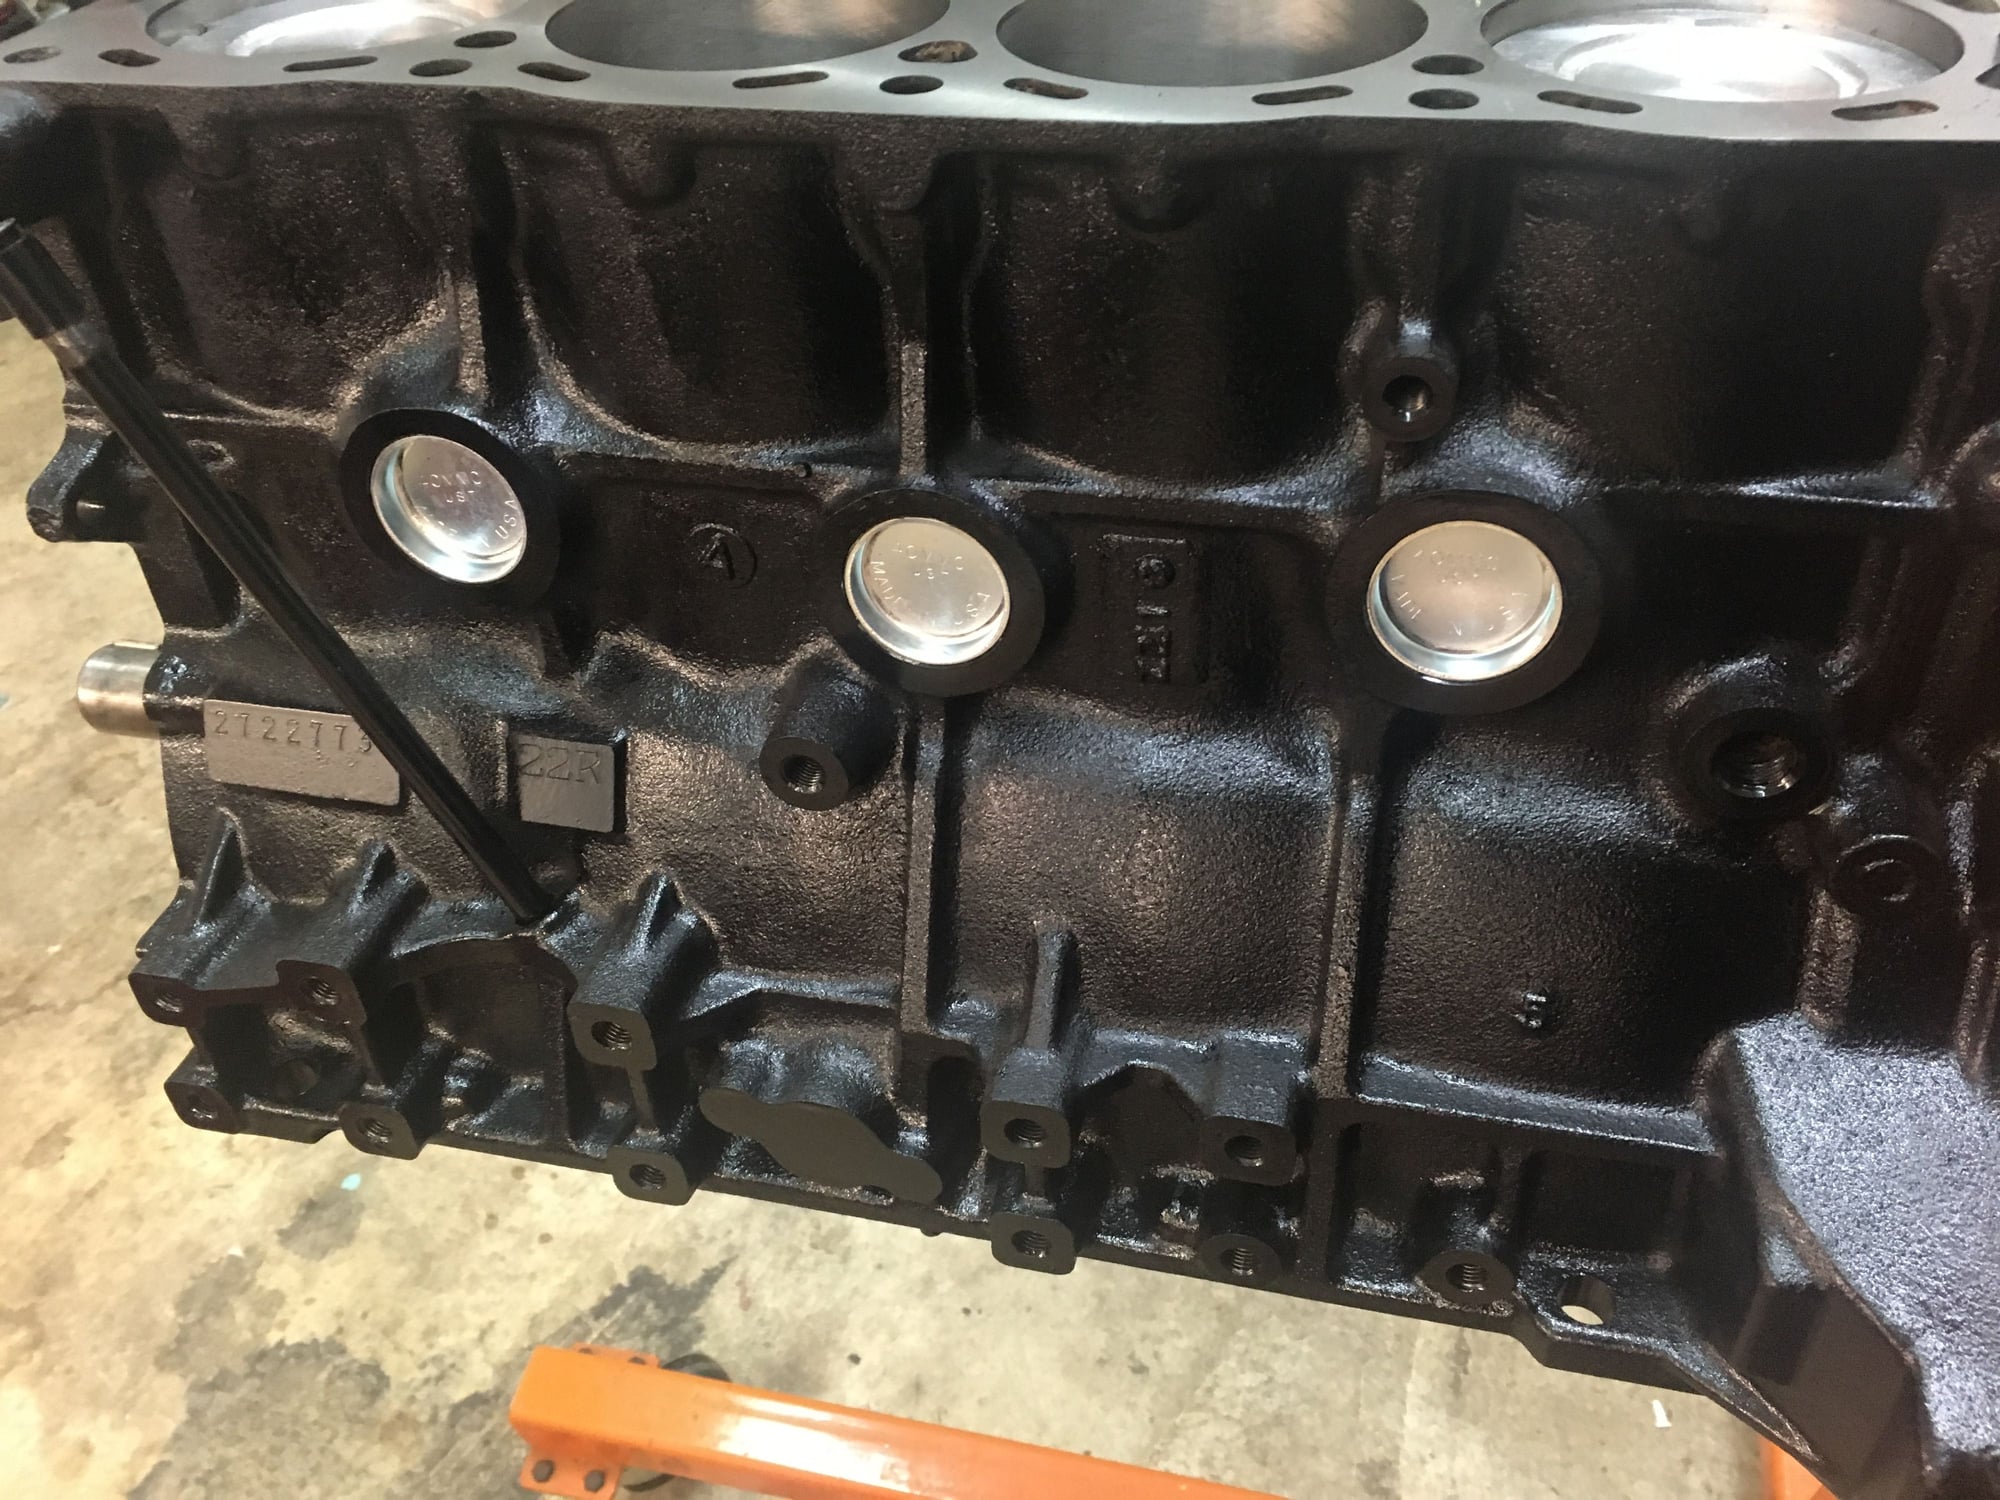
Back from machinist. Crank only required polishing. King bearings. Rods sized. .030 over, cast pistons. decked .004. Rotating assembly balanced.
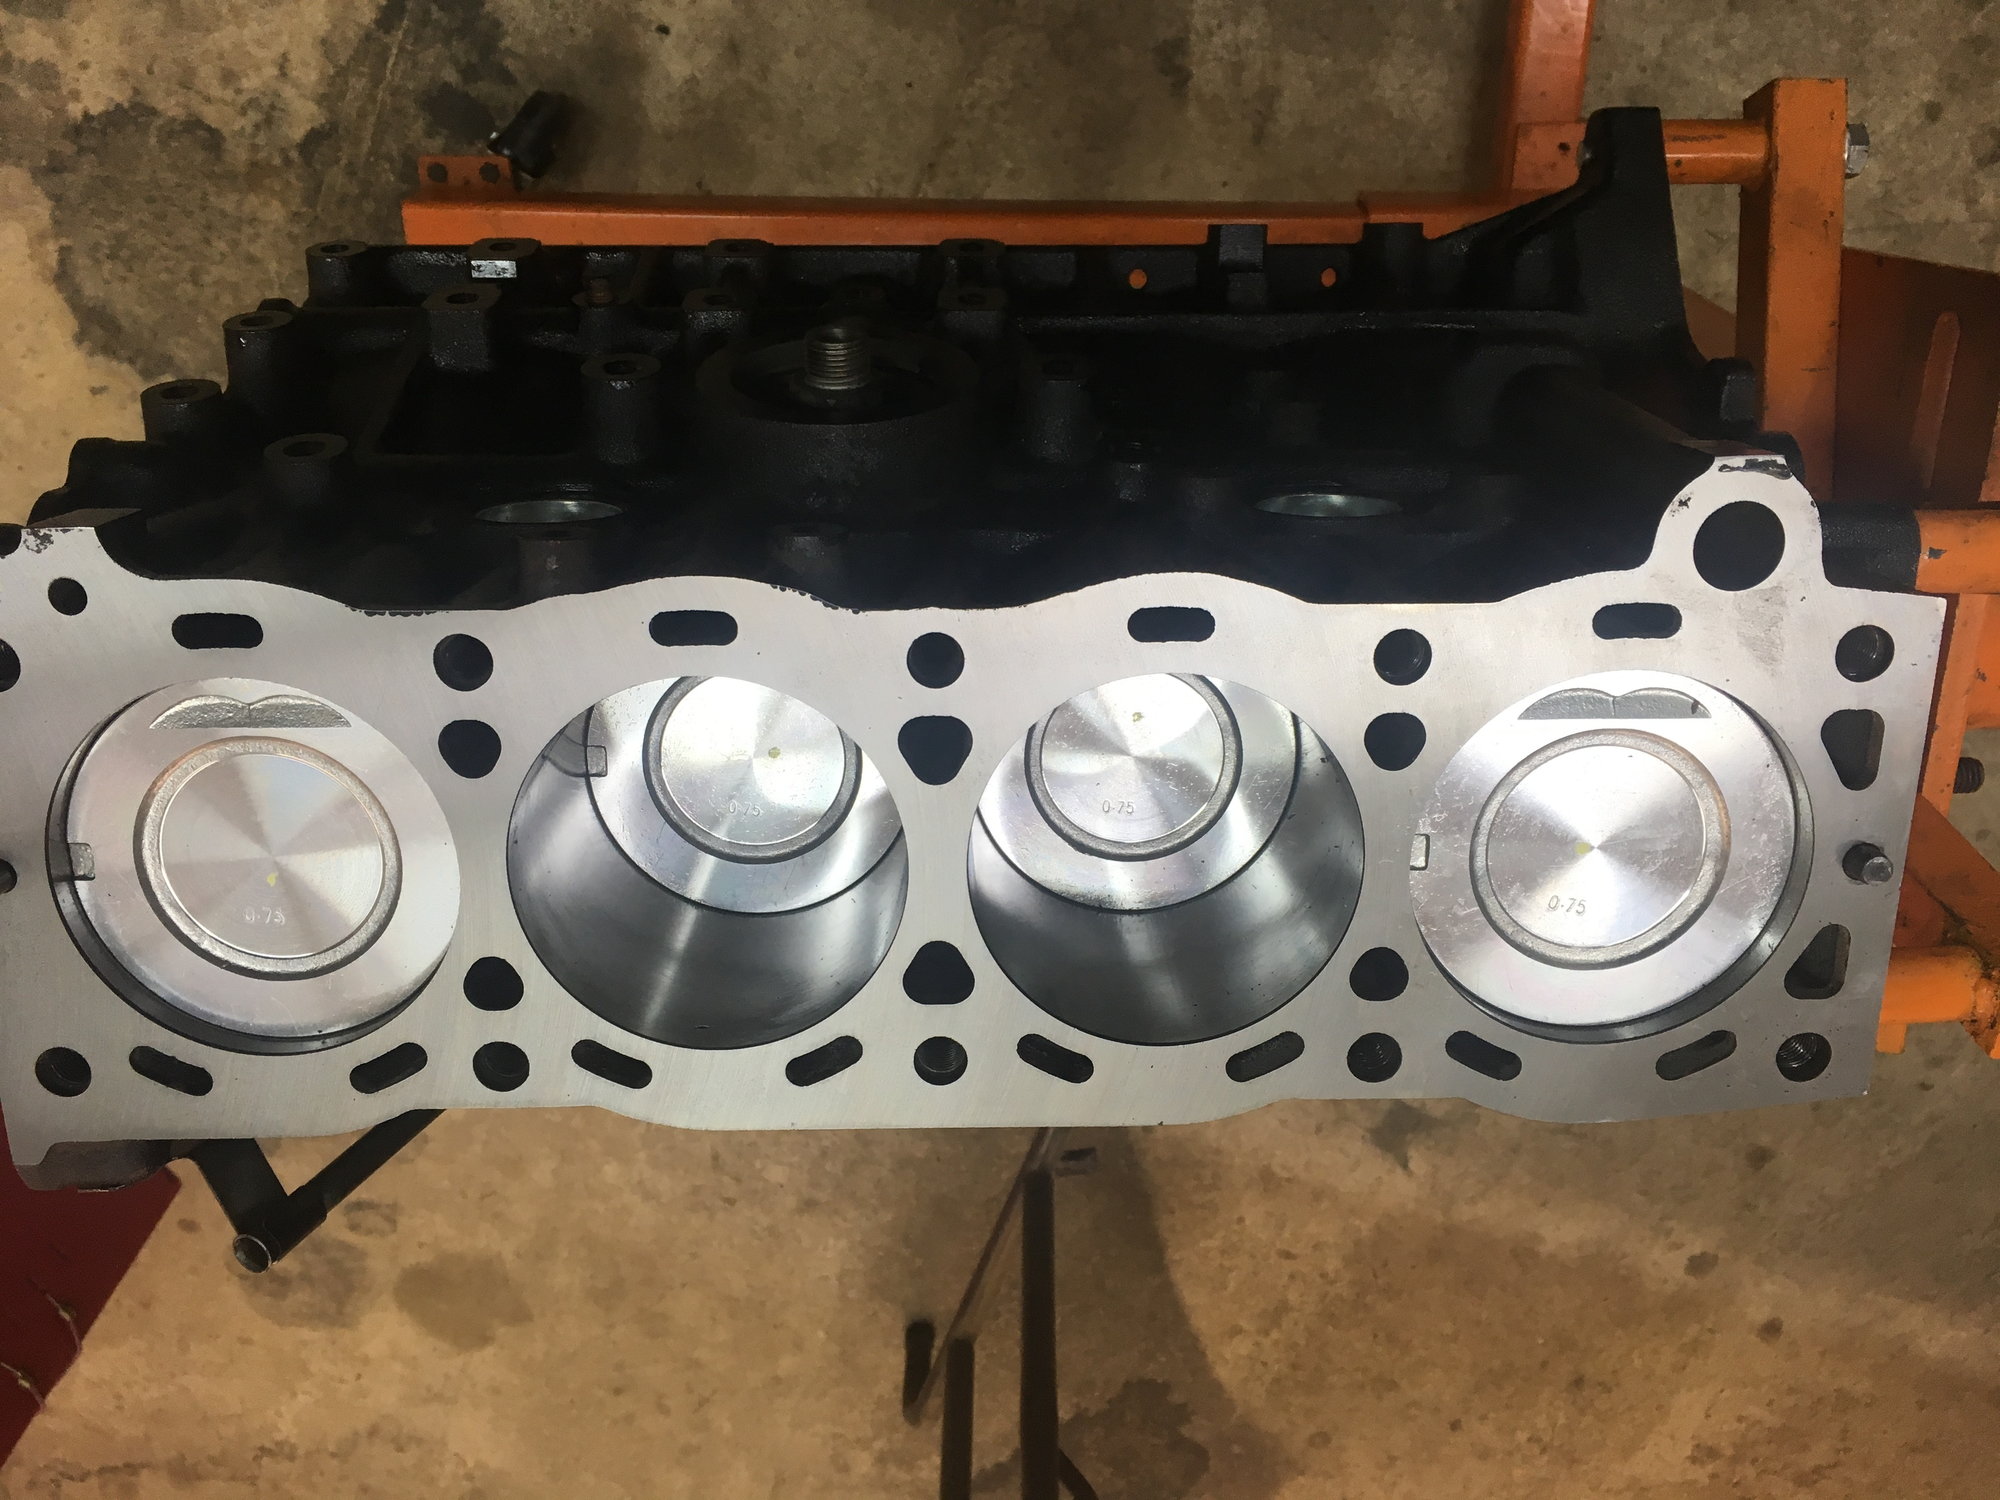
Machinist talked me out of torque plating since it was a stock build. I had planned on using stock Toyota head bolts to 58 ft-lbs. I hope I didn't screw up here.
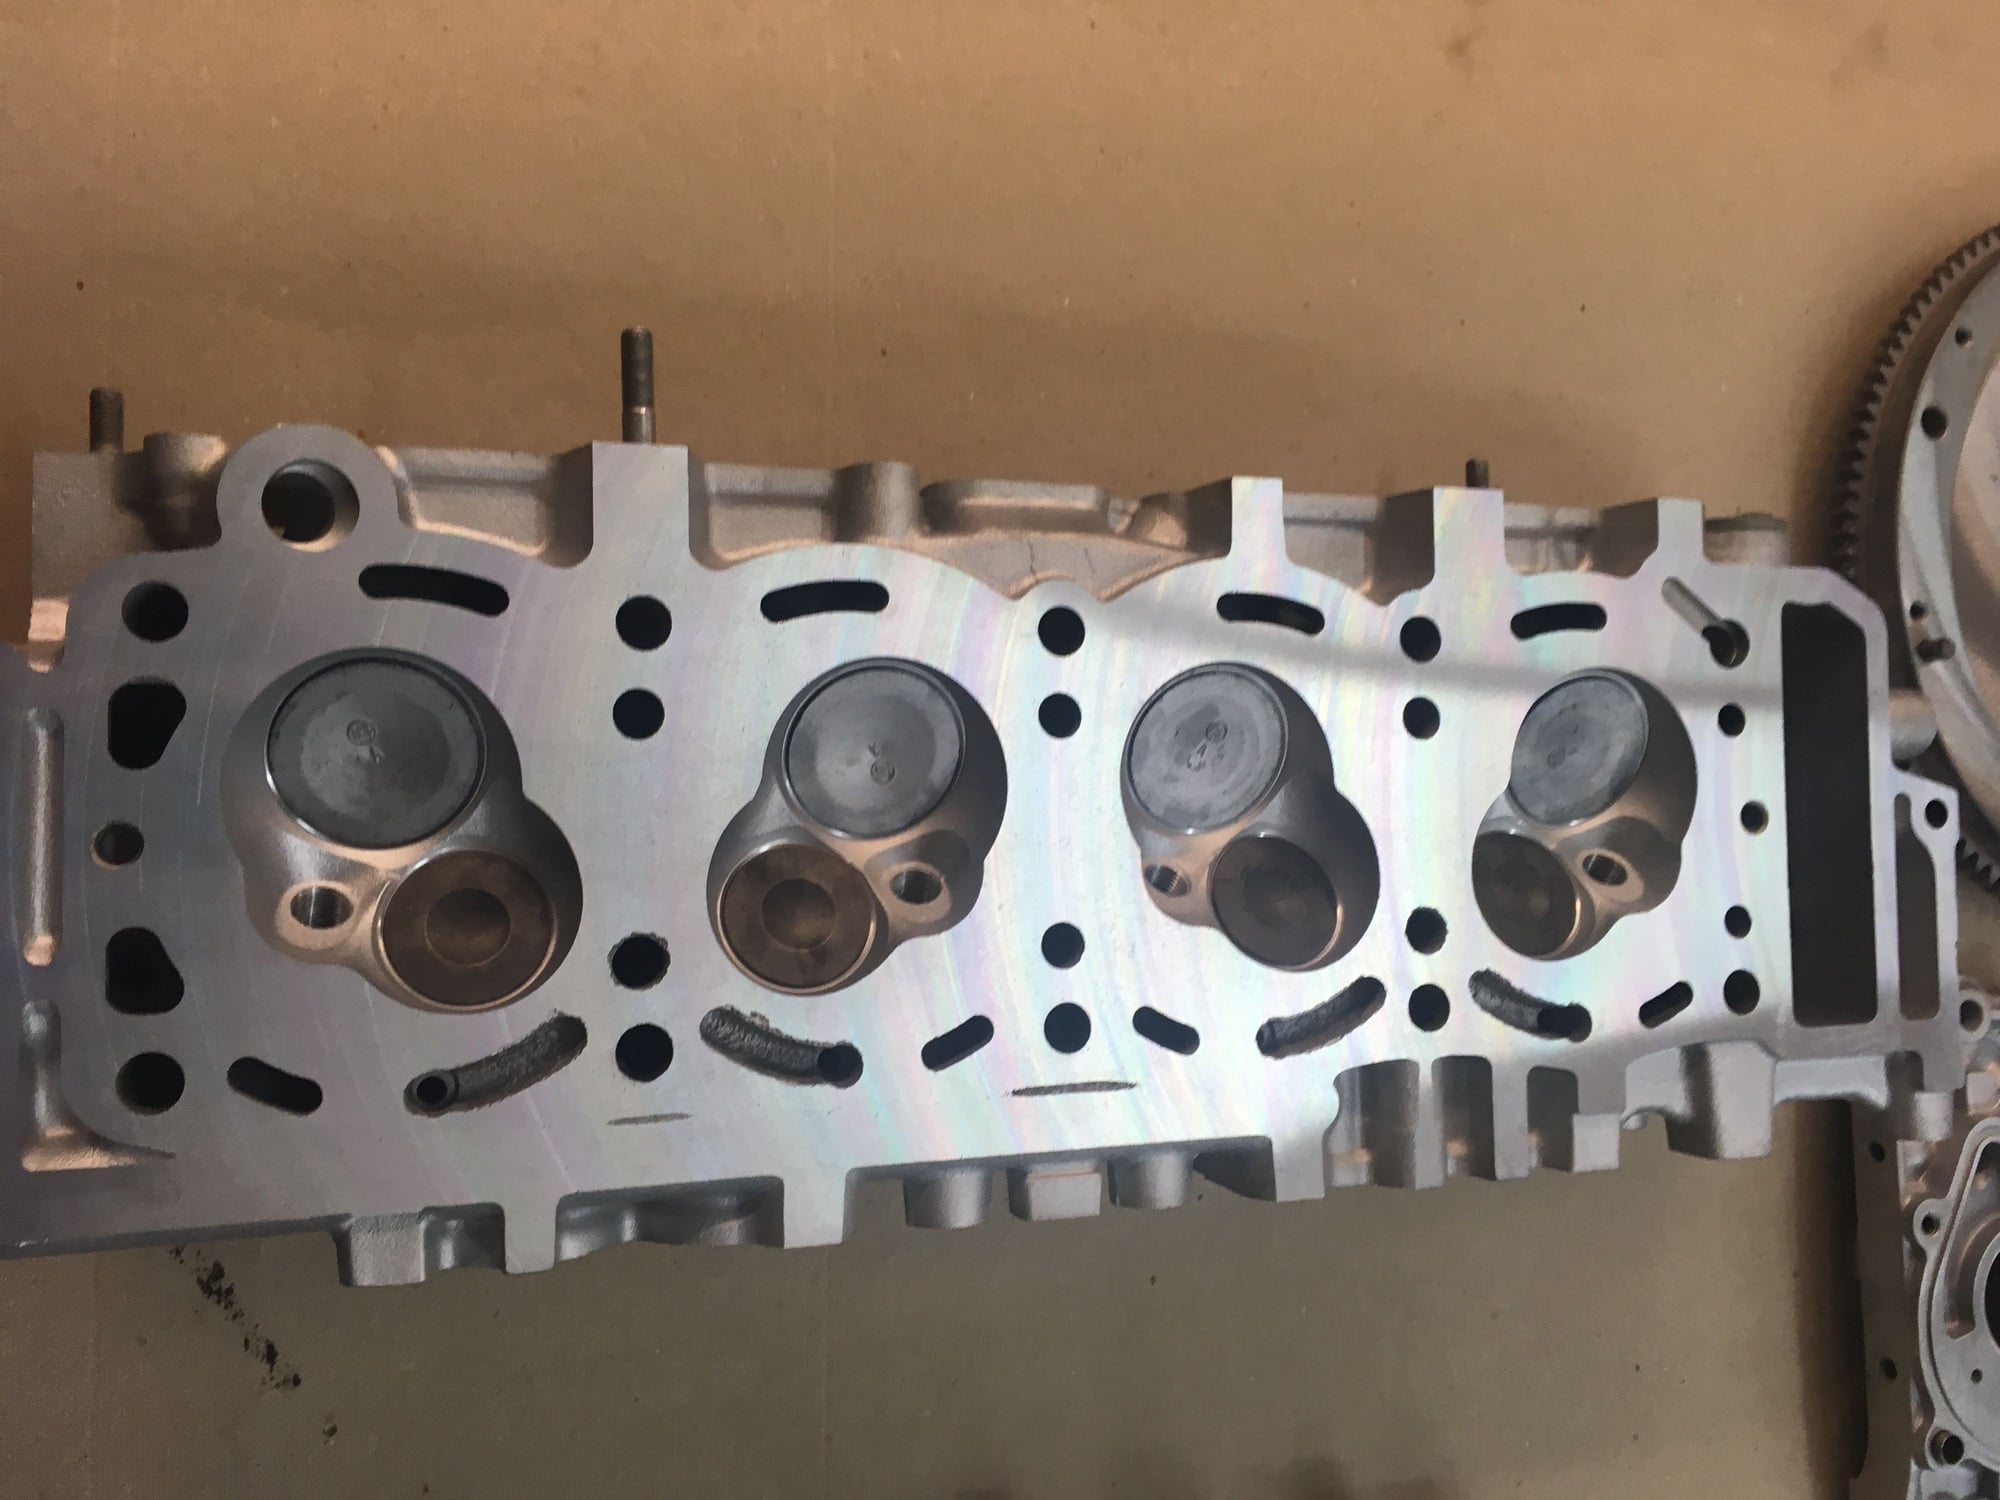
4 exhaust valves replaced. Head milled .004
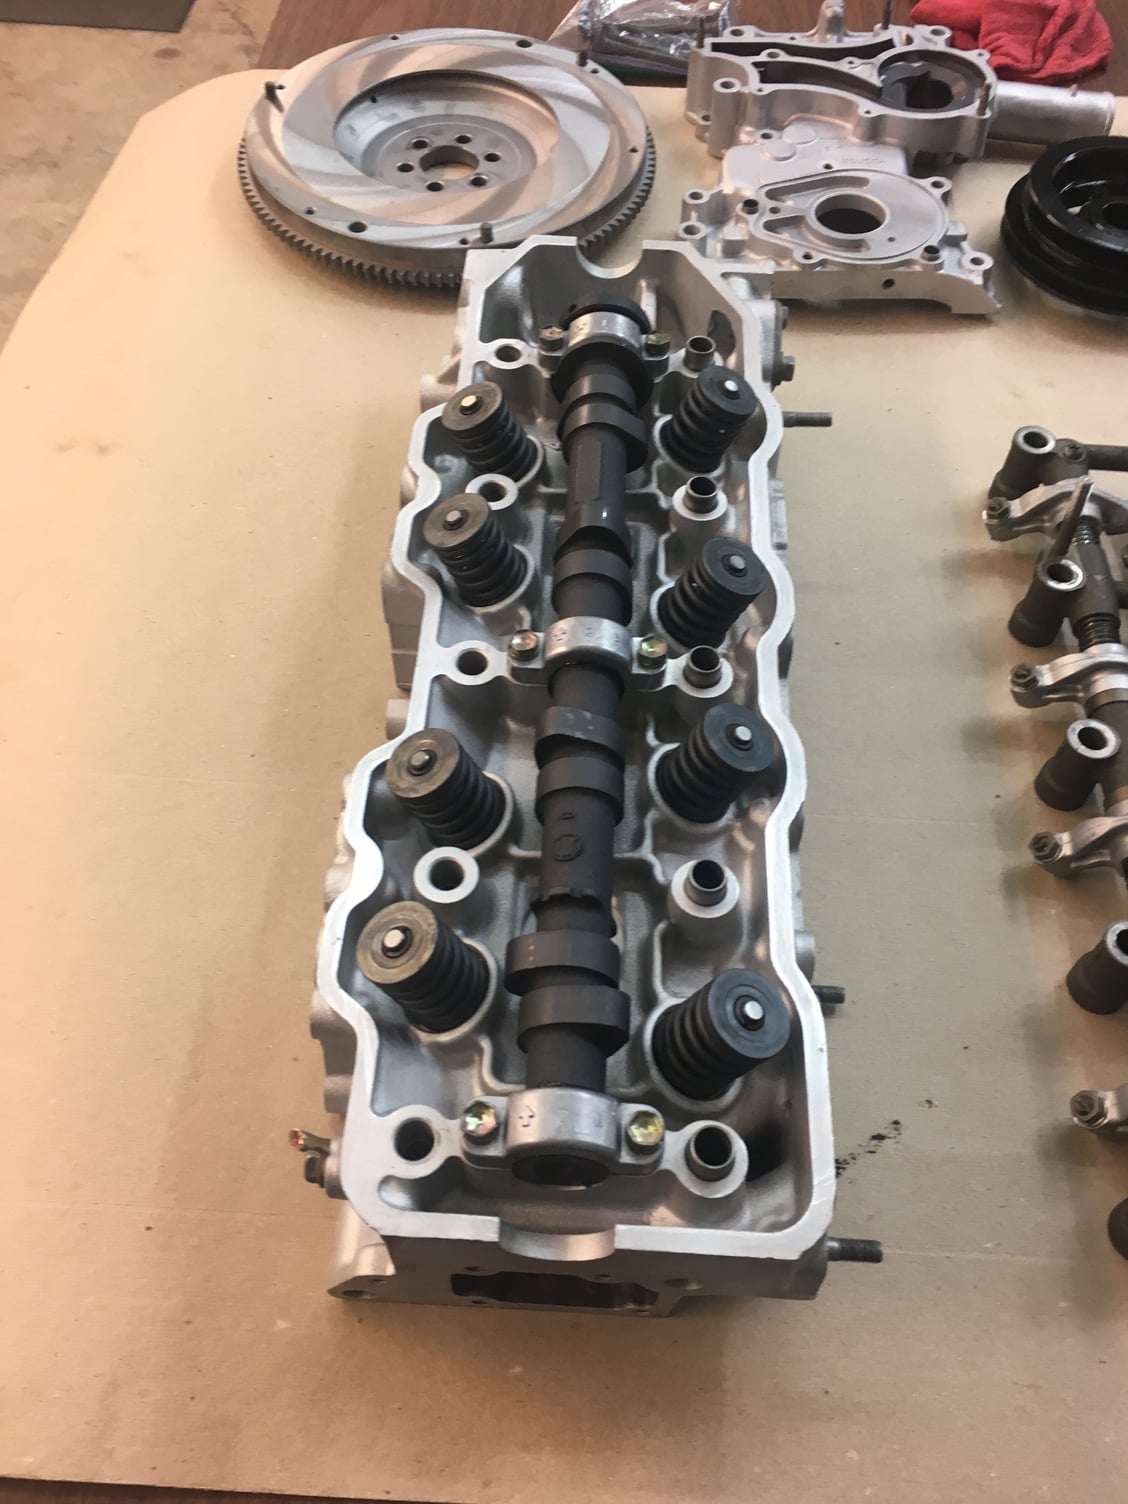
Stock cam. Machinist had a flywheel for a good price (engine was out of auto trans car). In background.
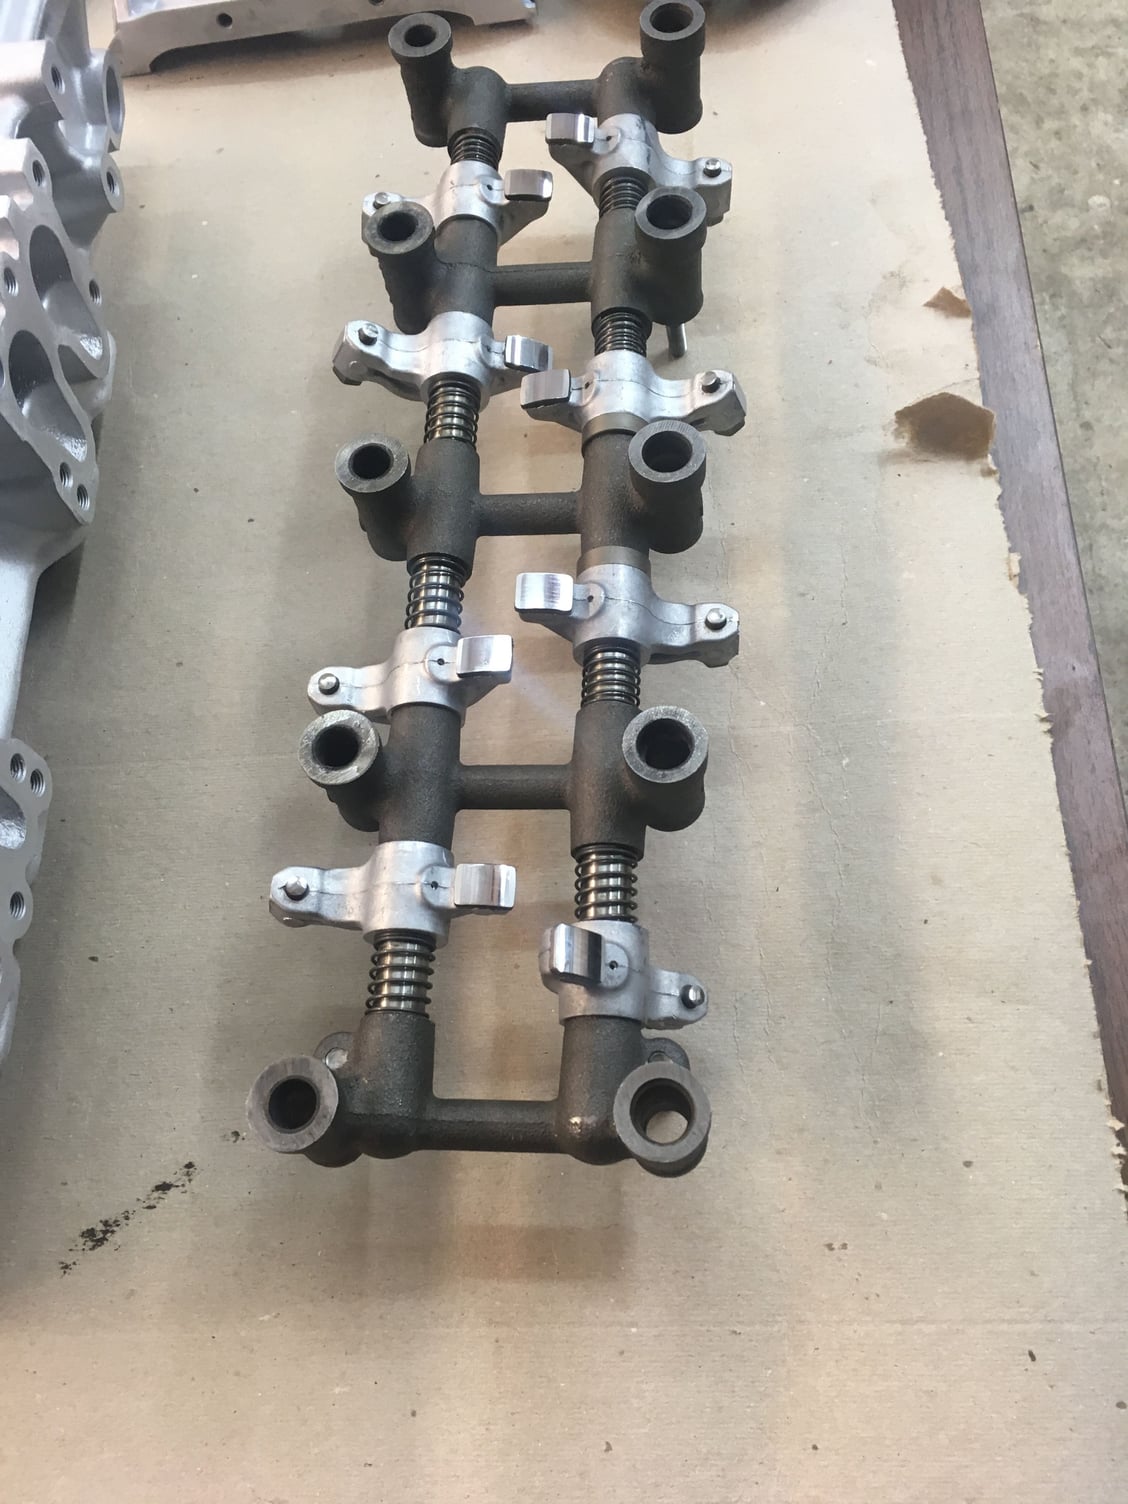
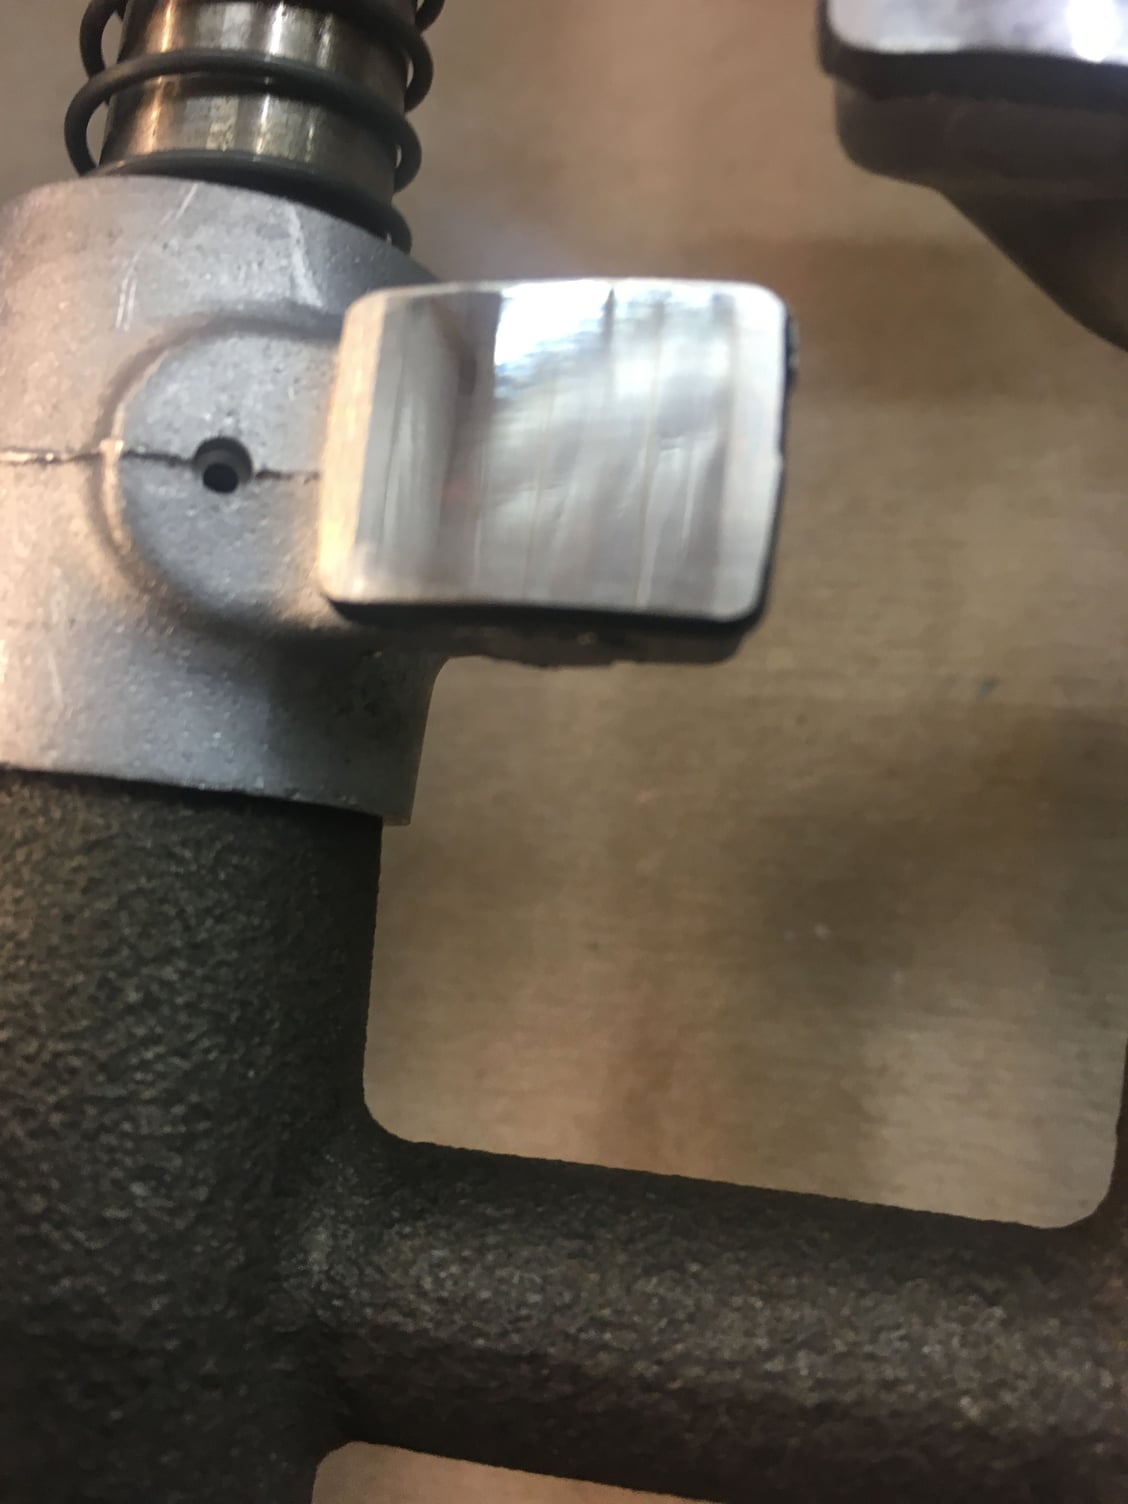
Rocker bridge. rocker faces were in great shape and lightly polished. BUT, it looked like the assembly was not disassembled (I didn't specify). Lesson learned.
#5
22re
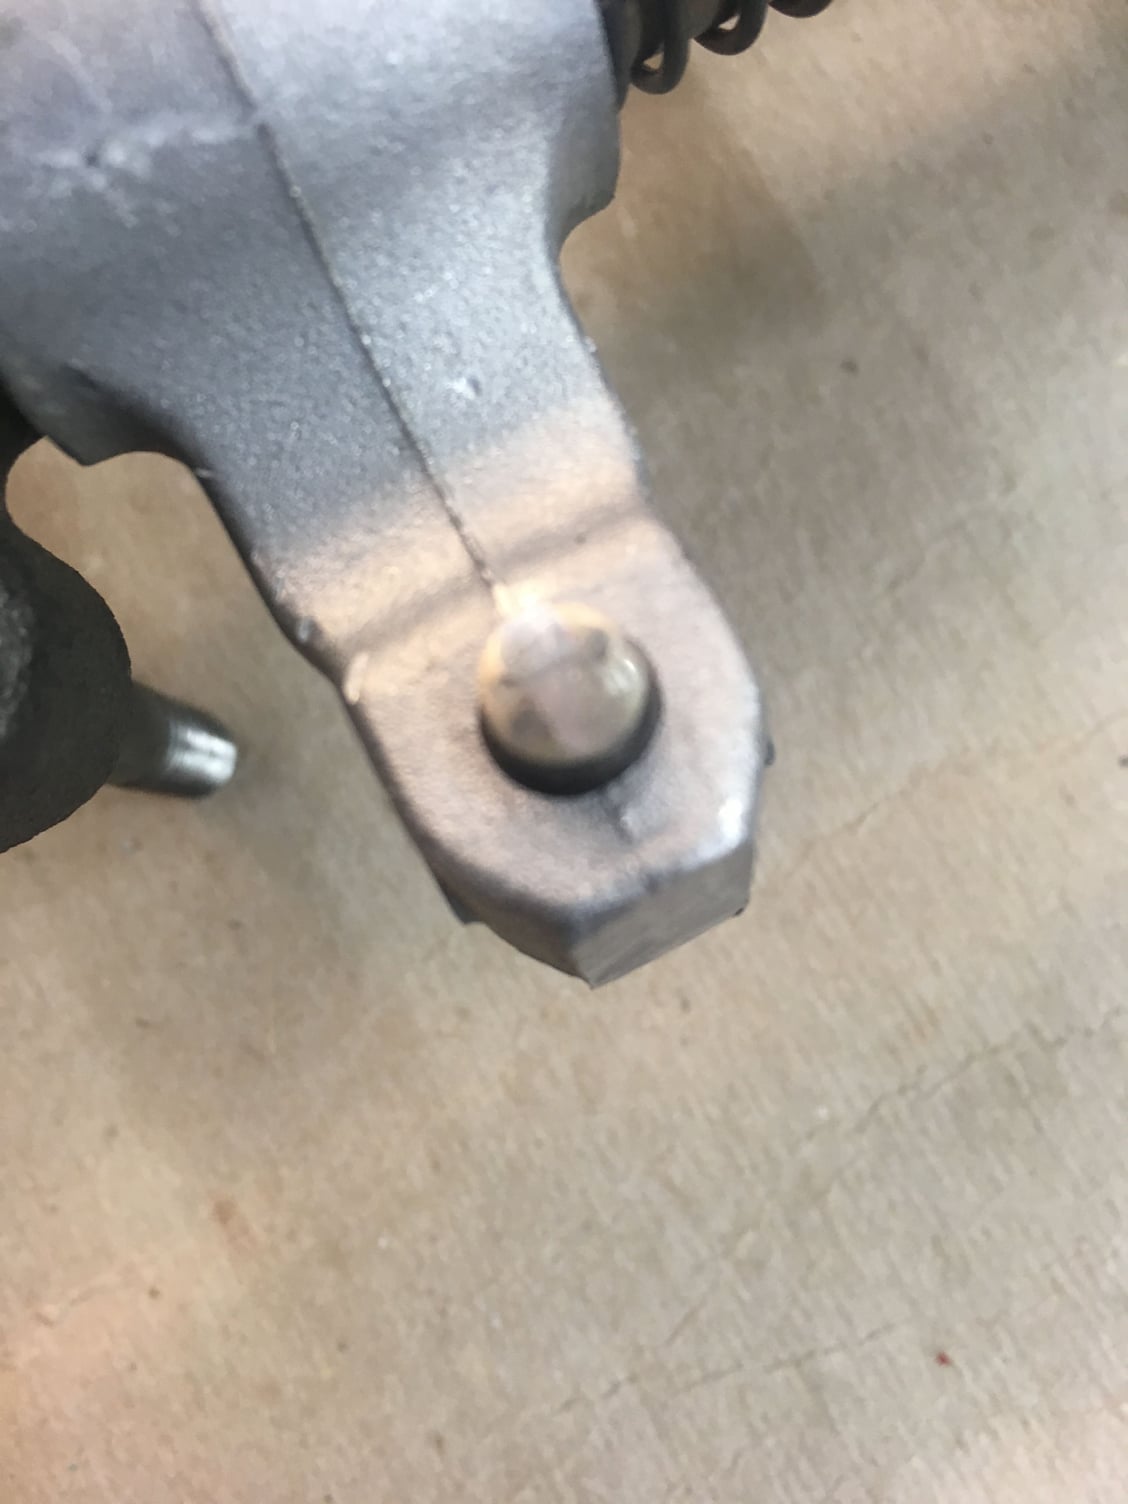
Valve adjuster bolts looked a bit hammered. Replaced.
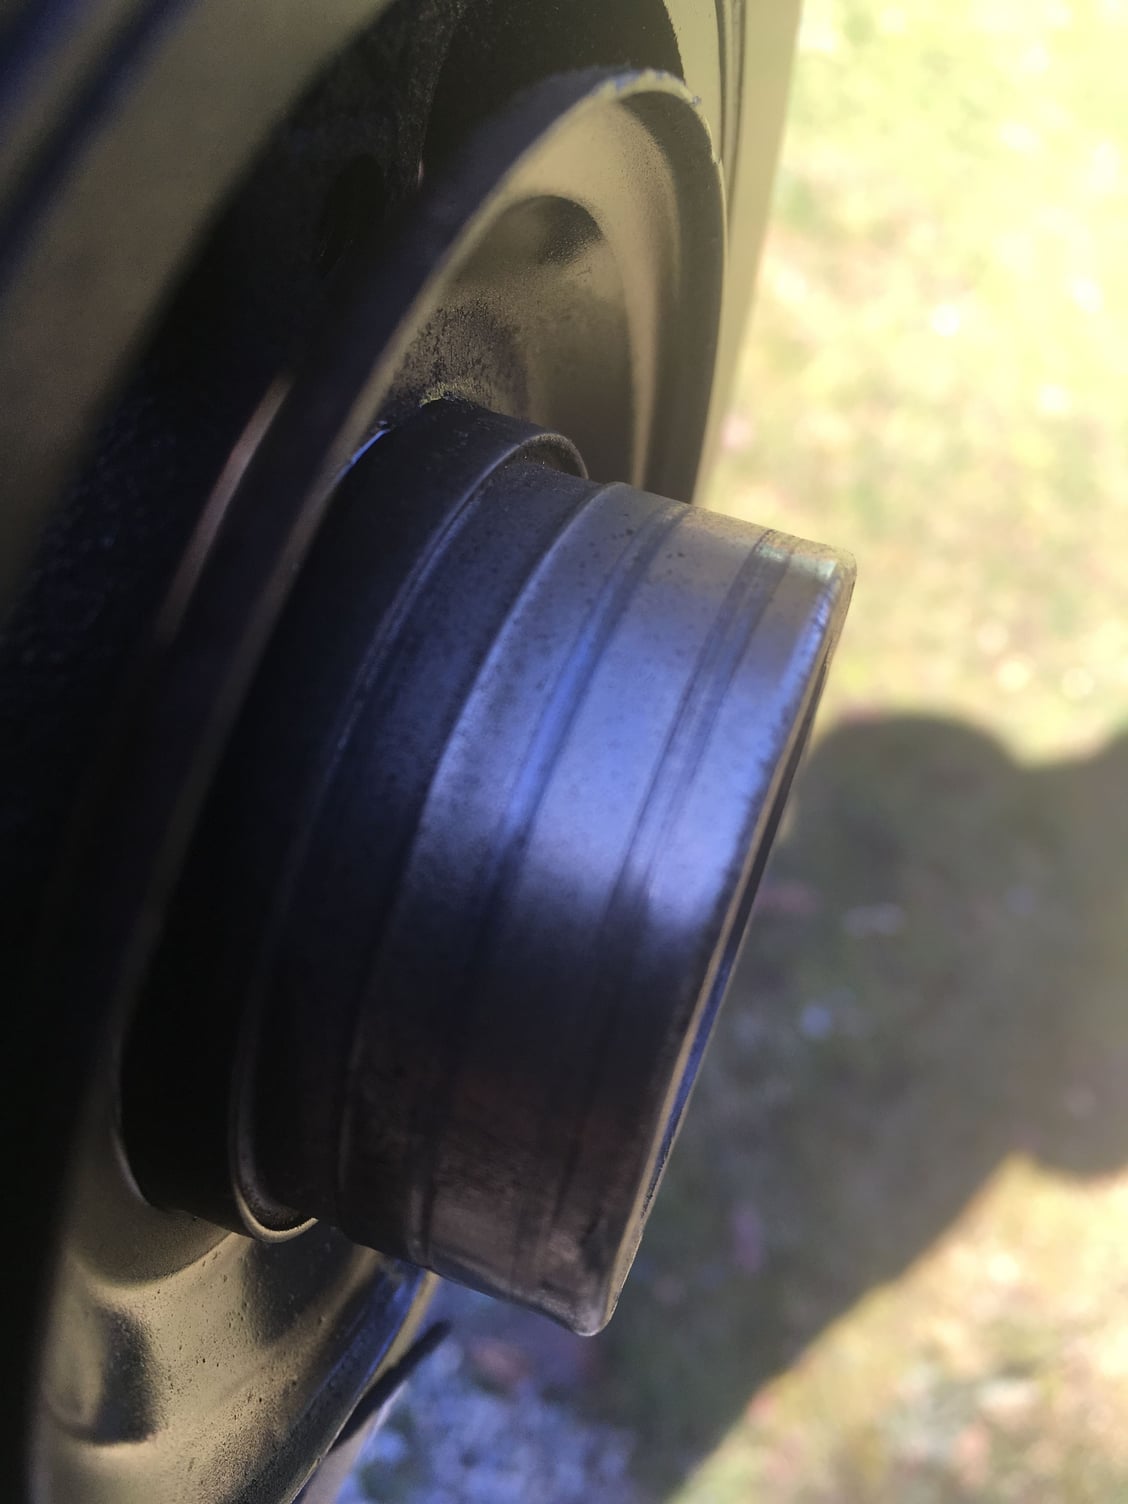
Again, forgot to be clear with machinist. Harmonic balancer had a worn speedi sleeve. No wonder it was a leaker.
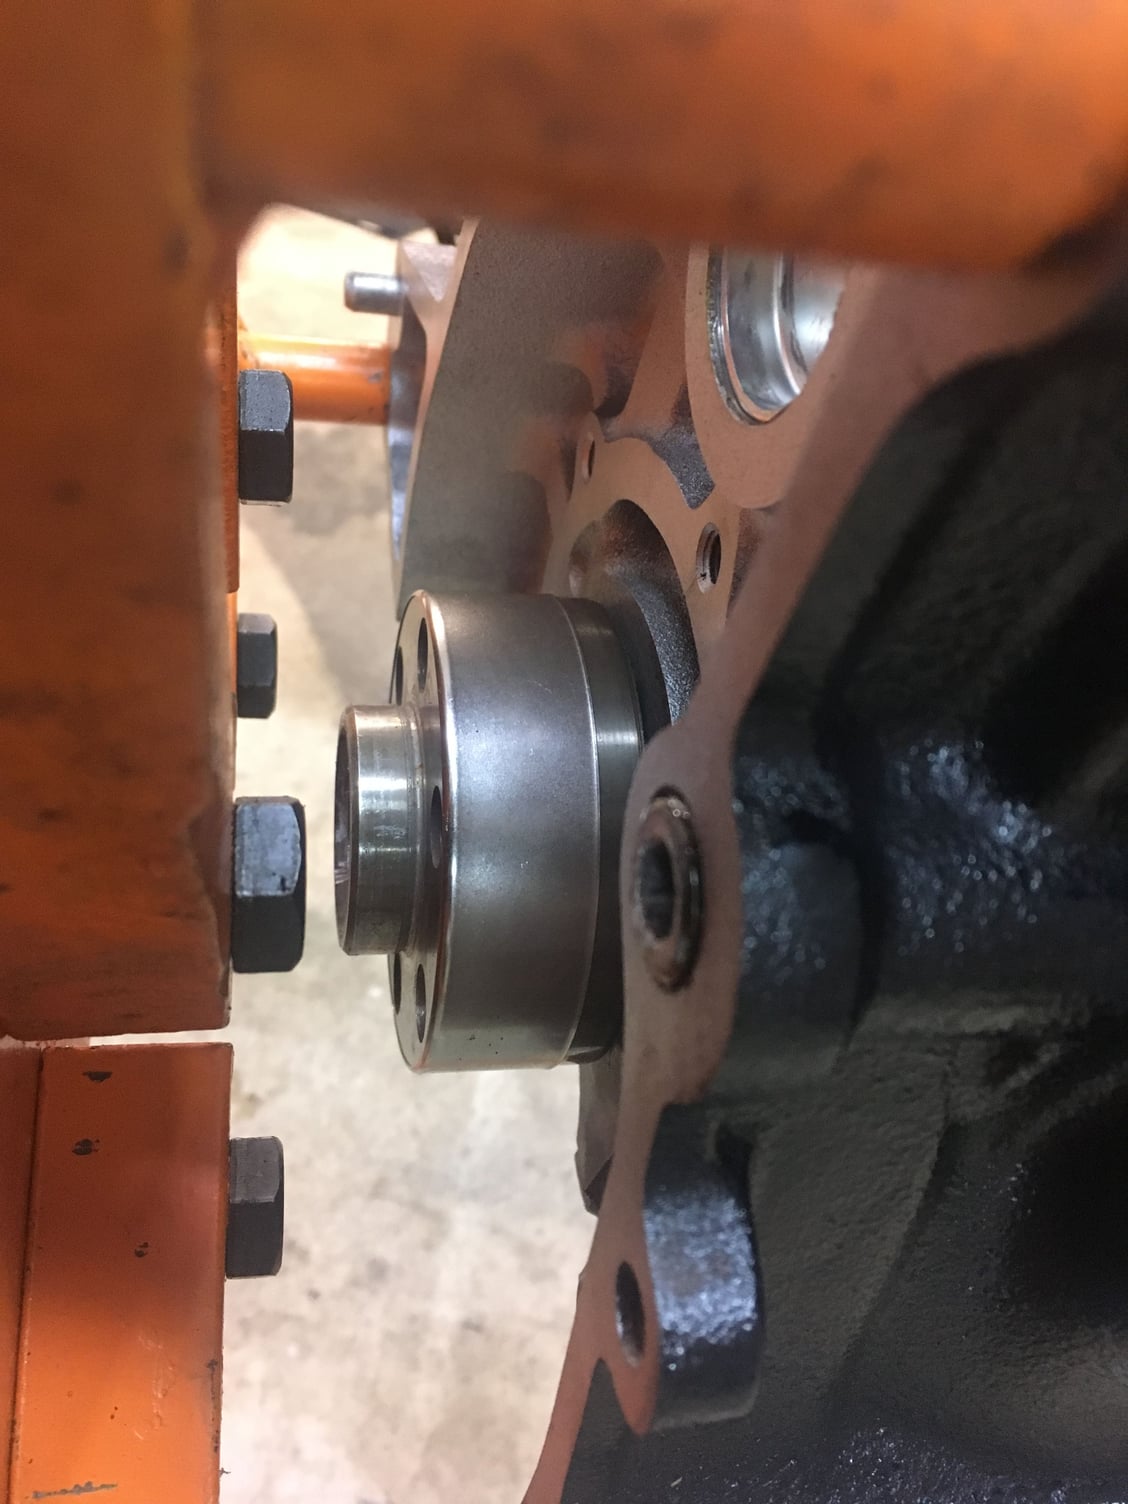
Machinist did not speedi sleeve worn aft crank seal surface. I didn't tell him to. Ugh!. Learned to do it myself.
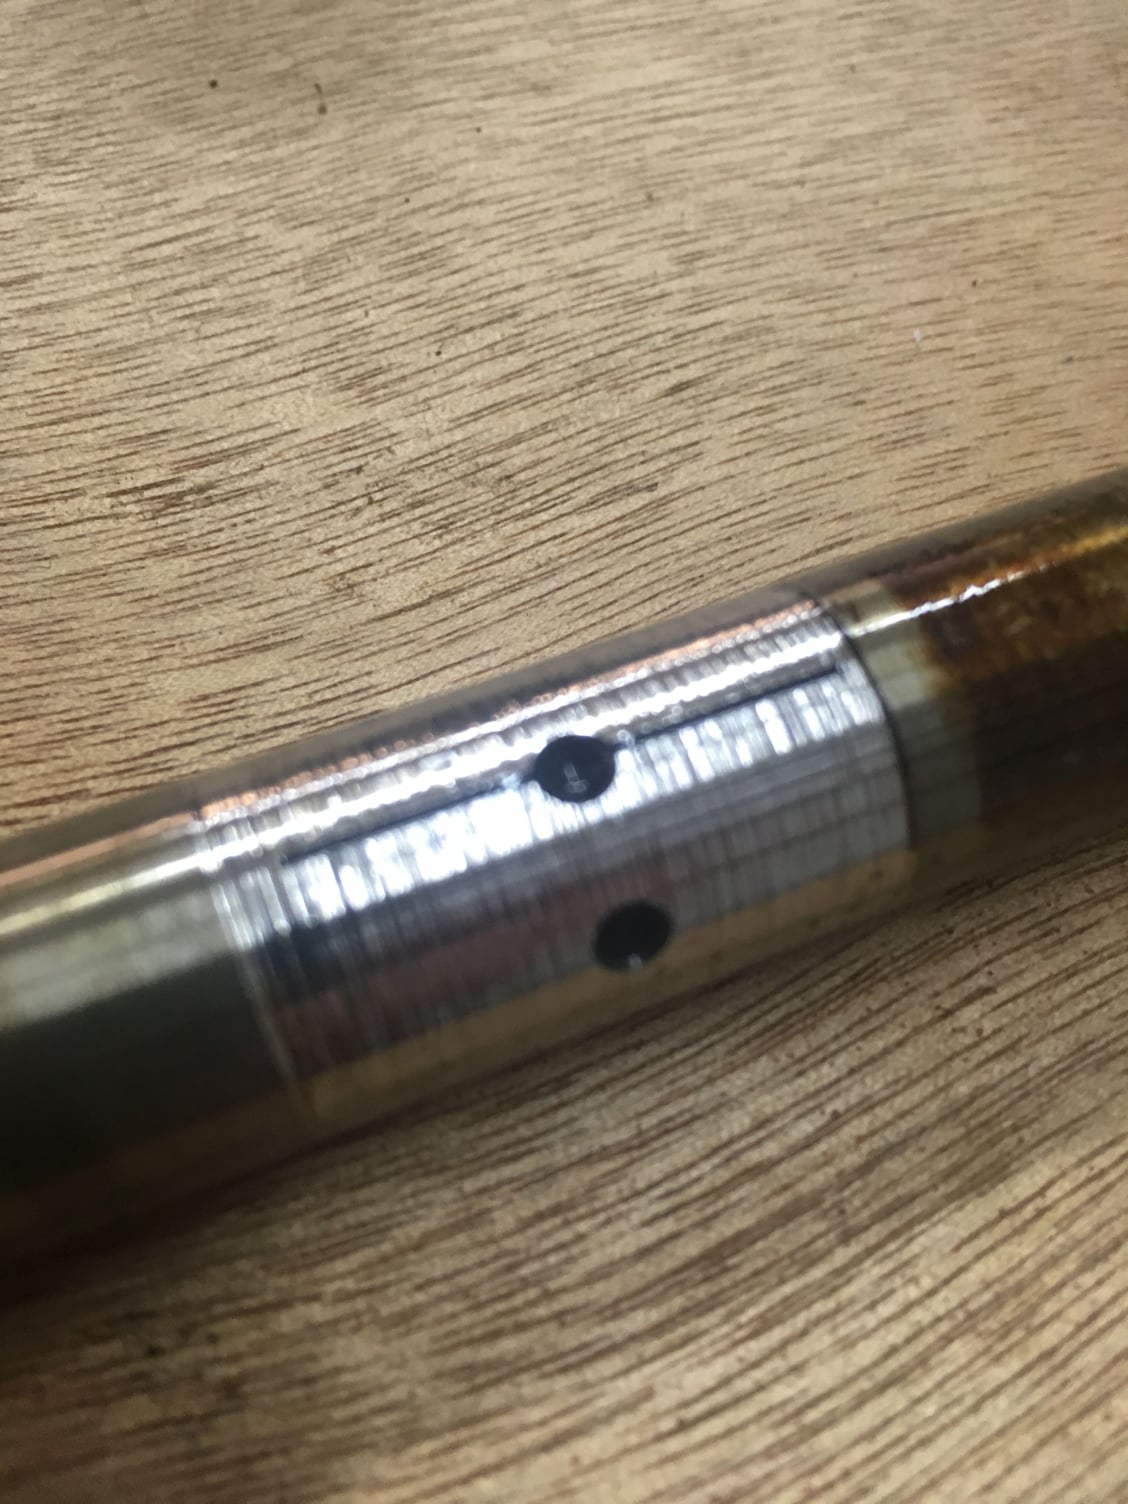
Read articles about how dirty the rocker bridge gets internally. I decided to disassemble. Glad I did. Rocker shafts worn. Replaced. I used shot gun cleaning brushes to clean bridges.
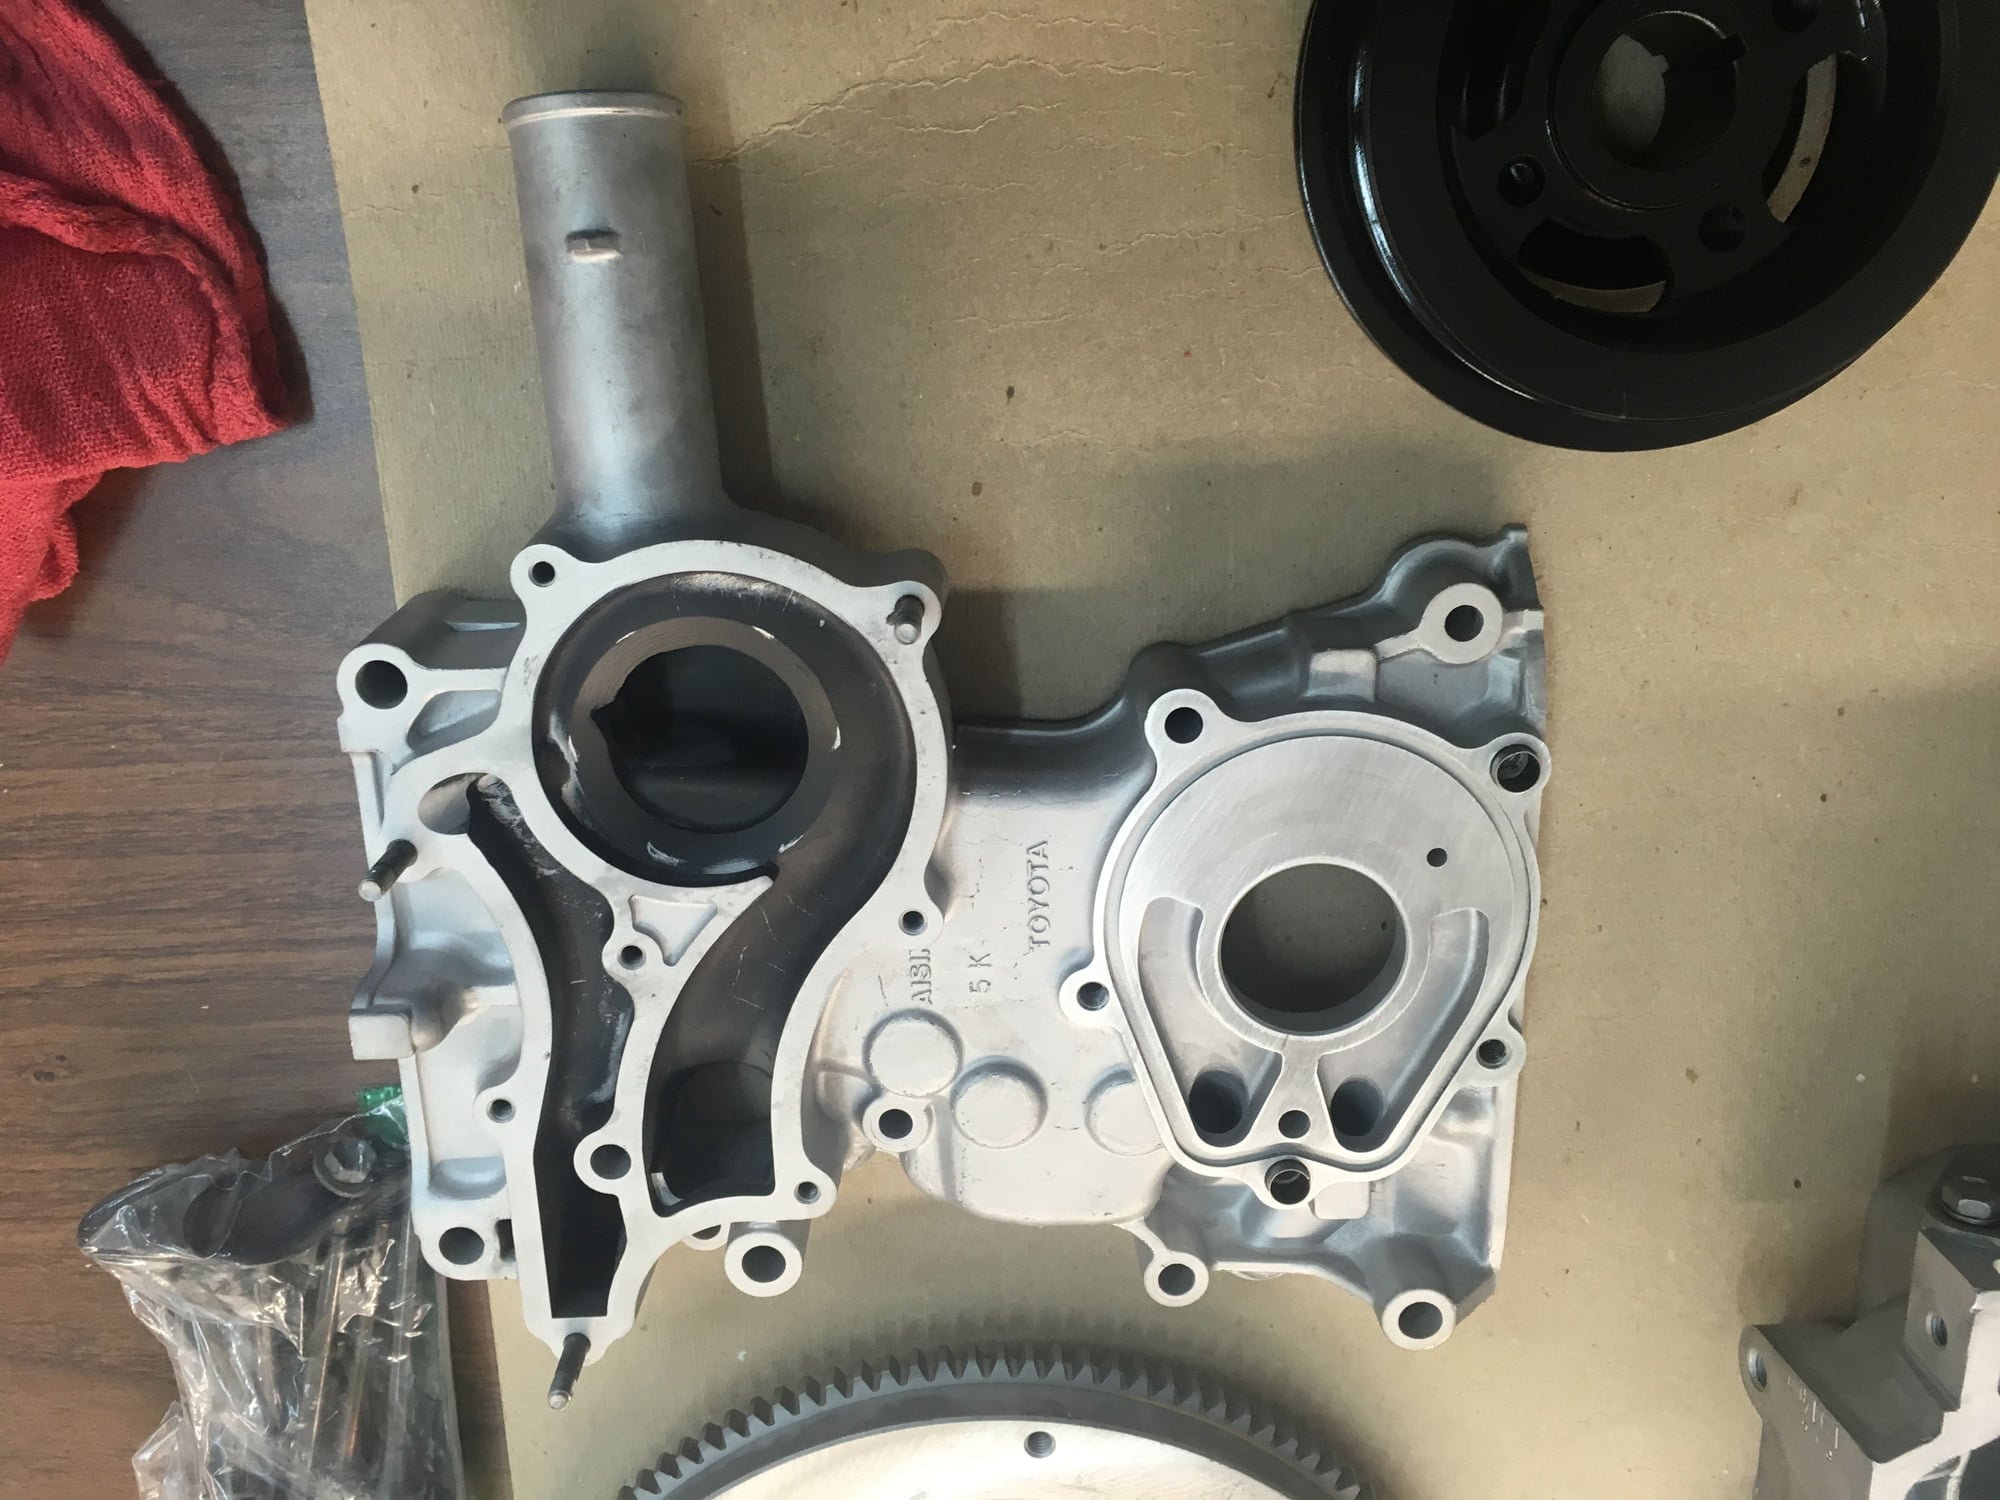
Had original Aisin front cover milled with head. New Aisin water and oil pump. New Japanese cam chain and gear set. Metal guide on drivers side.

Chris with assembled long block. Chris wanted an "industrial look" so he painted it Chev gray (easier to spot oil leaks). Toyota gaskets all around. ARP bolts torqued to 75 ft-lbs.
The following users liked this post:
SomedayJ (03-09-2020)
#6
22re
This has been a first build for Chris and I. The 22re is a great motor for a first build. I spent months reading the forums. Had a FRM (a must!) I took over a hundred pics, so if anyone wants to see something in particular, please ask. The engine is almost complete. I have spent a lot of time cleaning and painting parts and Chris was able to get all the brackets, valve cover and manifolds cleaned or blasted. Also took the opportunity to learn how to rebuild power steering pump and tried to rebuild alternator but commutator too deeply scored. Planning on air conditioning compressor. Pics to follow. Feel free to criticize (constructively please) and make suggestions.
The following users liked this post:
SomedayJ (05-21-2020)
#7
Registered User
Great pics and story. I see you had the bottom end balanced. I once had a 22RE that died from oil starvation when the original oil pressure sending unit ruptured. On the rebuild i had it balanced and it ran amazingly smooth after. How much did the shop charge you for balancing?
Trending Topics
#8
Registered User
Chris is lucky to have a cousin like you. Thanks for all the detailed pics.
#9
#10
Doing a "Plug-and-Play" was the concept that Chris and I discussed. It seemed to me that if you have a vehicle that is running, even somewhat badly, and having a vehicle down for months at a time is not an option, one might consider a plug-and-play. I just happened to see this engine on Craig's list from a local auto recycler. He wanted $750 and I managed to talk him down to $600. Given all the parts were there, and a rebuild was intended, I thought it was a good buy. 22re parts on Craig's list, eBay, and Amazon can get expensive. A complete engine, including harness and computer, may provide you with parts for resale that will offset the cost of the build. As I have said, this engine was from an 89 2wd truck with auto trans and would go into an 87 runner 4wd manual. Chris' runner is a CA car and emissions set up is different. Air injection was not used on CA cars that year and factory block off plates on the exhaust manifold are used. We will be able to sell the complete air injection system which include the number 1 and number two air injection tubes, the lower manifold reed valve, and the "silencer/ resonator" unit.
We would go with the 89 intake upgrade, his 87 harness and computer. Doing it this way enabled this first build to go slowly, learning about 22re and understanding differences between the 87 and 89. It also enabled us to progress as finances allowed. The engine was purchased last August and we are still working on it. Sometimes we make mistakes and have to go back and correct.
For example, had some difficulty with the metal guide for timing chain. Front cover would not seat and am glad I didn't force it. Modified guide hole and cover. Problem solved. Another lesson leaned was not to trust that head bolt holes in block are thoroughly cleaned. I went to torque a head bolt (stock toyota) and it "felt funny". Glad I stopped. You can crack a block that way. Crud in that hole. Decided to remove all bolts, tap each (with a "bottom" tap) and got lots of stuff out. It was then I changed my mind and went with ARP. So I have one complete new set of gennie Toyota head bolts for sale new in the bag, and second set of gennie toyota head bolts that were torqued (undamaged) but engine never run. Both sets are available for sale.
This mistake cost me the price of a new Toyota head gasket (ouch) as I had torqued crushed the old new one. Some told me that I could have used the old one but I didn't want to take the chance. As I said, I'm new at this.
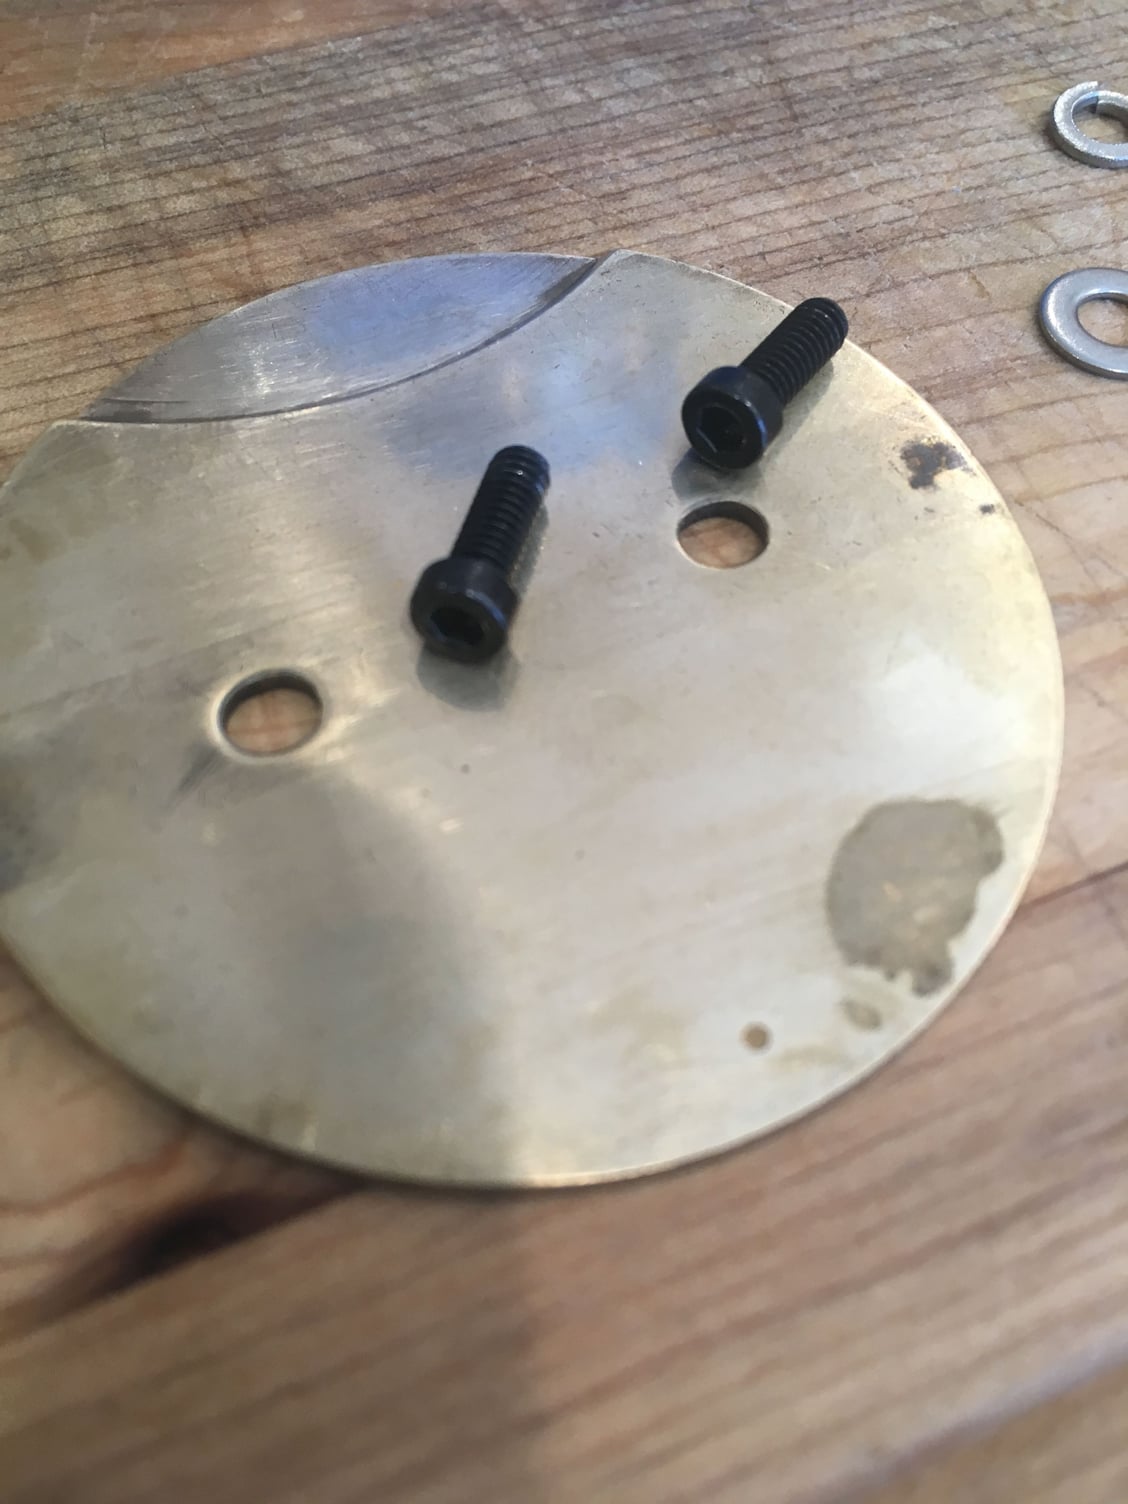
Putting in ARP head bolts meant the stock valve cover needed to have the small gussets near the front of the valve cover ground down. Additionally, the internal valley of the valve cover was filthy. I purchased some cheap Chinese milling bits on Amazon for about 10 bucks. I milled off the rivet head, removed the baffle and then milled the gussets, drilled out the rivets and tapped the holes for button head hex bolts. I was a bit unnerved doing this, scared I would drill though the valve cover. Chris blasted the cover, and it was put together with a new gasket for PCV. Pics and more to follow.
Last edited by Herky; 05-31-2019 at 12:31 PM.
#11
22re
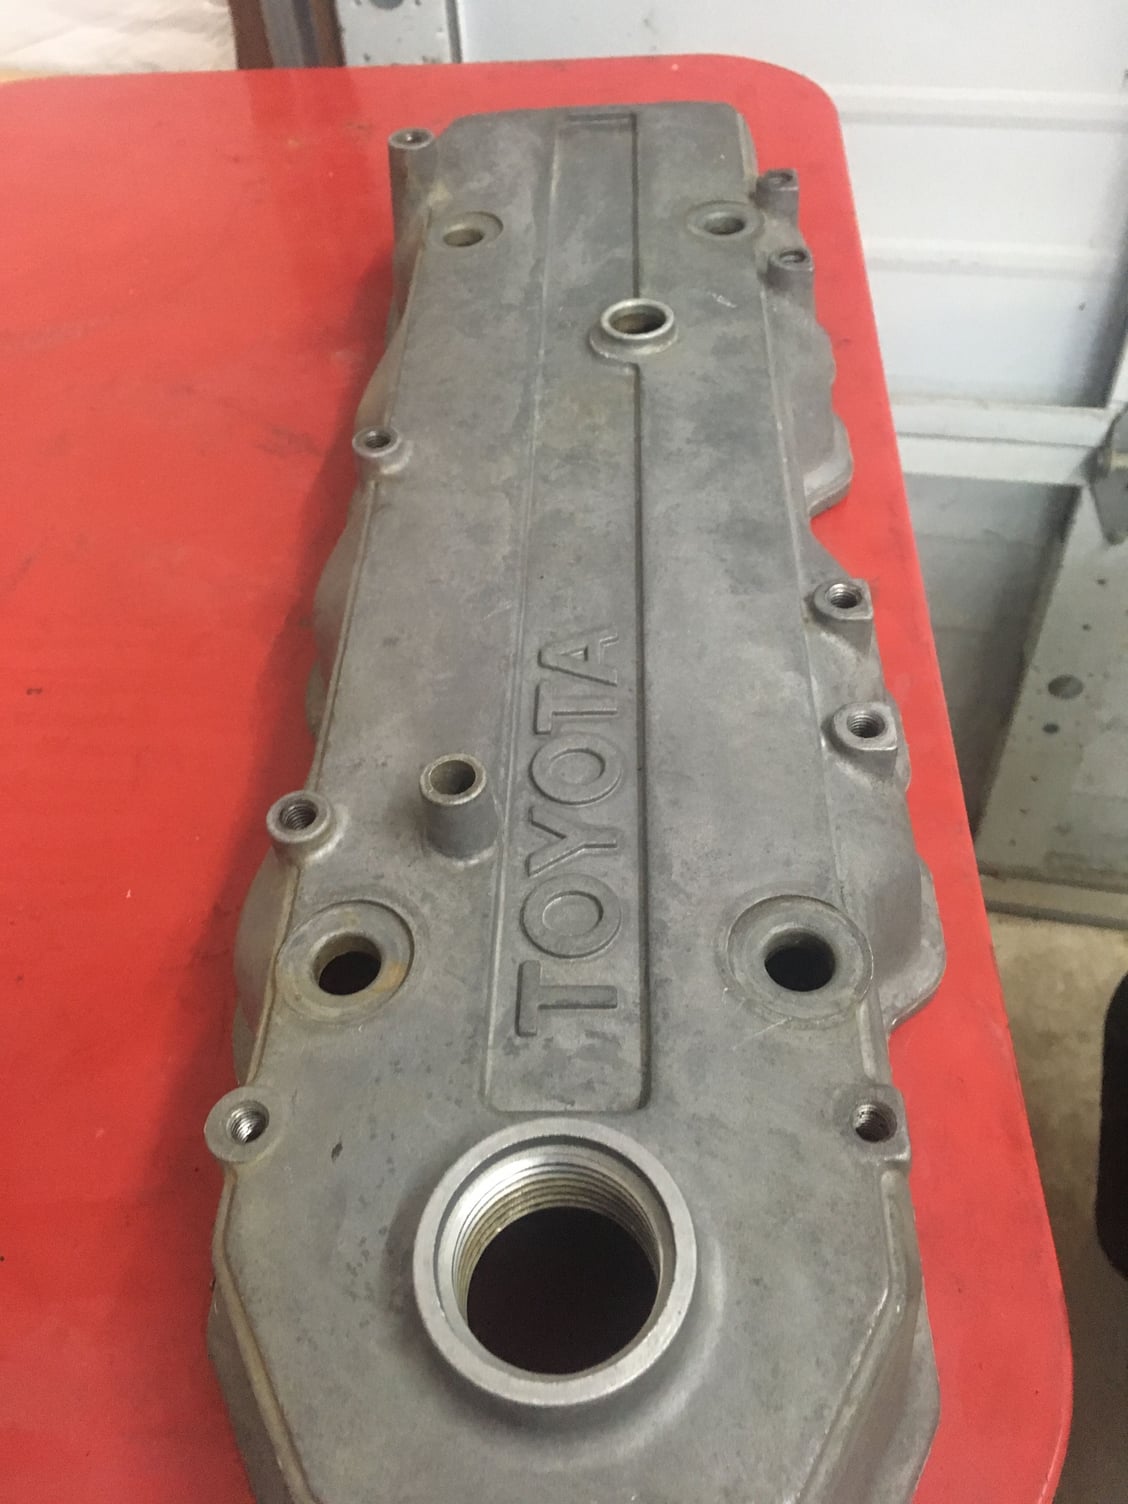
Degreased valve cover
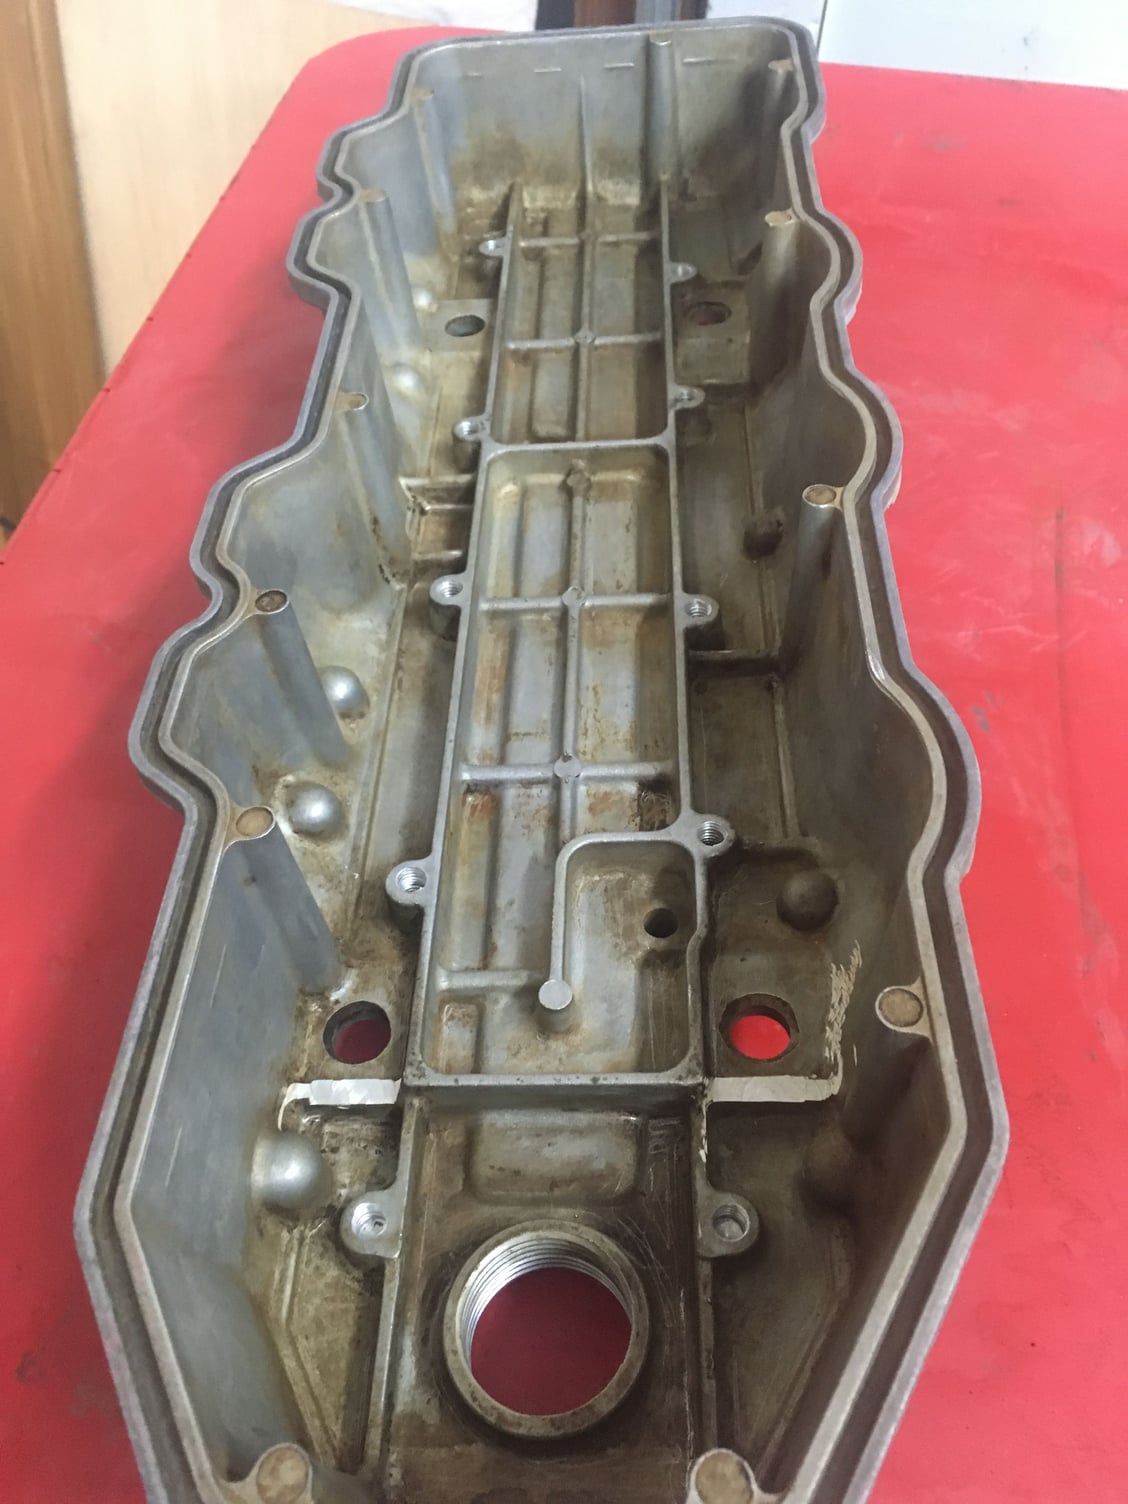
Rivets milled off to remove PCV baffle for cleaning and new gasket. Holes drilled and tapped for screws. You can see from gussets milled to clear ARP bolts.
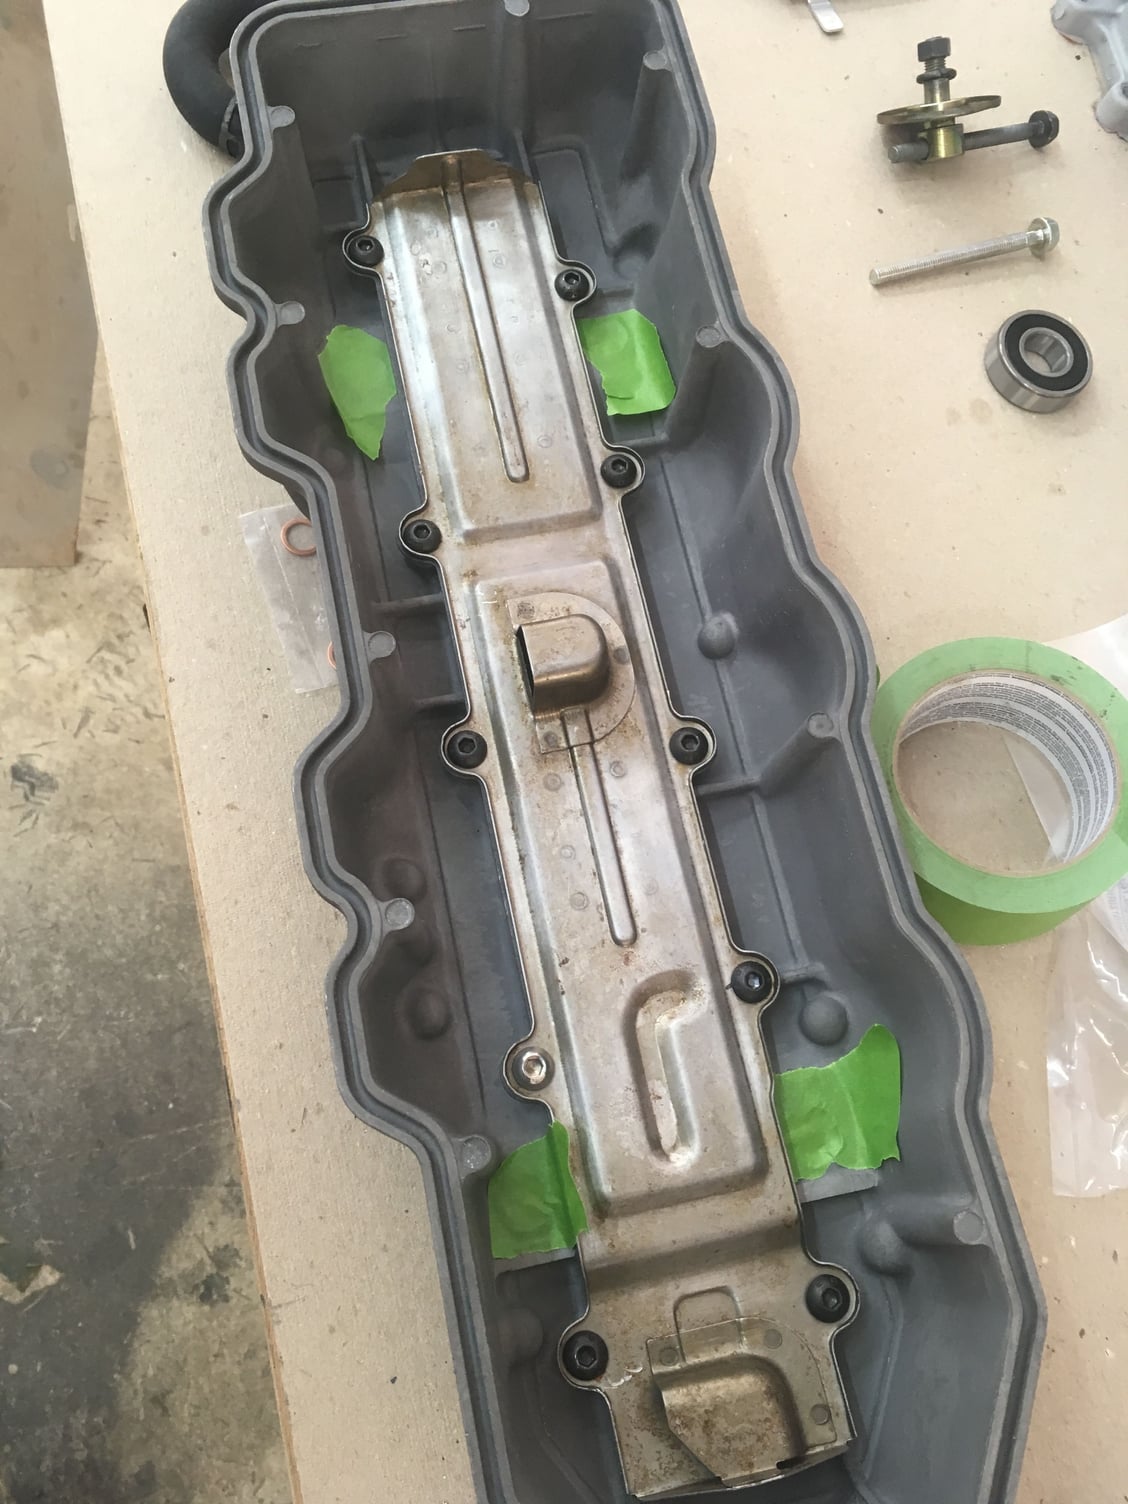
Blastedand cleaned valve cover. New gasket and baffle installed with button head hex screws. Took forever to make sure blasting media was cleaned off.
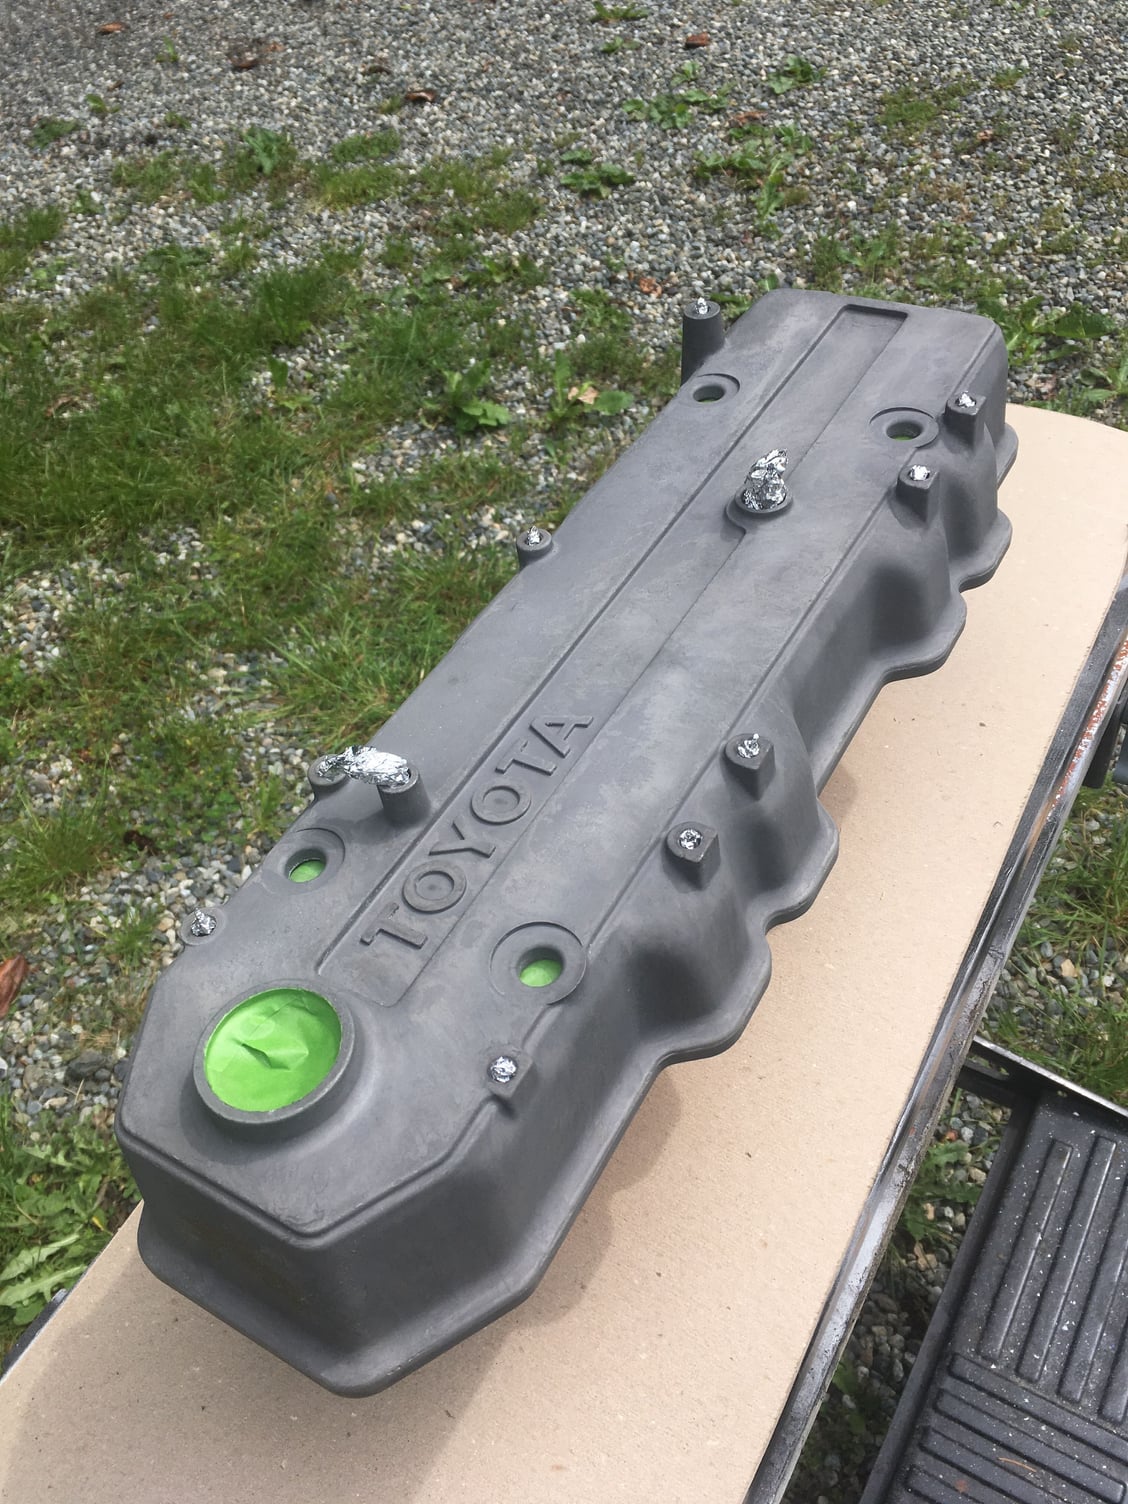
Ready for paint. Powdercoating was hugely expensive. My local paint guy Neil at NAPA mixed up a custom one-step silver enamel for 25 bucks.
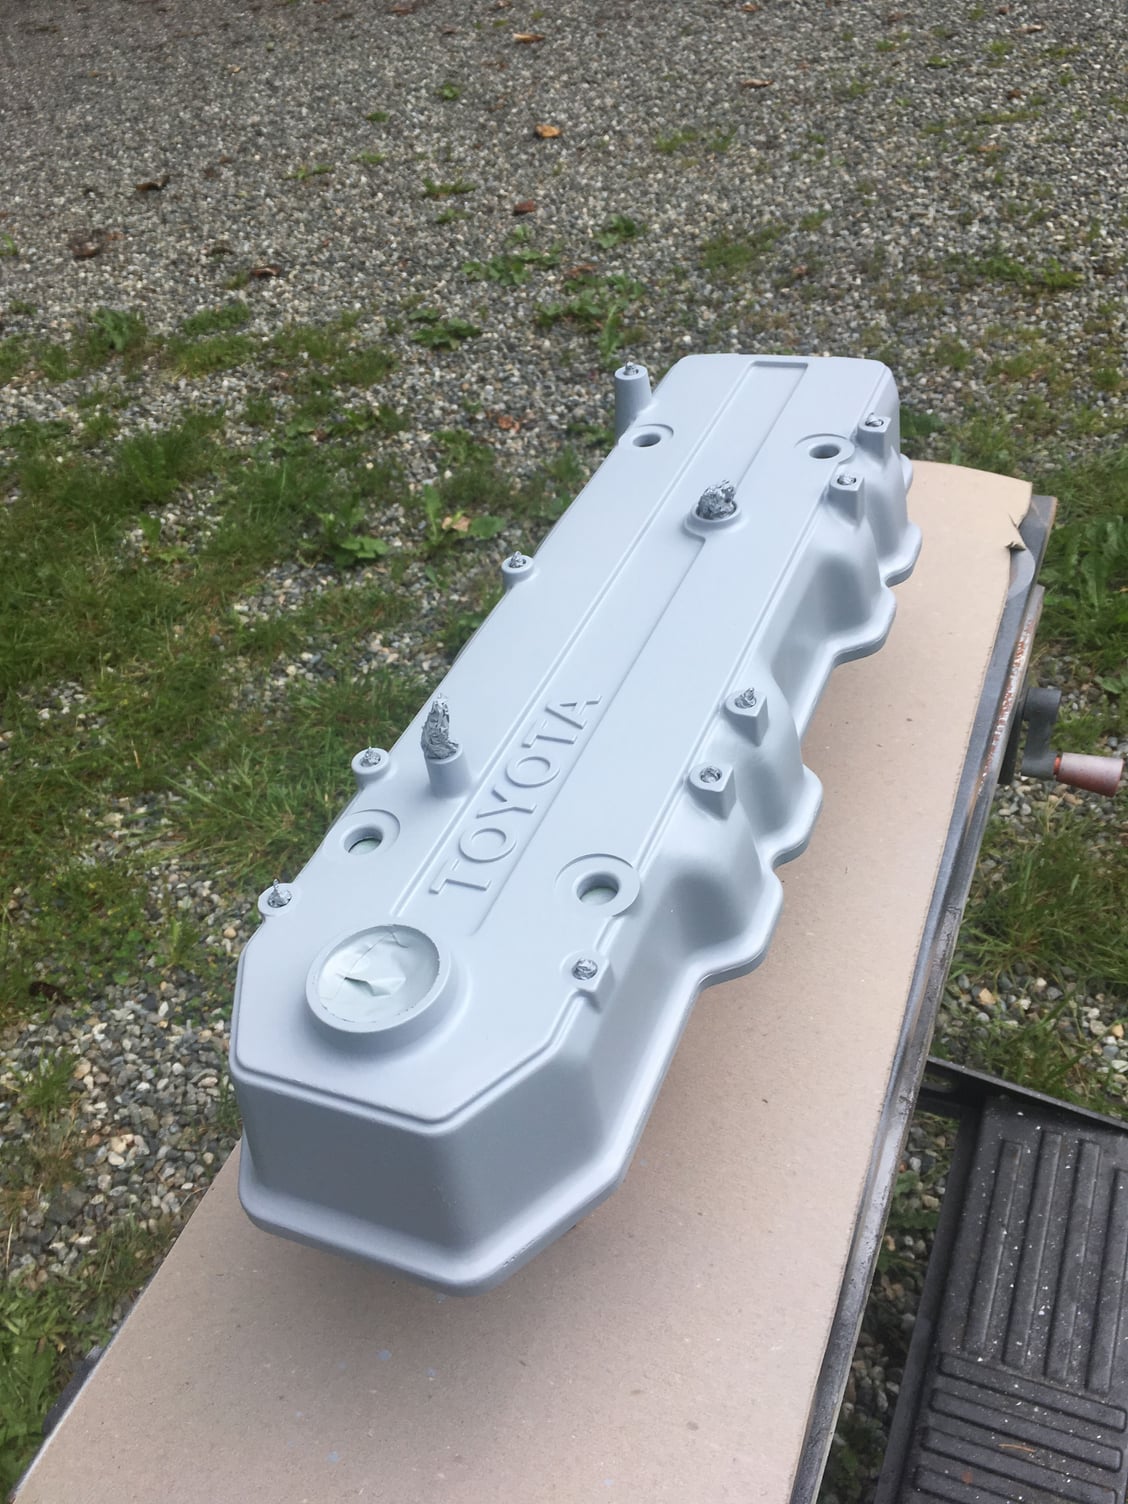
Self-etching primer.
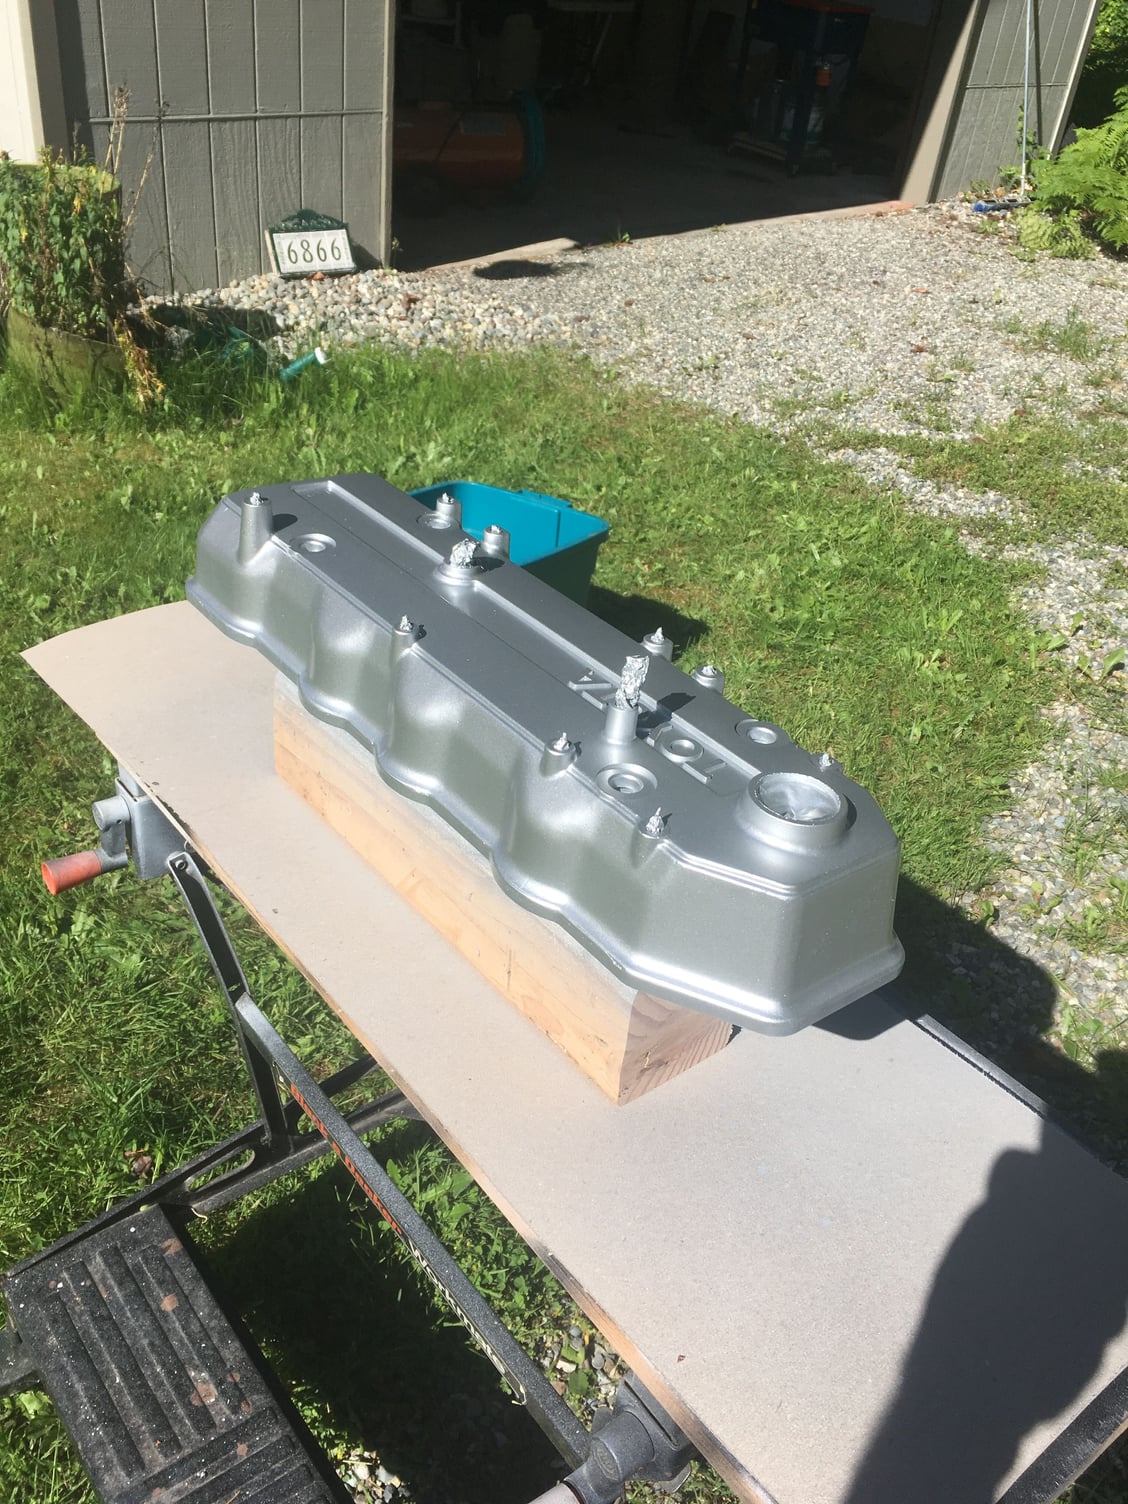
Done!
#12
22re
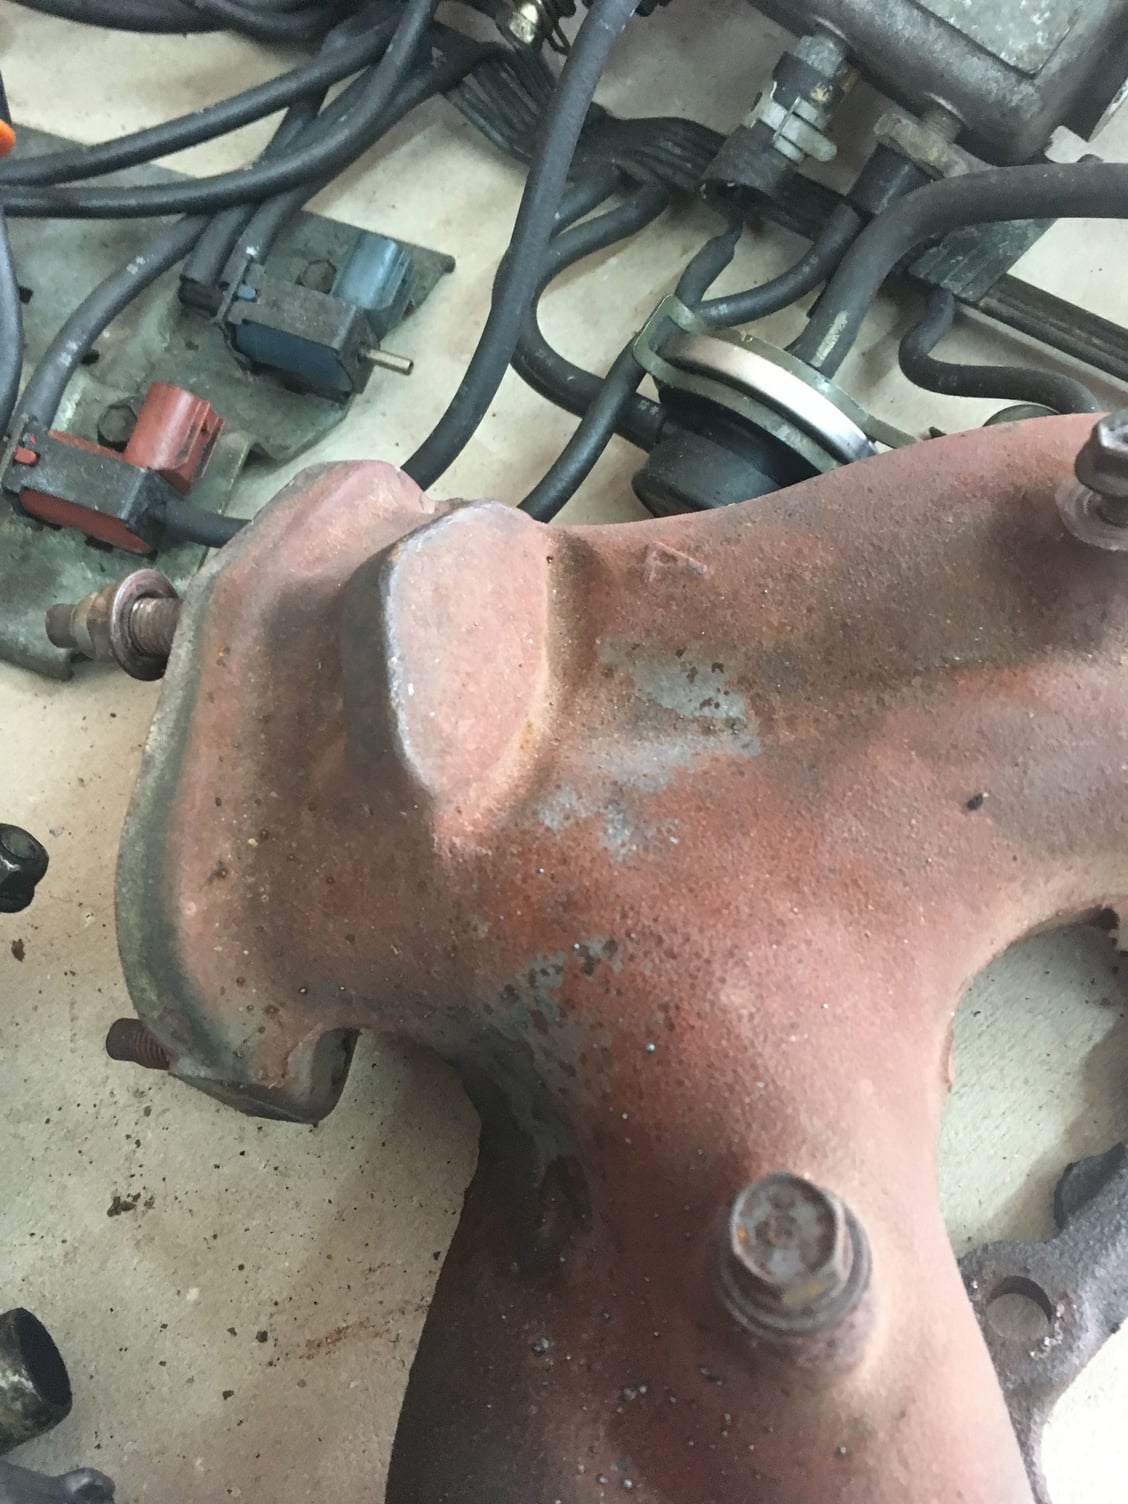
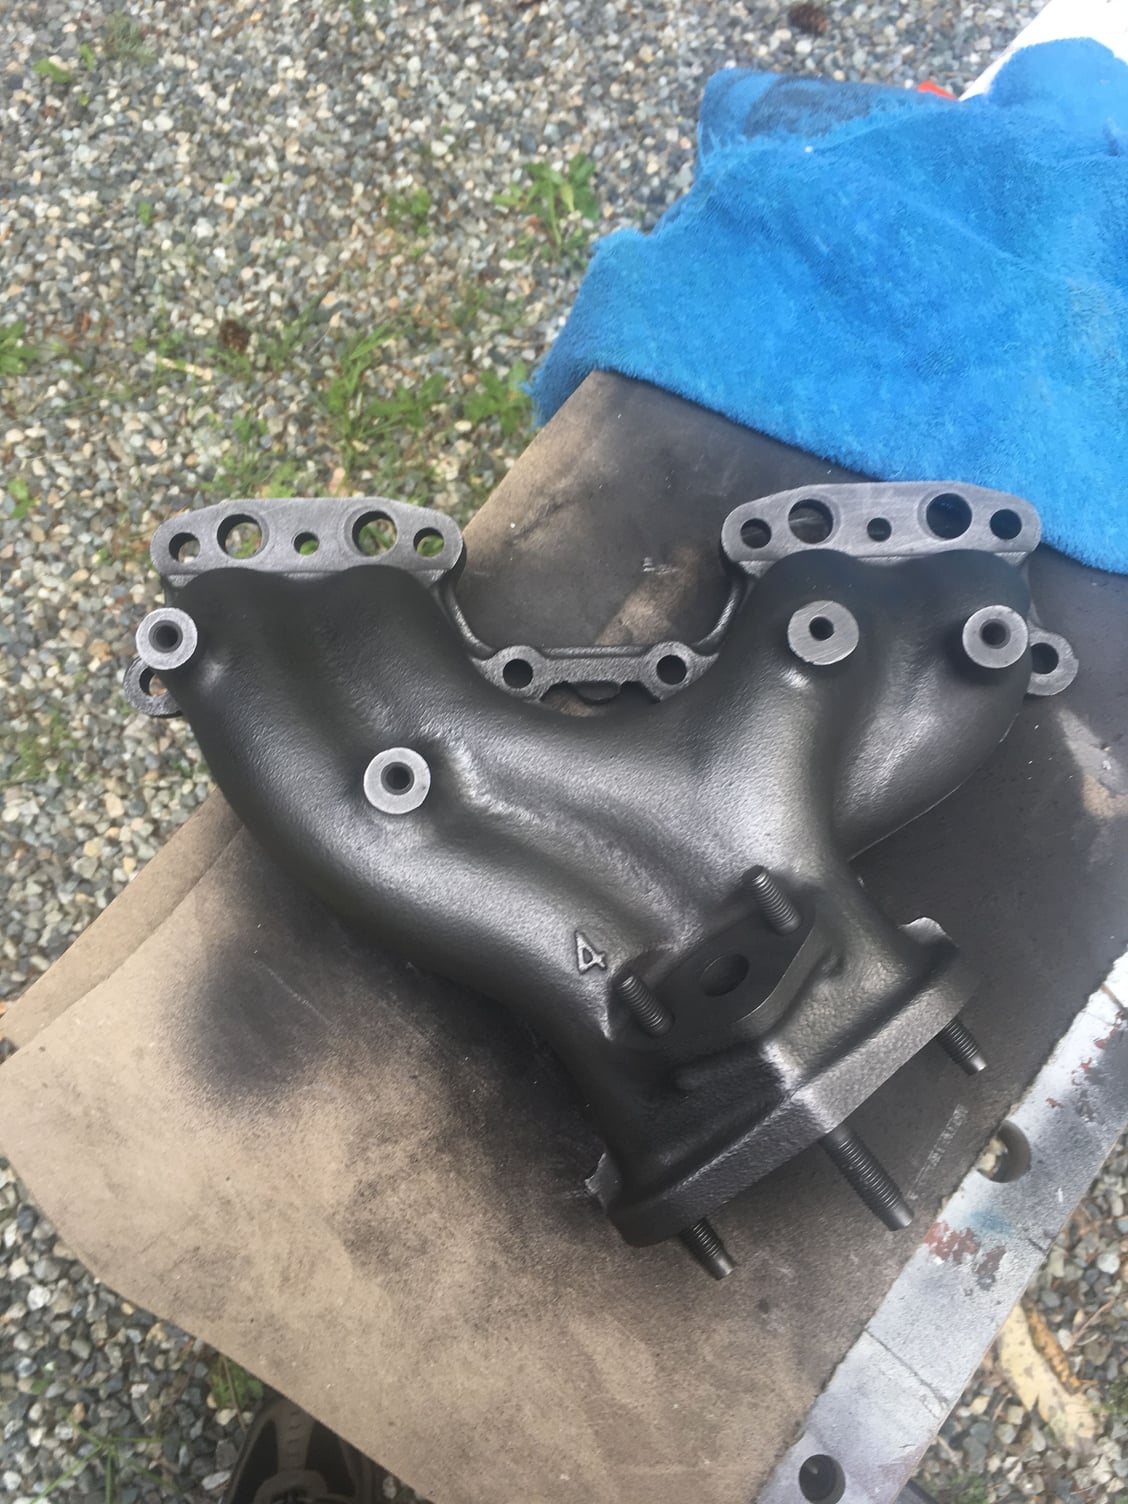
This is the 89 manifold. We used an 87 that had the O2 sensor where the unmachined boss is. This is just a before shot. We will sell this one.
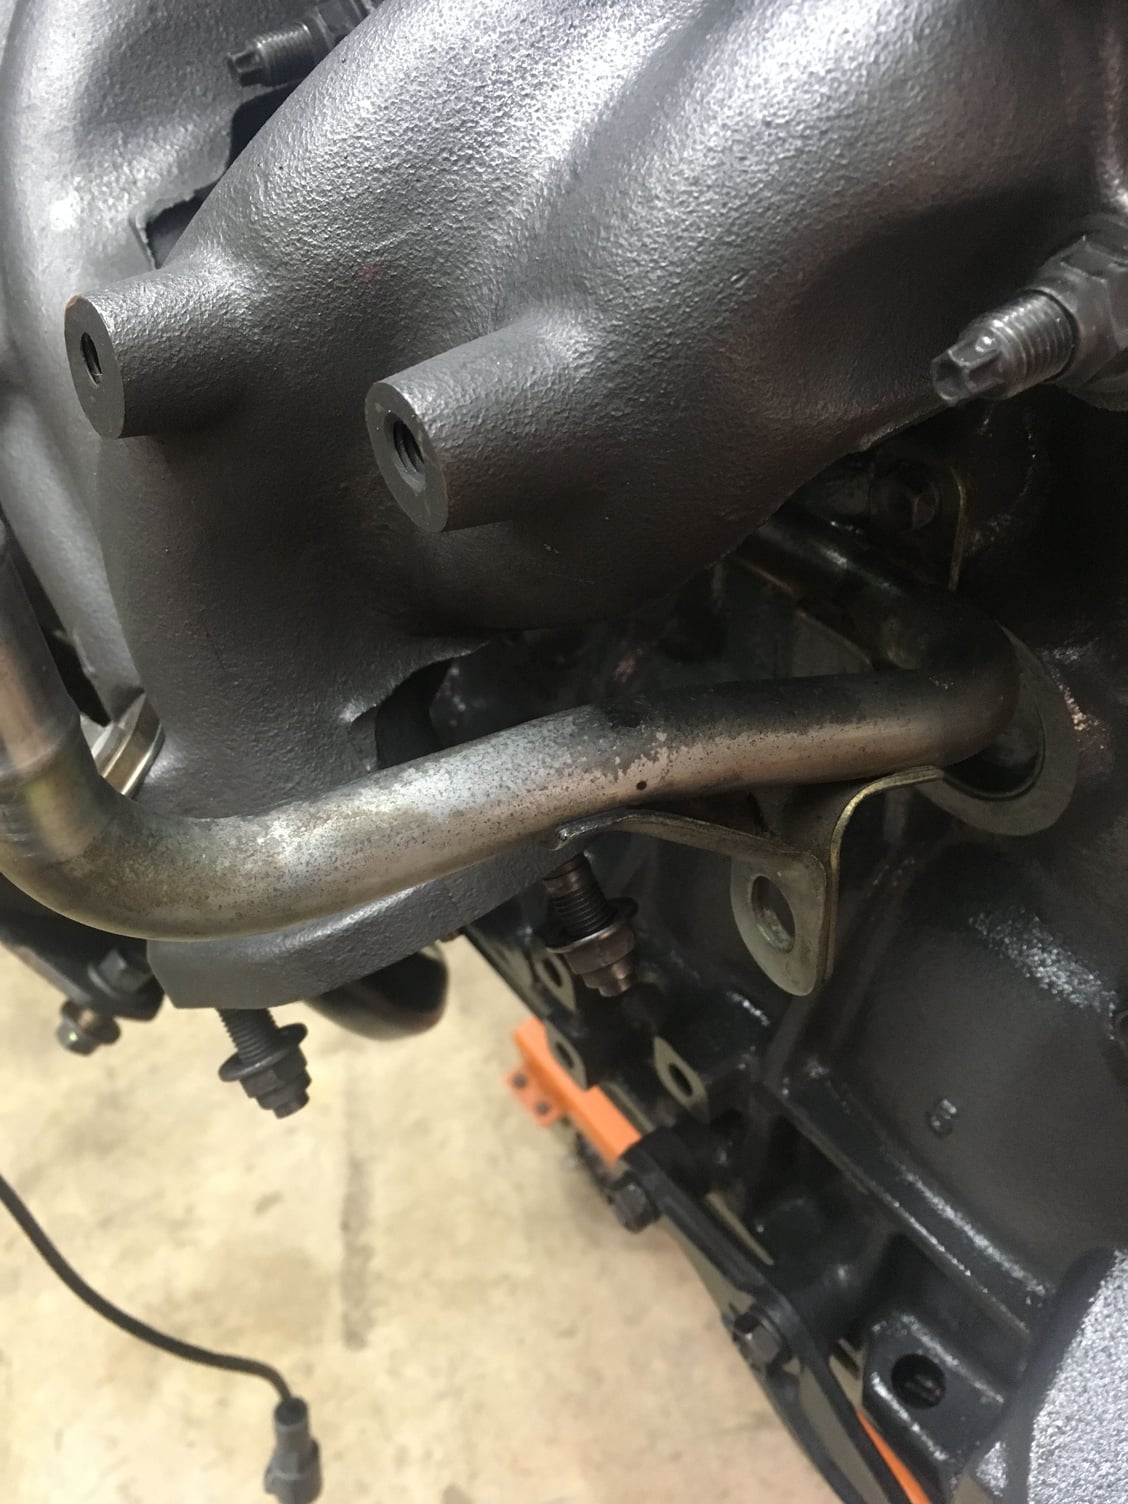
Not the best shot, but included it because it includes a coolant tube that was cleaned, surfaced and installed (not slipplated). The slipplated exhaust header looks awesome buffed.
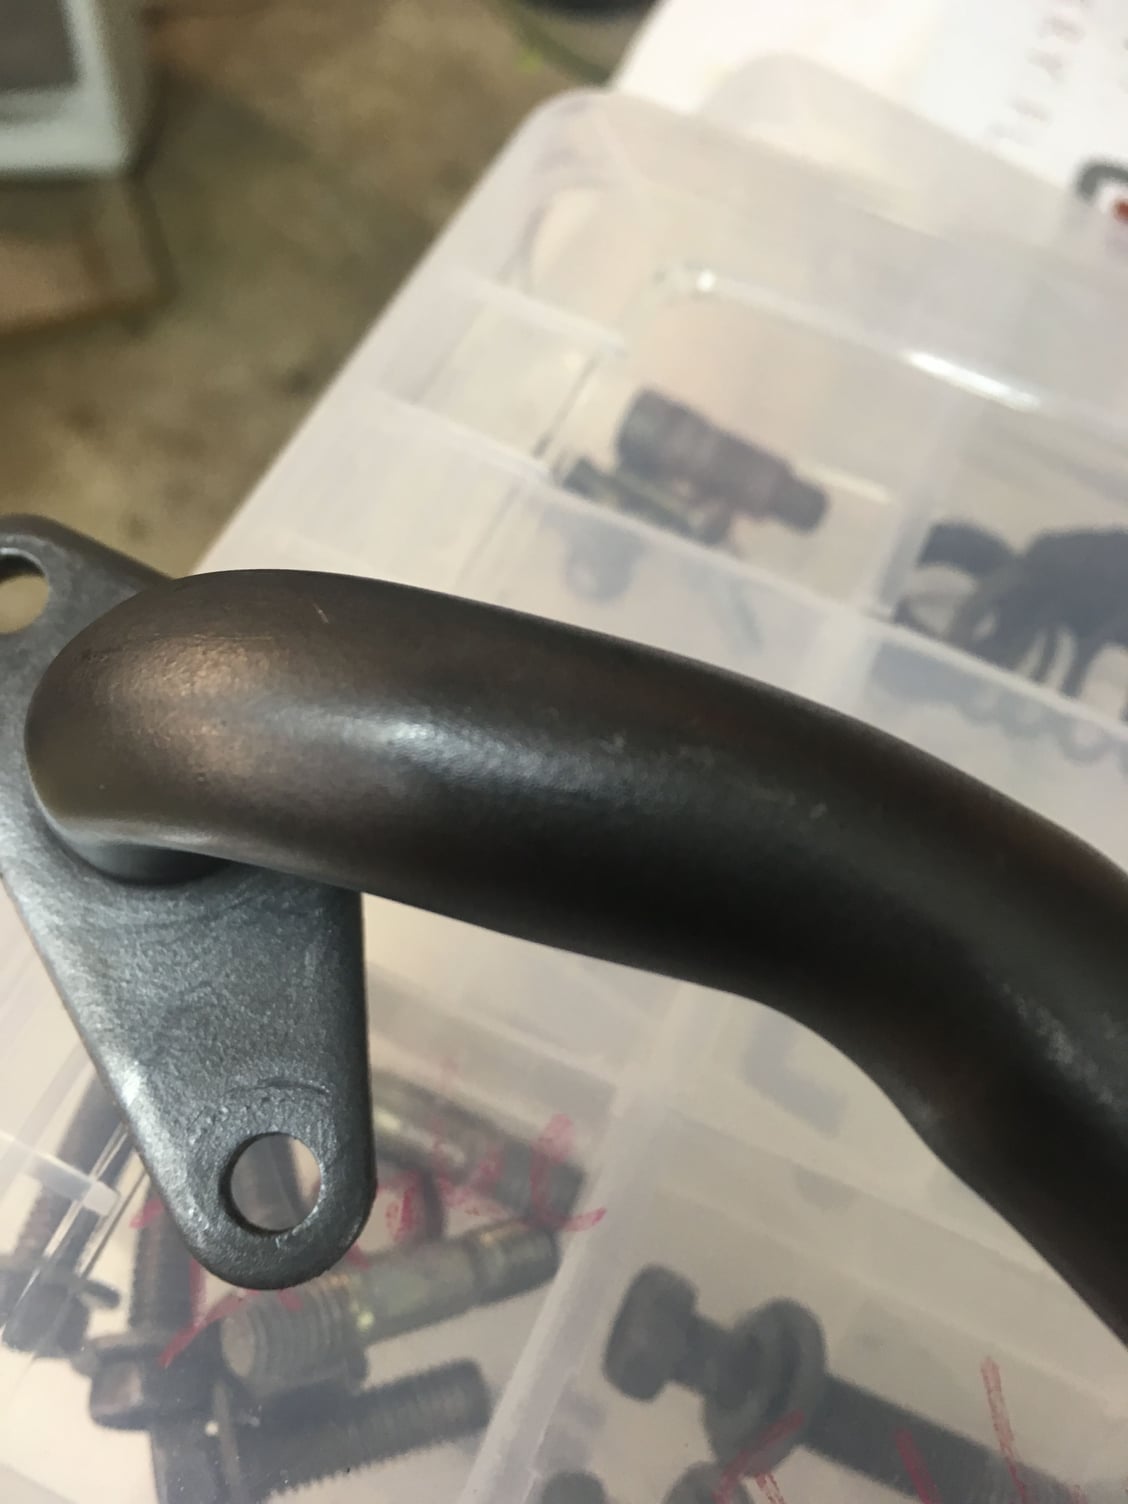
This is the coolant tube that connects to the lower manifold. What the heck. I cleaned tube thoroughly with solvent and a 3m pad. Wipped down with spirits. Slipplated.
but let it sit for about 4 hours. The suspension liquid dries and if left for a few hours, the graphite molecules will bond to cast iron. You can then buff it to a shine and has a lead pencil color. It resists oxidation for years as some claim, and can be touched up.
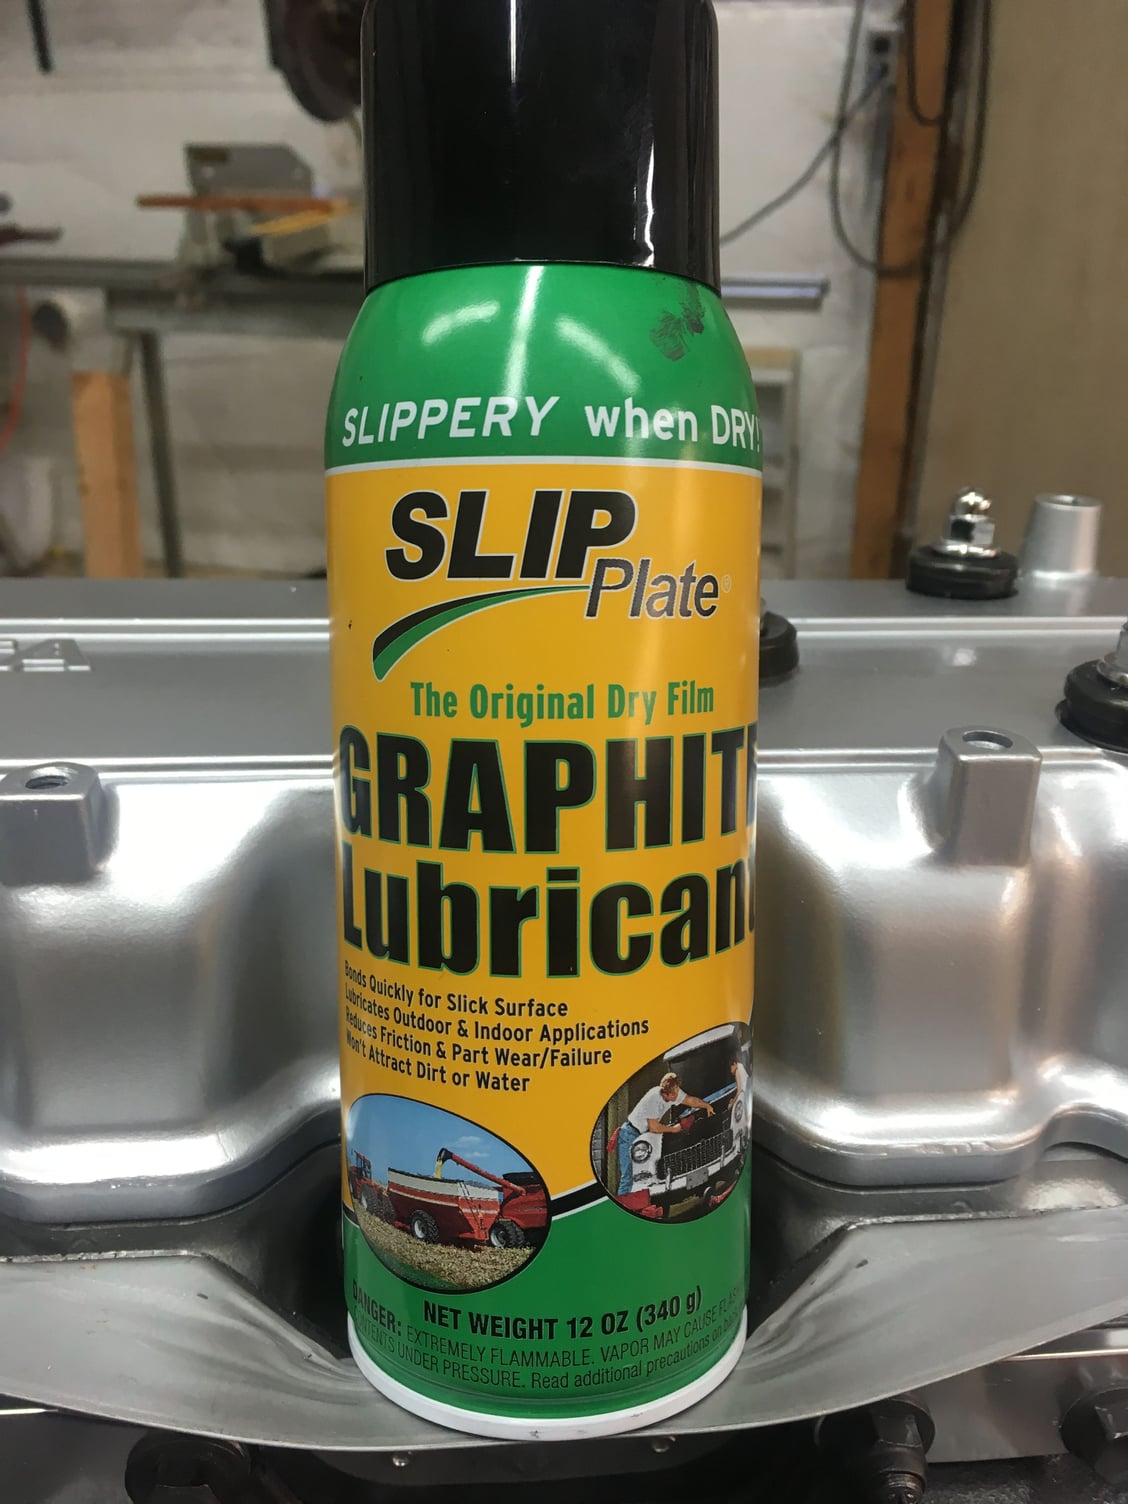
The manifold was blasted, wiped clean and slip-plated. The following pics are about slip-plate, About 20 bucks for a can.
#13
22re
Sorry. Screwed up the text on previous post. It was about Slip Plate. A dry graphite lubricant that Chris found that we used in lieu of a ceramic coating (expensive) and paint (will burn off). 20 bucks a can and amazing. Old hot rodders trick to coat cast iron parts. After blasting manifold, we slipplated it. I tried it on one coolant pipe. looked great. Wish I had Slip-Plated the coolant tube under the exhaust manifold before installation. I even used it on bolt heads after cleaning and de-rusting/degreasing them. It is really slippery, so use good sockets, make sure you are square on them before torqueing. DO NOT USE ON ALUMINUM. Works best on clean cast iron. Works OK on cleaned, scuffed, steel coolant pipes.
Last edited by Herky; 10-06-2019 at 12:23 PM.
The following users liked this post:
SomedayJ (05-21-2020)
#15
Registered User
Very nice work so far! 
Most people don't take off the valve cover baffle plate, so you are doing better than most!
I have never heard of the Slip Plate stuff until now. Interesting stuff.


Most people don't take off the valve cover baffle plate, so you are doing better than most!

I have never heard of the Slip Plate stuff until now. Interesting stuff.

#16
Thank you. The engine was filthy...inside and out. Was surprised the bearings looked so well when we pulled them. Inside the valve cover was caked. Had a tough time finding the baffle gasket. Mahle makes a Valve cover gasket kit that has that gasket. I found it through LCE but expensive. One-third the cost though other vendors. Slip Plate is my new favorite iron coating.
#17
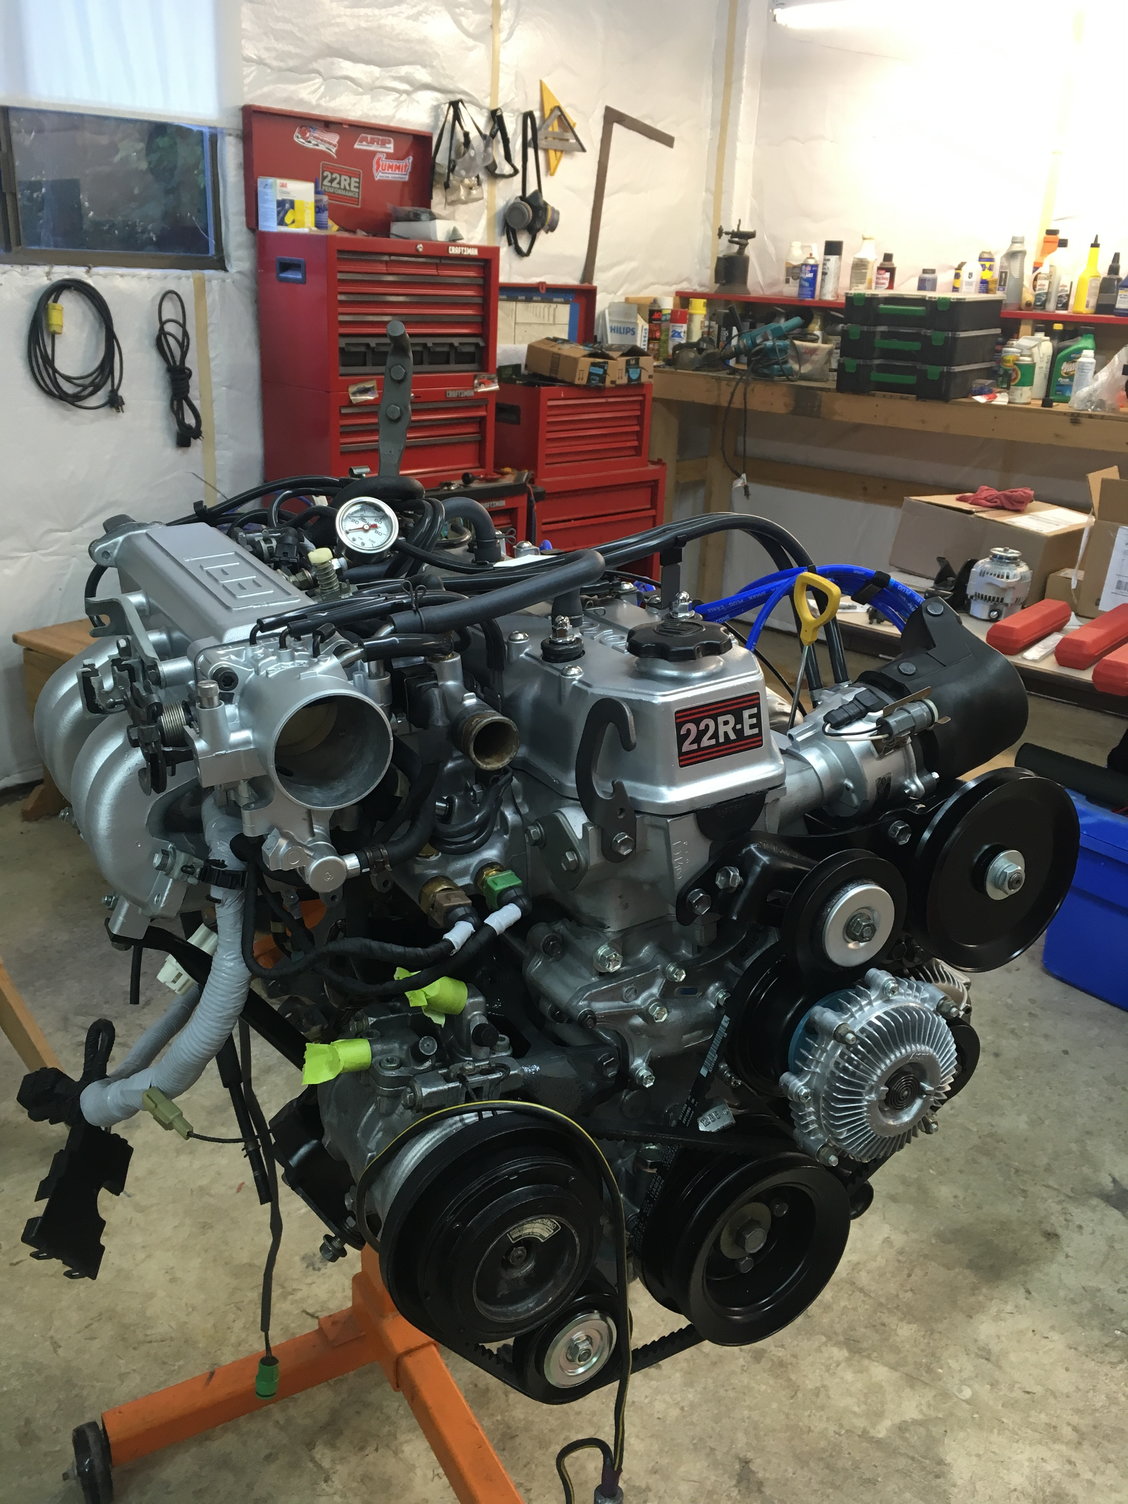
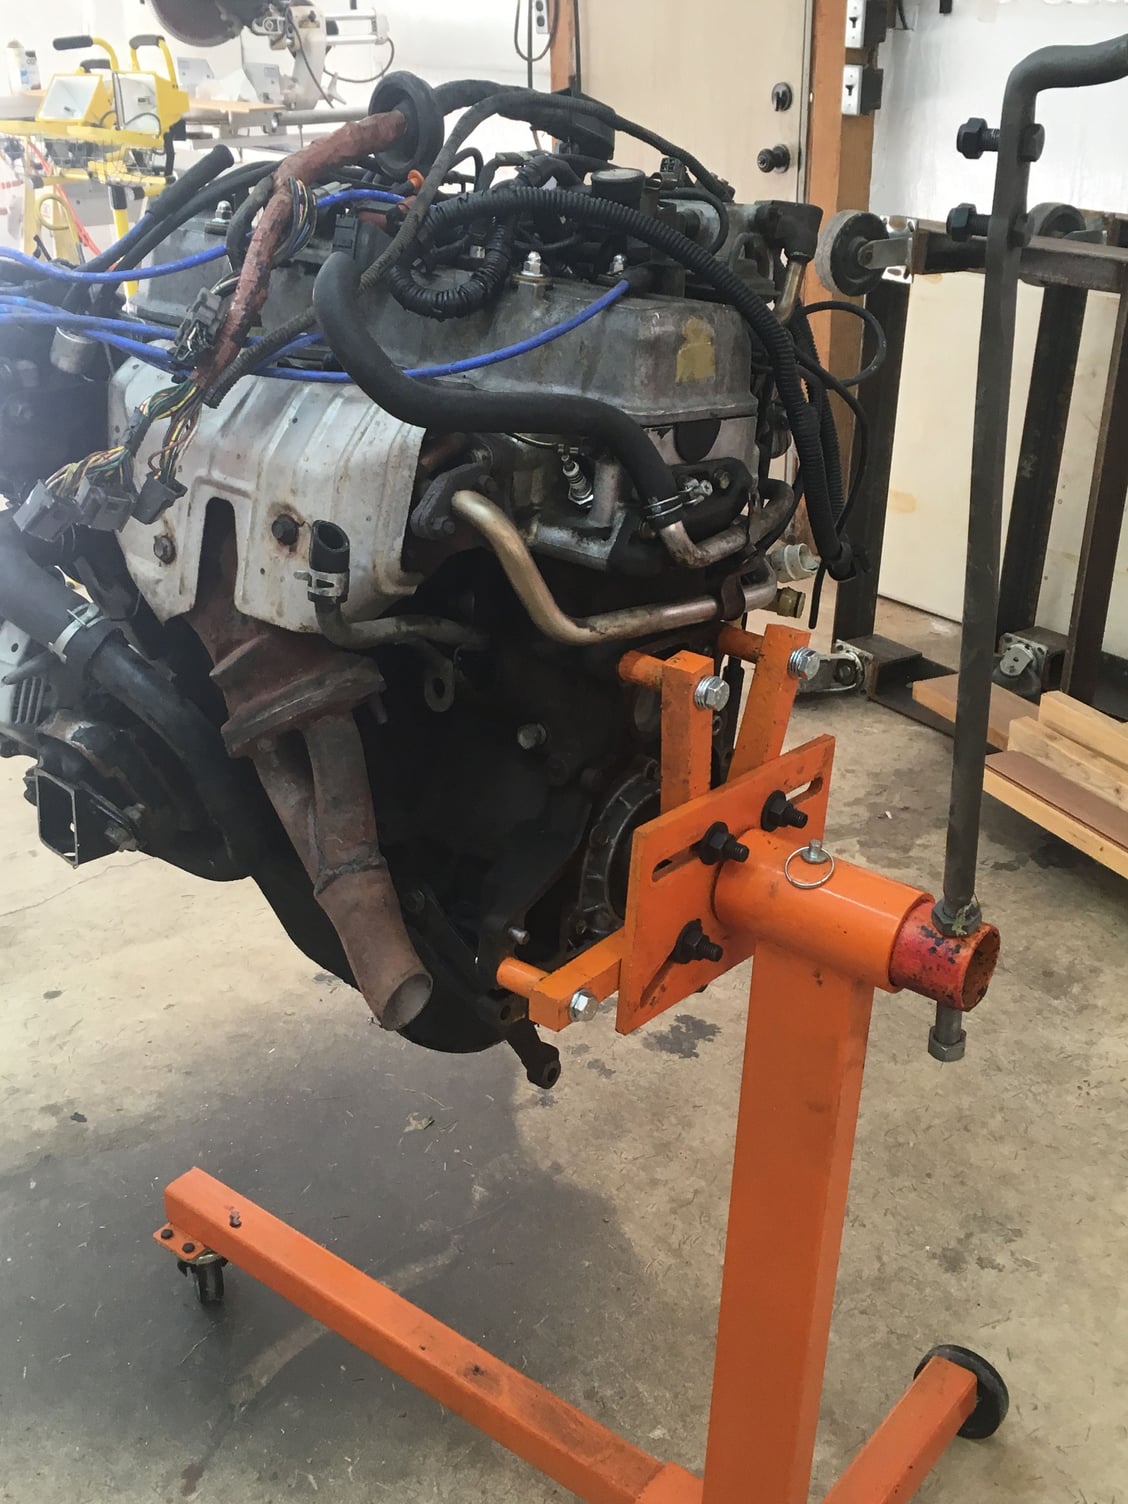
Ready to come off stand for flywheel/clutch install
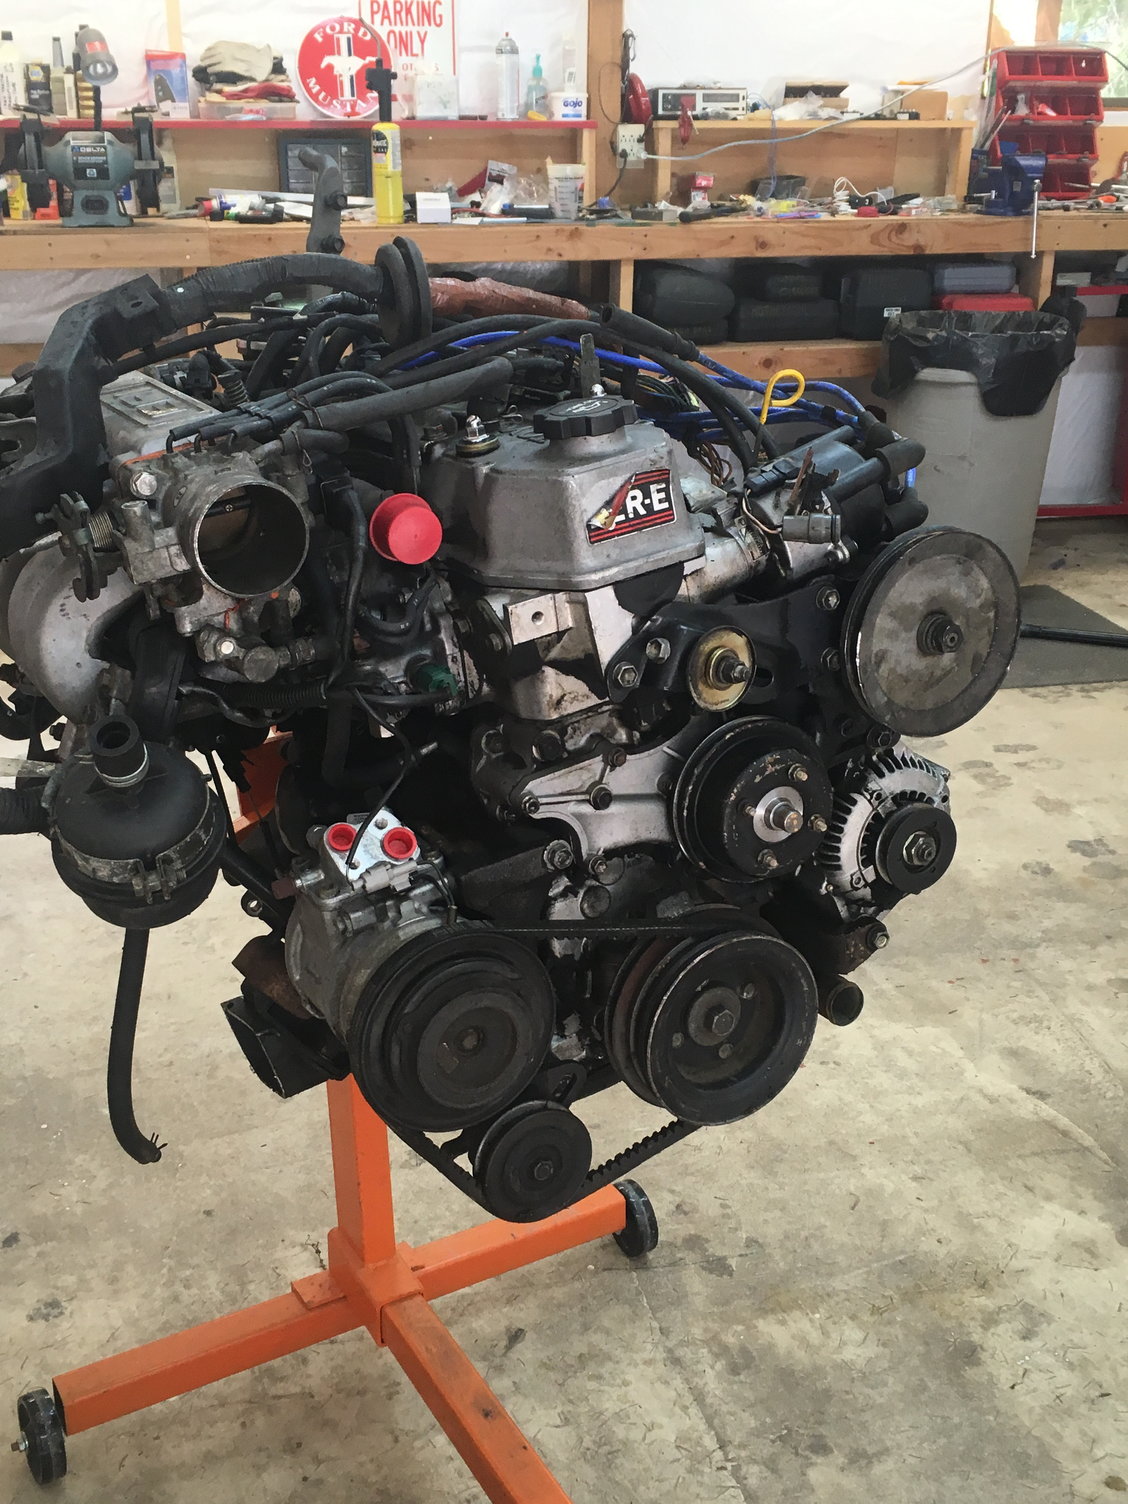
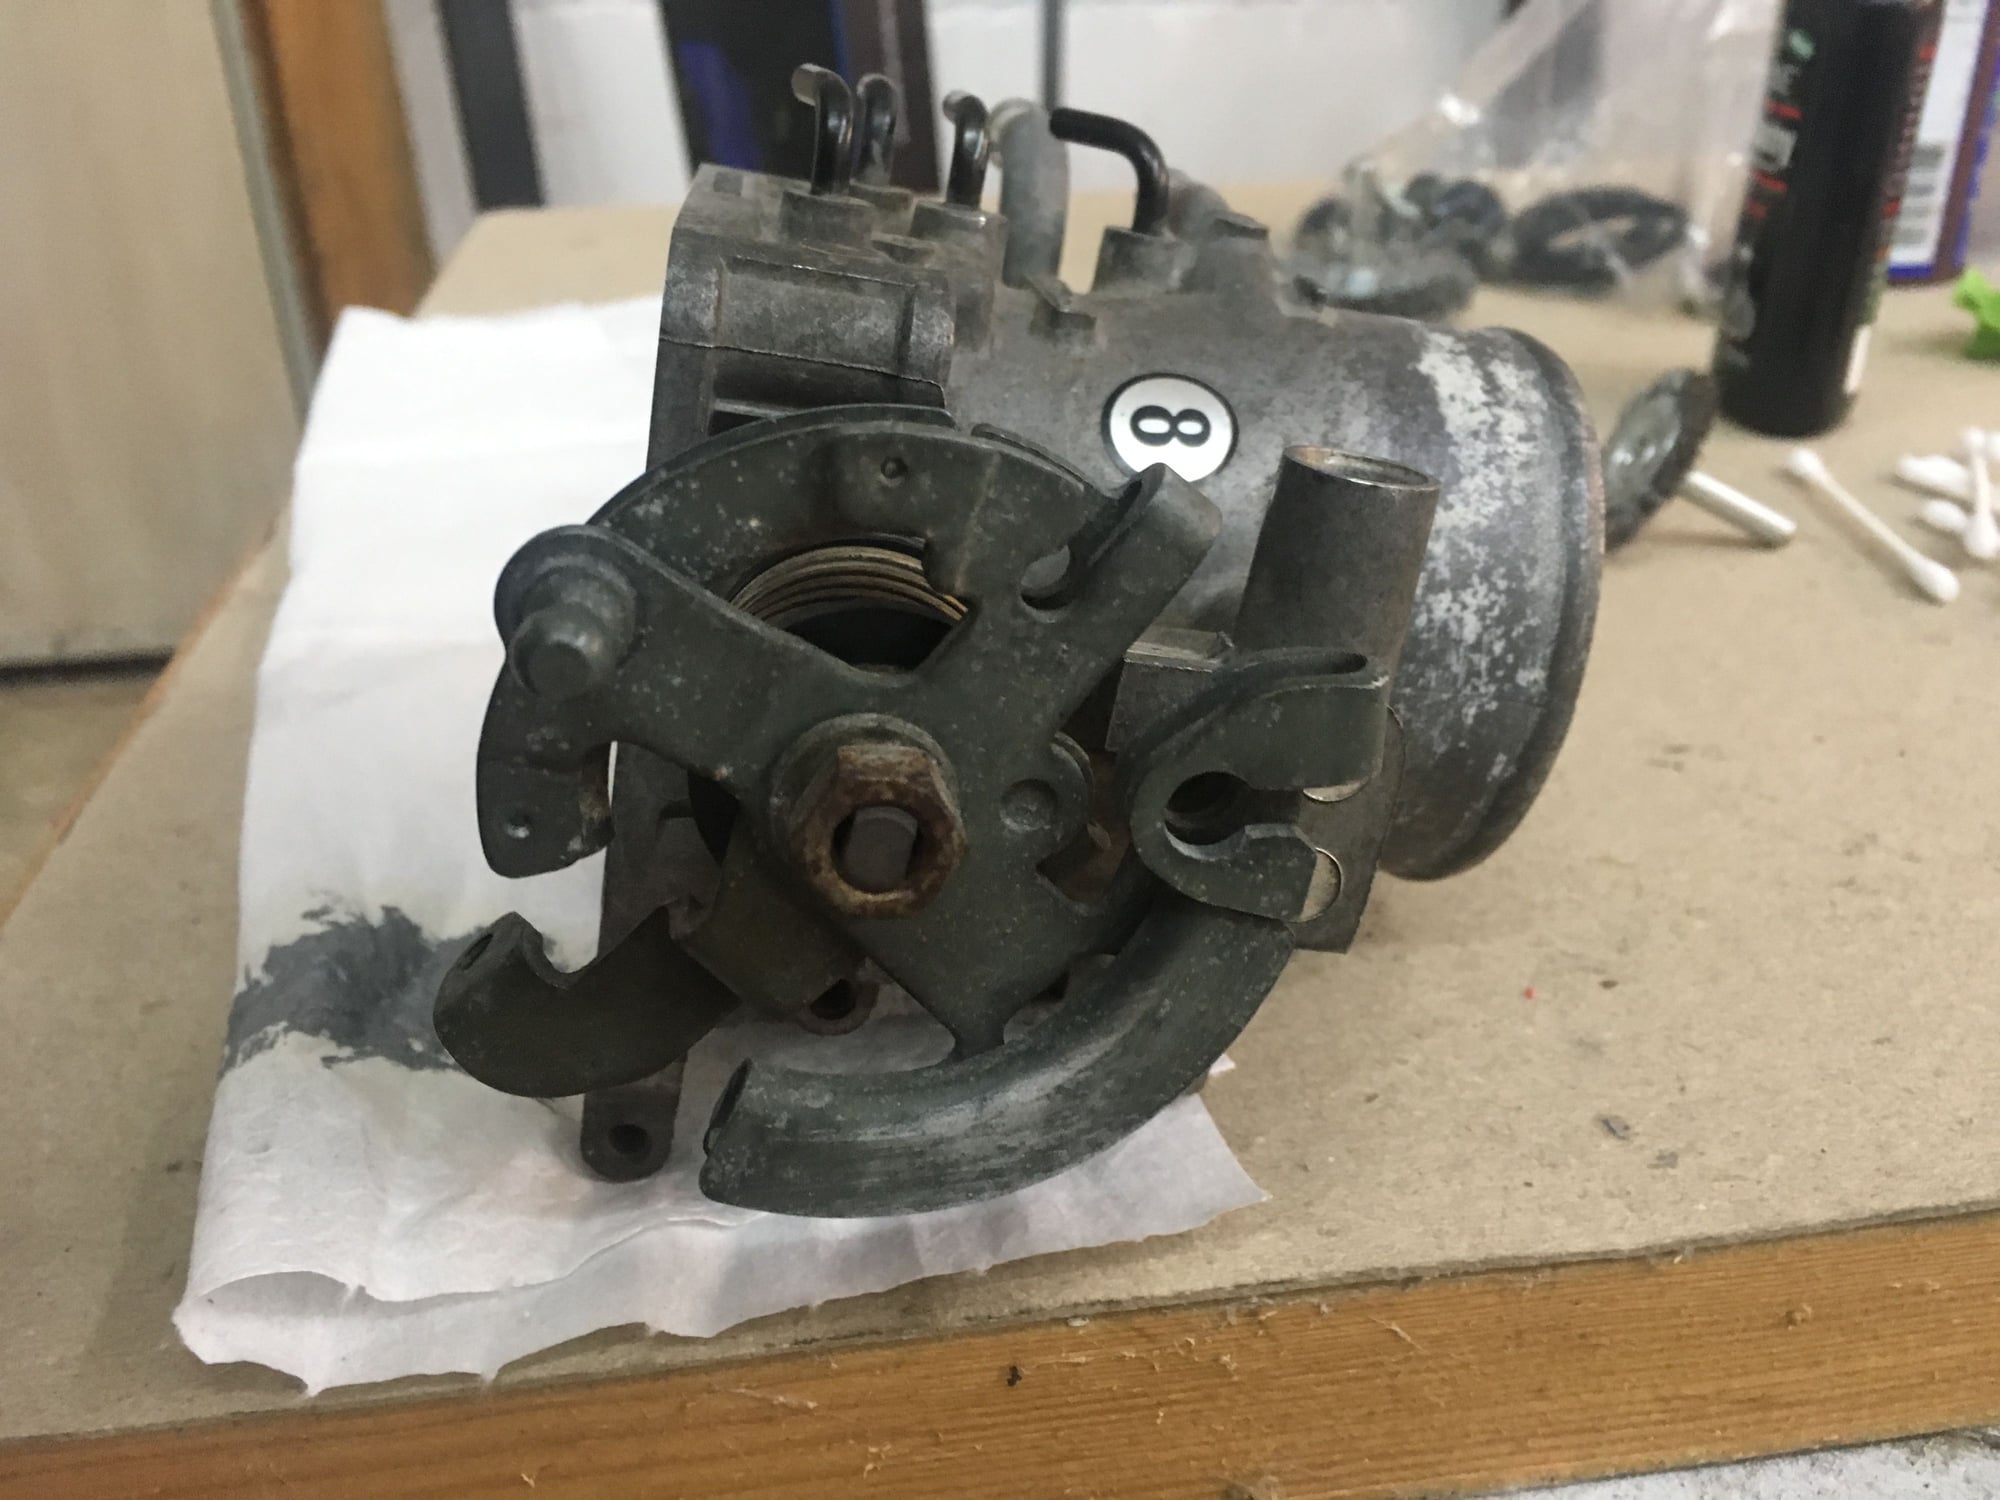
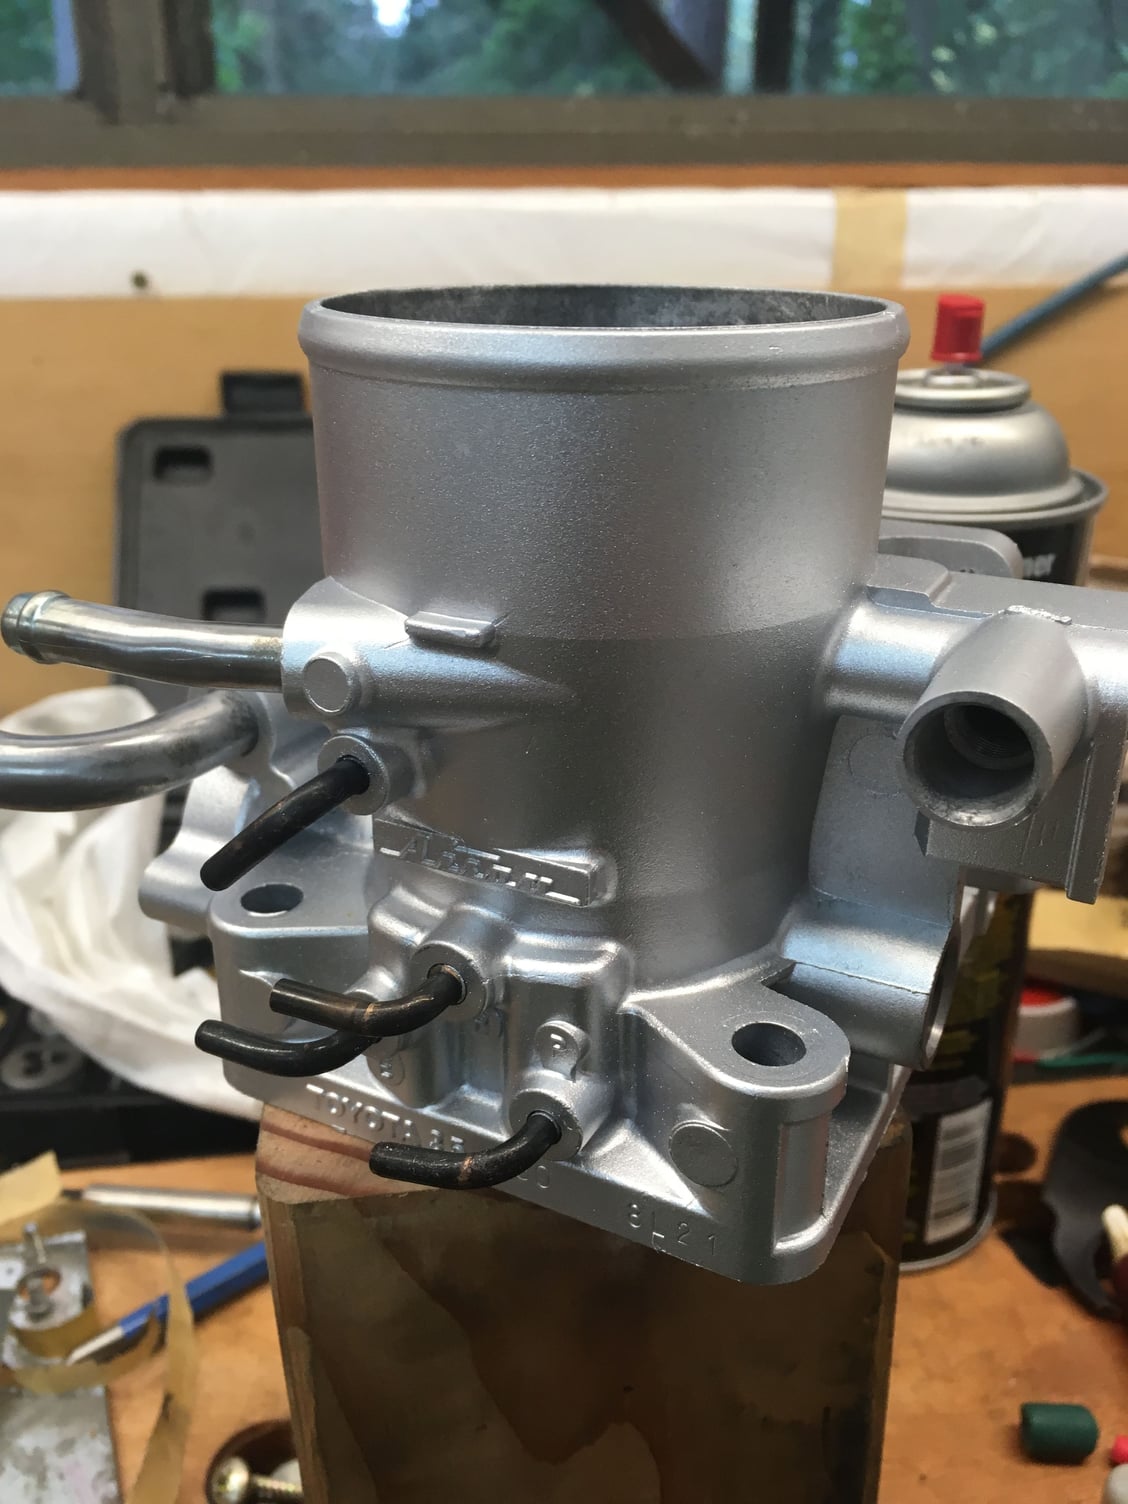
It's been awhile since I posted pics of our build. The long block was put together. All parts blasted and refinished. Power steering pump and air conditioning compressor rebuilt. Throttle body rebuilt. IAC valve rebuilt. Everything is on engine. Once its off the stand, clutch and flywheel will go on. A few weeks ago we pulled the engine out of the 4runner and prepped the engine compartment for install. Before install, we will replace transmission front seal and gasket, flush out heater core with distilled water. We drained all power steering fluid from system. Have to mention that the 98 4runner is a California 22rec and the engine rebuilt was an 89 22re auto 2 wheel drive pickup. Differences in emissions equipment and desire to use 89 improved upper intake had to be sorted out. For instance, no air tubes, reed valve, intake resonator are used on the 87 22rec. We had to use block off plates on exhaust manifold just like the stock 87 22re. We used the 87 22re sensors, vsv valves and vacuum tree off the 87 and followed the underwood vacuum diagram. The 89 throttle body that to have the 4th vacuum port plugged. If anyone wants pics on any specific rebuilt part I can post here. Enjoy.
#19
One plus about the 87 22rec (California) is that is does not have the air tube that goes around the back of the head. This made it possible to reach the upper two bolts on belhousing a lot easier. Therefore, we left the transmission in car.
-H
-H


