
Boomtacoma's 85 Ext Cab Build up
 Nov 1, 2011 | 08:10 PM
#41
Thread Starter
Registered User
Joined: Jun 2011
Posts: 198
Likes: 5
From: Houston TX
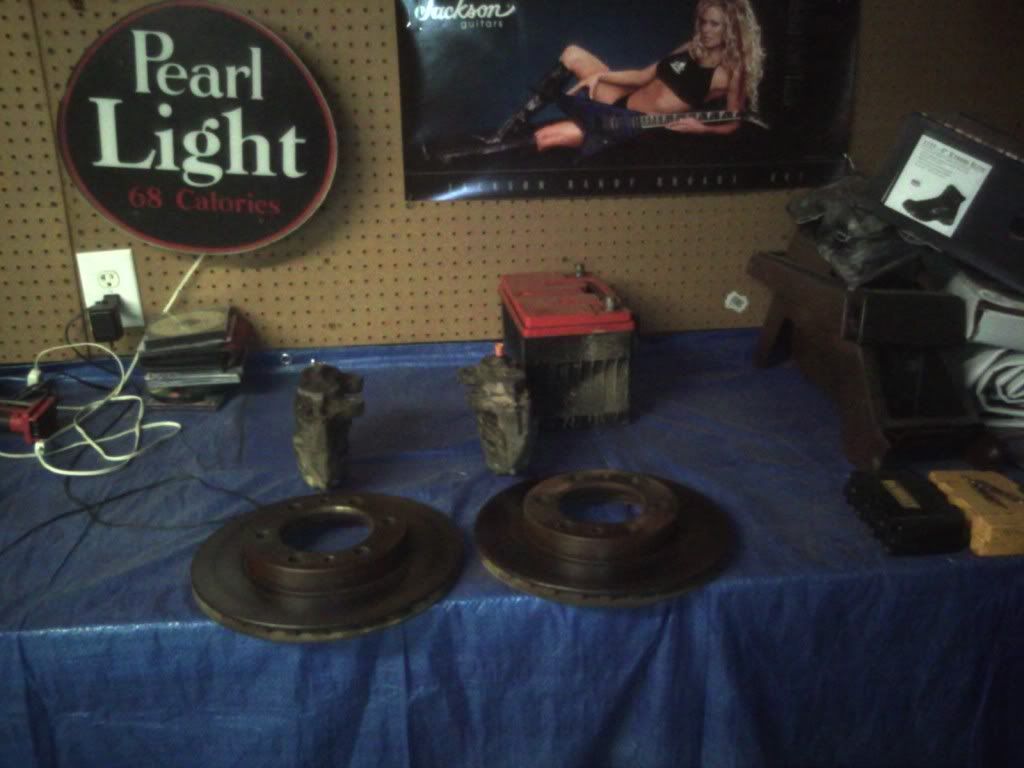
I havent been up to much lately besides wedding planning. Cleaned up my set of IFS front brakes and calipers. I'll probably shoot a coat of paint on them before install.
The TC to the left w/ C 4.7's has a broken front output which will be replaced with a Marlin 30 spl front and rear outputs. Its pretty clean I just need to clean the stock top shift one a little more. I have a Marlin replacement 23spl 2.28 low gear for the TC on the right that I got last Christmas. I just need some more parts and time to get this thing put together.
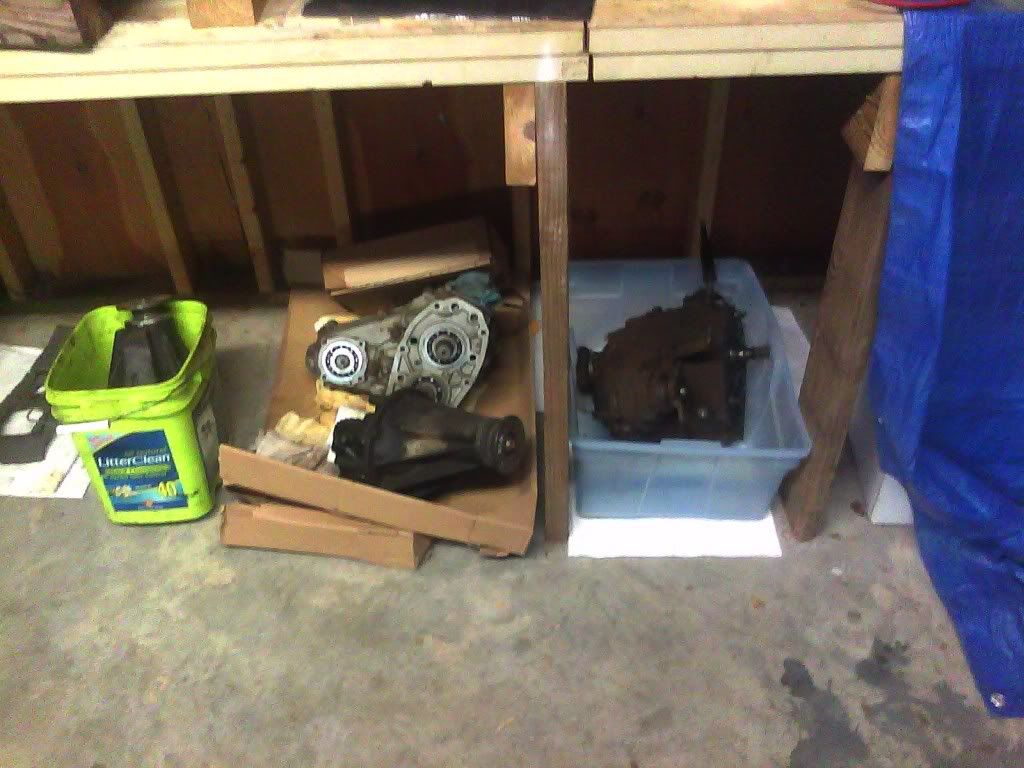
The TC to the left w/ C 4.7's has a broken front output which will be replaced with a Marlin 30 spl front and rear outputs. Its pretty clean I just need to clean the stock top shift one a little more. I have a Marlin replacement 23spl 2.28 low gear for the TC on the right that I got last Christmas. I just need some more parts and time to get this thing put together.
Dec 5, 2011 | 04:42 AM
#42
Thread Starter
Registered User
Joined: Jun 2011
Posts: 198
Likes: 5
From: Houston TX
Well I picked up my other warranteed tire last week and got it mounted up. I have 2 brand new and 2 tires at about 80-85% on the truck. Im happy with that ...for now 
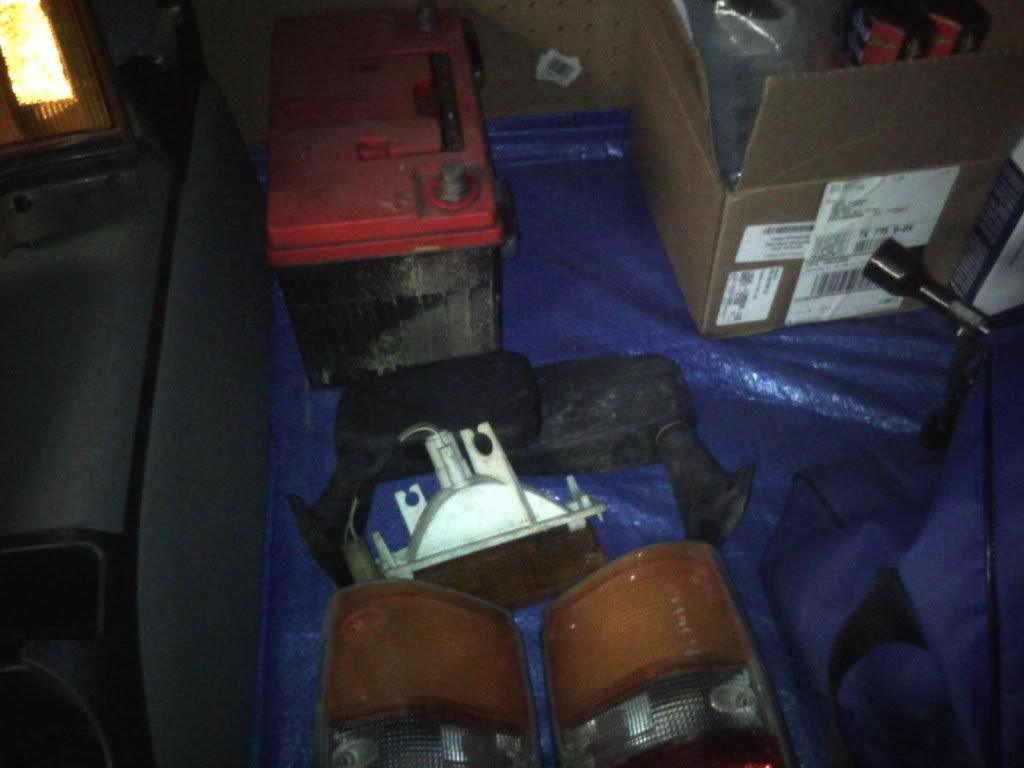
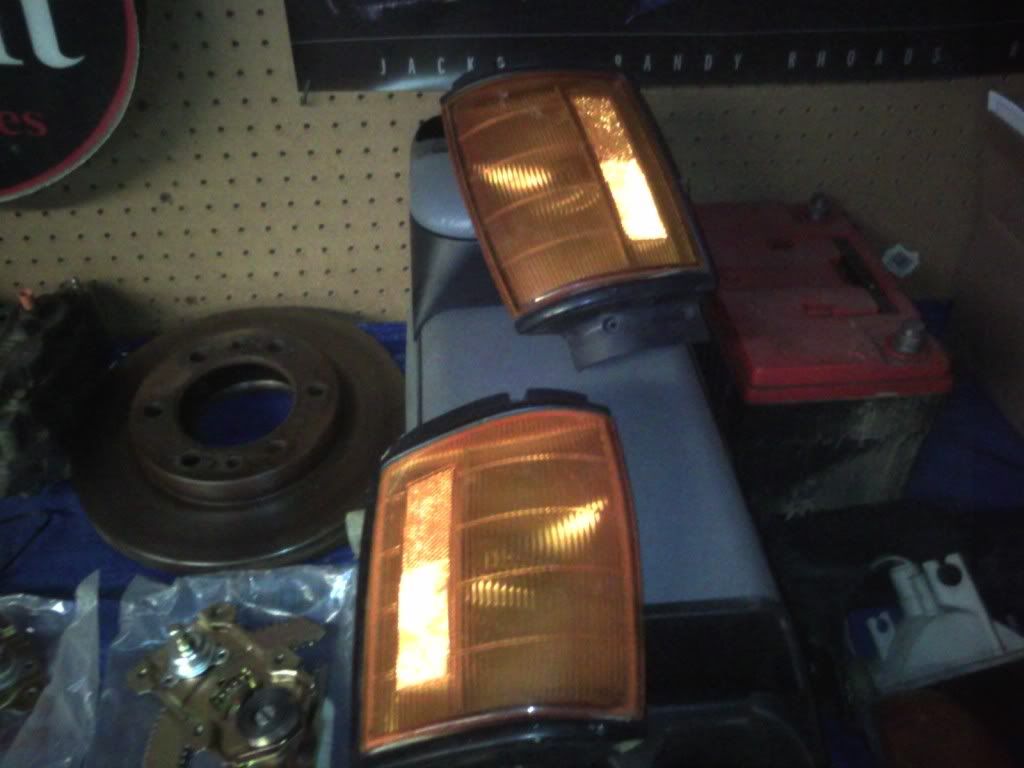
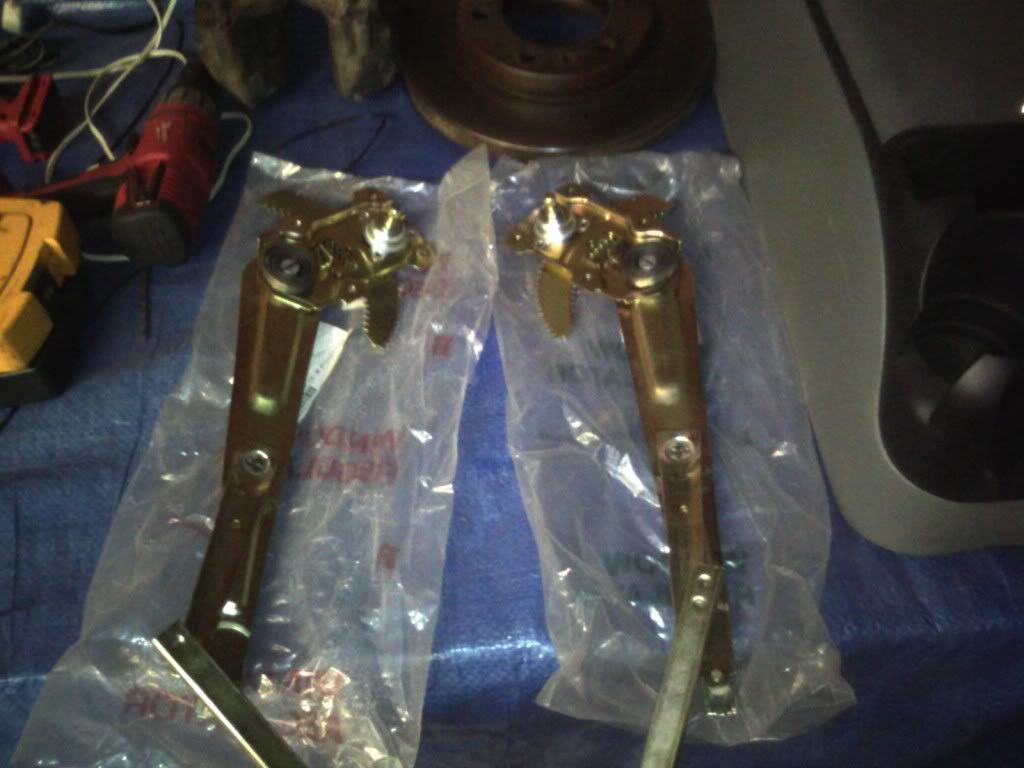
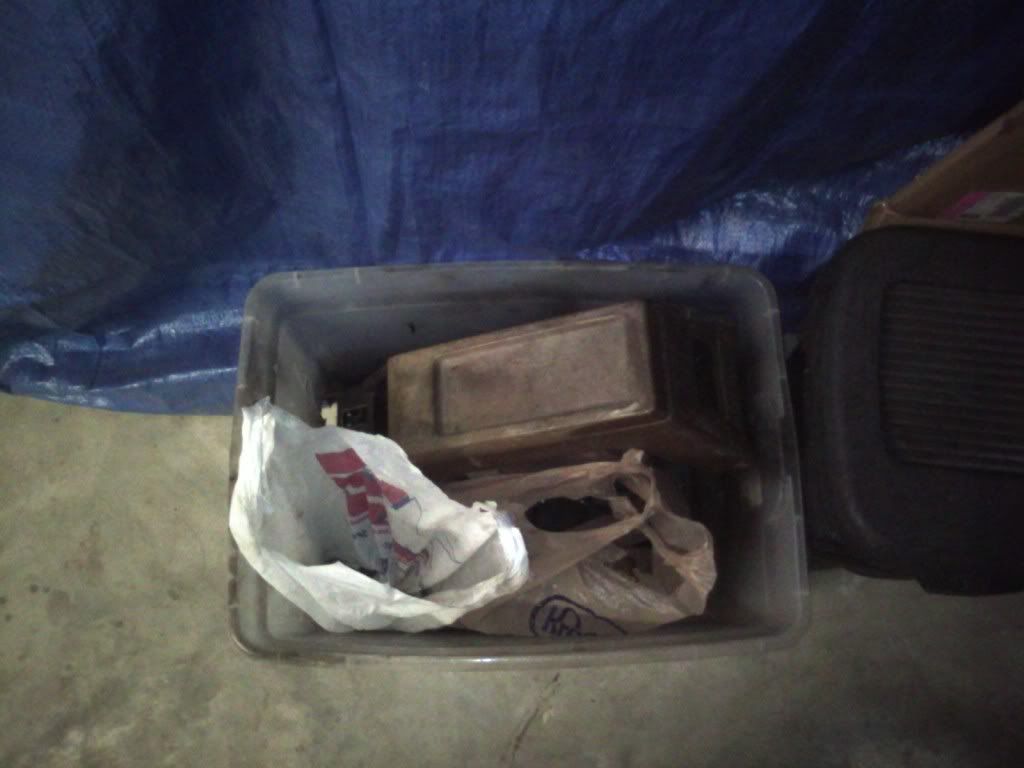
Had a friend cleaning out his garage and foud a box of parts to an 85 runner that he no longer owns. It was a pretty good score: 2 new window regulators, 2 front marker lights, 2 rear tail lights, tan console, a ton of fasteners, 2 complete seat belt assemblies and 2 mirrors
At least I have a couple of spares on hand for any future incidents
Last edited by Boomtacoma01; Dec 8, 2011 at 09:05 AM.
 Dec 5, 2011 | 02:37 PM
#44
Thread Starter
Registered User
Joined: Jun 2011
Posts: 198
Likes: 5
From: Houston TX
The SSRs seem to be a great tire so far. I mainly went that route due to a deal I found on the tires and the amount of time this rig was going to be on the highway. The tires seem to flex well when airing down and give tons of grip. My only concern is that they are a Load range C tire (6ply). That being said; I'll run em till they can be run anymore. Probably get some Iroks for the next set since a tow rig might be in my near future.
And thanks man. I really like your Trekker. I read through the build and have seen some of the updates here and on TTORA.
And thanks man. I really like your Trekker. I read through the build and have seen some of the updates here and on TTORA.
Jan 26, 2012 | 06:26 AM
#45
Thread Starter
Registered User
Joined: Jun 2011
Posts: 198
Likes: 5
From: Houston TX
Messed around on the red truck this weekend for the first time in about a month.
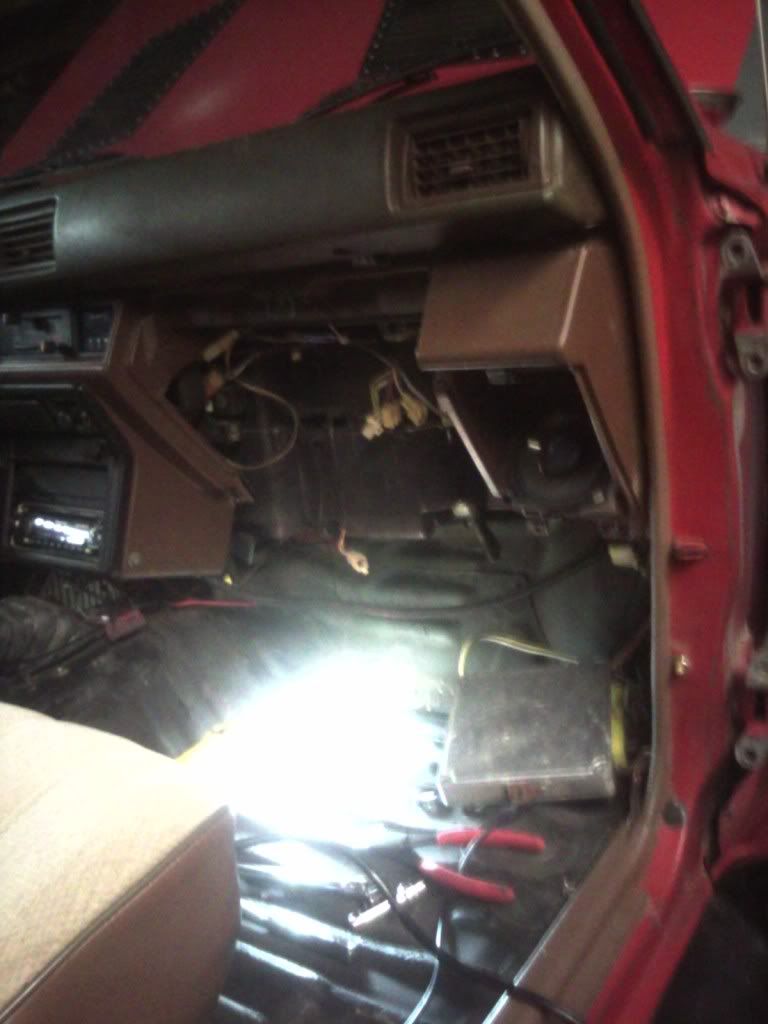
I basically disassembled the whole dash to clean up wiring and see what the hell was going on with the lack of airflow coming from my vents.
This was the passenger side.
Found this in the blower motor assembly
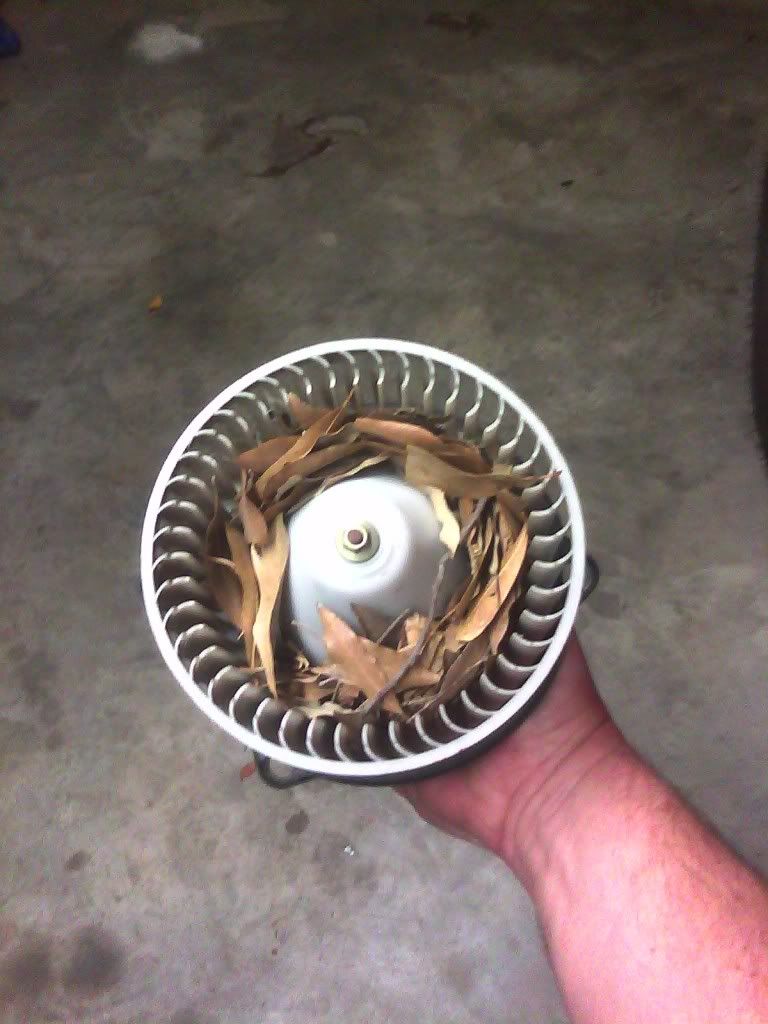
The condenser was jammed almost full as well.
Got that mostly cinched back up. Just have to get the bezel around the speedo cluster put back on. Fan blows like a champ now!
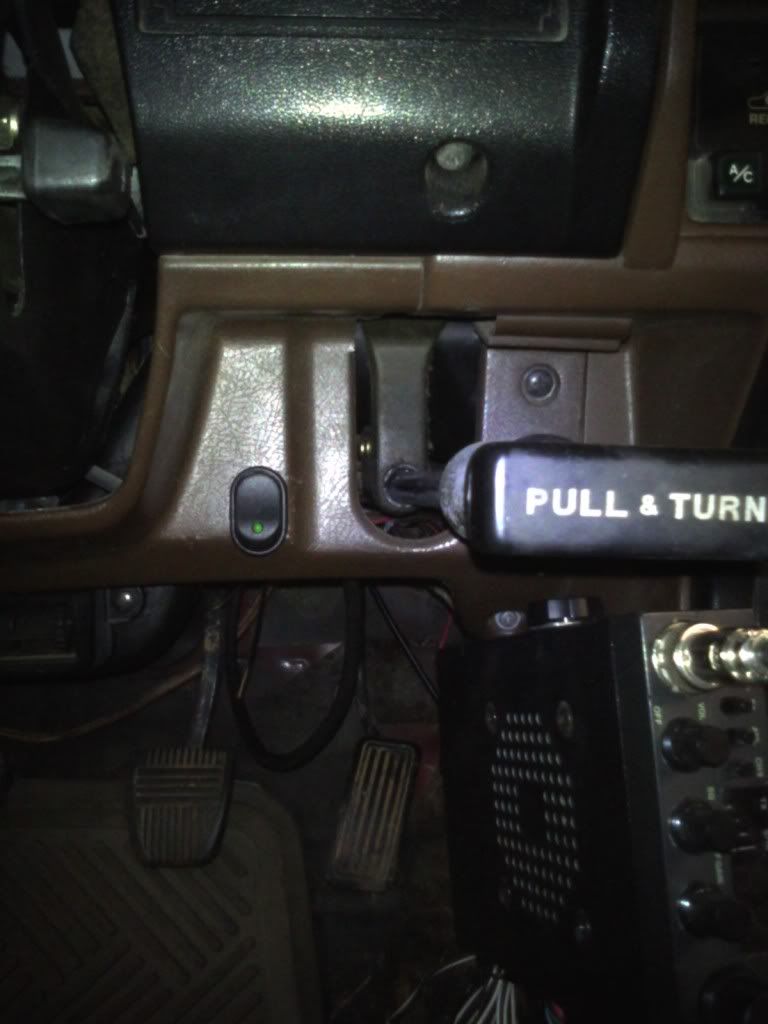
Finally got a push button switch installed for my horn. The wiring inside the steering columnb just kept pulling apart and being a pain in the ass.
Sealed up the hole in my fuel door from when i trimmed my rear passenger fender.
Started to plumb in an inlet hose to the air box. A carbureated one doesnt work BTW. It almost does though.
EBC greenstuff 6K pads are on the way along with a new high pressure steering hose. Mine is looking a little brittle. Might as well change it out before it blows.
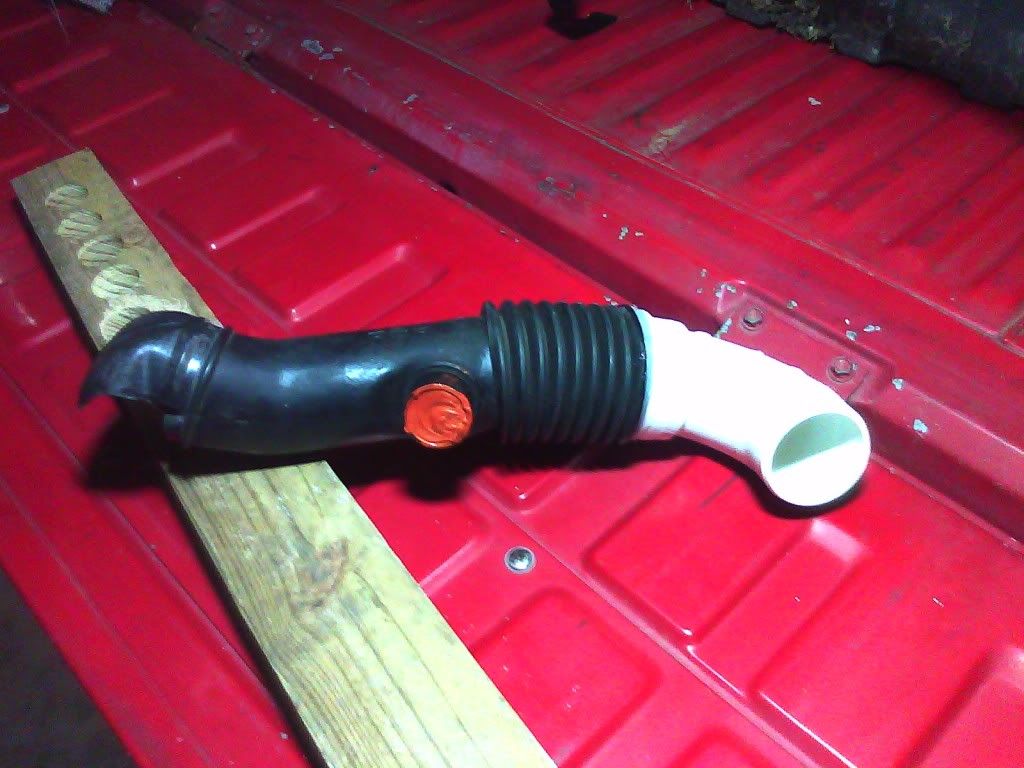
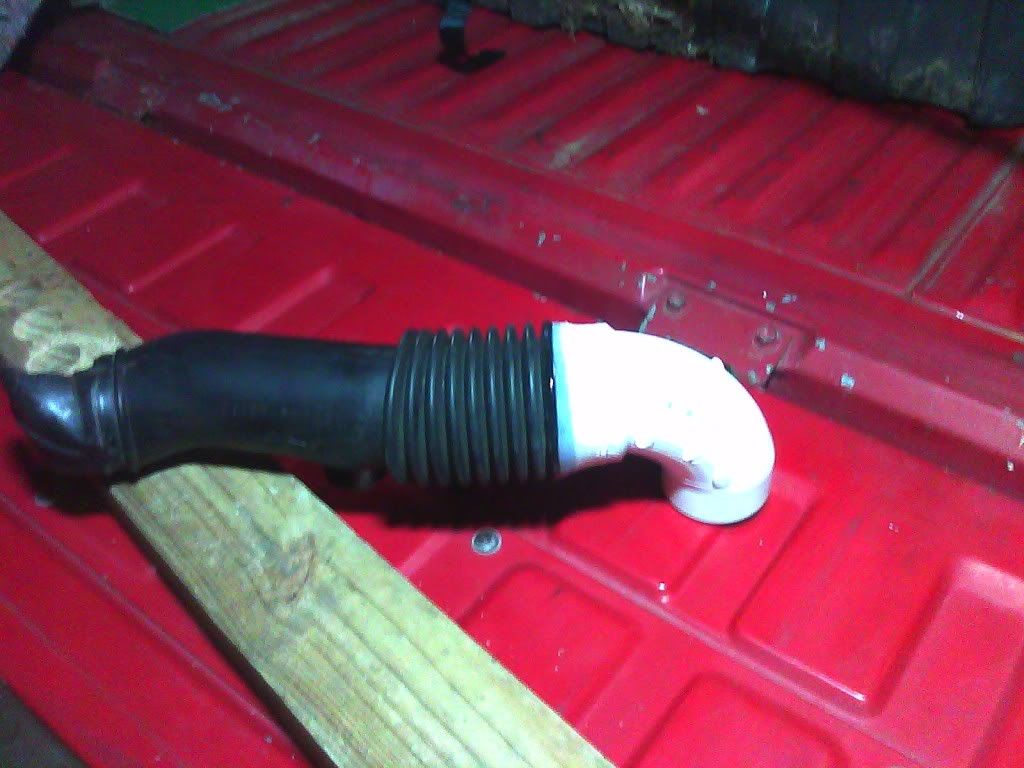
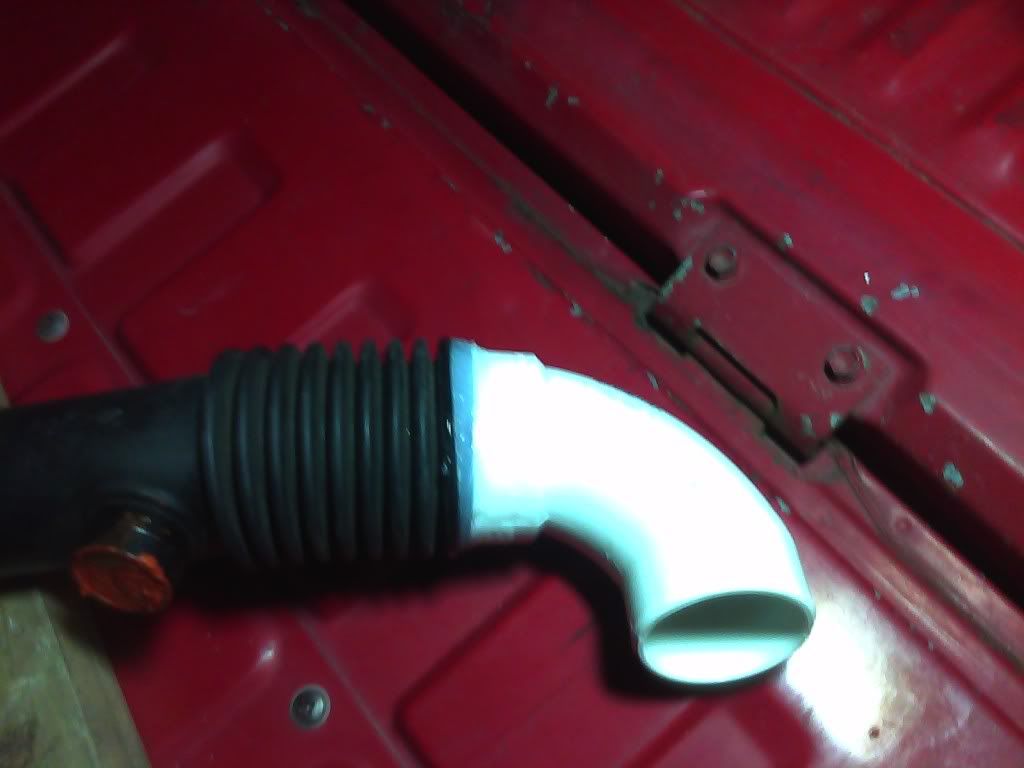
So this is what I came up with for my air box intake tube. I used a 2" PVC street L and the intake tube from a carbed 22R. I had to plug the extra port on the tube and put the 2 tubes together with a bead of silicone. Im letting it cure now and installing after that.
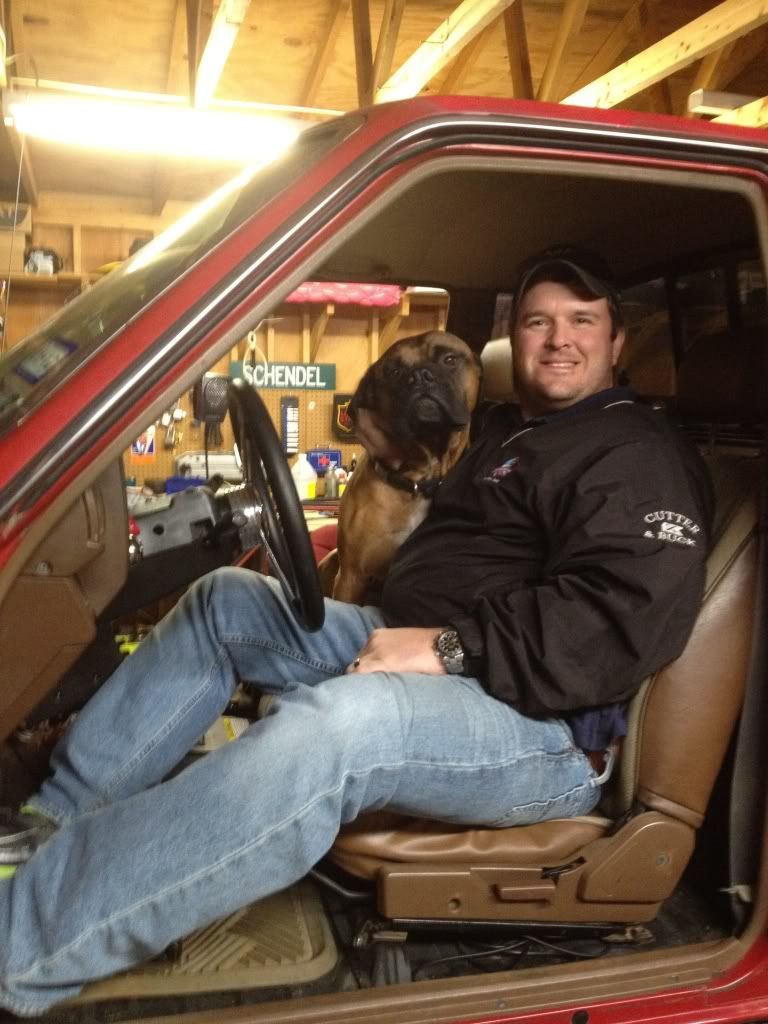
My dog Tank decided to hop up into the truck with me after I got finished putting the dash/speedo cluster back in. He loves the Red truck
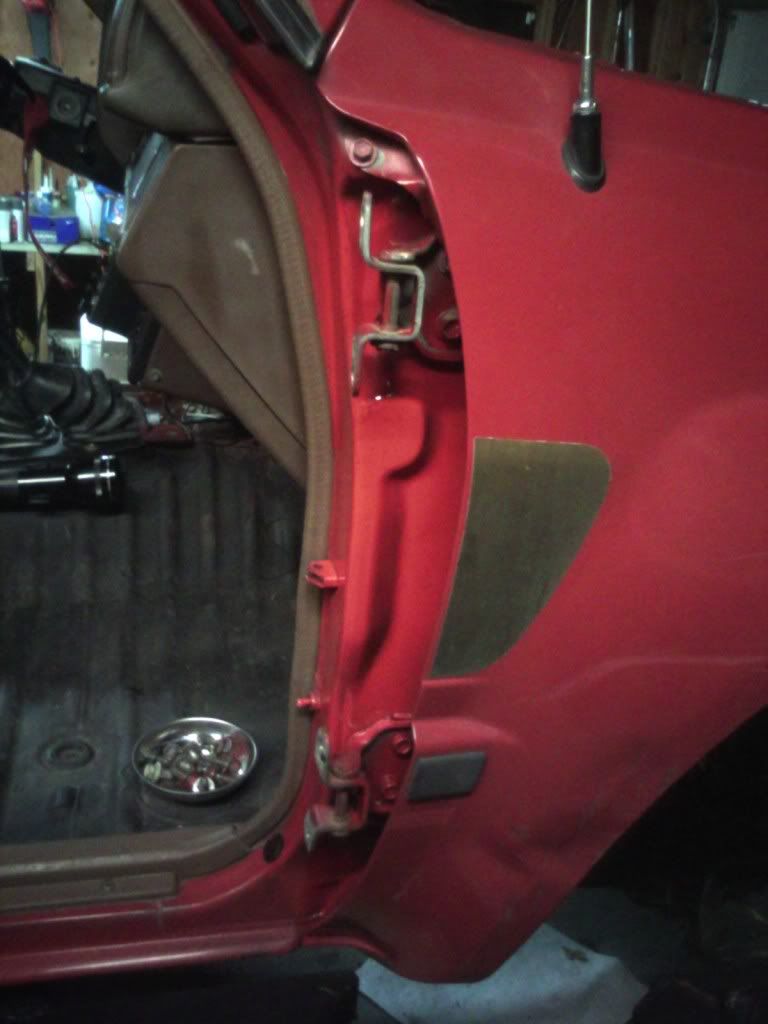
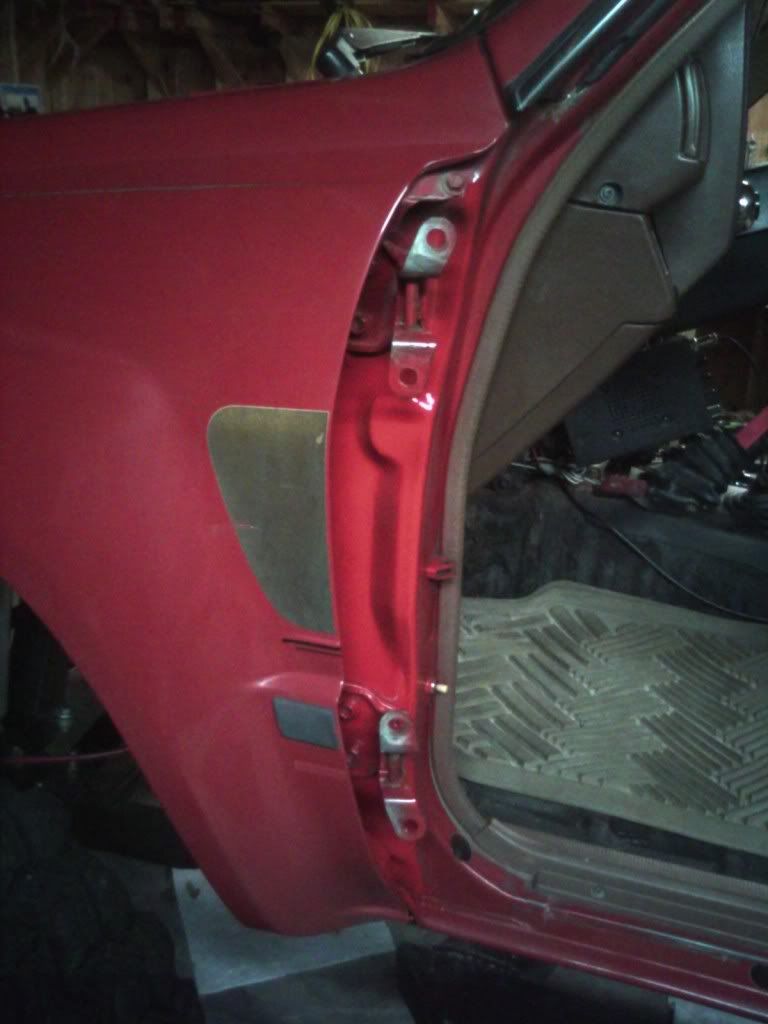
Took a little time and painted both my inner door jambs before I left for a project in Alababma
Also got my rigged up air box intake tube put in.
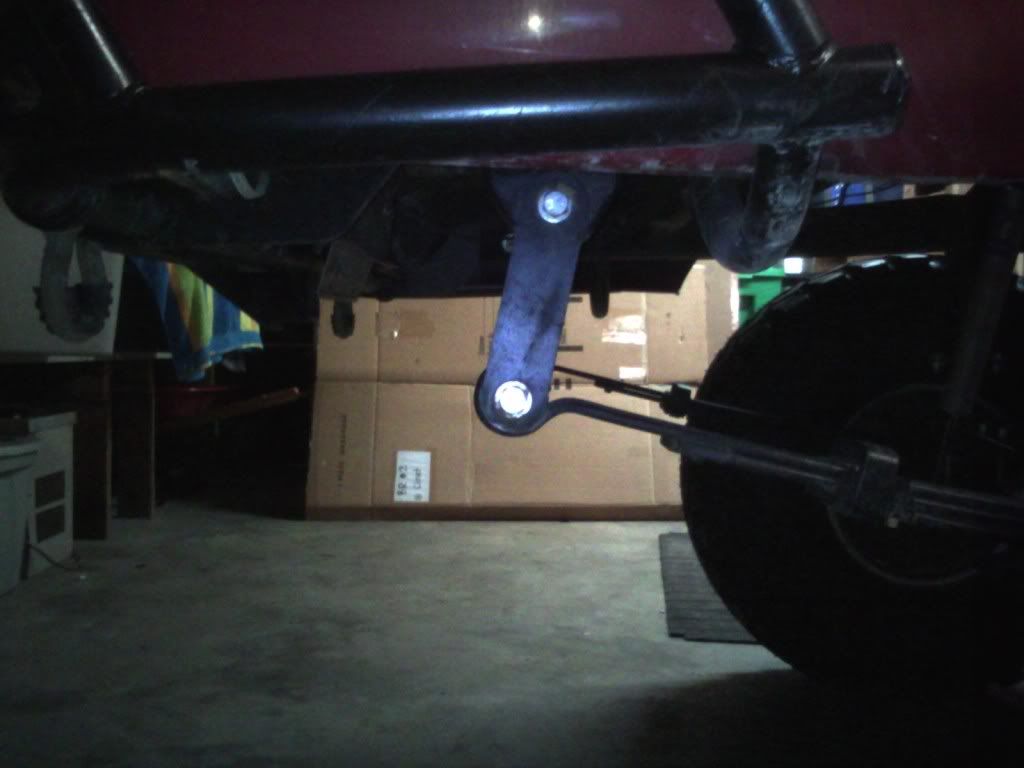
Seems like my rear shackle angle is getting better too!
Look for some updates here in the near future:
IFS front brake upgrade with EBC pads
Rear disk conversion with GSM's kit
Radio freshening up
2" Sunpro Gauge install
And more to come as I find more parts in boxes that I forgot or didnt know I had.
Going Wheeling this weekend so no modding
I basically disassembled the whole dash to clean up wiring and see what the hell was going on with the lack of airflow coming from my vents.
This was the passenger side.
Found this in the blower motor assembly
The condenser was jammed almost full as well.
Got that mostly cinched back up. Just have to get the bezel around the speedo cluster put back on. Fan blows like a champ now!
Finally got a push button switch installed for my horn. The wiring inside the steering columnb just kept pulling apart and being a pain in the ass.
Sealed up the hole in my fuel door from when i trimmed my rear passenger fender.
Started to plumb in an inlet hose to the air box. A carbureated one doesnt work BTW. It almost does though.
EBC greenstuff 6K pads are on the way along with a new high pressure steering hose. Mine is looking a little brittle. Might as well change it out before it blows.
So this is what I came up with for my air box intake tube. I used a 2" PVC street L and the intake tube from a carbed 22R. I had to plug the extra port on the tube and put the 2 tubes together with a bead of silicone. Im letting it cure now and installing after that.
My dog Tank decided to hop up into the truck with me after I got finished putting the dash/speedo cluster back in. He loves the Red truck
Took a little time and painted both my inner door jambs before I left for a project in Alababma
Also got my rigged up air box intake tube put in.
Seems like my rear shackle angle is getting better too!
Look for some updates here in the near future:
IFS front brake upgrade with EBC pads
Rear disk conversion with GSM's kit
Radio freshening up
2" Sunpro Gauge install
And more to come as I find more parts in boxes that I forgot or didnt know I had.
Going Wheeling this weekend so no modding
Jan 30, 2012 | 07:50 AM
#46
Thread Starter
Registered User
Joined: Jun 2011
Posts: 198
Likes: 5
From: Houston TX
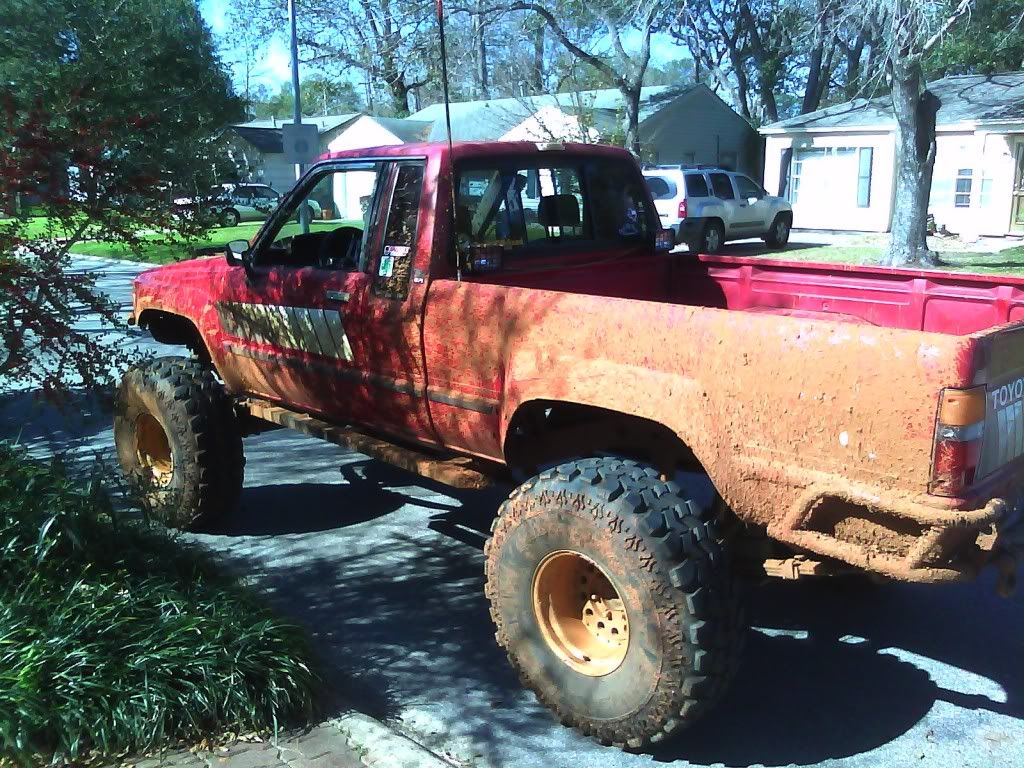
Some wheeling pics at Shiloh Rigde in Alto TX
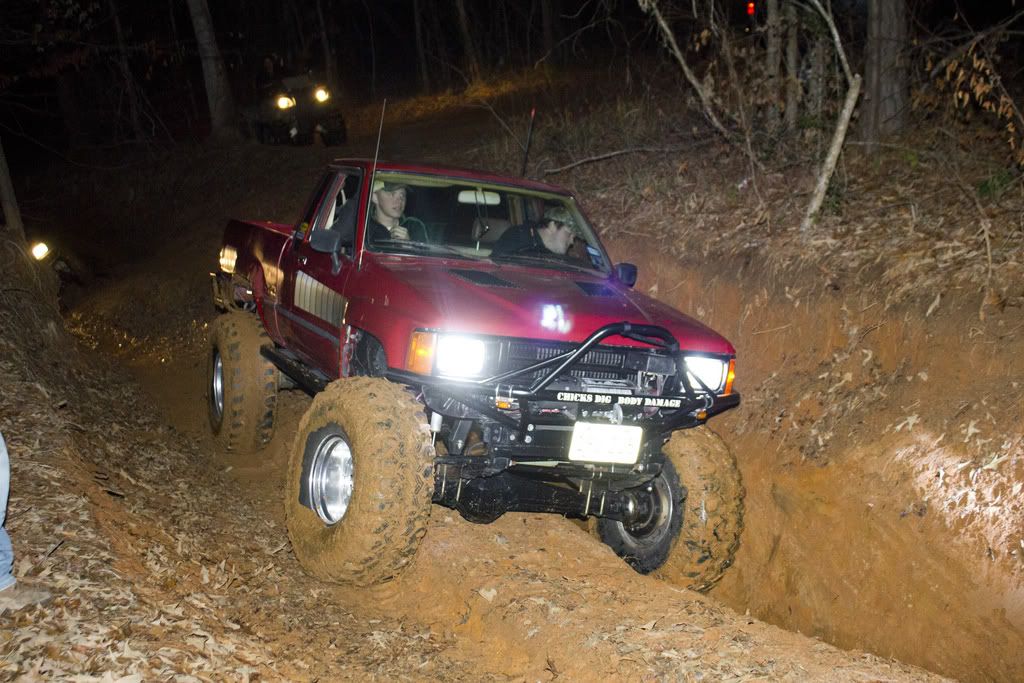
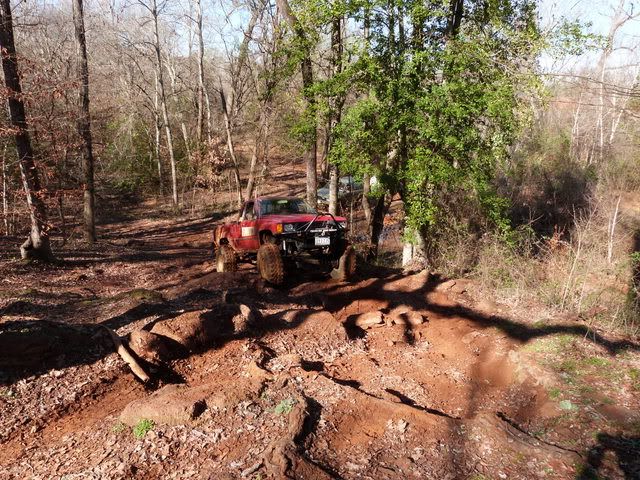
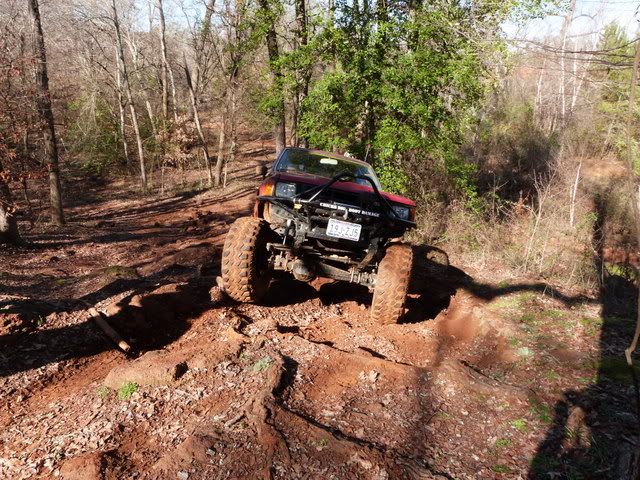
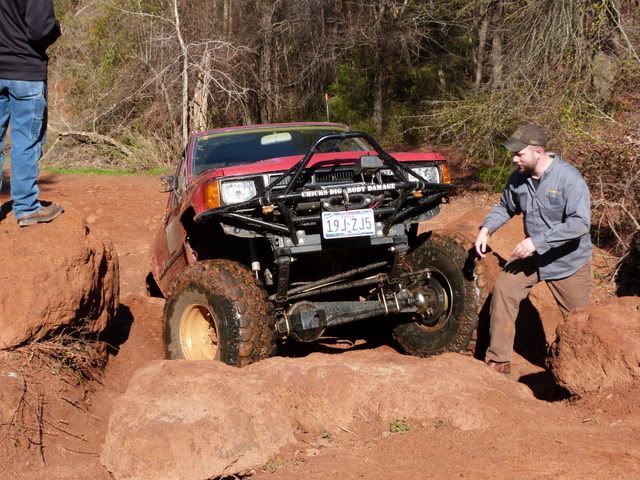
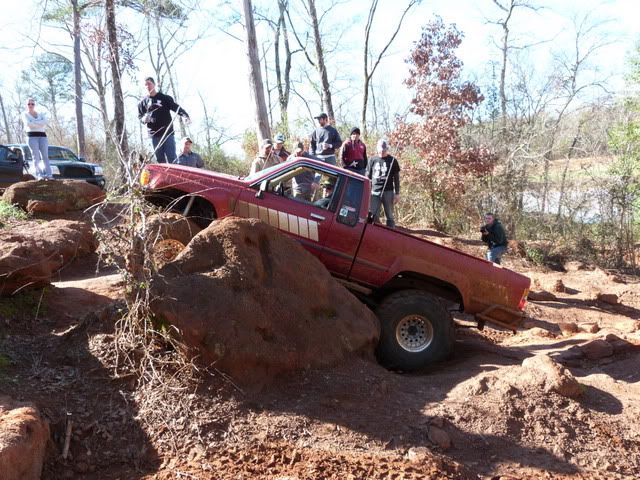
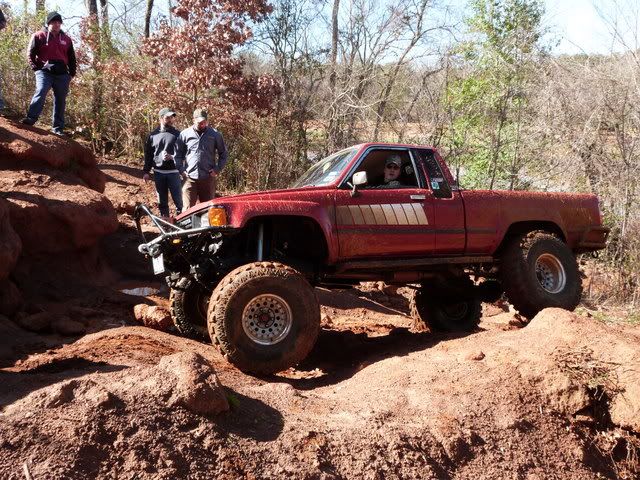
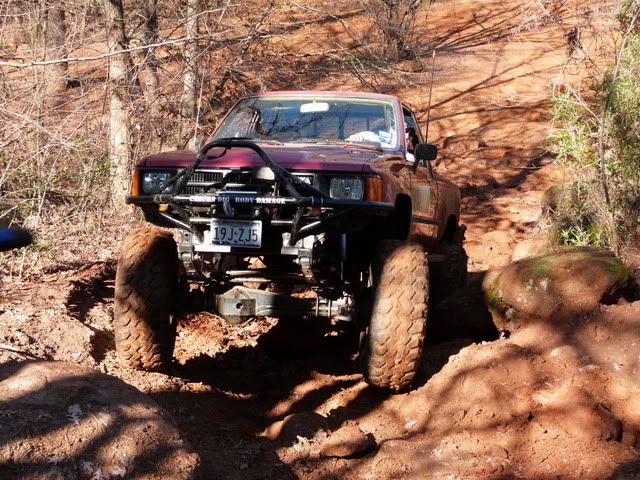
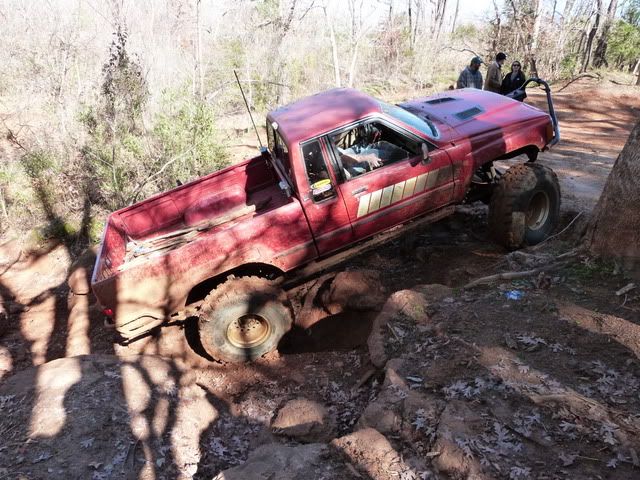
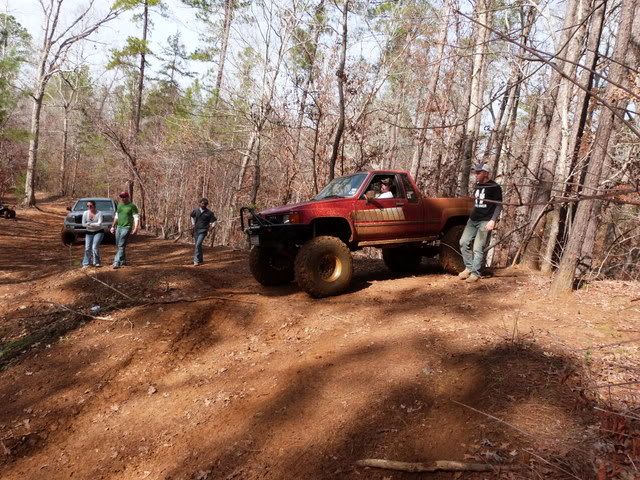
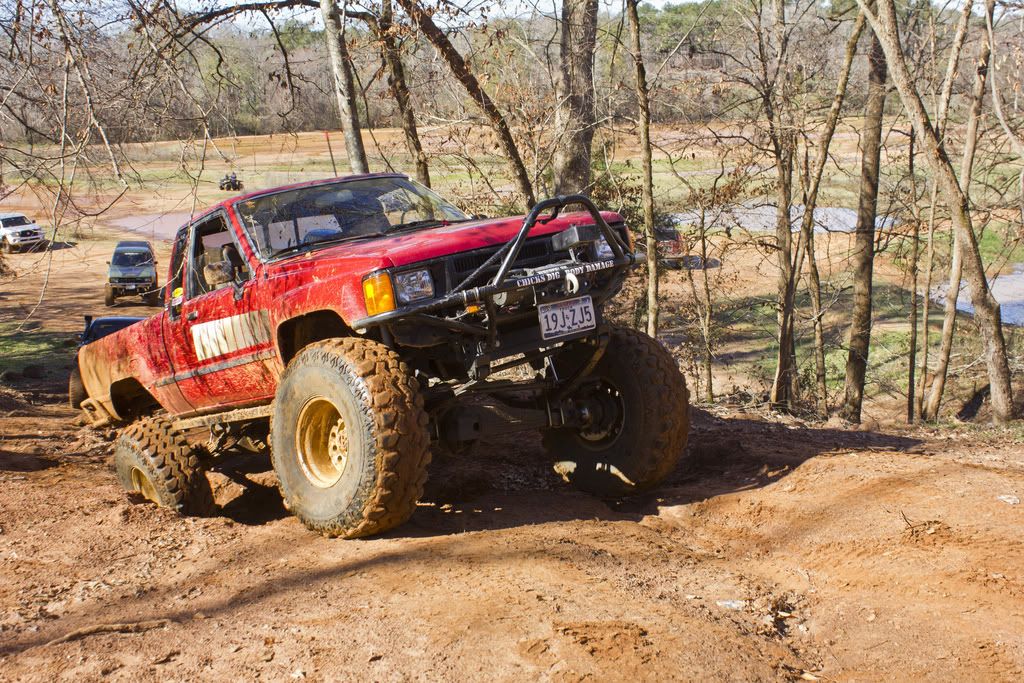
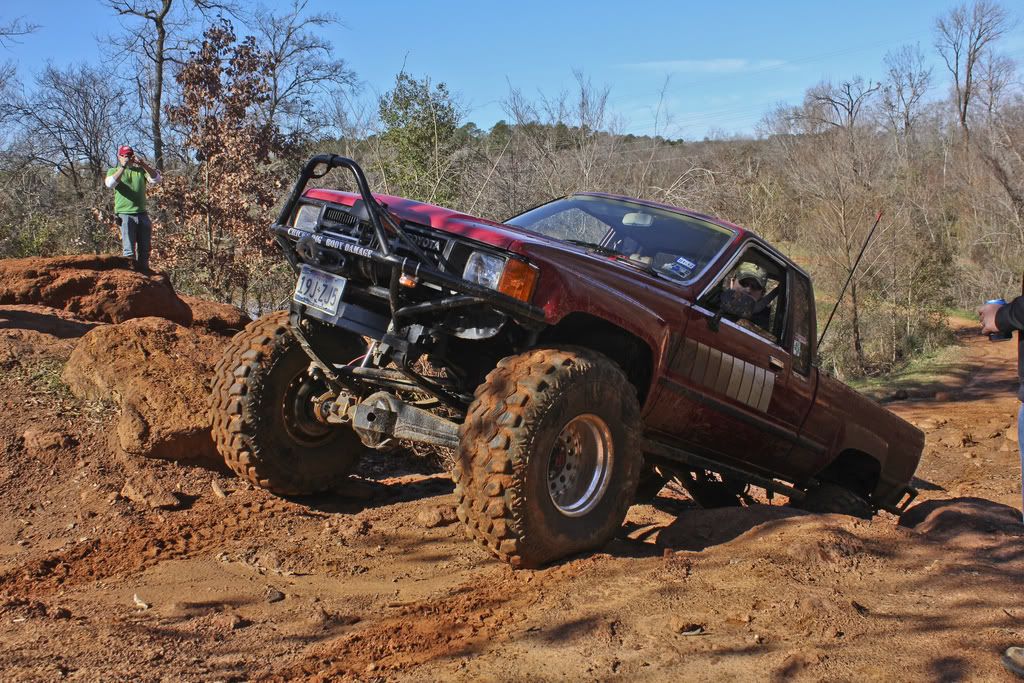
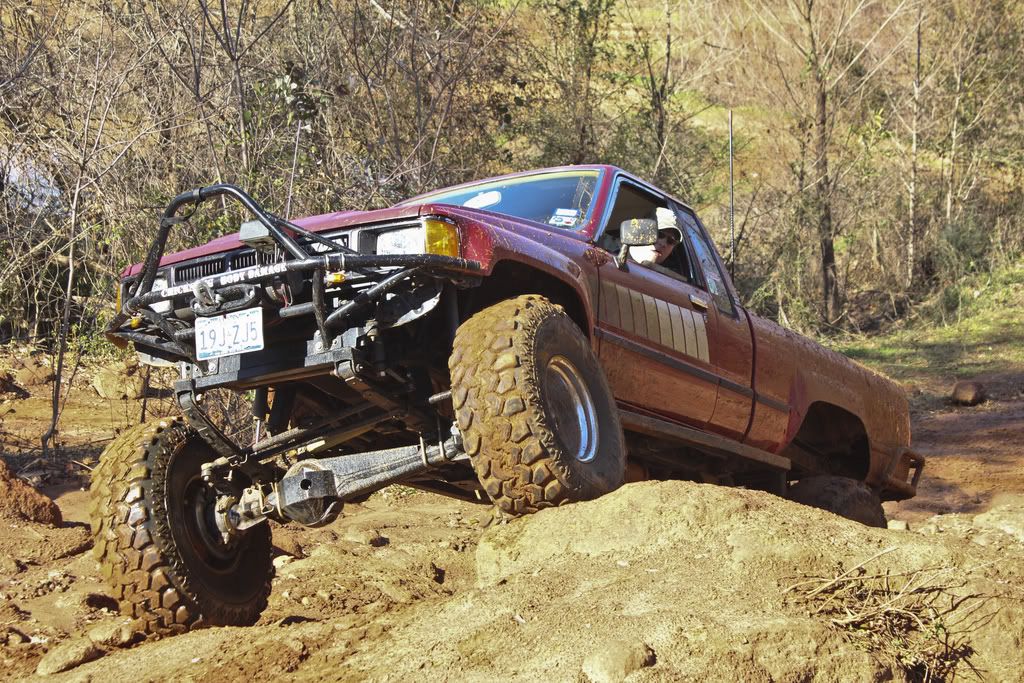
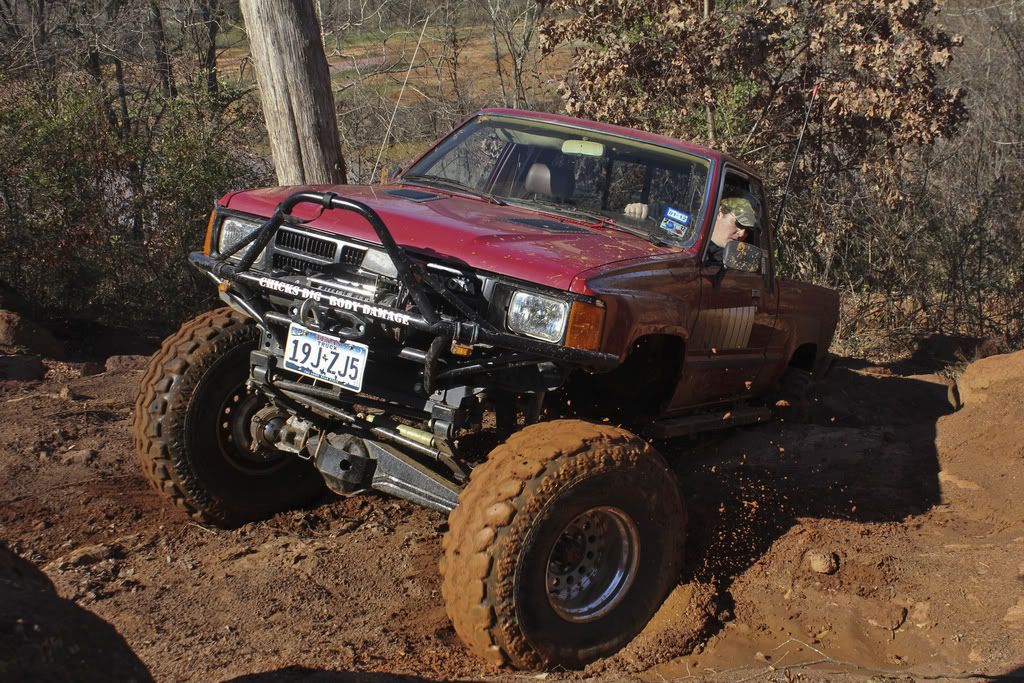
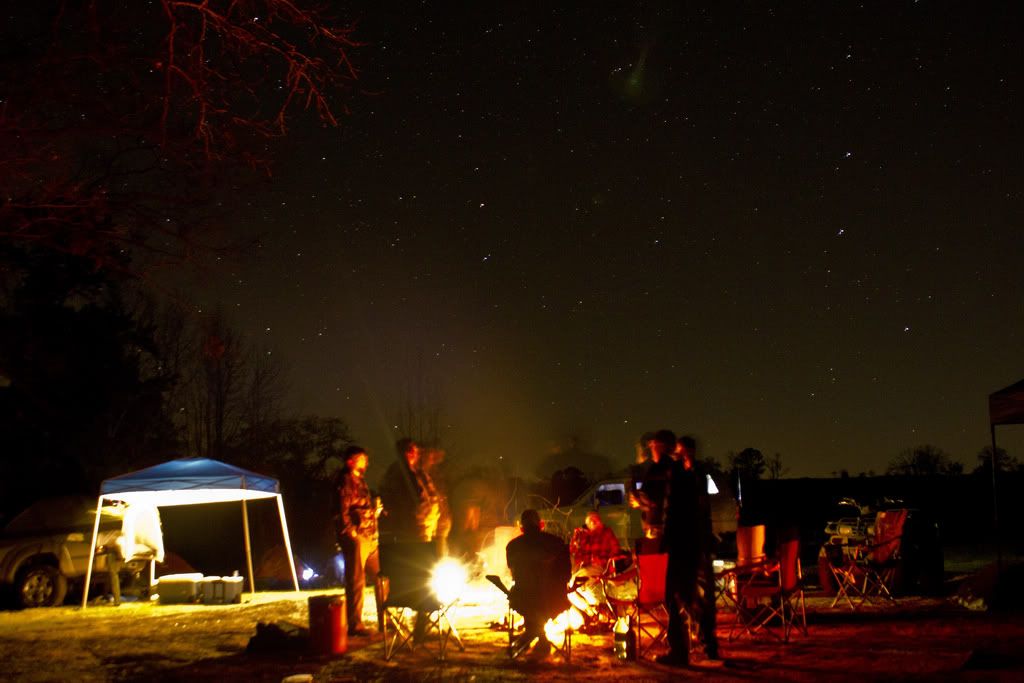
The end result a very muddy truck. It took 15 bucks to get the chunks off and it is going to need some more done.
It was a great time with some good friends!
The end result a very muddy truck. It took 15 bucks to get the chunks off and it is going to need some more done.
It was a great time with some good friends!
Last edited by Boomtacoma01; Feb 15, 2012 at 07:17 AM.
Feb 8, 2012 | 04:57 AM
#47
Thread Starter
Registered User
Joined: Jun 2011
Posts: 198
Likes: 5
From: Houston TX
I finally got around to at least starting on the IFS caliper and FJ vented rotor swap.
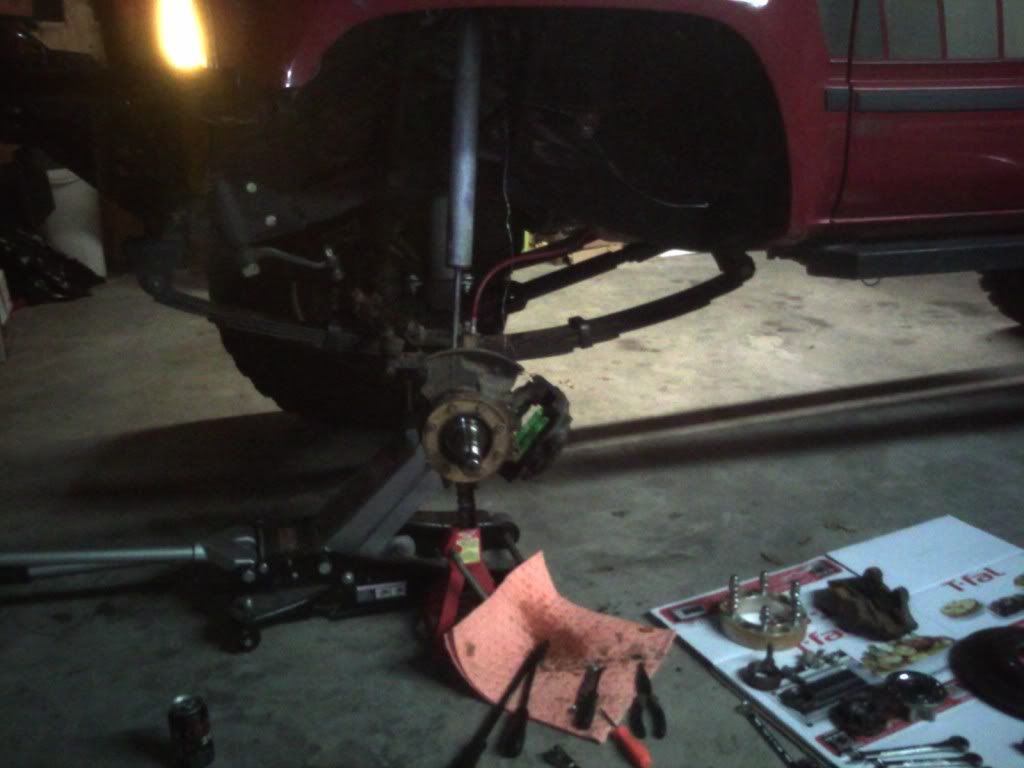

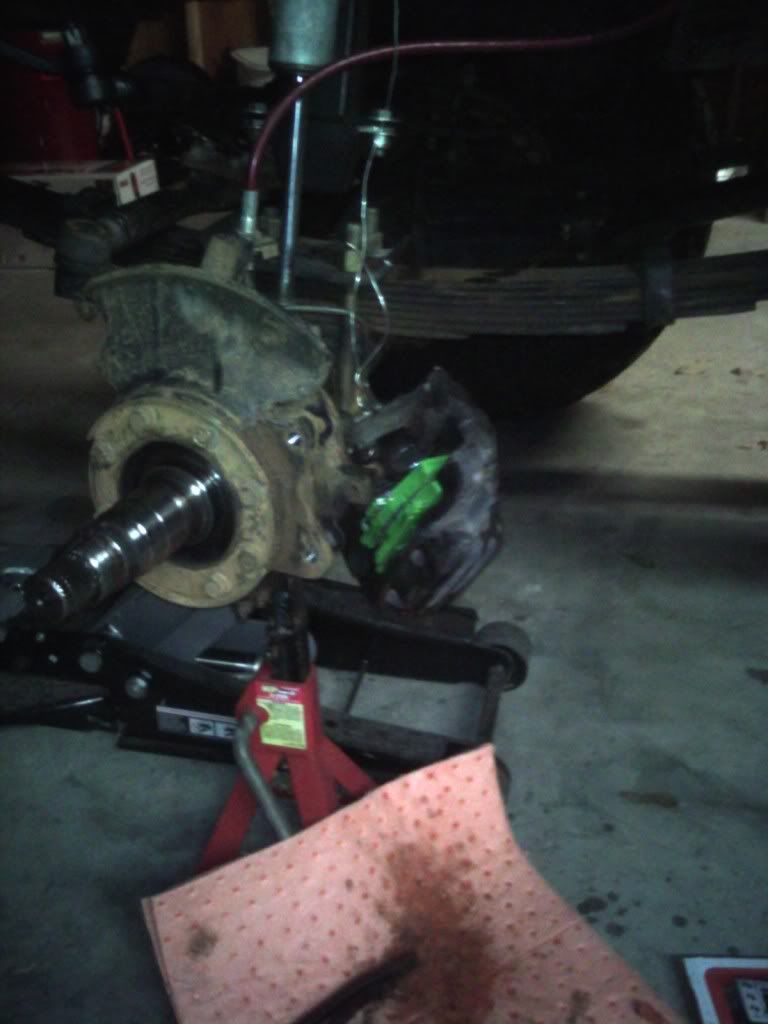
I had to stop last night because I couldnt get that damn outer C-clip back on the Longfield. My thumbs are raw and I need the right tool. No pun intended
I should have everything buttoned up on the driver's side tonight and then I can tear into the passenger side.
I had to stop last night because I couldnt get that damn outer C-clip back on the Longfield. My thumbs are raw and I need the right tool. No pun intended
I should have everything buttoned up on the driver's side tonight and then I can tear into the passenger side.
 Feb 23, 2012 | 08:28 AM
#52
Thread Starter
Registered User
Joined: Jun 2011
Posts: 198
Likes: 5
From: Houston TX
Thanks man.
I got my V-6 caliper/vented rotor swap completed and bled. I need to get it out and test out the better braking power (hopefully)
Now just waiting on some Hydro Asist parts so I can get that finished before the LoneStar Toyota Jamboree in April along with a couple other things.
I got my V-6 caliper/vented rotor swap completed and bled. I need to get it out and test out the better braking power (hopefully)
Now just waiting on some Hydro Asist parts so I can get that finished before the LoneStar Toyota Jamboree in April along with a couple other things.
Mar 19, 2012 | 05:54 PM
#53
Thread Starter
Registered User
Joined: Jun 2011
Posts: 198
Likes: 5
From: Houston TX
I finnished the IFS/FJ60 brake swap a while back and bled the system. Drove it to my buddy Rich's house last Saturday and it seems that the brakes are sufficiently bled.
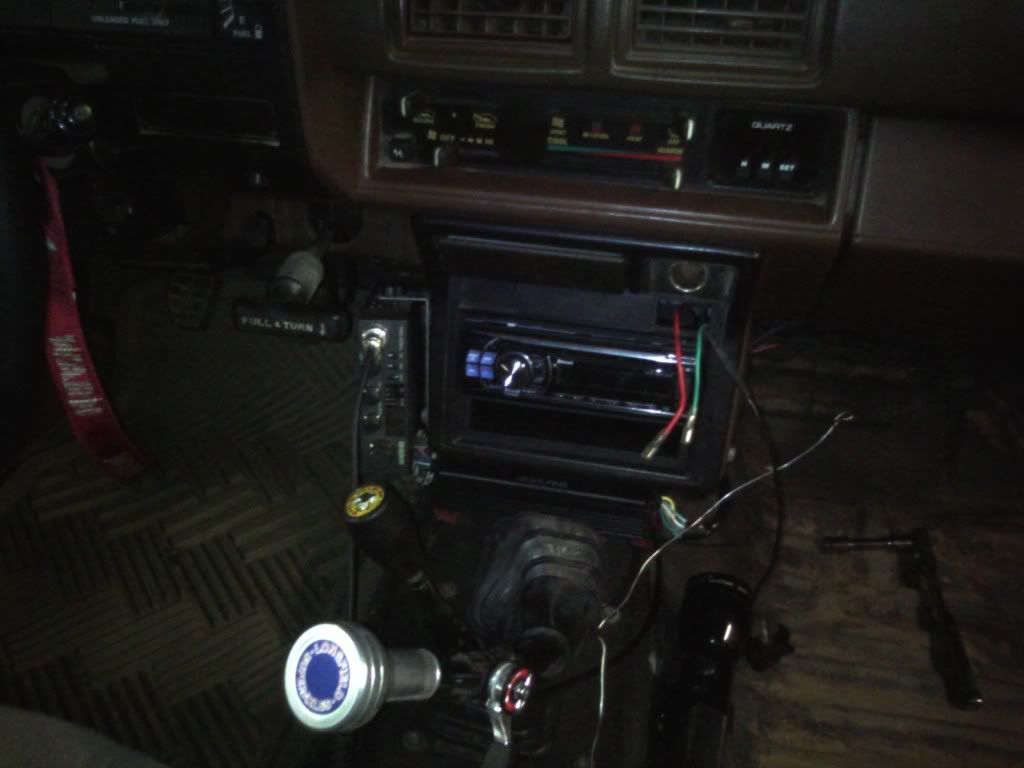
Upgraded audio:
Alpine 103BT HU
Alpine inline 4 ch amp 45x4 RMS
Eclipse 4" in the dash and Boston 6x9's in the rear.
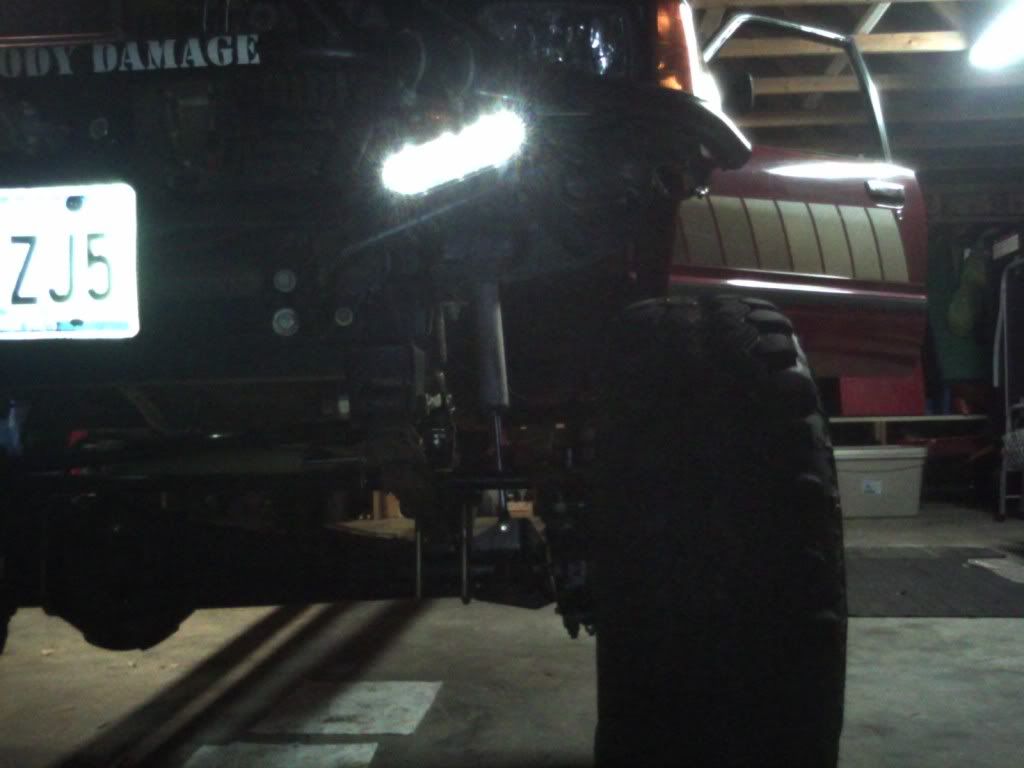
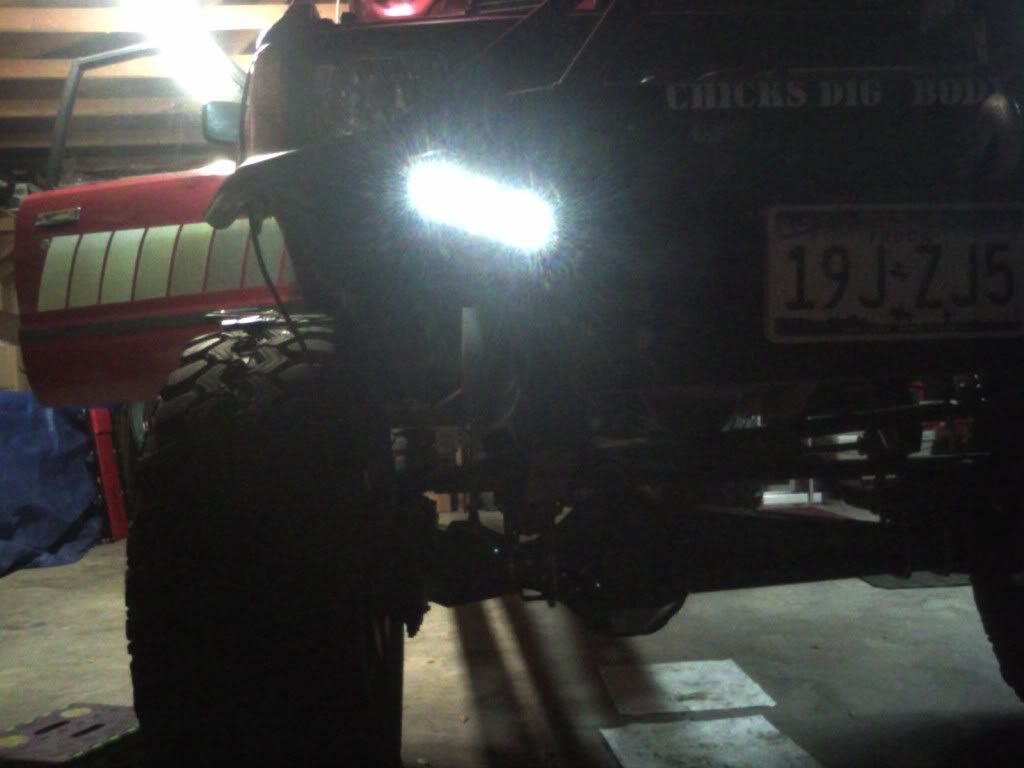
I added 2 additional lights on the front bumper
Pics of the Alpine HU and front lights.
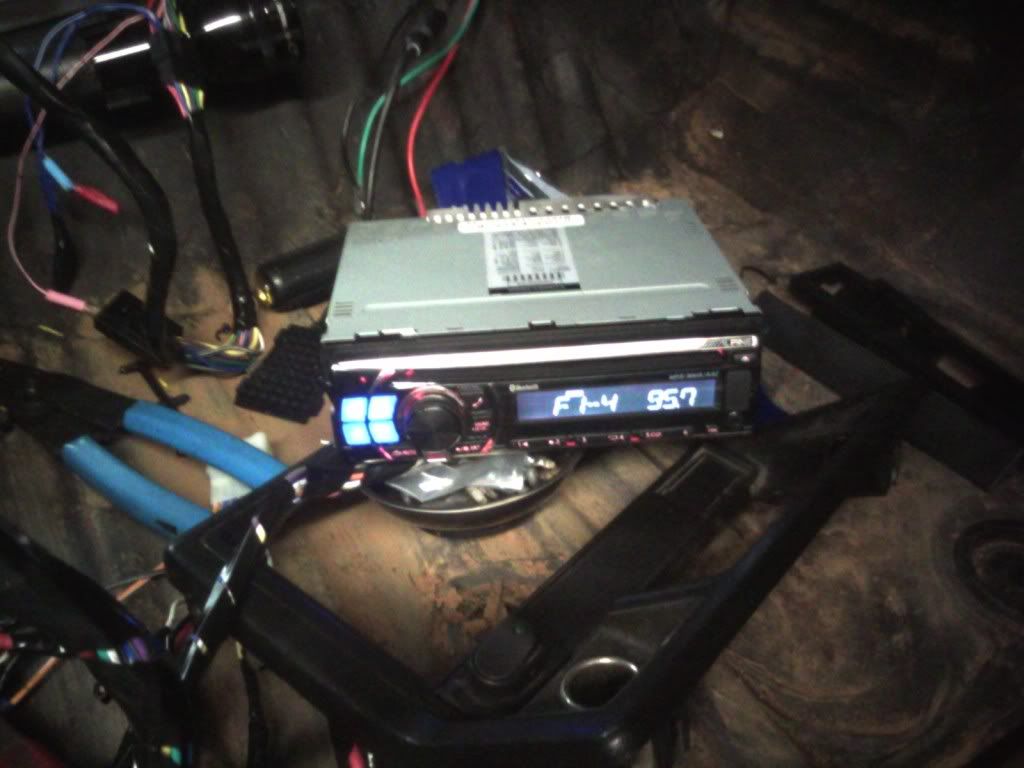
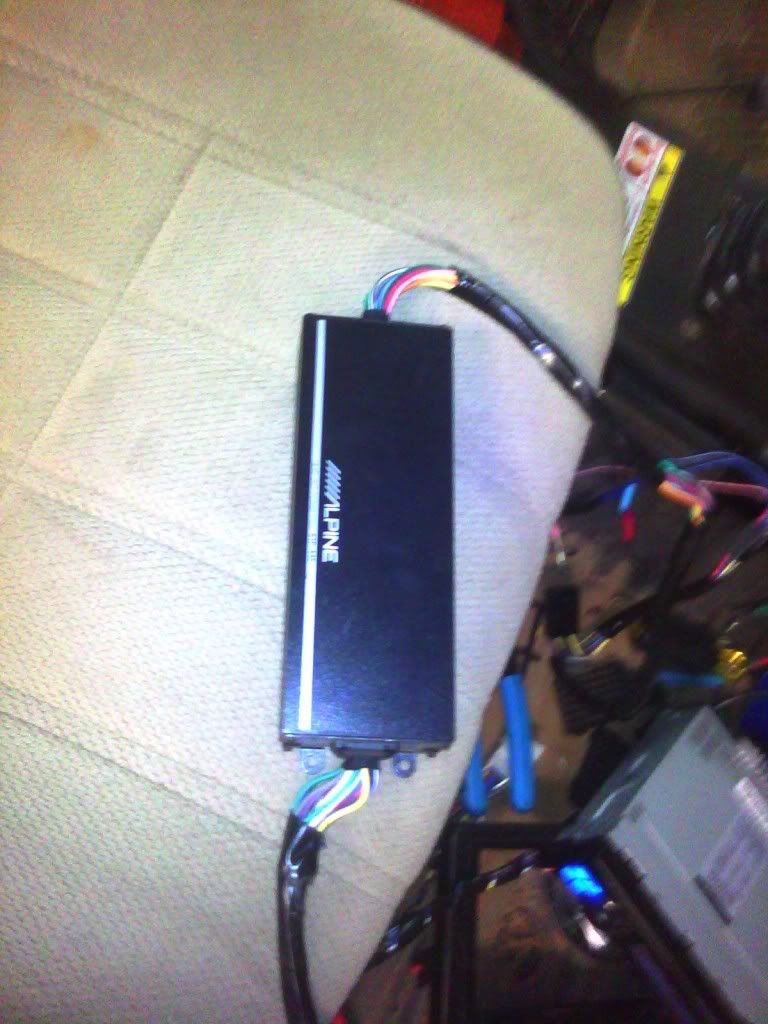
Upgraded audio:
Alpine 103BT HU
Alpine inline 4 ch amp 45x4 RMS
Eclipse 4" in the dash and Boston 6x9's in the rear.
I added 2 additional lights on the front bumper
Pics of the Alpine HU and front lights.
Mar 28, 2012 | 07:18 AM
#54
Thread Starter
Registered User
Joined: Jun 2011
Posts: 198
Likes: 5
From: Houston TX
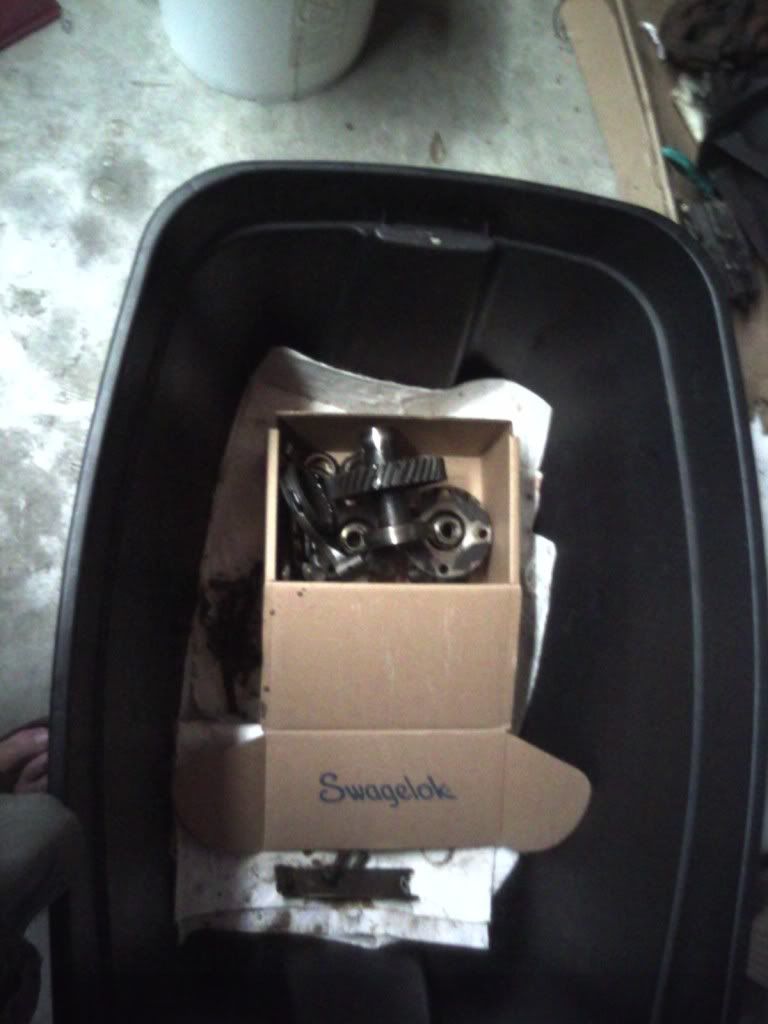
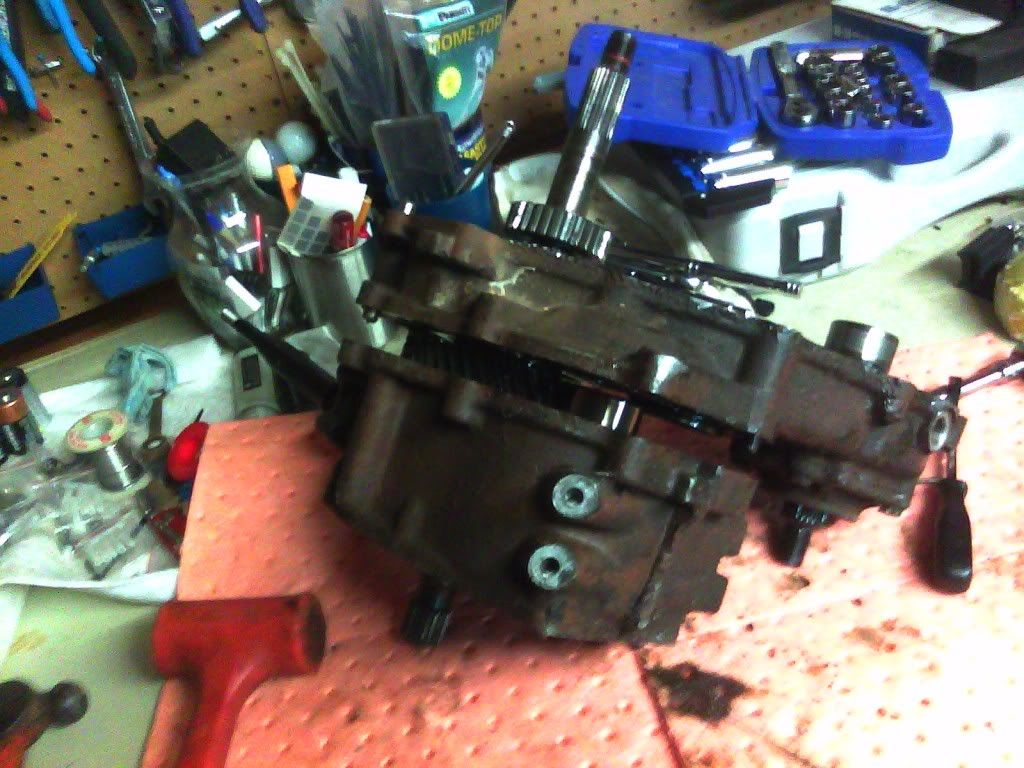
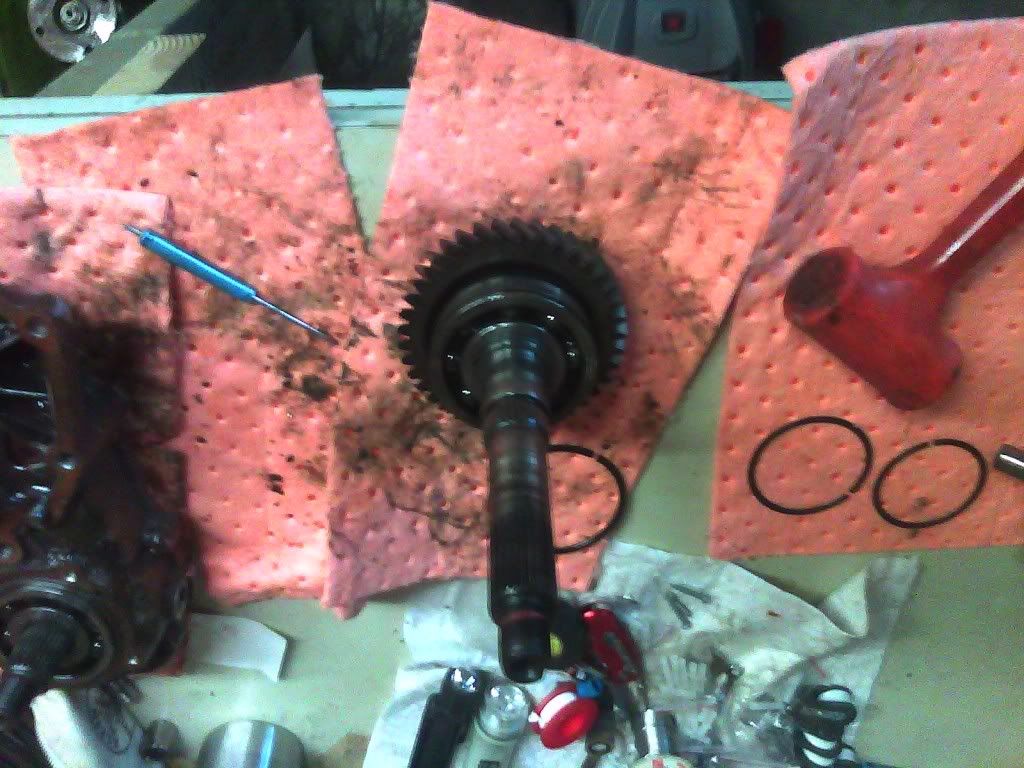
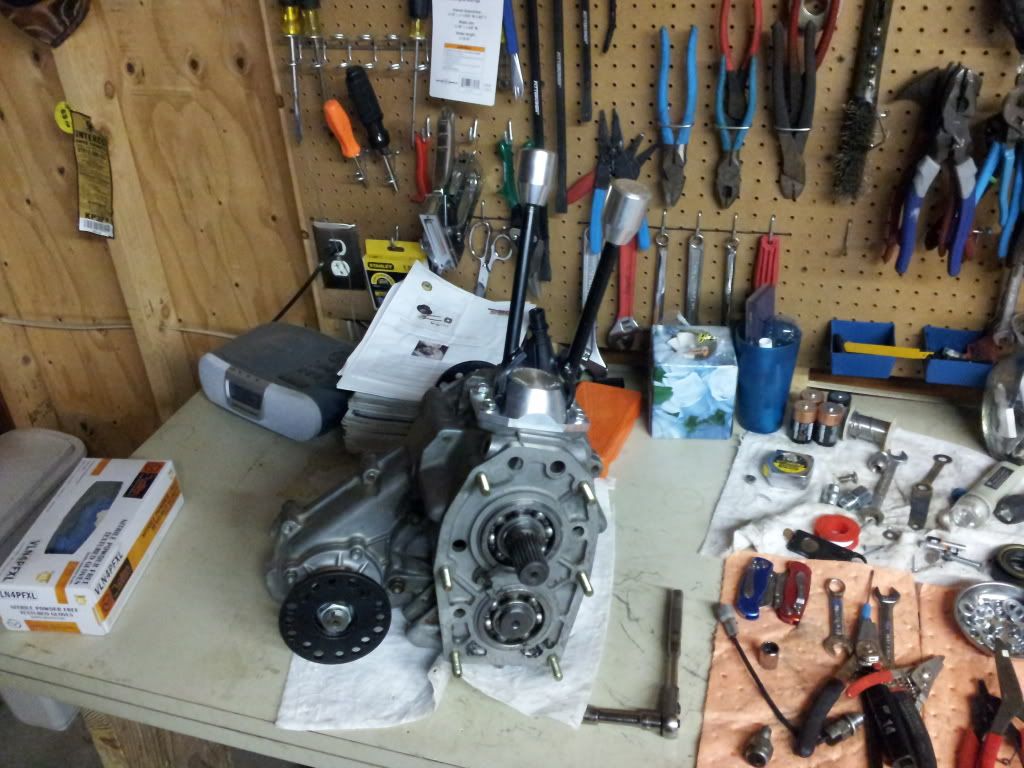
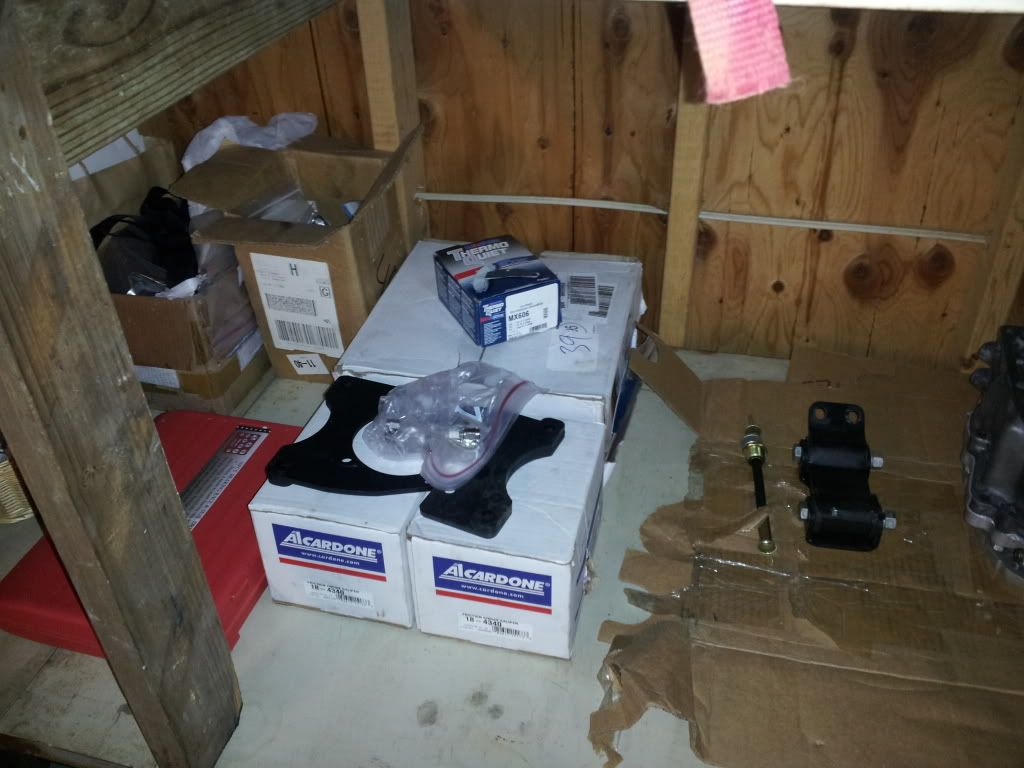
Started my disassembly of my spare TC for my crawl box. I needed the rear output cover for a core for my MC 30 spl rear output. I have a new set of 23 spl. Marlin 2.28 Total Spline input gears to get switched out once I get the front of the case separated from the rear half. I have my 30 spline front output ready, just need my MC dual adapter and Davez twin sticks and a little time This is pretty filthy work but its been fun so far.
Box of parts
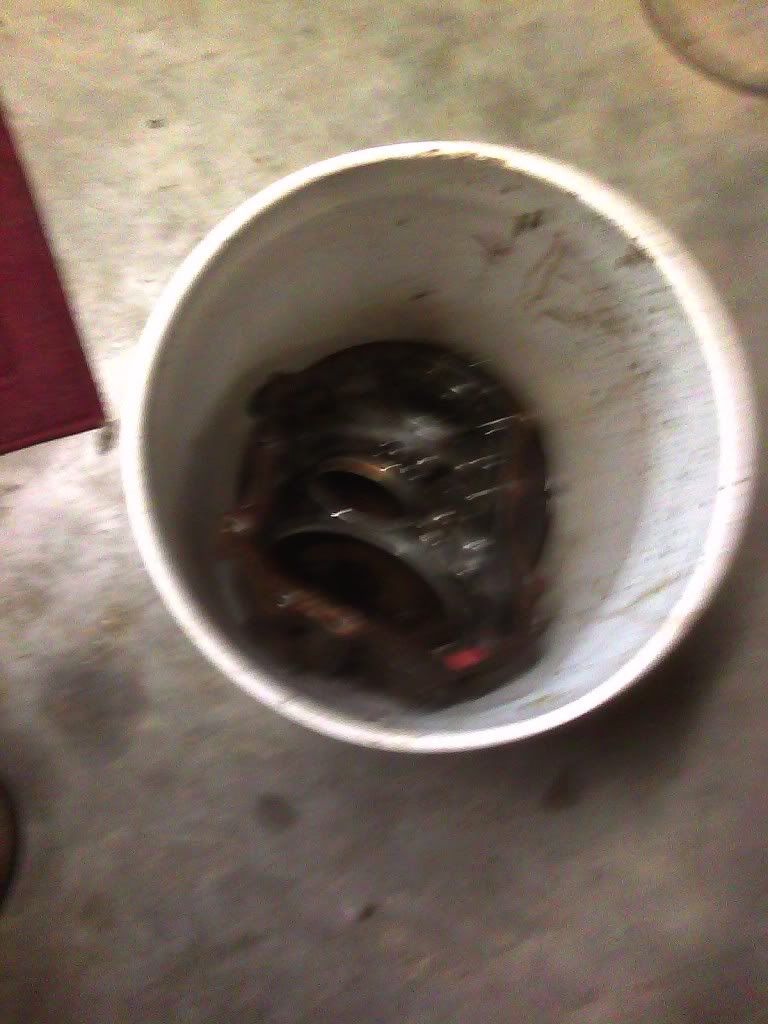
Bucket of parts degreasing
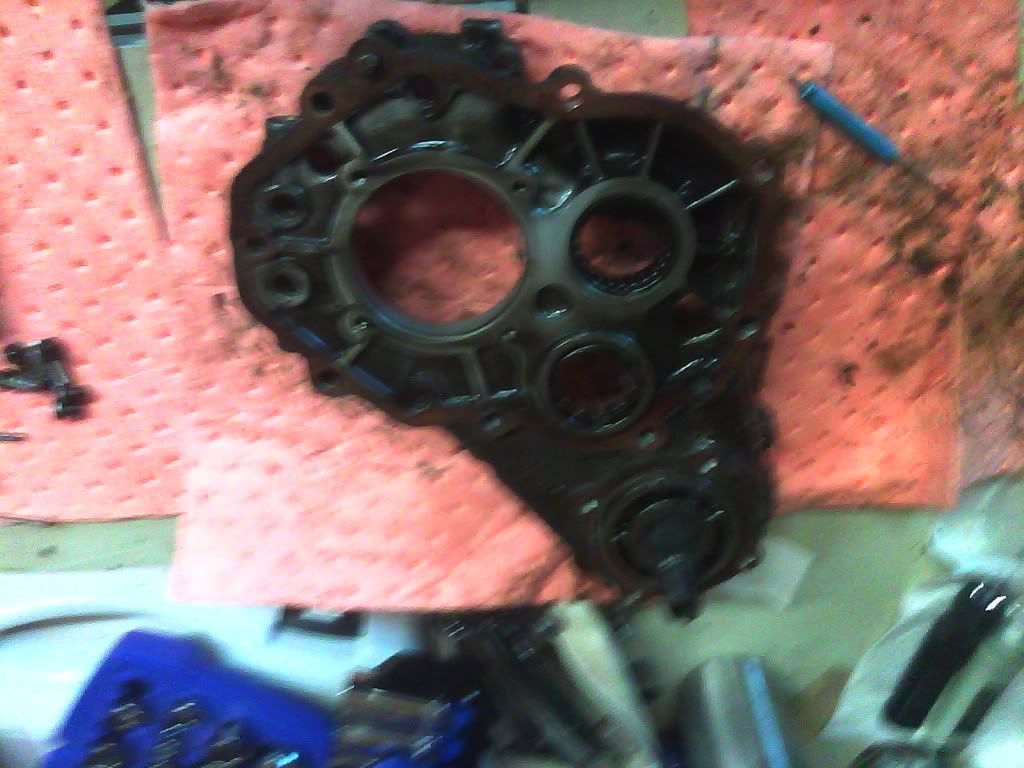
Beginning of the case seperation:

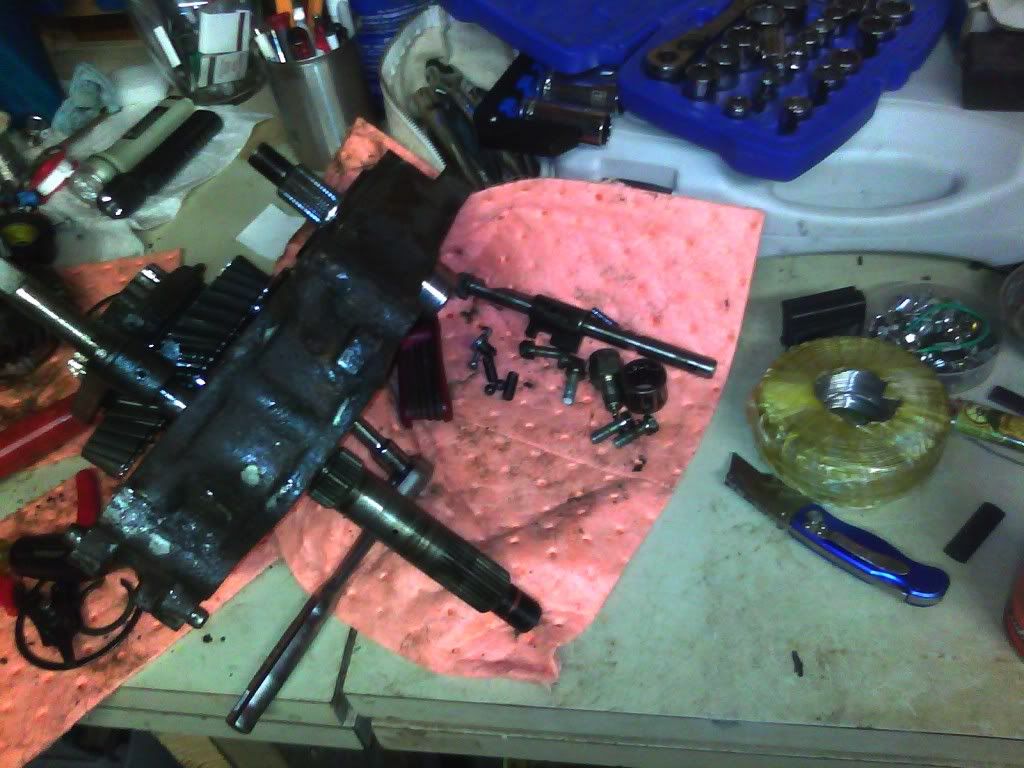
I'm just cleaning up the parts now. I need a bearing separator and press and my other parts to get the crawl box assembled.
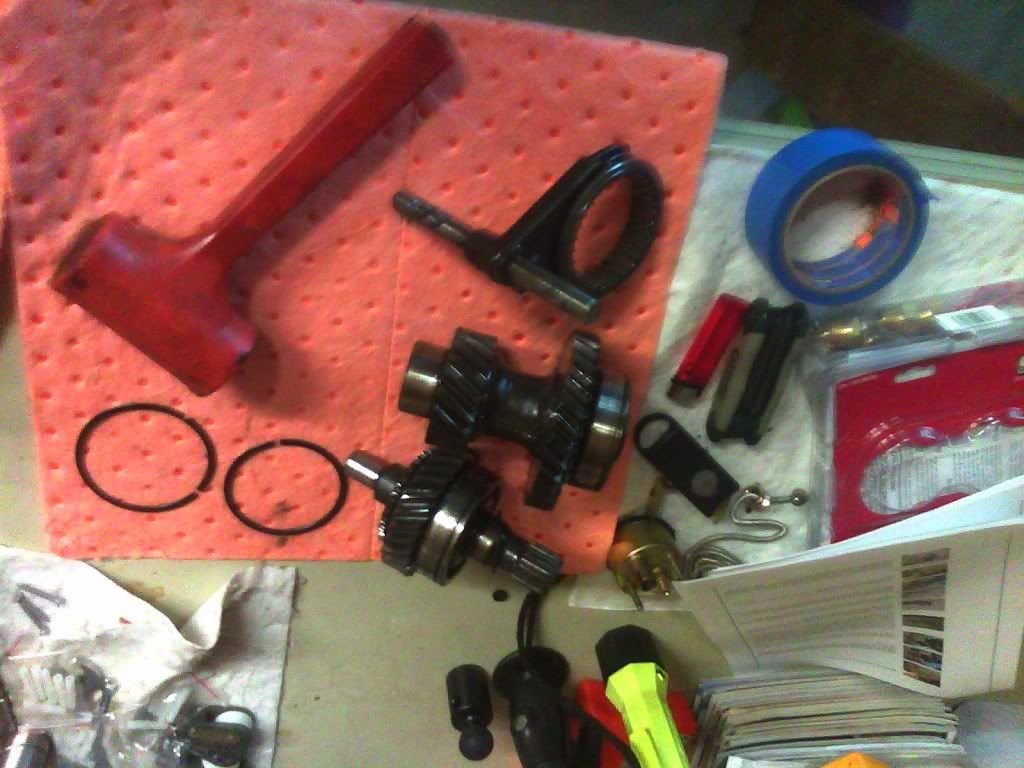
The rear output has a stout snap ring to get the bearing off. I need a better set of snap ring pliers
All the other parts are soaking in a bucket of degreaser
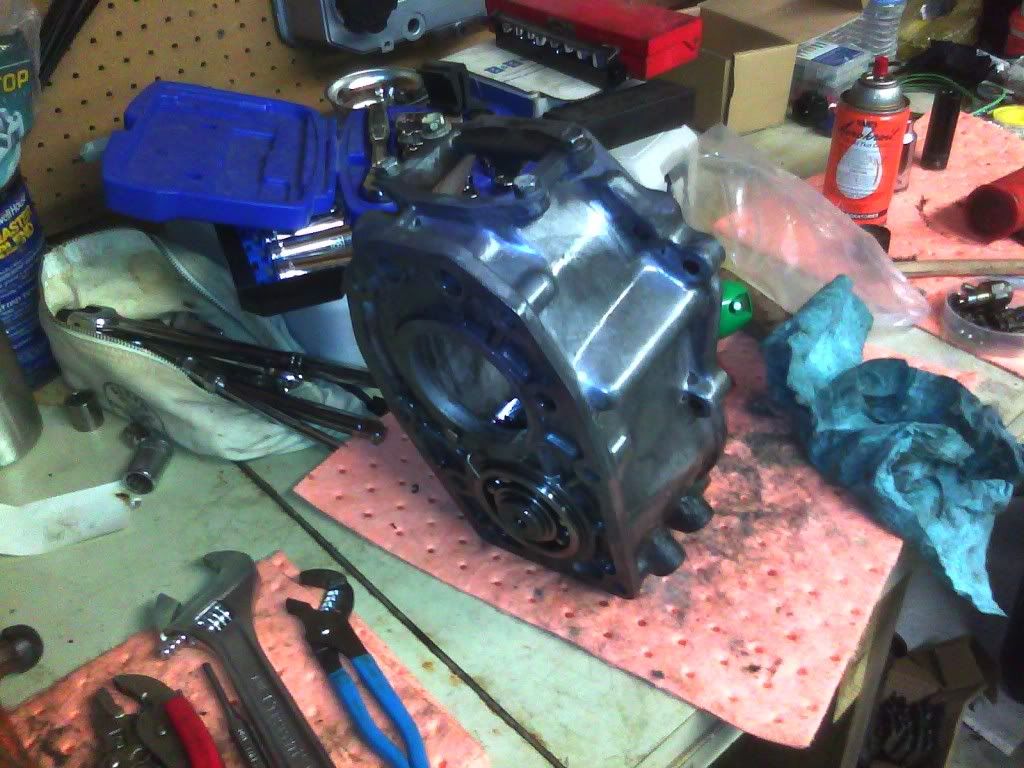
The crawlbox housing is cleaned and partially reassembled.
TC crawlbox all nice and clean
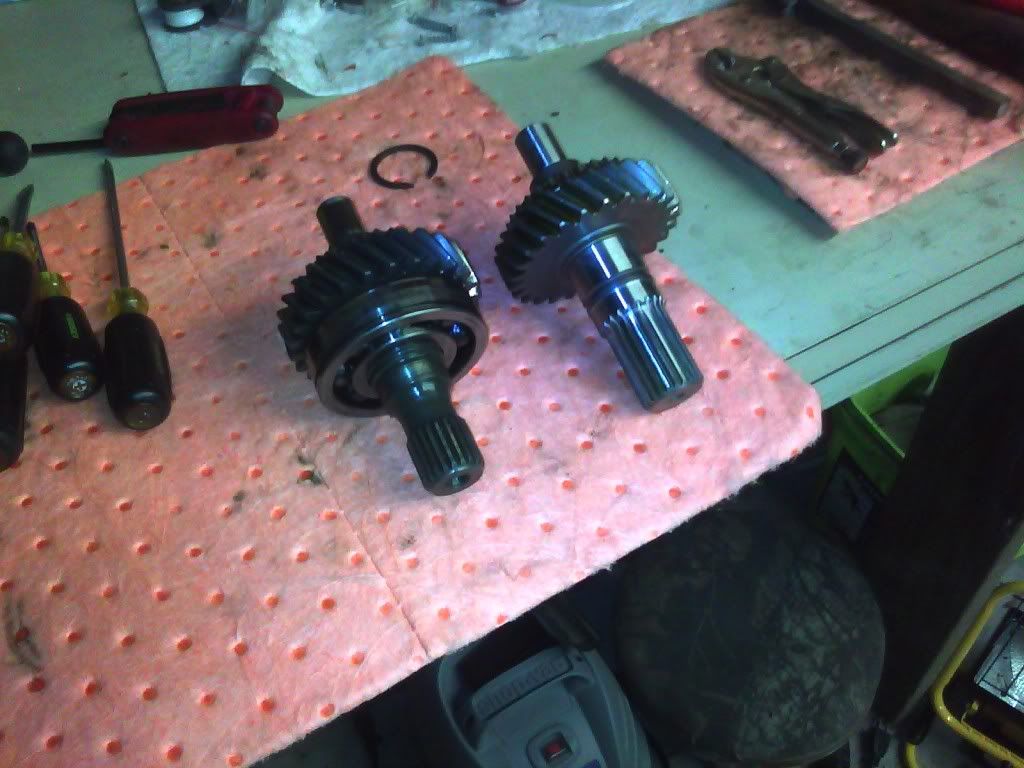
The difference between a stock Toyota 21 spline input and a MC 23 spline replacement
Box of parts
Bucket of parts degreasing
Beginning of the case seperation:
I'm just cleaning up the parts now. I need a bearing separator and press and my other parts to get the crawl box assembled.
The rear output has a stout snap ring to get the bearing off. I need a better set of snap ring pliers
All the other parts are soaking in a bucket of degreaser
The crawlbox housing is cleaned and partially reassembled.
TC crawlbox all nice and clean
The difference between a stock Toyota 21 spline input and a MC 23 spline replacement
Last edited by Boomtacoma01; Mar 28, 2012 at 07:21 AM.
Mar 30, 2012 | 08:00 PM
#55
Registered User
Joined: Dec 2011
Posts: 415
Likes: 1
From: 775 Reno Nevada
Great build ! Lots of inspiration and ideas rite hurr. Do your brake lines hit your tires just hanging like that ? Also did you make your steering stabilizer mount on top of your diff of bought ?
Apr 2, 2012 | 04:43 AM
#56
Thread Starter
Registered User
Joined: Jun 2011
Posts: 198
Likes: 5
From: Houston TX
The tires do not hit the brake lines and the steering stabilizer mount is a Trail Gear shock mount that I cut to fit.
Like these
http://www.davezoffroadperformance.c...ck-mounts.html
Like these
http://www.davezoffroadperformance.c...ck-mounts.html
Last edited by Boomtacoma01; Oct 4, 2012 at 11:37 AM.
Apr 21, 2012 | 07:21 PM
#58
Registered User
Joined: Dec 2011
Posts: 415
Likes: 1
From: 775 Reno Nevada
Did you notice a big difference with the stabilizer ? I'm having a hard time making my mind up whether to mount it from frame rail to drag link or like yours top diff to tie rod ? How close to your oil pan while flexed ? Wouldn't think it would Be real close on your truck cause it's lifted up quite a bit ?
Last edited by 775Toy; Apr 21, 2012 at 09:55 PM.
May 14, 2012 | 12:21 PM
#59
Thread Starter
Registered User
Joined: Jun 2011
Posts: 198
Likes: 5
From: Houston TX
Got my crawlbox sealed up and ready to go.

Davez shifter

Rear case asembled with the Davez twin sticks
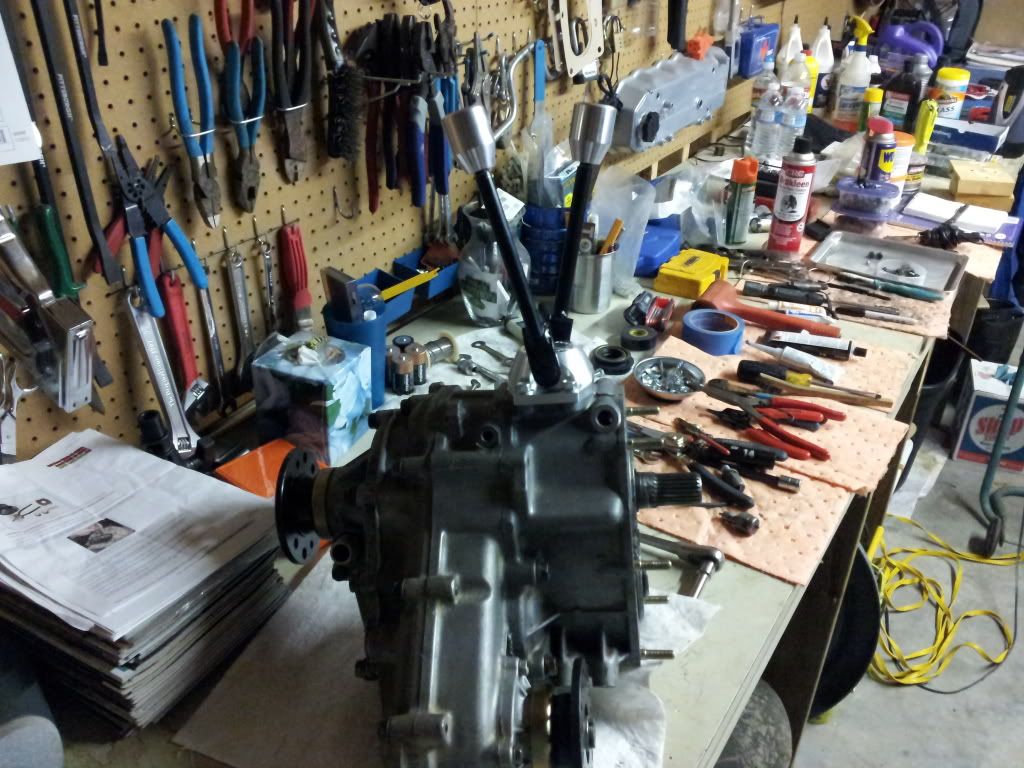
Have all the parts in for my rear disc brake conversion from Golden State Motorsports on Pirate
http://www.pirate4x4.com/forum/showthread.php?t=1034855
Davez shifter
Rear case asembled with the Davez twin sticks
Have all the parts in for my rear disc brake conversion from Golden State Motorsports on Pirate
http://www.pirate4x4.com/forum/showthread.php?t=1034855
Jun 6, 2012 | 11:39 AM
#60
Thread Starter
Registered User
Joined: Jun 2011
Posts: 198
Likes: 5
From: Houston TX
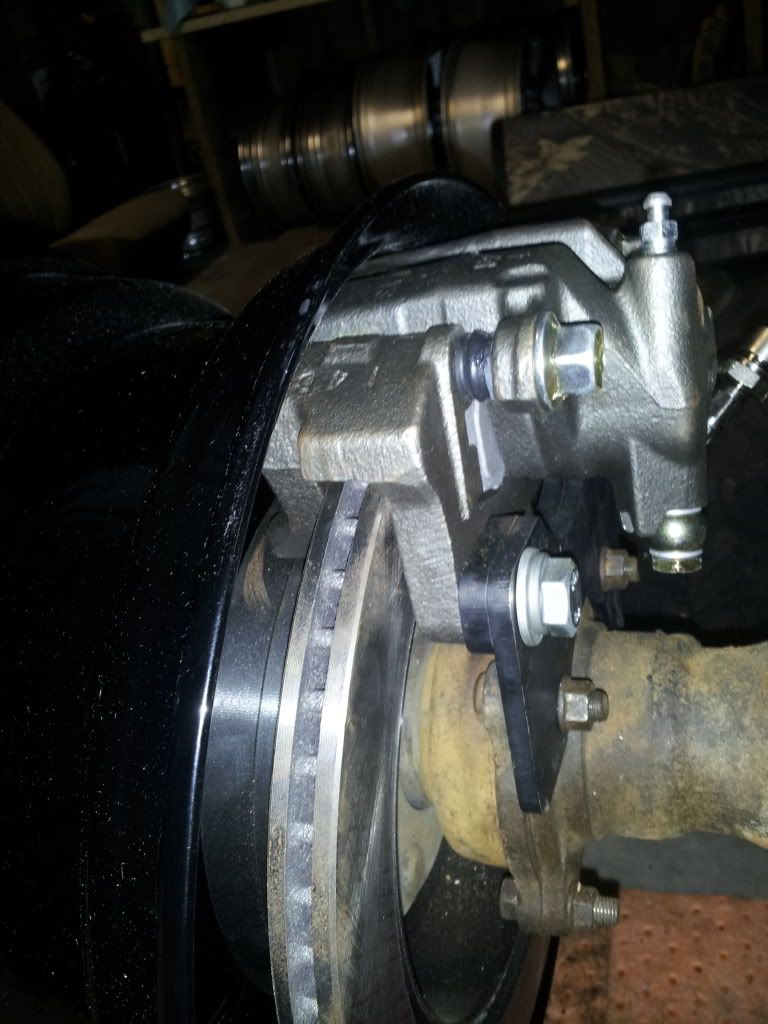
Rear disc brake conversion
I picked up the Golden State Motorsports Rear disc conversion that I found on Pirate. I got the kit with the Brackets and conversion fittings from the Metric 10 Toyota thread to the Banjo style needed.
The kit uses late model 4RNR rear calipers and rotors along with their bracket kit.
Got the backing plates off with the combination of a Grinder and Air cut-off tool.


Passenger rear just about done

Otro lau

Brake lines are ran over the top of the leaves and connected to the caliper. got them filled up and bled pretty well.
I test fitted one of the new steelies to check for clearance issues with the rear discs. It clears barely so it ought to work.
Got them from Summit 15x8 ProComp Rock Crawlers with 2.5 in BS Should be getting them mounted up tomorrow and Friday. I only have 2 jack stands so the spare and 2 rear tires will go on first and then the front 2 will get mounted.
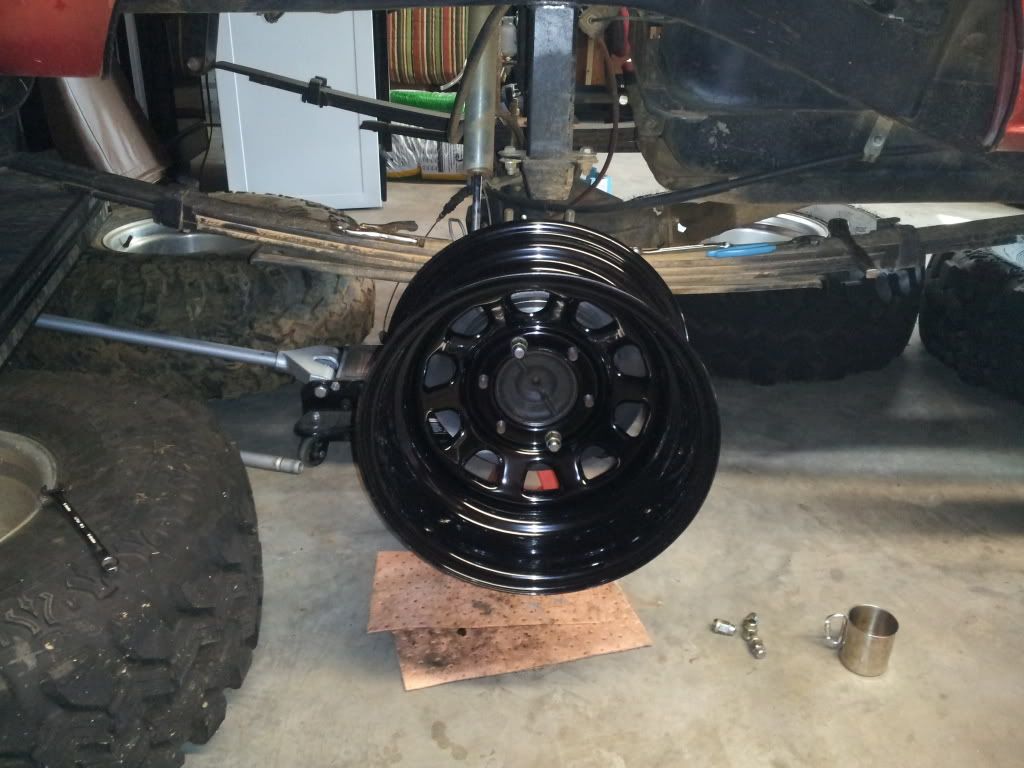
Clearance pic between caliper and wheel
Rear of cab stripped with 2 layers of spray on undercoating/sound deadener

I picked up the Golden State Motorsports Rear disc conversion that I found on Pirate. I got the kit with the Brackets and conversion fittings from the Metric 10 Toyota thread to the Banjo style needed.
The kit uses late model 4RNR rear calipers and rotors along with their bracket kit.
Got the backing plates off with the combination of a Grinder and Air cut-off tool.
Passenger rear just about done
Otro lau
Brake lines are ran over the top of the leaves and connected to the caliper. got them filled up and bled pretty well.
I test fitted one of the new steelies to check for clearance issues with the rear discs. It clears barely so it ought to work.
Got them from Summit 15x8 ProComp Rock Crawlers with 2.5 in BS Should be getting them mounted up tomorrow and Friday. I only have 2 jack stands so the spare and 2 rear tires will go on first and then the front 2 will get mounted.
Clearance pic between caliper and wheel
Rear of cab stripped with 2 layers of spray on undercoating/sound deadener


