
775Toy's 84 X-cab build Thread

 Jul 3, 2012 | 10:13 AM
#164
I have a question about the shackle angles. We have talked about this before on my page and I wanna make sure I understand this correctly because I plan to move my hangers forward Thursday afternoon. So I need to set the angle of shackles between 15* to 35* with no load? I have the truck bed off so there is no load. I'm leaning towards 35*
Jul 3, 2012 | 12:02 PM
#165
Thread Starter
Registered User
Joined: Dec 2011
Posts: 415
Likes: 1
From: 775 Reno Nevada
I have a question about the shackle angles. We have talked about this before on my page and I wanna make sure I understand this correctly because I plan to move my hangers forward Thursday afternoon. So I need to set the angle of shackles between 15* to 35* with no load? I have the truck bed off so there is no load. I'm leaning towards 35*
The angle really depends on your setup and what your using it for . I chose to go 35* with no load. I put 2 dudes in the bed that weighed Bout 200lbs ea and it didn't change angle much. Maybe a few *. I don't plan on ever hanging more than a couple hundred pounds. If it were a work truck that I planned on loading weigh into or a 4runner that I was gonna take passengers and gear packed in I may have set it around 15-20* to compensate for weight. From my knowledge the more angle the easier to flex , too much angle gives it a loose or bouncy feeling on the highway. Too steep makes it a lot harder for spring to flex , rides really stiff and has a better chance of reversing a shackle during droop. So take all that into consideration and burn em in.
Jul 3, 2012 | 12:17 PM
#167
Thread Starter
Registered User
Joined: Dec 2011
Posts: 415
Likes: 1
From: 775 Reno Nevada
No prob. Ya I have a full size p/u if I need to load heavy stuff. This is more of a play truck. My front shackles are around 18* which I feel is too steep. Although they cycle back pretty far when flexed and are really close to the body mount. I will eventually cut new holes in the frame and weld in new shackle tubes to get my angle around 30*. I won't do all that till I figure how far I'm gonna push my front axle out though.
Jul 5, 2012 | 11:49 AM
#168
Ok i moved the rear hanger for the rear spring forward about 5" to correct the negative/bad shackle angle i had and now the shackels just compress all the way down to the frame. What did i do wrong? Im thinking it should have been like 2-3" not 5". I sat my angle dial thing on the shackle and raised the frame till it read 35* with the shackle pressed against the frame.

Jul 5, 2012 | 02:41 PM
#170
Thread Starter
Registered User
Joined: Dec 2011
Posts: 415
Likes: 1
From: 775 Reno Nevada
Ok i moved the rear hanger for the rear spring forward about 5" to correct the negative/bad shackle angle i had and now the shackels just compress all the way down to the frame. What did i do wrong? Im thinking it should have been like 2-3" not 5". I sat my angle dial thing on the shackle and raised the frame till it read 35* with the shackle pressed against the frame.
Jul 5, 2012 | 03:01 PM
#172
Yes that is we did the second go around. I cut them back off and moved them back 2" and we TACK'd them on lol. Then set the truck down and it sat around 40*. Got my friend to sit on the bumper and it went to 48*. I do think I had the gauge on the wrong side also. The shackles are the same length as the factory ones. Im gonna look for some longer shackles and that might get the angle down to 35*. The springs are the ones from the ruff country 3" suspension lift. Here it is now:
Sep 13, 2012 | 08:43 PM
#175
Thread Starter
Registered User
Joined: Dec 2011
Posts: 415
Likes: 1
From: 775 Reno Nevada
So it's been awhile. I havnt touched the yota all summer. Time to get crackin. Since funds are limited for awhile I'll be knocking out some small stuff.
Put new fitting on differential and ran some new hose up behind tail light.

Used stock vent on the end Of new hose

I doubt I'll ever go under this much water lol.

Owner before had like 3 sets of mirrors on , and holes for each set

Welded in 3 sets of holes on driver door .Gonna use the small stock mirror holes amd the other 2 holes will be plugged and covered by the mirror.


Quick shot of rust proof primer. Since it won't get painted till spring or so.

Tacked the insides of bob for extra strength since outside is ground smooth


Finished welding the bottom side of bed. Basically a million bugerwelds haha.

Started my rear suspension . Cut holes in bed to run the extended f250 shock towers vertiacally through bed. Just clamped for mock up at the moment . Gotta build or buy shock tabs to set the shock and tower height.


Put new fitting on differential and ran some new hose up behind tail light.
Used stock vent on the end Of new hose
I doubt I'll ever go under this much water lol.
Owner before had like 3 sets of mirrors on , and holes for each set
Welded in 3 sets of holes on driver door .Gonna use the small stock mirror holes amd the other 2 holes will be plugged and covered by the mirror.
Quick shot of rust proof primer. Since it won't get painted till spring or so.
Tacked the insides of bob for extra strength since outside is ground smooth
Finished welding the bottom side of bed. Basically a million bugerwelds haha.
Started my rear suspension . Cut holes in bed to run the extended f250 shock towers vertiacally through bed. Just clamped for mock up at the moment . Gotta build or buy shock tabs to set the shock and tower height.
Last edited by 775Toy; Sep 13, 2012 at 08:52 PM.
 Sep 14, 2012 | 11:36 PM
#177
Registered User
Joined: May 2011
Posts: 1,751
Likes: 0
From: pensacola FL
dang man havent checked the thread in awhile and it looks sweet, your shocks in the rear would provide a little more travel if there where angled some, straight up and down binds the whole suspention in the back until you either break a shock or a leaf, which with the waggoner springs i know procomps arent cheep 
Sep 15, 2012 | 08:02 AM
#178
Thread Starter
Registered User
Joined: Dec 2011
Posts: 415
Likes: 1
From: 775 Reno Nevada
dang man havent checked the thread in awhile and it looks sweet, your shocks in the rear would provide a little more travel if there where angled some, straight up and down binds the whole suspention in the back until you either break a shock or a leaf, which with the waggoner springs i know procomps arent cheep
Here ya go John do a lil reading. http://www.4crawler.com/4x4/4R_suspe...shtml#R-Shocks
Last edited by 775Toy; Sep 15, 2012 at 08:08 AM.
Sep 27, 2012 | 05:59 PM
#179
Thread Starter
Registered User
Joined: Dec 2011
Posts: 415
Likes: 1
From: 775 Reno Nevada
So I got my measurements all done for the rear shocks and realized I don't need all of the ford shock tower. So I took 4" out of the center so I can still mount the rear towers flush to frame and use it's inward bend to position sock vertical.


Used stock shackle plates to build shock tabs.


Beds coming off soon to make easy work of welding towers in and brace backside aswell as welding shock tabs in place to make sure everything is right height and vertical as possible.
Then after some research and talking to a few with experiance I decided to completely remove the lspv. Most just cut the rod flush at valve, or zip tie it up out of the way to give full pressure to rear. 33" or bigger the rear the lspv is worthless ( IMO ). The correct way is to put an adjustable valve in place and adjust accordingly , which I will do in the future ( mainly for snow/ice driving id like to be able to adjust against unwanted lock up) .
I took the return line for lspv off at the front T , notice the red cap I plugged it off with temporary so I wouldn't drop brake fluid everywhere.

Then cut the line almost flush with ferral nut

Welded it in to use as a plug

Then used it to cap the T for return line for lspv

Then to the actual lspv . Took bottom line out of lspv that has a F stamped by inlet. That the return line I just deleted from T upfront. Cut it off close to gas tank and pinched flat ( incase there way any fluid left in line after blowing it out with air to the rear.

Then the top line that has a arrow stamped on lspv gets taken out of lspv and bent over to go straight to the rear brake line going to axle. Of ya look closely you can see the return line i cut and pinched flat by gas tank.


Simple tools and about 30 mins later no lspv

Used stock shackle plates to build shock tabs.
Beds coming off soon to make easy work of welding towers in and brace backside aswell as welding shock tabs in place to make sure everything is right height and vertical as possible.
Then after some research and talking to a few with experiance I decided to completely remove the lspv. Most just cut the rod flush at valve, or zip tie it up out of the way to give full pressure to rear. 33" or bigger the rear the lspv is worthless ( IMO ). The correct way is to put an adjustable valve in place and adjust accordingly , which I will do in the future ( mainly for snow/ice driving id like to be able to adjust against unwanted lock up) .
I took the return line for lspv off at the front T , notice the red cap I plugged it off with temporary so I wouldn't drop brake fluid everywhere.
Then cut the line almost flush with ferral nut
Welded it in to use as a plug
Then used it to cap the T for return line for lspv
Then to the actual lspv . Took bottom line out of lspv that has a F stamped by inlet. That the return line I just deleted from T upfront. Cut it off close to gas tank and pinched flat ( incase there way any fluid left in line after blowing it out with air to the rear.
Then the top line that has a arrow stamped on lspv gets taken out of lspv and bent over to go straight to the rear brake line going to axle. Of ya look closely you can see the return line i cut and pinched flat by gas tank.
Simple tools and about 30 mins later no lspv
Last edited by 775Toy; Sep 27, 2012 at 06:14 PM.
Oct 1, 2012 | 07:00 PM
#180
Thread Starter
Registered User
Joined: Dec 2011
Posts: 415
Likes: 1
From: 775 Reno Nevada
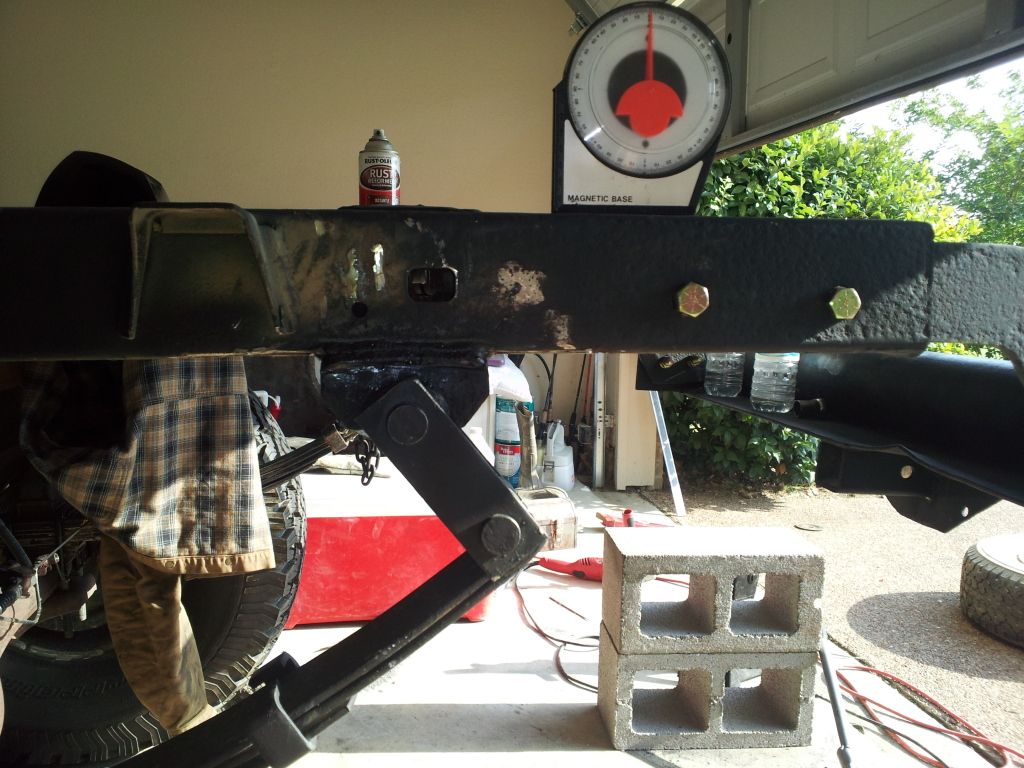
Pulled bed off to better set up rear towers and weld in.
Cut off stock bump stops and prepped frame and axle.


Mocked up towers to get 90*and set shock height.

All tacked in.

Got the other side tacked in aswell. Will finish up welding them in tomorrow, amd buliding some braces for backside to frame.
Cut off stock bump stops and prepped frame and axle.
Mocked up towers to get 90*and set shock height.
All tacked in.
Got the other side tacked in aswell. Will finish up welding them in tomorrow, amd buliding some braces for backside to frame.


