
1985 4runner Build
 Nov 17, 2013 | 02:59 PM
#84
Thread Starter
Registered User
Joined: Apr 2013
Posts: 72
Likes: 0
From: St joe missouri
But here is an update.
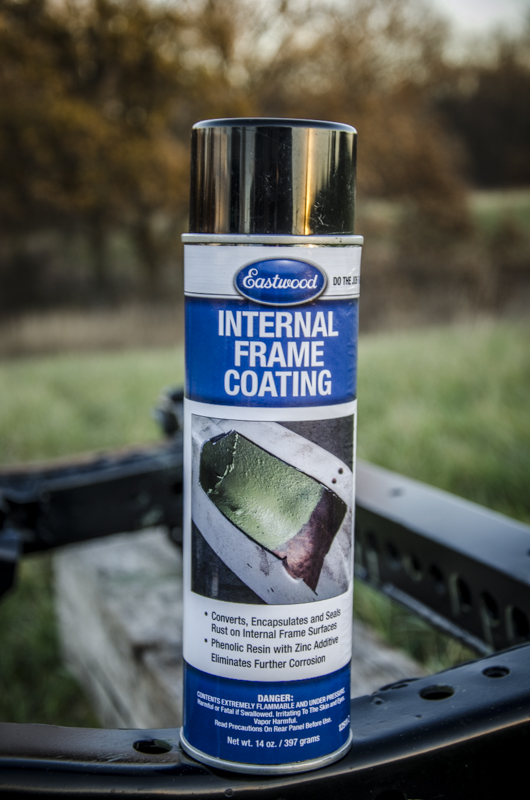
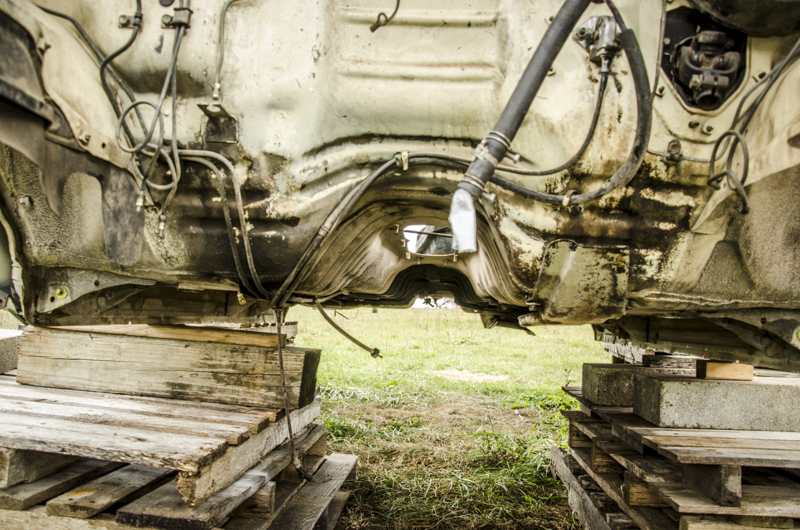
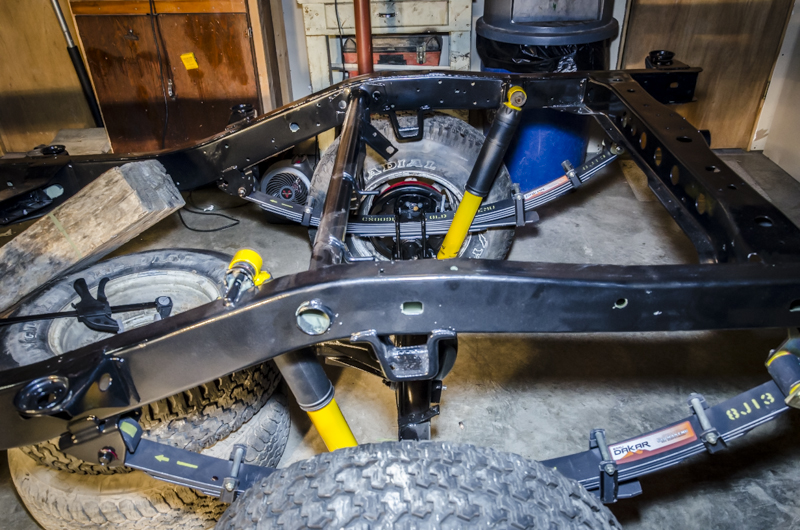
We got the Eastwood internal frame coating done on the frame.
This is before we got it done.
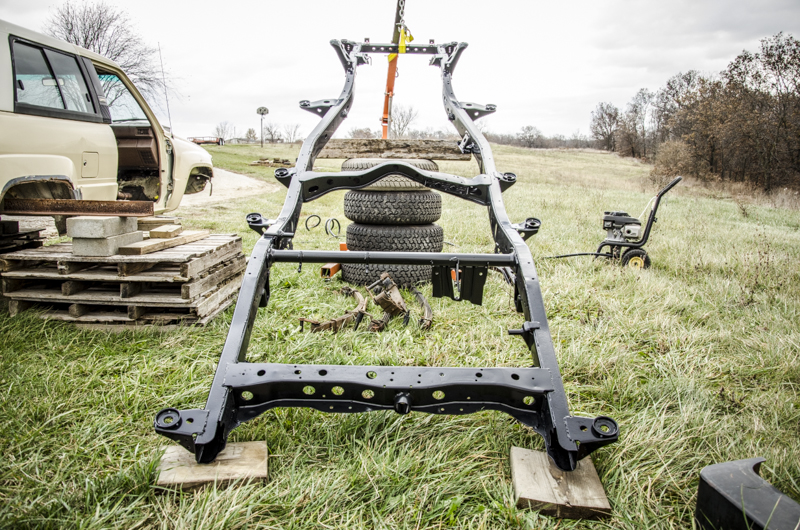
We will start to put on the new OME suspension kit that we got after it all dries.
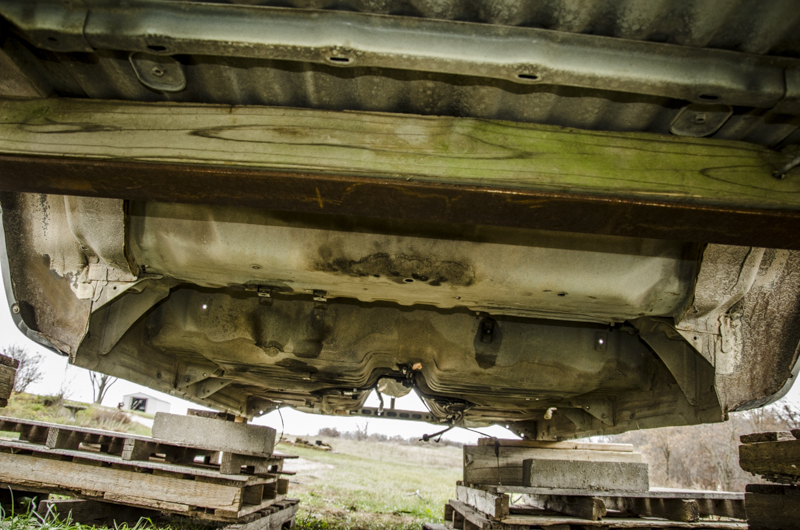
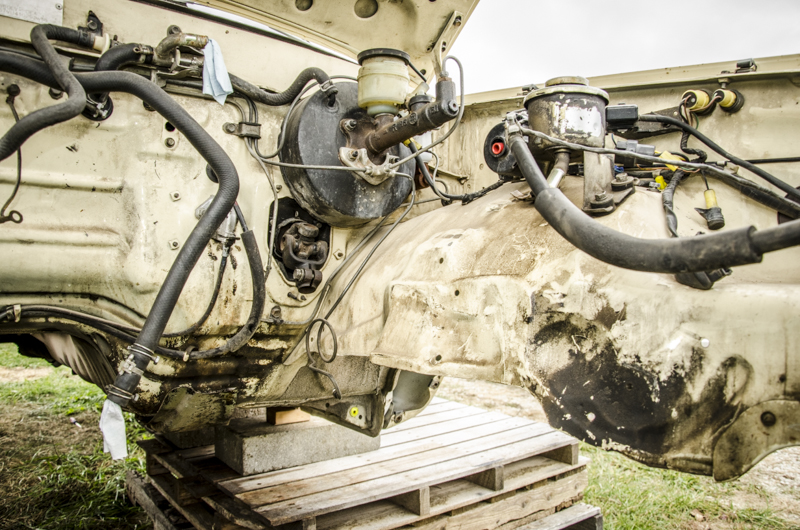
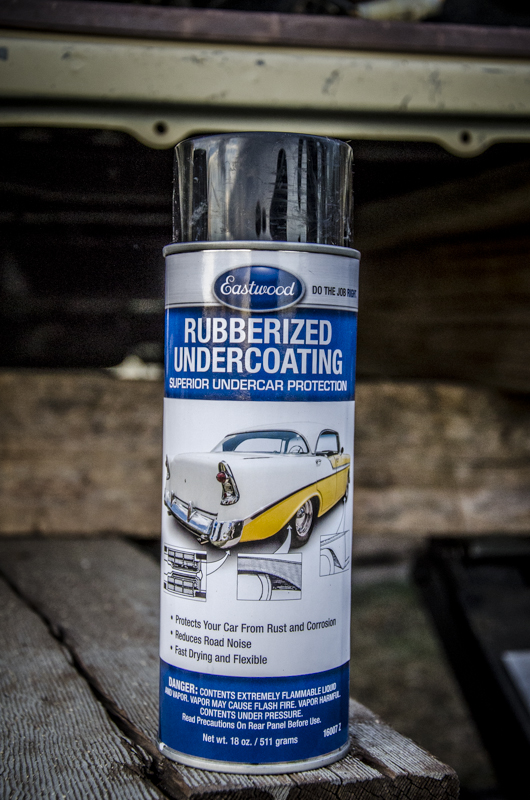
Also we have started to clean the underbody for the Eastwood undercoating which will hopefully be on by the end of the week.
And that is all the pictures I have so far, but will update again soon.


 Dec 17, 2013 | 06:36 PM
#87
Thread Starter
Registered User
Joined: Apr 2013
Posts: 72
Likes: 0
From: St joe missouri
Another update
Okay I haven't updated in a while so here is where we are at.
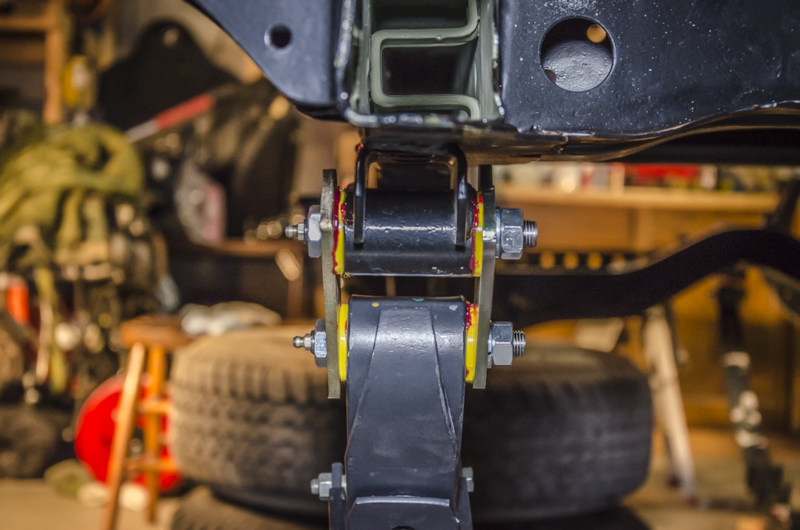
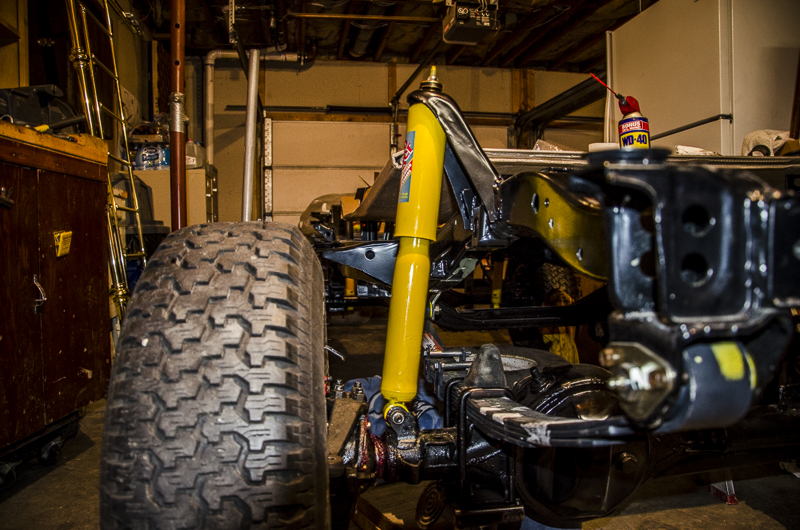
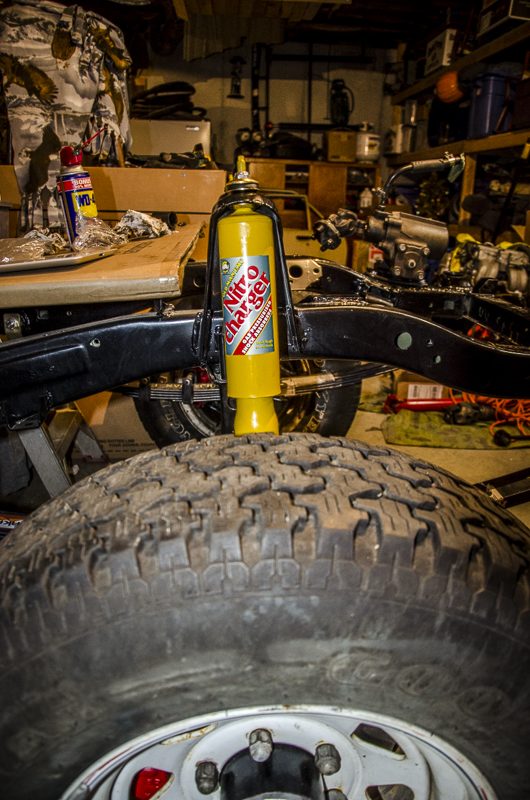
First we started to install the ome suspension.

This is before any of the weight is on the springs so the shackle angle is pretty steep.

Once we get everything together put back together we will take the wheels off and paint the rims black in tell we get the money for new tires and rims.

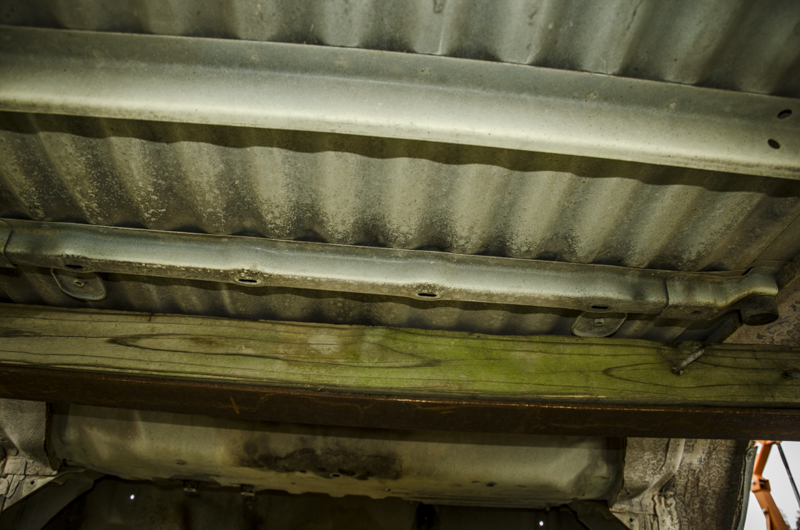
Next we undercoated the underbody with this rubberized undercoating.
And these are the results.
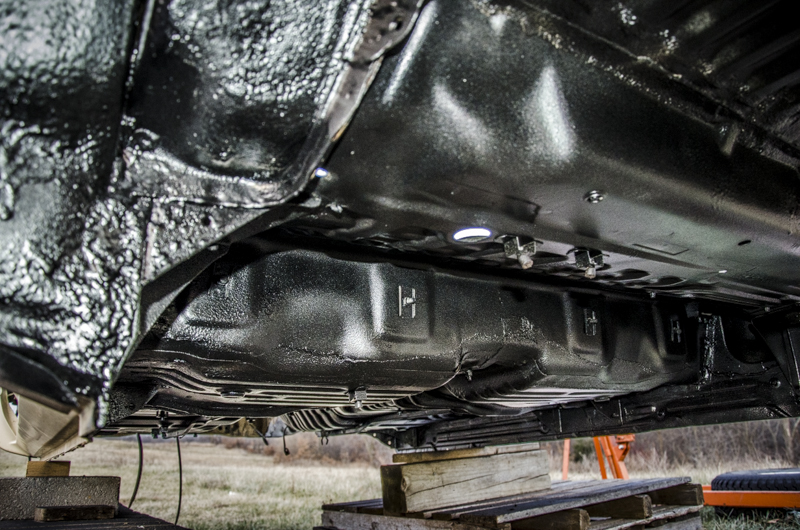
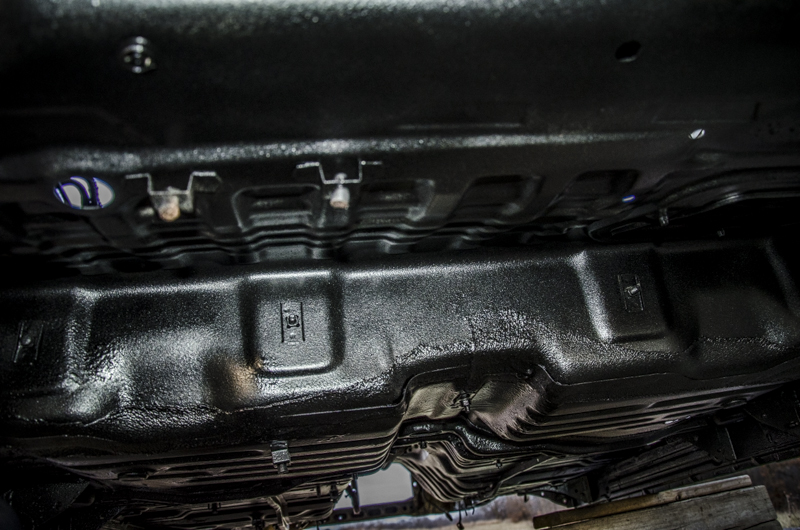
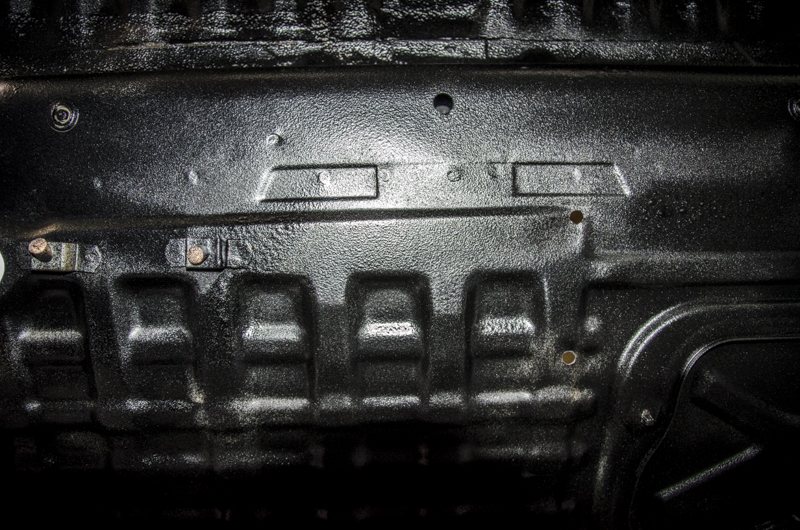
We now have that all done and ready for the frame to under it.
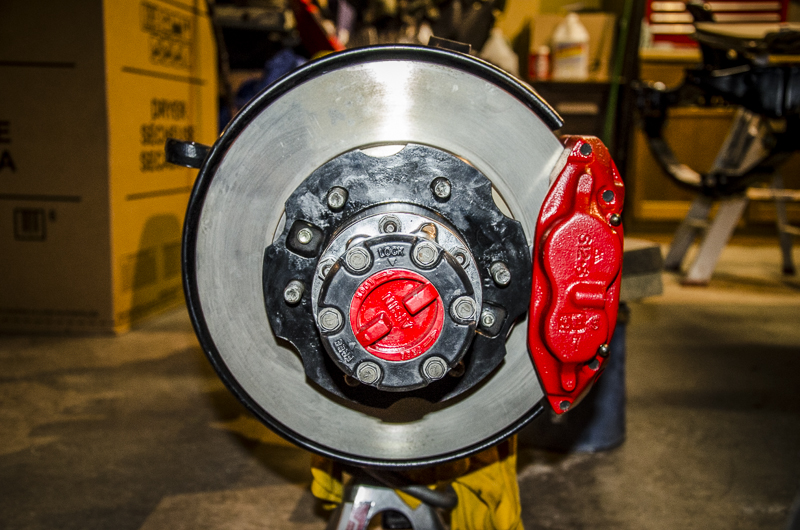
Now we have moved to the front axle but got stuck when we where putting on one of the brake calipers and the bolt stripped so we haven't done anything in a while. Will have another update in a while.
First we started to install the ome suspension.
This is before any of the weight is on the springs so the shackle angle is pretty steep.
Once we get everything together put back together we will take the wheels off and paint the rims black in tell we get the money for new tires and rims.
Next we undercoated the underbody with this rubberized undercoating.
And these are the results.
We now have that all done and ready for the frame to under it.
Now we have moved to the front axle but got stuck when we where putting on one of the brake calipers and the bolt stripped so we haven't done anything in a while. Will have another update in a while.
 Dec 17, 2013 | 08:36 PM
#89
Registered User
Joined: Aug 2011
Posts: 592
Likes: 0
From: Canon City, Colorado
Awesome build. Great your starting this stuff at ayoung age and doing it with your dad. It will give you more respect for your rig when your driving it. My dad helped me while I was younger on all my trucks. He didnt like working on them cause I had Broncos and he hates Ford haha Great memorys. . Keep up the great work bud.
Dec 22, 2013 | 09:19 AM
#92
Thread Starter
Registered User
Joined: Apr 2013
Posts: 72
Likes: 0
From: St joe missouri
Awesome build. Great your starting this stuff at ayoung age and doing it with your dad. It will give you more respect for your rig when your driving it. My dad helped me while I was younger on all my trucks. He didnt like working on them cause I had Broncos and he hates Ford haha Great memorys. . Keep up the great work bud.
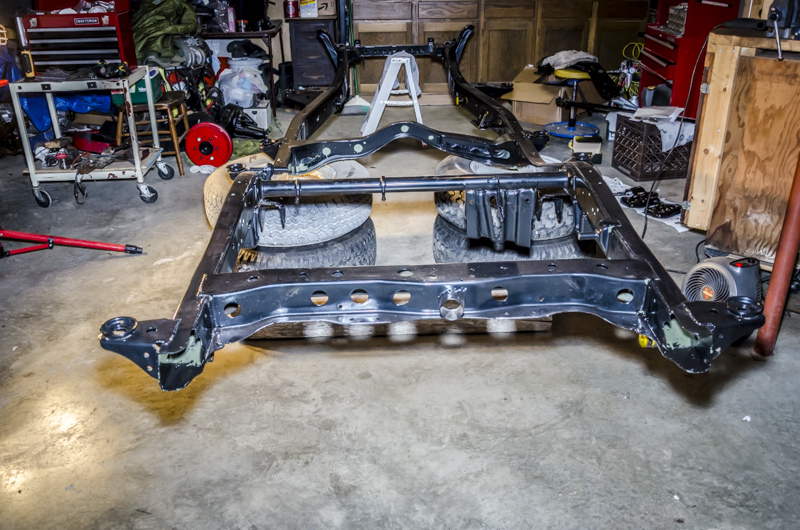
Now we have fixed the stripped bolt on the knuckle we put it on the frame and got all the suspension put together. Now we have a rolling frame. Will have some pictures up soon.
Dec 23, 2013 | 07:21 PM
#93
Thread Starter
Registered User
Joined: Apr 2013
Posts: 72
Likes: 0
From: St joe missouri
An update
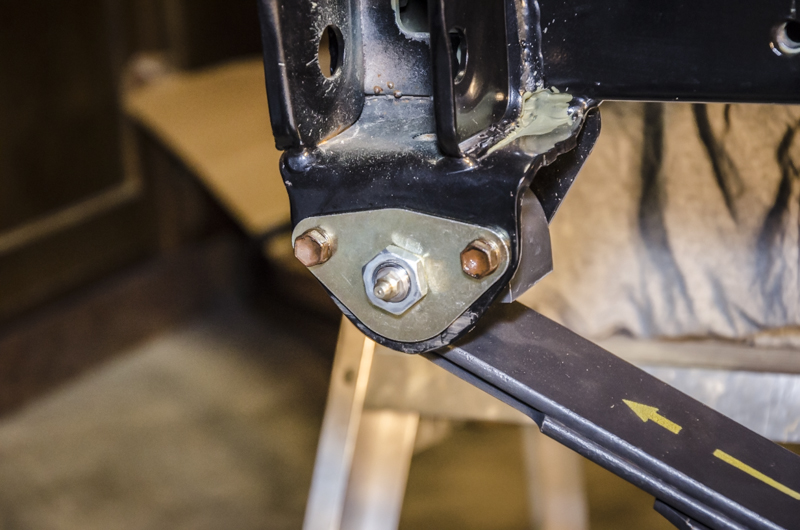
We started to put the front axle back on the frame.
First we had to fixed the stripped bolt hole on the the knuckle for the caliper.
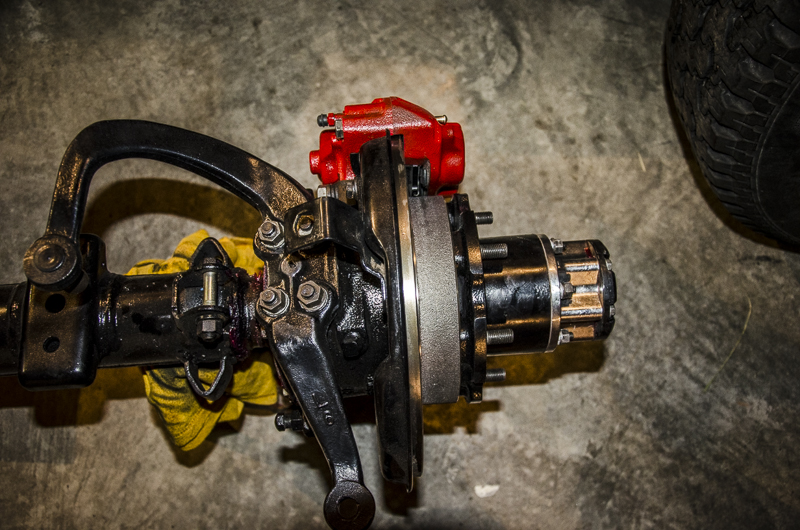
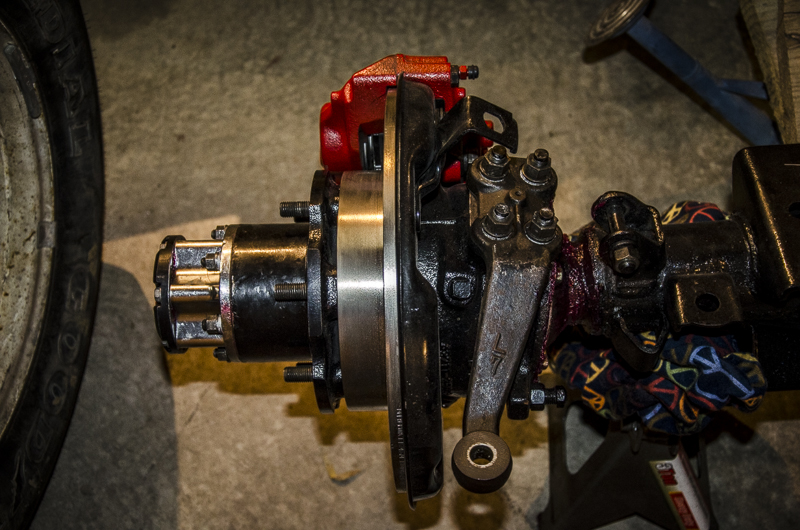
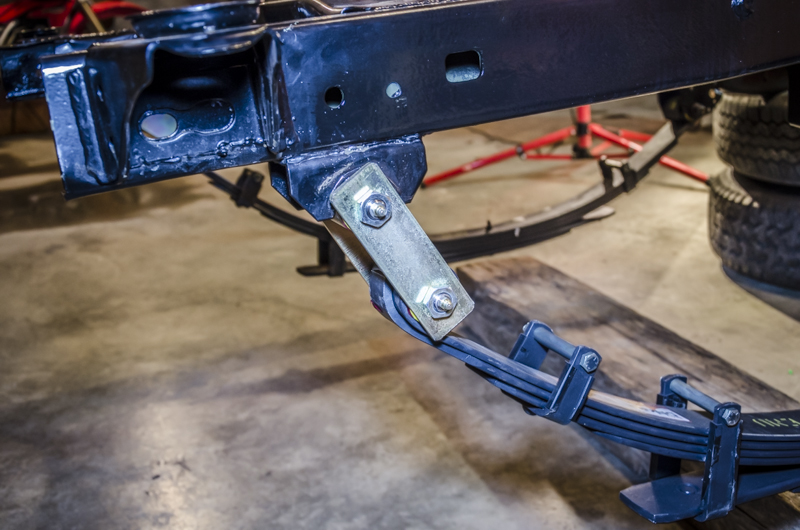
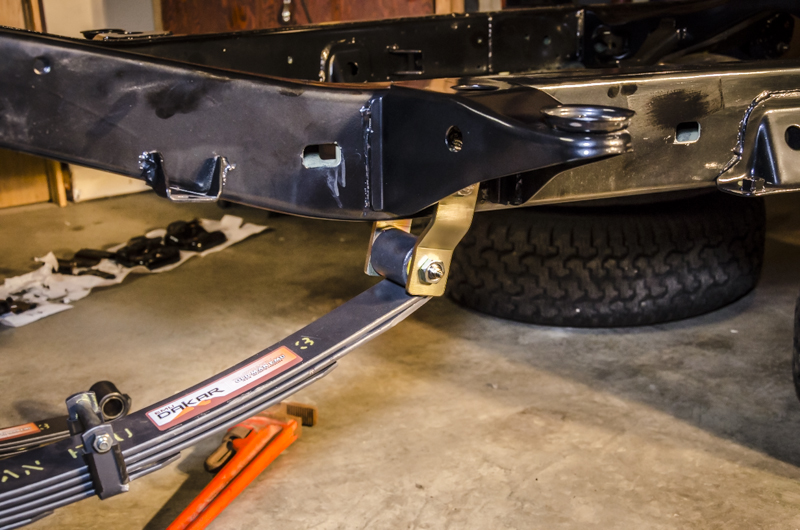
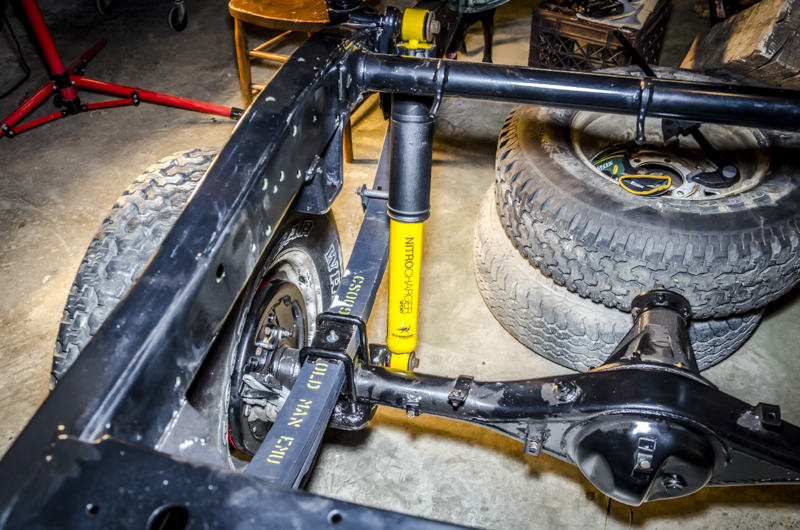
Then we put on the wheels so we could roll it under the frame to attach the leaf springs and the shocks.
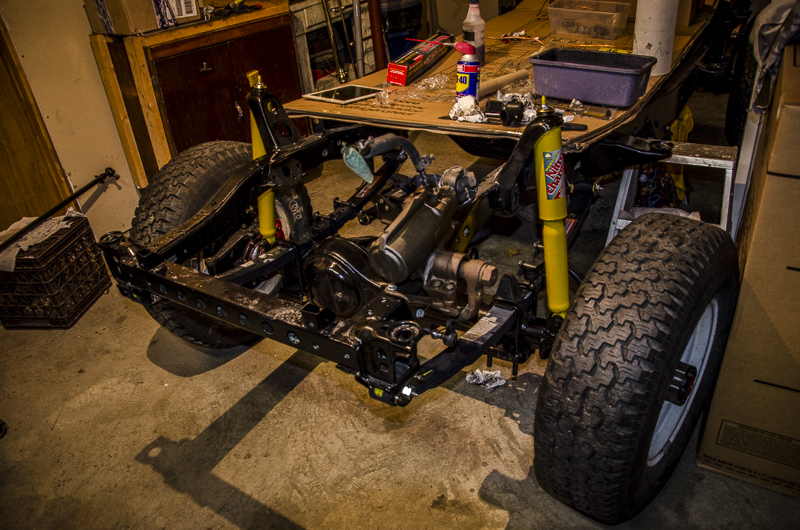
That is where we are at the moment, but is actually starting to look like a truck again. Also had a few questions. When we went to put on the sway bar it wouldn't reach the frame because we put the ome lift kit in their. What do you guys think we should do just try to find a longer bolt or something else? Also do you think we should change the tie rod ends? They felt a little sticky and how hard would it be to do?
First we had to fixed the stripped bolt hole on the the knuckle for the caliper.
Then we put on the wheels so we could roll it under the frame to attach the leaf springs and the shocks.
That is where we are at the moment, but is actually starting to look like a truck again. Also had a few questions. When we went to put on the sway bar it wouldn't reach the frame because we put the ome lift kit in their. What do you guys think we should do just try to find a longer bolt or something else? Also do you think we should change the tie rod ends? They felt a little sticky and how hard would it be to do?
Jan 18, 2014 | 10:47 AM
#94
Registered User
Joined: Dec 2012
Posts: 47
Likes: 0
From: colorado
tie rod ends should be pretty easy, as far as the sway bar goes you dont need it, leaf springs support you enough and dont allow you to lean in corners much like coil springs do so youll be alright without hooking it back up
Jan 18, 2014 | 10:51 AM
#95
Registered User
Joined: Dec 2012
Posts: 47
Likes: 0
From: colorado
if you have the clearance i would also recommend switching to histeer crossover steering, its much more stable and you wont have bumpsteer like you do with the push-pull steering. to do histeer you need about 3 inches of lift so the ome kit might give you enough clearance for it
http://www.lowrangeoffroad.com/index...ering-kit.html
http://www.lowrangeoffroad.com/index...ering-kit.html
 Jan 21, 2014 | 07:10 PM
#97
Thread Starter
Registered User
Joined: Apr 2013
Posts: 72
Likes: 0
From: St joe missouri
Thank you.
Now for an update i haven't posted in a while so here it goes.
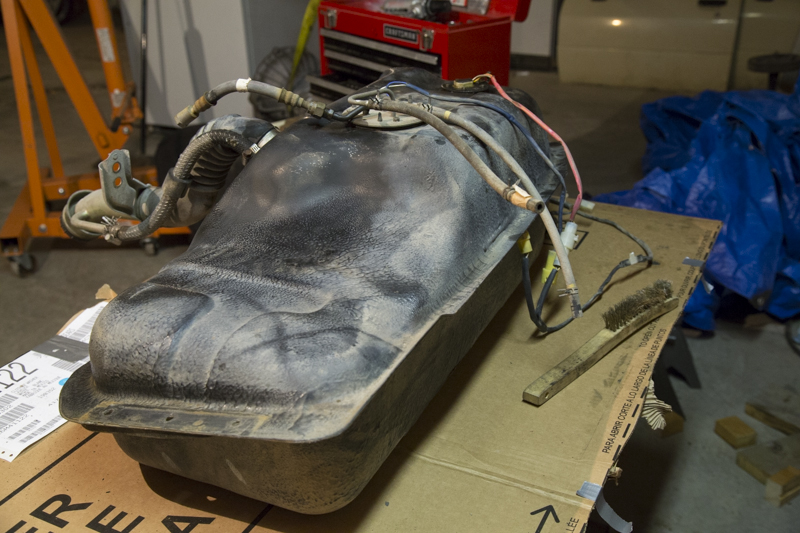
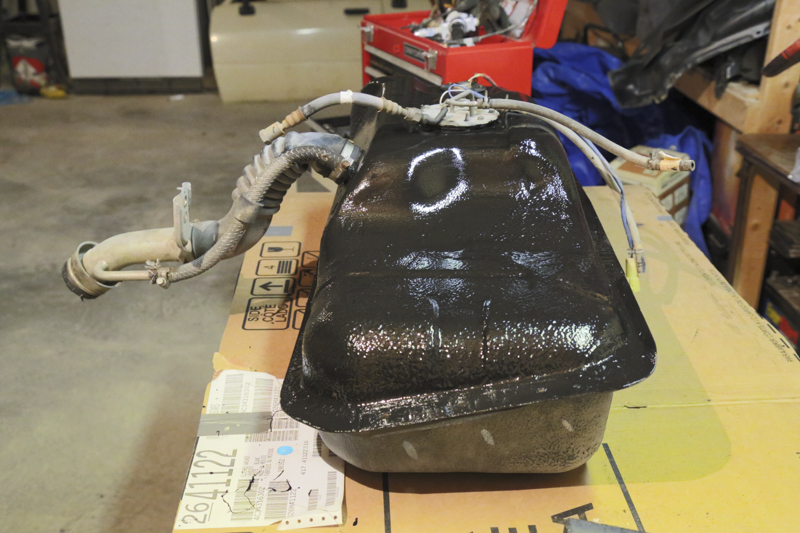
We cleaned the gas tank. Also took off the fuel pump and still looked good and the tanks was very clean.
Before we cleaned.
After
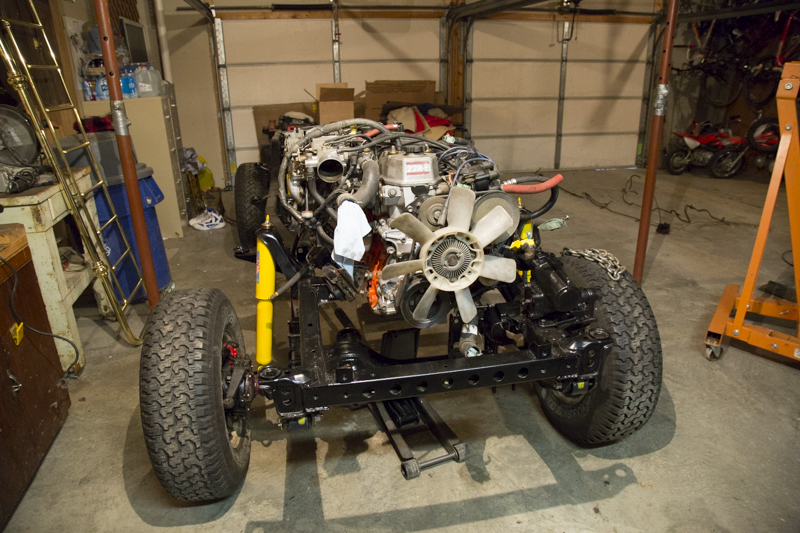
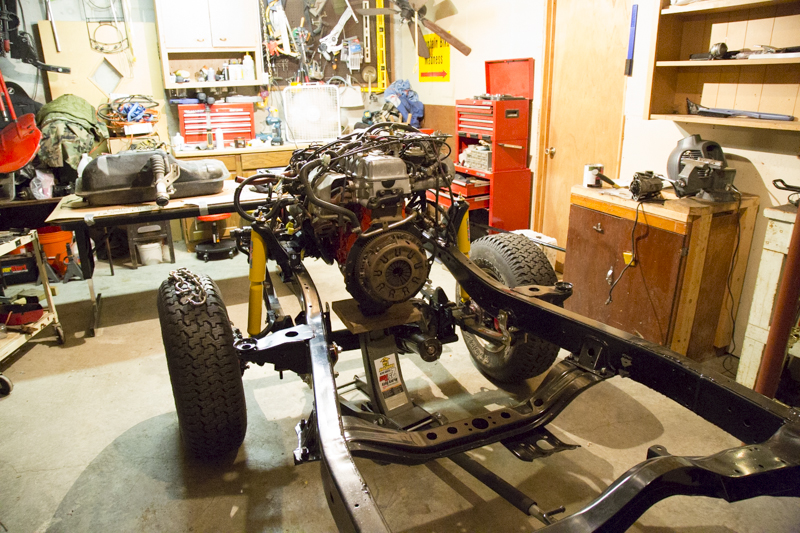
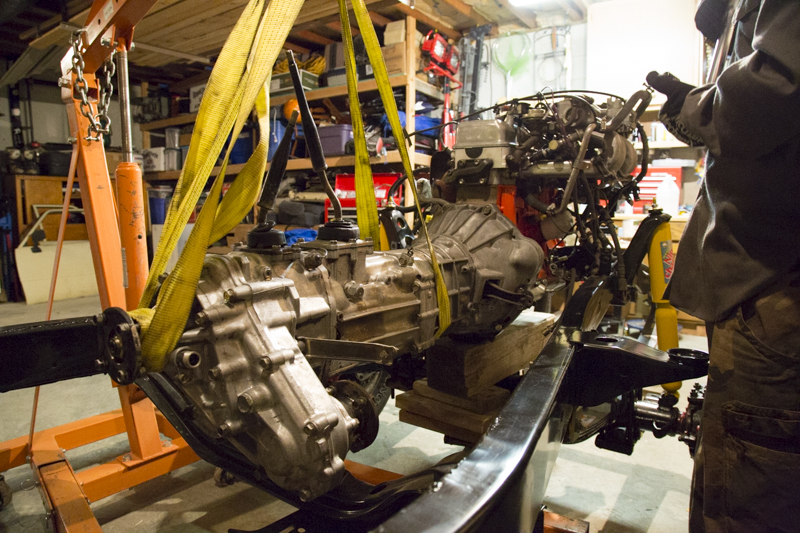
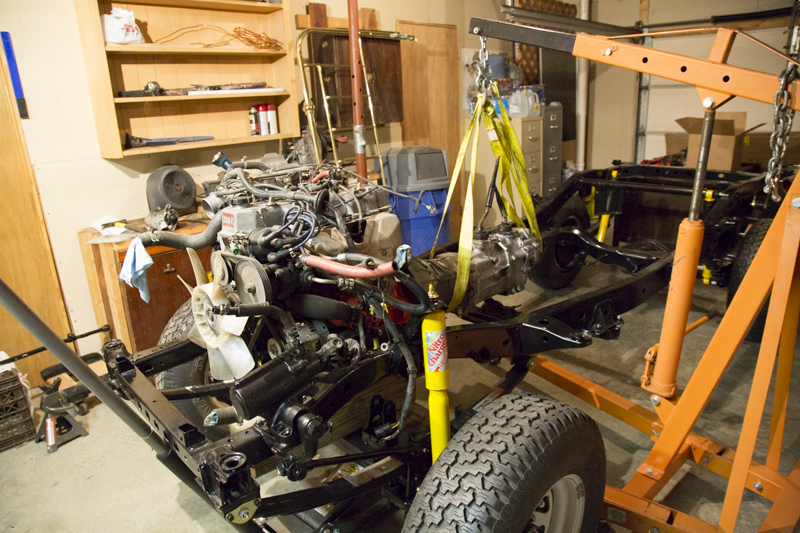
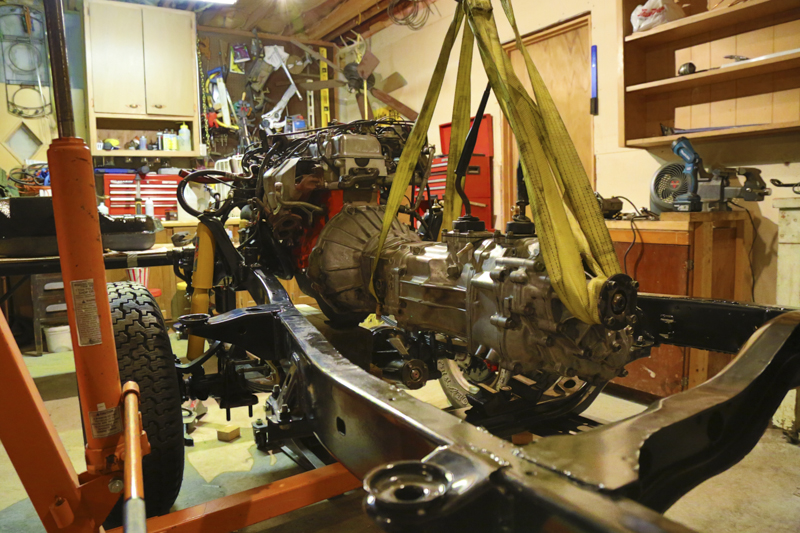
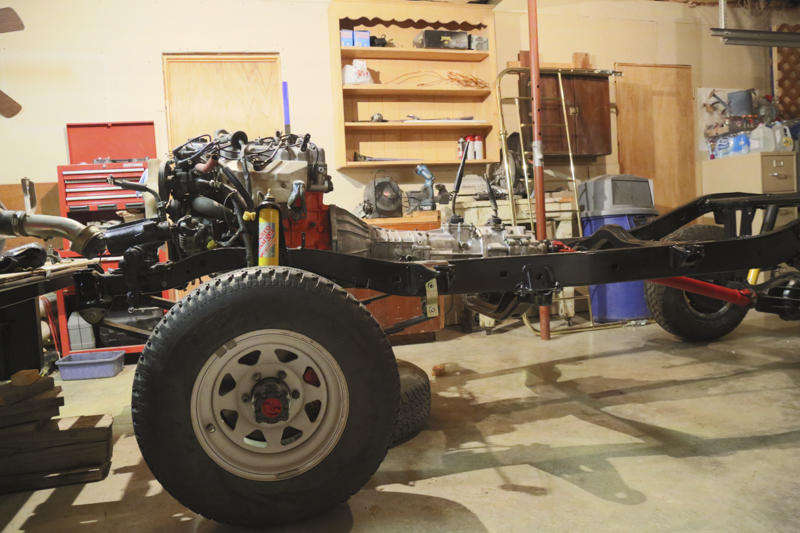
Then we put on the engine and transmission.
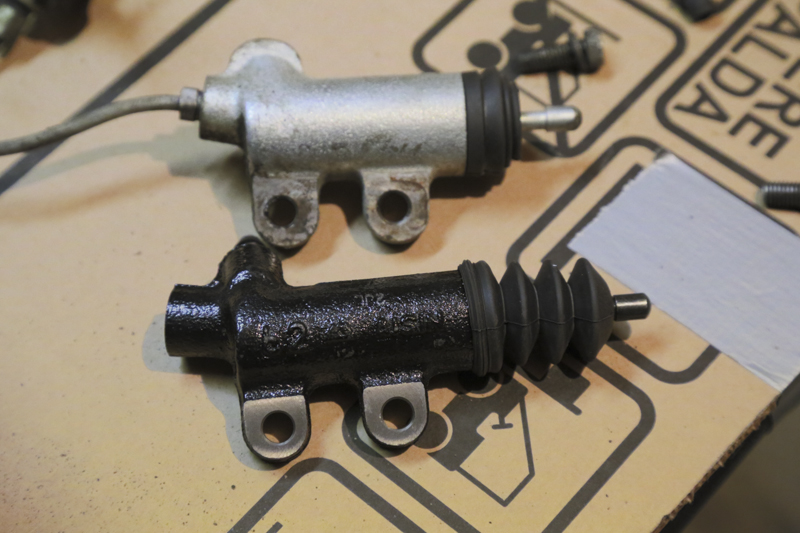
The new slave cylinder compared to the old one.
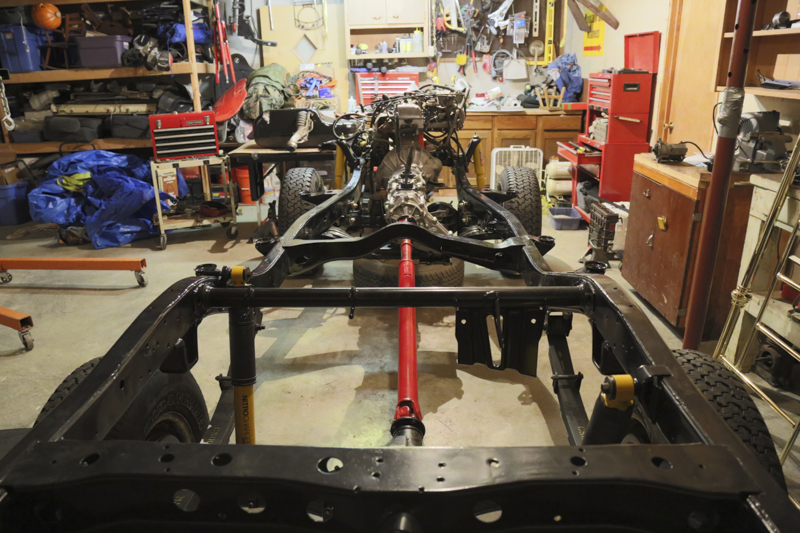
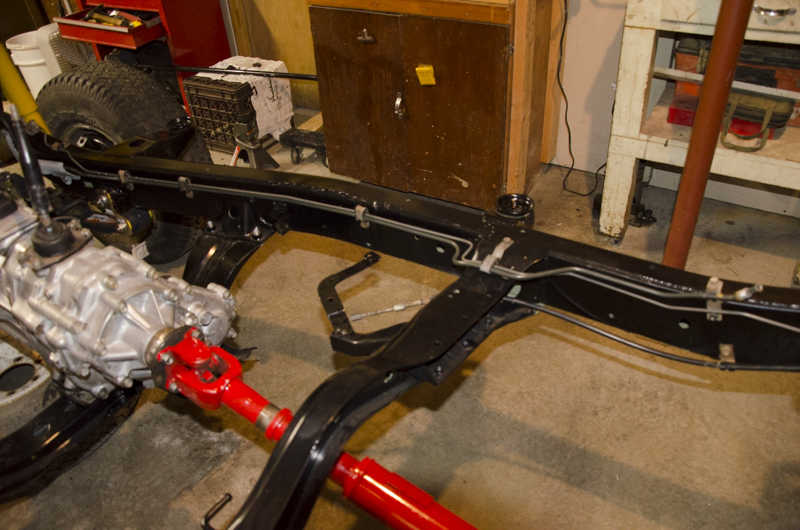
The drive shaft.
Put one of the brake lines along with the fuel line.
We only put on one because are going to change out to a manual lspv.
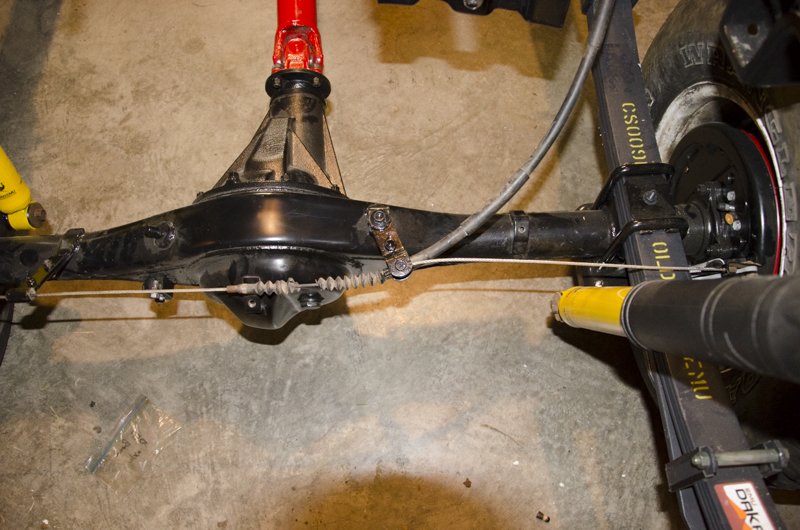
Also put on the emergency brake.
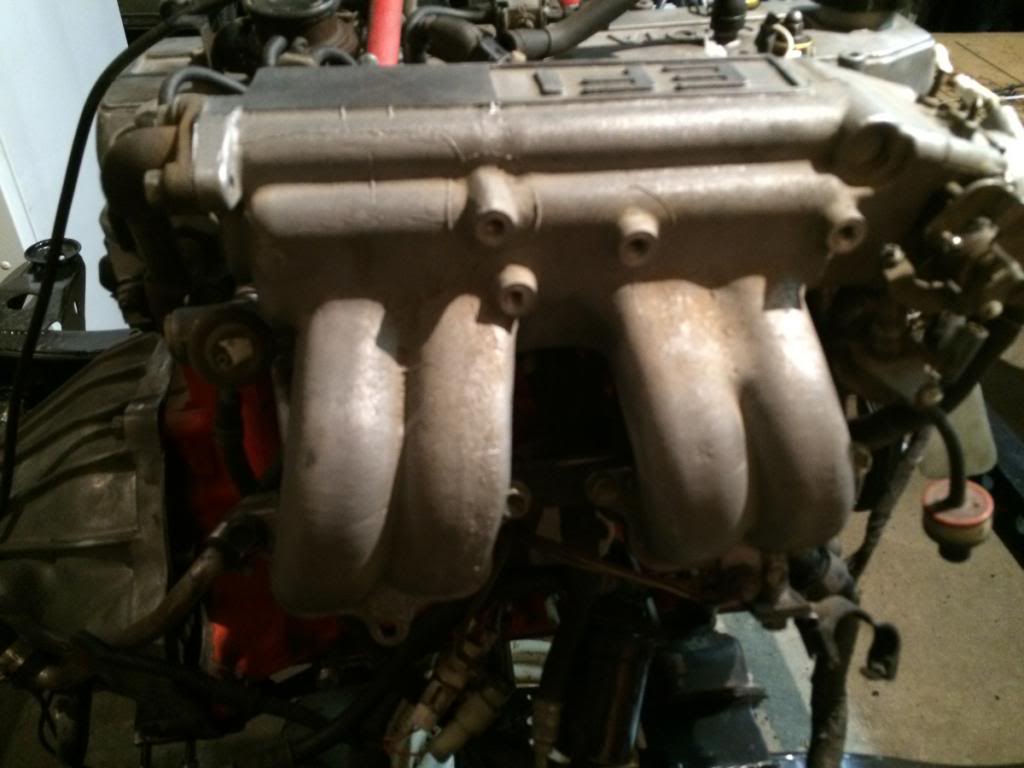
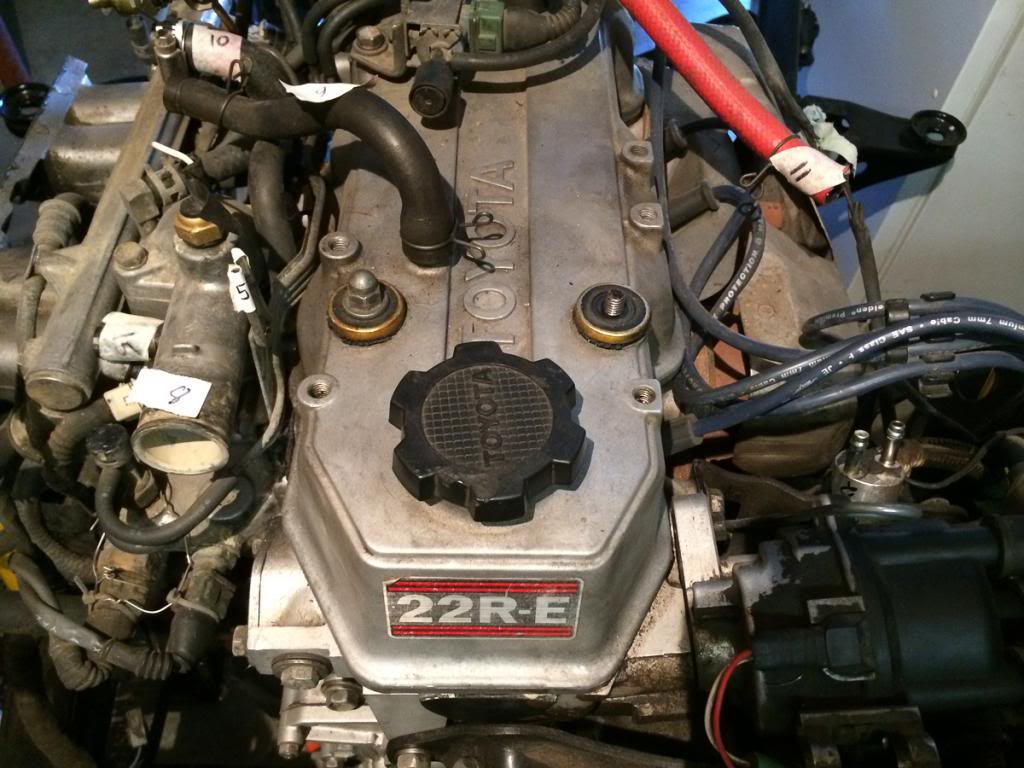
Also we cleaned the engine.
Before
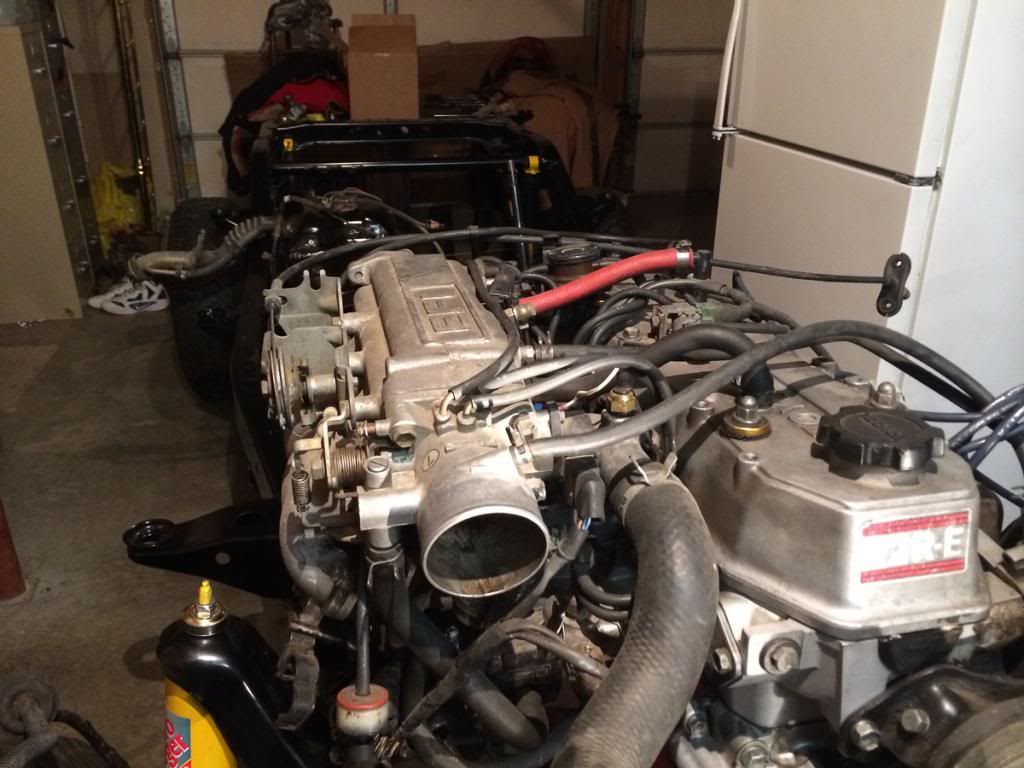
After
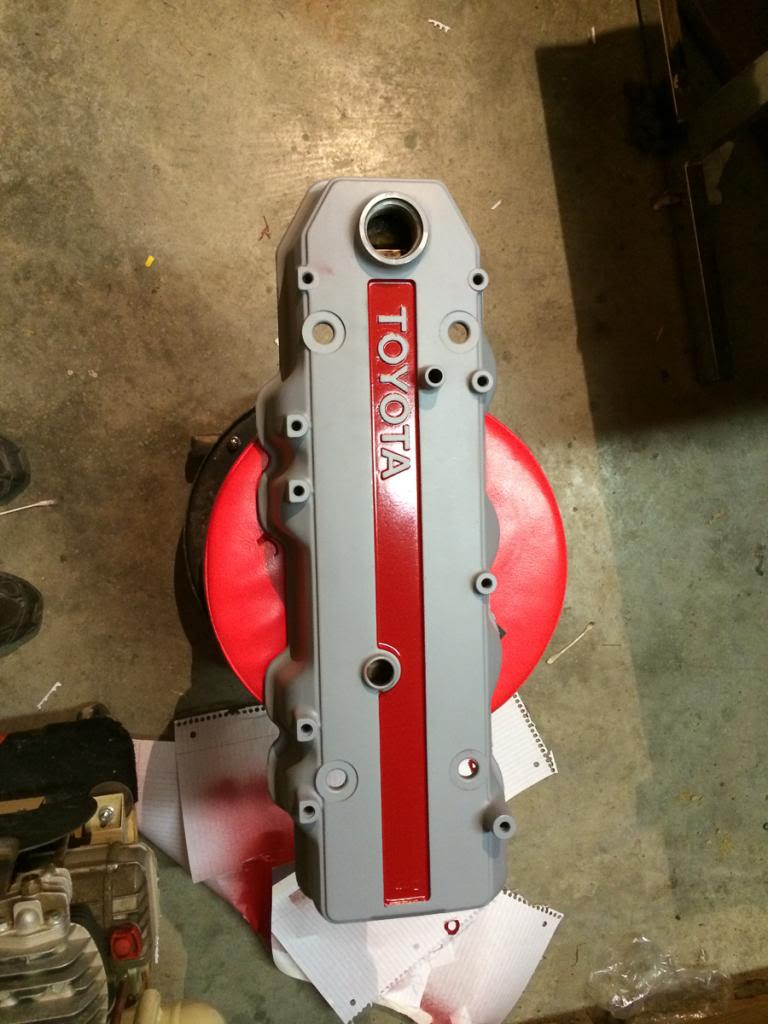
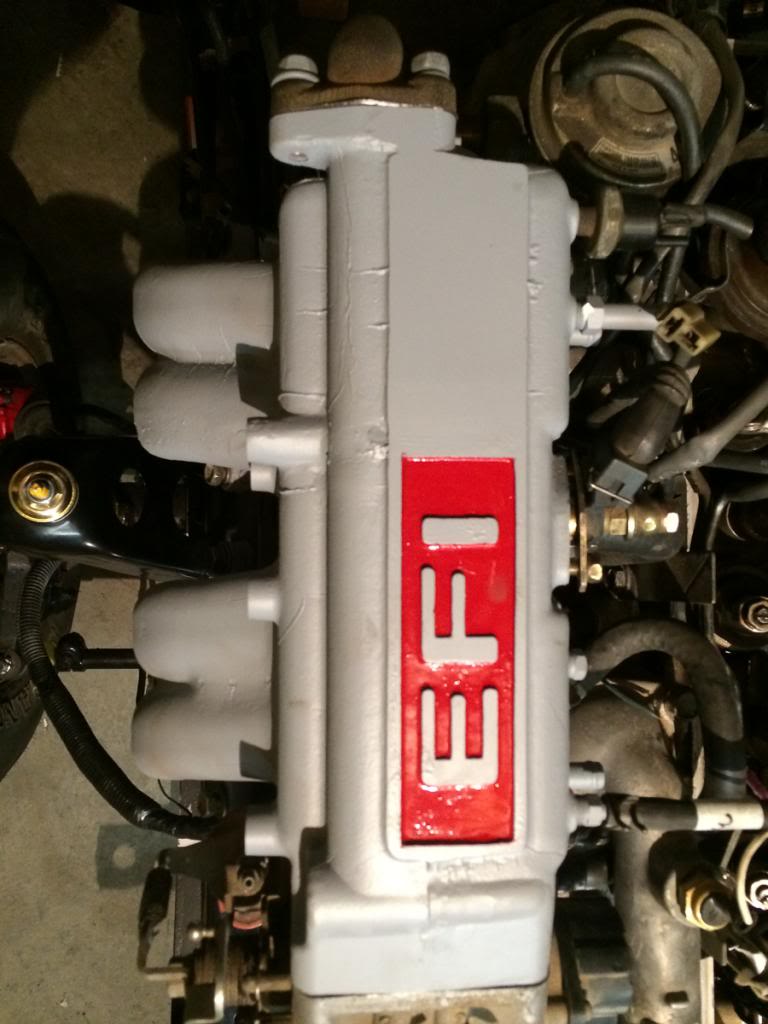

I think the paint job turned out pretty good.
We don't have much more to do in tell we put the frame under the body other then cleaning up the firewall and painting it.


