
1976 Ford Super Cab Restore
 Dec 9, 2016 | 01:17 PM
#42
Thread Starter
Super Moderator
iTrader: (1)
Joined: Aug 2008
Posts: 11,787
Likes: 28
From: Anderson Missouri
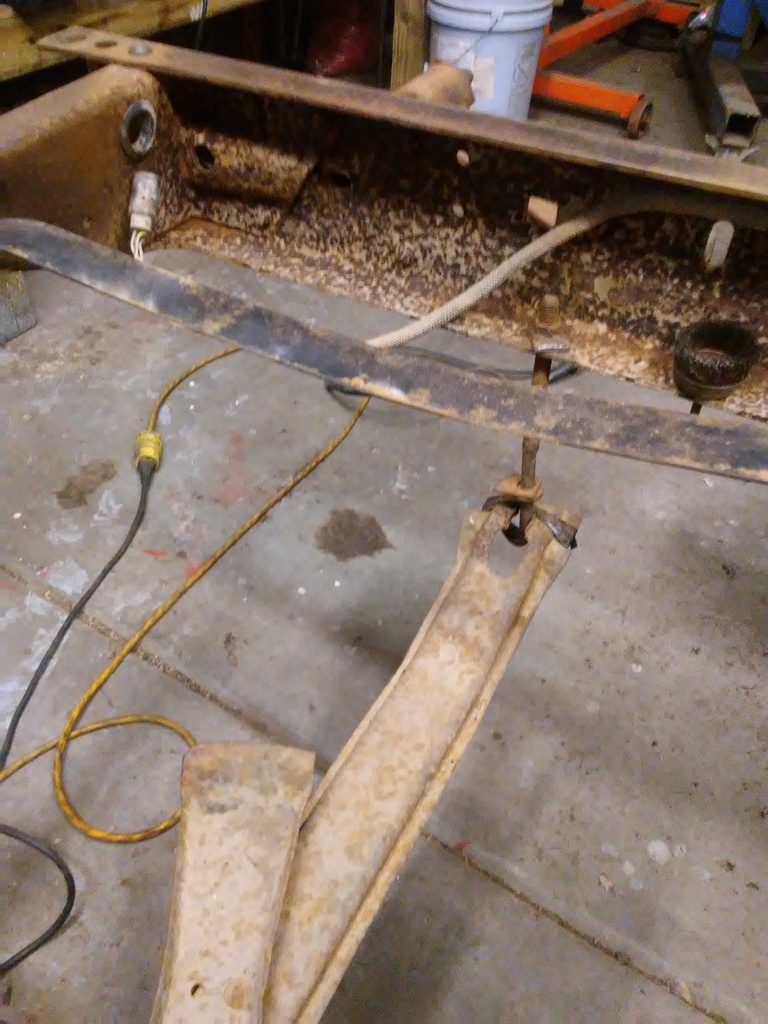
I did some more scrapping under the truck to get some gunk off of what I could reach. Later on I am going to rent a pressure washer and give the front and rear of the frame a good cleaning. At a much later time, I will pull the cab and clean under there as well.
Today I filled the fuel line full of Marvel Mystery Oil and will let it soak for a few days. The fuel lines can get some build up in them as well. I used the rubber tipped air gun and it is flowing well but I want to get the lines cleaned out.
Later on I will do the brake lines. Brakes lines will have all kinds of nasty stuff come out of them when I flush them. Brakes will be one of the last things that I will rebuild. I will just replace all of the brake hardware with new pads, shoes, calipers, cylinders and other things I may have missed. Brake fluid seems to leave all kinds of nasty stuff when it gets old.
Here I use a gear oil bottle lid as a funnel to fill the lines and will do the same thing on the brake lines to fill them. After the brake lines have soaked a few days I will blow the lines out from front to rear and rear to front.

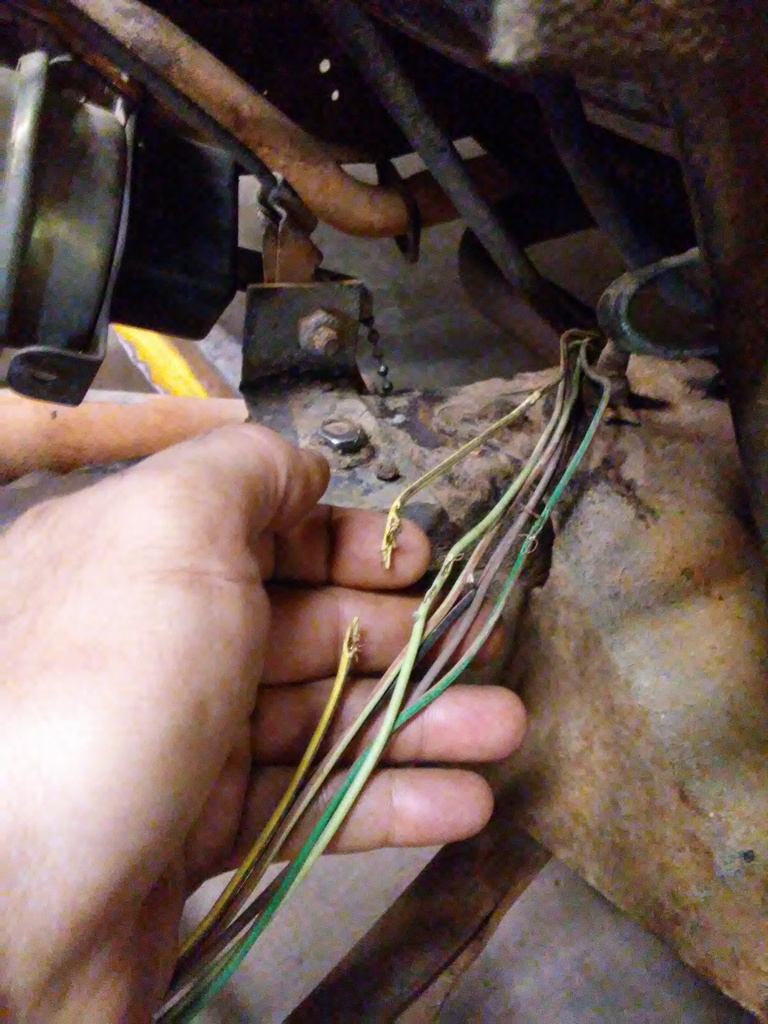
I have a few other wires to repair as these are chaffed or been chewed by a rat. I will go thru each of the wires and see what all is damaged and will repair as needed.
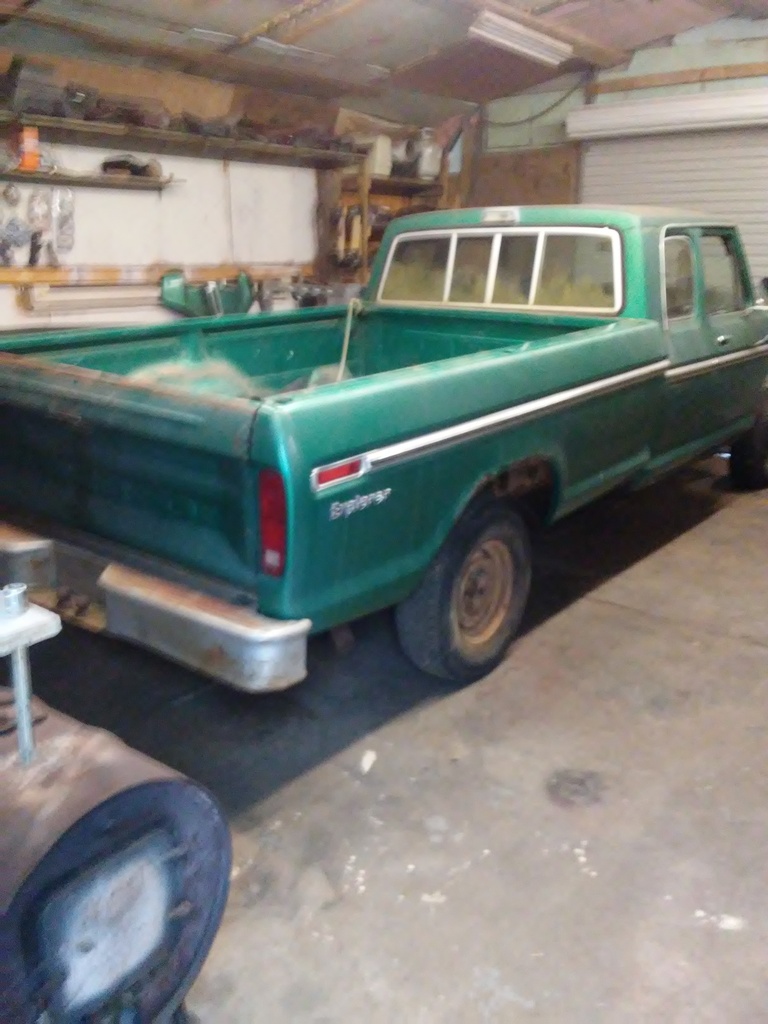
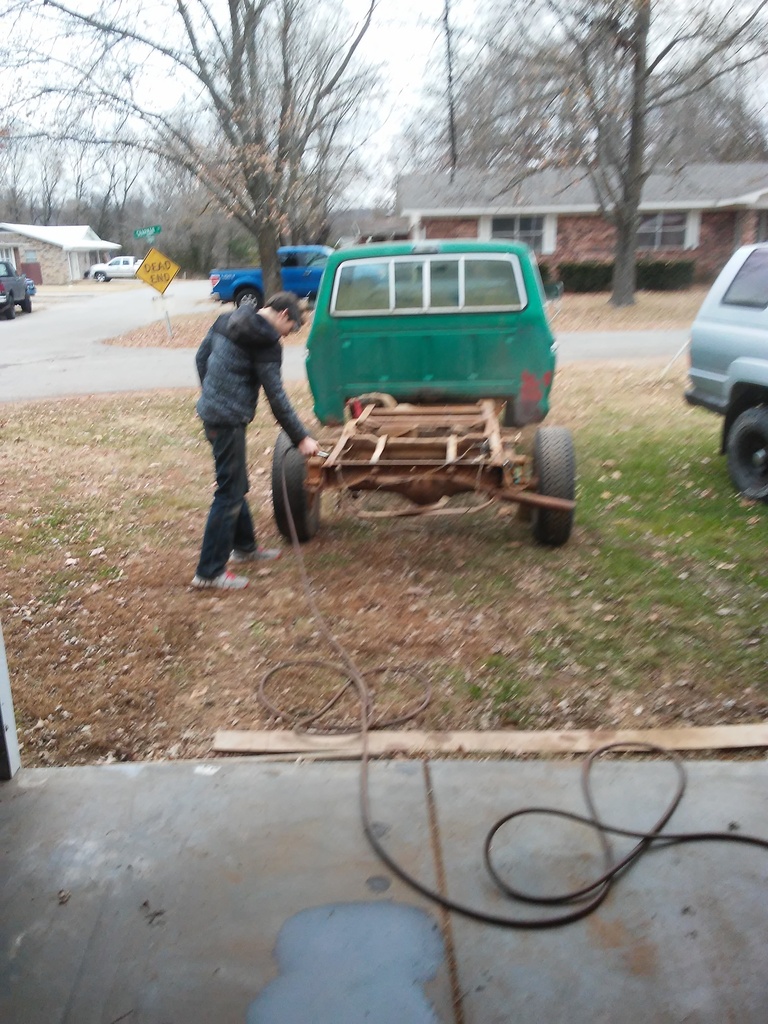
I got the truck in backwards in the shop. I am hoping in the next couple of days to get the rear bumper and bed off. I will lift the bed, roll the truck out and set the bed on my 4x8 trailer, then roll the truck back in and start cleaning and repairing any issues I may find. Doing a full tear down on a project truck can clear up several issues all at one time.
Today I filled the fuel line full of Marvel Mystery Oil and will let it soak for a few days. The fuel lines can get some build up in them as well. I used the rubber tipped air gun and it is flowing well but I want to get the lines cleaned out.
Later on I will do the brake lines. Brakes lines will have all kinds of nasty stuff come out of them when I flush them. Brakes will be one of the last things that I will rebuild. I will just replace all of the brake hardware with new pads, shoes, calipers, cylinders and other things I may have missed. Brake fluid seems to leave all kinds of nasty stuff when it gets old.
Here I use a gear oil bottle lid as a funnel to fill the lines and will do the same thing on the brake lines to fill them. After the brake lines have soaked a few days I will blow the lines out from front to rear and rear to front.

I have a few other wires to repair as these are chaffed or been chewed by a rat. I will go thru each of the wires and see what all is damaged and will repair as needed.

I got the truck in backwards in the shop. I am hoping in the next couple of days to get the rear bumper and bed off. I will lift the bed, roll the truck out and set the bed on my 4x8 trailer, then roll the truck back in and start cleaning and repairing any issues I may find. Doing a full tear down on a project truck can clear up several issues all at one time.
 Dec 9, 2016 | 01:19 PM
#43
Thread Starter
Super Moderator
iTrader: (1)
Joined: Aug 2008
Posts: 11,787
Likes: 28
From: Anderson Missouri
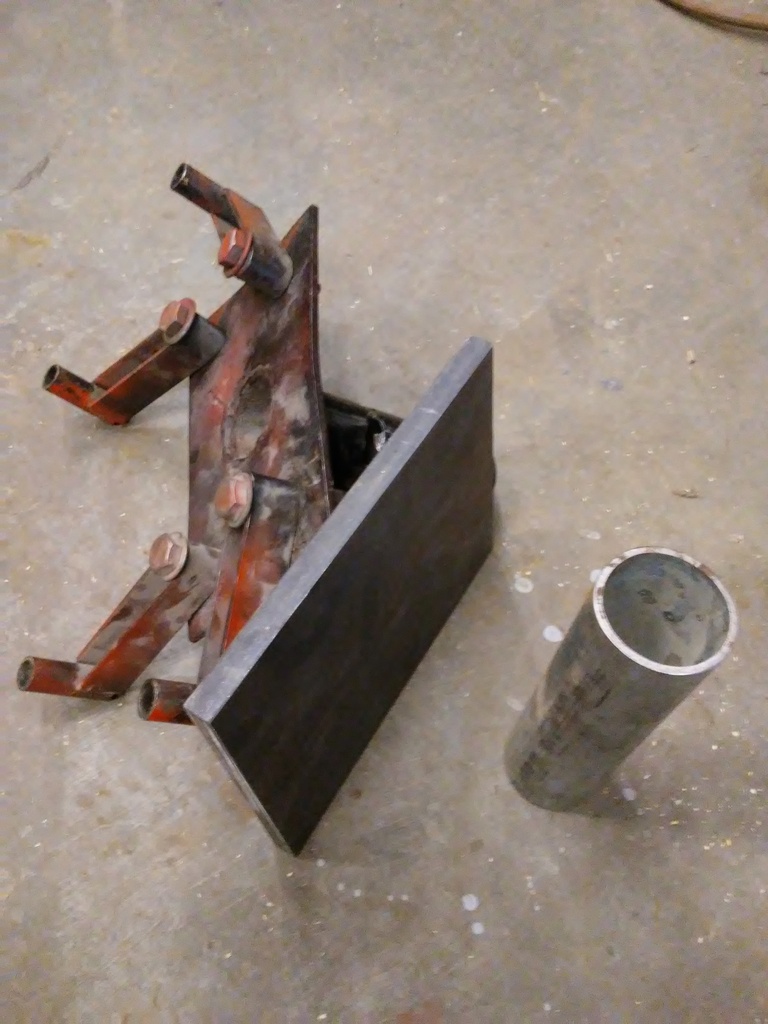
For a few dollars, I will be able to "Upgrade" my engine stand. I got a local welder that is going to use the 1/2 inch plate to replace the original plate to hold a larger motor.
 Dec 9, 2016 | 11:47 PM
#44
Thread Starter
Super Moderator
iTrader: (1)
Joined: Aug 2008
Posts: 11,787
Likes: 28
From: Anderson Missouri
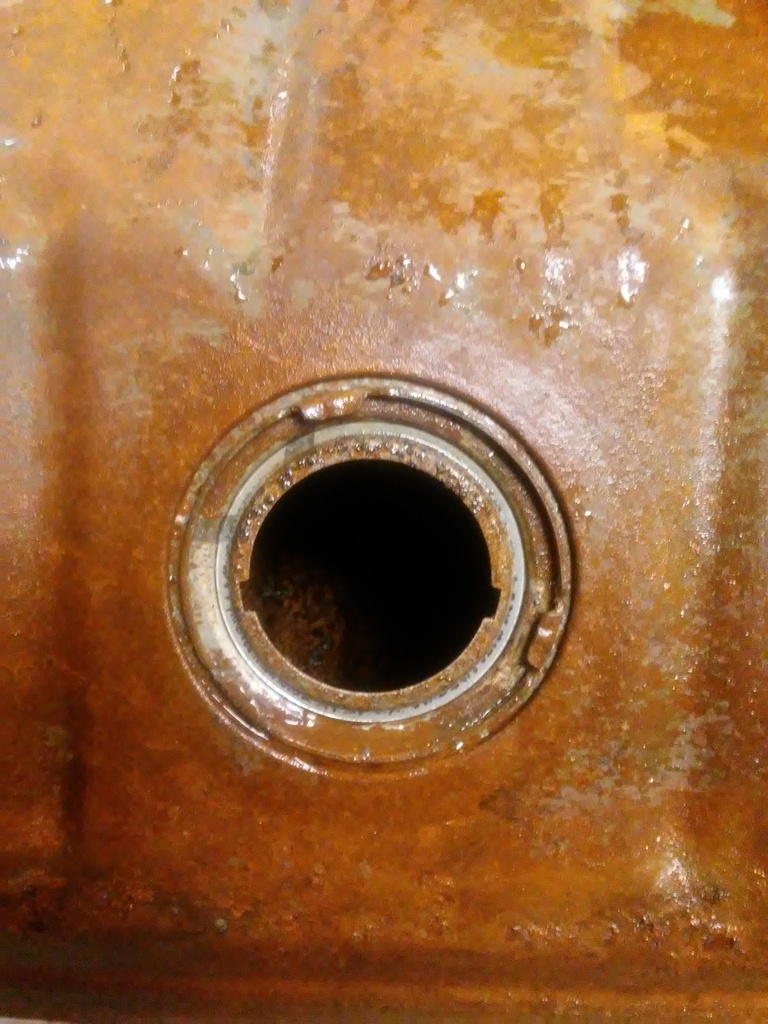
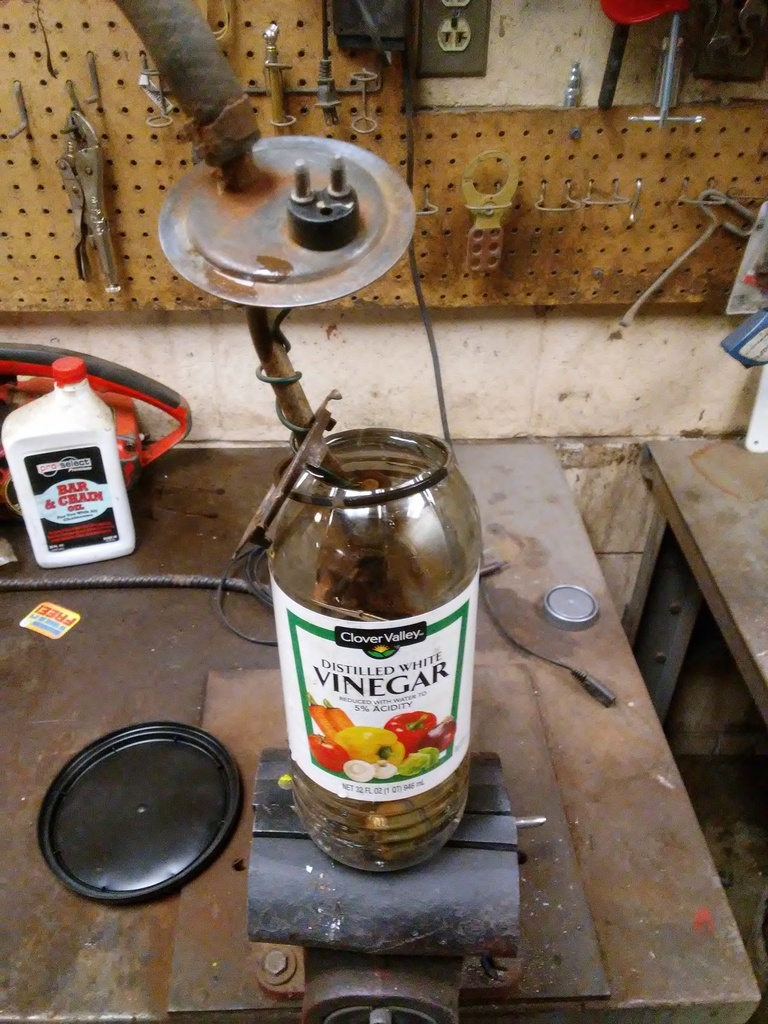
Not sure if you can really see the difference from the above picture, but I was able to use high pressure water to knock a majority of the build up out of the tank. I will now fill it with white vinegar and let it sit for a week or so and continually rotate the tank around to get the rest of the build up dissolved and removed. After the vinegar has dissolved all of the build up, I will put a hair dryer on it and let it dry the tank. Then to get the red dust that is going to look like baking flour, I will get a vacuum cleaner to get the dust out. If you are concerned with any residue, you can use Red-Kote to seal the tank.
I got most of the exterior cleaned up. I will cover it with some POR and then paint the tank with some rustolem.
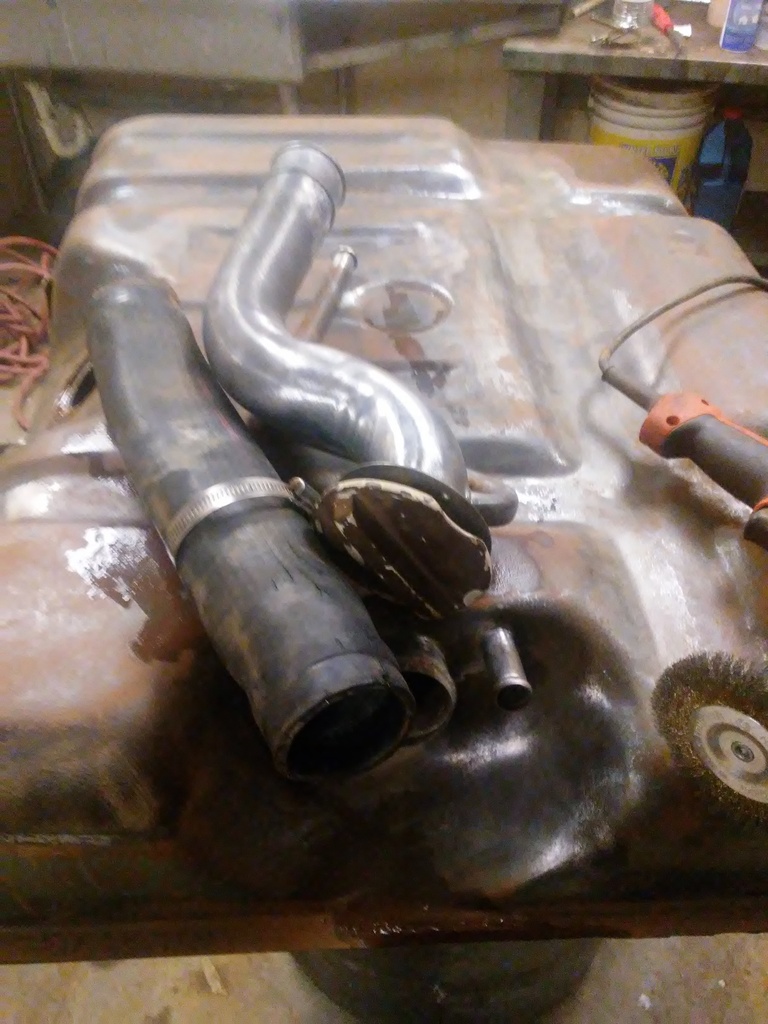
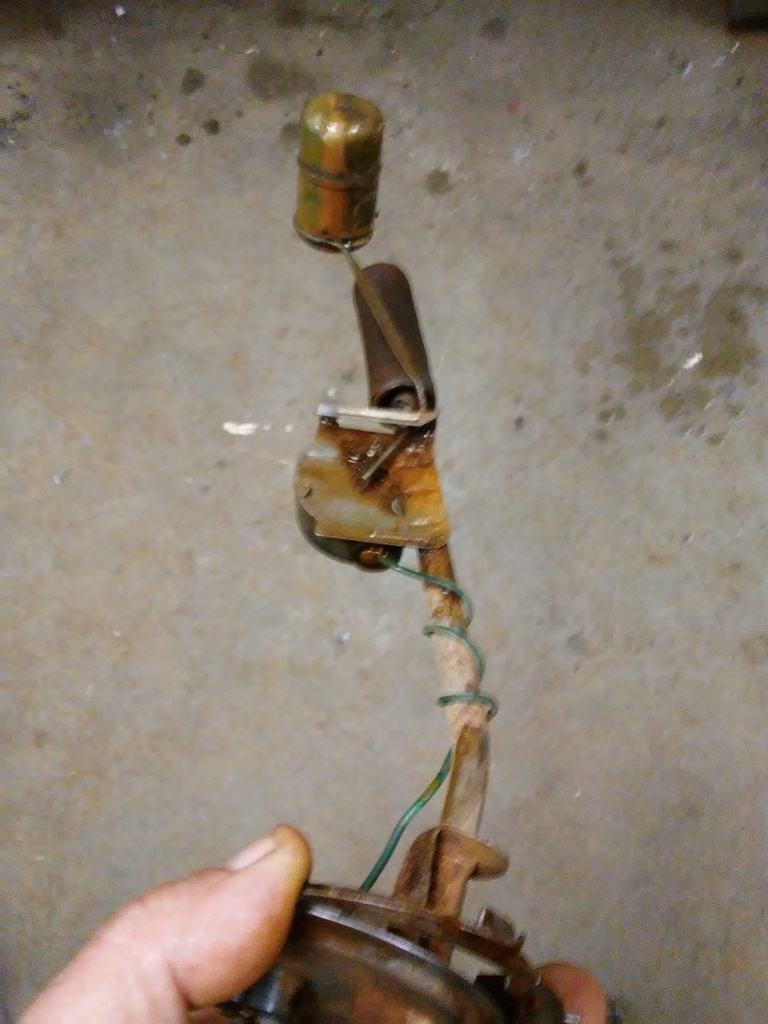
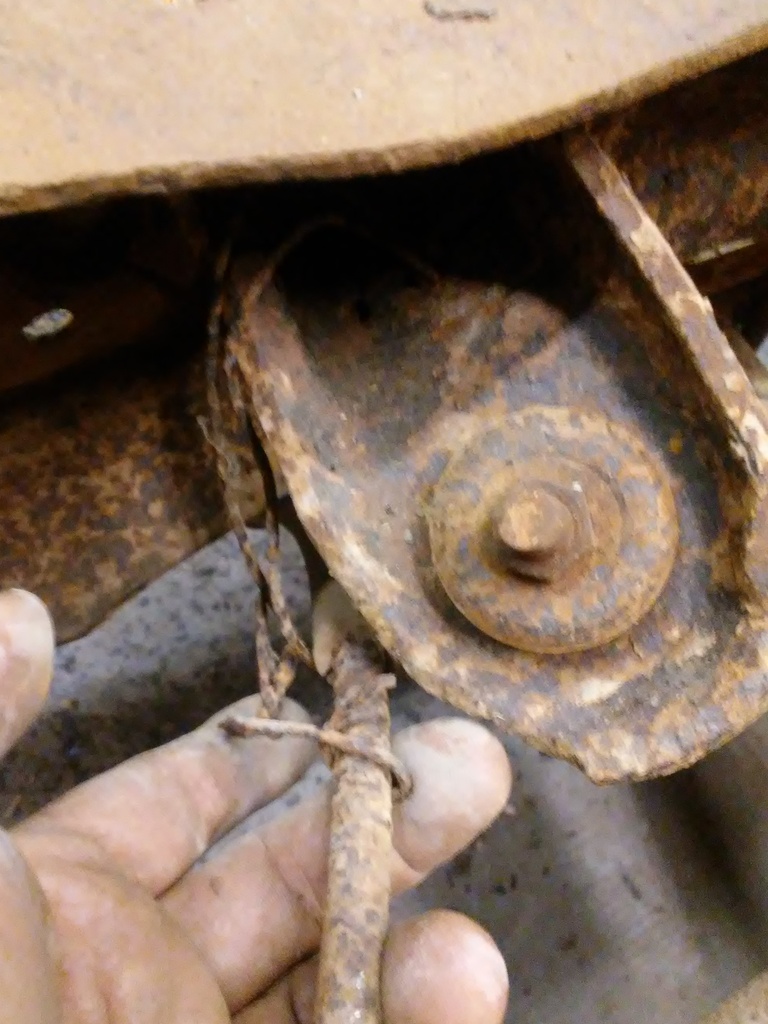
This assembly is in better shape then some I have seen. My thumb is on a filter. I have seen some filters that have such a build up that fuel can barely flow into the tube. I will start looking on rockauto, ebay, partsgeek, amazon... for the best price.
Another problem I have seen is where the build up gets to where the float can not operate. This is going to be a project soon that I will be doing is getting it cleaned and then will do a resistance check and see if the float is operating. You can see some more build up on the float itself.
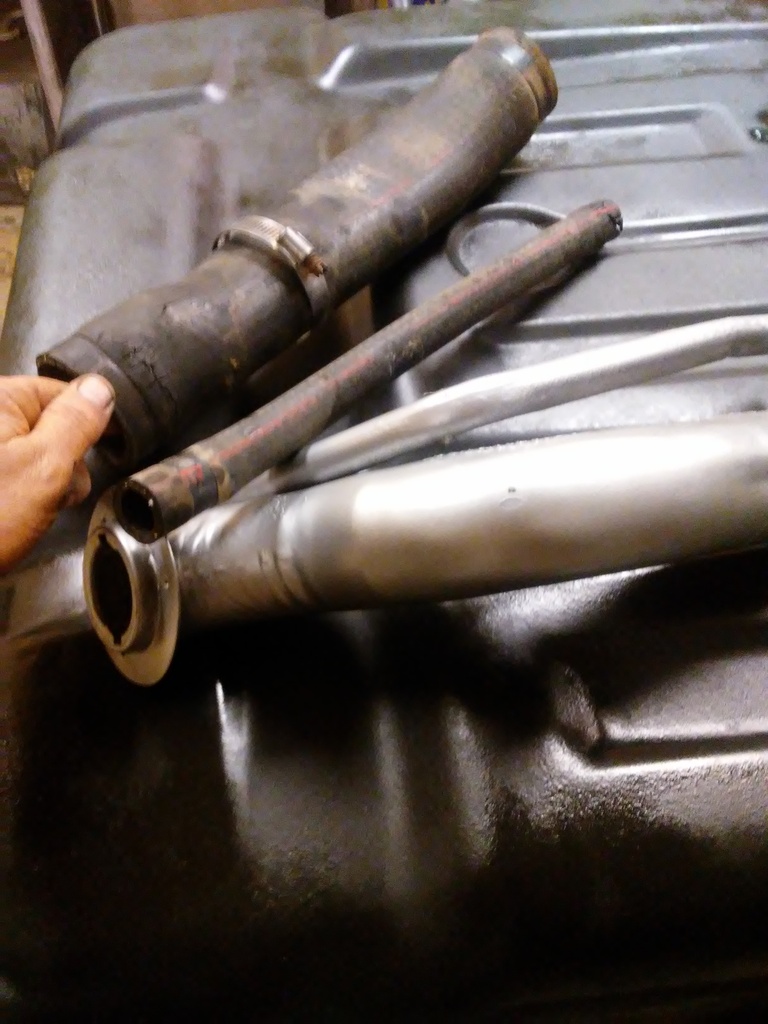
I got the exterior cleaned and painted. Straps are not showing but are done. I am keeping the old hoses for a reference as they need replaced.Hoses need replaced as they are dry rotted and cracked.

I got most of the exterior cleaned up. I will cover it with some POR and then paint the tank with some rustolem.

This assembly is in better shape then some I have seen. My thumb is on a filter. I have seen some filters that have such a build up that fuel can barely flow into the tube. I will start looking on rockauto, ebay, partsgeek, amazon... for the best price.

Another problem I have seen is where the build up gets to where the float can not operate. This is going to be a project soon that I will be doing is getting it cleaned and then will do a resistance check and see if the float is operating. You can see some more build up on the float itself.

I got the exterior cleaned and painted. Straps are not showing but are done. I am keeping the old hoses for a reference as they need replaced.Hoses need replaced as they are dry rotted and cracked.

Last edited by Terrys87; Dec 10, 2016 at 04:22 AM.
Dec 10, 2016 | 12:45 PM
#45
Thread Starter
Super Moderator
iTrader: (1)
Joined: Aug 2008
Posts: 11,787
Likes: 28
From: Anderson Missouri
I had Justin to paint the bottom half of the tank. I explained it to him to use the same pattern as using a spray gun. He has helped me do some painting on trucks in the past.

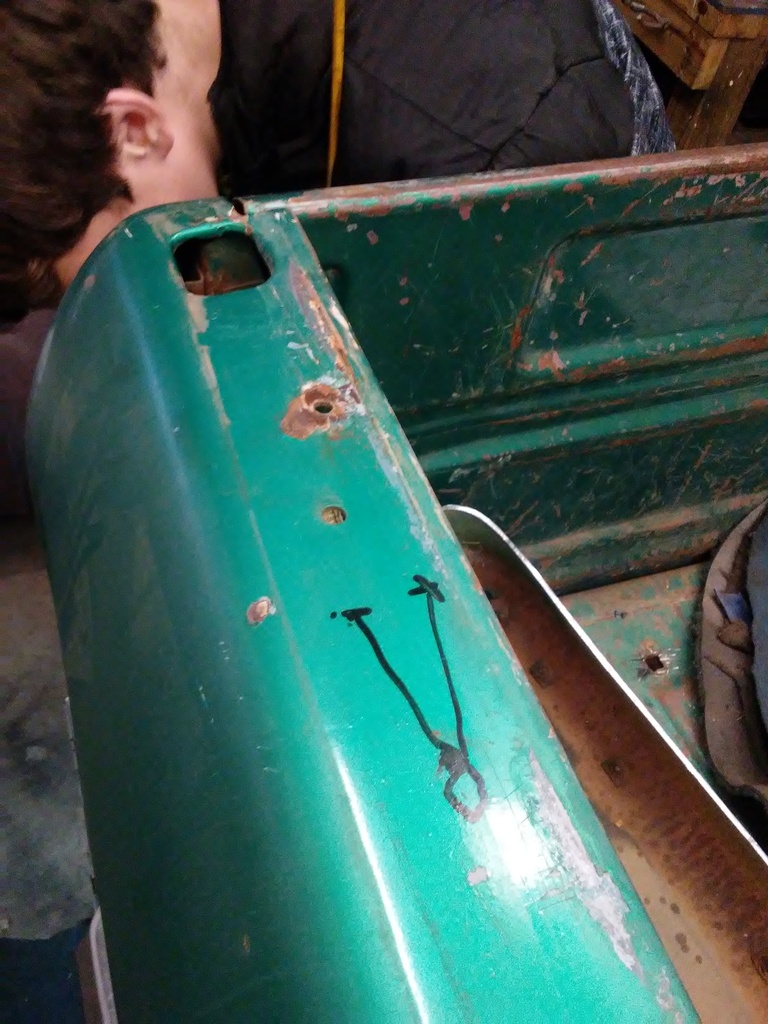
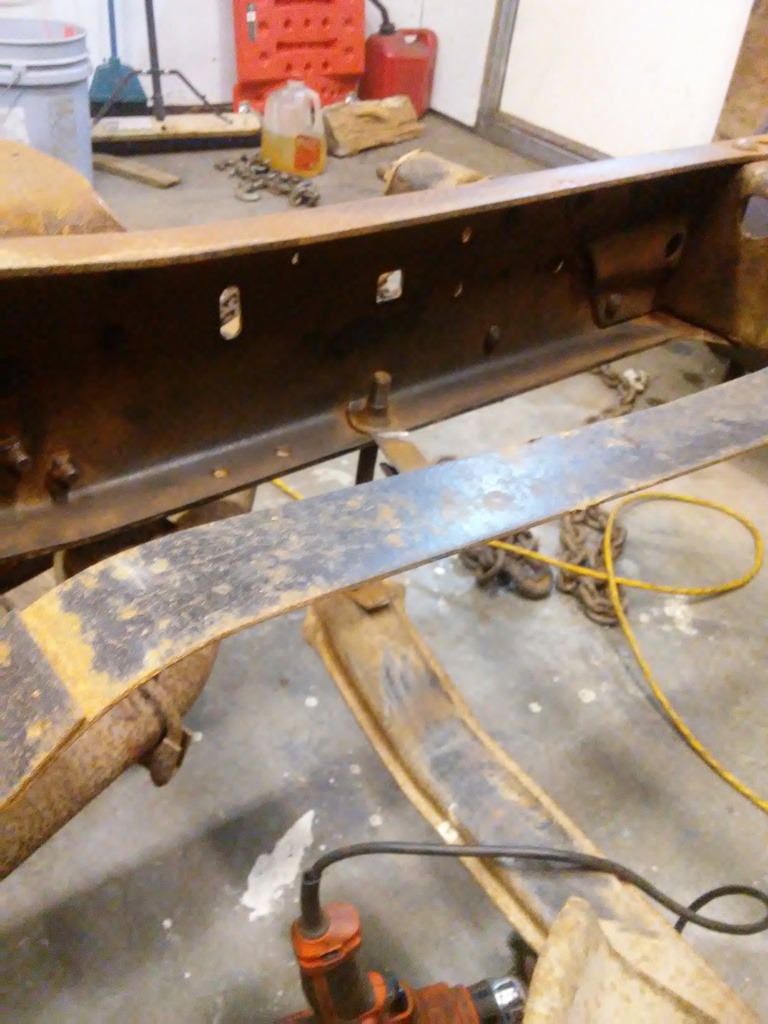
We have been having a tough time with getting a bolt out. I do not have a cutting torch but do have a heating torch. I explained to him about using heat to help get some rusty bolts loose. This was his first time of using heat on a bolt. We finally got the bumper off.
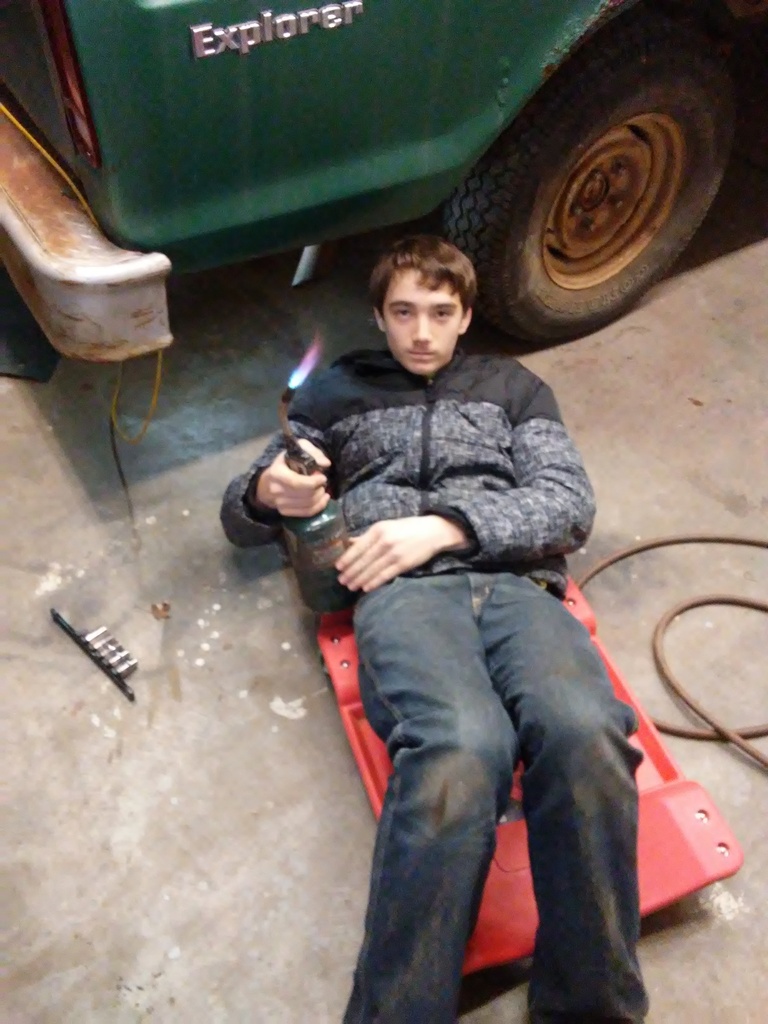
Here is my diagram explaining to him about the lights that if "Current dont flow, the bulb wont glow". He is removing a ground wire to the side marker light in the tail light area. He already knows to put any bolts back in their place when we get a part removed. It sure helps having him in the shop. It has slowed me down at times explaining things to him but it is now starting to pay off. He is really getting into working on trucks and am surprised at some of the things he is starting to understand.
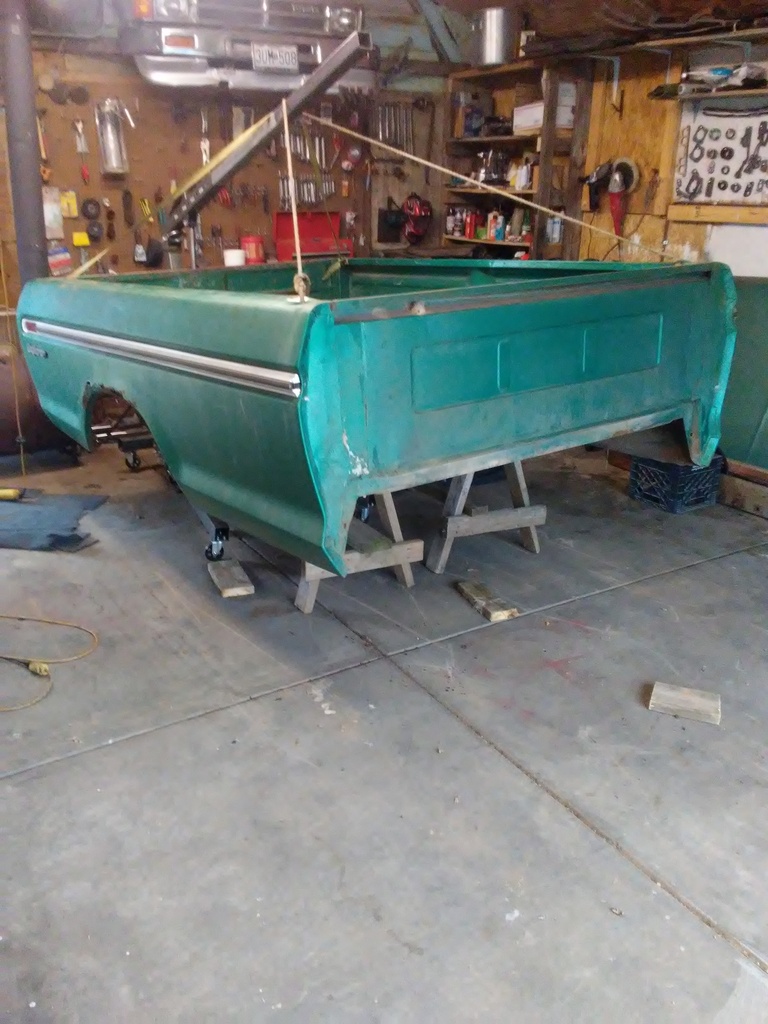
He was anxious to get the bed off. I do not have my extension completed yet but was able to make it work for what we needed it to.
I am not sure if I want to keep this bed or replace it. I know where a couple of '77 beds are that are in great shape and have the fuel doors built into them. But this bed would be a good learning experience with patch panels. I do not have a MIG welder but will be getting one for Christmas and have always wanted to do patch repair. Still debating on the bed. It will be getting put on my 4x8 trailer so as I can get the truck back in the shop to start doing some cleaning.
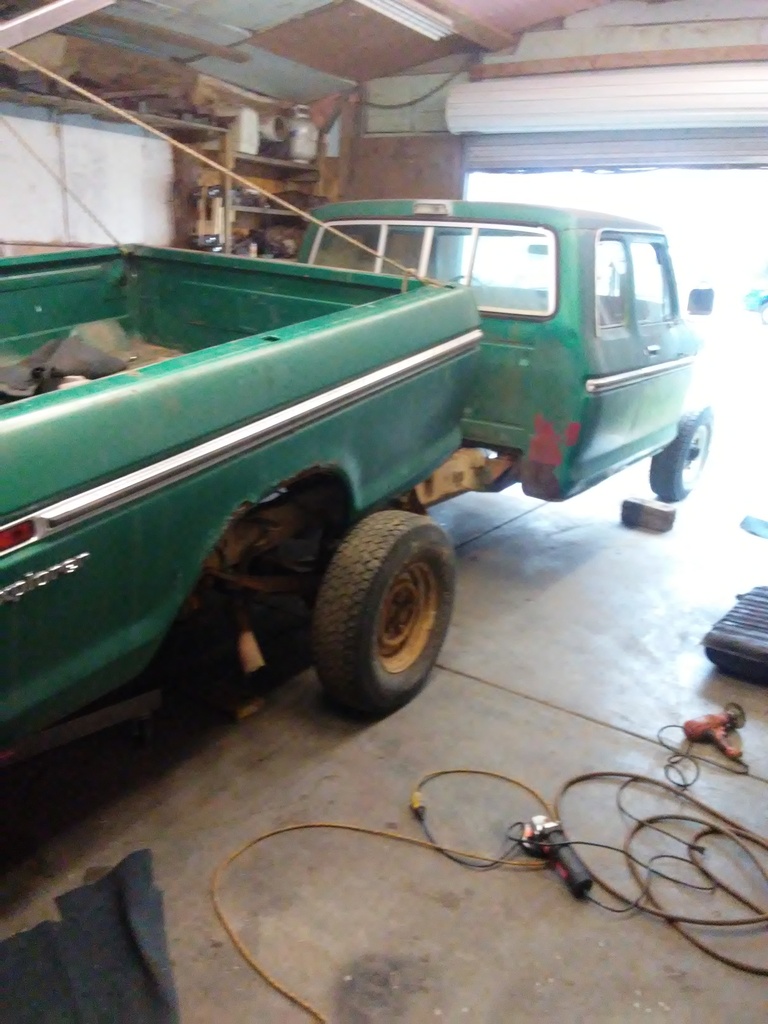
It was getting cold and the fire was going out in the shop, but Justin wanted to take the air hose to the frame and see how much cleaner it would get. I told him there is going to be a lot of wire brushing to do on the frame and eventually I will rent a pressure washer for a good cleaning before painting. He was ready to pull the cab. At this time I do not have the ability to lift the cab. It will eventually get pulled off, just not at this time.

We have been having a tough time with getting a bolt out. I do not have a cutting torch but do have a heating torch. I explained to him about using heat to help get some rusty bolts loose. This was his first time of using heat on a bolt. We finally got the bumper off.

Here is my diagram explaining to him about the lights that if "Current dont flow, the bulb wont glow". He is removing a ground wire to the side marker light in the tail light area. He already knows to put any bolts back in their place when we get a part removed. It sure helps having him in the shop. It has slowed me down at times explaining things to him but it is now starting to pay off. He is really getting into working on trucks and am surprised at some of the things he is starting to understand.

He was anxious to get the bed off. I do not have my extension completed yet but was able to make it work for what we needed it to.

I am not sure if I want to keep this bed or replace it. I know where a couple of '77 beds are that are in great shape and have the fuel doors built into them. But this bed would be a good learning experience with patch panels. I do not have a MIG welder but will be getting one for Christmas and have always wanted to do patch repair. Still debating on the bed. It will be getting put on my 4x8 trailer so as I can get the truck back in the shop to start doing some cleaning.

It was getting cold and the fire was going out in the shop, but Justin wanted to take the air hose to the frame and see how much cleaner it would get. I told him there is going to be a lot of wire brushing to do on the frame and eventually I will rent a pressure washer for a good cleaning before painting. He was ready to pull the cab. At this time I do not have the ability to lift the cab. It will eventually get pulled off, just not at this time.
 Dec 10, 2016 | 10:26 PM
#46
Thread Starter
Super Moderator
iTrader: (1)
Joined: Aug 2008
Posts: 11,787
Likes: 28
From: Anderson Missouri
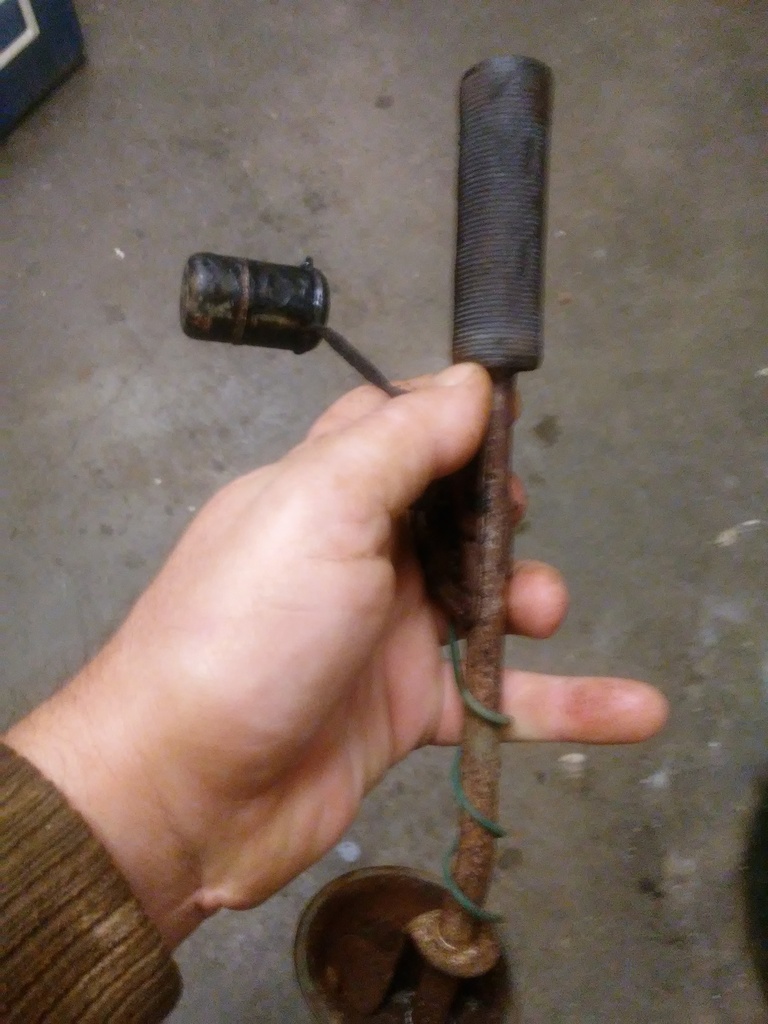
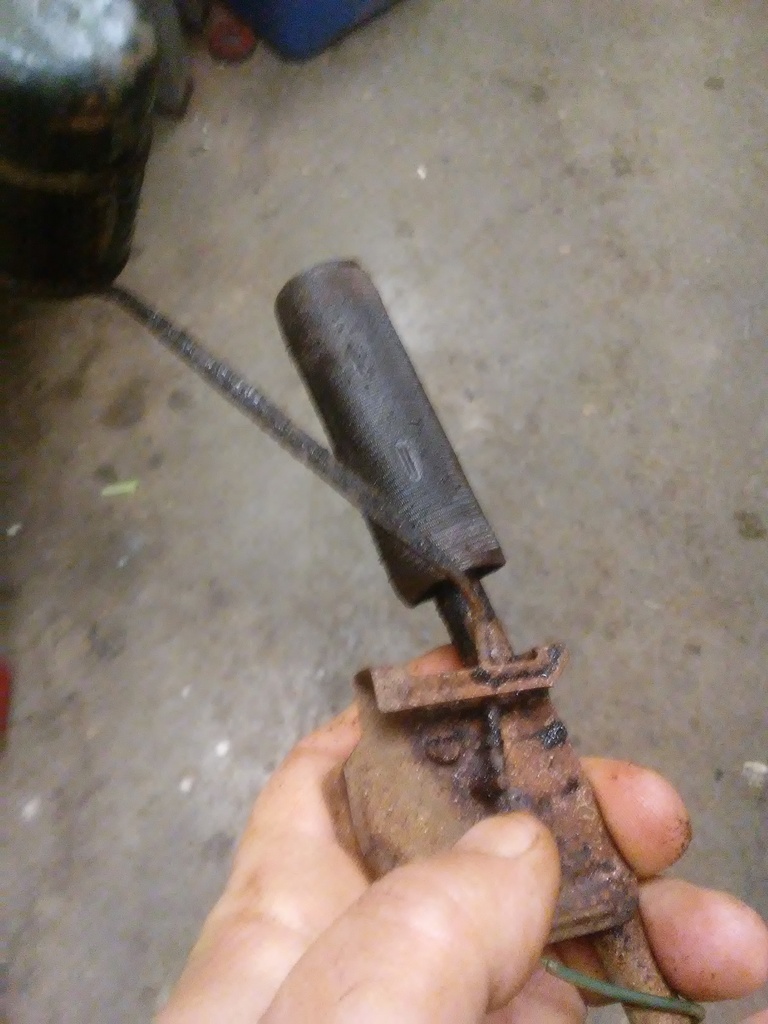
I could replace the entire fuel system and looking online it would be $300-400. I got other things to take care of so I am going to get my fuel system done for a lot less. I found this Sending Unit for about $25 online but it will clean up nicely. I took a brass tooth brush and got what I could. It was dirty as can be seen from pictures above.
Since I have plenty of time, I will let it soak in vinegar and then check to see if the resistance changes with a meter at a later time. One thing I do like a project is that I can move on to other things while one thing is cleaning. I need to get my electrolisis tank set up and let it do some rust removal.

Since I have plenty of time, I will let it soak in vinegar and then check to see if the resistance changes with a meter at a later time. One thing I do like a project is that I can move on to other things while one thing is cleaning. I need to get my electrolisis tank set up and let it do some rust removal.
 Dec 11, 2016 | 12:02 PM
#47
Thread Starter
Super Moderator
iTrader: (1)
Joined: Aug 2008
Posts: 11,787
Likes: 28
From: Anderson Missouri
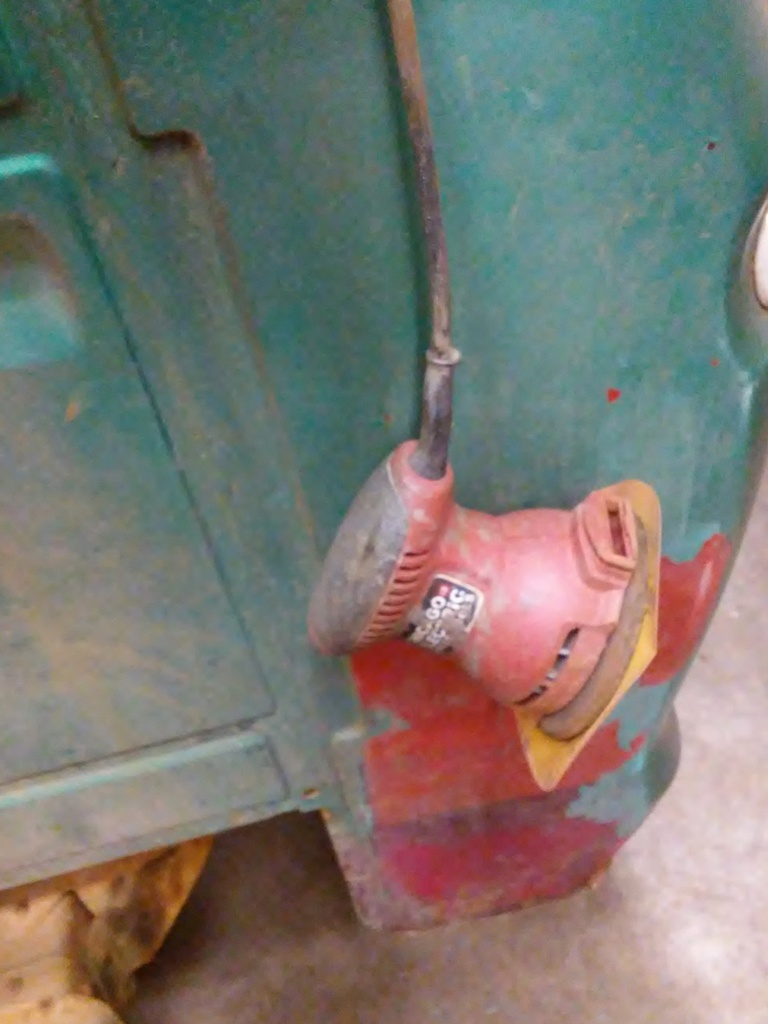
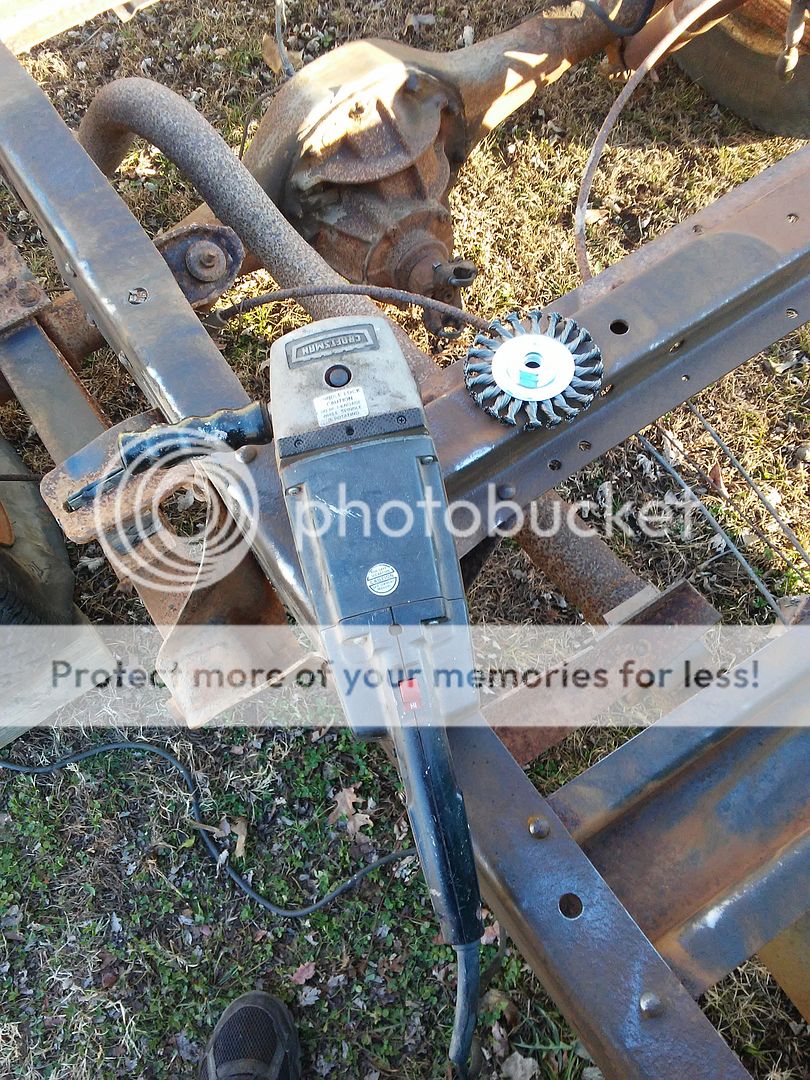
I got the truck bed on the trailer and got the truck back in the shop. I got the truck in enough pieces now I just need to see which part I want to start on. I have a heavy duty grinder that I am going to put a braided wire brush on and clean the frame up. I need to stop by the hardware store and get a wire brush and get it cleaned.
Both of my kids and two of the neighbor kids wanted to clean on the frame. I have a small drill and an electric sander so I let them tinker with those two tools. It is a start to letting them get familiar with tools.
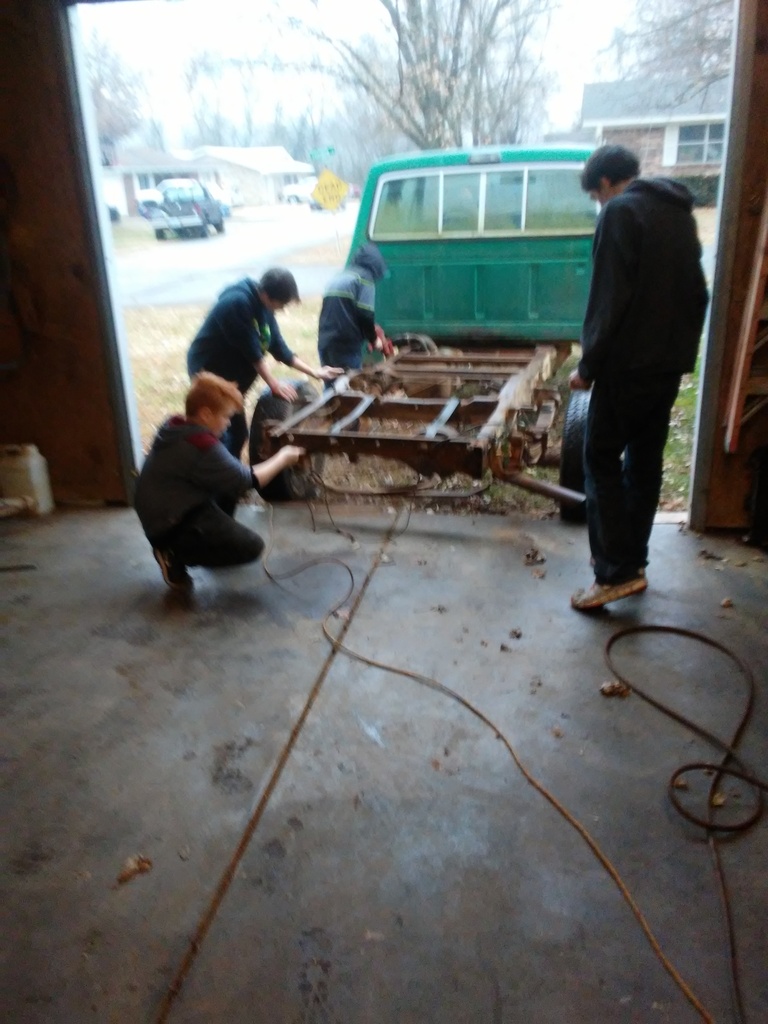
Both of my kids and two of the neighbor kids wanted to clean on the frame. I have a small drill and an electric sander so I let them tinker with those two tools. It is a start to letting them get familiar with tools.
 Dec 11, 2016 | 05:57 PM
#48
Contributing Member


Joined: Sep 2005
Posts: 8,247
Likes: 497
From: mo
It's really great the kids are getting a chance to play with how to do things and your kid being such a great help. Can't wait for mine to get into helping out too. You're right in that it takes more time but it's so completely worth it in the long run.
Also, nice use of vinegar. Another tip to keep in mind, thank you very much.
Also, nice use of vinegar. Another tip to keep in mind, thank you very much.
Dec 14, 2016 | 12:17 PM
#49
Thread Starter
Super Moderator
iTrader: (1)
Joined: Aug 2008
Posts: 11,787
Likes: 28
From: Anderson Missouri
Thanks hab... I am trying to get the kids to learn things way earlier then I did. I figure if I can get them as far as I am, they may do more then I may have thought possible. Besides I want them to be able to fix anything that they may break. Vinegar works great. I have the part cleaned up and will post a picture of it the next time I get access to it. It did clean up nicely for just sitting 24 hours.
Dec 14, 2016 | 12:17 PM
#50
Thread Starter
Super Moderator
iTrader: (1)
Joined: Aug 2008
Posts: 11,787
Likes: 28
From: Anderson Missouri
The frame is cleaning up nicer then I expected. Here is what the drivers side looks like for the rear tank.
Here is the passenger side with some wire brushing.
While working in the rear tank area, I came across the ground wire for the fuel sending unit. I will paint the frame but where the ground connects I will take it down to bare metal. I have seen ground wires cause issues and hope I head this problem off.
Yeah!! I found some bailing wire holding the brake cables to the shock mount. I will fix that to the way that it should be but overall not to many hack jobs on this truck.
I knew this truck had the passenger side cab corner and door replaced. It had been bumped into a stump and they replaced it with a donor truck part. Also when they painted the rear of the cab, they did not prep it as well as it should of been and the paint easily flaked off with a few seconds with the sander.
Another reason for this picture is that I like to use electric tools for doing body work. I do have pneumatic tools but the air hose does not maneuver around as easily as an electric cord.

Here is the passenger side with some wire brushing.

While working in the rear tank area, I came across the ground wire for the fuel sending unit. I will paint the frame but where the ground connects I will take it down to bare metal. I have seen ground wires cause issues and hope I head this problem off.

Yeah!! I found some bailing wire holding the brake cables to the shock mount. I will fix that to the way that it should be but overall not to many hack jobs on this truck.

I knew this truck had the passenger side cab corner and door replaced. It had been bumped into a stump and they replaced it with a donor truck part. Also when they painted the rear of the cab, they did not prep it as well as it should of been and the paint easily flaked off with a few seconds with the sander.
Another reason for this picture is that I like to use electric tools for doing body work. I do have pneumatic tools but the air hose does not maneuver around as easily as an electric cord.
 Dec 14, 2016 | 12:26 PM
#51
Thread Starter
Super Moderator
iTrader: (1)
Joined: Aug 2008
Posts: 11,787
Likes: 28
From: Anderson Missouri
This build will stop for about a week. Here in the next few days I am pulling the Mistys 88 into the shop and converting it to carburetor. It has been having the Cherry Manifold for quite sometime and I have so much time into it, sent it to Toyota, had some other mechanics to look at it and no one has been able to figure it out. I got a donor harness out of a pick up and will have to wire the tail lights and fuel tank to way a runner should be. I will also have to put the rear window on a separate switch. I have only been driving it for a mile or so at a time just to keep everything operational.
It is around a 40 hour job and I will have to take the complete interior out, pull the fuel tank, plus all of the wiring to get it done correctly. I am able to do it and wish I could keep it 22re but this is one truck that is one of my all time favorites or it would of been long gone by now. It is just fun to drive and rides nice for an SUV.
It is around a 40 hour job and I will have to take the complete interior out, pull the fuel tank, plus all of the wiring to get it done correctly. I am able to do it and wish I could keep it 22re but this is one truck that is one of my all time favorites or it would of been long gone by now. It is just fun to drive and rides nice for an SUV.
Dec 28, 2016 | 09:47 AM
#52
Thread Starter
Super Moderator
iTrader: (1)
Joined: Aug 2008
Posts: 11,787
Likes: 28
From: Anderson Missouri
I did make a little progress. Last week we were in single digits and now we are in the 60's so I took advantage and did some cleaning on the frame while it is sitting outside. I got a more aggressive grinder and it is doing a great job on getting it cleaner but it does give the muscles a work out. I am going to get a sand blaster for the areas that I cant access with the wire wheel. I was surprised that all I can find is a 4" wire wheel. I thought there would be an 8" wheel. I found one made in China on line and now I cant find it. Slowly but steady I will get it cleaned.
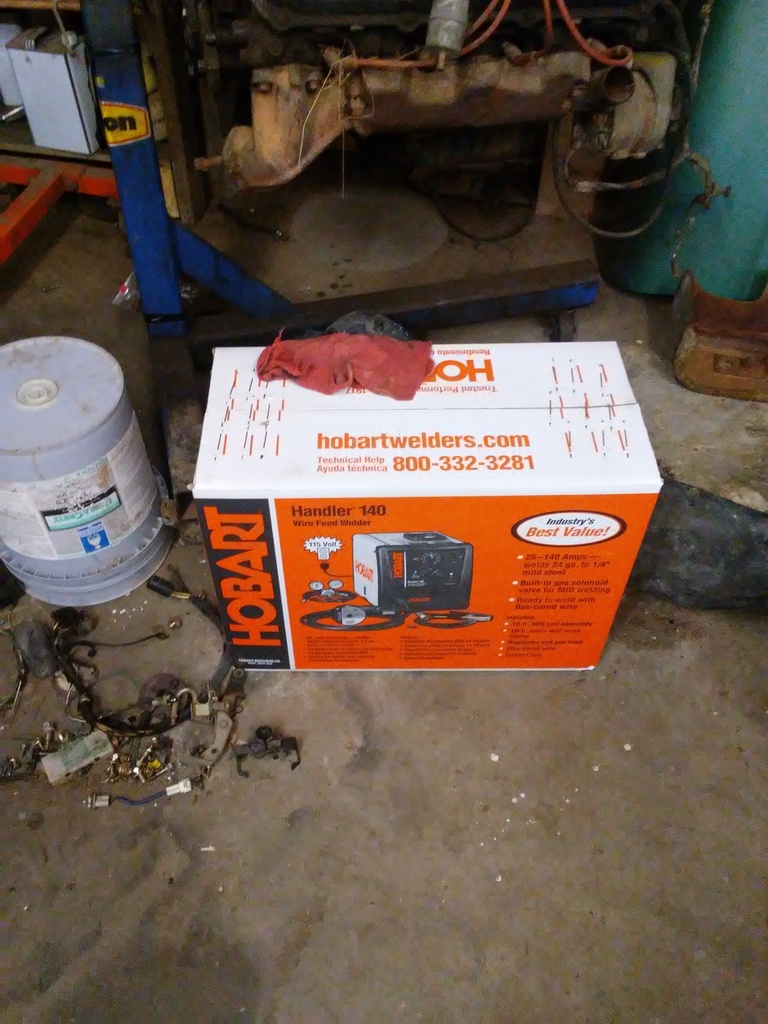
I always have wanted to learn how to do patch panels. I did get a welder. Now I need to get the gas bottle. Looking forward to learning and doing patch panels and want to fill in the stake holes in the bed.
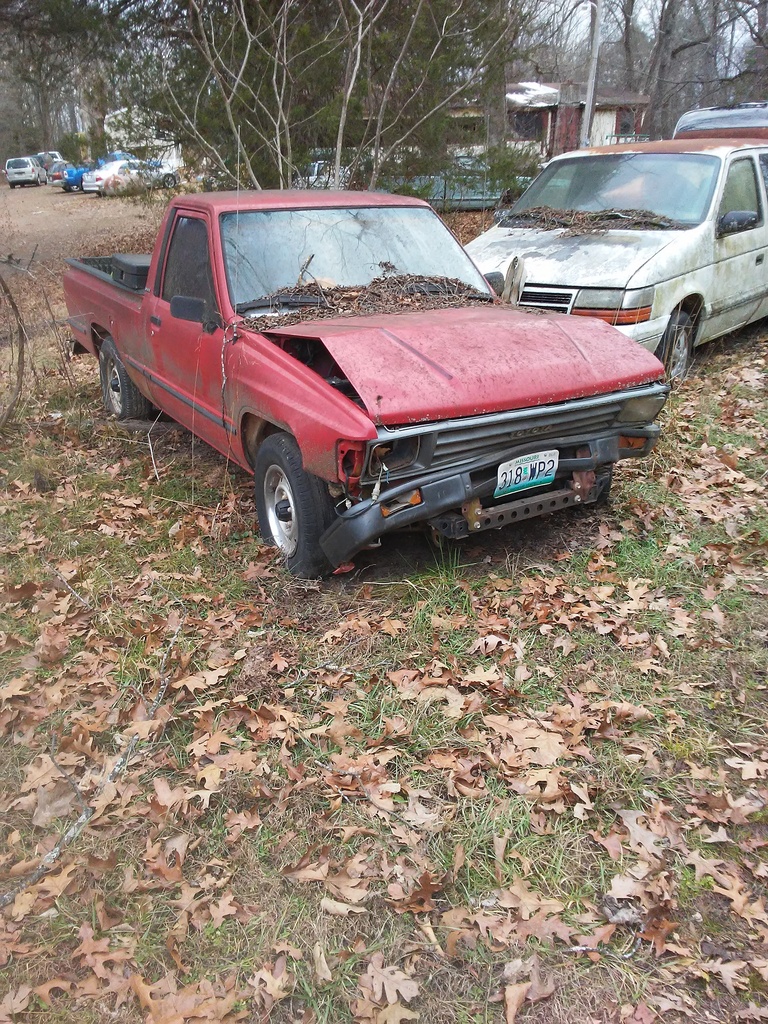
I bought a wreck to fix and sell or part out if it is damaged to bad to help fund the 76.

I always have wanted to learn how to do patch panels. I did get a welder. Now I need to get the gas bottle. Looking forward to learning and doing patch panels and want to fill in the stake holes in the bed.

I bought a wreck to fix and sell or part out if it is damaged to bad to help fund the 76.
 Jan 26, 2017 | 06:10 AM
#53
Thread Starter
Super Moderator
iTrader: (1)
Joined: Aug 2008
Posts: 11,787
Likes: 28
From: Anderson Missouri
I finally got a welder and a cart for the welder. Been doing some practicing. I would like to have a stud welder for pulling dents but it is not in the cards right now so I am making due with what I have. Jason in Tn showed me to weld nails to the dent and then use a vise grip and hammer to pull them. This build has been on hold until I get the wreck fix to sell and fund my 76 build. Some small progress. When I sell the wreck, I plan on buying some replacement floor pans, two body mounts, and a cab corner and weld them in. I still have to learn welding and getting some practice on the wreck.
Nails welded. May not look like in picture but the dent is the size of half of an orange.

Dent is removed and will require very little filler. There is a brace on the back side so was unable to work the dent out with a hammer and dolly.
Nails welded. May not look like in picture but the dent is the size of half of an orange.

Dent is removed and will require very little filler. There is a brace on the back side so was unable to work the dent out with a hammer and dolly.
 Mar 2, 2017 | 12:09 PM
#54
Thread Starter
Super Moderator
iTrader: (1)
Joined: Aug 2008
Posts: 11,787
Likes: 28
From: Anderson Missouri
I have not been getting much done as I have been doing some house repair and upgrade. Working on kitchen and bathroom. There is a big Ford Truck show in my town on June 10th and I am really hoping to at least have my truck running and at the show. May be in primer and no bed on it but that is my goal to make it to the show with my truck.
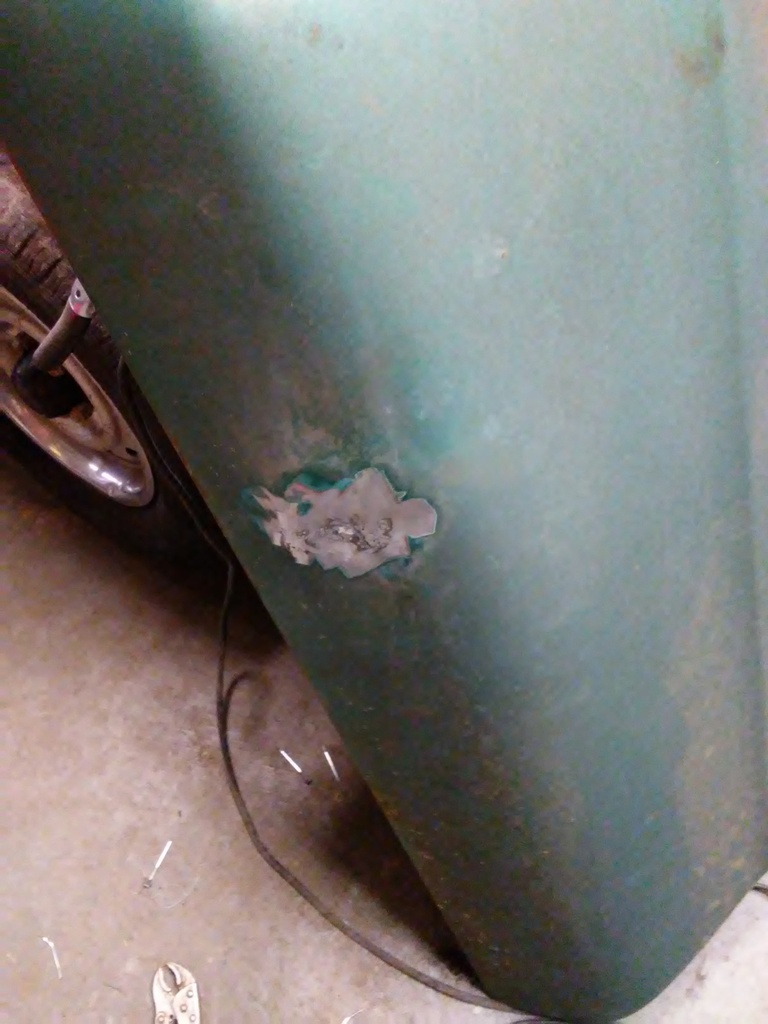
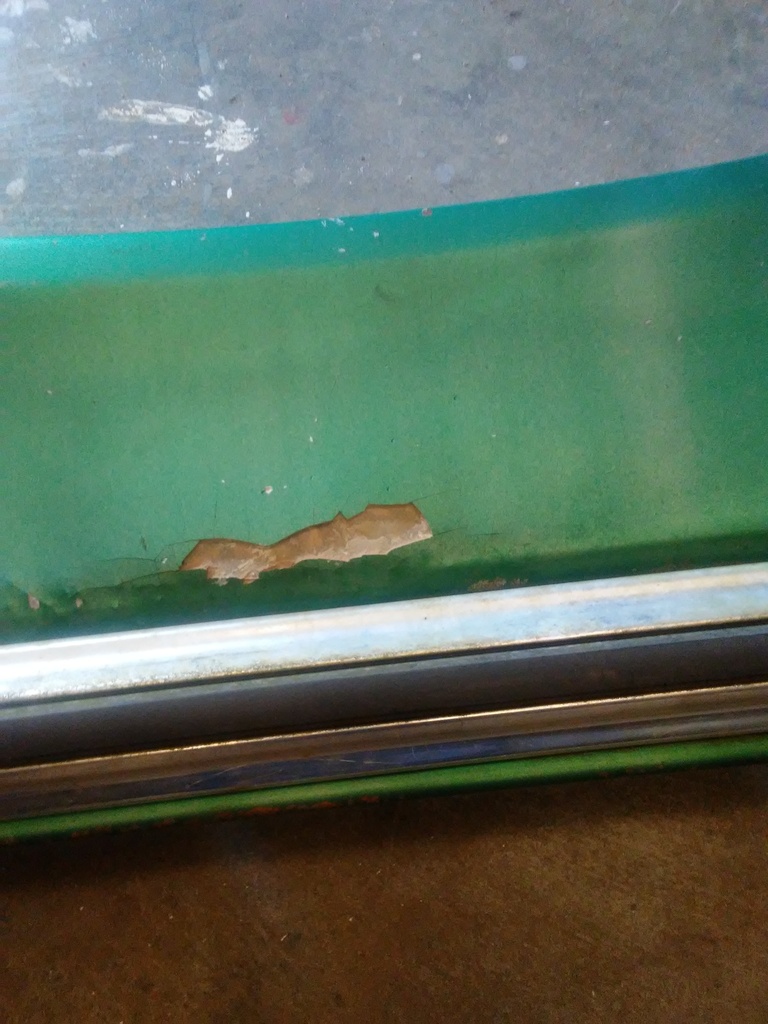
I was messing around in the shop for a little bit the other day and thought maybe I could get the wave out of the passenger fender. I went to hammer and dolly it and bondo started popping out. A big flat area is hard to get perfect and I can get access to great replacement fenders so am not going to mess with this one. One thing I do like about tearing a truck down and back up is that I know it true condition when done. I did get a bit of a surprise today as I found that I will need to replace a section in the Super Cab part of the floor board.
Here is the fender and how much bondo was in it.
More then I want to mess with.
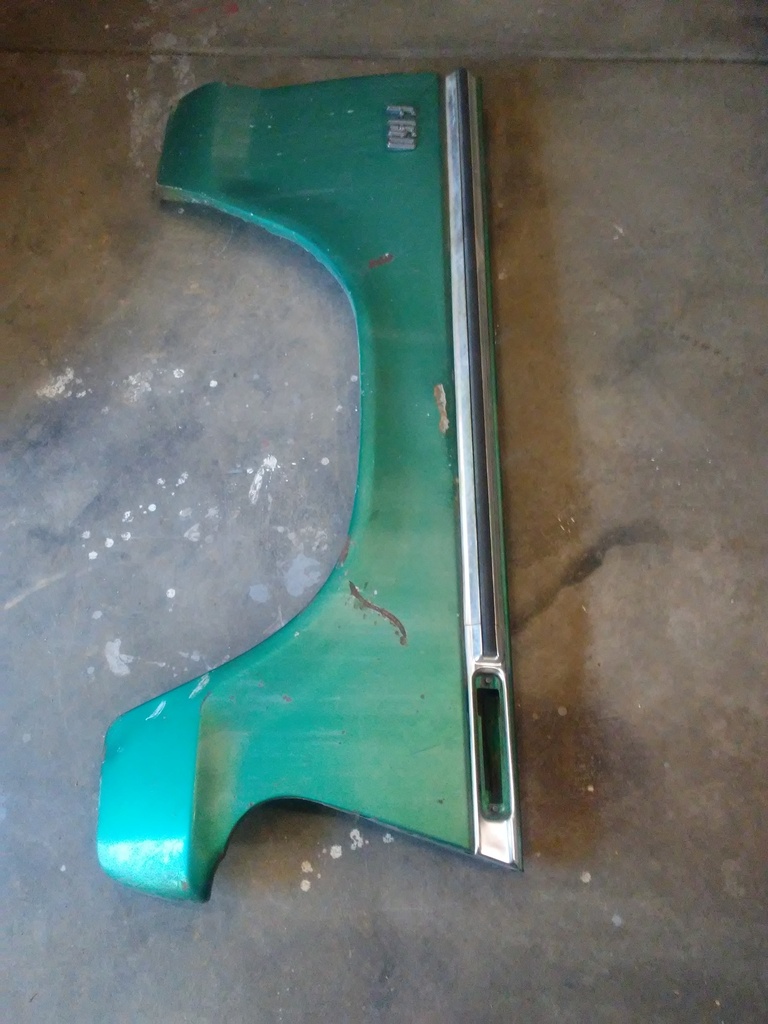
I ordered a replacement panel from Dave Carpenter parts store. I wanted to see the quality of the sheet metal. I like it and will order more from him in the next few days. Drivers side was to see if I like the quality.
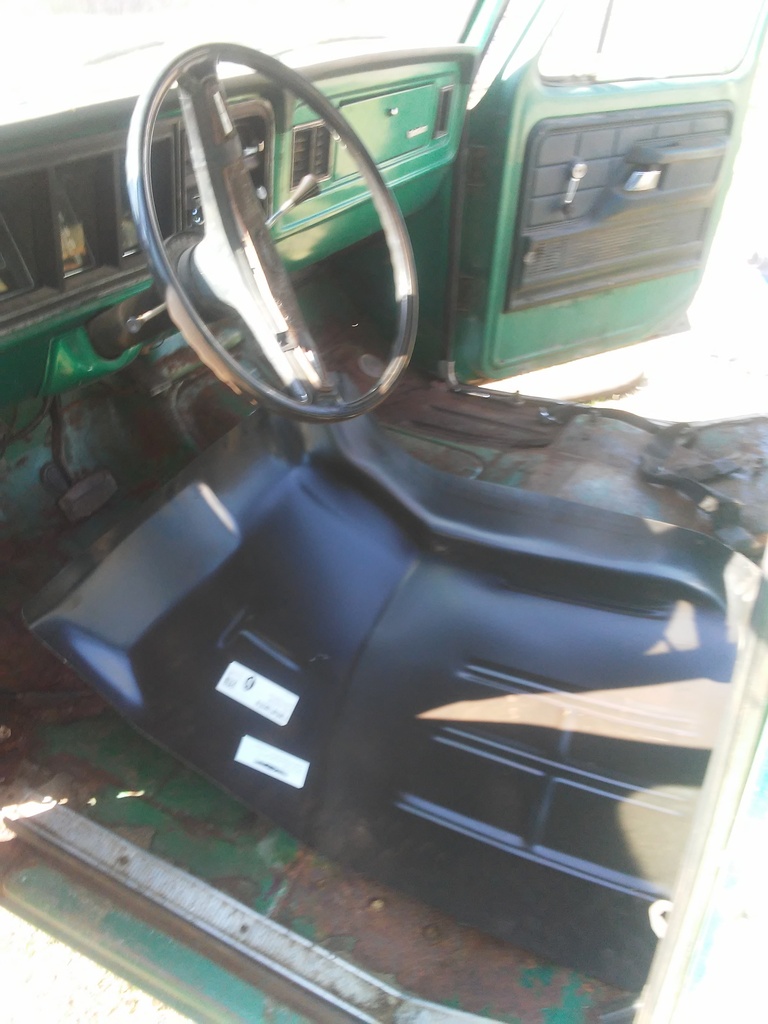
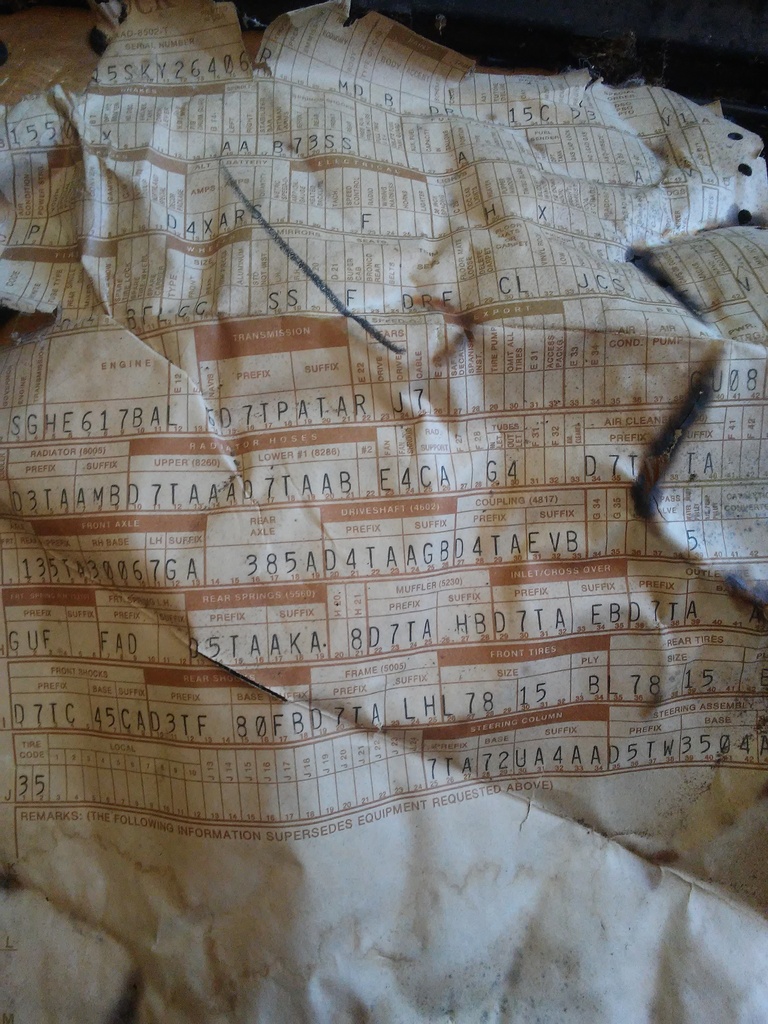
I had to pull the seat out to get the front floor pan in and found the build sheet under the springs. I will look up the numbers at a later time and see what all they mean. While the seat is out, I will service the tracks and any other issues I find.
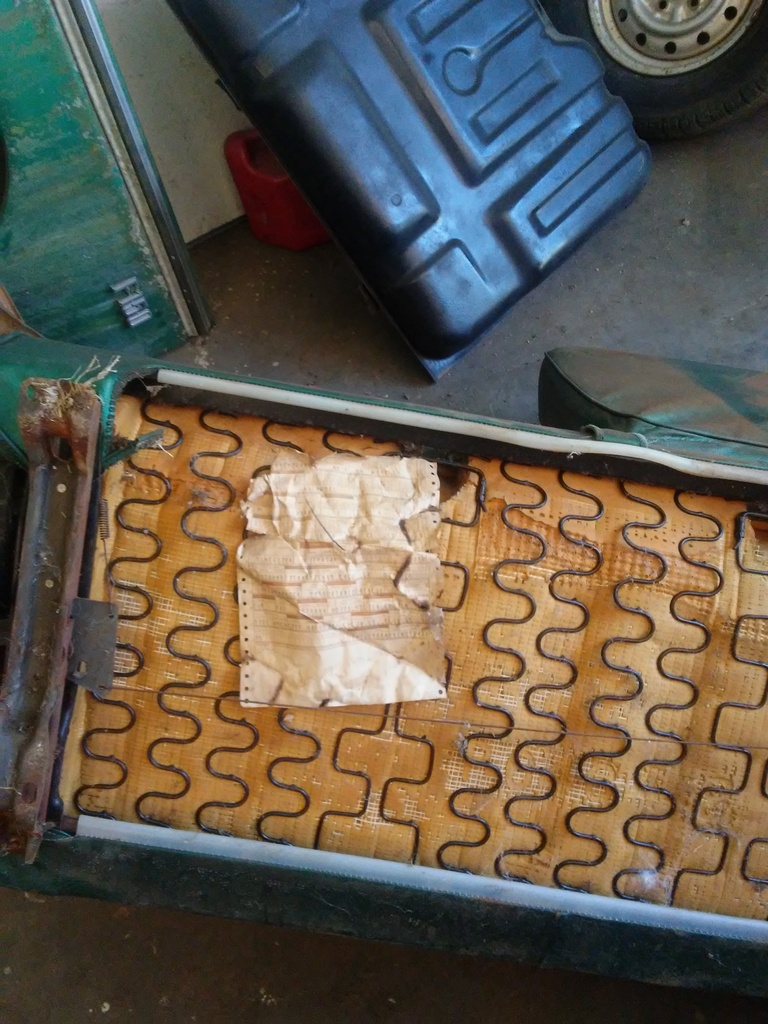
Close up of the Build Sheet. It is brittle and I will get the sheet in a picture frame later to preserve it.
I was messing around in the shop for a little bit the other day and thought maybe I could get the wave out of the passenger fender. I went to hammer and dolly it and bondo started popping out. A big flat area is hard to get perfect and I can get access to great replacement fenders so am not going to mess with this one. One thing I do like about tearing a truck down and back up is that I know it true condition when done. I did get a bit of a surprise today as I found that I will need to replace a section in the Super Cab part of the floor board.
Here is the fender and how much bondo was in it.

More then I want to mess with.

I ordered a replacement panel from Dave Carpenter parts store. I wanted to see the quality of the sheet metal. I like it and will order more from him in the next few days. Drivers side was to see if I like the quality.

I had to pull the seat out to get the front floor pan in and found the build sheet under the springs. I will look up the numbers at a later time and see what all they mean. While the seat is out, I will service the tracks and any other issues I find.

Close up of the Build Sheet. It is brittle and I will get the sheet in a picture frame later to preserve it.
 Mar 3, 2017 | 02:28 PM
#57
Thread Starter
Super Moderator
iTrader: (1)
Joined: Aug 2008
Posts: 11,787
Likes: 28
From: Anderson Missouri
Thanks Tony... I seen where you are working on some GM cars. I am the 2nd owner of a 72 Cutlass. I always liked the Cutlass cars. I am a purist and paid good money for my 72. I had it before I got married and then went on several deployments. She was afraid to drive it and it sat in my garage and I have not had it running for 10 years. I am really hoping to get it in the shop this summer and start going thru it. It was a perfect car when I put it in the garage but sitting for that long, I am afraid of what all I am going to have to go thru it completely.
Thanks bootscootboogie...I have gotten tied up with some house work and some of the funds have been going to tools for the shop. I am ready to get back on some of my projects.
Thanks bootscootboogie...I have gotten tied up with some house work and some of the funds have been going to tools for the shop. I am ready to get back on some of my projects.
Mar 3, 2017 | 02:33 PM
#58
Thread Starter
Super Moderator
iTrader: (1)
Joined: Aug 2008
Posts: 11,787
Likes: 28
From: Anderson Missouri
I finally got the 2 wheel drive off to the frame shop. They showed me that the frame was bent at the frame horn about 1/2 and inch. Should get the truck back in a couple of days. This is the truck I want to use to fund my 76 build. I had to rent a U-haul tow dolly to get it there. I think I am going to use some of the proceeds from the sale of this truck to get my own tow dolly. I use them often enough that I should have one made of gold.
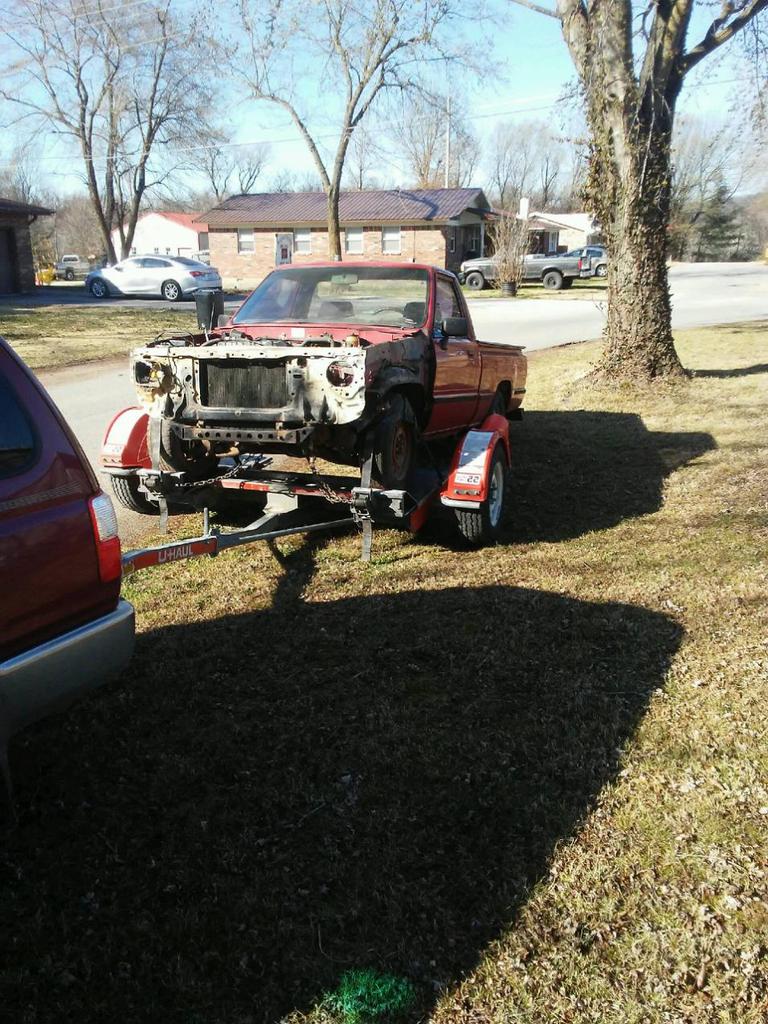
While I had the tow dolly, I took the 76 to the carwash and got it degreased in all of the nooks and crannies. I am hoping to get somethings started with it.
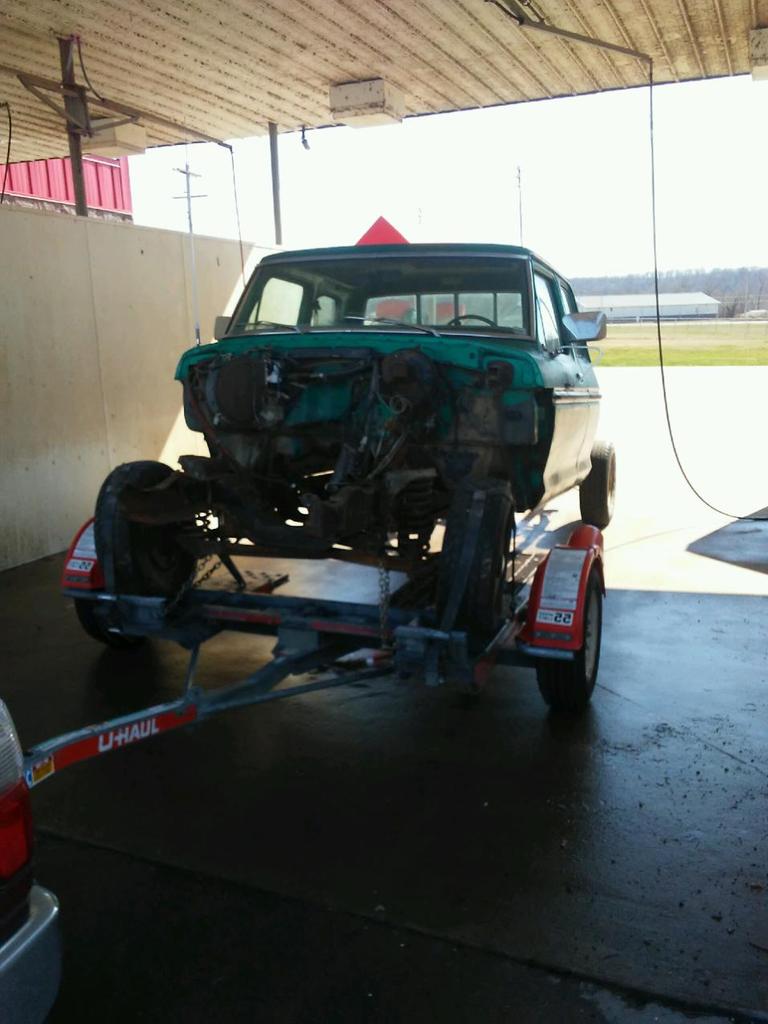

While I had the tow dolly, I took the 76 to the carwash and got it degreased in all of the nooks and crannies. I am hoping to get somethings started with it.
 Mar 3, 2017 | 05:27 PM
#59
Post up some pics of your Cutlass Terry. The guy I'm restoring the GM cars for, his father worked at GM and actually built the Cutlass and the Pontiac, it's a pretty cool back story for those cars. You should look into a good used tow truck with all the transporting your doing. Down here they're pretty cheap but all need some work just like anything else I guess. I tried to drive my 1980 to the car wash today for pressure washing but it's just not running right. Ive fooled with the Weber and timing but it just won't hit the higher rpms without falling on its face. Have a good productive weekend sir.
Mar 6, 2017 | 06:52 AM
#60
Thread Starter
Super Moderator
iTrader: (1)
Joined: Aug 2008
Posts: 11,787
Likes: 28
From: Anderson Missouri
Hello Tony... Here is a couple of pictures. I bought it from the original owner back in 94. I cant get a good picture of the motor but it is untouched and has all of the factory stickers on it. Motor has never been into. I like the 71/72 is my favorite but like all of the Oldsmobiles. Really like to have a 442 but that is out of reach for me or a convertible. I could of bought a 68 Cutlass Supreme Black top, black body and black interior for cheaper then I paid for this one but prefer this body style better. It is all original.
The owner gave me all of the sales brochures, sales slip, factory warranty and even bought some extra vinyl for the seats just in case it ever needed redone. If I was ordering a new 72, I would of gotten some hot rod color or get the W series add ons but I like having it as it is. Originals are the hardest. I wish the vinyl top was not on it as it has some rust behind the back glass. When I get into this project, it may not go back on. I will send it to a body shop to have it repaired.
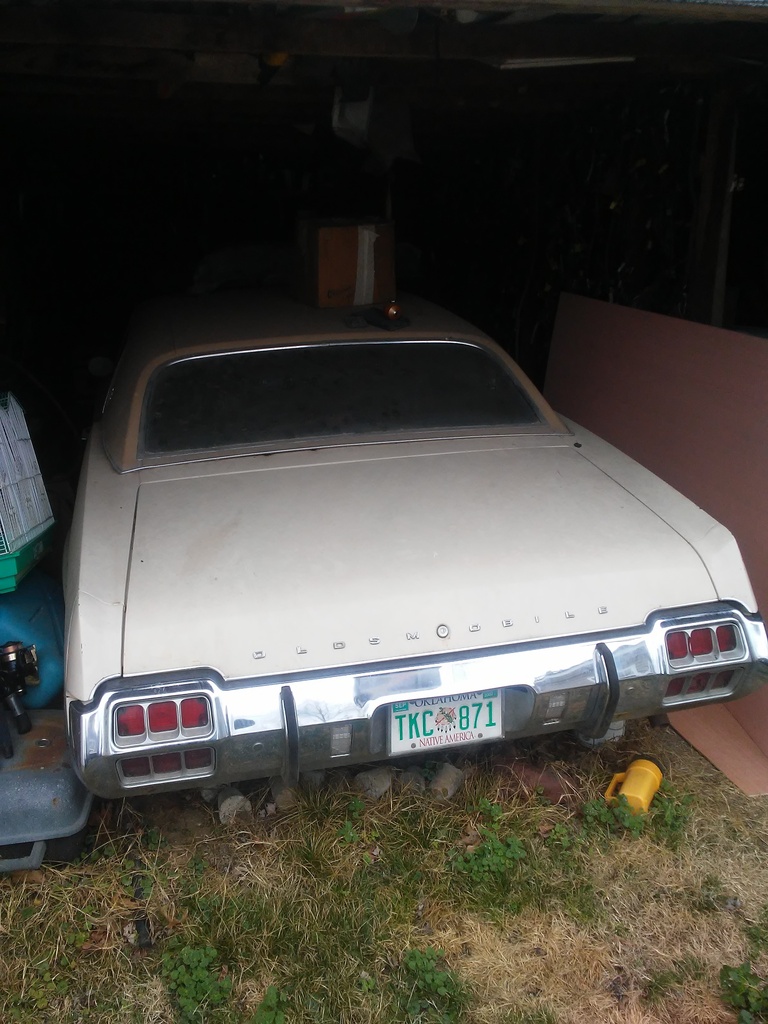
Drivers seat has some stitching that needs repaired but is all original and still like new. I brought my first son from the hospital in it when he was born and if he is responsible enough, I plan on him inheriting it. I wont give it to him until he is 30 plus years old or older. Any work that is over my head, I will have done professionally.
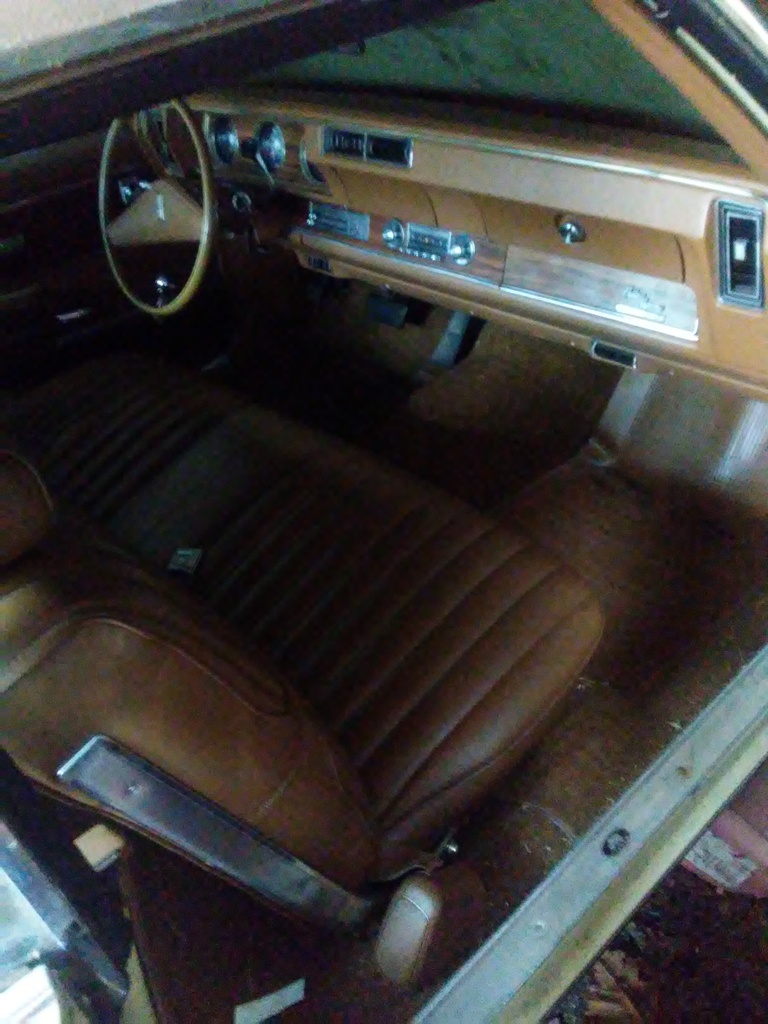
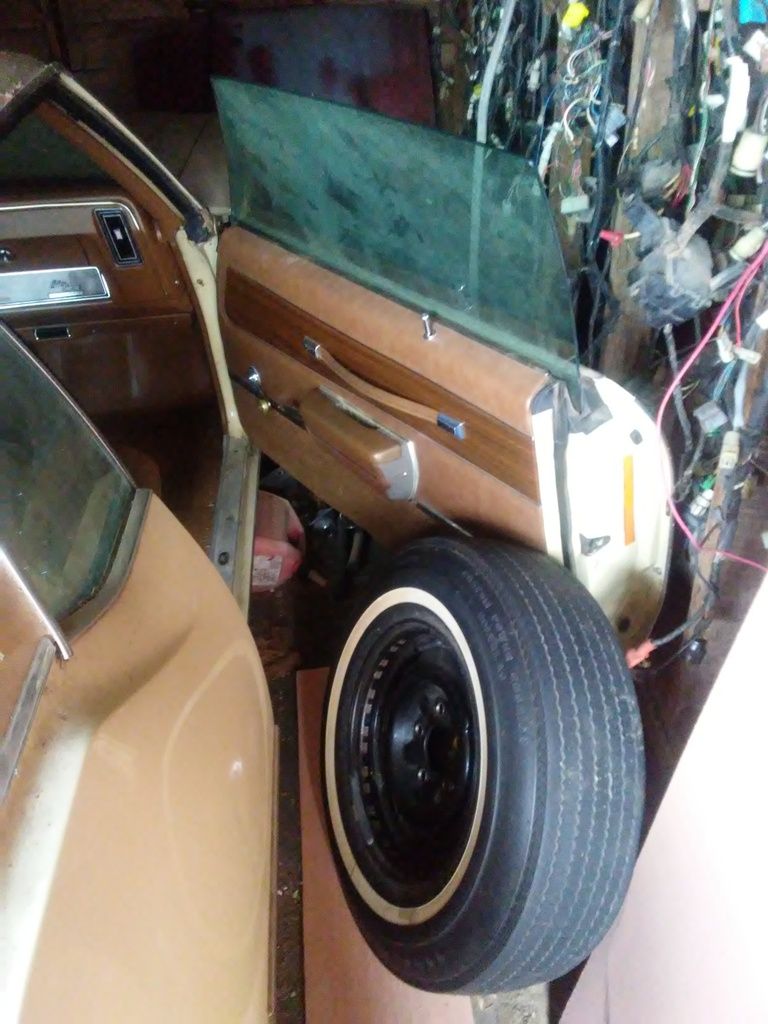
Original spare and showing door panel. Wish I could get some more pictures of the motor. The AC would freeze you out. I get 20 plus miles to the gallon if I drive it easy. Above 65-70 the mileage goes down. A really great riding car. I am hoping to get it in the shop this summer and getting the mechanics back in order.
The owner gave me all of the sales brochures, sales slip, factory warranty and even bought some extra vinyl for the seats just in case it ever needed redone. If I was ordering a new 72, I would of gotten some hot rod color or get the W series add ons but I like having it as it is. Originals are the hardest. I wish the vinyl top was not on it as it has some rust behind the back glass. When I get into this project, it may not go back on. I will send it to a body shop to have it repaired.

Drivers seat has some stitching that needs repaired but is all original and still like new. I brought my first son from the hospital in it when he was born and if he is responsible enough, I plan on him inheriting it. I wont give it to him until he is 30 plus years old or older. Any work that is over my head, I will have done professionally.

Original spare and showing door panel. Wish I could get some more pictures of the motor. The AC would freeze you out. I get 20 plus miles to the gallon if I drive it easy. Above 65-70 the mileage goes down. A really great riding car. I am hoping to get it in the shop this summer and getting the mechanics back in order.

Last edited by Terrys87; Mar 6, 2017 at 06:58 AM.


