
Trail Gear 4" front sas kit, 4" rear
 Mar 5, 2010 | 07:06 AM
#1

Thread Starter
Registered User
Joined: Nov 2009
Posts: 150
Likes: 0
From: Portland Or.
Trail Gear 4" front sas kit, 4" rear
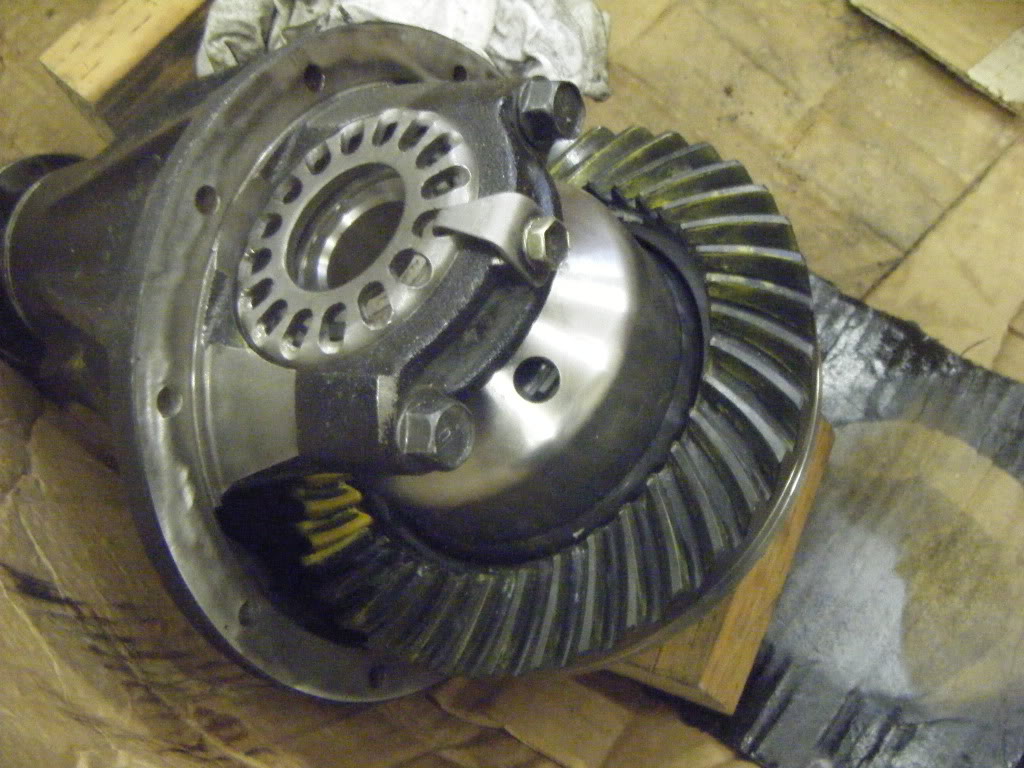
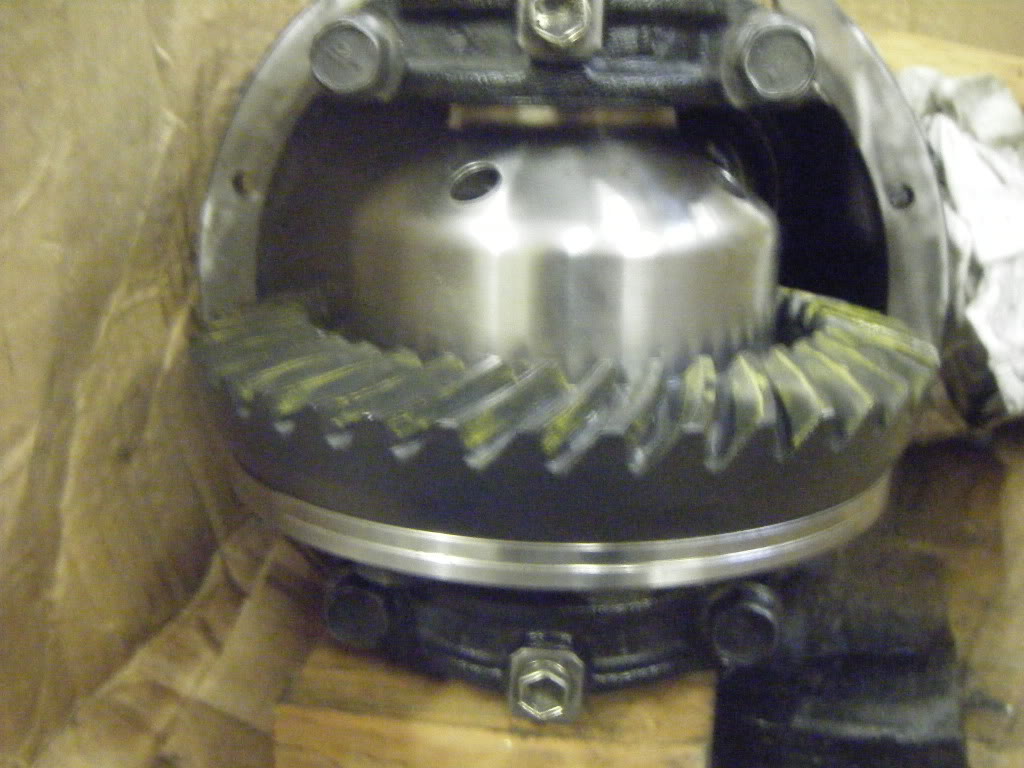
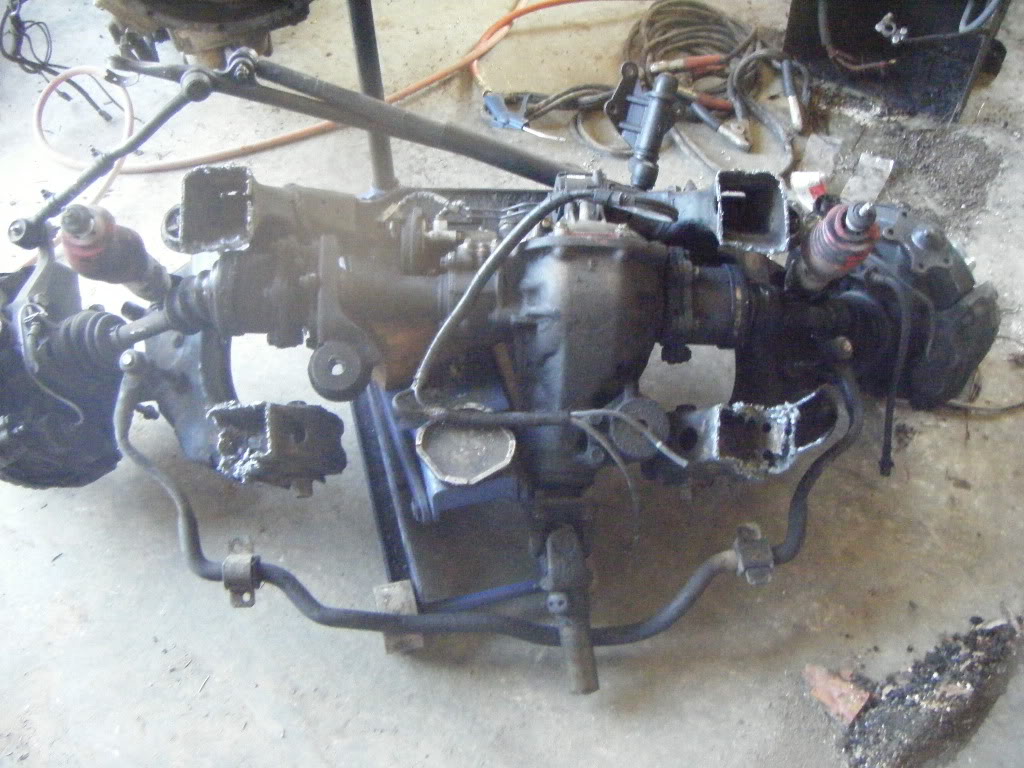
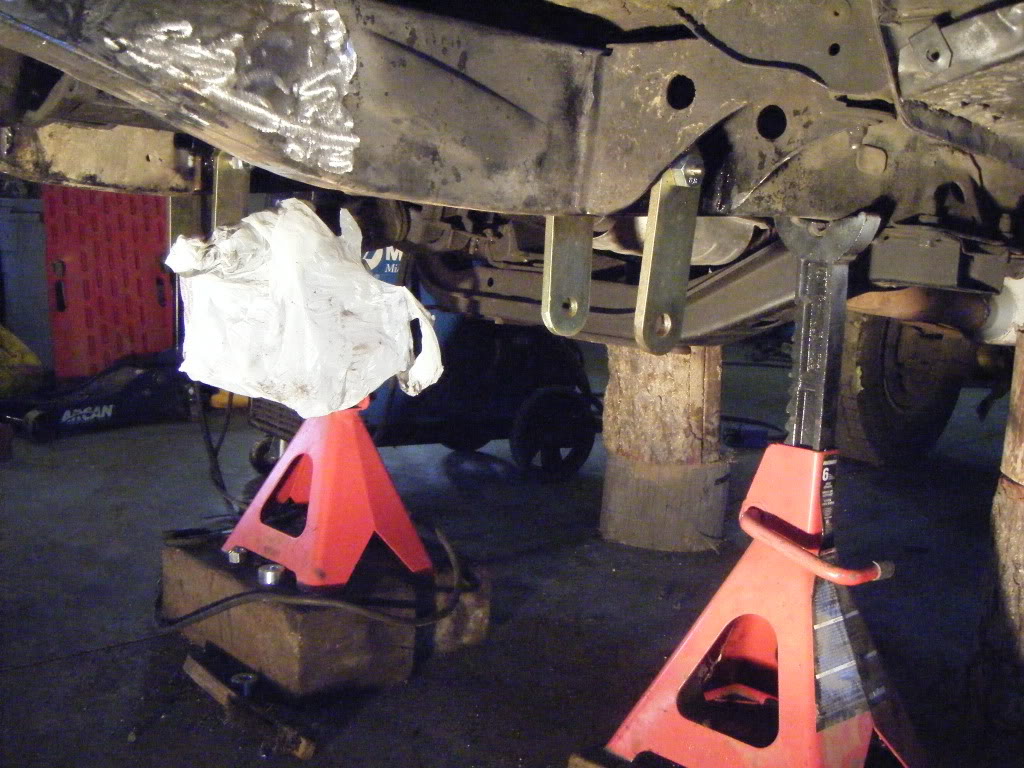
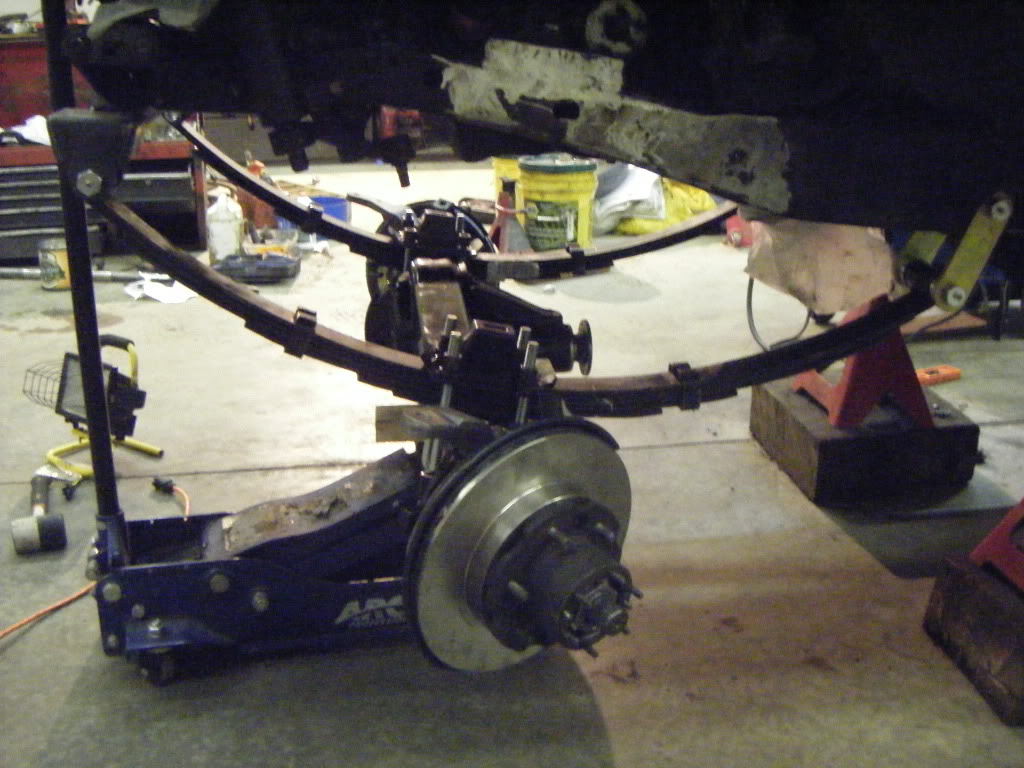
Started my sas, trail gear 4" front 4.88 gears, yukon locker up front, dont have the rear locker yet. Just got the 4" rear kit yesterday. Anyway onto the destruction.
yukon grizzly and 4.88's for the front
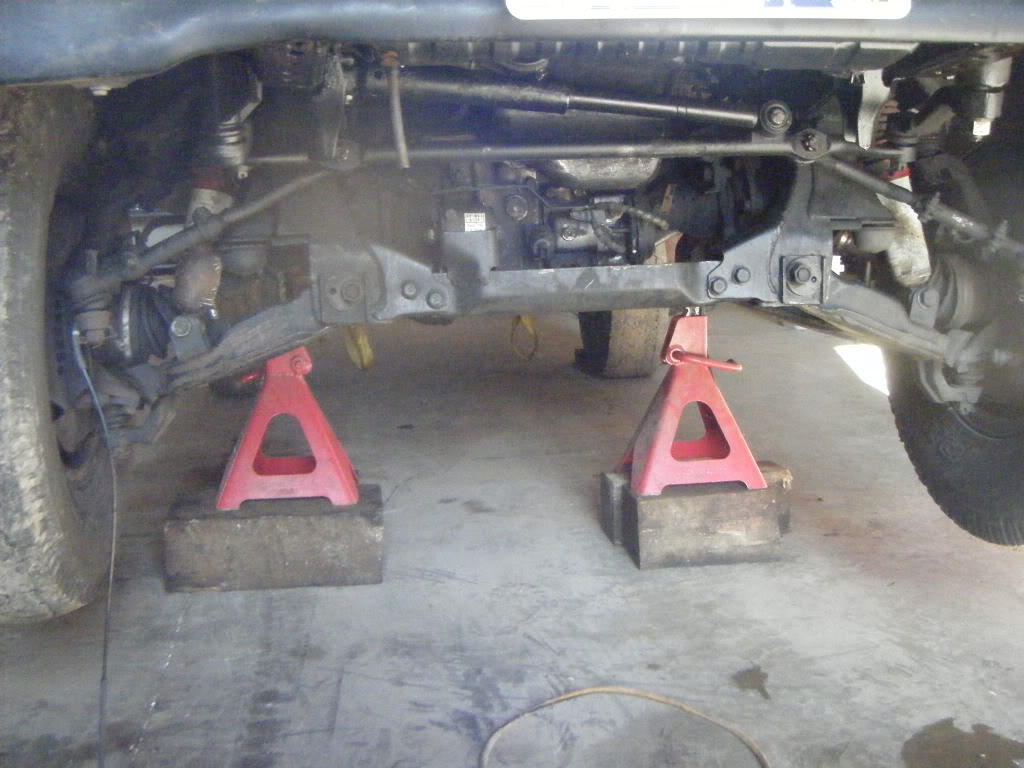
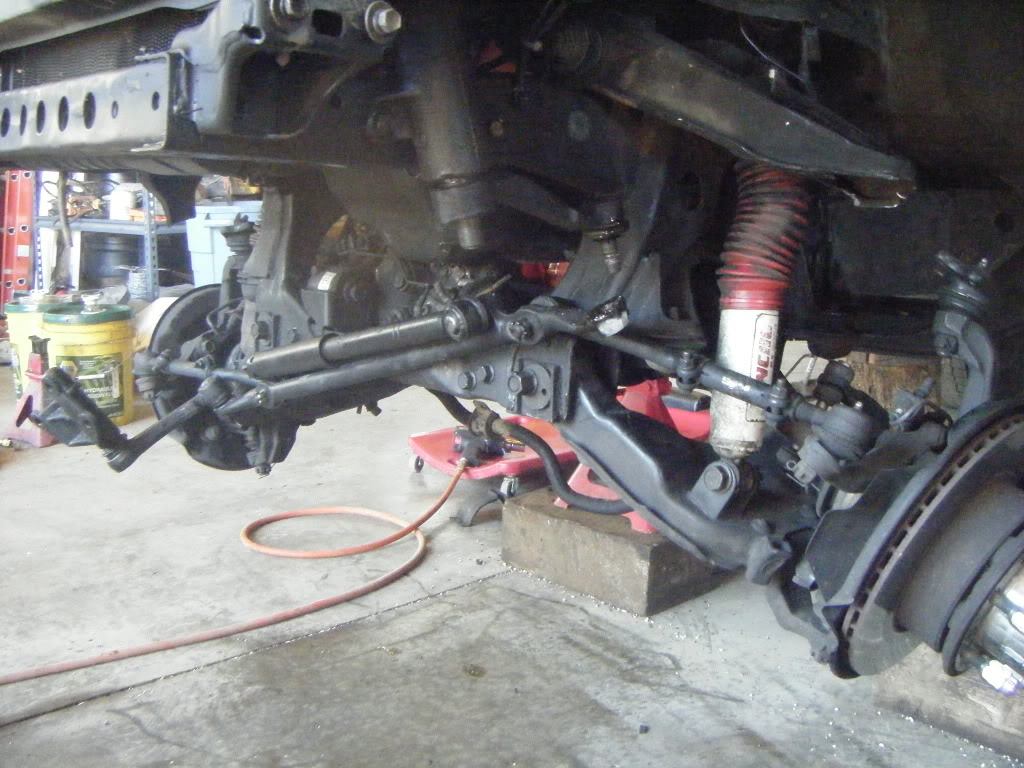
sweet ifs
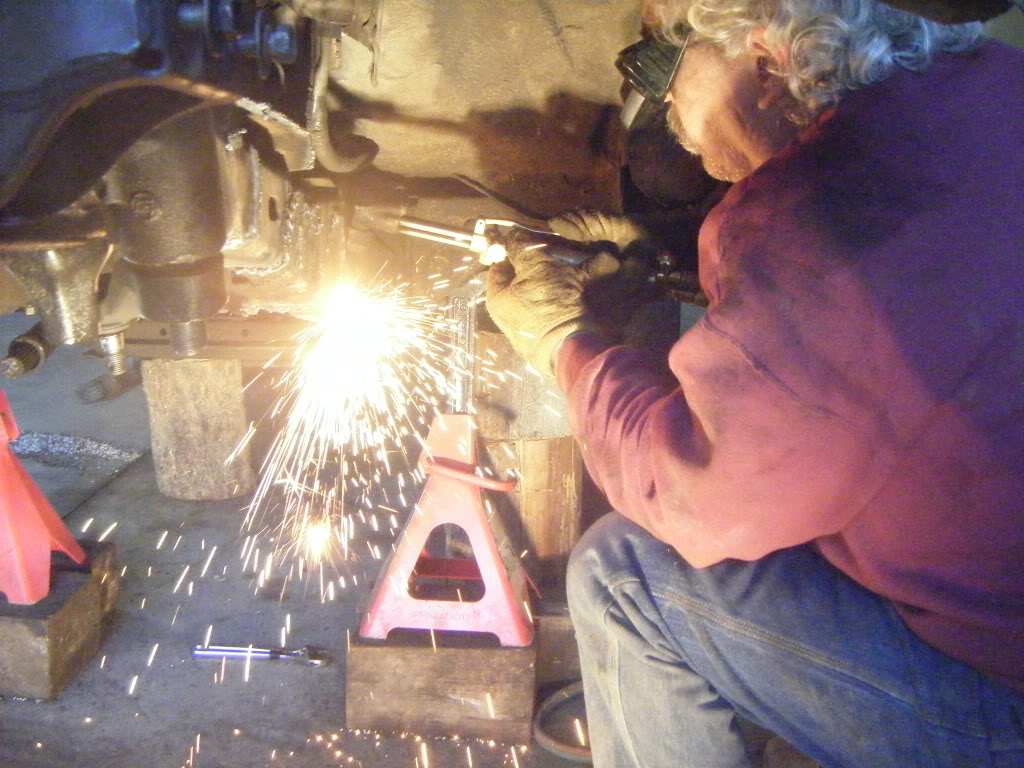
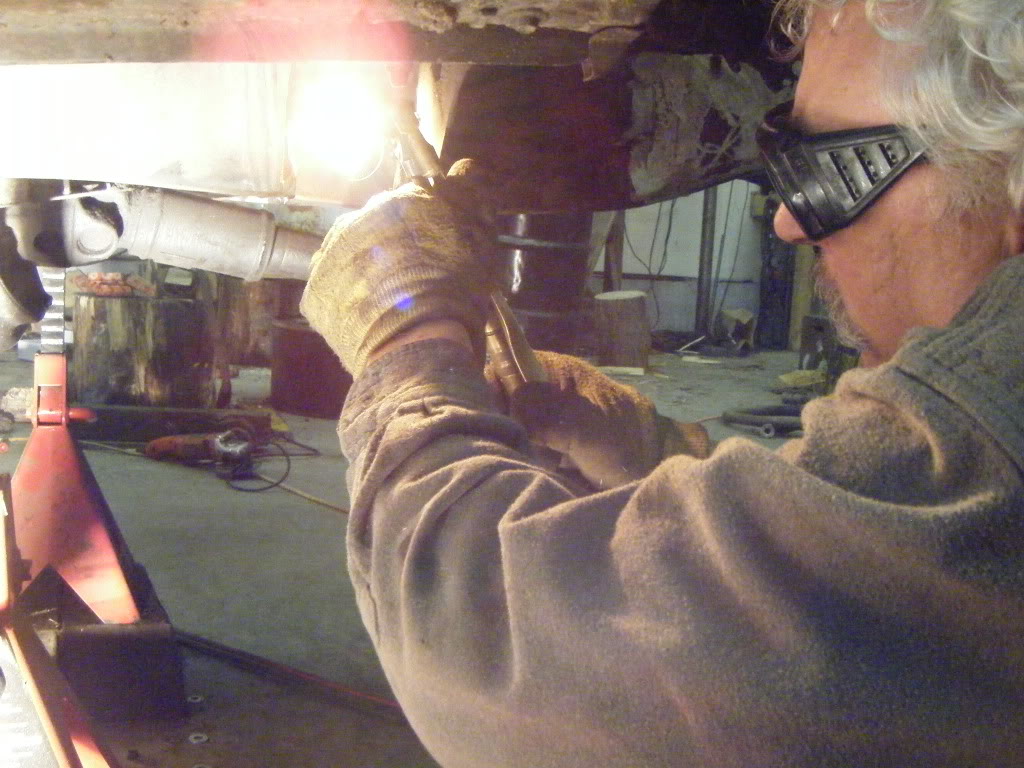
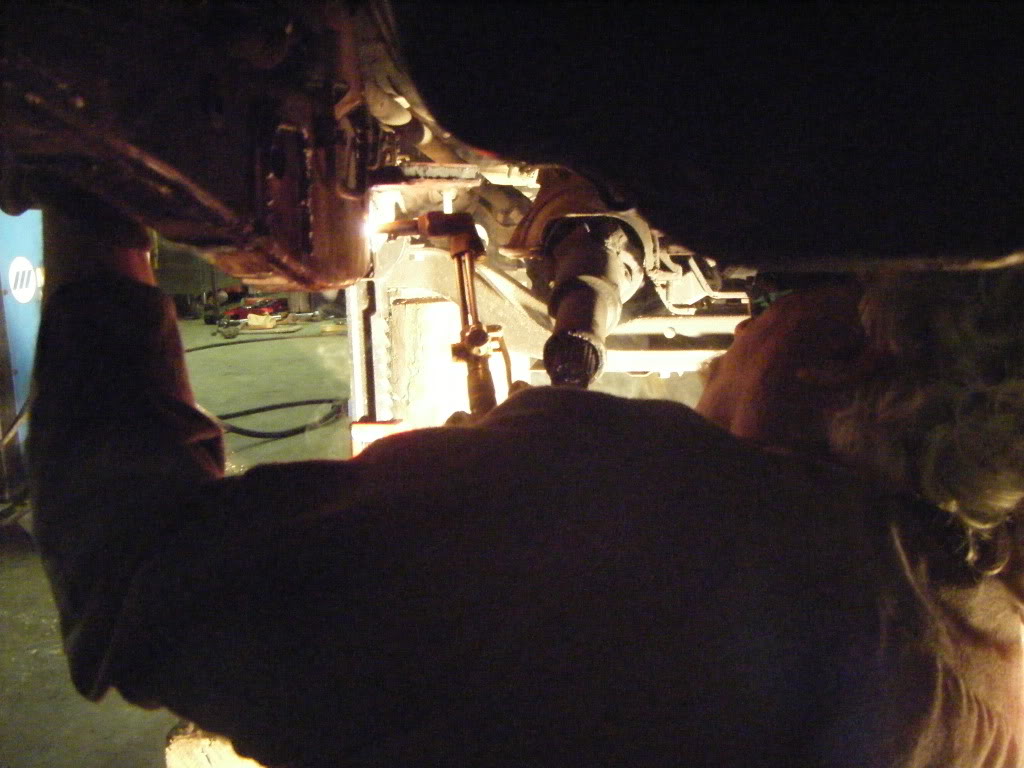
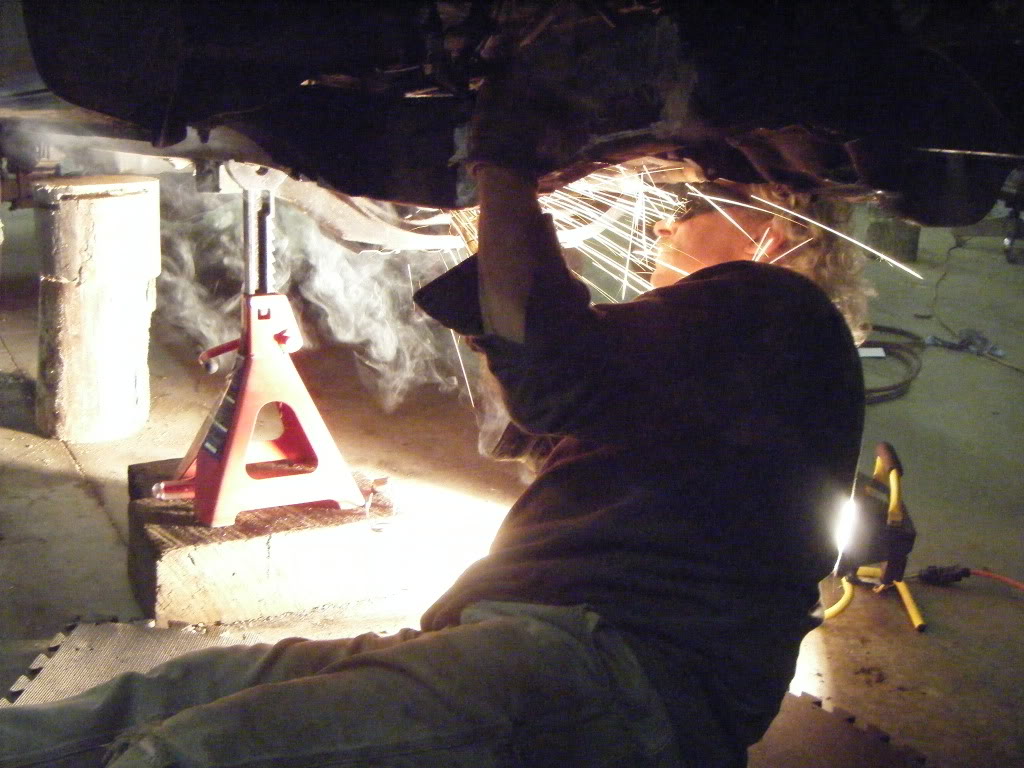
Pops getting surgical with the torch.
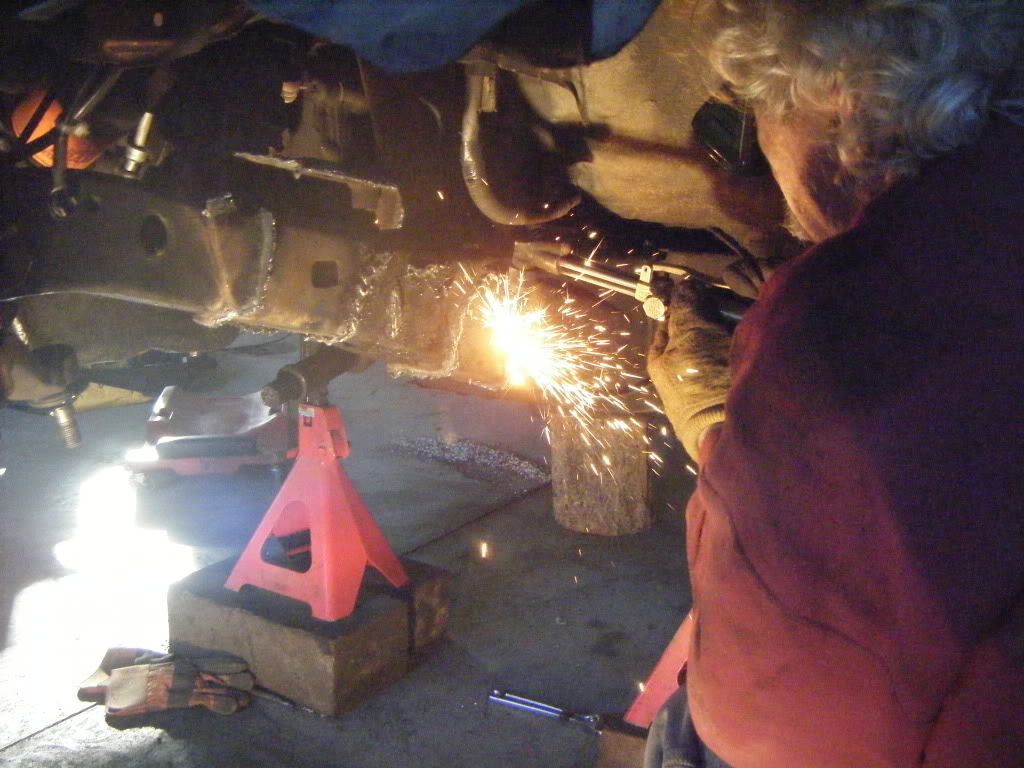
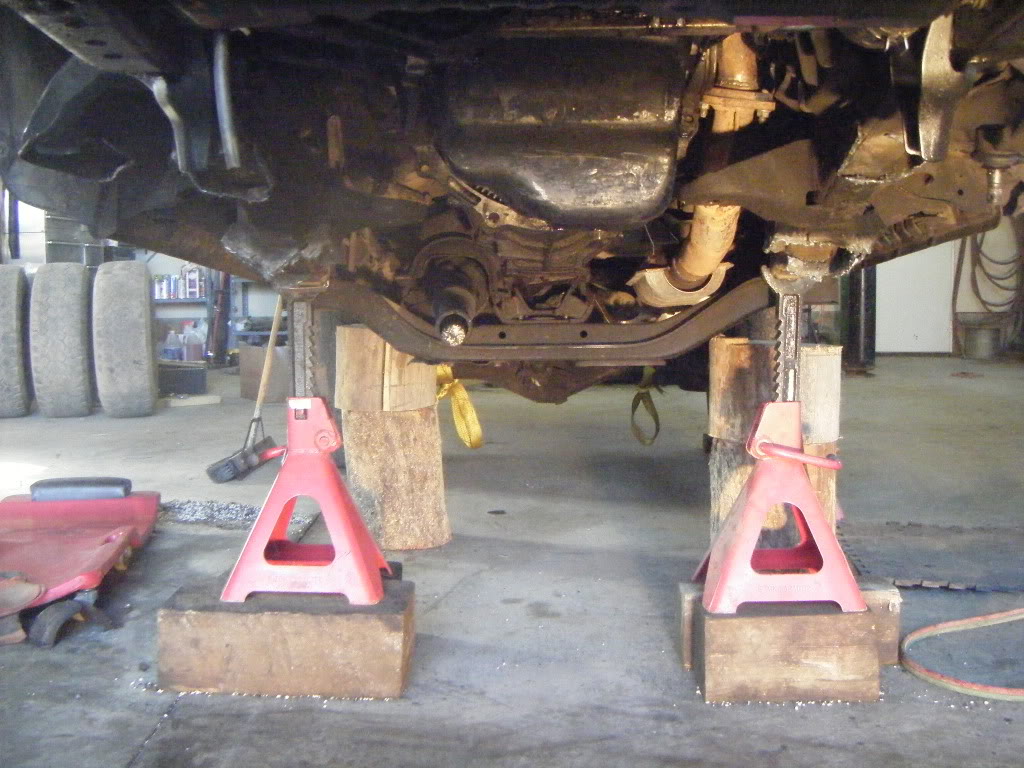
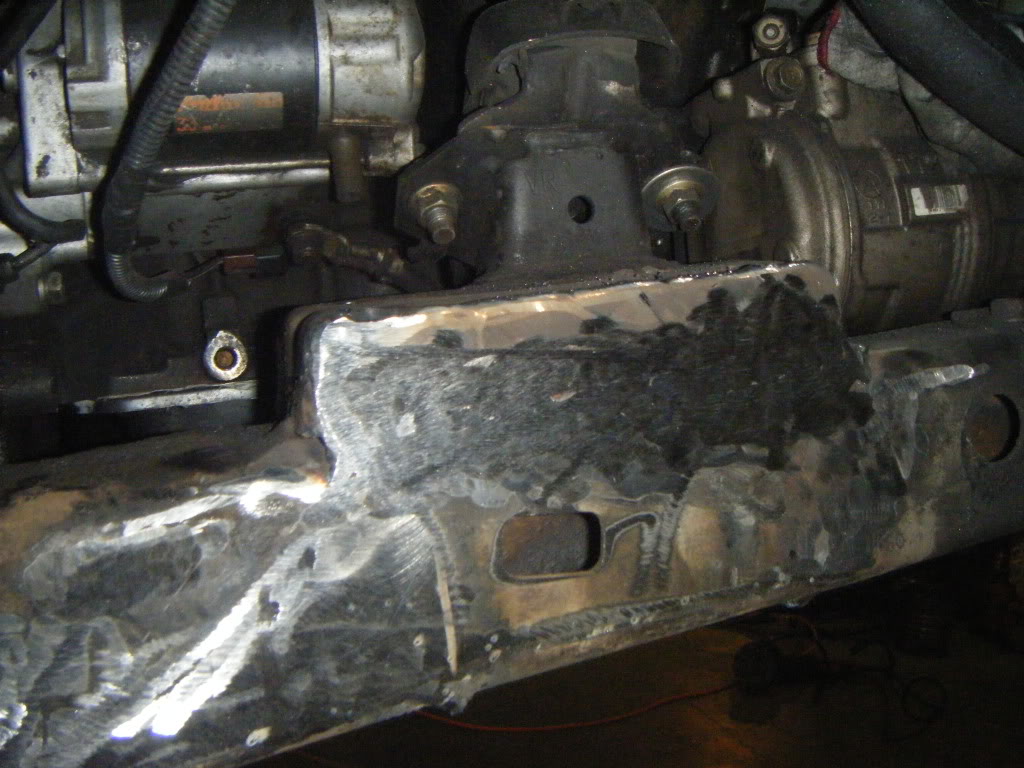
some grinding done, little more cutting and grinding to do.
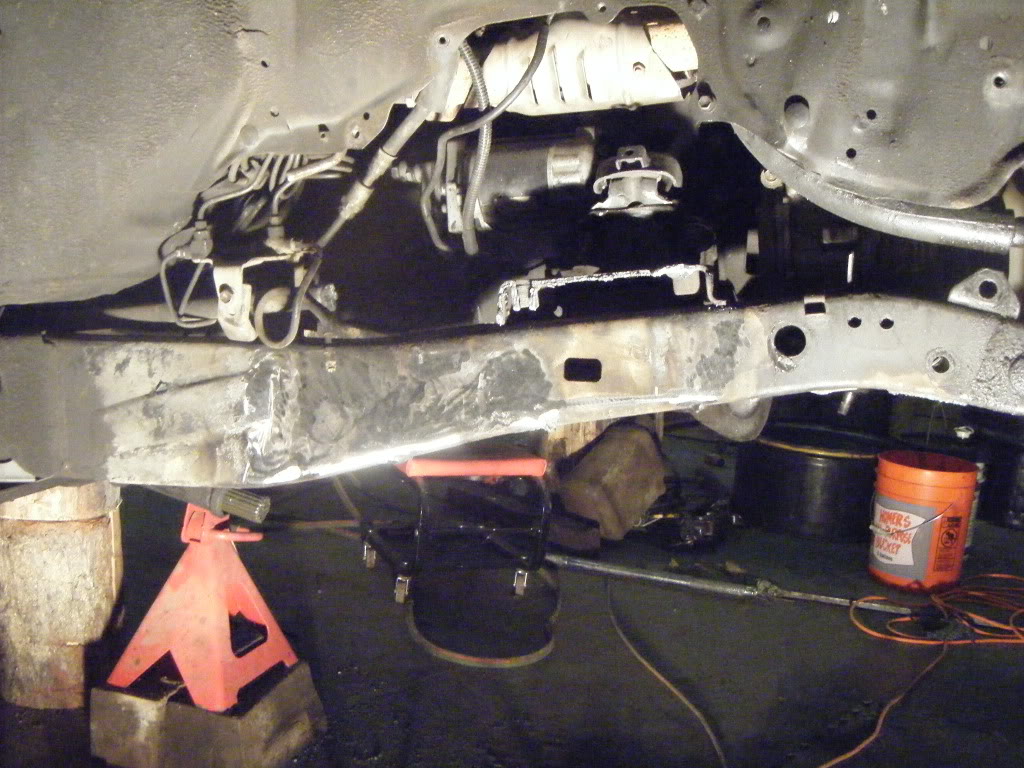
and the aftermath
working on it today also, i guess being laid off has its advantages
yukon grizzly and 4.88's for the front
sweet ifs
Pops getting surgical with the torch.
some grinding done, little more cutting and grinding to do.
and the aftermath
working on it today also, i guess being laid off has its advantages


 Mar 26, 2010 | 10:09 AM
#5
Thread Starter
Registered User
Joined: Nov 2009
Posts: 150
Likes: 0
From: Portland Or.
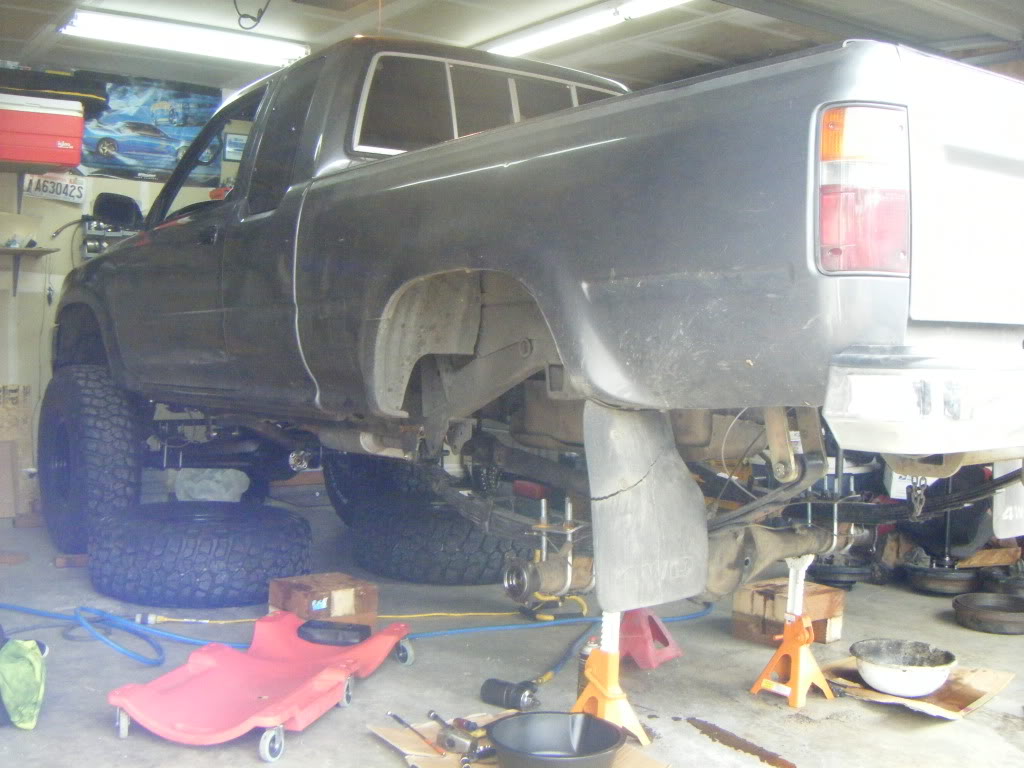
I know i have been slacking on the update. I had planned on finishing it up when i got back home from doing the swap. Well my friend took me up on my offer to help him swap an sr20 into his 240...using my garage and tools. So my truck kind of got put on hold. But the 240 is all finished now....kind of. I forgot to take some pictures with the truck "done" while it was outside, and yesterday i pulled the 3rd out of the rear to have my 4.88's and yukon locker setup, so i can't pull it out of the garage to take any, but there are some of it in its current 3rd less condition. And a front shackle angle picture.
Mar 26, 2010 | 11:10 AM
#6
Thread Starter
Registered User
Joined: Nov 2009
Posts: 150
Likes: 0
From: Portland Or.
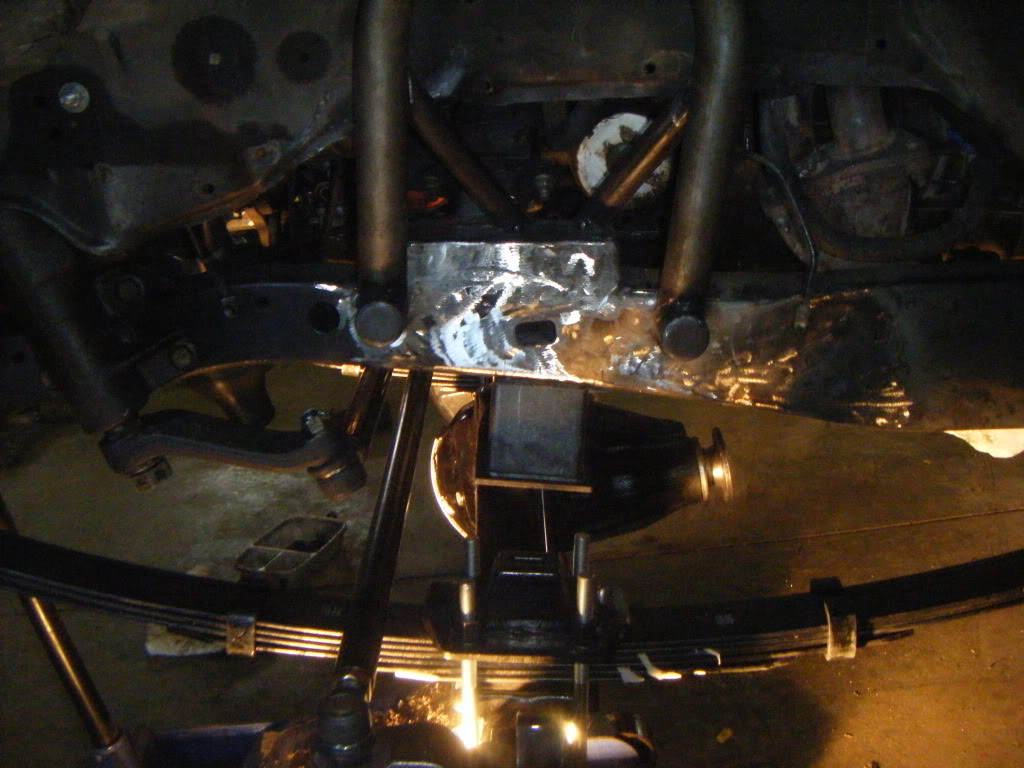
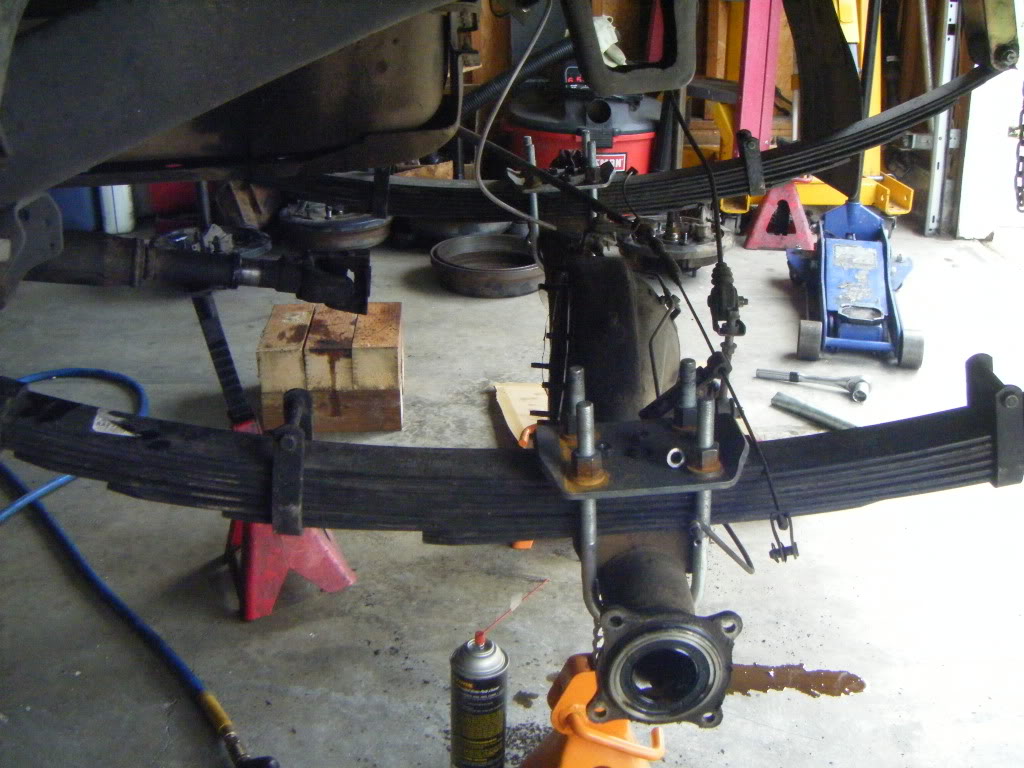
So im still undecided on what i want to do about the rear end and my pinion angle/driveline situation. I really don't like the two piece driveshaft, so i figured i would put a one piece in. with that said i didn't cut and reweld the spring pads like the instructions say to do. Currently i have made a small carrier bearing drop, of about 2.5" for the two piece driveshaft, but have not added any shims to the spring perch, so im getting some vibration, and even if i do add shims, the angle created from the carrier drop to the transmission output shaft, i assume will probably still induce some vibtation. I do have a double cardan one piece from a 4runner, but It would have to be lengthened. I also have a 97 4runner rear axle, which would be a little wider. So I'm wondering what are people doing? Just cutting and rewelding on spring pads, replacing with a one piece driveline? anyway onto the pictures..............
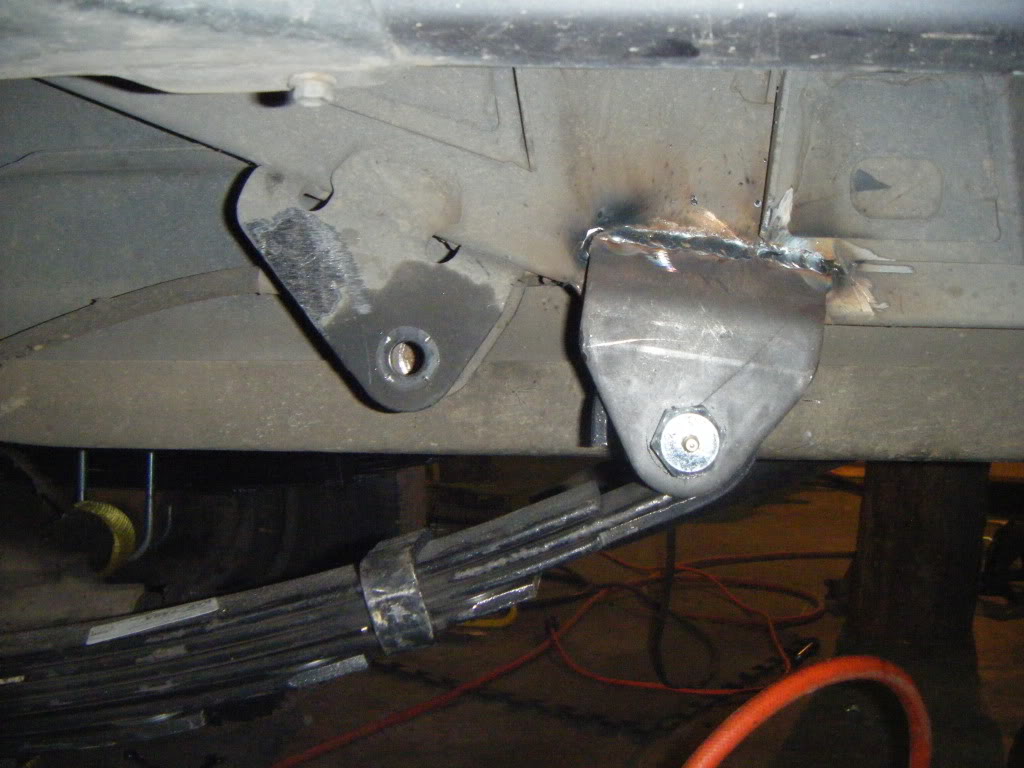
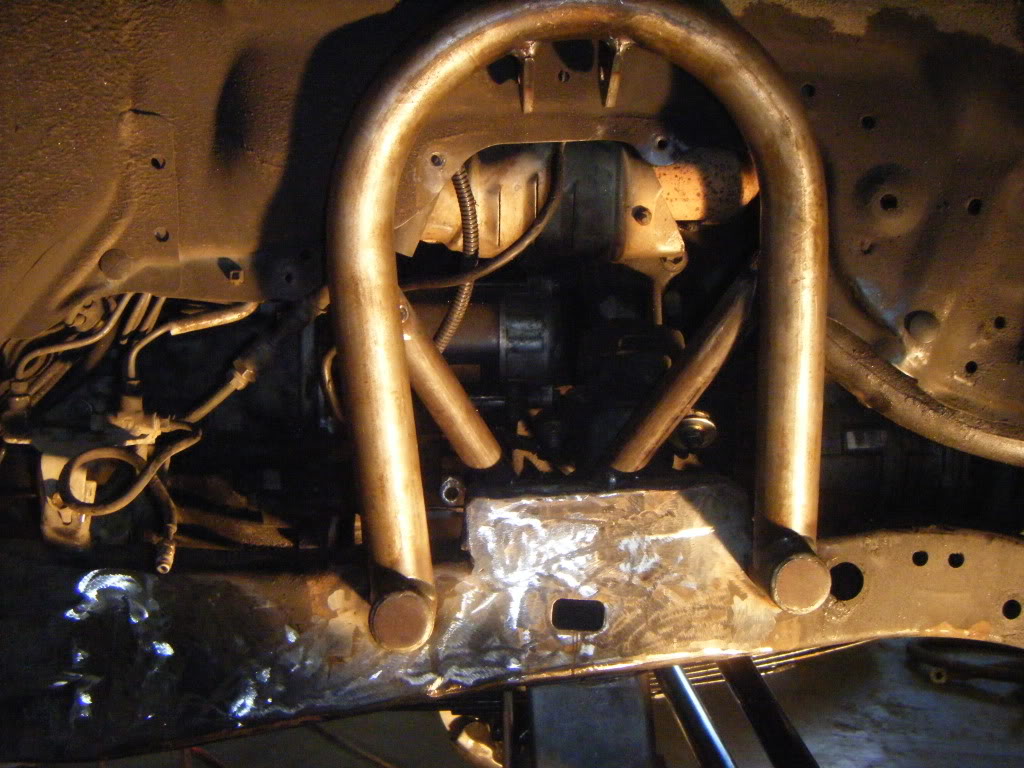
With various gaps from the plate to the mount, the welds were not perfect, so i hit them with a grinder

Some frame cutting for the tubes.
Checking the shackle placement, if i remember, i had to adjust them a bit to "square" them up to the truck.
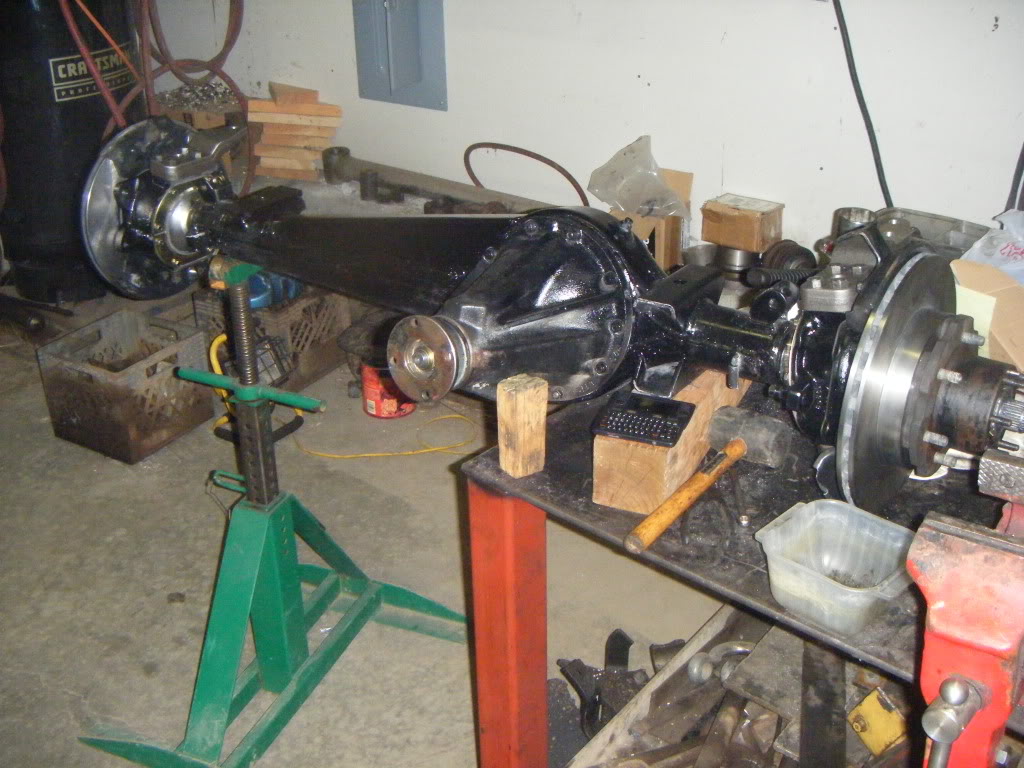
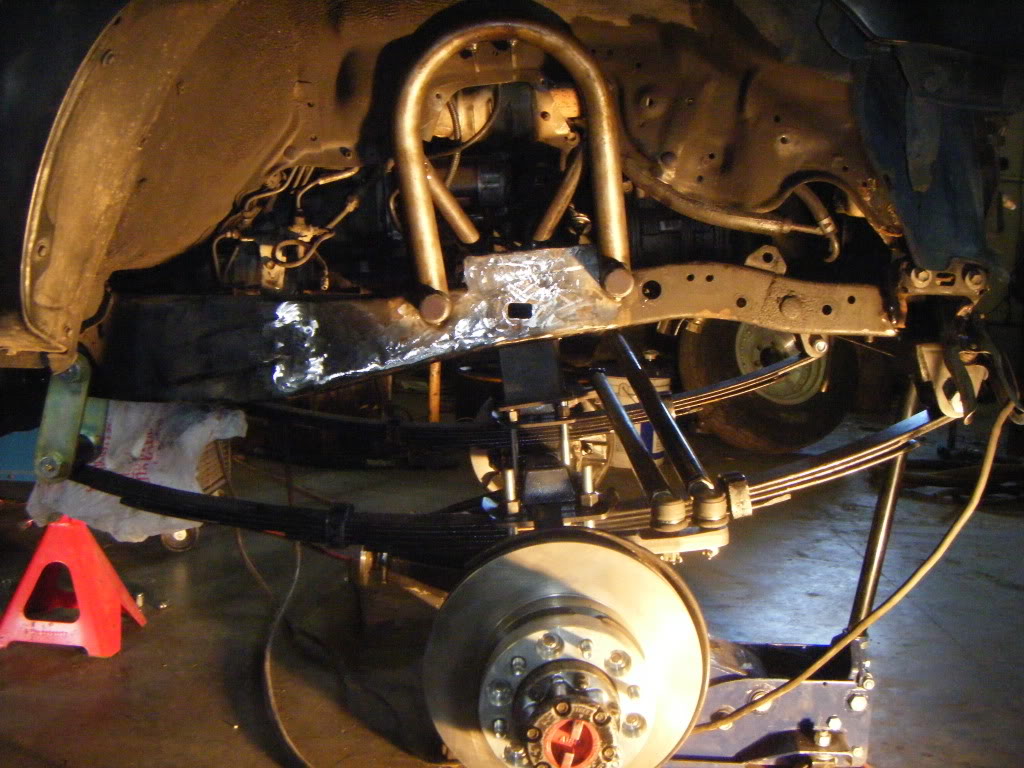
A couple shots of the trussed axle, i never understand why i see all these people that put the steering on, before the axle is under the truck.

I thoughtn i had some pics of the front hanger, but i guess not. I originally placed the front hanger about 1/2" forward. The gave me an almost vertical shackle angle. So i cut the tack welds off and mounted it up flush. Im pretty sure these pics are of it 1/2" forward.
With various gaps from the plate to the mount, the welds were not perfect, so i hit them with a grinder
Some frame cutting for the tubes.
Checking the shackle placement, if i remember, i had to adjust them a bit to "square" them up to the truck.
A couple shots of the trussed axle, i never understand why i see all these people that put the steering on, before the axle is under the truck.
I thoughtn i had some pics of the front hanger, but i guess not. I originally placed the front hanger about 1/2" forward. The gave me an almost vertical shackle angle. So i cut the tack welds off and mounted it up flush. Im pretty sure these pics are of it 1/2" forward.
Last edited by skunkwhat; Mar 26, 2010 at 11:24 AM.
Mar 26, 2010 | 11:45 AM
#7
Thread Starter
Registered User
Joined: Nov 2009
Posts: 150
Likes: 0
From: Portland Or.
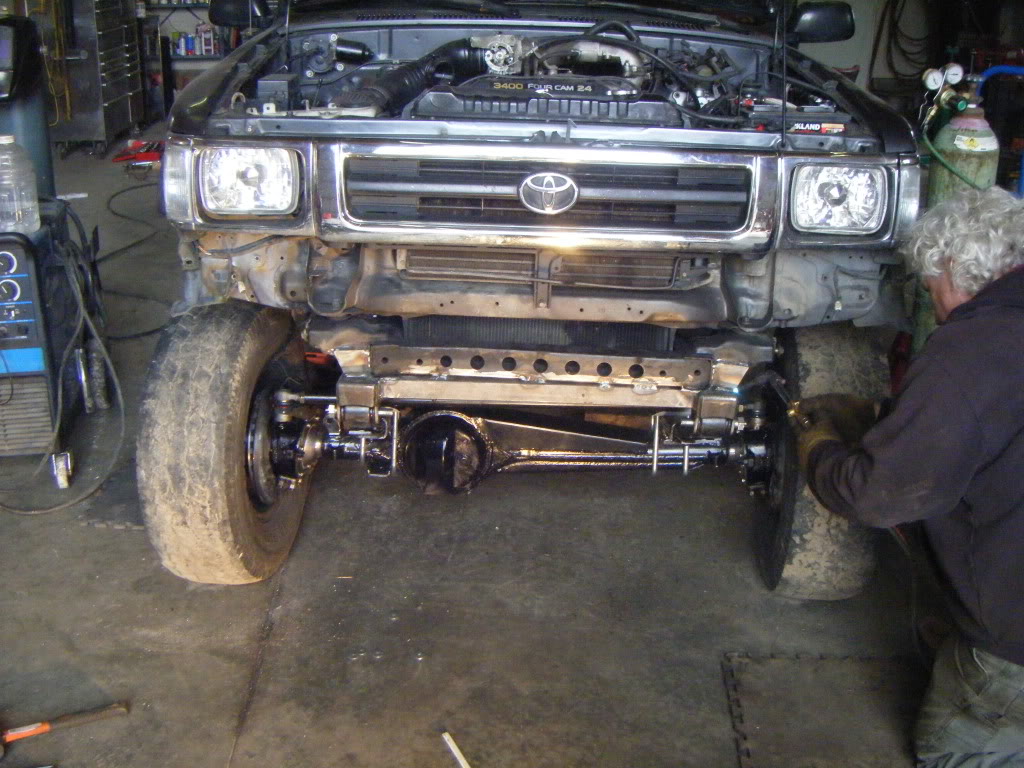
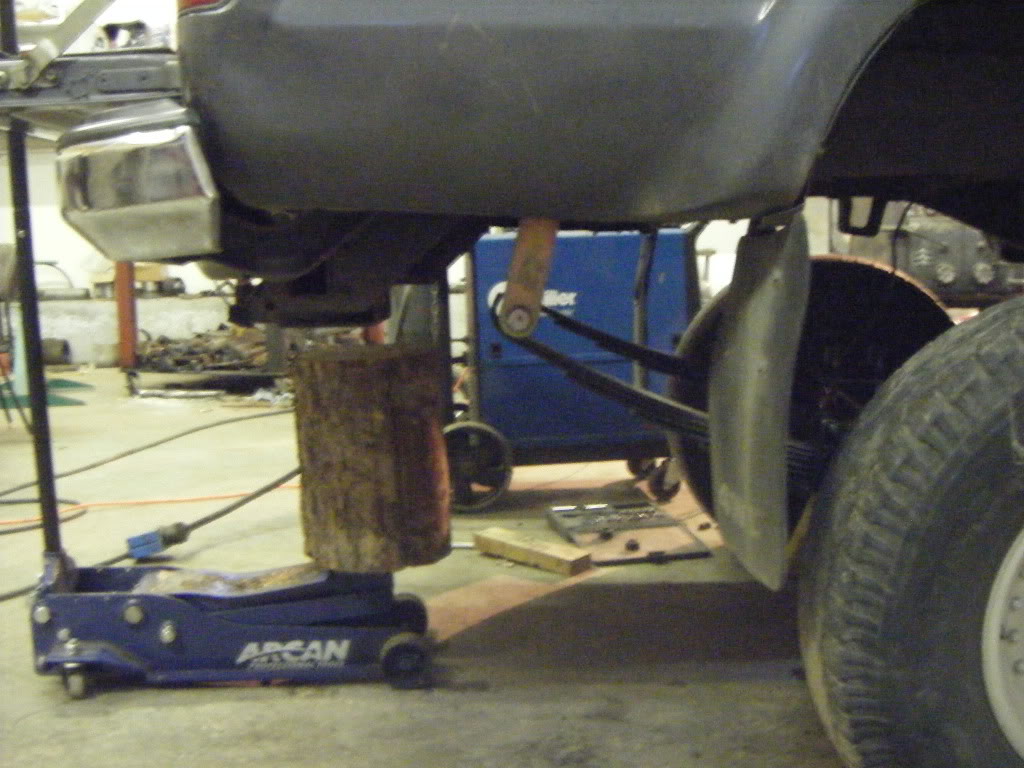
Yeah so i double checked , i don't have any pictures of the truck with the hanger placed forward, or the shackle angle. This is with the hanger flush...well as flush as my truck will allow, notice the passenger side of the hanger is moved forward. The person who had the truck before me, hit the front crossmember, or some crap. So i measured the width of a unbent front crossmember (thanks fishon01). Now i new what the correct width was supposed to be, then i measured the front hanger, divided them both by two, and set up my drivers side as my reference. Then i measured from the cabs body mount, forward to the flush hanger, on the drivers side, and then made the passenger side the same measurement as the drivers side was. And i used the body mount because i knew the frame tubes were in the correct location, but i did double check them before welding the hanger completely on. Yeah i could have taken the truck to a frame shop, blah blah blah. Notice the 3.4 power
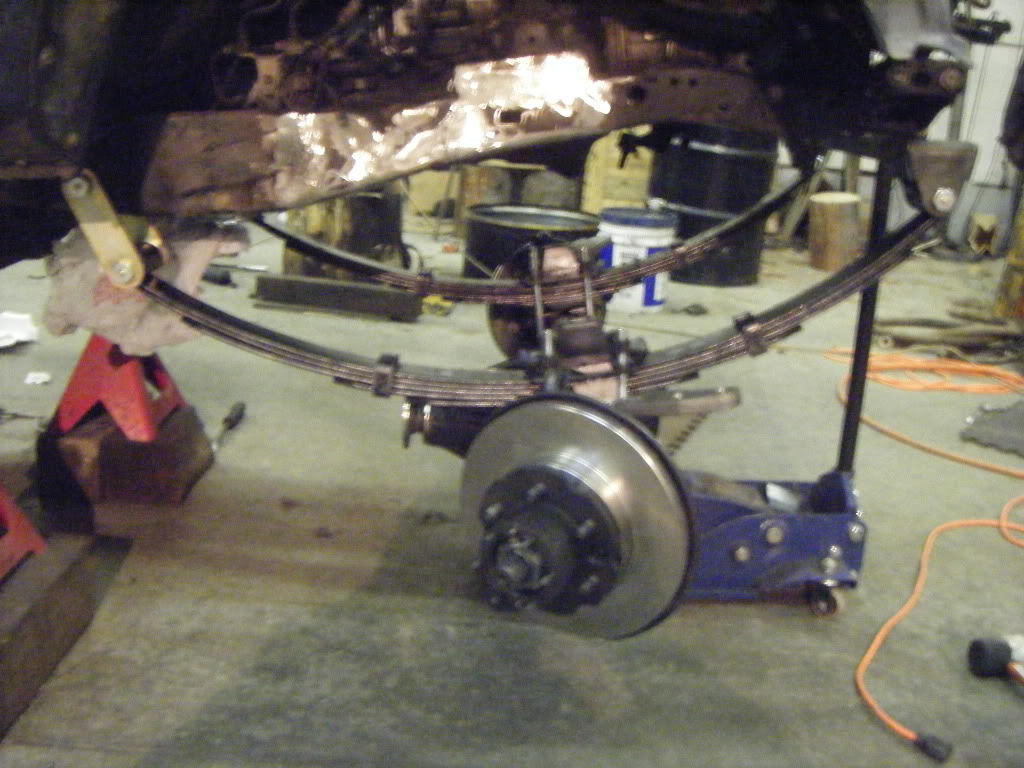
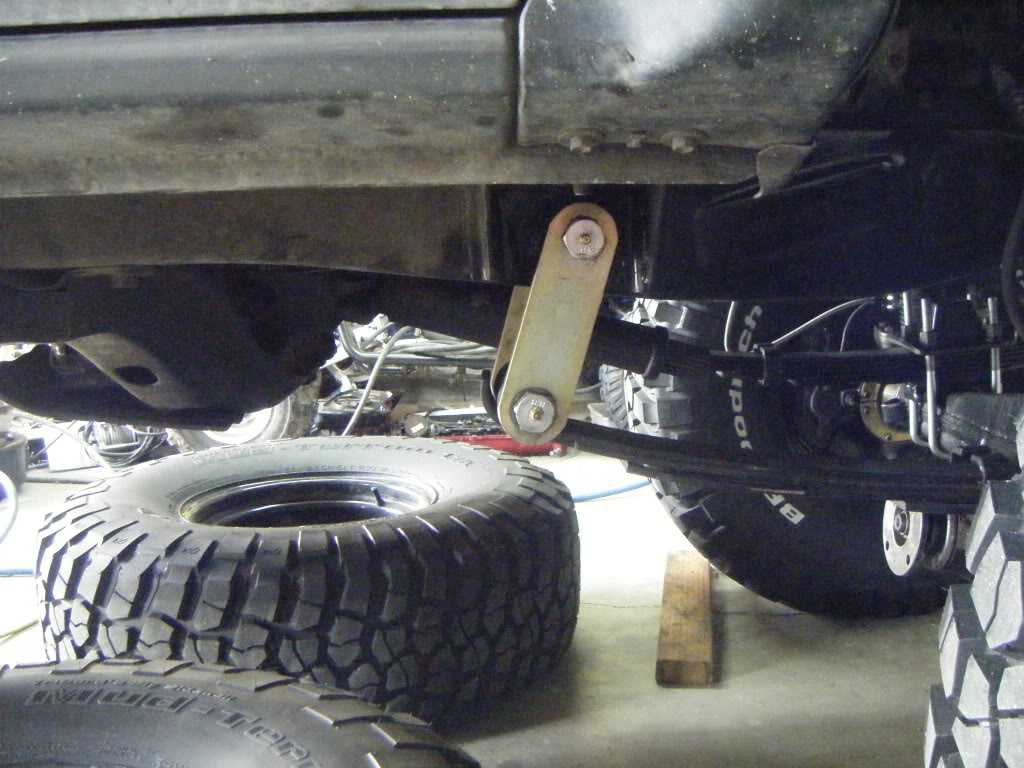
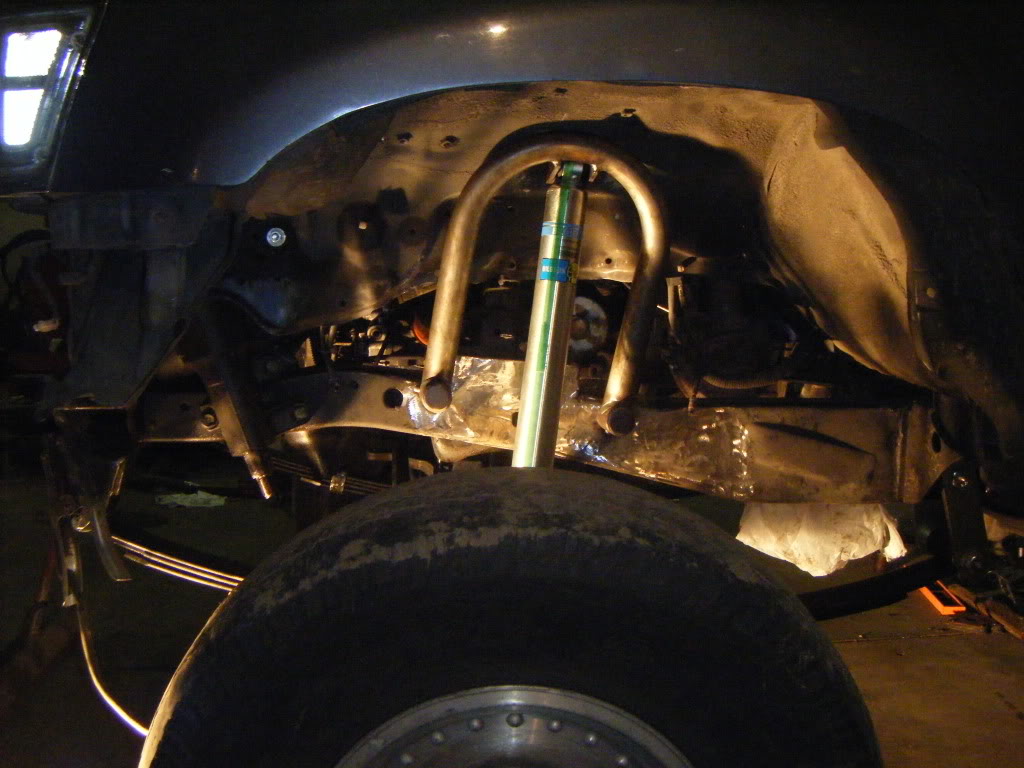
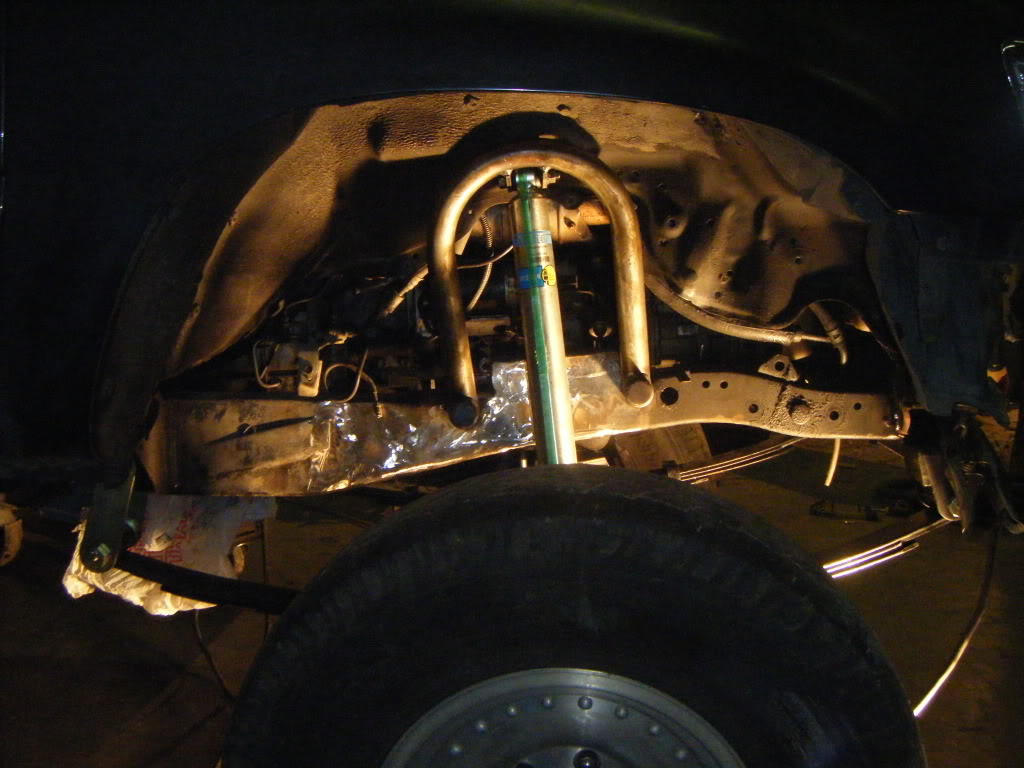
And this is the current shackle angle with about 200 miles on the truck, with the hanger flush mounted.
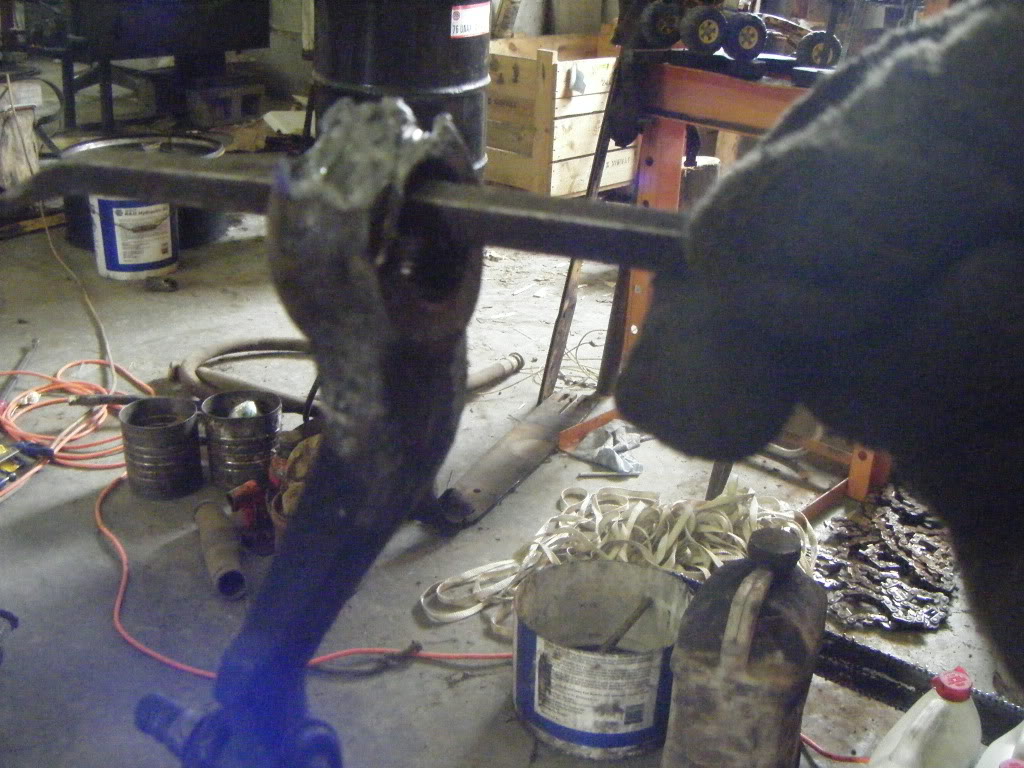
we had a hell of a time getting the pitman arm off, tried to heat it beat it, ect. So we just cut the damn thing off. With this much cut off, and a light tap it came off like butter.
And this is the current shackle angle with about 200 miles on the truck, with the hanger flush mounted.
we had a hell of a time getting the pitman arm off, tried to heat it beat it, ect. So we just cut the damn thing off. With this much cut off, and a light tap it came off like butter.
Trending Topics
Mar 26, 2010 | 12:04 PM
#8
Thread Starter
Registered User
Joined: Nov 2009
Posts: 150
Likes: 0
From: Portland Or.
I wanted to get the rear in the air, before i did the front shock hoops. The word on the street is that the trail gear instructions are a bit out of date, So upon a recoomendation i moved the front spring mount 5.5" instead of the 5" that trail gear says to move it. This is said to help the rear of the tire not rub the fender well of the truck, so i tacked it up, but was not happy with the shackle angle once again, and the axle looked to far forward in the wheel well. So i got crazy and only moved it 4 7/8" forward. yeah i know who does that?
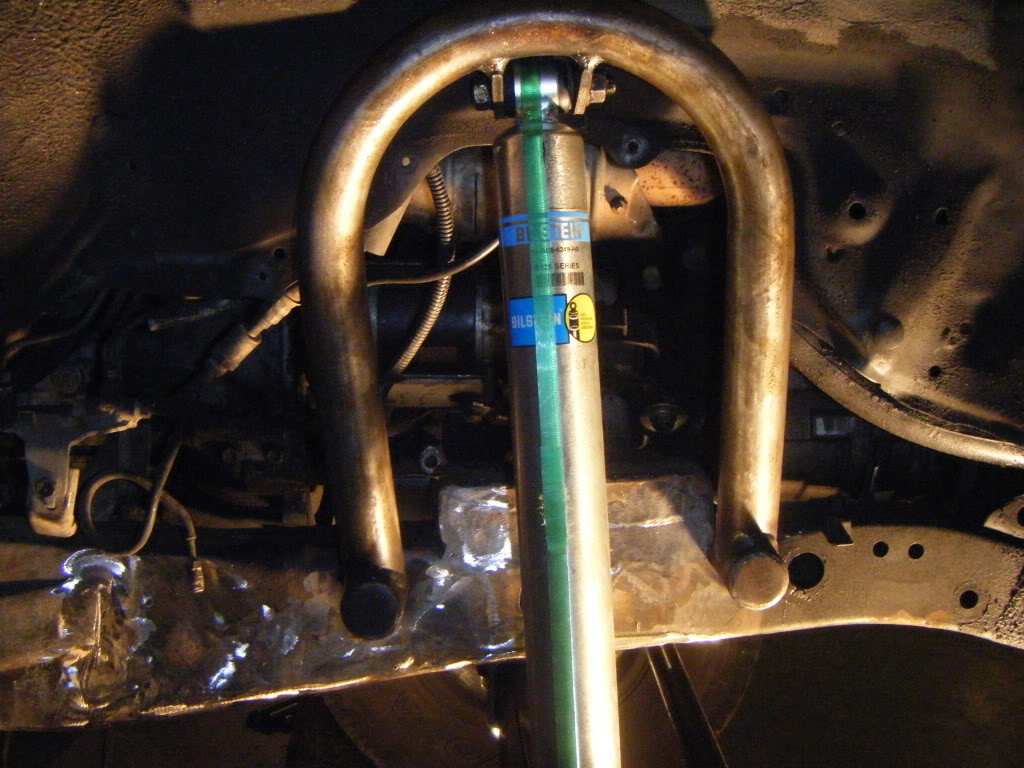
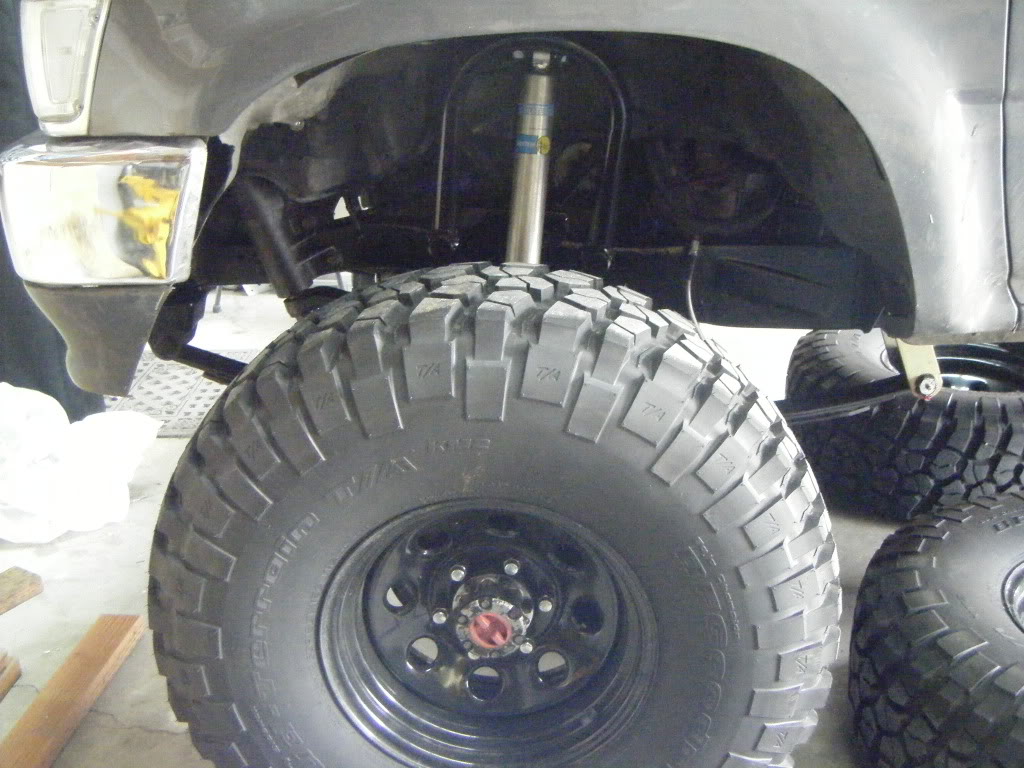
And the resulting shackle angle.
Next was the shock hoops, trail gear says to have 60% of the shock inside the shocks body, well it just so happens that the banding is pretty damn close, if not right onto that percentage. So i left the banding on, and bolted the bottem of the shock to the lower mount. Then i bolted the shock hoop up to it and tacked it up.
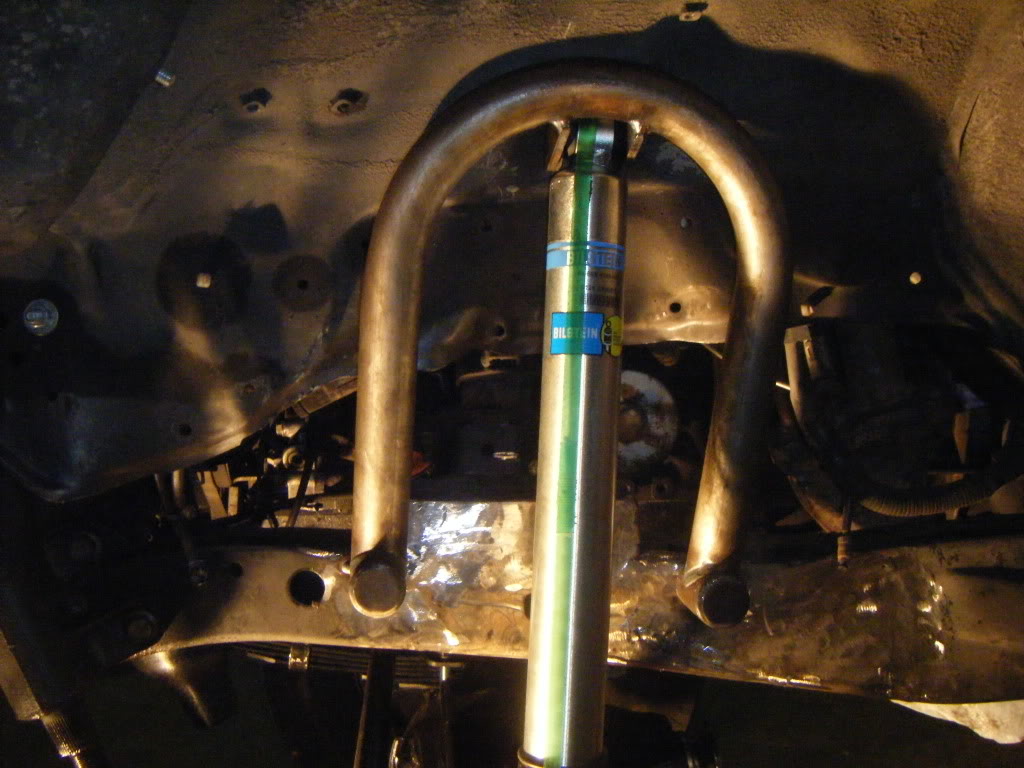
Then i added the provided braces, i used a bench grider to trim them up.
This was before i took it home.

and from the loft
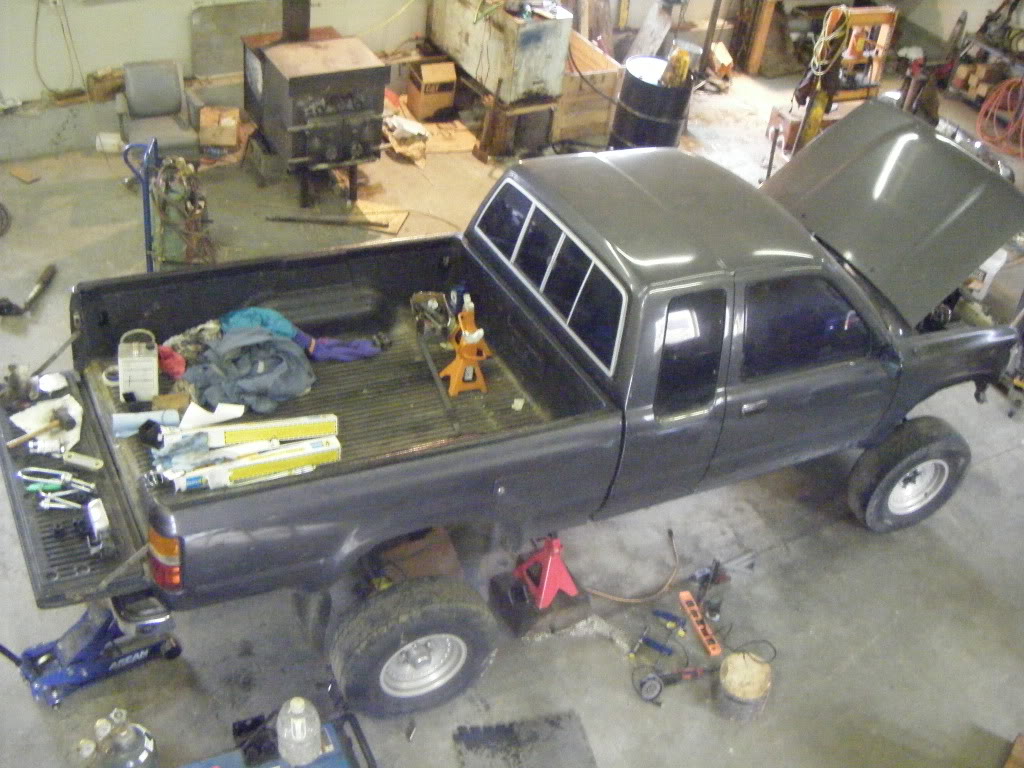
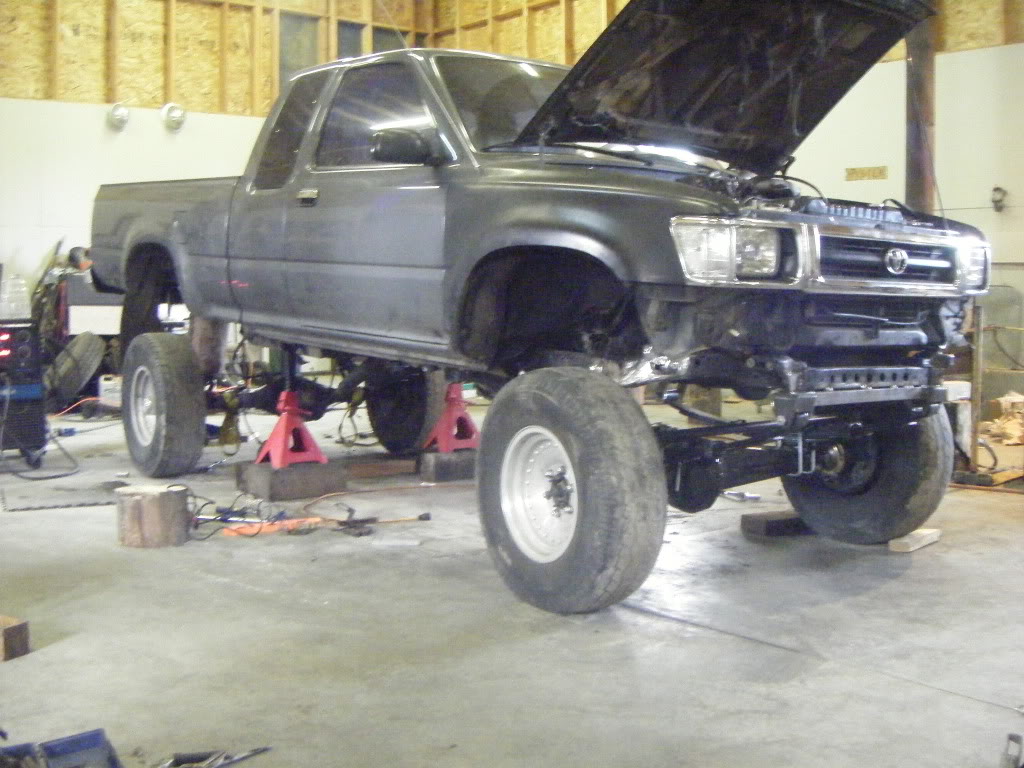
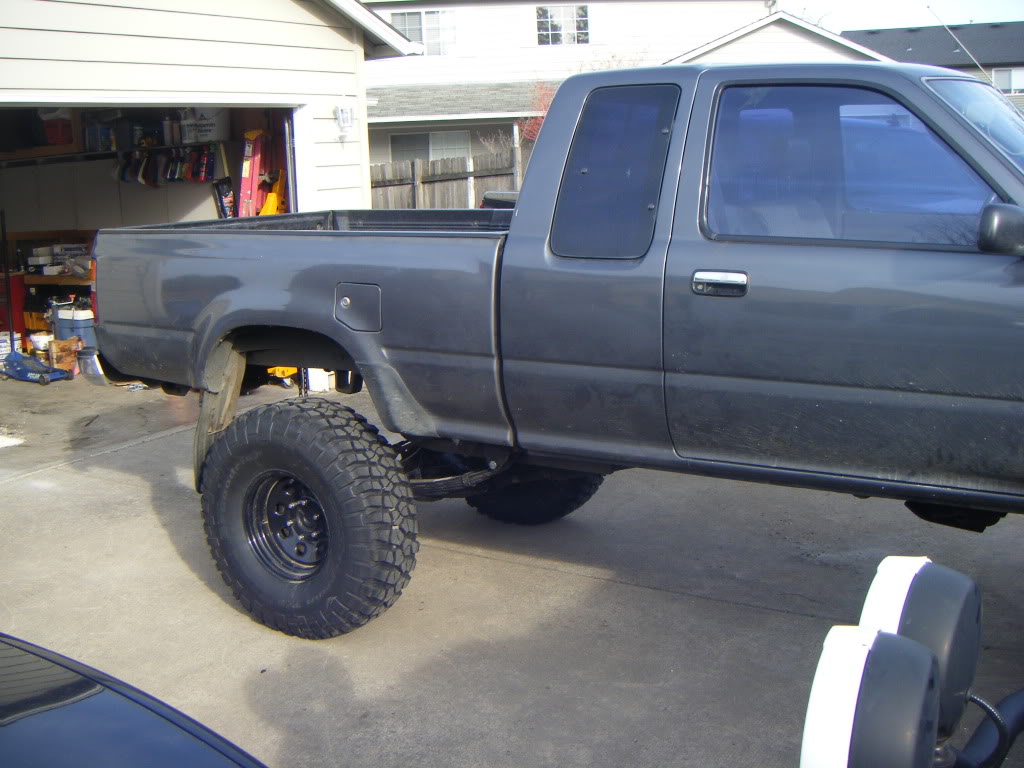
These are from today, like i said above, i have the 3rd out, which my buddy just text me is ready to go pickup. I got the bare metal paintd black, sitting on 35" bfg km2's. Just trimmed the valance for now, no flexing yet. One of my trail gear brake lines was leaking, so i have a stocker on one side.
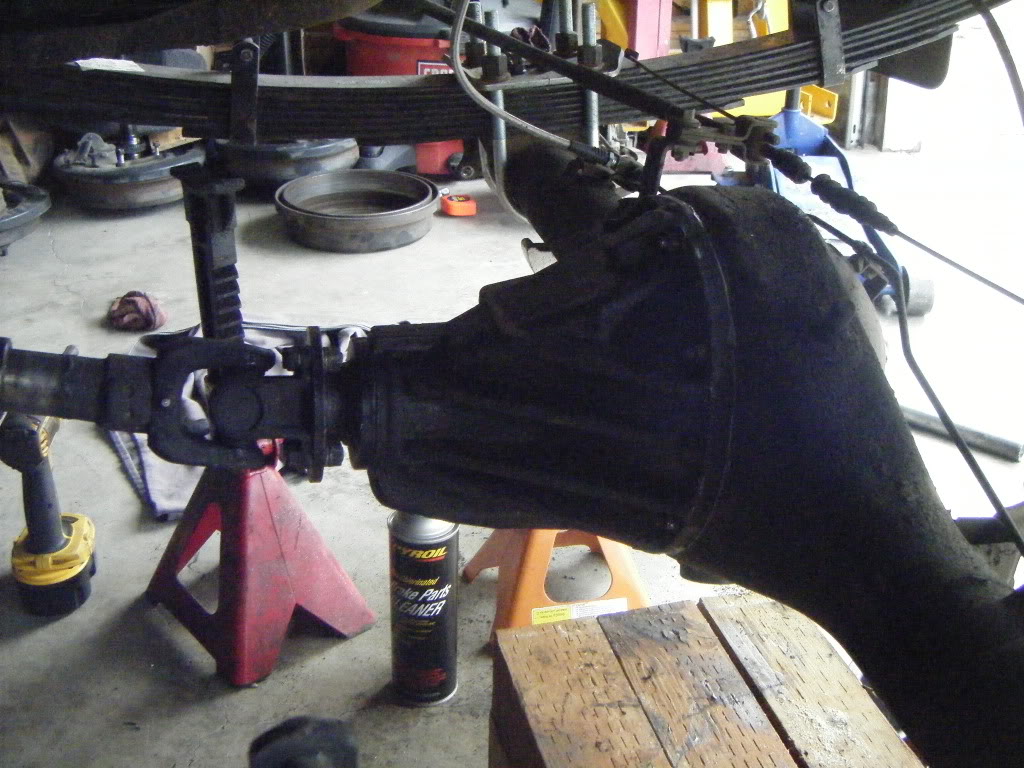
And the no 3rd picture.
 .
.
I will get some pictures of it this weekend probably outside, or at least farther than 3 ft away.
And the resulting shackle angle.
Next was the shock hoops, trail gear says to have 60% of the shock inside the shocks body, well it just so happens that the banding is pretty damn close, if not right onto that percentage. So i left the banding on, and bolted the bottem of the shock to the lower mount. Then i bolted the shock hoop up to it and tacked it up.
Then i added the provided braces, i used a bench grider to trim them up.
This was before i took it home.
and from the loft
These are from today, like i said above, i have the 3rd out, which my buddy just text me is ready to go pickup. I got the bare metal paintd black, sitting on 35" bfg km2's. Just trimmed the valance for now, no flexing yet. One of my trail gear brake lines was leaking, so i have a stocker on one side.
And the no 3rd picture.
.I will get some pictures of it this weekend probably outside, or at least farther than 3 ft away.
Mar 28, 2010 | 07:14 PM
#12
Thread Starter
Registered User
Joined: Nov 2009
Posts: 150
Likes: 0
From: Portland Or.
Got the locker and gears in, didn't have a whole lot of time to pull the truck out into the street for any decent pictures. My friends jeep was parked in the way, and i was running late for a surpise birthday party. But here are a couple of pictures until i get a couple more.
Apr 6, 2010 | 12:03 PM
#14
Thread Starter
Registered User
Joined: Nov 2009
Posts: 150
Likes: 0
From: Portland Or.
i did a quik review on the grizzly here. https://www.yotatech.com/forums/f31/...l#post51404812
May 30, 2010 | 04:24 PM
#20
Thread Starter
Registered User
Joined: Nov 2009
Posts: 150
Likes: 0
From: Portland Or.
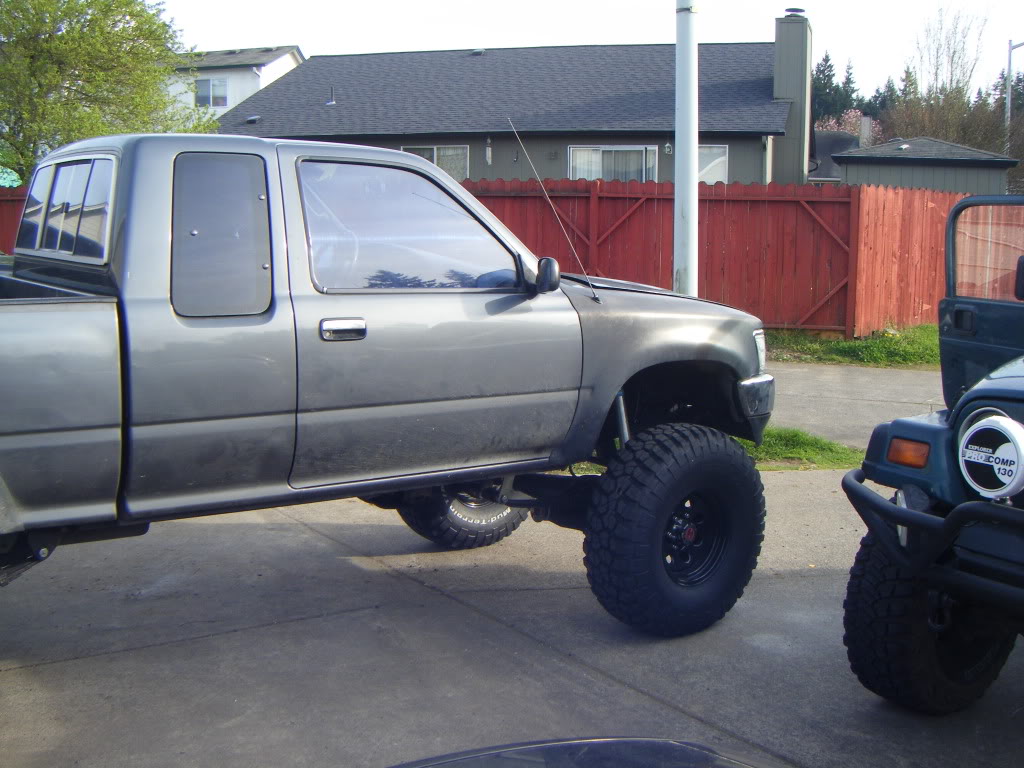
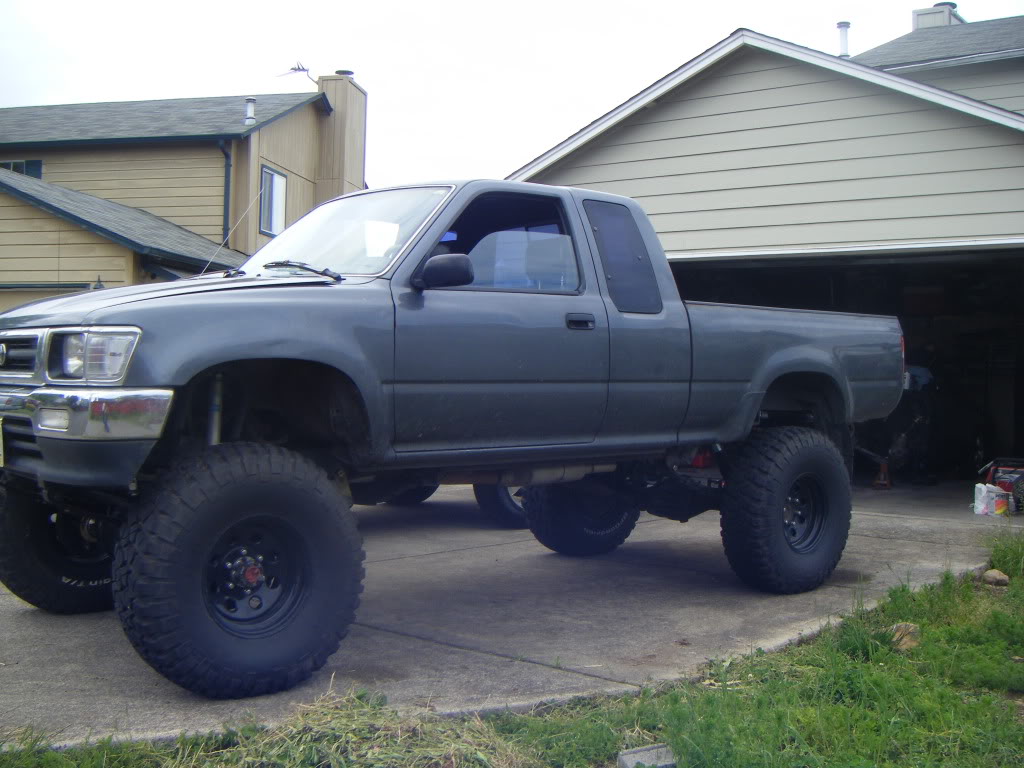
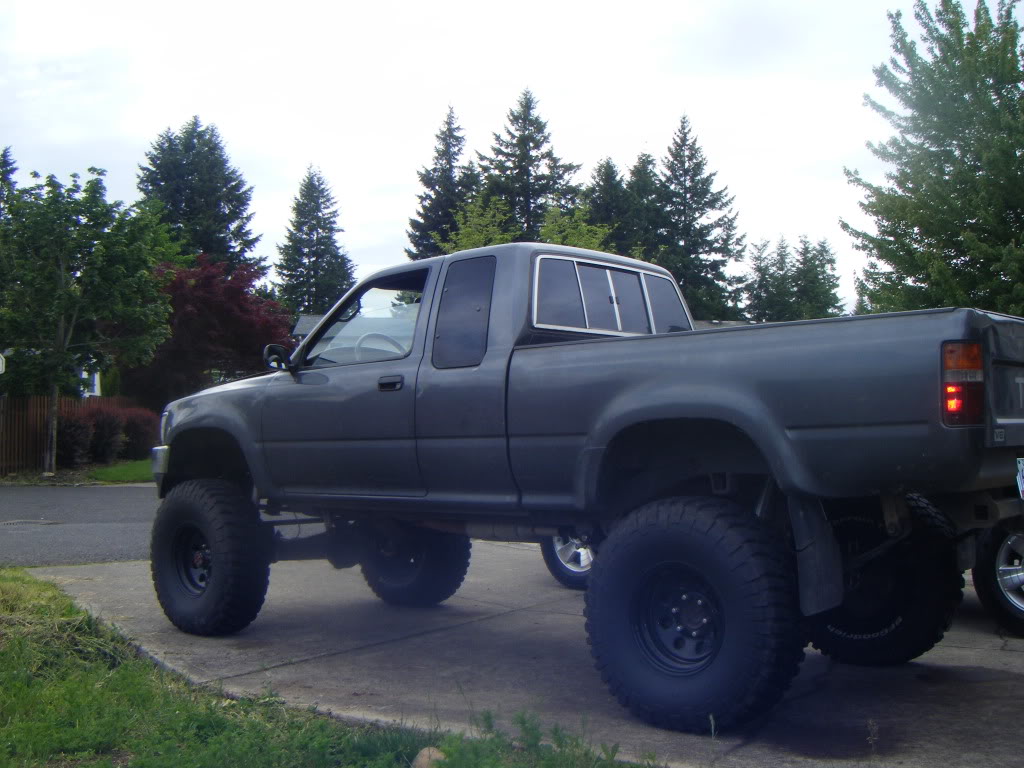
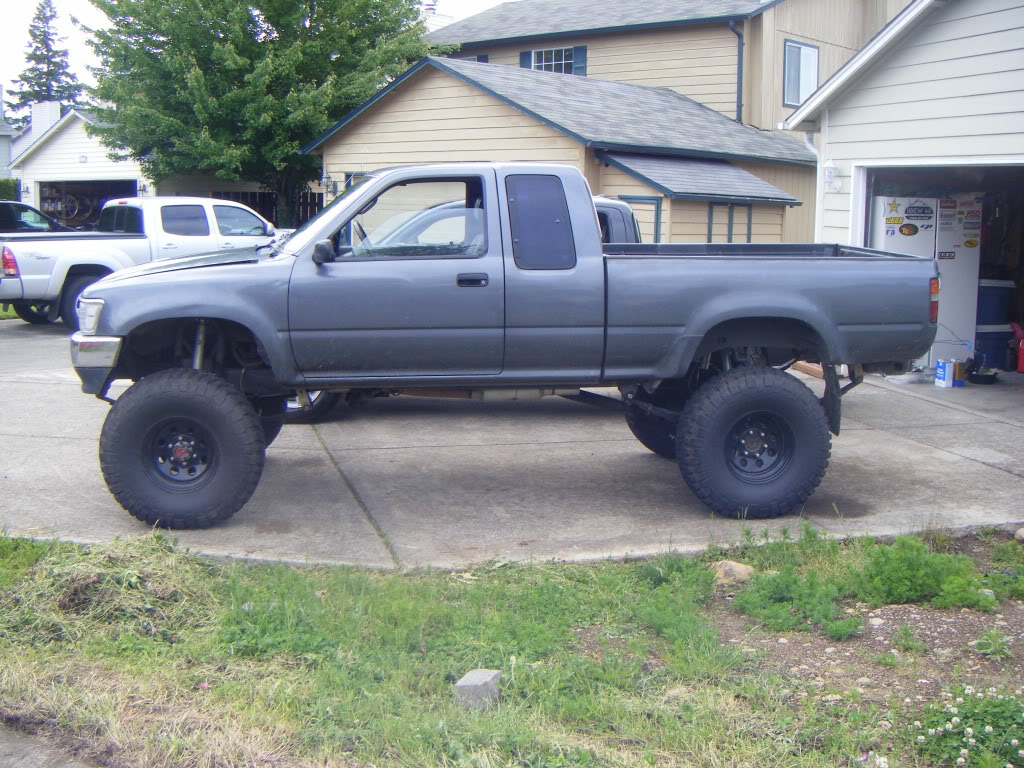
yeah your truck looked good flexed up on that rock. here are a couple pictures from today. You can't really see from the pictures, but my cousin came over in his new tacoma, parked directly behind my truck, and the silver tacoma is the neighbors truck. The front has come down a little, the rerar not so much, but i am using a 6" tg shackle as opposed to the 5" that come in the kit, so i think i am going to still play with that a little.
Last edited by skunkwhat; May 30, 2010 at 04:27 PM.


