Mar 23, 2016, 02:55 PM
Last edit by: IB Advertising
See related guides and technical advice from our community experts:
- Toyota 4Runner, Tacoma, and Tundra Paint Modifications<br>Overview of popular modifications to help you customize your Toyota.

Show us your best cheap mods!
Feb 16, 2011 | 07:05 PM
#522
Registered User
Joined: Jul 2010
Posts: 17
Likes: 0
From: Bakersfield(ca's armpit)


 Feb 17, 2011 | 05:20 PM
#524
Contributing Member
Joined: Nov 2010
Posts: 5,125
Likes: 4
From: Columbia River Gorge, Oregon...east side
Picked up a empty quart paint can and lid, a couple of grommets, and a inline fuel filter for a lawnmower from Home Depot. Popped a hole into the side of the can, inserted grommet that fits snugly over front diff beather hose, and then drilled a hole in the lid for the second grommet and the infilter now used as a breather. Mounted can on driver side wheel well and slipped front diff breather hose about 1" into can. Now when I overfill the front diff and it decides to puke, now more gear oil everywhere. Total Cost: $8
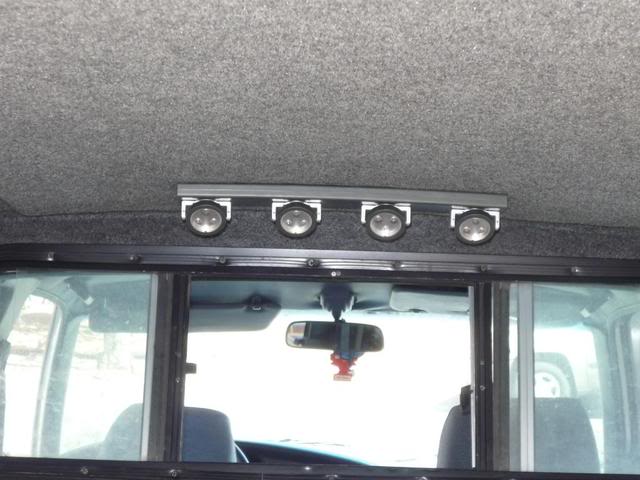
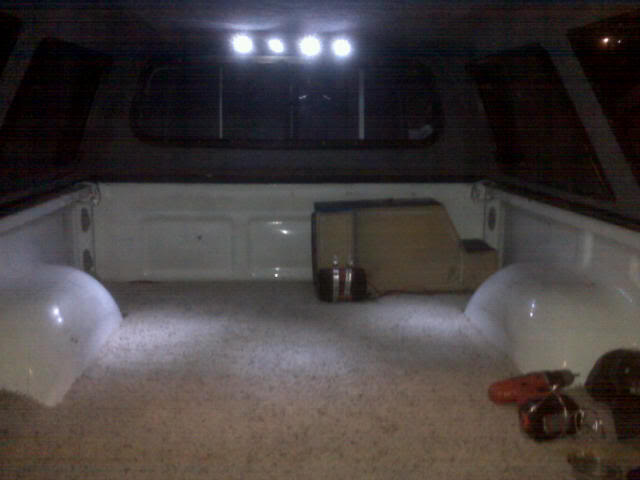
Added two of these in the canopy, $15 total:
Added two of these in the canopy, $15 total:
Last edited by rworegon; Feb 17, 2011 at 05:29 PM.
 but i thought it was a good idea.


 Mar 7, 2011 | 07:18 AM
#530
Registered User
Joined: Aug 2009
Posts: 242
Likes: 0
From: Spokane, WA
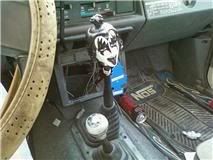
This was a ceramic bobble head that my son had pulled the head off years ago. I found it in a box and as I was getting ready to toss it, had the thought. I took my shift knob and cut it with a hacksaw then shaped the aluminum with my grinder so it would fit up inside the head. I little gorilla glue and so far it's been holding up well. You won't see one of these at autozone.


Last edited by 86yota321; Mar 7, 2011 at 07:21 AM.
 [/IMG]
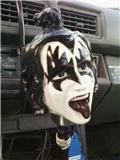 [/IMG]
Mar 7, 2011 | 07:29 AM
[/IMG]
Mar 7, 2011 | 07:29 AM
#532
Registered User
Joined: Mar 2008
Posts: 4,371
Likes: 6
From: Texas
air from the cowl area
Wanted to try this for a while to see if I can get some cooler air into the intake. This is my first attempt so don't laugh too hard. It'll eventually be a snorkel.
Pulled the fender, cut some holes, and installed a 3' piece of dryer duct.

Made a semi sealed air box from a 6" ID piece of HVAC ducting.
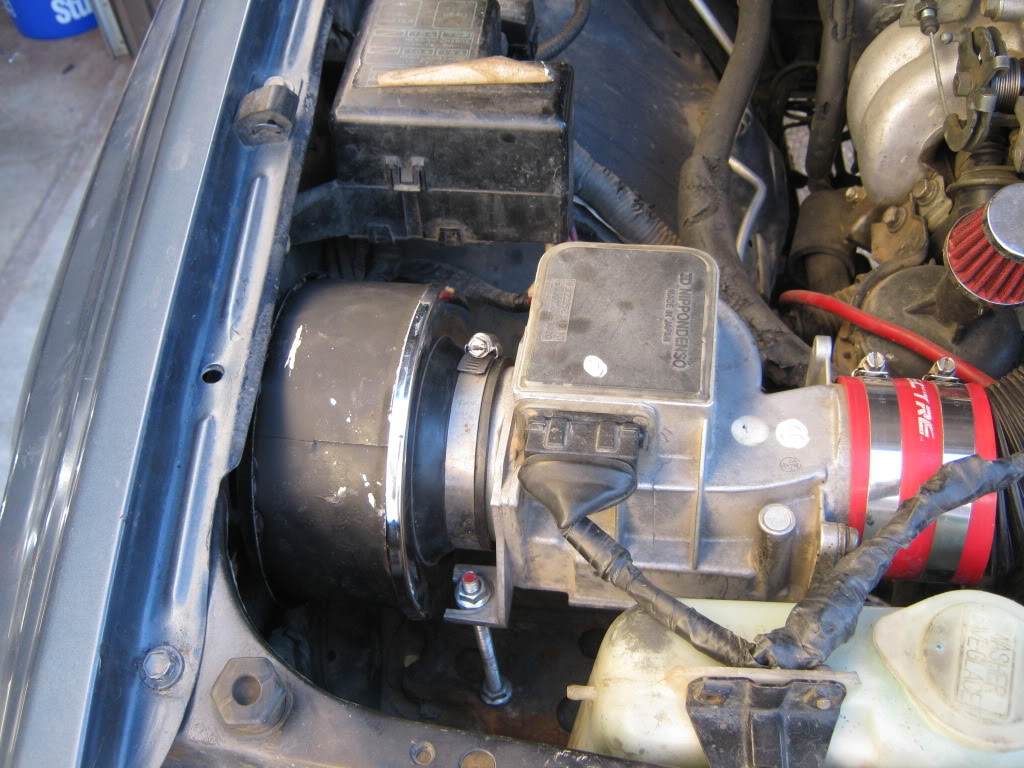
So far I've had a minor increase in fuel millage (about 2mpg) and the throttle response seems a tad better when the truck is warmed up.
Total cost was about 15$.
Pulled the fender, cut some holes, and installed a 3' piece of dryer duct.
Made a semi sealed air box from a 6" ID piece of HVAC ducting.
So far I've had a minor increase in fuel millage (about 2mpg) and the throttle response seems a tad better when the truck is warmed up.
Total cost was about 15$.
Mar 7, 2011 | 07:32 AM
#533
Registered User
Joined: Mar 2008
Posts: 4,371
Likes: 6
From: Texas
 Mar 7, 2011 | 12:05 PM
#534
Mar 7, 2011 | 11:41 PM
#536
Mar 8, 2011 | 07:06 AM
#538
Registered User
Joined: Aug 2007
Posts: 1,133
Likes: 7
From: PDX
the rear, note the inlet is angled upward a bit

I also heat bent the inlet to help deflect any water from the cowl a bit better

I checked after the first few heavy rains and never found any water in the airbox