Mar 23, 2016, 02:55 PM
Last edit by: IB Advertising
See related guides and technical advice from our community experts:
- Toyota 4Runner, Tacoma, and Tundra Paint Modifications<br>Overview of popular modifications to help you customize your Toyota.

Show us your best cheap mods!
 Aug 15, 2010 | 04:28 PM
#403
Registered User
Joined: Aug 2010
Posts: 10
Likes: 0
From: 29 palms
ext. cab placement for speakers.
for the mids and highs, i just cut into the removable panels of the side cargo area and drilled my speakers into the panel, so now i can take the panel off and the speaker comes out too, so the back of my rear speakers and wires are easily accessible.. pretty neat.
downfalls: when wheelin', the turning knob unlocks itself sometimes and the panel falls off so the speaker is bouncing around.. secure the locking problem and your golden.
downfalls: when wheelin', the turning knob unlocks itself sometimes and the panel falls off so the speaker is bouncing around.. secure the locking problem and your golden.
Aug 15, 2010 | 05:01 PM
#405

 Aug 18, 2010 | 07:55 AM
#406
Registered User
Joined: Jun 2009
Posts: 30
Likes: 0
From: San Jose, CA
Let's keep this thread rolling...
MY CHEAP MODS: (sorry i don't have pics, I will post them soon!)
I extended both diff breathers; front to the top of my fire wall and rear inside the passenger side tail light housing. Required a couple pipe fittings (i think it was an 1/8" NPT, but I will have to double check), hose clamps, some length of hose bought at a hardware store, and for the breather end I just reused the factory breathing stud. Cost = $15! Refer to 4Crawler for more info... He is the man!
Lined my wheel wells with that Duplicolor spray on bed liner. The cans are kind of pricey but the stuff kicks @ss! Decreased road noise and looks great as well! Cost = dependent on how many coats you want to do???
I ran a rear window switch to the bed of my runner so that I can climb in the back and roll it up without the ignition. Great for camping and once I did it I kicked myself for waiting so long. I used an old power antenna switch from another runner (even says up and down) and ran the wires from the window relay! This is the way to go in my opinion and keep in mind that you are interrupting the ground, not powering the window! Cost= $1 for the switch.
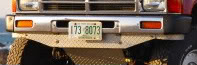
Next I Hacked my exhaust pipe back from hanging 6 inches below the side of my truck (once I removed the factory bumper that is) and now it is just dumped straight down under the bed. Cost= free.
Bought another passenger seat and swapped out the drivers side bottom seat cushion with that of the passenger donor. My seat bottom was roached and spewing yellow foam everywhere! I picked up some cheapo seat covers to hide the slightly different pattern. Cost= $30 for the donor seat and $25 a seat cover. CAUTION: If you are looking for seat covers that last and withstand some abuse... don't go the cheapo route. My drivers side is already falling apart and I have only had them for a couple months. I think i going to splurge for some JCWhitney's when I have the money.
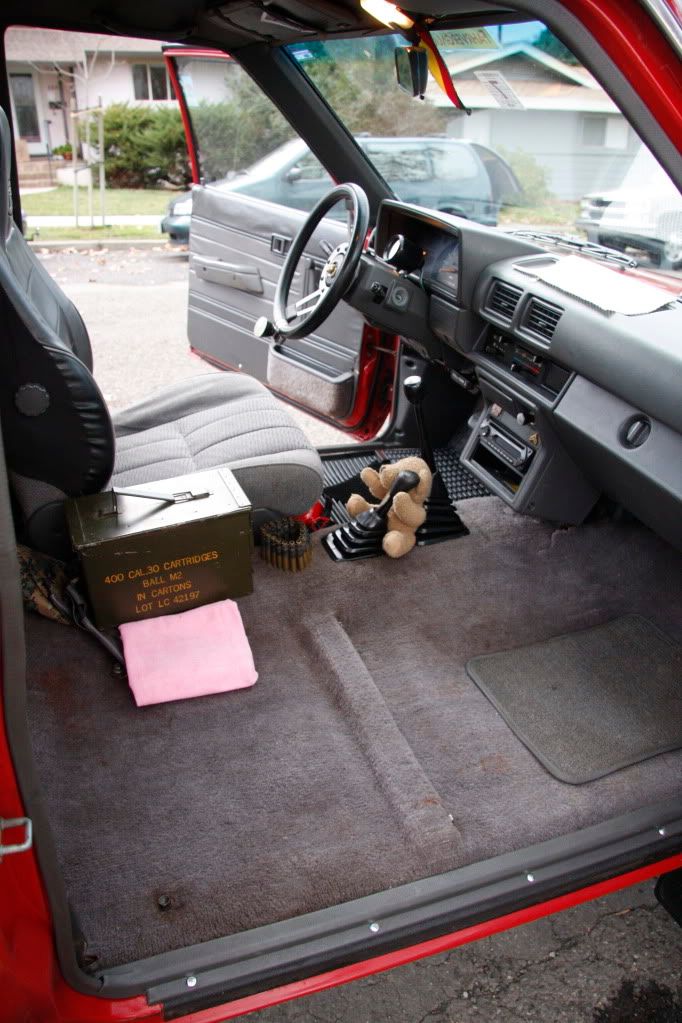
Replaced my center console armrest with a homemade high rise rest made from some type of hippie yoga block foam that I found at the Thrift store! Any block of foam would do and I just cut a plate out of 1/4" pvc and made a base then mounted the block up and threw some longer screws in the mounting hardware to act as lever arms for the high rise block (dual purpose hardware). Cost = $3 for the foam and I had the hardware and pvc laying around.
Let's see... Oh, I made my some window screens for the slider windows on the rear shell as the wife was not happy with bugs cruising in while we are sleeping back there in the woods! Needed that bug free ventilation if you know what I mean. I just bought some fiberglass screen material and cut the shape out that I wanted and I use magnets to hold the screens to the outer frame of the window. That way I have an exterior screen and I can still open or close the window from the inside. I use rare earth magnets for extra hold because you don't want these things falling of when you are sleeping and then Mothra attacks your lady in her sleep and suddenly it's your fault! Cost = $5 for screen and $15 for the magnets.
One more... LED taillight bulbs! These are great and solved my faded lens problem immediately! Red LED packs in the taillights and good to go! Cost = $15
Pics will be coming soon as will more cheap mods I hope!
MY CHEAP MODS: (sorry i don't have pics, I will post them soon!)
I extended both diff breathers; front to the top of my fire wall and rear inside the passenger side tail light housing. Required a couple pipe fittings (i think it was an 1/8" NPT, but I will have to double check), hose clamps, some length of hose bought at a hardware store, and for the breather end I just reused the factory breathing stud. Cost = $15! Refer to 4Crawler for more info... He is the man!
Lined my wheel wells with that Duplicolor spray on bed liner. The cans are kind of pricey but the stuff kicks @ss! Decreased road noise and looks great as well! Cost = dependent on how many coats you want to do???
I ran a rear window switch to the bed of my runner so that I can climb in the back and roll it up without the ignition. Great for camping and once I did it I kicked myself for waiting so long. I used an old power antenna switch from another runner (even says up and down) and ran the wires from the window relay! This is the way to go in my opinion and keep in mind that you are interrupting the ground, not powering the window! Cost= $1 for the switch.
Next I Hacked my exhaust pipe back from hanging 6 inches below the side of my truck (once I removed the factory bumper that is) and now it is just dumped straight down under the bed. Cost= free.
Bought another passenger seat and swapped out the drivers side bottom seat cushion with that of the passenger donor. My seat bottom was roached and spewing yellow foam everywhere! I picked up some cheapo seat covers to hide the slightly different pattern. Cost= $30 for the donor seat and $25 a seat cover. CAUTION: If you are looking for seat covers that last and withstand some abuse... don't go the cheapo route. My drivers side is already falling apart and I have only had them for a couple months. I think i going to splurge for some JCWhitney's when I have the money.
Replaced my center console armrest with a homemade high rise rest made from some type of hippie yoga block foam that I found at the Thrift store! Any block of foam would do and I just cut a plate out of 1/4" pvc and made a base then mounted the block up and threw some longer screws in the mounting hardware to act as lever arms for the high rise block (dual purpose hardware). Cost = $3 for the foam and I had the hardware and pvc laying around.
Let's see... Oh, I made my some window screens for the slider windows on the rear shell as the wife was not happy with bugs cruising in while we are sleeping back there in the woods! Needed that bug free ventilation if you know what I mean. I just bought some fiberglass screen material and cut the shape out that I wanted and I use magnets to hold the screens to the outer frame of the window. That way I have an exterior screen and I can still open or close the window from the inside. I use rare earth magnets for extra hold because you don't want these things falling of when you are sleeping and then Mothra attacks your lady in her sleep and suddenly it's your fault! Cost = $5 for screen and $15 for the magnets.
One more... LED taillight bulbs! These are great and solved my faded lens problem immediately! Red LED packs in the taillights and good to go! Cost = $15
Pics will be coming soon as will more cheap mods I hope!
Aug 18, 2010 | 08:59 AM
#407
Registered User
Joined: May 2008
Posts: 1,063
Likes: 2
From: Knoxville, TN
No pics, but I relocated my radio antenna to the top rear of the 4Runner. Bought an extention line for the antenna, ran it inside the headliner, and drilled a hole in the roof. mounted one of those cheap rubber-mast antennas and it works great. Looks better than hanging sideways off the fender. <$20
Aug 19, 2010 | 03:29 AM
#409
Registered User
Joined: Aug 2010
Posts: 10
Likes: 0
From: 29 palms

 Aug 19, 2010 | 03:50 AM
#410
Registered User
Joined: May 2008
Posts: 1,063
Likes: 2
From: Knoxville, TN
Not yet, looking at doing a snorkel that will come out right where that hole is, so it's not a big deal. Now the hole in the firewall...that's taking some work finding a gromet to put in there.
Aug 19, 2010 | 05:14 AM
#411
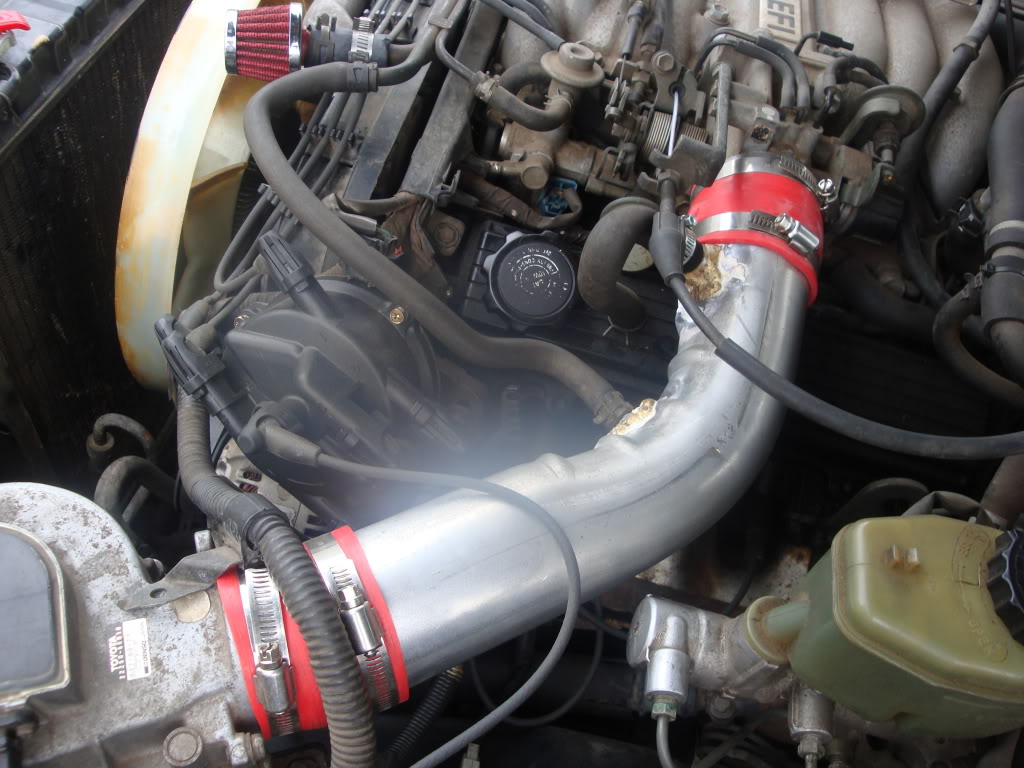
has anyone routed the air intake through the valance? i'm gonna see about taking it off to check clearances. i got mad when i realized i couldn't do the battery/intake swap because of the a/c hoses (it gets h-o-t and h-u-m-i-d here in the summer)

 Aug 22, 2010 | 10:03 AM
#414
Registered User
Joined: Aug 2007
Posts: 1,133
Likes: 7
From: PDX
getting ready for the first cut

Subaru Forester airbox bottom back in again. the airbox has a 3" opening with a rubber lip seal from factory and that is what makes the seal

I used 3" thin wall PVC septic pipe & learned that it doesn't heat bend very well without kinking so I ended up using premade bends - here's the front

the rear, note the inlet is angled up a bit

I did heat bend the inlet to help deflect any water from the cowl a bit better

almost done

add fender and call it a day - everything fit perfect with my fiberglass fenders, not sure if 3" would work with stock fenders but it might

Subaru Forester airbox bottom back in again. the airbox has a 3" opening with a rubber lip seal from factory and that is what makes the seal
I used 3" thin wall PVC septic pipe & learned that it doesn't heat bend very well without kinking so I ended up using premade bends - here's the front
the rear, note the inlet is angled up a bit
I did heat bend the inlet to help deflect any water from the cowl a bit better
almost done
add fender and call it a day - everything fit perfect with my fiberglass fenders, not sure if 3" would work with stock fenders but it might
Aug 22, 2010 | 10:04 AM
#415
Registered User
Joined: Aug 2007
Posts: 1,133
Likes: 7
From: PDX
Last year I got a front diff with 4.88 gears courtesy of cash-for-clunkers. I finally got around to swapping the the LSD over to the new (to me) 4.88 gears so now I have matching gears and can use 4wd again (just in time for EC4RJ, if I could actually go)
When I got the 4.88 front diff, I took the front lower crossmember that was attached and modded it up a bit with 1/4" plate so it won't get dented anymore (overkill - I should've used 1/8" but I literally have over 1/4 ton of 1/4" plate laying around)

(before I put the front skid back on)

When I got the 4.88 front diff, I took the front lower crossmember that was attached and modded it up a bit with 1/4" plate so it won't get dented anymore (overkill - I should've used 1/8" but I literally have over 1/4 ton of 1/4" plate laying around)
(before I put the front skid back on)
Aug 22, 2010 | 12:17 PM
#417
Registered User
Joined: Aug 2007
Posts: 1,133
Likes: 7
From: PDX
 Aug 24, 2010 | 07:57 PM
#418
new tow hook to match single existing one... old trick that's been around a while but pretty easy and useful. Got this one from 4wheelparts today; pulled the front bumper off to turn a bracket around (crush can) because the hook wouldn't clear a little rolled lip on the bottom side. turned it 180 degrees and fits fine. the holes lined up fine and used the existing bolts (M12 x 1.25) but I might get some slightly longer ones, they don't seat all the way thru the nut that's welded inside the frame rail, need about another 1/2" of thread.
Also picked up a 2" receiver clevis for the back, pretty slick.
Now let's go get stuck so I can test them.....
Also picked up a 2" receiver clevis for the back, pretty slick.
Now let's go get stuck so I can test them.....