When you click on links to various merchants on this site and make a purchase, this can result in this site earning a commission. Affiliate programs and affiliations include, but are not limited to, the eBay Partner Network.
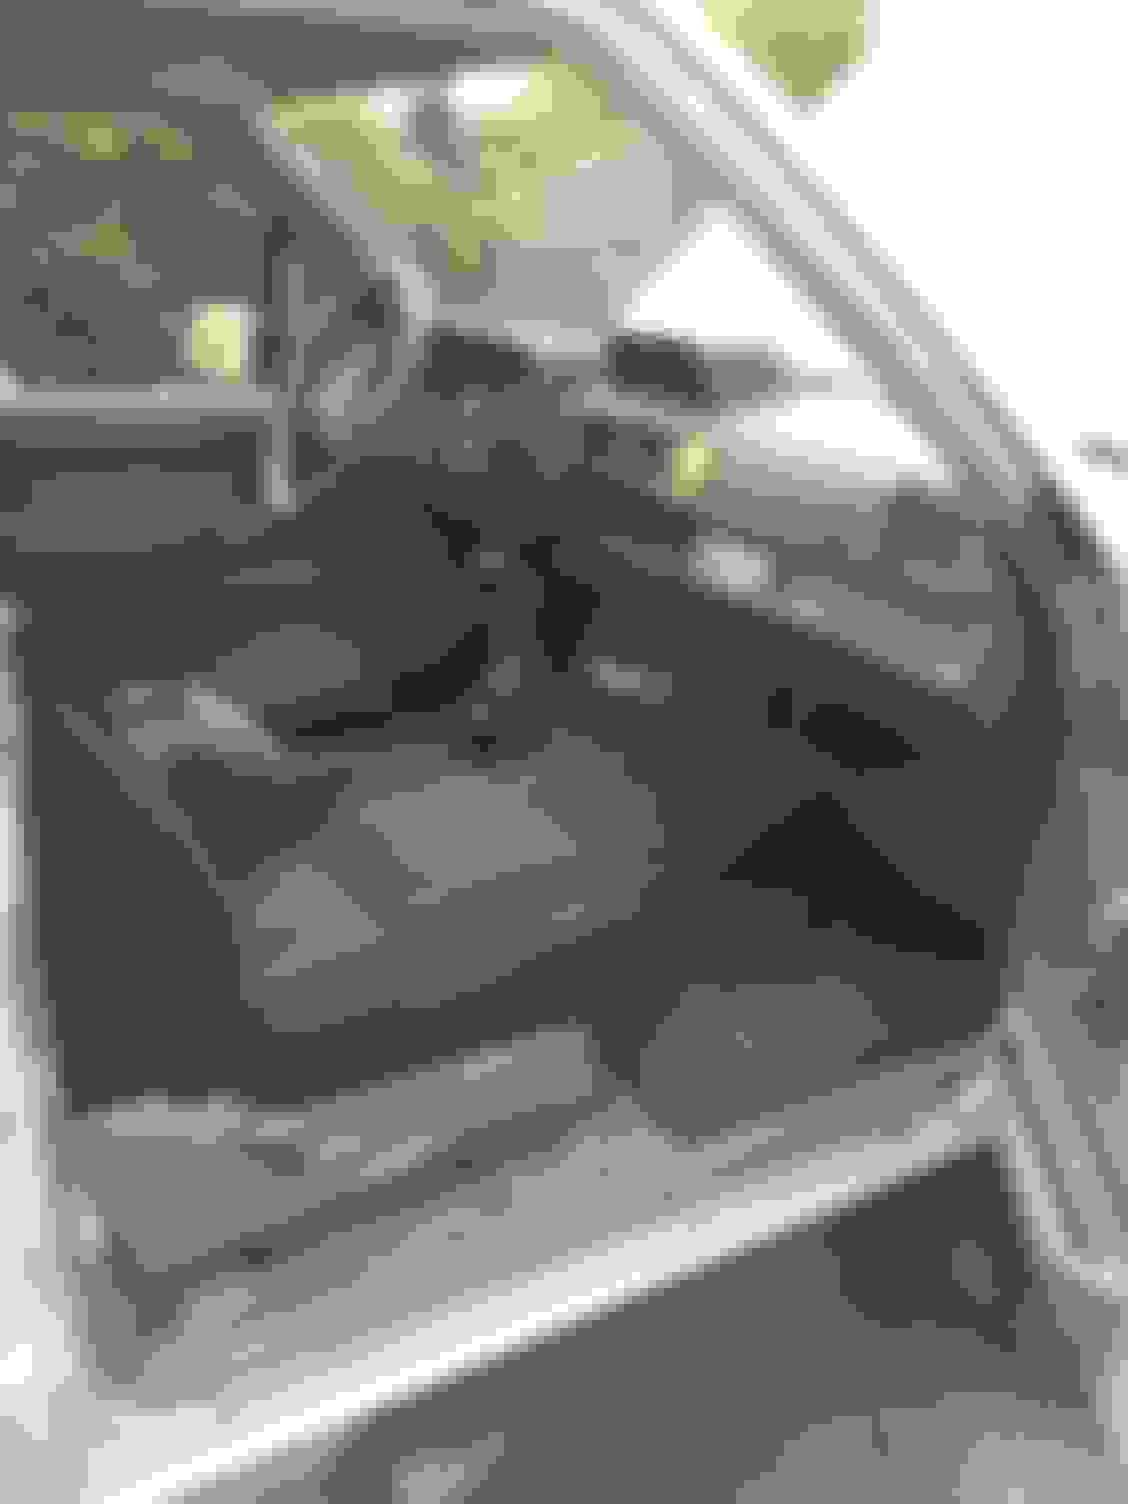
Yeah, looks REALLY good. I don't know if you already bought some, but I found some plastic clips from a company called Northland Fasteners that fit those square holes in the passenger door jambs and allow that piece of interior trim to be properly attached. I believe I also bought some black oxide screws that are decent factory replacements from same company. I also found the same clips also fit the holes in the trim piece right at the edge of the tailgate. Let me know if you want me to dig up those part numbers.
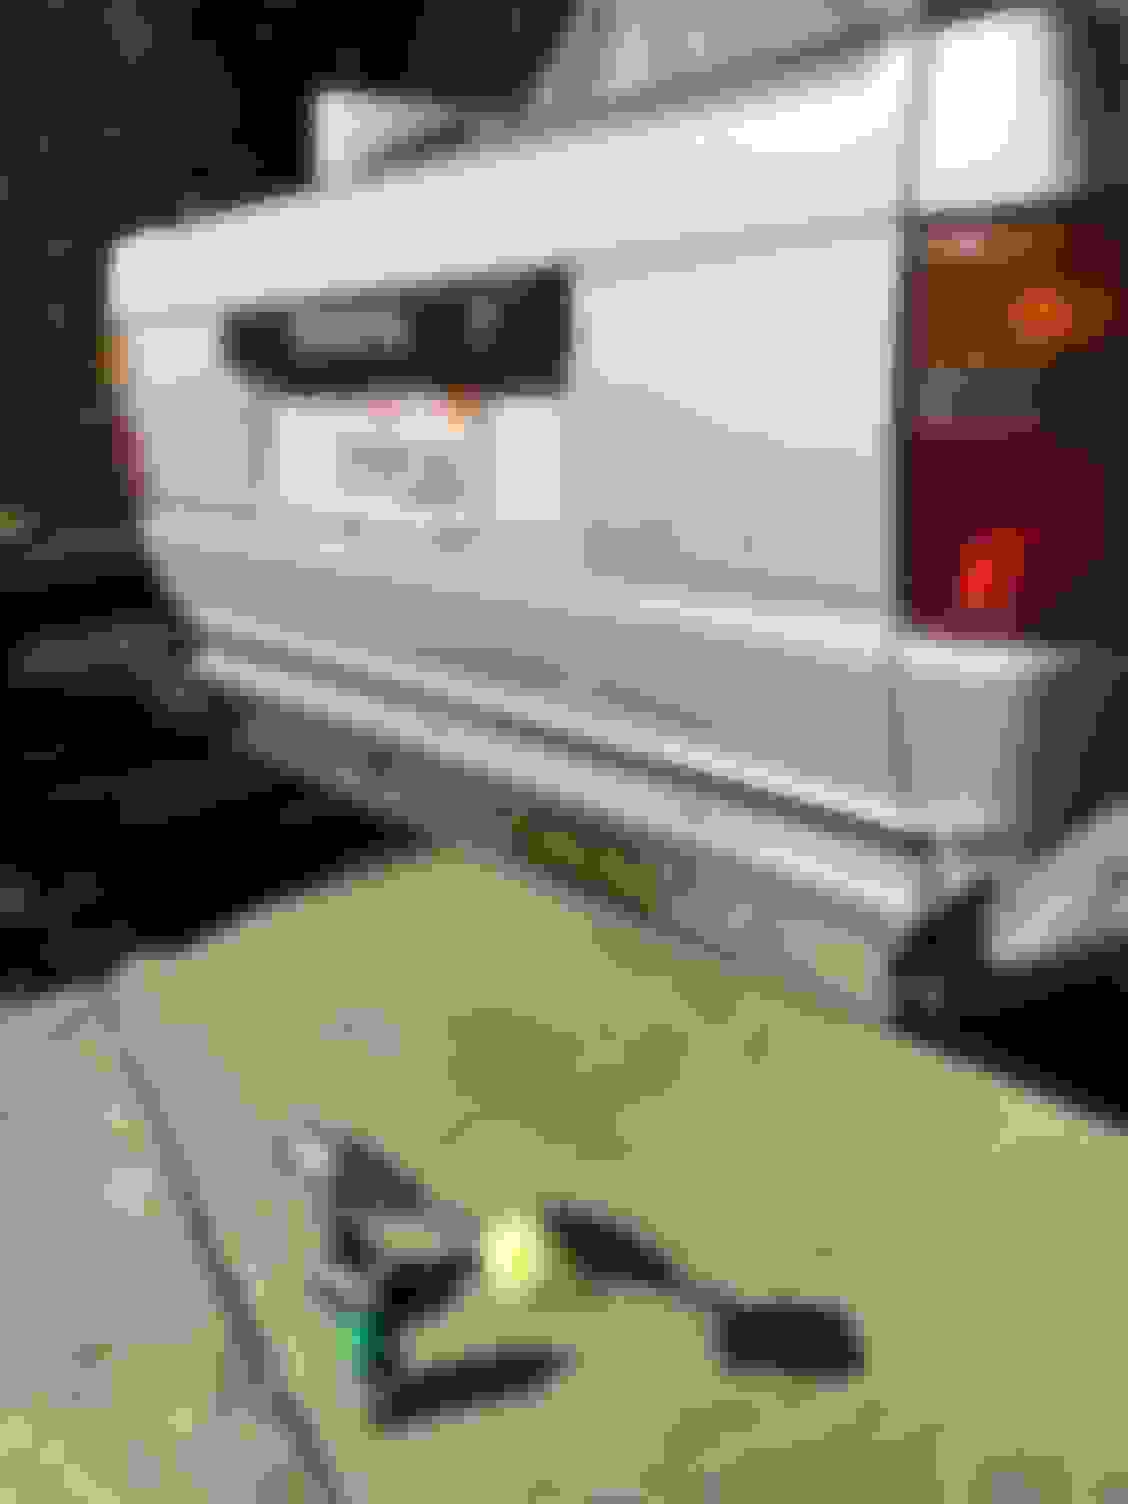
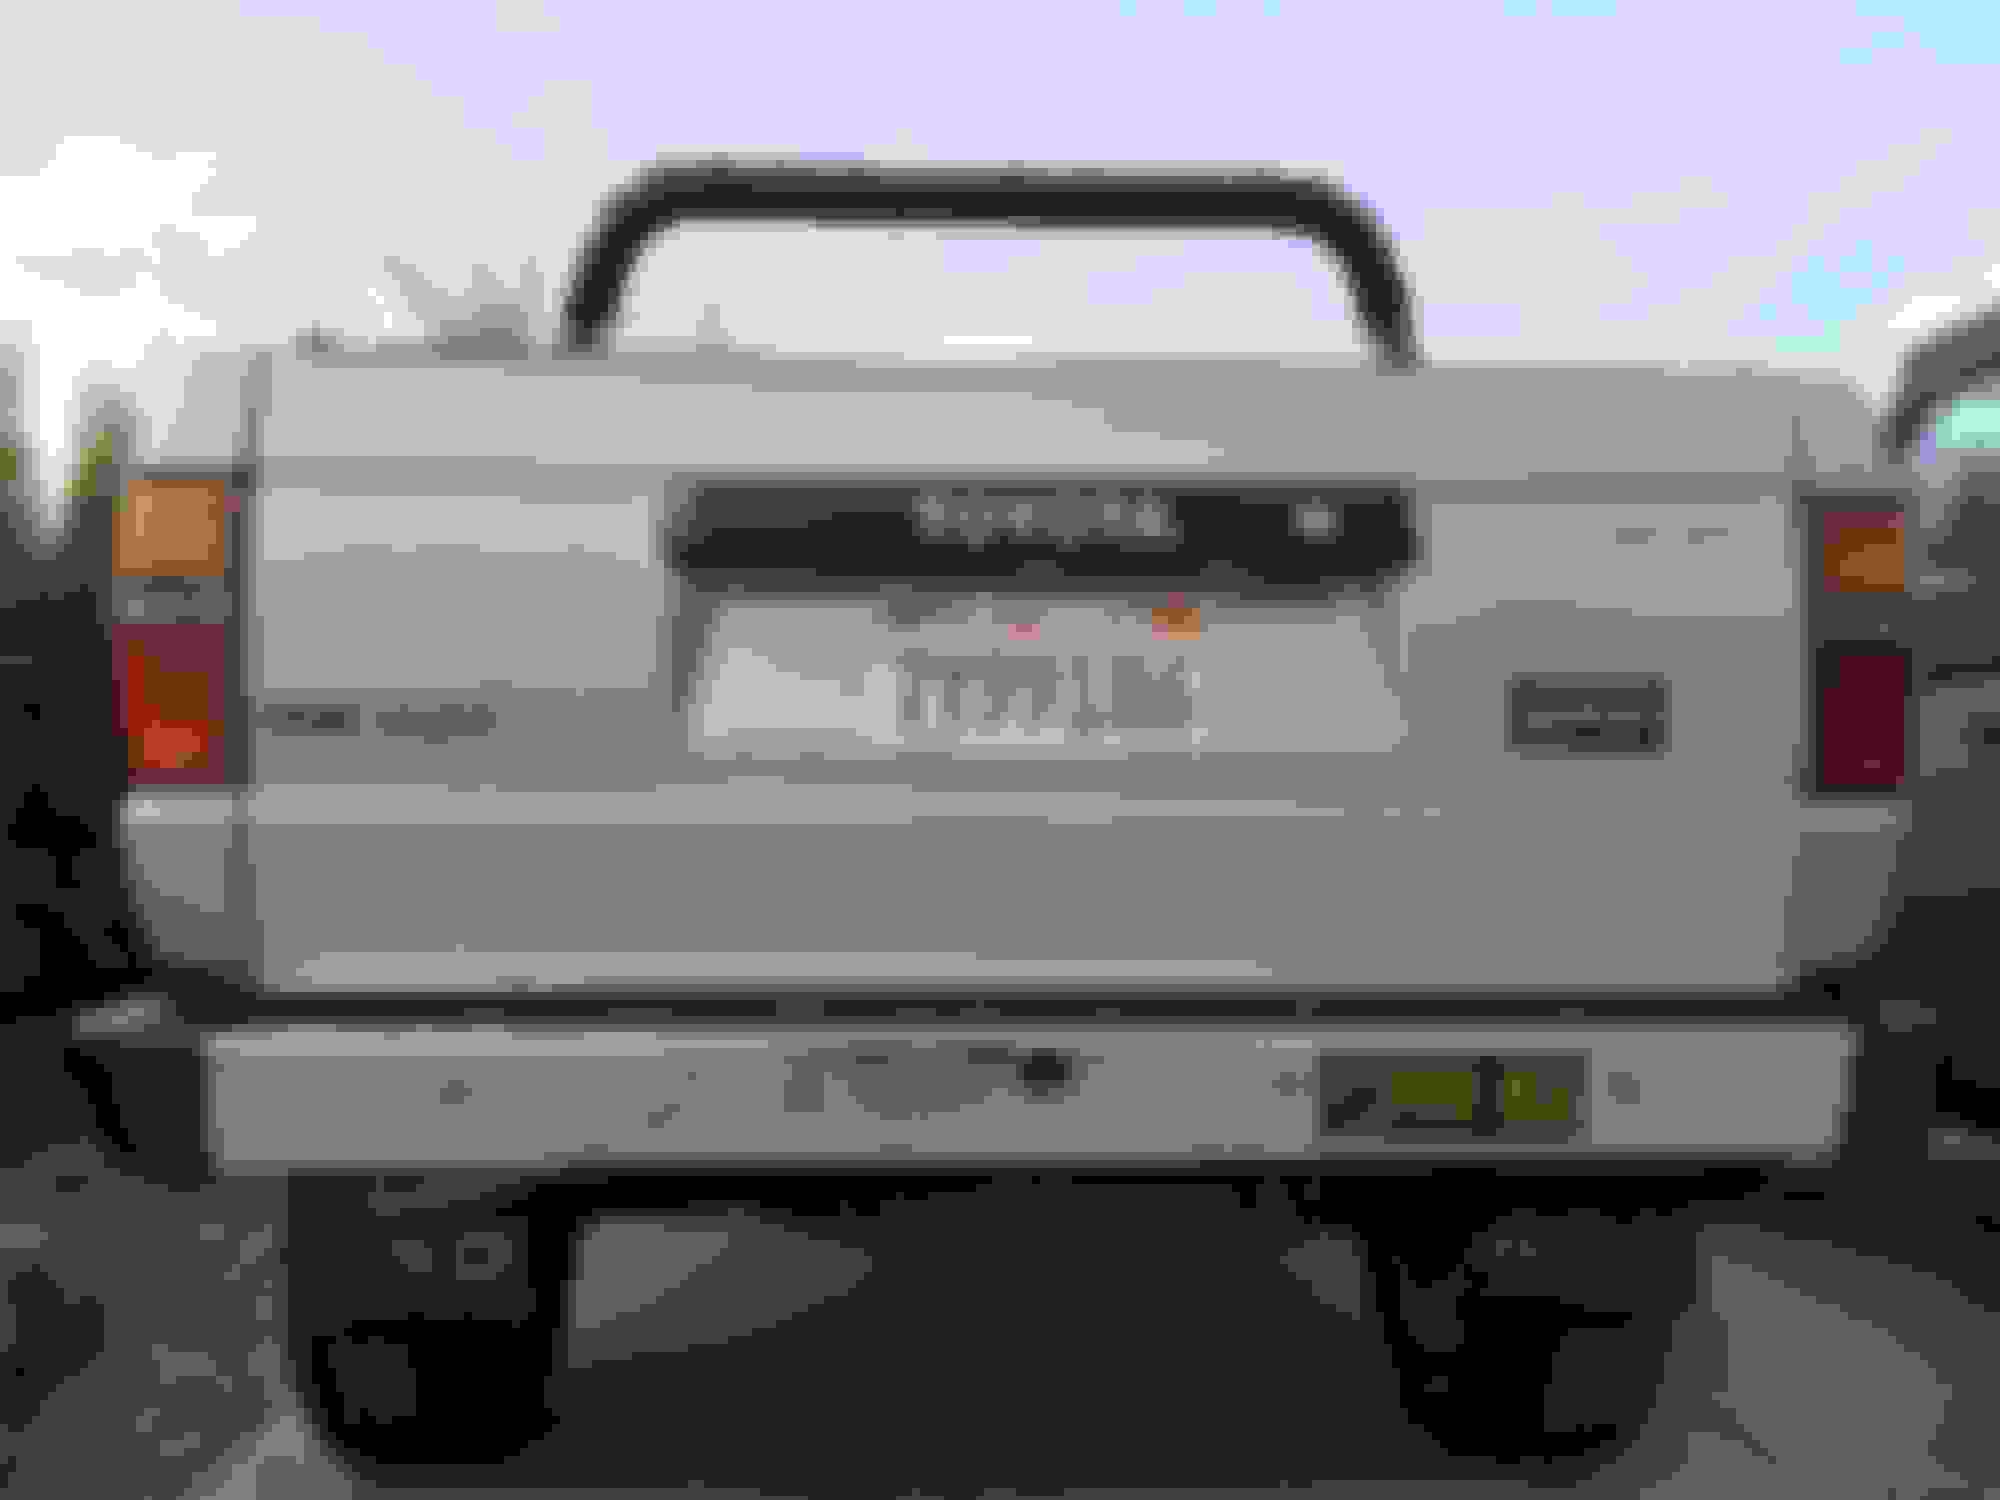
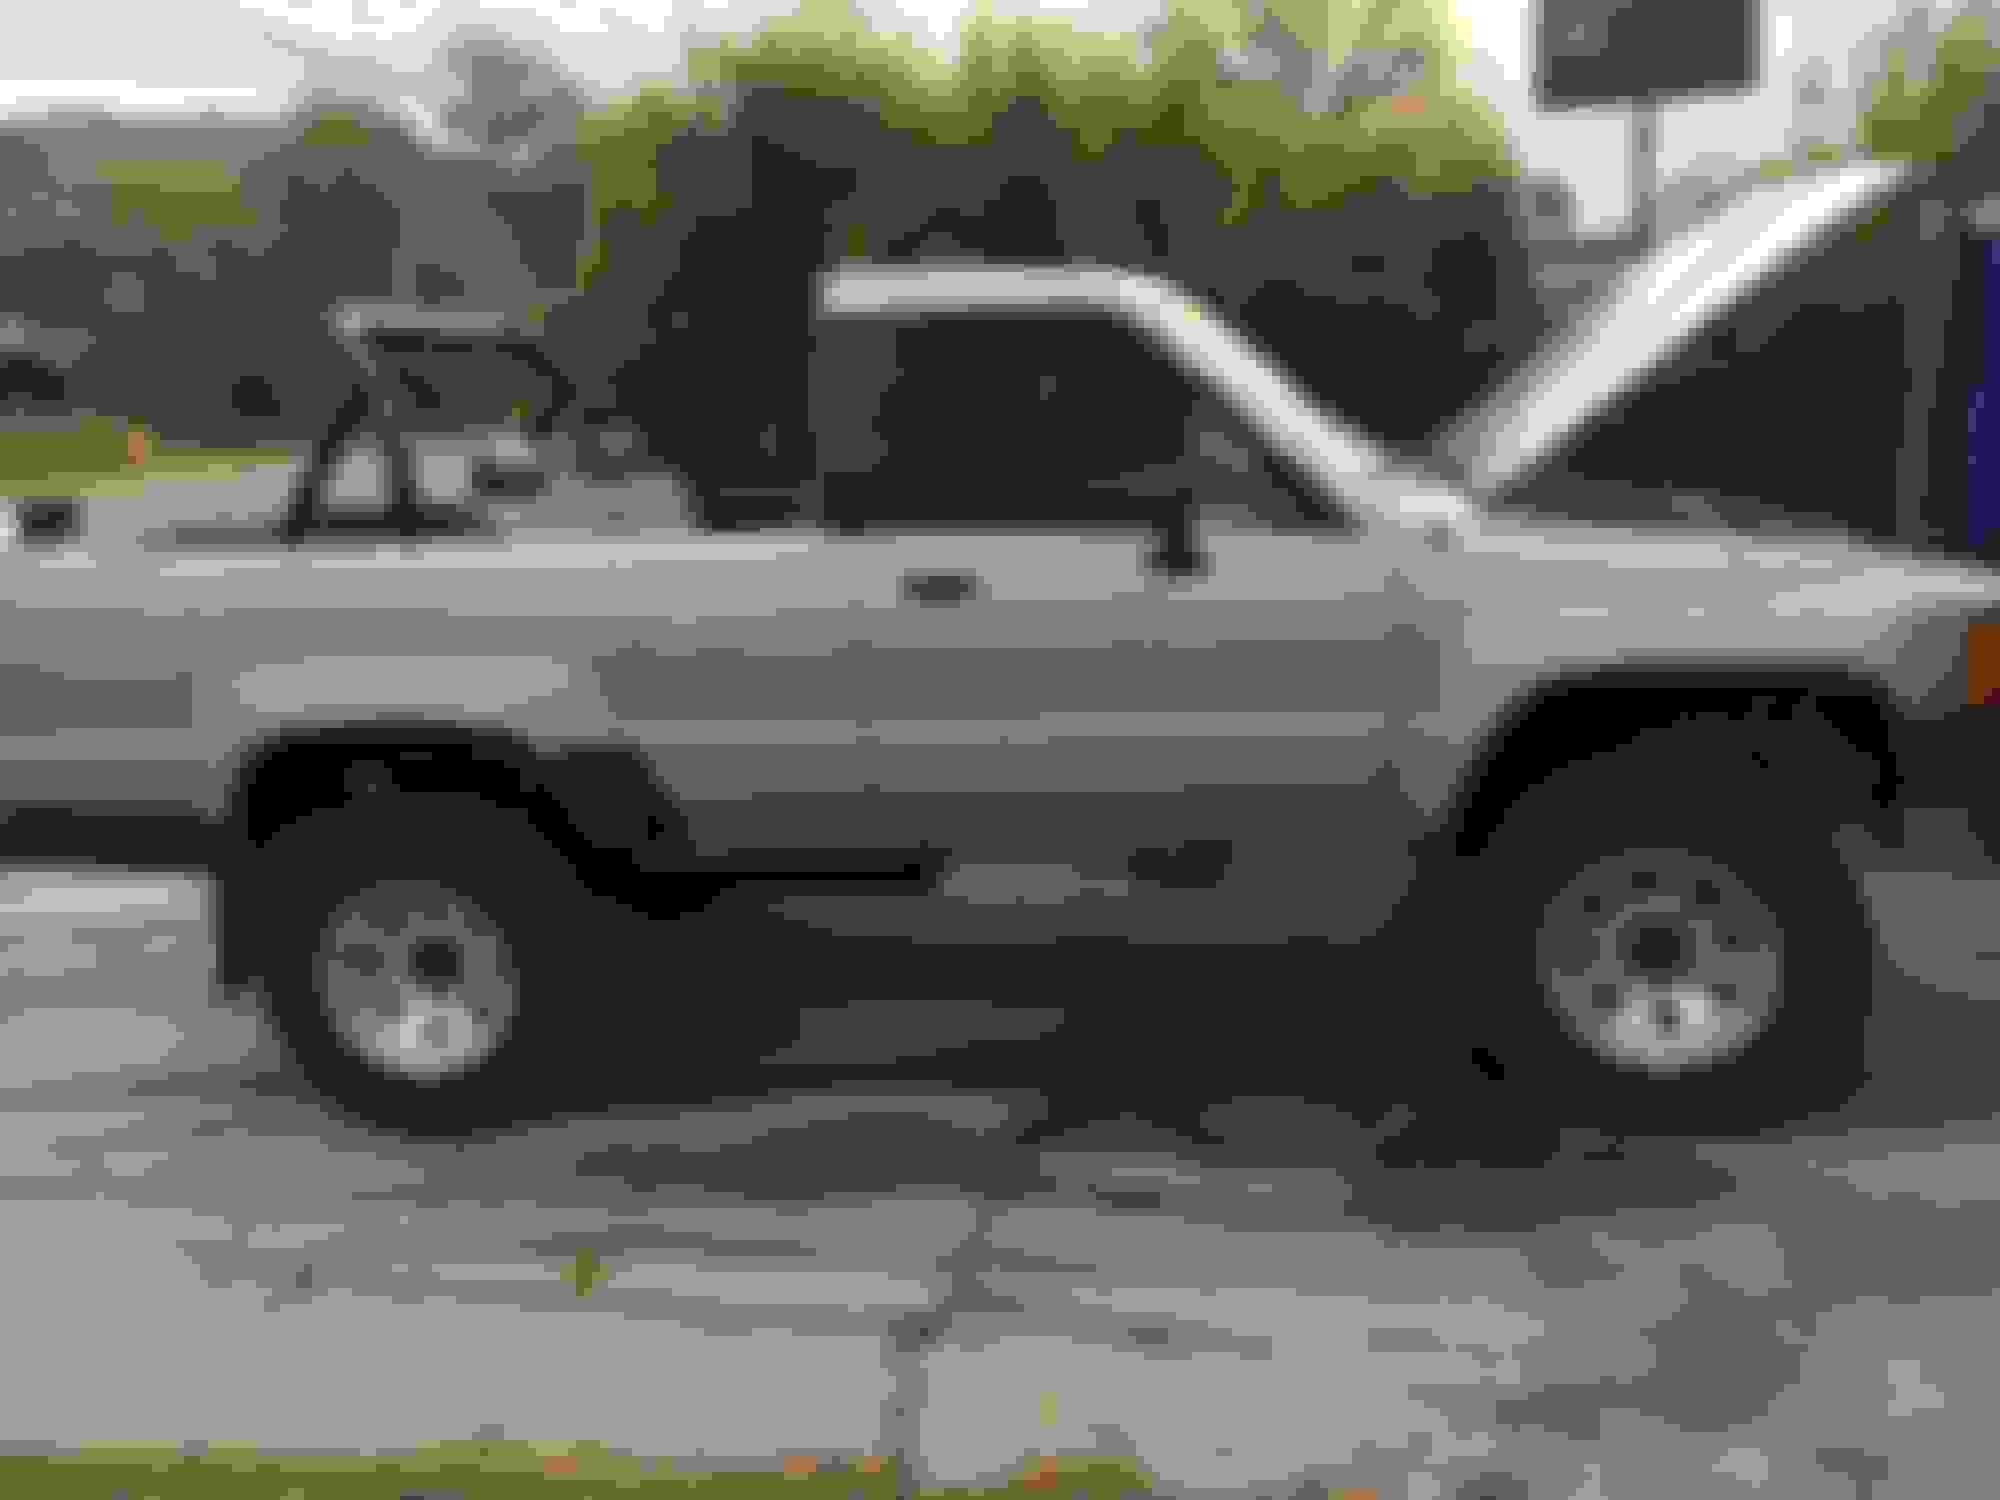
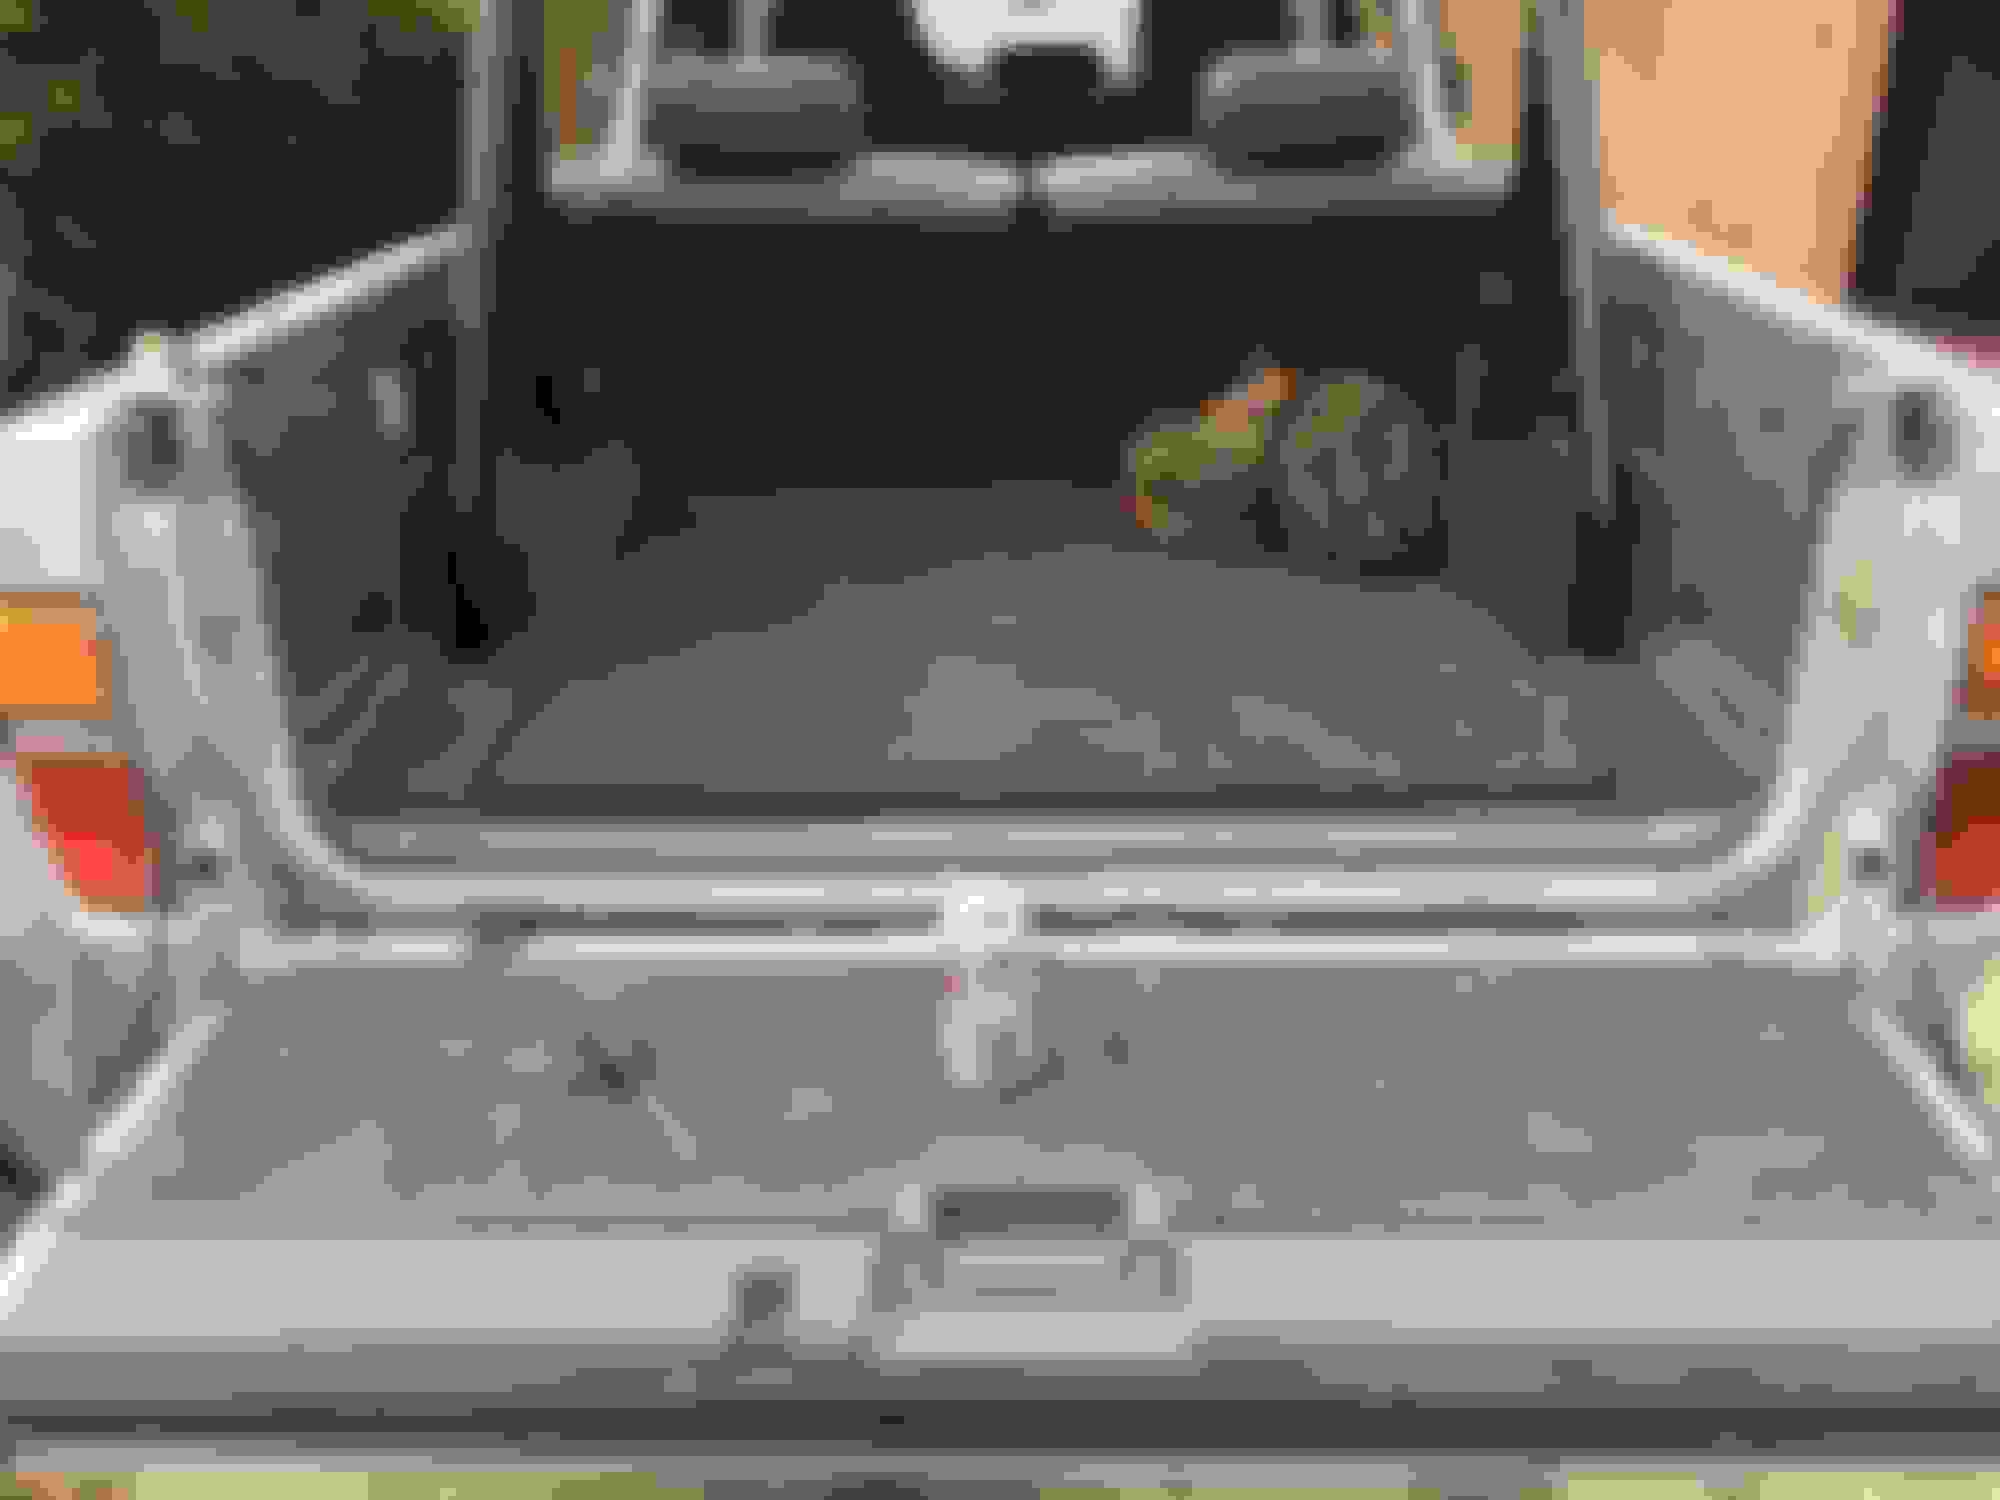
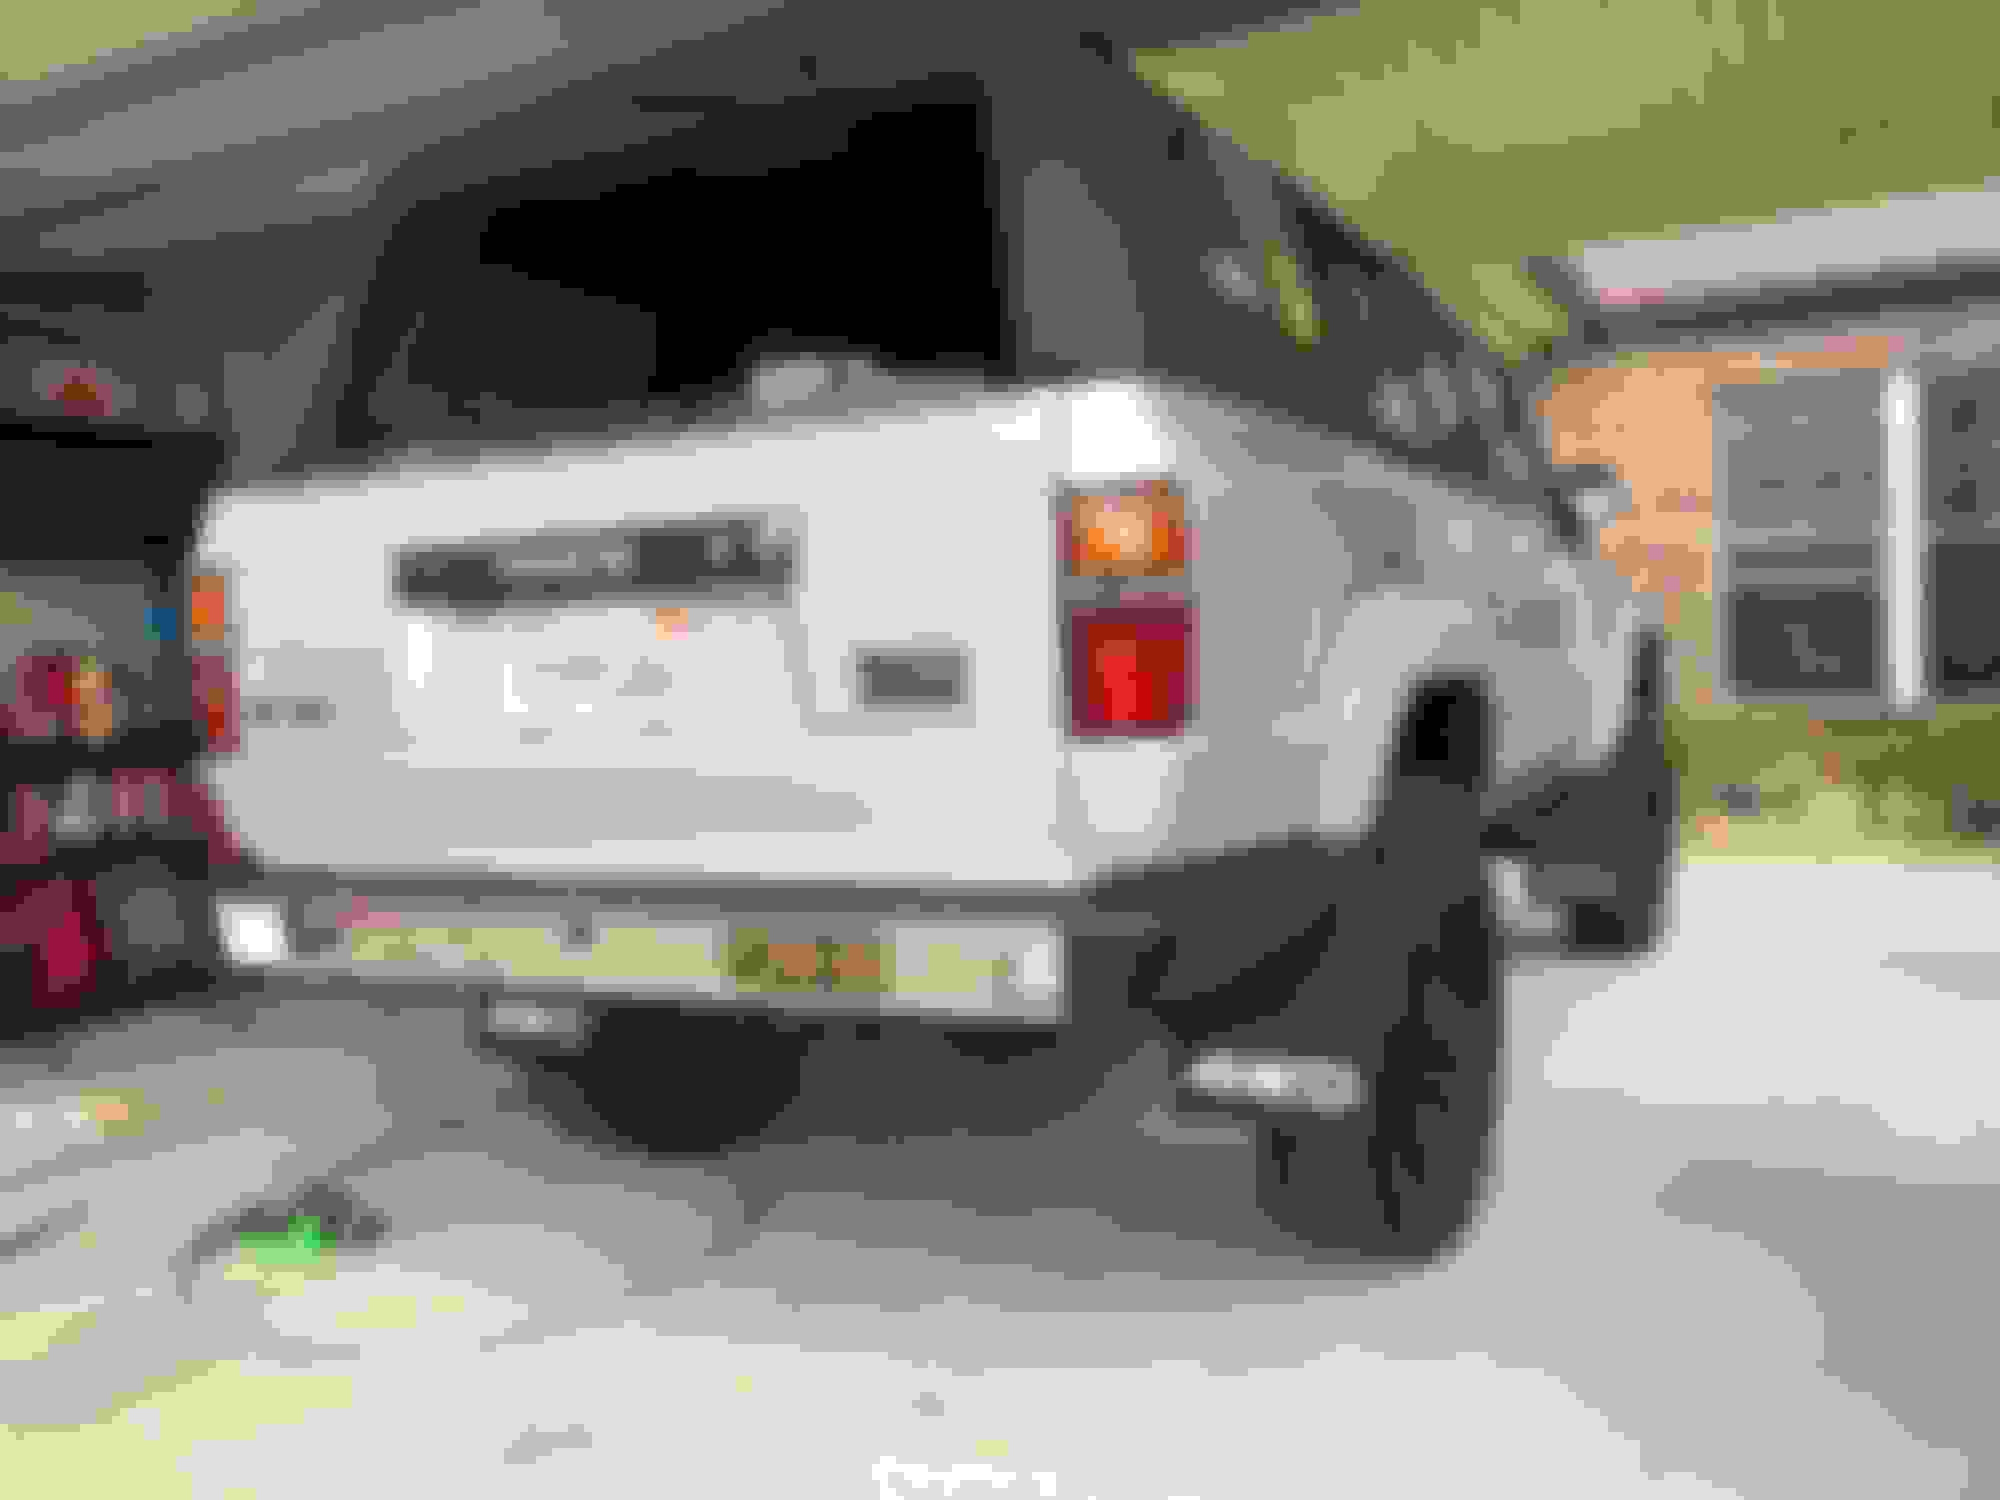
small progress today. got all the chrome fender pieces cleaned up and back on. bumper plastics painted and on. emblems cleaned up and back on. new plastic retainers for rear cargo plastics. engine bay degreasing. blue seat trim pieces painted to match the grey interior. grill is in and cleaned up. tail gate brace retainers in (thanks for the p/n nc87runner)
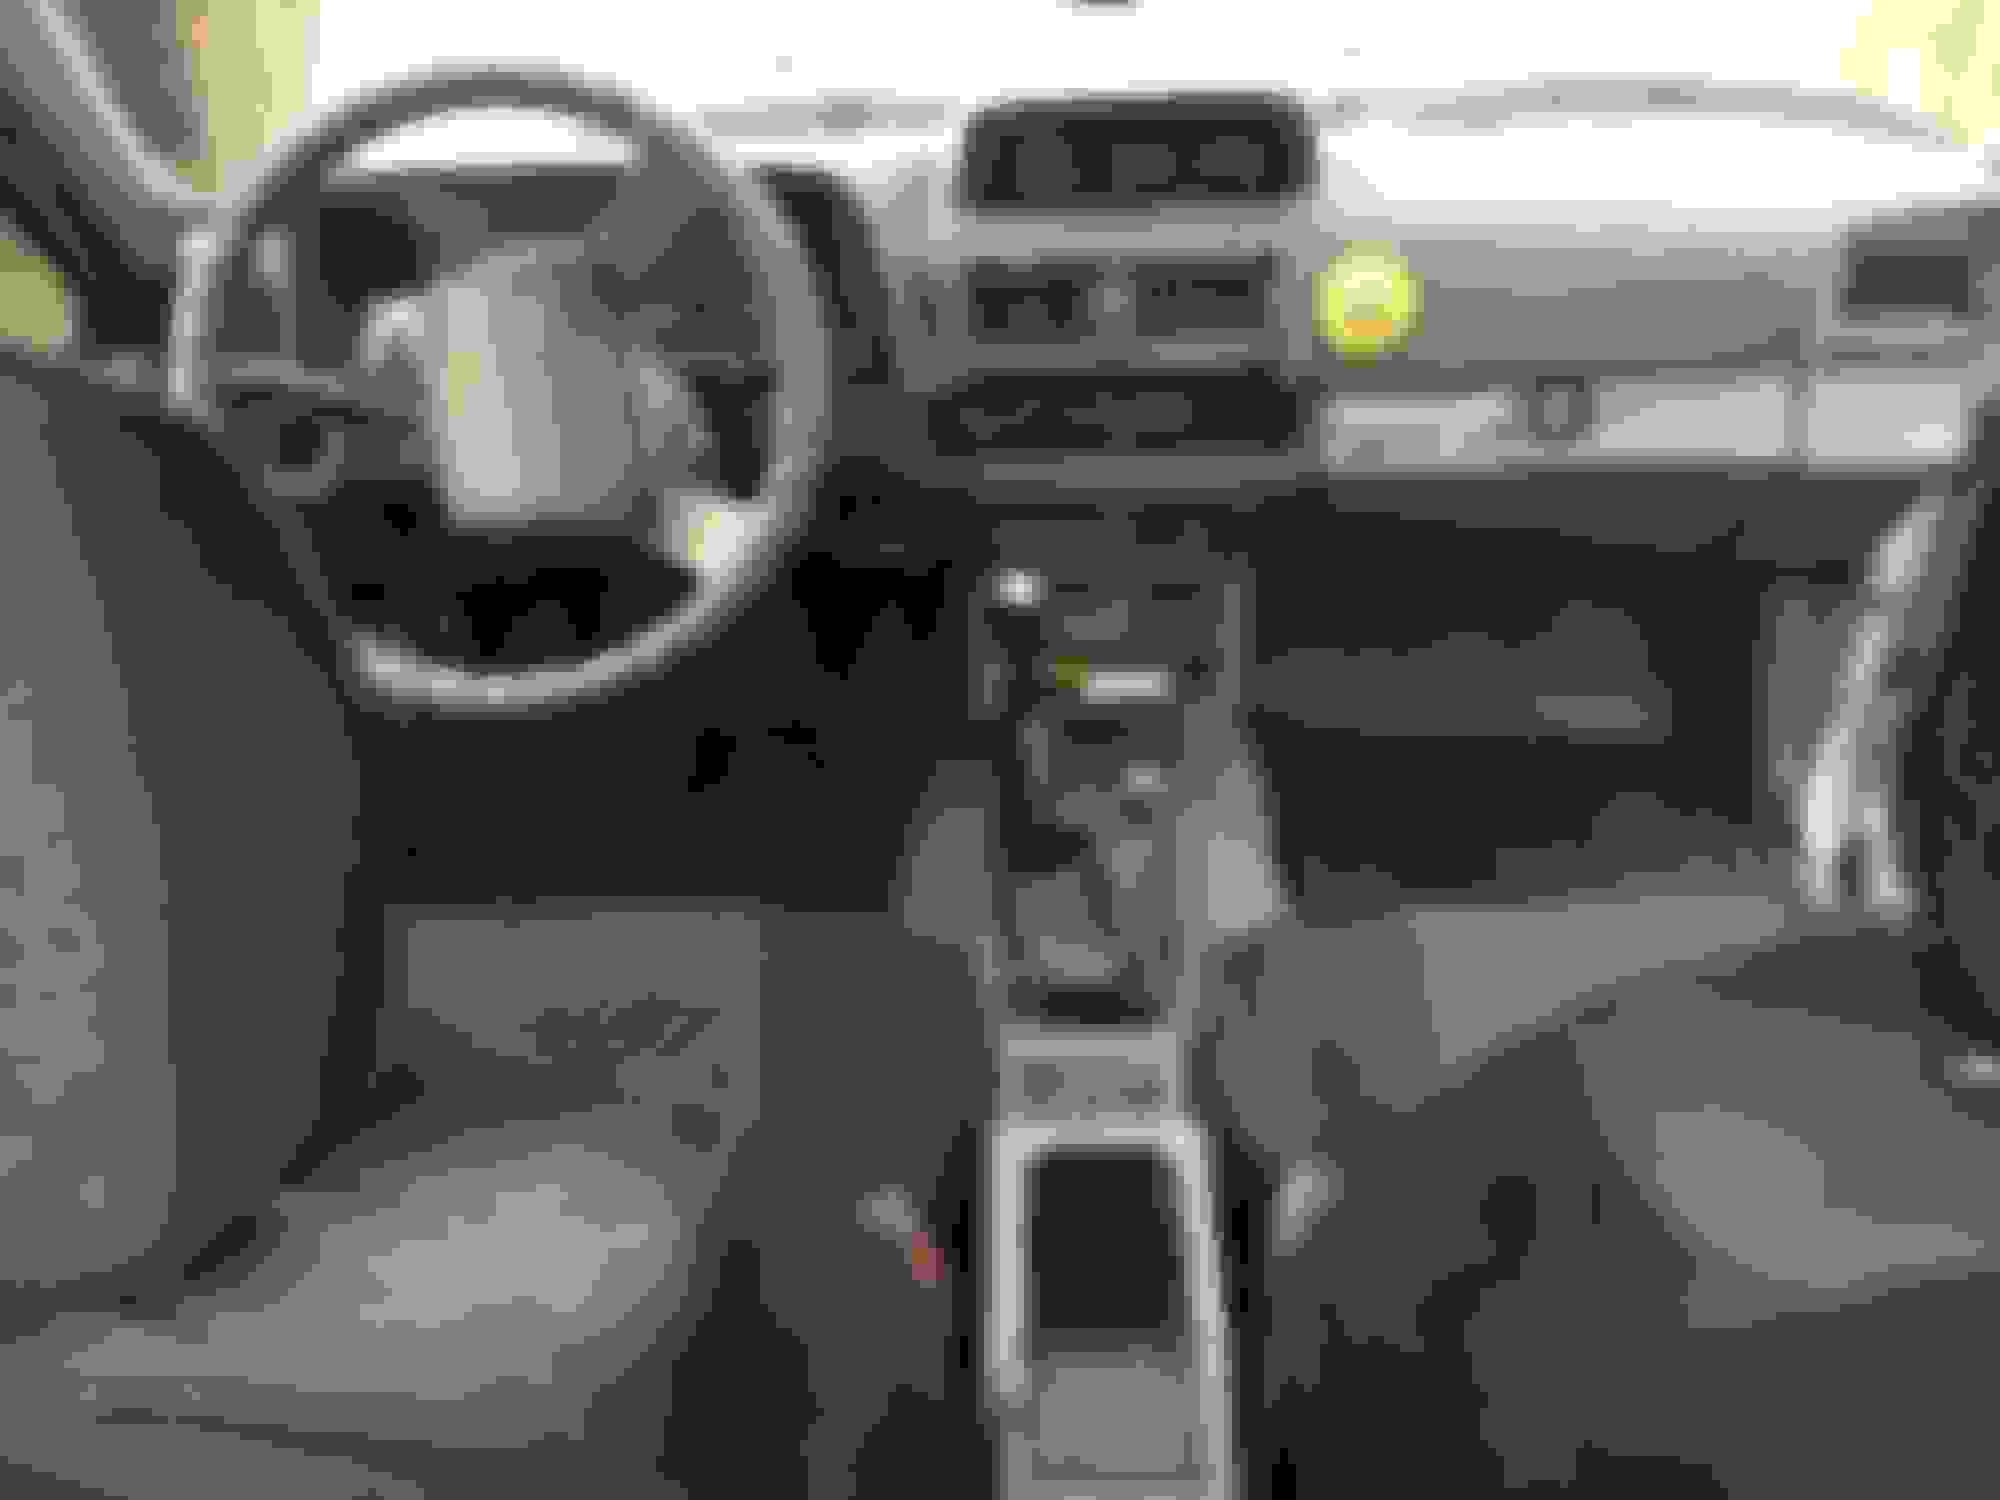
so far so good. i need to replace some light lenses, replace my headliner unfortunately theres a big surfboard fin tear in it, and do the windshield gasket mod.
Yeah, looks REALLY good. I don't know if you already bought some, but I found some plastic clips from a company called Northland Fasteners that fit those square holes in the passenger door jambs and allow that piece of interior trim to be properly attached. I believe I also bought some black oxide screws that are decent factory replacements from same company. I also found the same clips also fit the holes in the trim piece right at the edge of the tailgate. Let me know if you want me to dig up those part numbers.
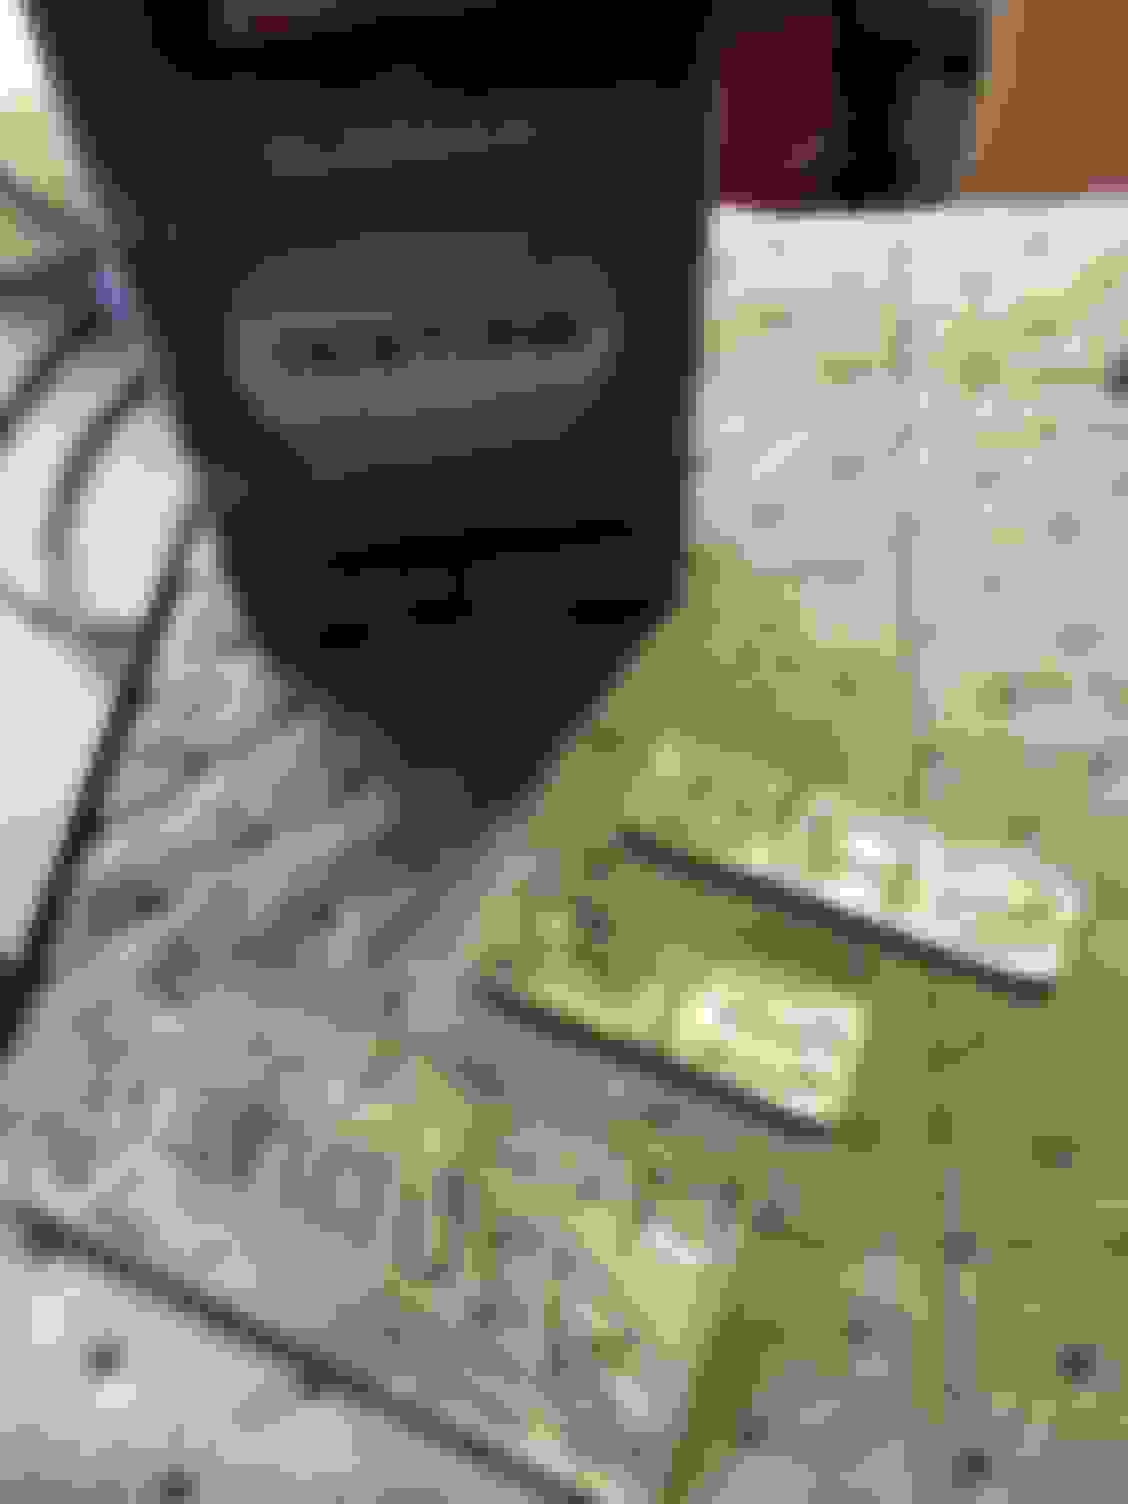
believe it or not the plastic retainers are fine and i got some black screws, its the plastic trim that needs replacing. ill find some laying around a pick and pull im sure.
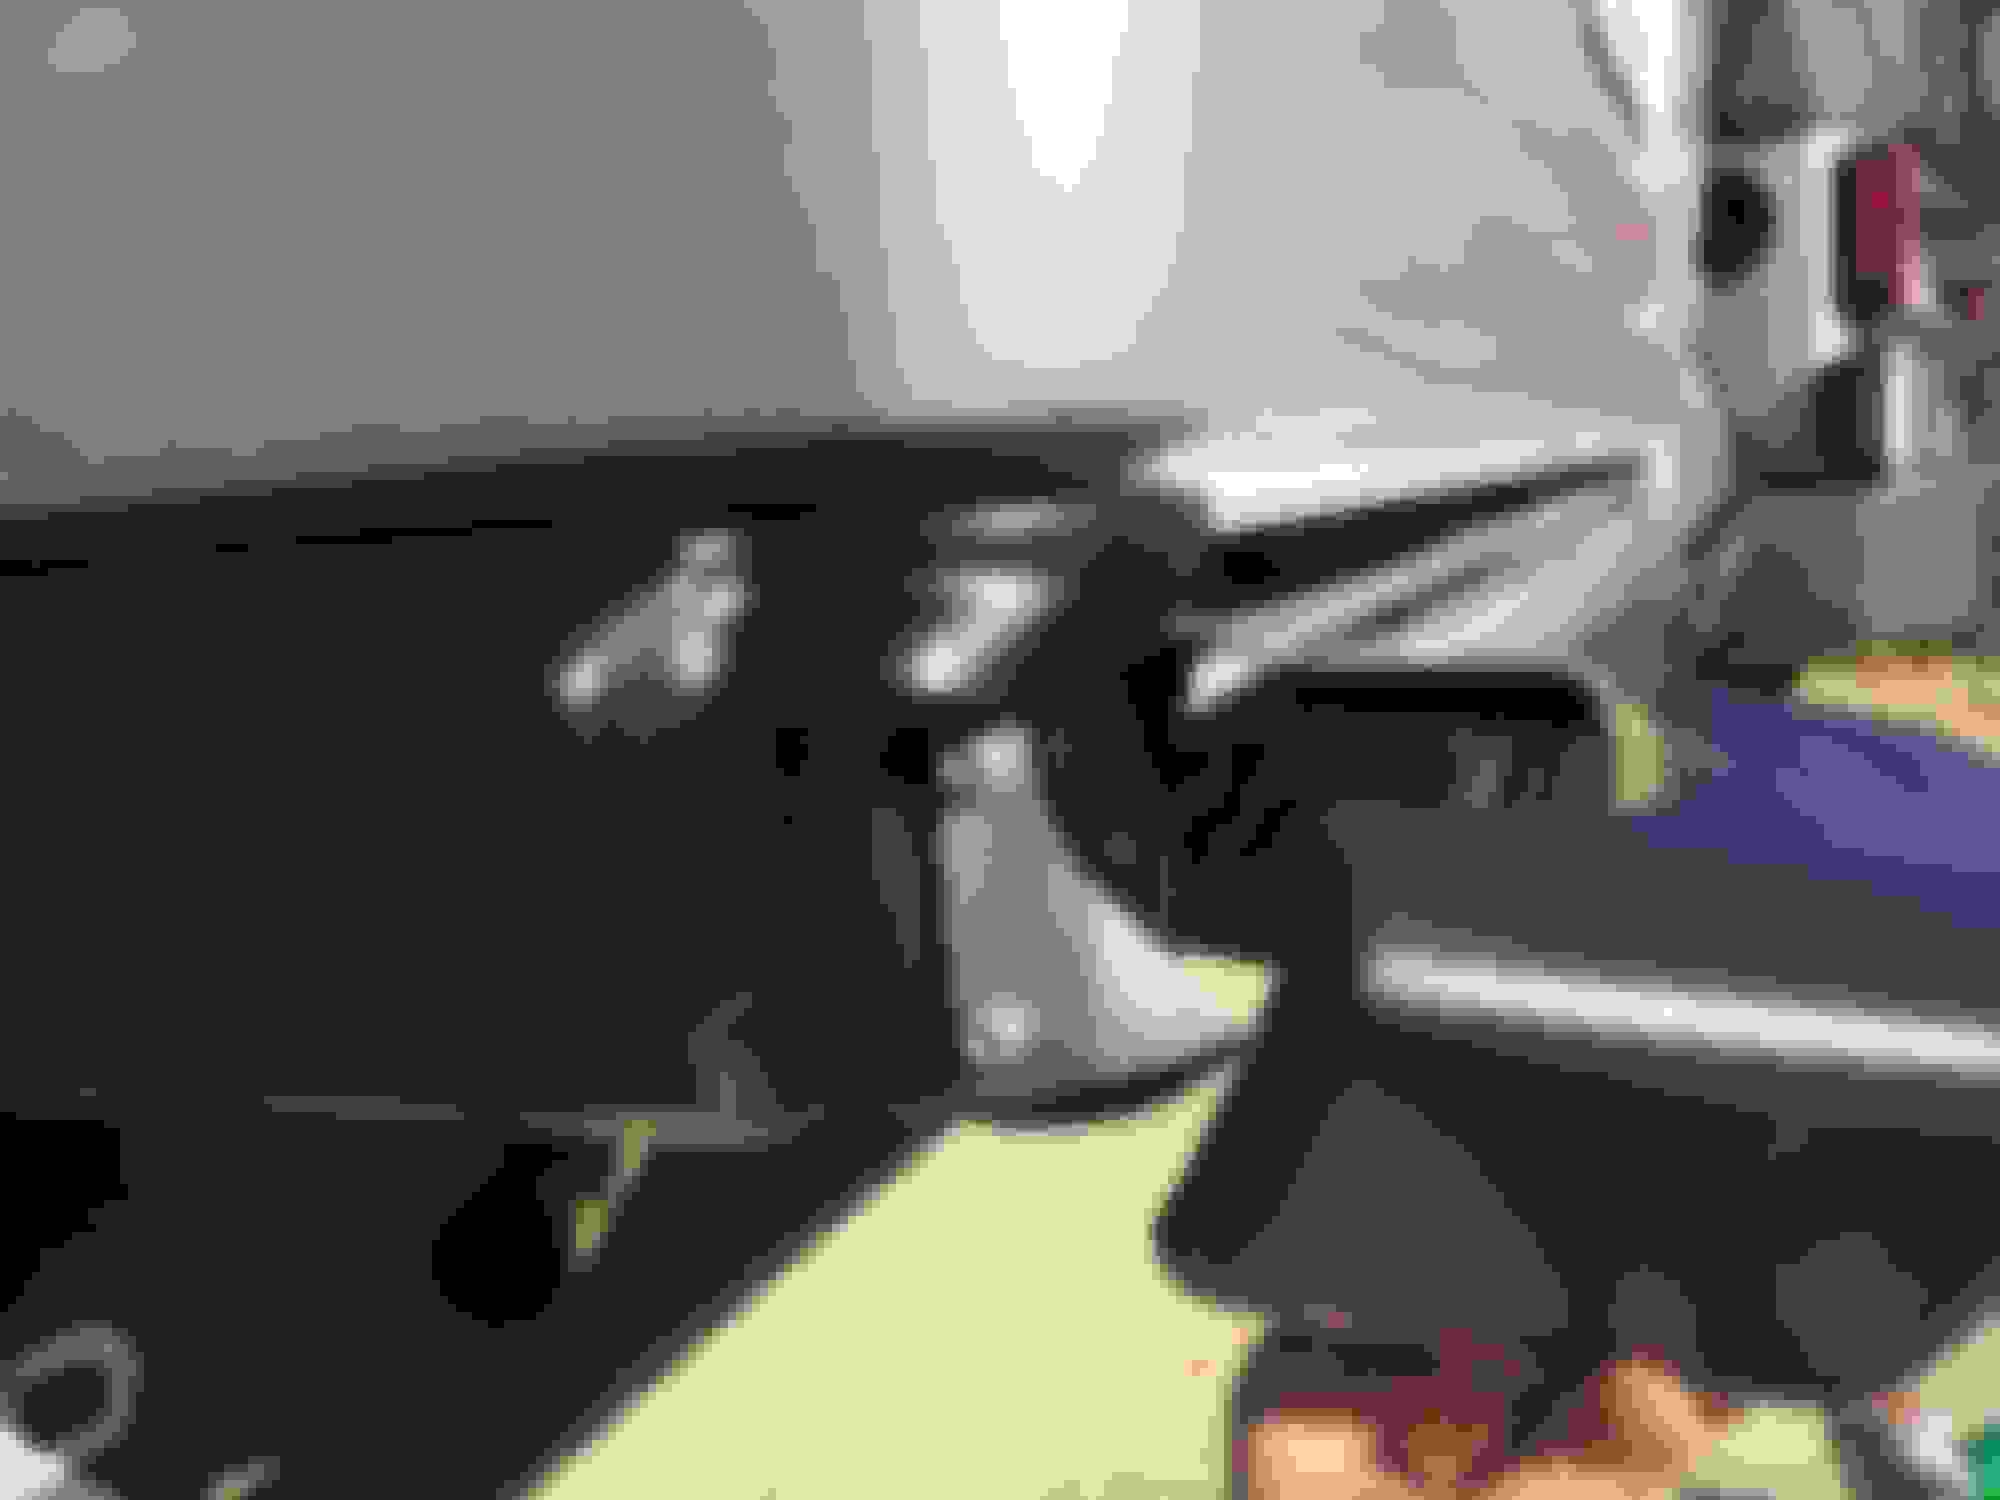
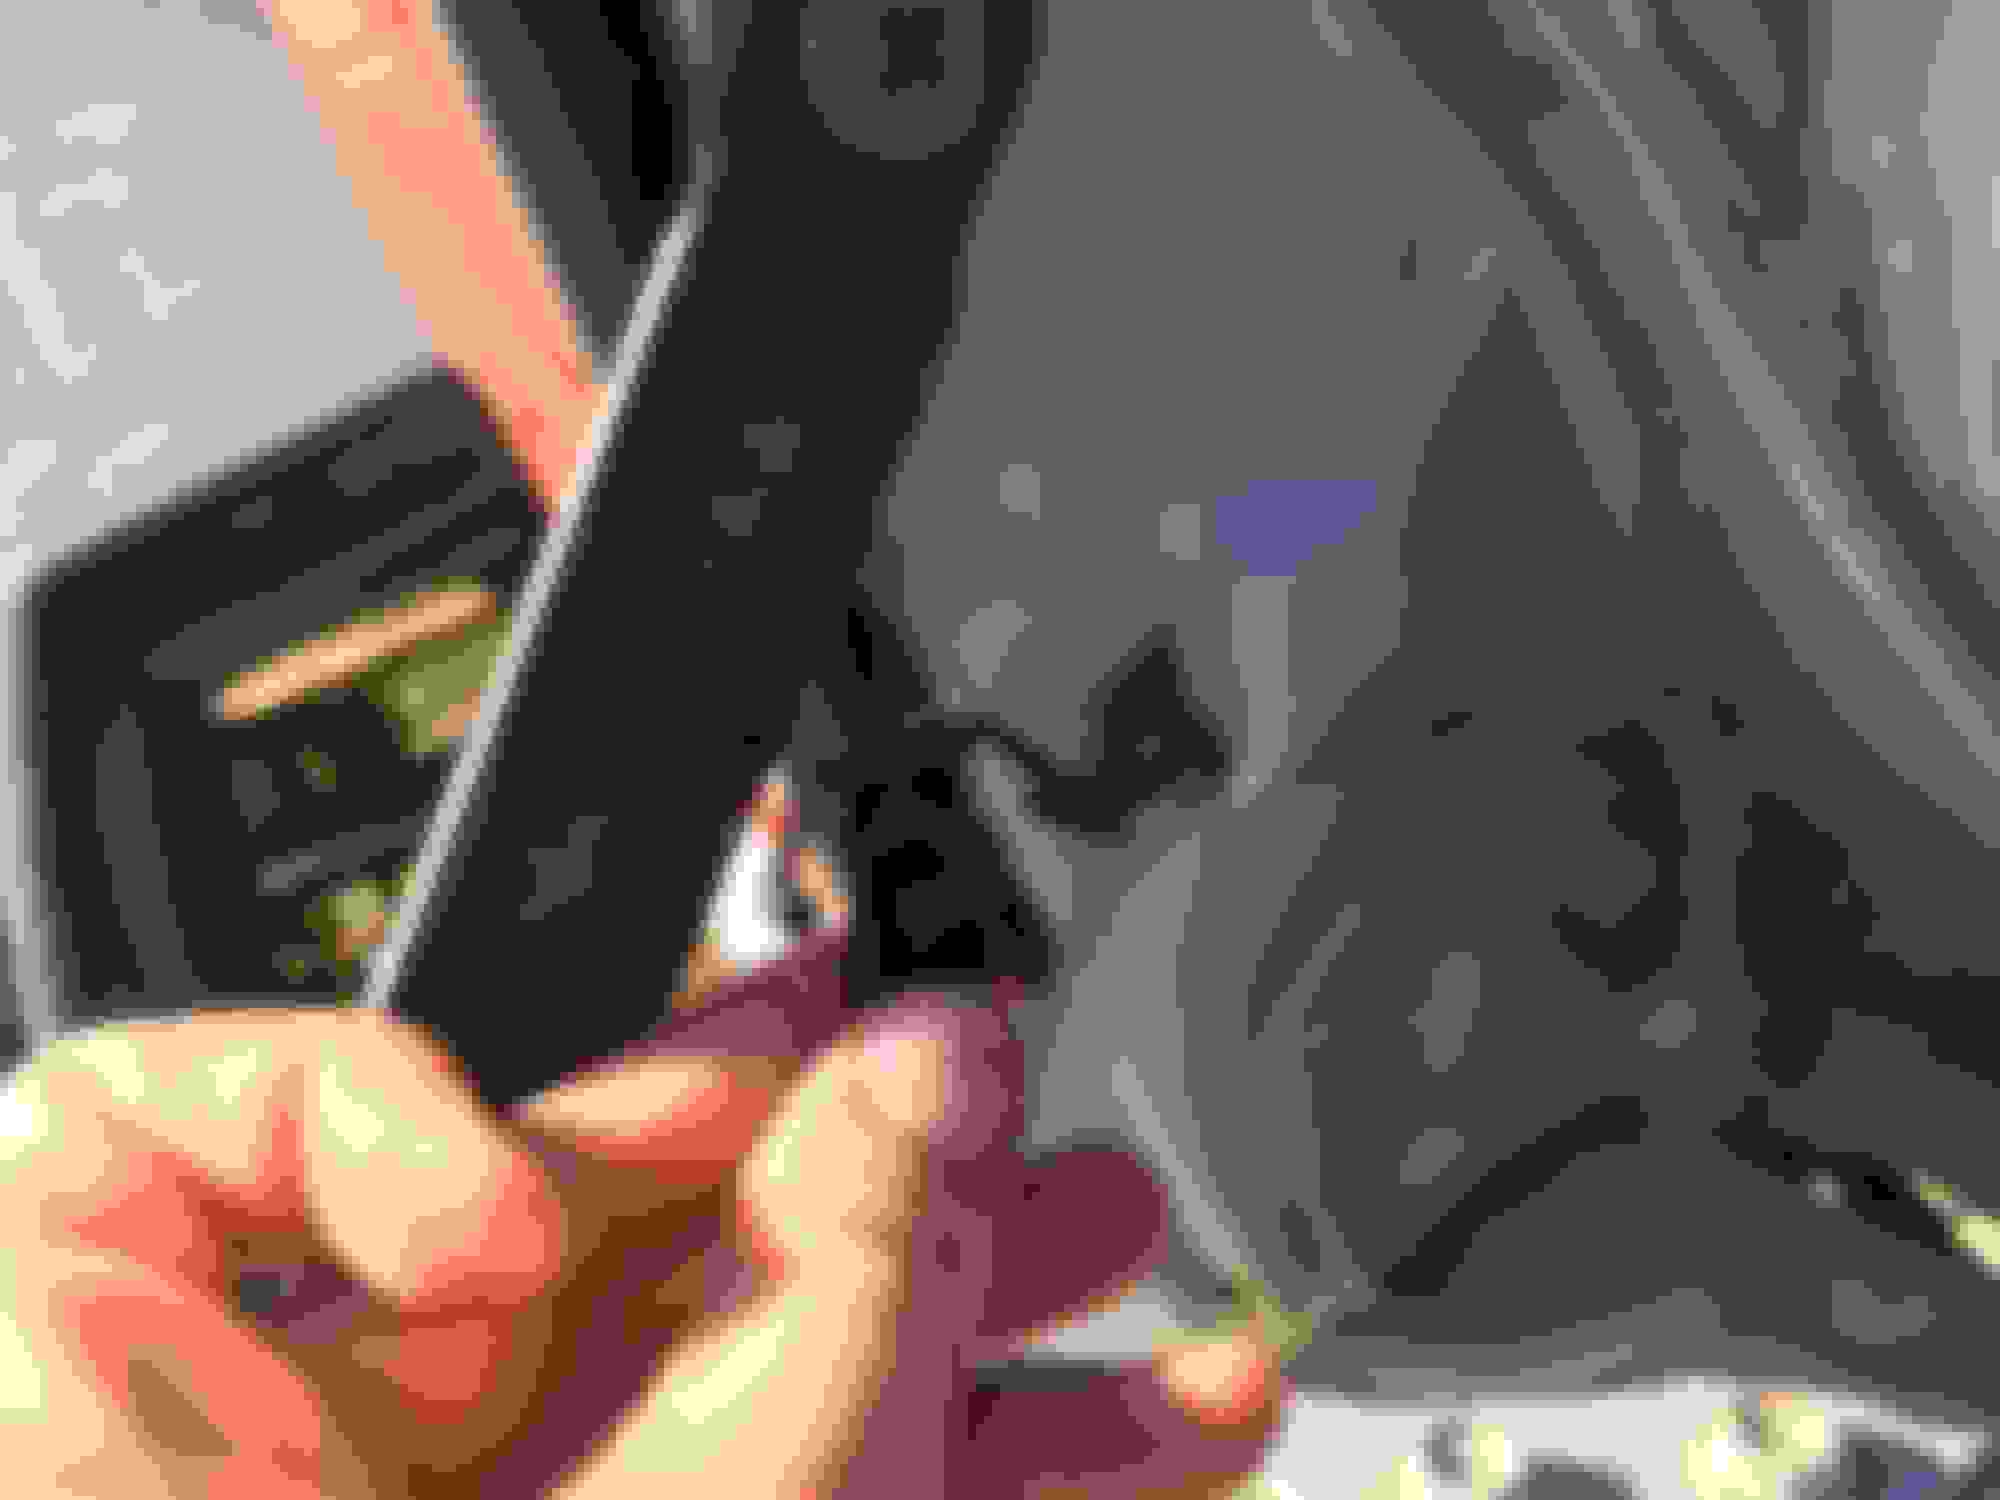
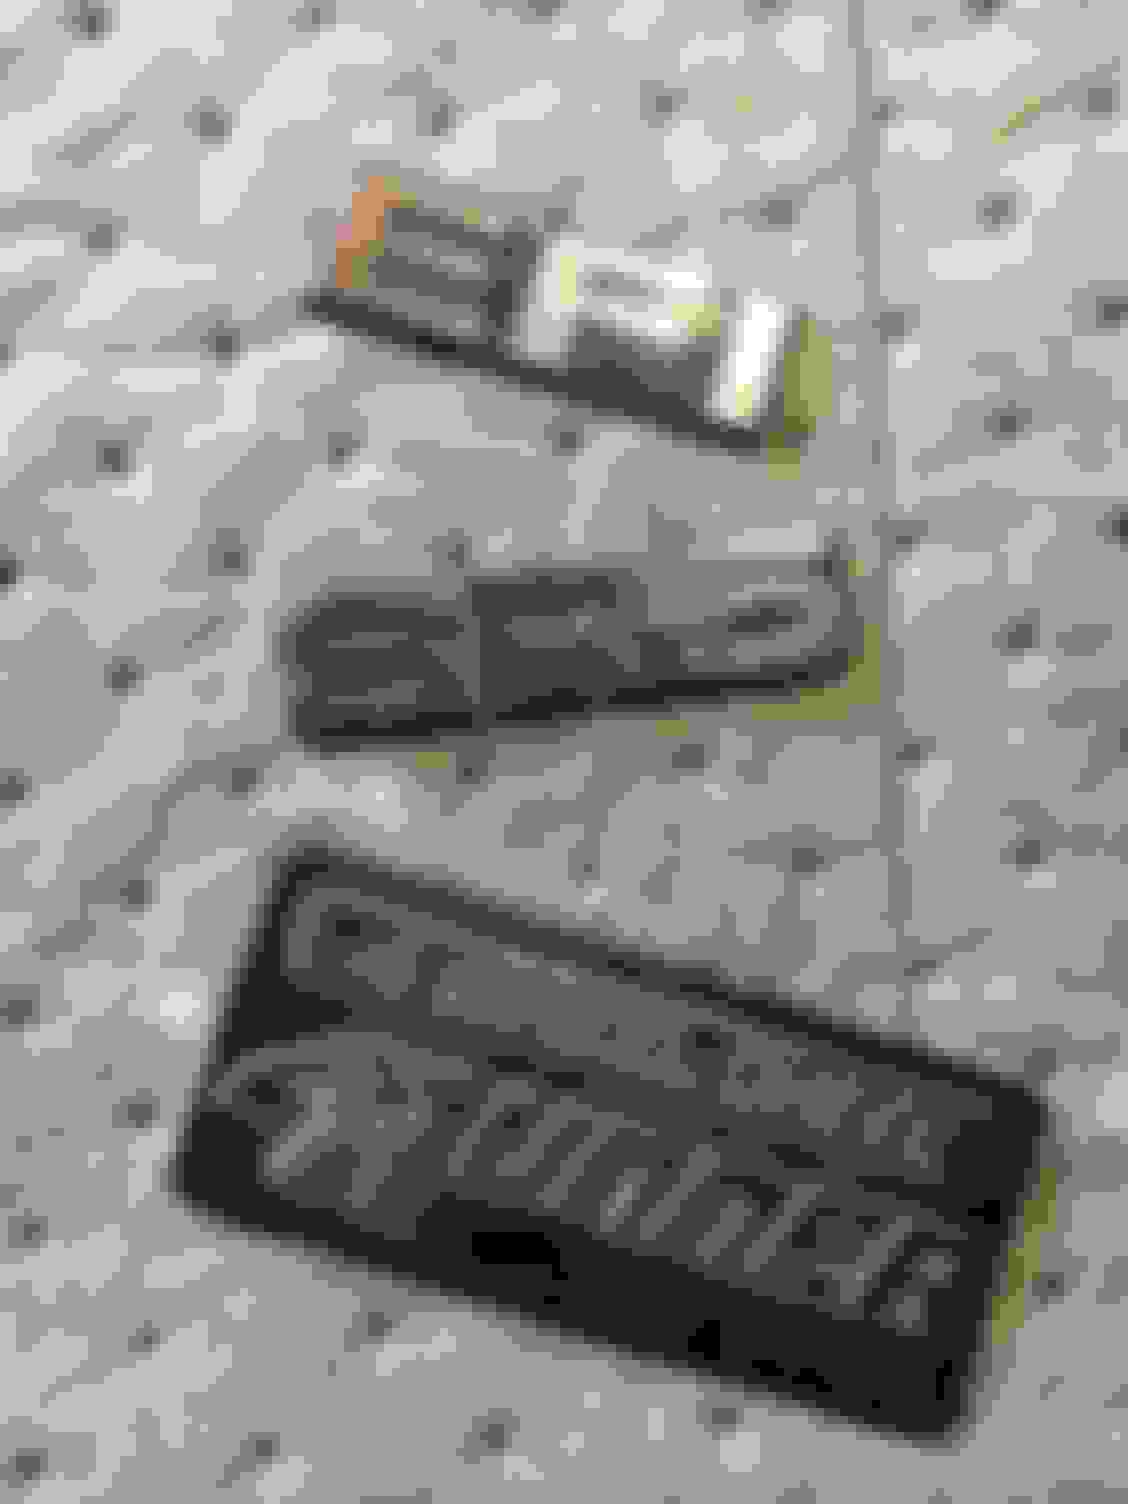
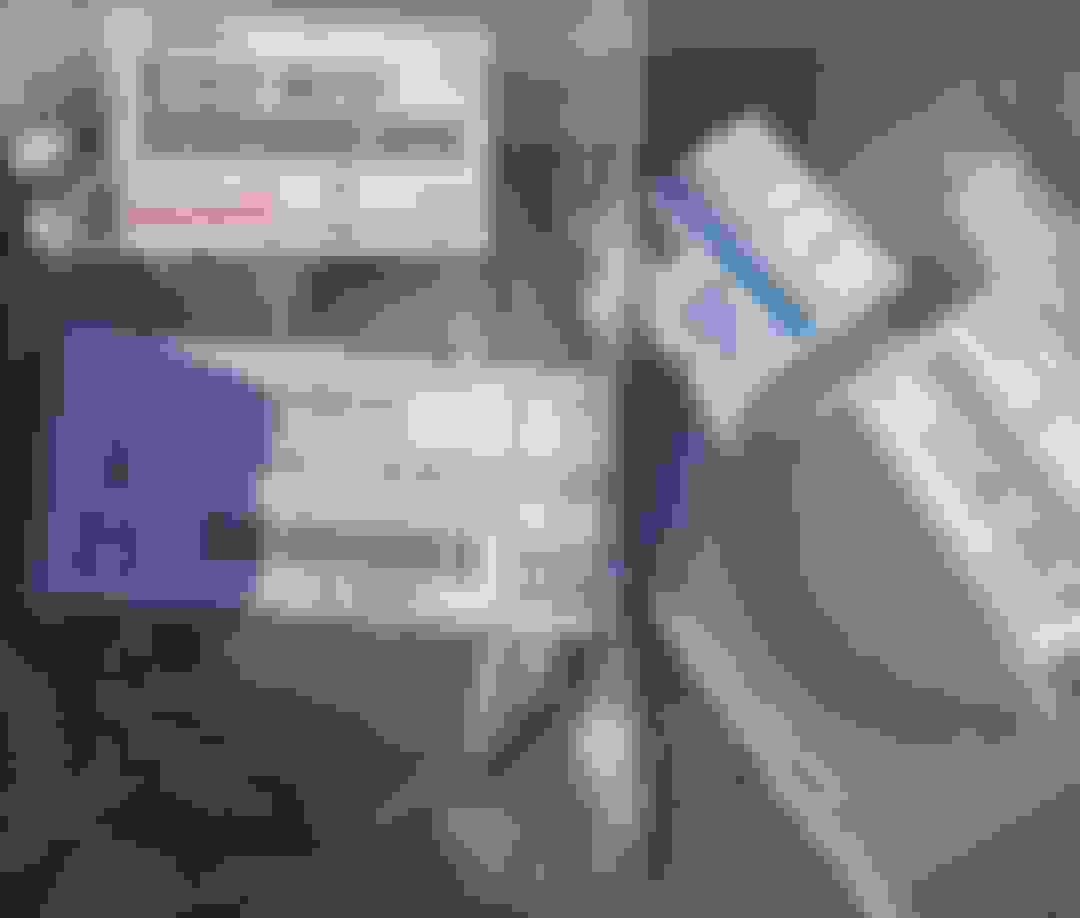
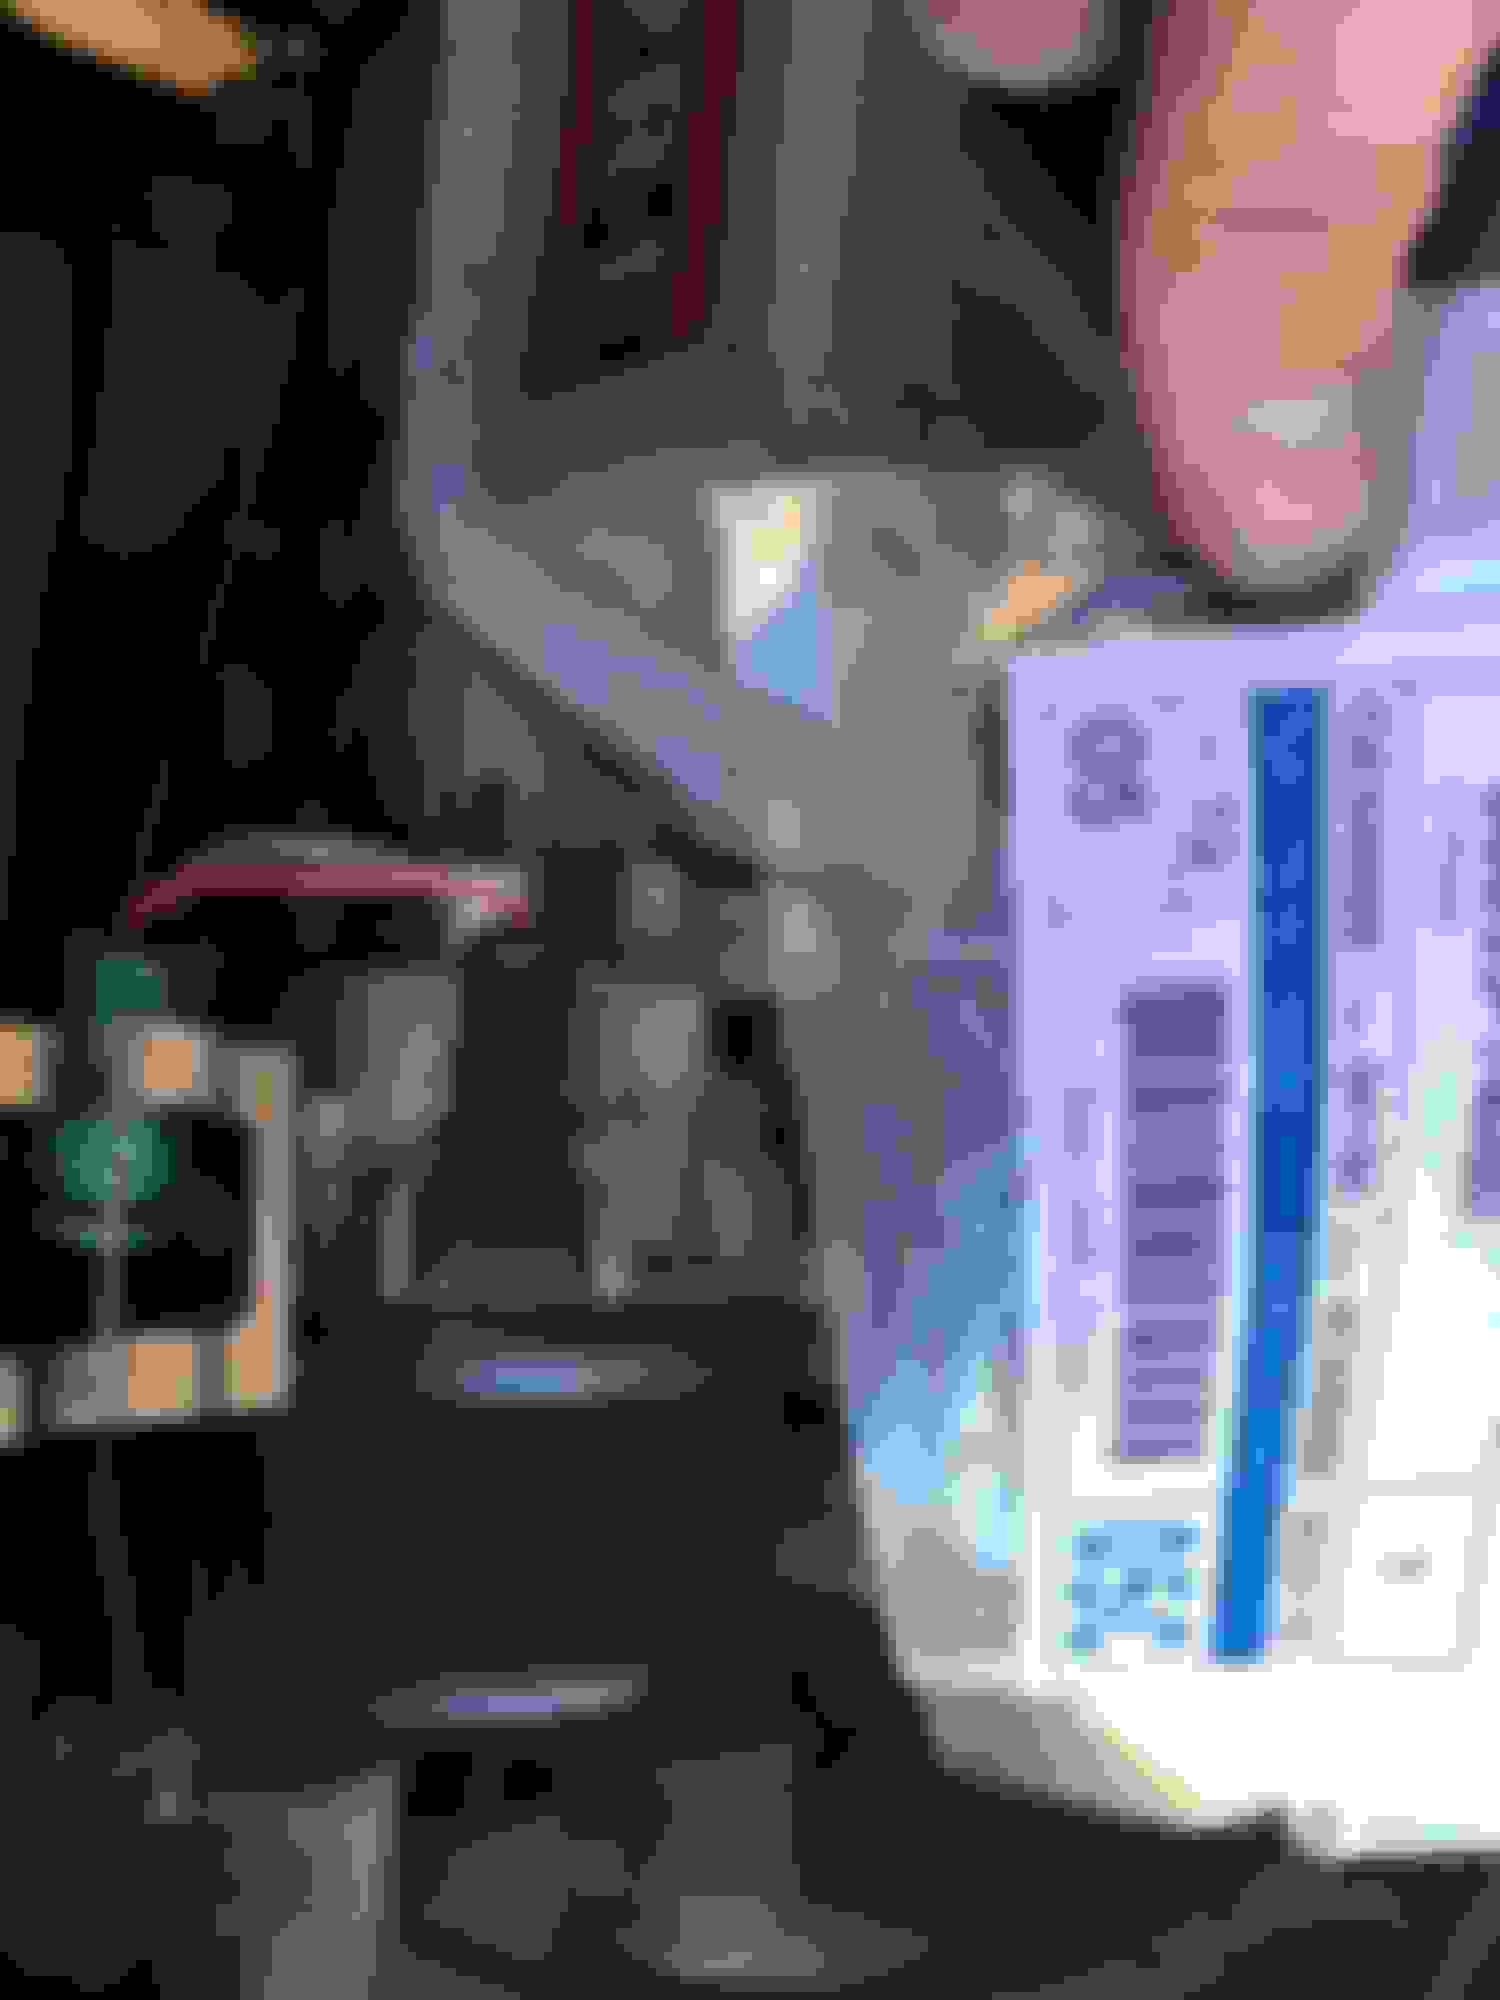
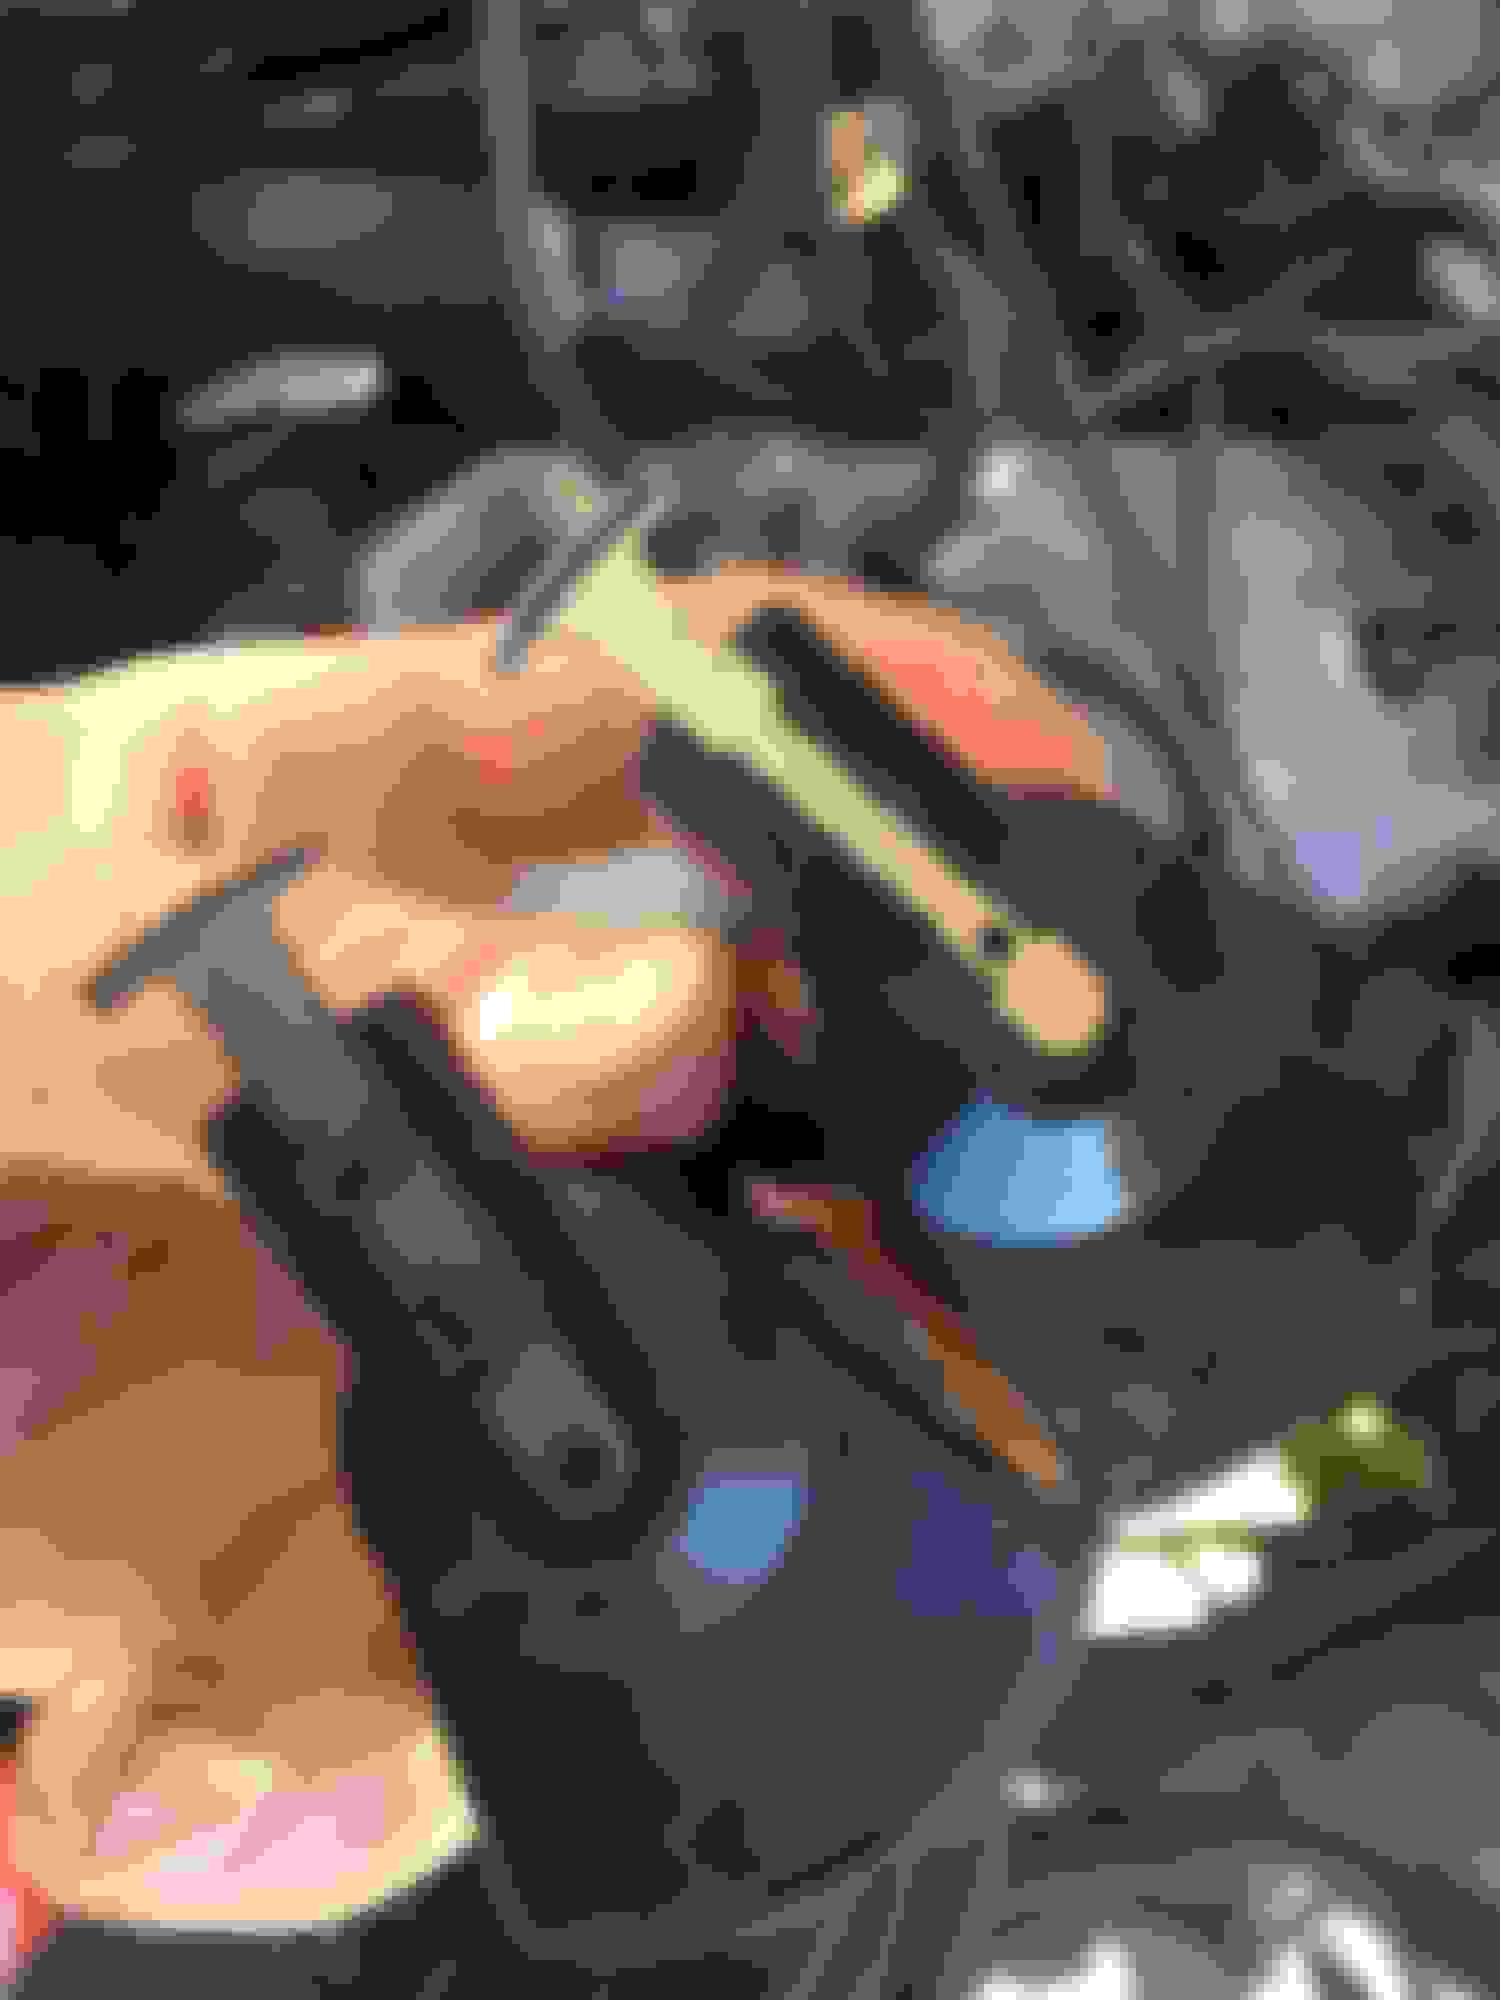
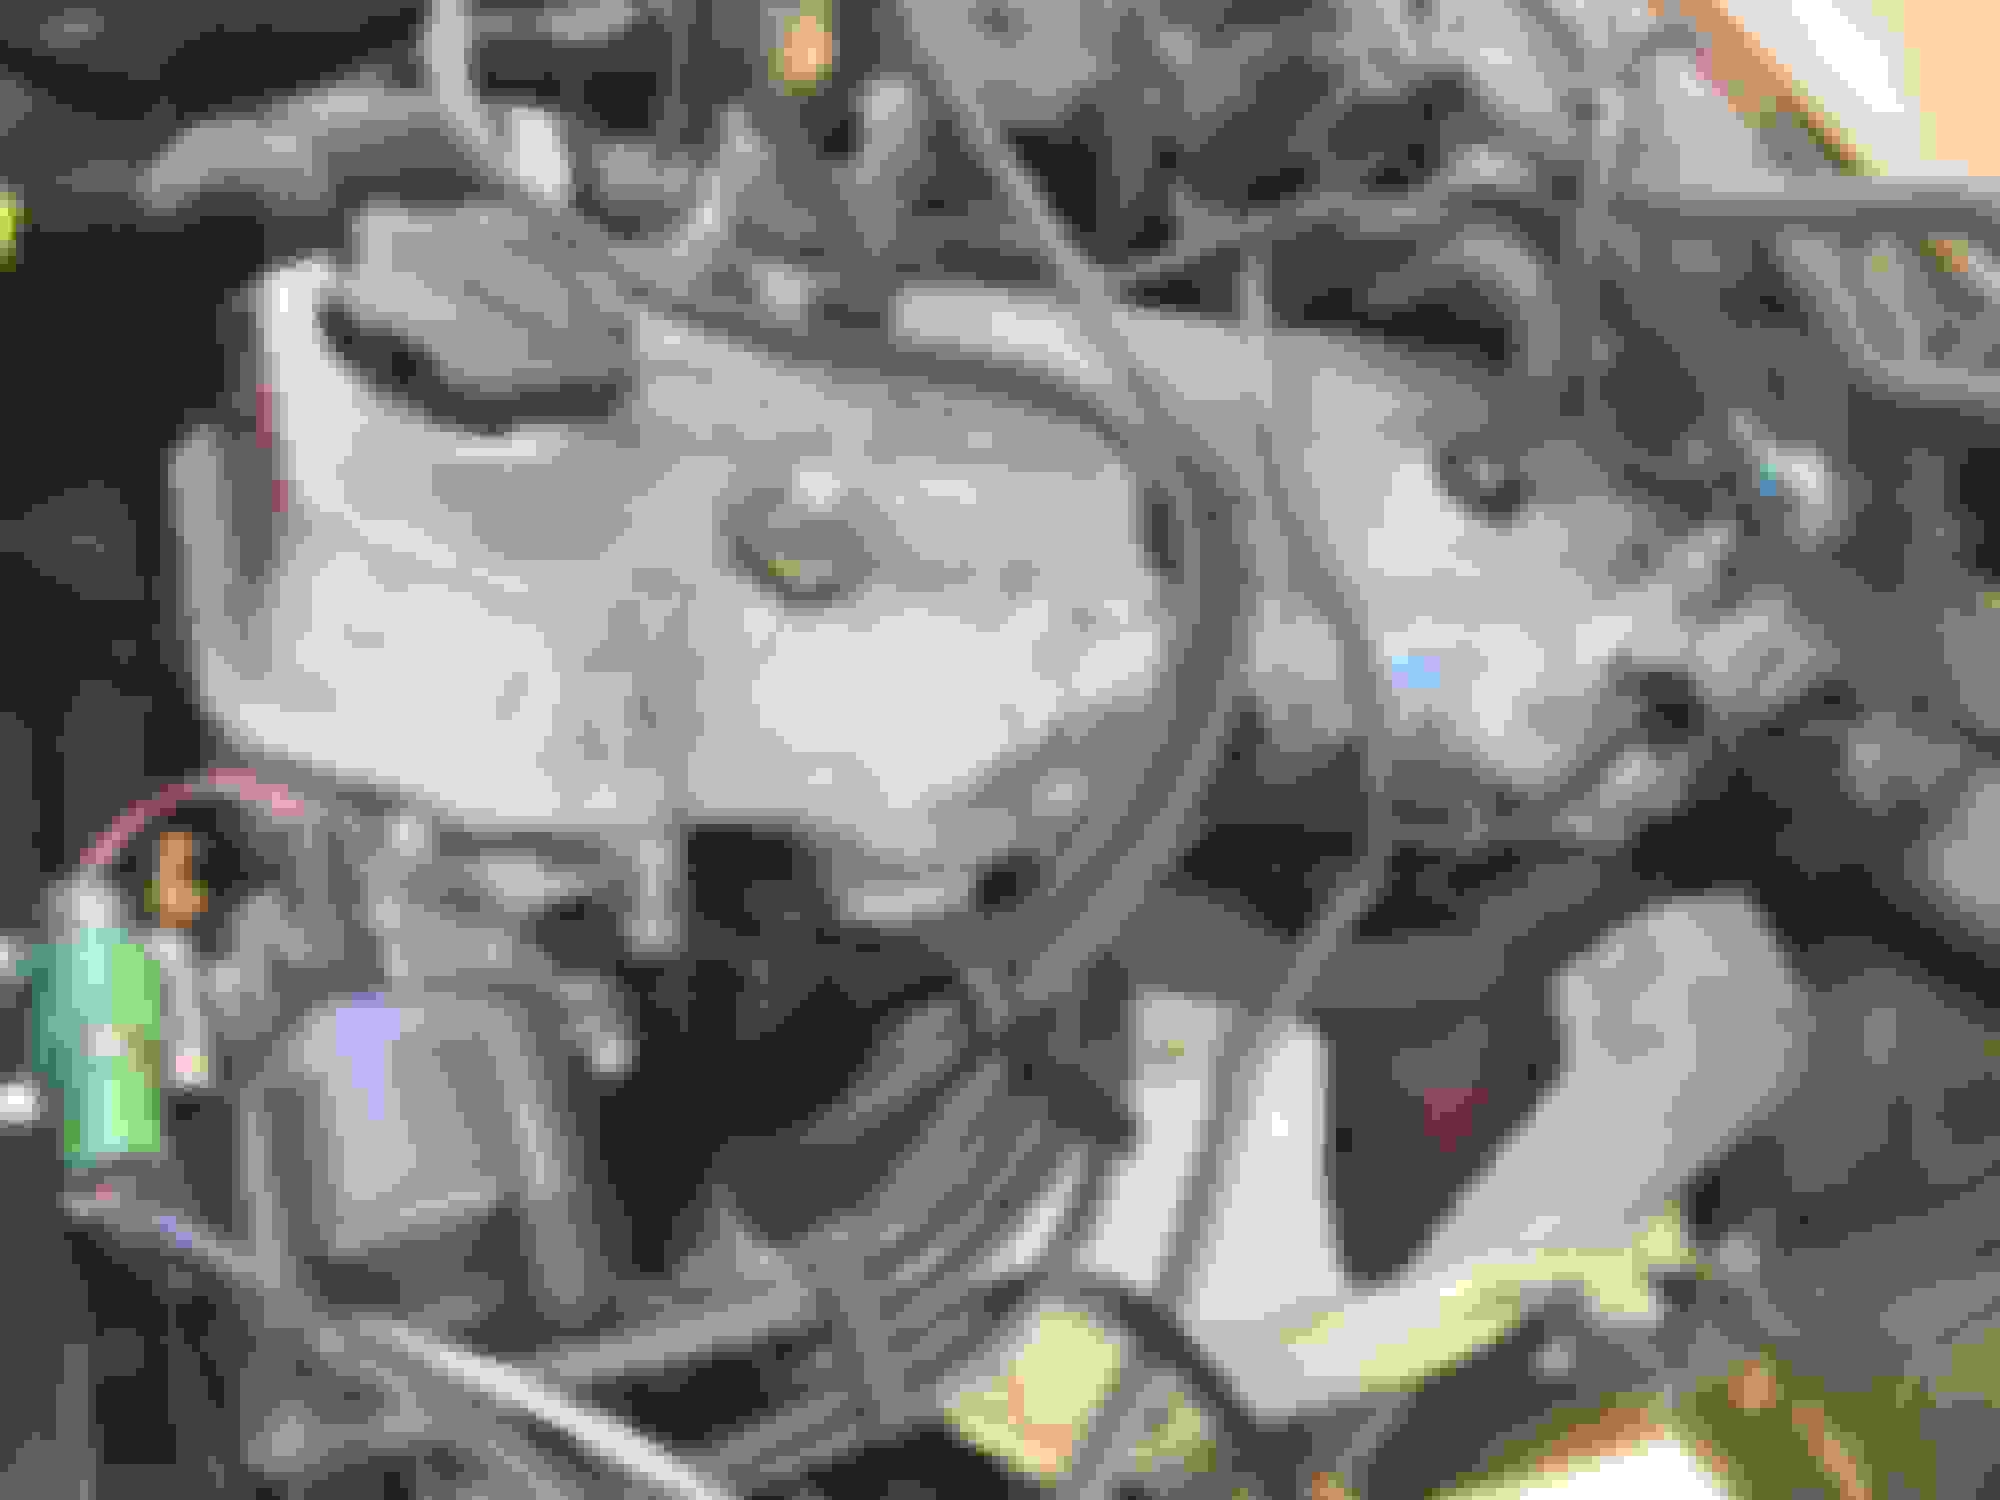
i cleaned up the cowl before my paint job and as most people end up finding out after they remove it is the little plastic rivets snap apart during removal. got my local parts guy to track them down for me, so here is a picture of the p/n. they only took one day to get in and cost me 98 cents per rivet.
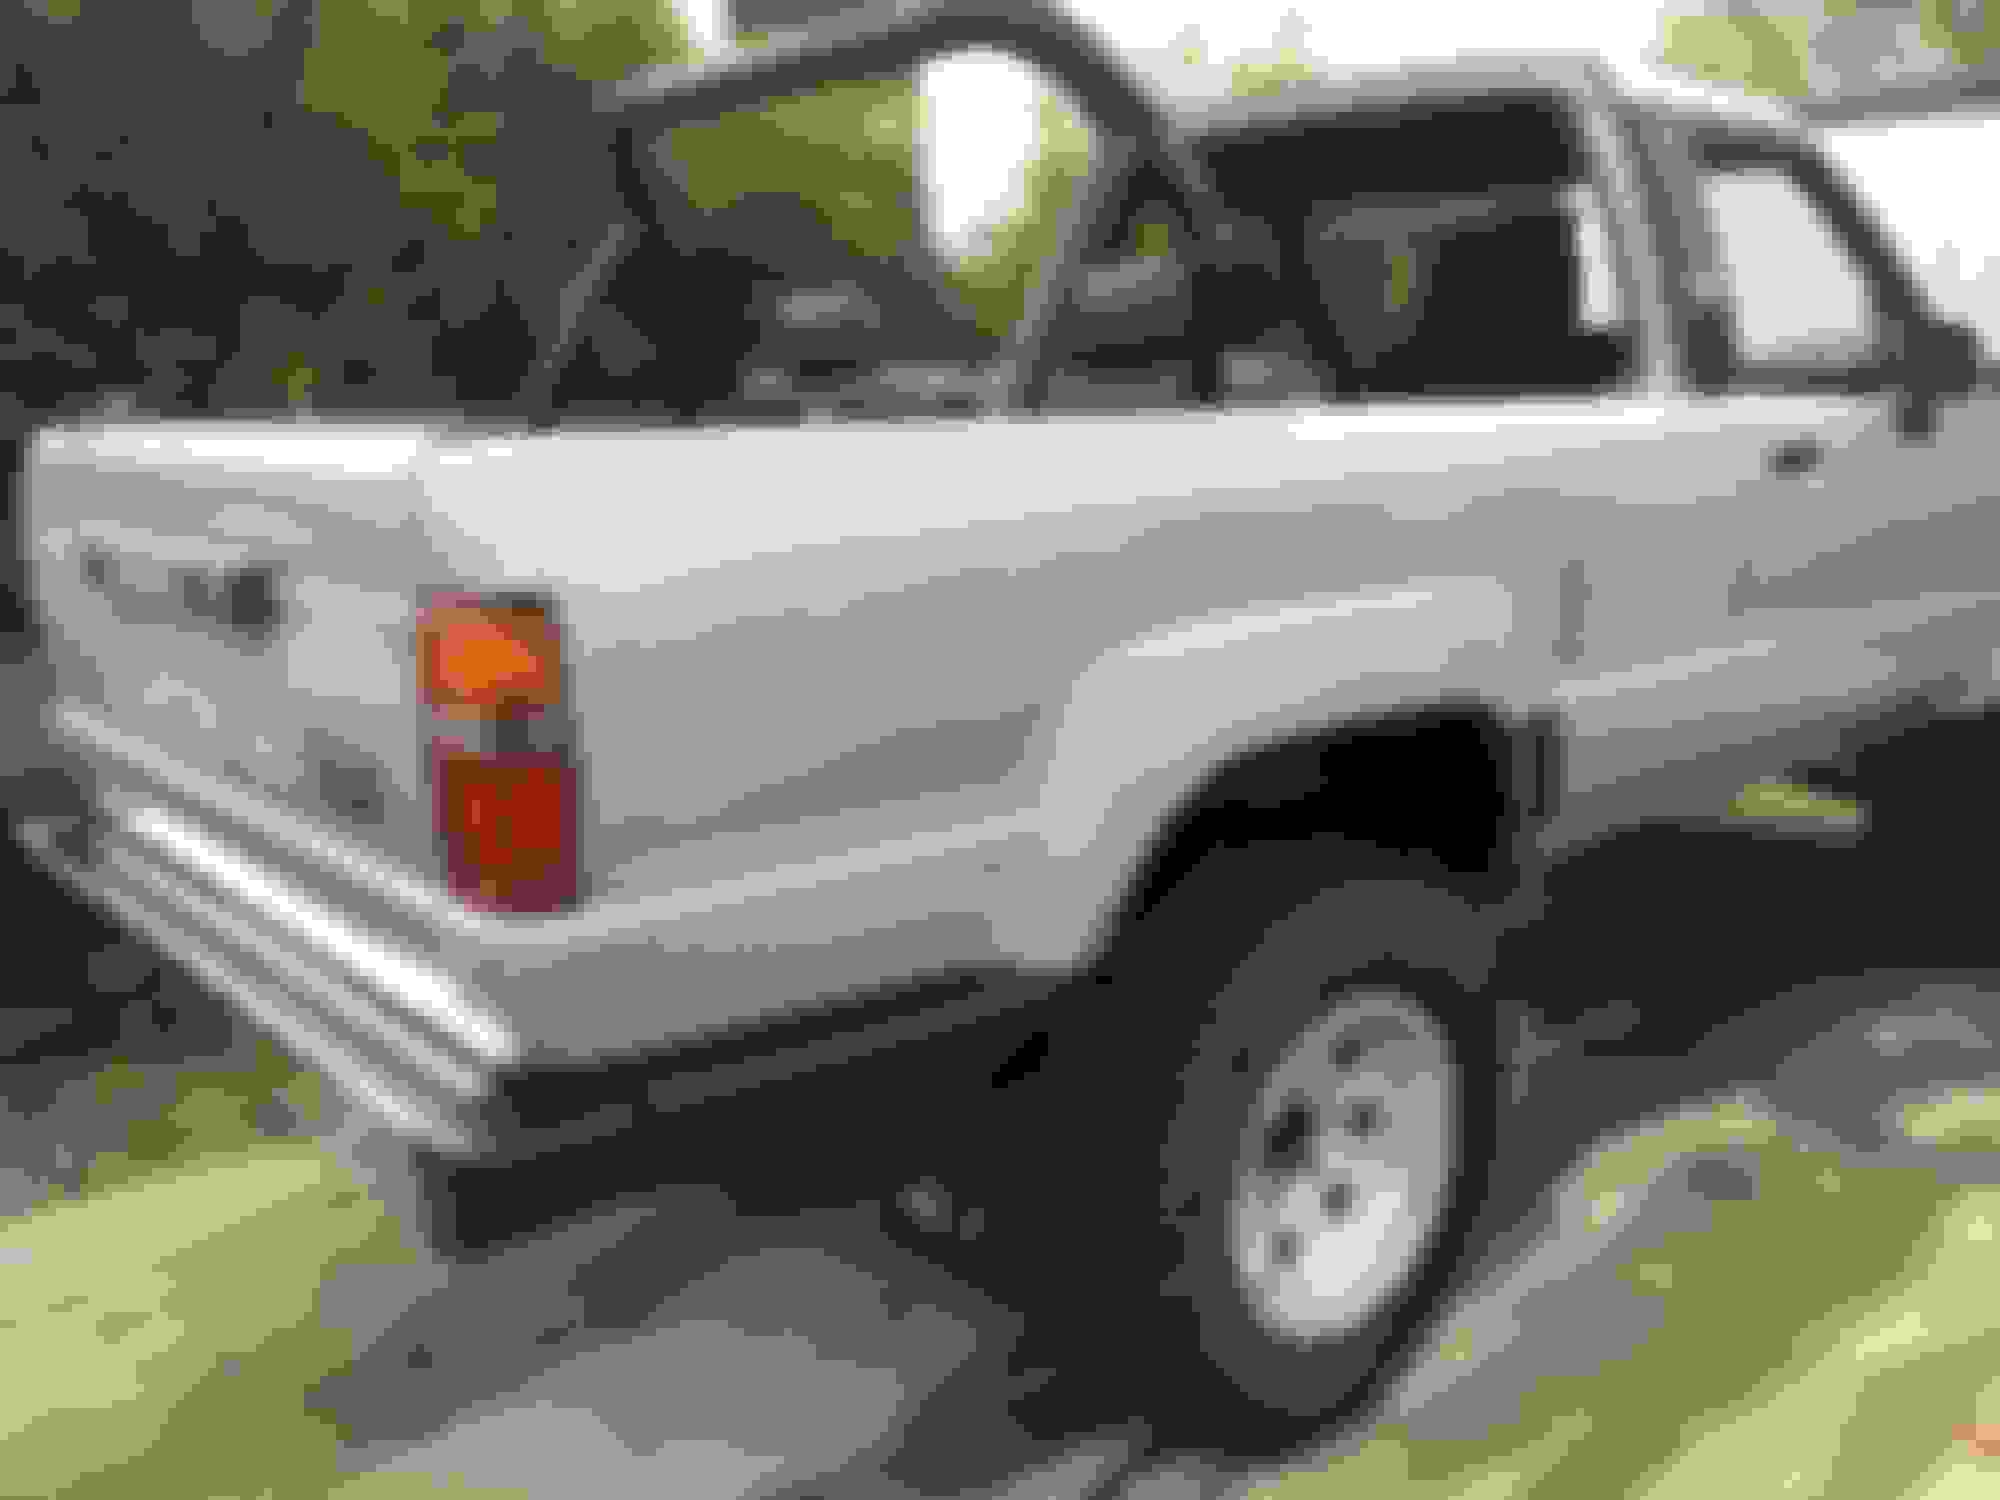
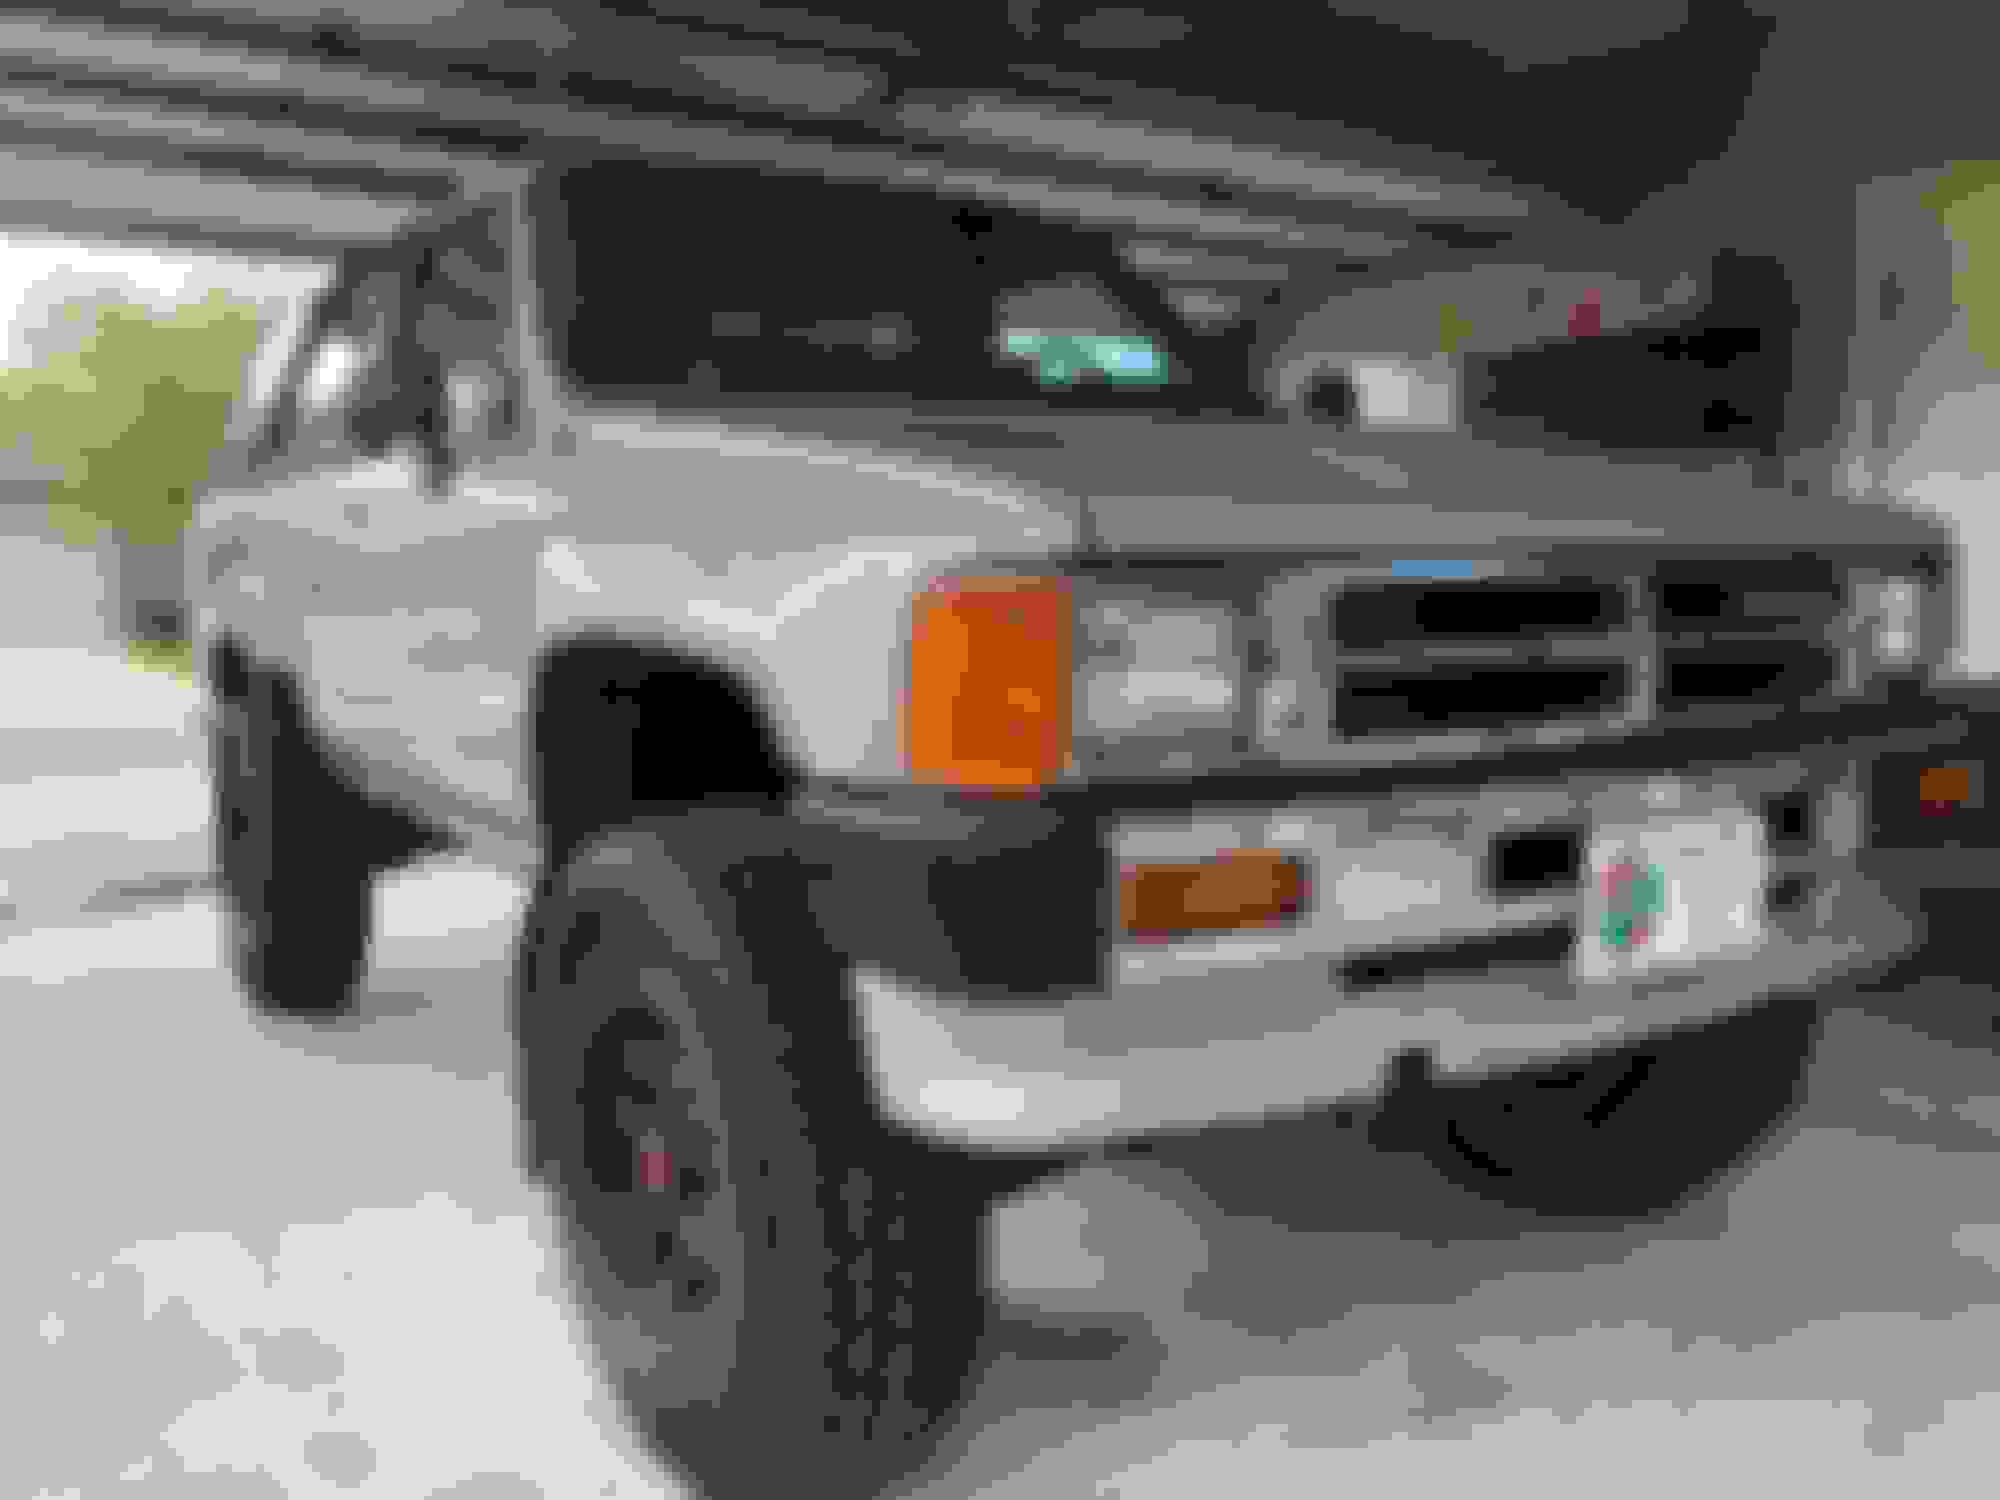
got a new grill and headlamp doors on today (rockauto) and some turn signal lenses and tail lamp gaskets from toyota. the new grill and headlamp doors come with clips which is awesome. i think the whole grill was less than 40 bucks.. and it looks pretty good i think.
got a new grill and headlamp doors on today (rockauto) and some turn signal lenses and tail lamp gaskets from toyota. the new grill and headlamp doors come with clips which is awesome. i think the whole grill was less than 40 bucks.. and it looks pretty good i think.
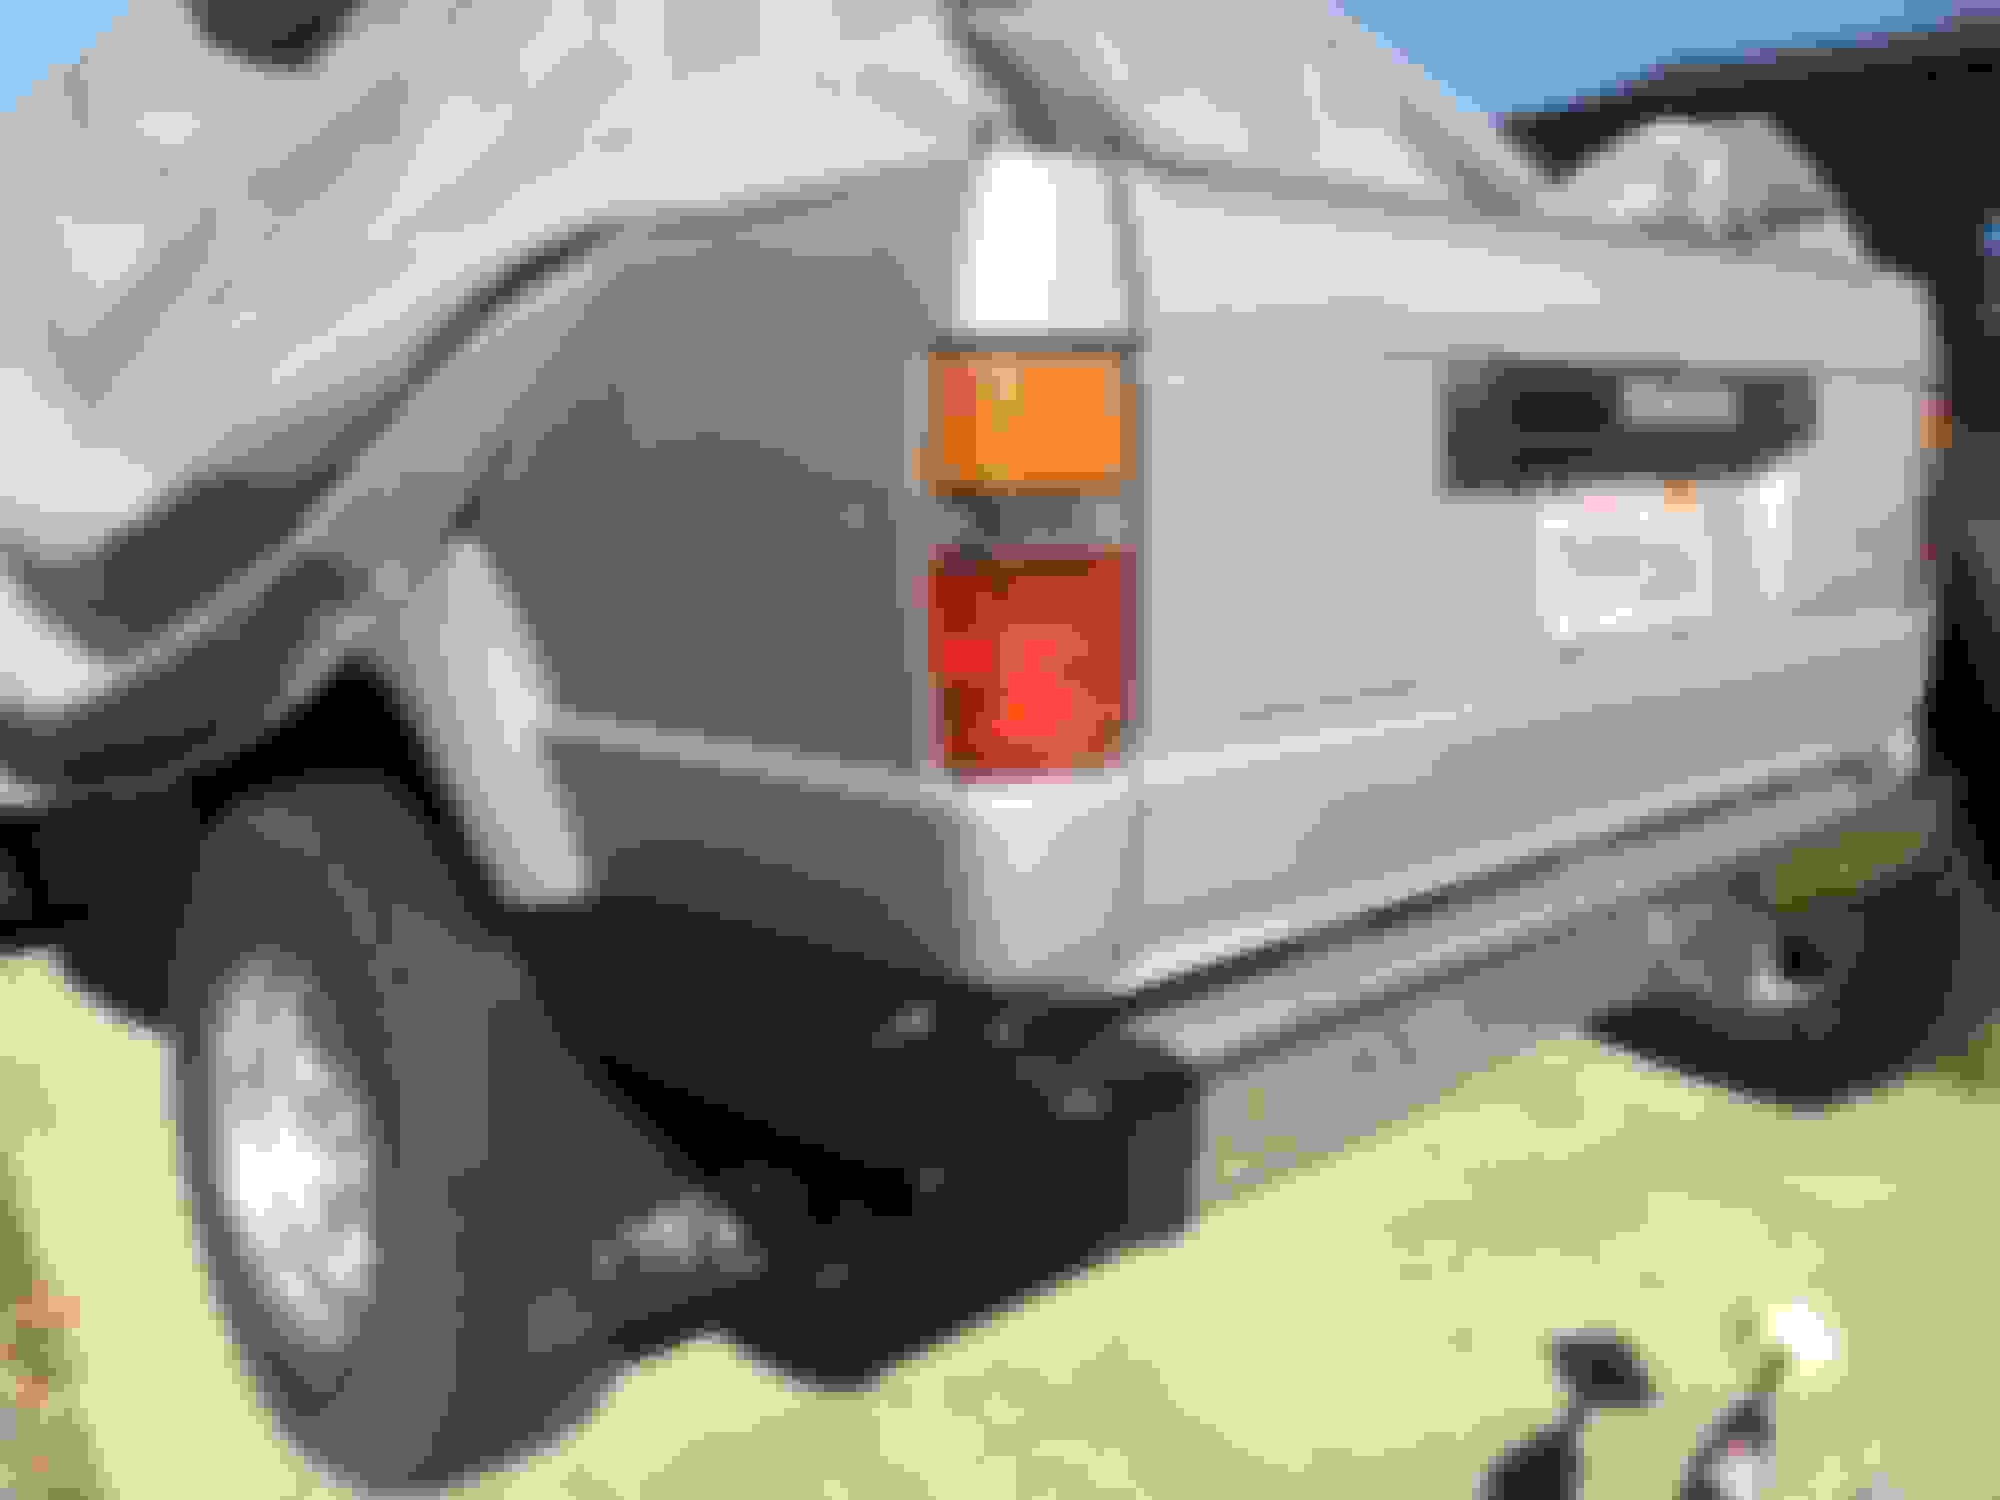
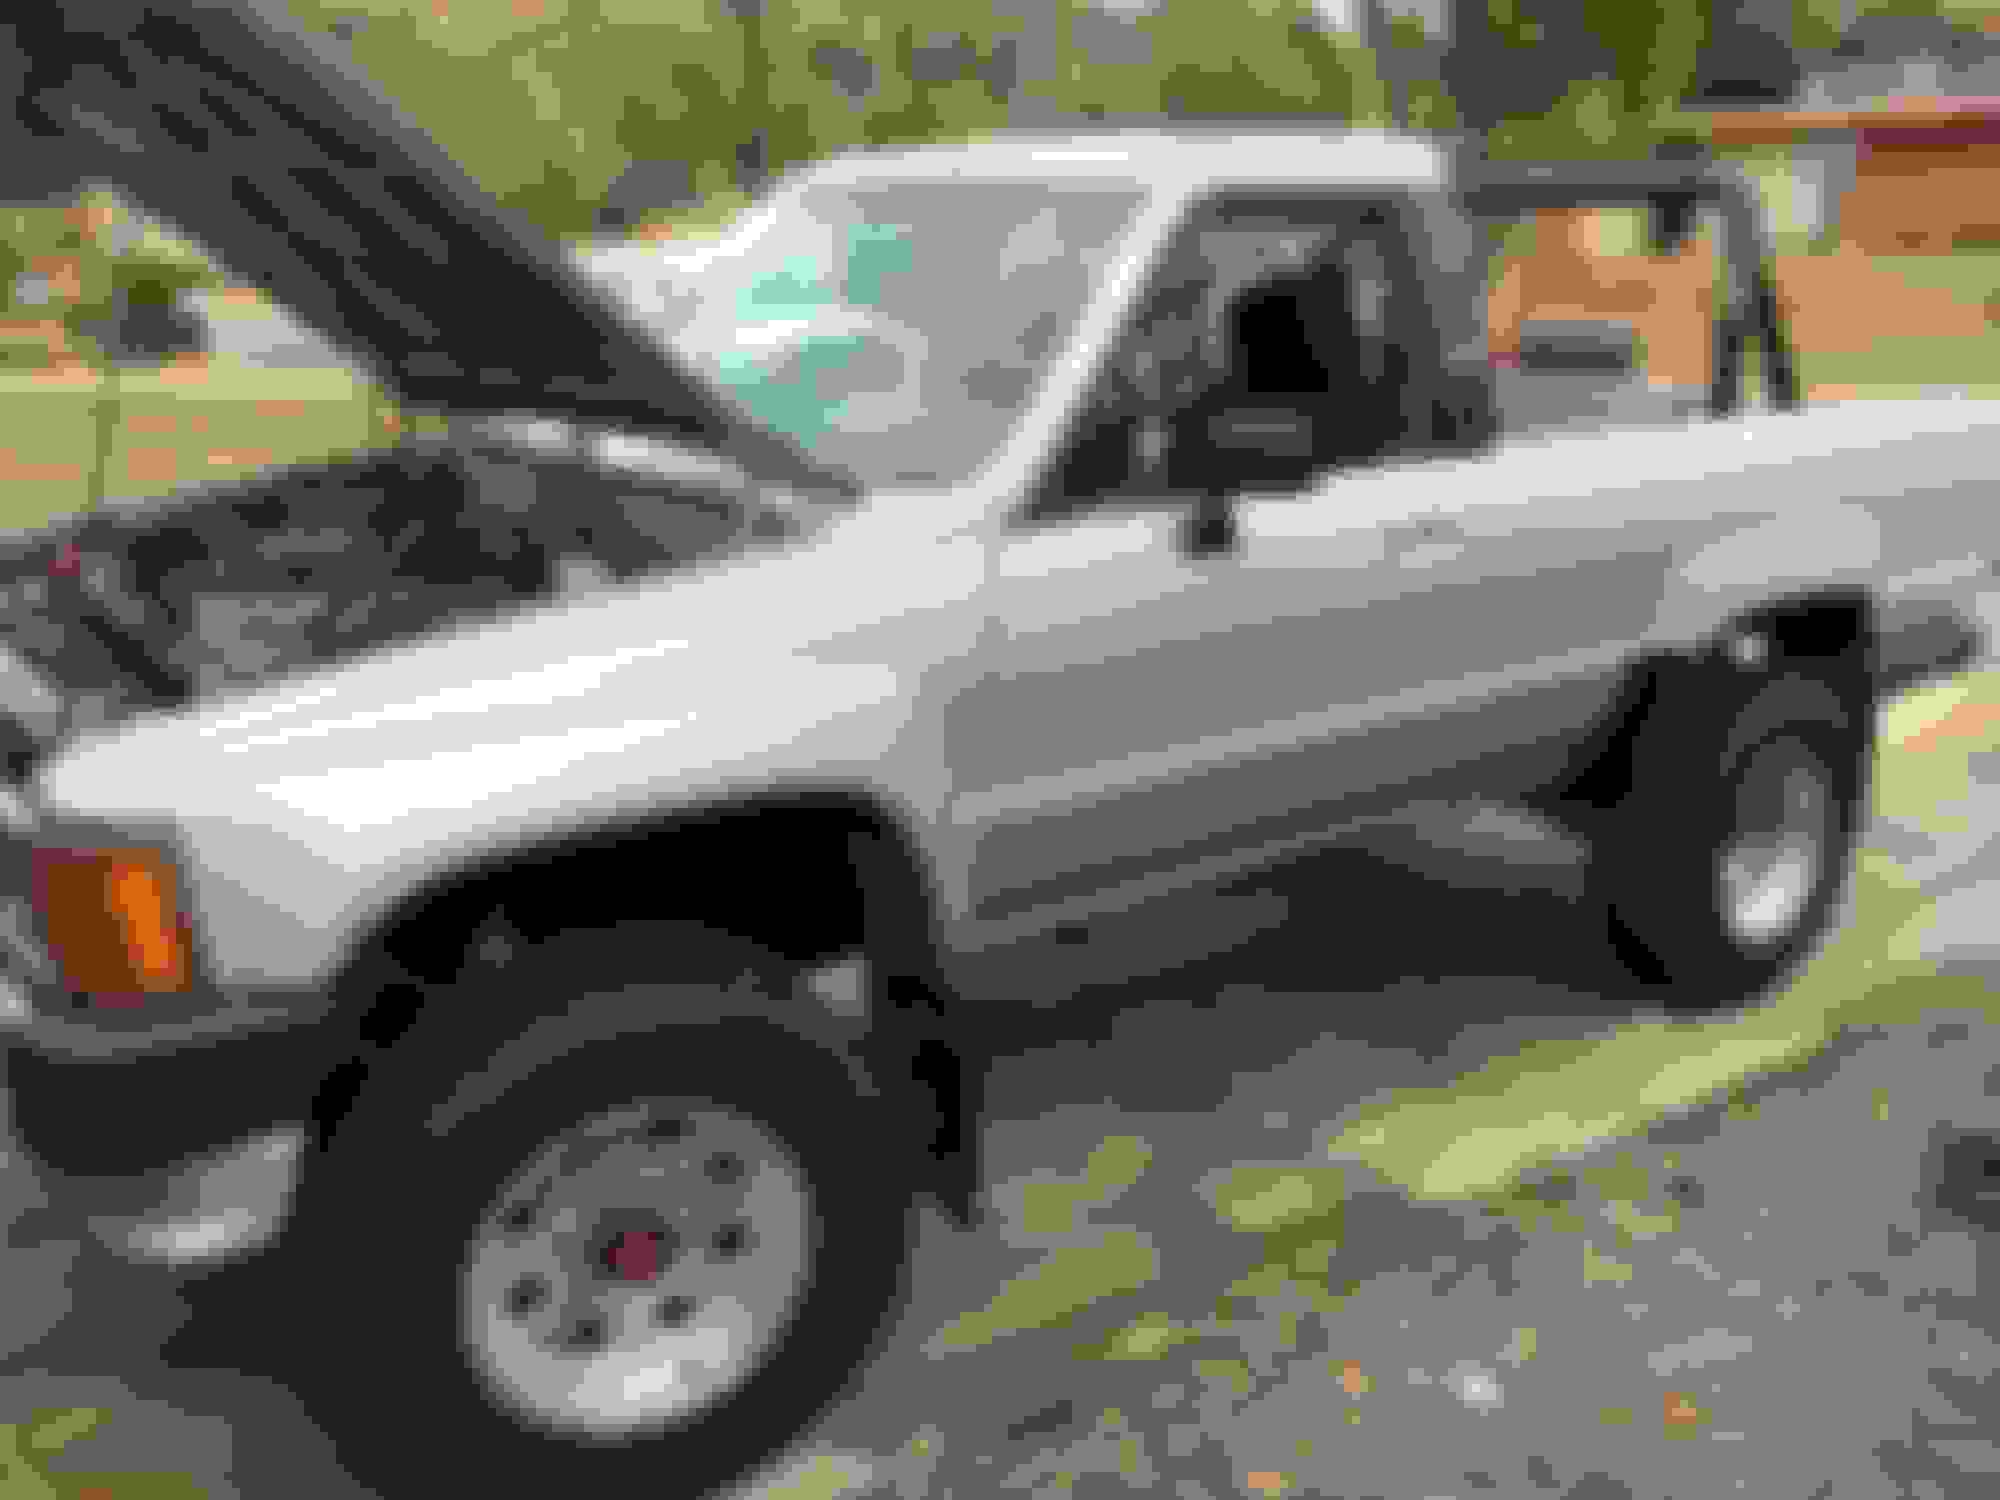
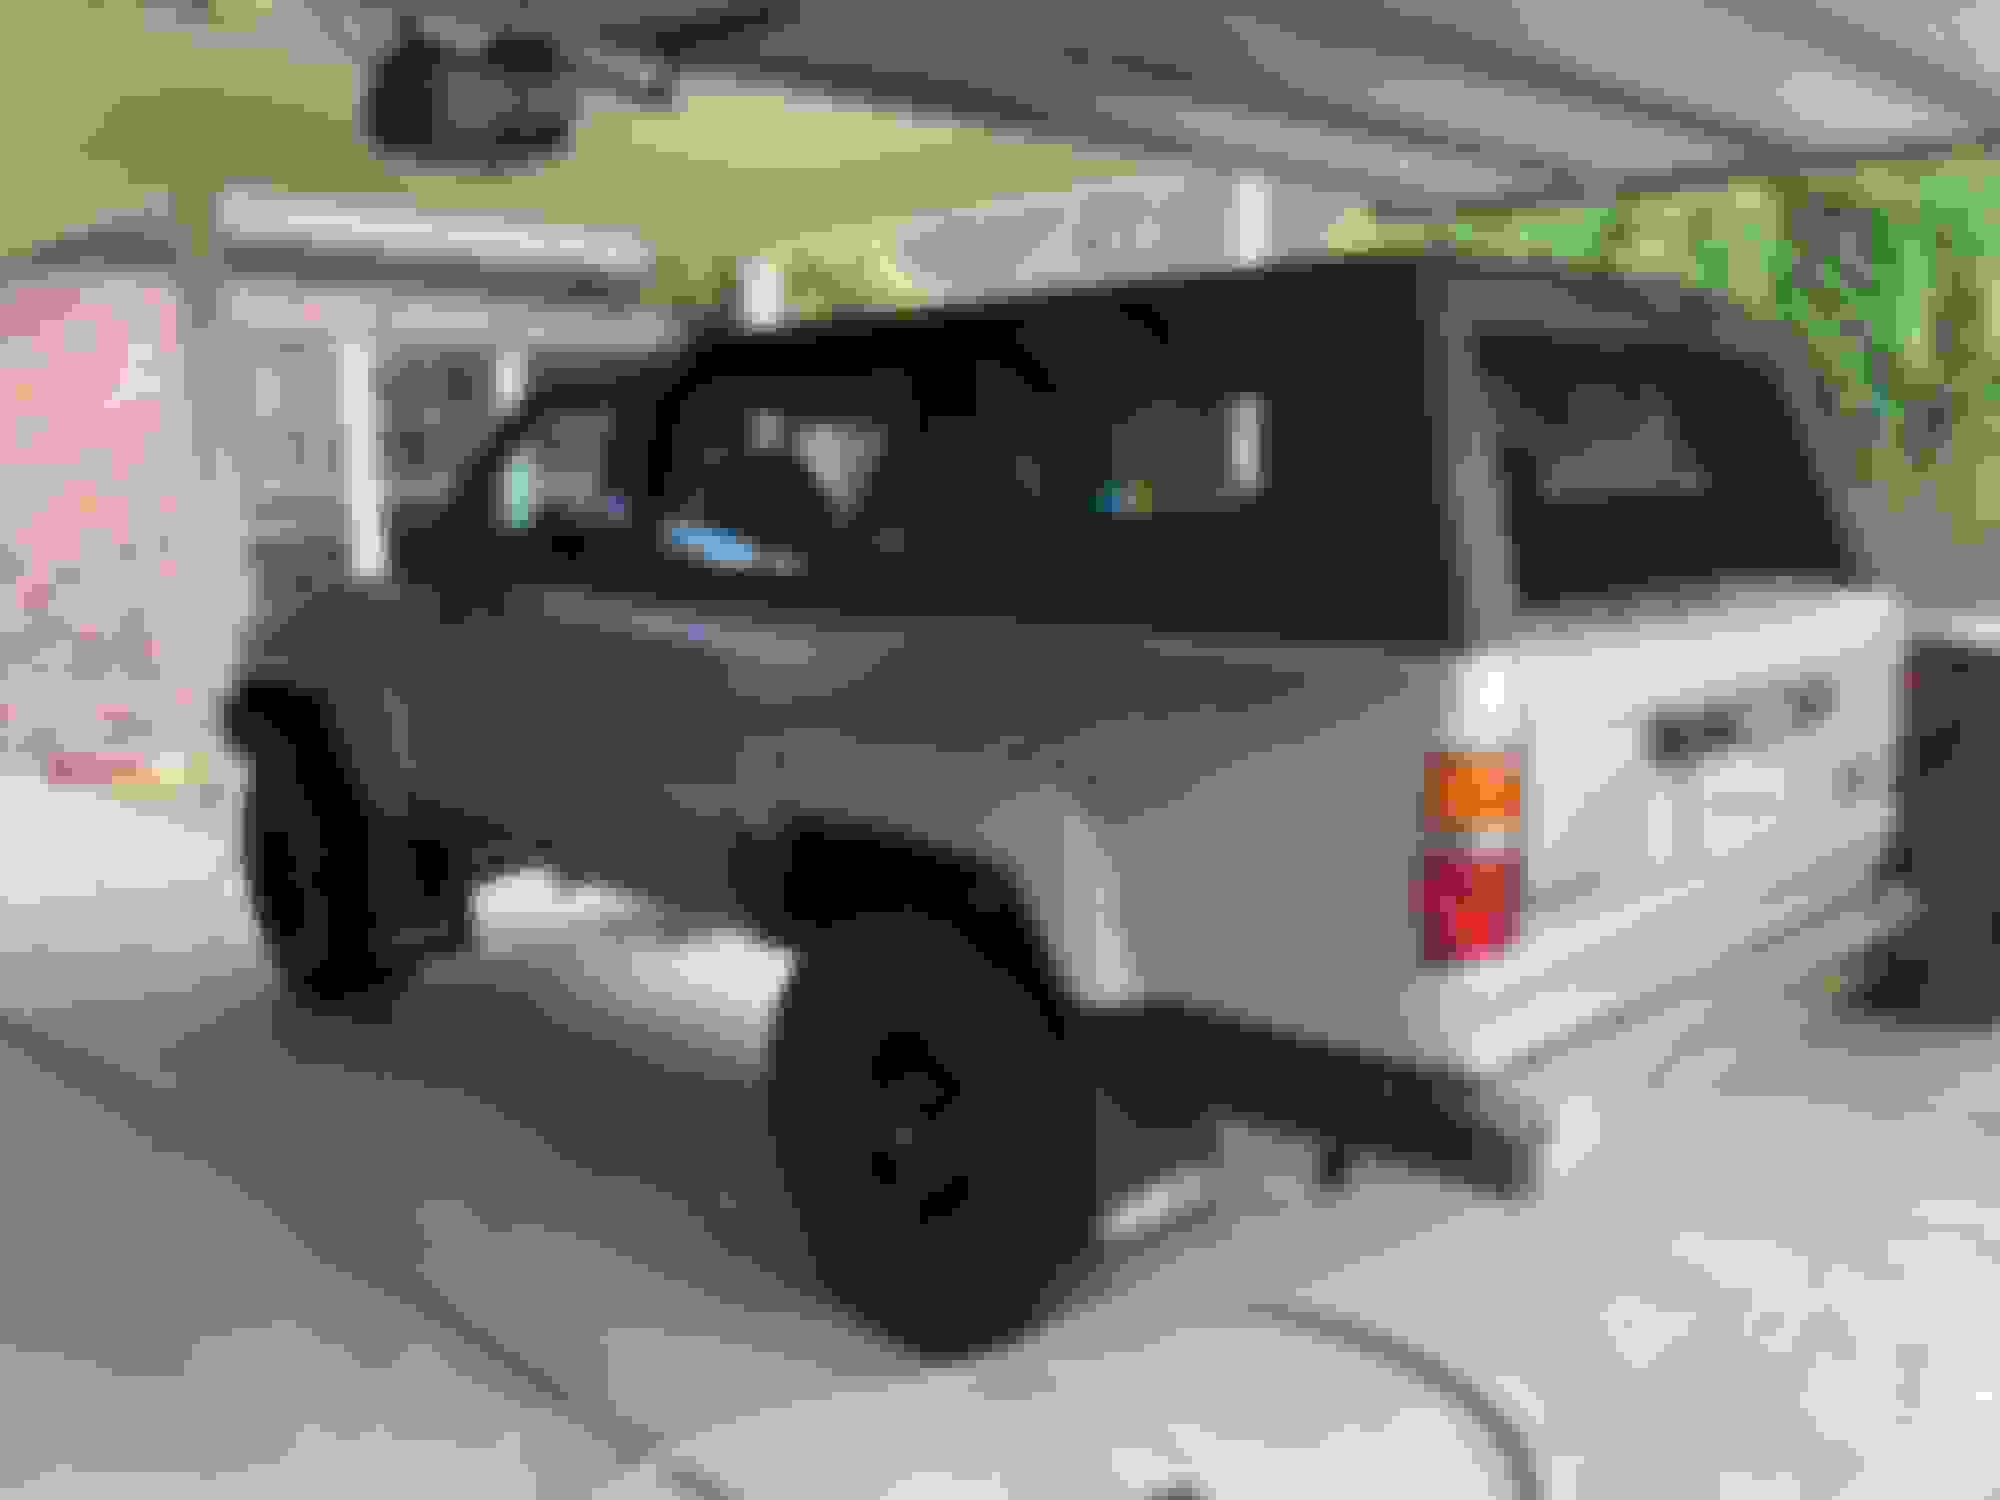
I ended up calling in a guy i met to help spray the color. I decided to go with a single stage metallic silver. We got 2 coats in it and it turned out really good i think. Just got the first coat if wax on it and its all shined up ready for the prom.
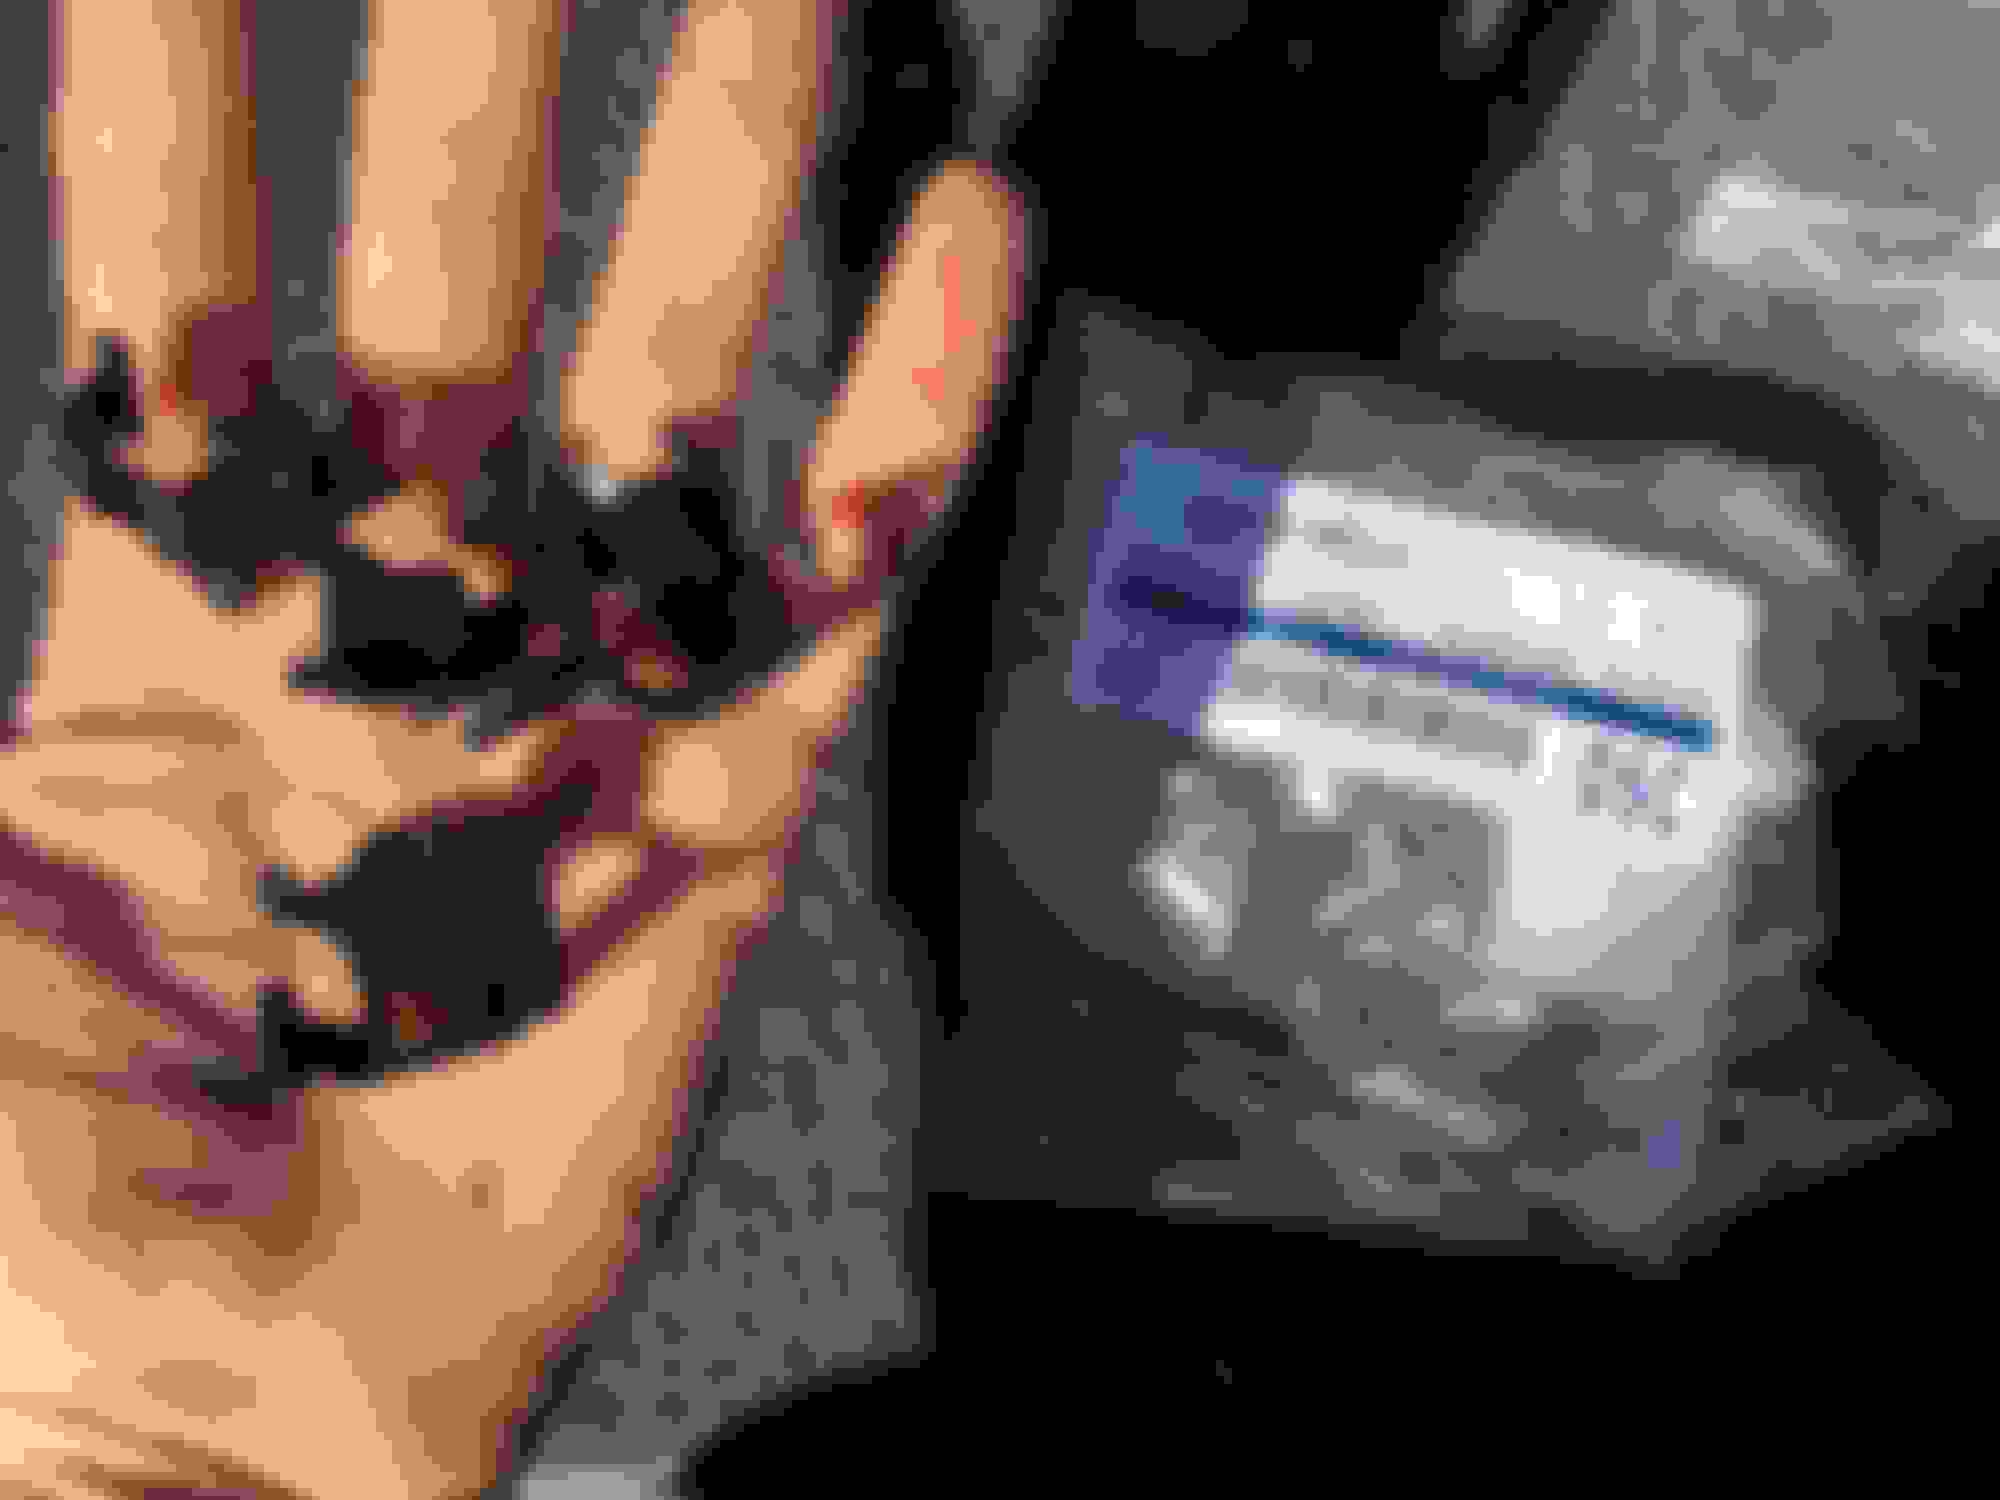
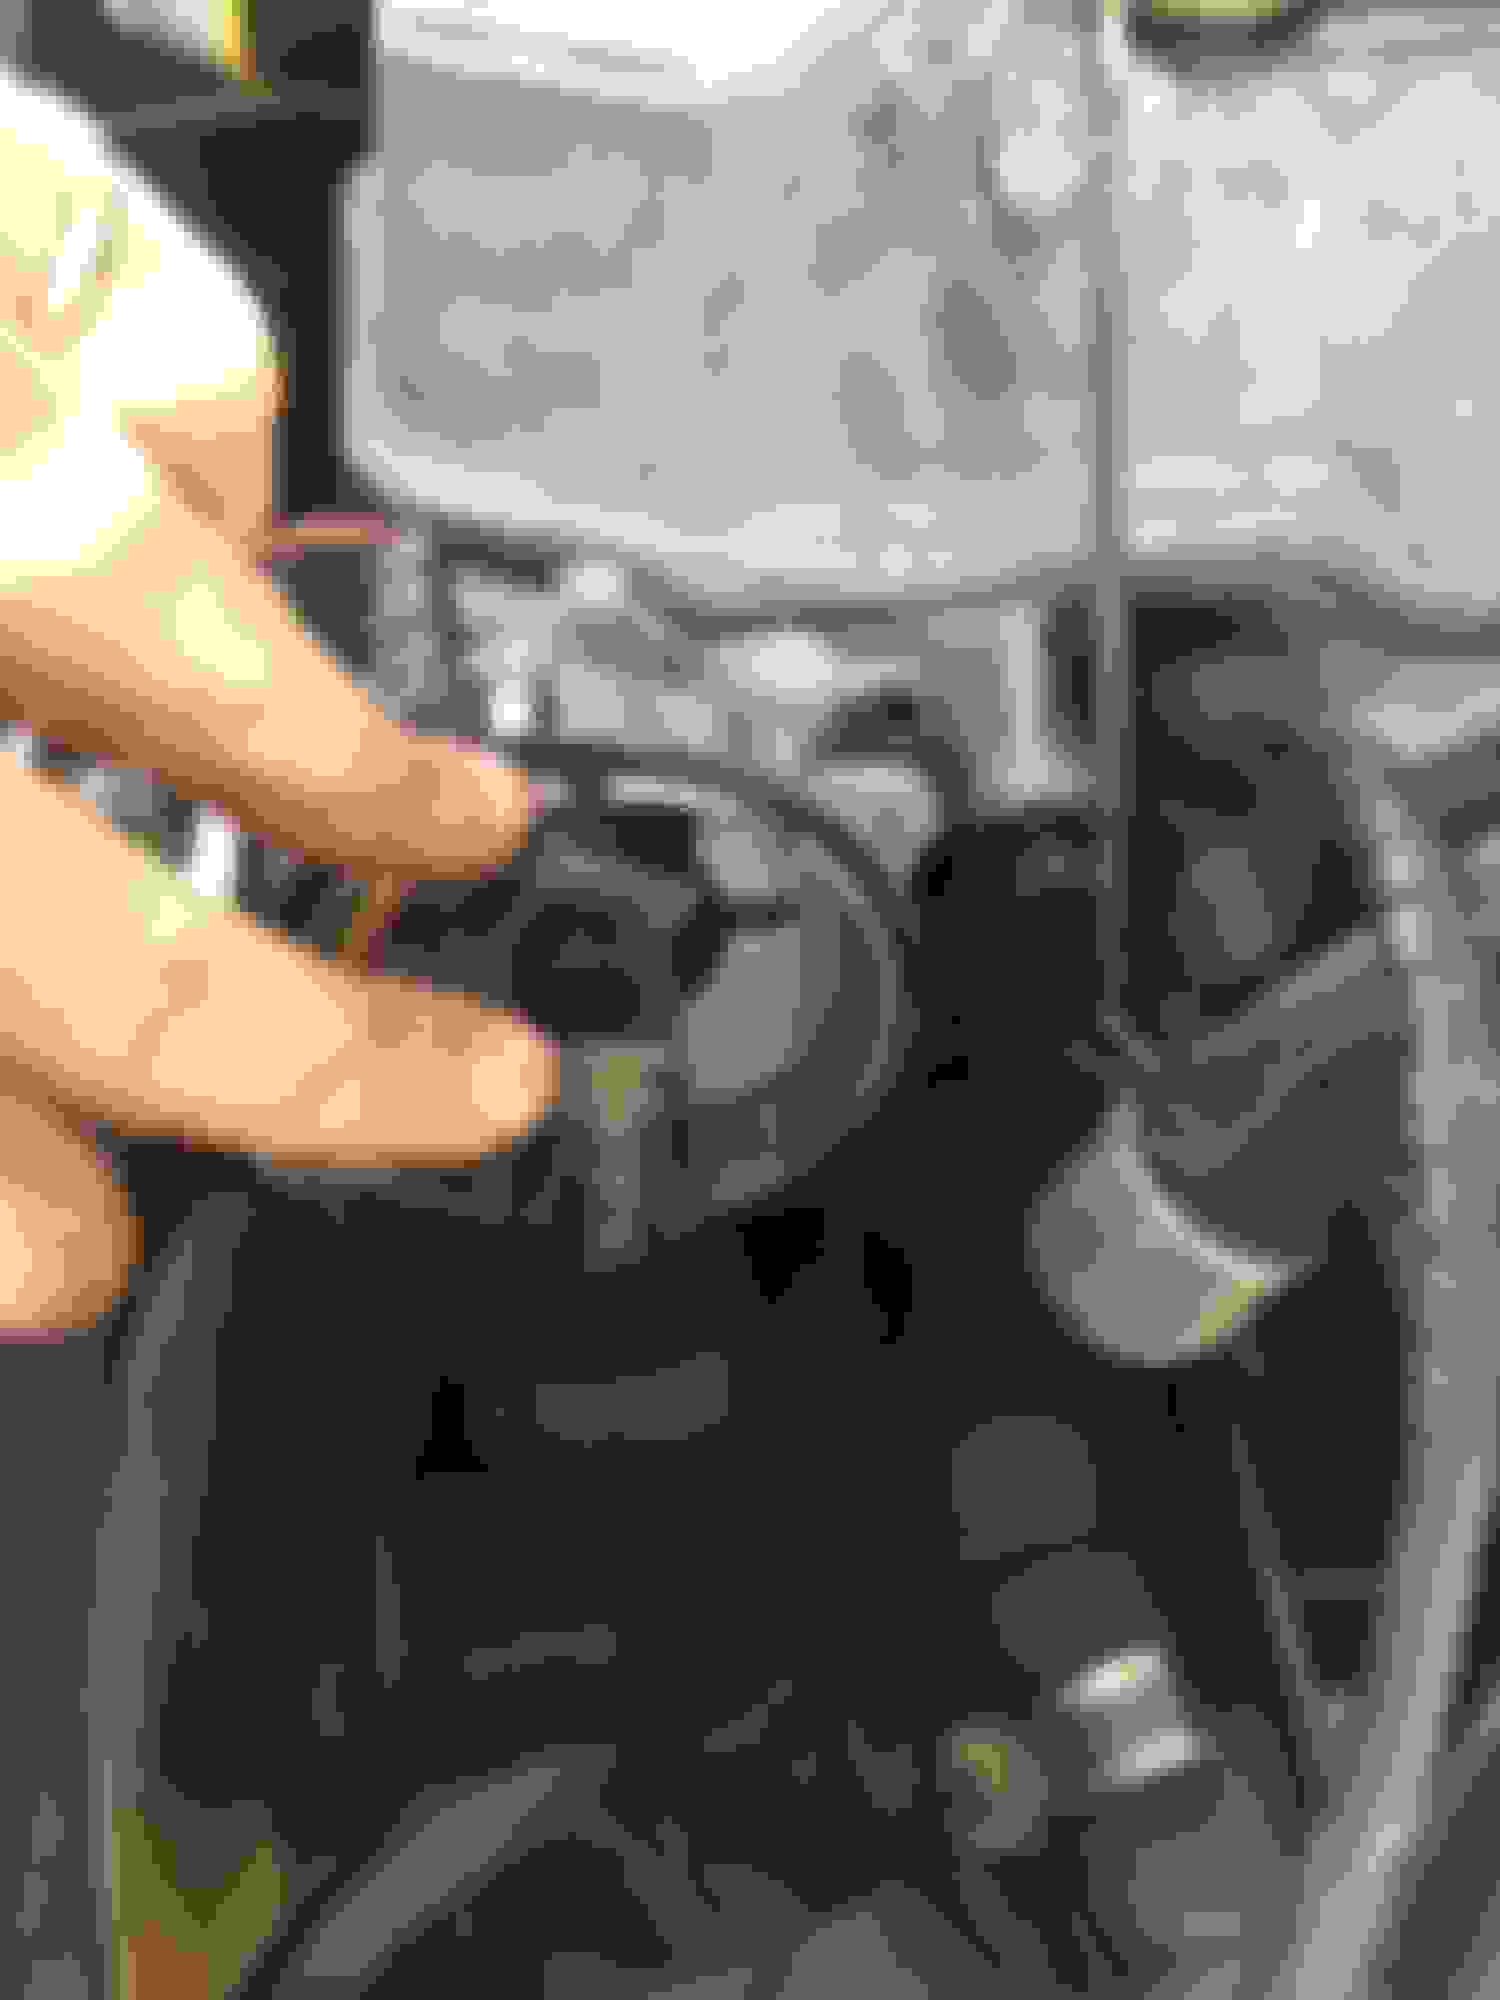
good progress this week. i got the B-pillar badges replaced with the new ones like several of you have gotten off ebay. this morning i did upper and lower balljoints. there was some skepticism on the verification that the beck arnley balljoints were in fact senkai japanese parts, but i have pictures now. i also replaced the dizzu oring that i think was leaking a little bit, and while i was at it i did new cap, rotor button and wires all from toyota. the balljoints were easy with a method ive used for years. just stuff a bottle jack in between the control arms and jack it up to put a little stress on the joint after youve removed the castle nut, then give it a few hits with a hammer and this pop right out. did all 4 for about 2.5 hours this morning.
havnt had a chance to jump on in a while, been in the middle of a move across the country. been putting in the hours on the 87 though. ive completed a total suspension refresh, along with various other small jobs. i did new old man emu rear spring packs and shackles, new OME torsion bars and put a 1.5' 4crawler bjs on. new inner and outer tie rods, adjuster sleeves, pitman arm, and idle arm. swapped out my oem 4.10 diffs for a pair of factory 4.88 2nd gen v6 diffs. here are some updated pics. i have some 33' tires on order and am looking to order a KTT soft topper for it in the near future.
I cringe every time I see a clean rear bumper, you can bend them with your bare hands, it's so weak, Toyota made them with tin cans, a little bump from the car behind you and bye bye bumper.
Nice paint job, the stripes look good, and the black rims also, underneath very clean. No more windshield trims, better IMO. You painted the mudflap words also.
A lot of progress, you have a nice truck!

 Jan 15, 2018 | 08:32 AM