
30 spline Longfield install with pics.
 Jul 20, 2006 | 04:48 PM
#1
Thread Starter
Contributing Member
Joined: Feb 2006
Posts: 1,876
Likes: 1
From: Gulfport, Mississippi
30 spline Longfield install with pics.
I figured I'd document it here instead of the other thread about install questions.
That thread is here:
https://www.yotatech.com/forums/f115/longfield-30-spline-install-questions-88188/
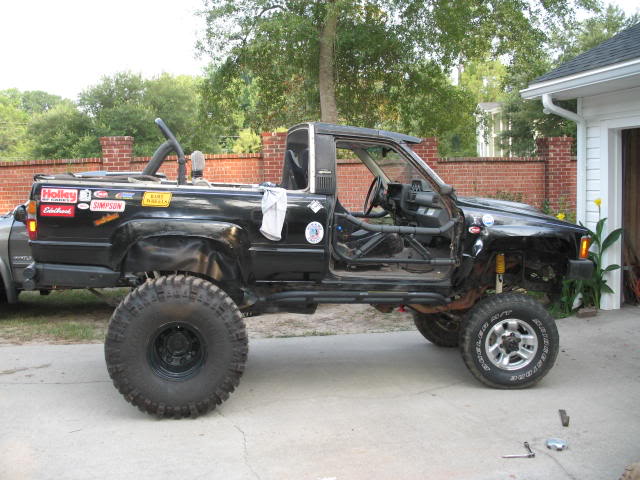
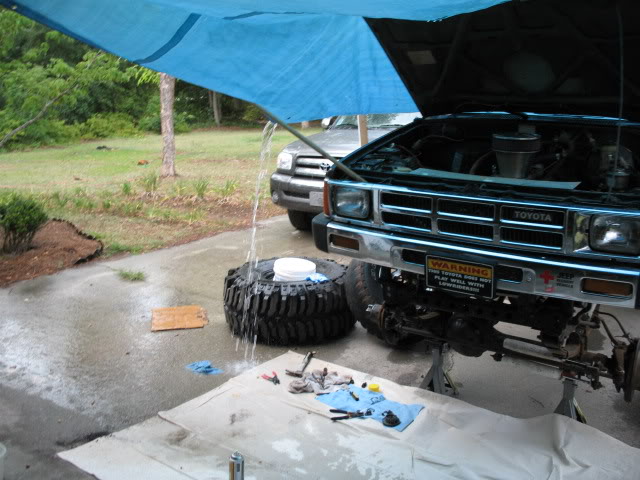
I had hoped to get out of the sun & into the garage to do this, but my truck being over 7 feet tall wasn't going to fit.
So I took the tires off the '89 4runner & put them on the '85 in hopes of getting the front in the garage for some shade. Nope. The tires wouldn't turn when I got them on so it looks like I have to get this done tonight where she sits, (I hope) before it gets hot tomorrow.
So here's your comic relief for the day: :pat:

OK
Removed the tires & set axle on jack stands:

That thread is here:
https://www.yotatech.com/forums/f115/longfield-30-spline-install-questions-88188/
I had hoped to get out of the sun & into the garage to do this, but my truck being over 7 feet tall wasn't going to fit.
So I took the tires off the '89 4runner & put them on the '85 in hopes of getting the front in the garage for some shade. Nope. The tires wouldn't turn when I got them on so it looks like I have to get this done tonight where she sits, (I hope) before it gets hot tomorrow.
So here's your comic relief for the day: :pat:
OK
Removed the tires & set axle on jack stands:
Jul 20, 2006 | 09:24 PM
#3
Contributing Member
Joined: Apr 2006
Posts: 988
Likes: 0
From: Vacaville,California
Originally Posted by 1985 4Runner

Lets go Speed Buggy ol pal,
sure thing Tinker
Song
Sorry couldnt resist.
BTW did you see the article in 4X4 builder about the Longfields? pg 62
Jul 21, 2006 | 02:40 PM
#4
Thread Starter
Contributing Member
Joined: Feb 2006
Posts: 1,876
Likes: 1
From: Gulfport, Mississippi
Speed Buggy- I knew somebody would come up with something good 
Hey Wabbit, I'm amphibious, not lightning-proof!
So I start working on it again today:
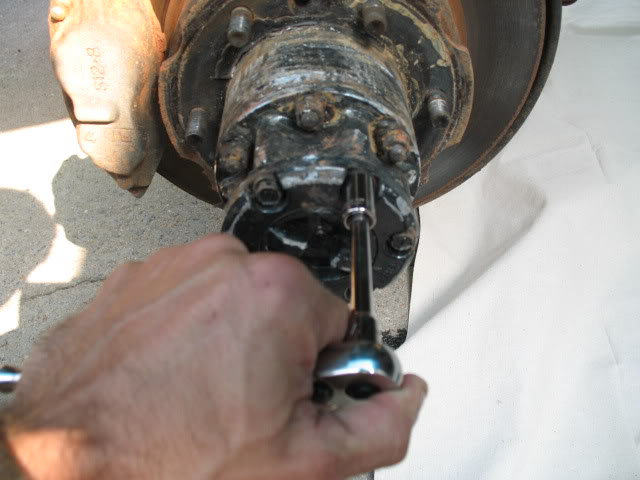
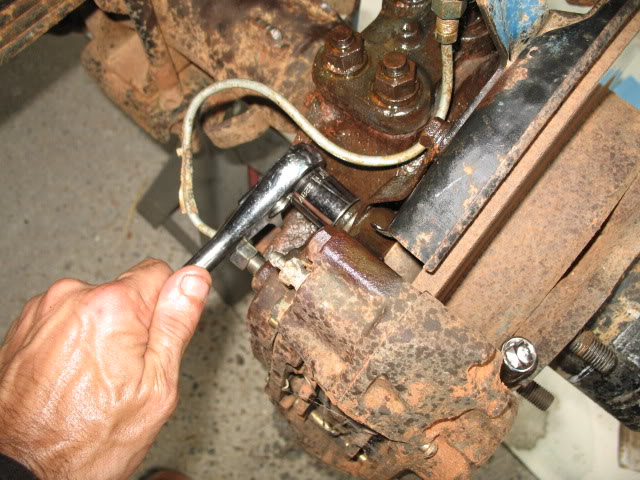
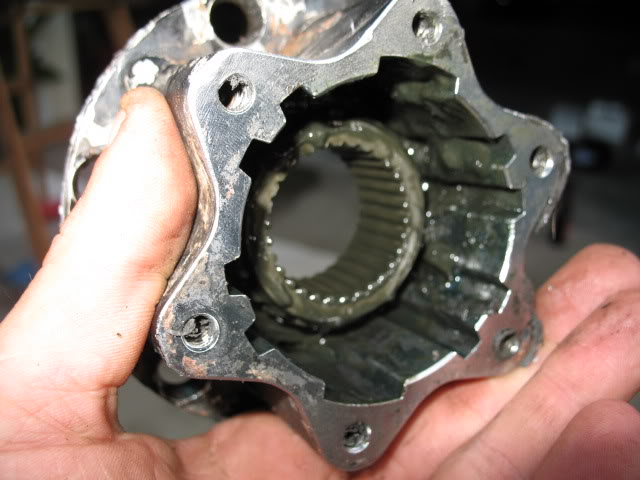
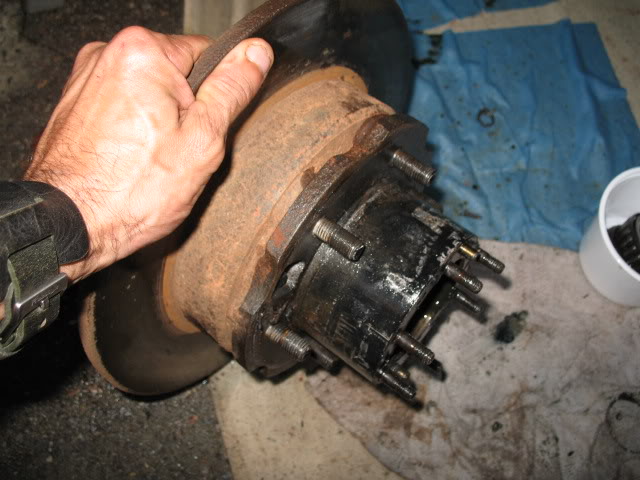
Got the hub removed & axle clip, then removed the brake caliper...
This thing was grungy dirty...
After a little brake cleaner...
Axle clip...
Then I took off the brake caliper bolts (2)

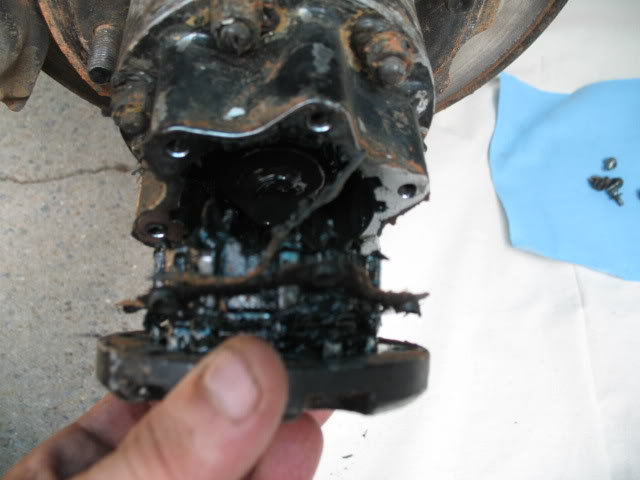
Then guess what. Boom! Thunder & lightning all over again. I barely got everything picked up before the bottom dropped out...
Hey Wabbit, I'm amphibious, not lightning-proof!
So I start working on it again today:
Got the hub removed & axle clip, then removed the brake caliper...
This thing was grungy dirty...
After a little brake cleaner...
Axle clip...
Then I took off the brake caliper bolts (2)
Then guess what. Boom! Thunder & lightning all over again. I barely got everything picked up before the bottom dropped out...
Jul 21, 2006 | 02:51 PM
#5
Contributing Member
Joined: Apr 2005
Posts: 1,240
Likes: 0
From: Miami FL
Then guess what. Boom! Thunder & lightning all over again. I barely got everything picked up before the bottom dropped out...

Trending Topics
 Jul 21, 2006 | 06:44 PM
#10
Thread Starter
Contributing Member
Joined: Feb 2006
Posts: 1,876
Likes: 1
From: Gulfport, Mississippi
Originally Posted by waskillywabbit
You ain't finished yet? 


That, and I have to have a few beers while I work.
 Jul 21, 2006 | 07:14 PM
#12
Thread Starter
Contributing Member
Joined: Feb 2006
Posts: 1,876
Likes: 1
From: Gulfport, Mississippi
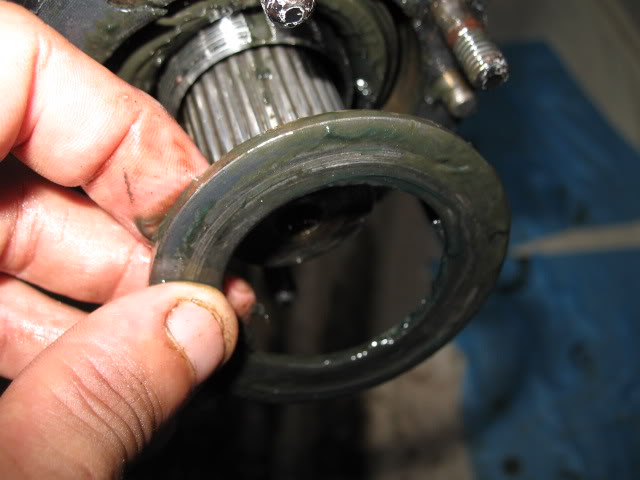
OK made some progress in between beers...
Cone washers came off next...

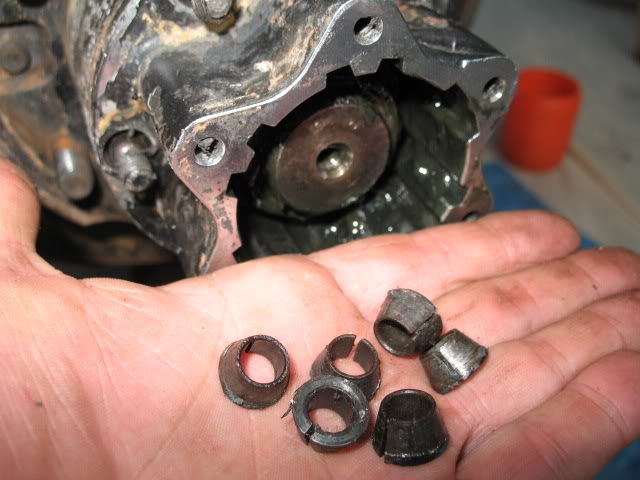
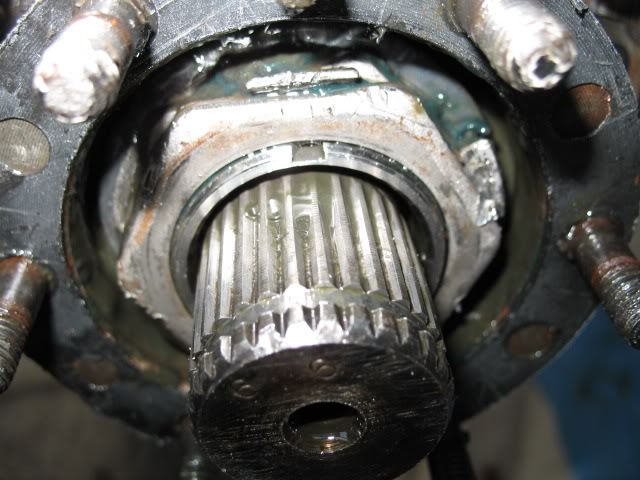
Then the Hub ring..
Before cleaning:
After:
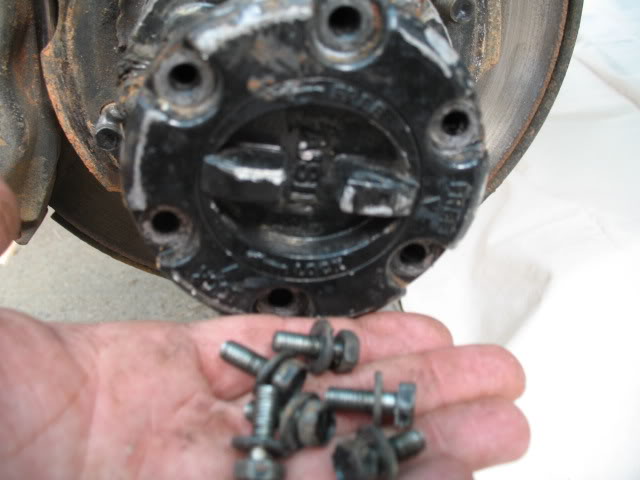
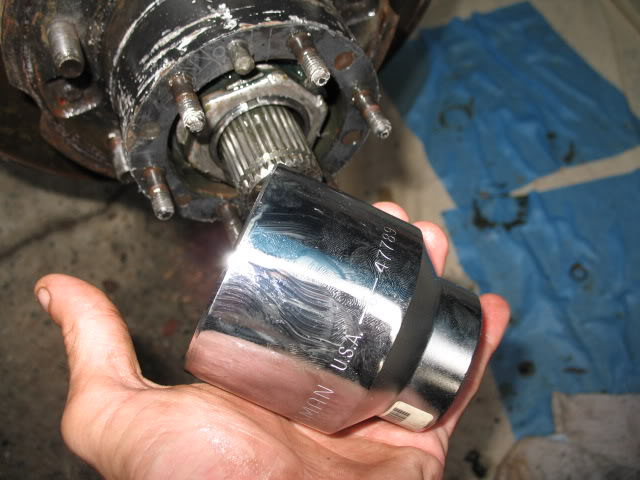
54mm socket to remove the lock nut...which BTW didn't fit with the lock washer on...
Cone washers came off next...
Then the Hub ring..
Before cleaning:
After:
54mm socket to remove the lock nut...which BTW didn't fit with the lock washer on...
Jul 21, 2006 | 07:17 PM
#13
Thread Starter
Contributing Member
Joined: Feb 2006
Posts: 1,876
Likes: 1
From: Gulfport, Mississippi
Originally Posted by neliconcept
damn dude I have no idea whats going on with the rig but its I hope that isnt being too much of a bitch... cant wait to see the rig sometime this weekend

I should be good to go for Sunday at Gulches barring any probs I run into.
Jul 21, 2006 | 07:31 PM
#15
Thread Starter
Contributing Member
Joined: Feb 2006
Posts: 1,876
Likes: 1
From: Gulfport, Mississippi
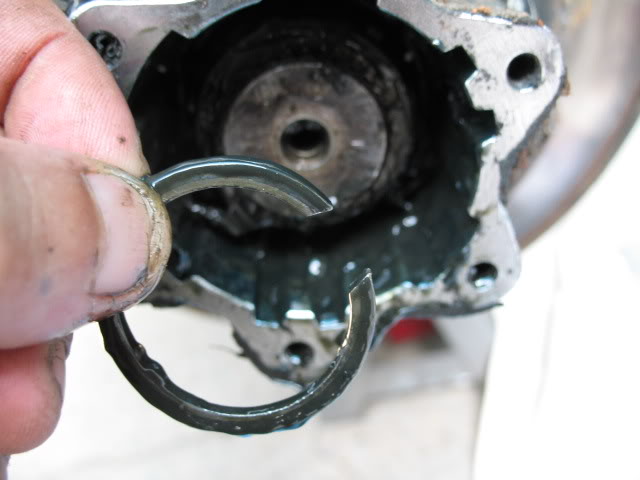
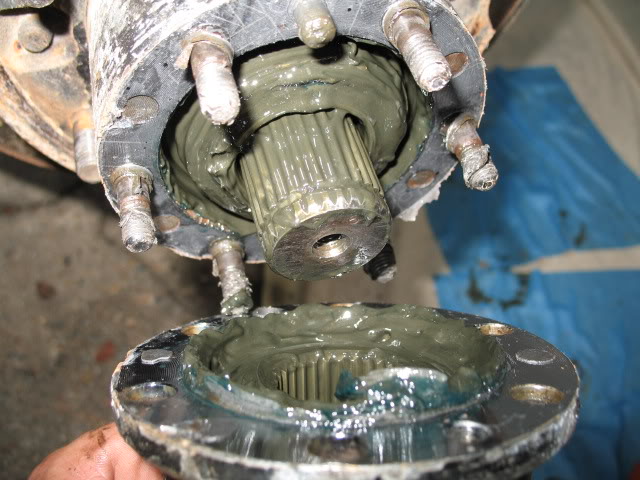
Since the socket didn't fit, the lock nut came off with a screwdriver & a hammer. 
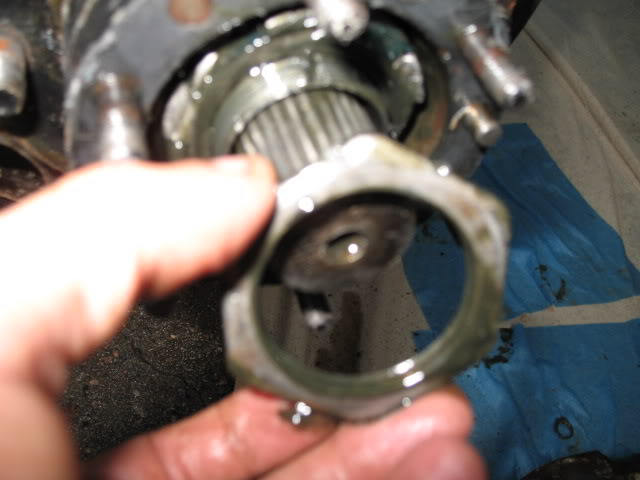
Then the lock washer:
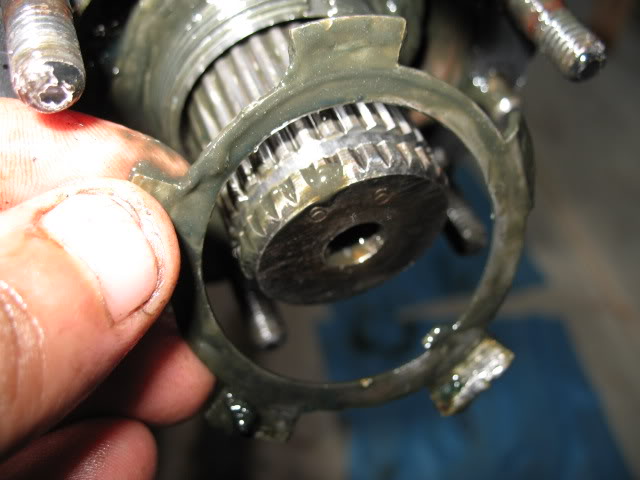
Then the adjusting nut:
Then the thrust washer:
Then the outer bearing:

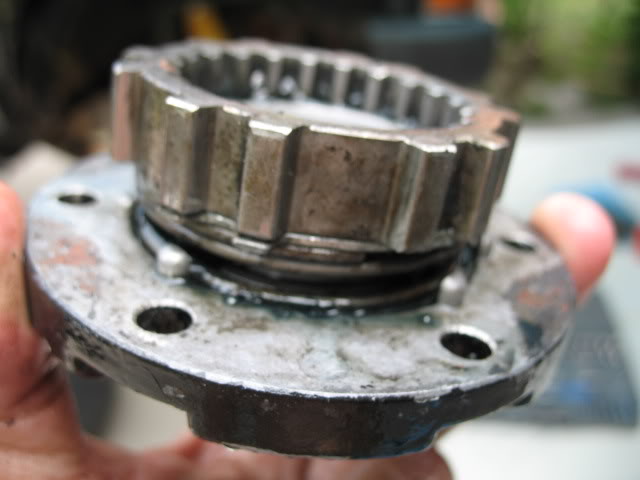
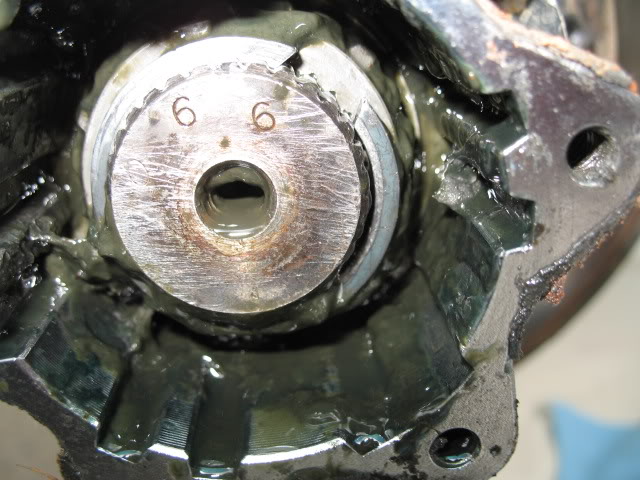
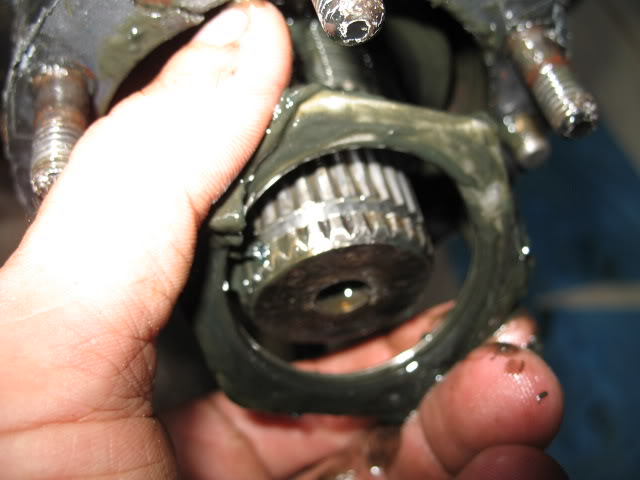
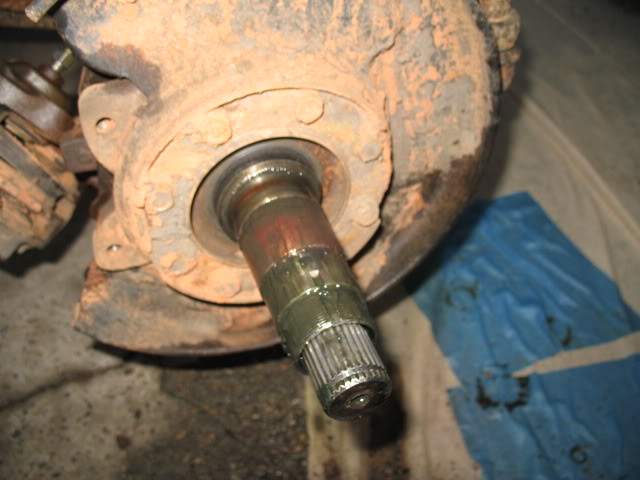
Once all that junk's off, I was able to pull the Axle hub with the disc off:
which exposes the dust cover:
Then the lock washer:
Then the adjusting nut:
Then the thrust washer:
Then the outer bearing:
Once all that junk's off, I was able to pull the Axle hub with the disc off:
which exposes the dust cover:
Jul 21, 2006 | 07:32 PM
#16
Banned
Joined: May 2006
Posts: 0
Likes: 0
sounds good man.. educate me on what the hell a spline is lol. Im gonna try and wheel my truck but im afraid im gonna eff something up until i start upgrading the armrour (aka tjm15 and budbuilt skids and what not)
I'll do something though
I'll do something though
Jul 21, 2006 | 07:36 PM
#18
Thread Starter
Contributing Member
Joined: Feb 2006
Posts: 1,876
Likes: 1
From: Gulfport, Mississippi
Originally Posted by waskillywabbit
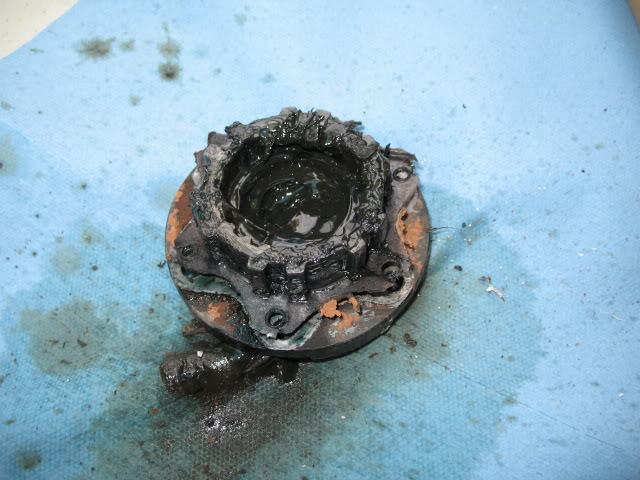
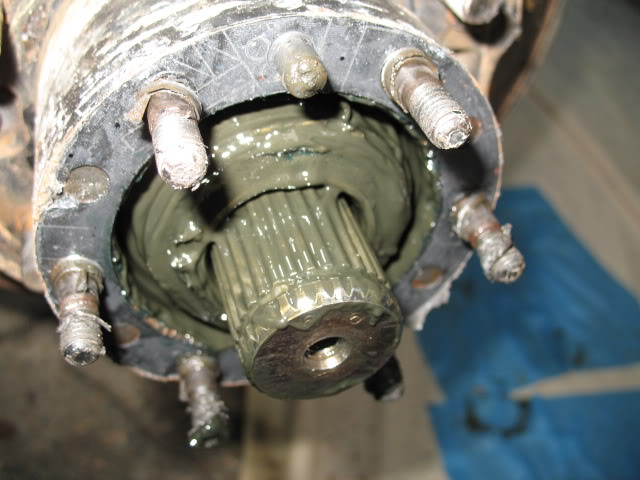
Good thing you went in when you did...that pea soup goo means the seals were GONE. It's supposed to be grease, not soup.
What do you need a SST for?
What do you need a SST for?
Jul 21, 2006 | 07:38 PM
#19
Thread Starter
Contributing Member
Joined: Feb 2006
Posts: 1,876
Likes: 1
From: Gulfport, Mississippi
Originally Posted by waskillywabbit
You beat the tabs flat on the star washer than take off the nuts. Hammer and screwdriver... 
Are you upgrading to the IFS brakes while you are doing this? Perfect time to go to the bigger brakes.
Are you upgrading to the IFS brakes while you are doing this? Perfect time to go to the bigger brakes.

Grasshopper learns from Wabbit...
I have the drilled rotors, just not the V-6 calipers...if only the '89 had been a 3.0...(not)
Jul 21, 2006 | 07:39 PM
#20
Nah, you can probably just clean it all up, put in the new seals and such and be good to go, but while you are in there perhaps rebuild the knuckle. It looks like a LOT, but w/ the FSM and online help, I bet you can do it. It looks overwhelming but it really isn't hard at all.
We'll see how well my work held up when you get to the other side.
We'll see how well my work held up when you get to the other side.


