Lumpy's no cut Zuk Mod
 04-03-2013, 03:26 PM
#1
Registered User
Thread Starter
Lumpy's no cut Zuk Mod
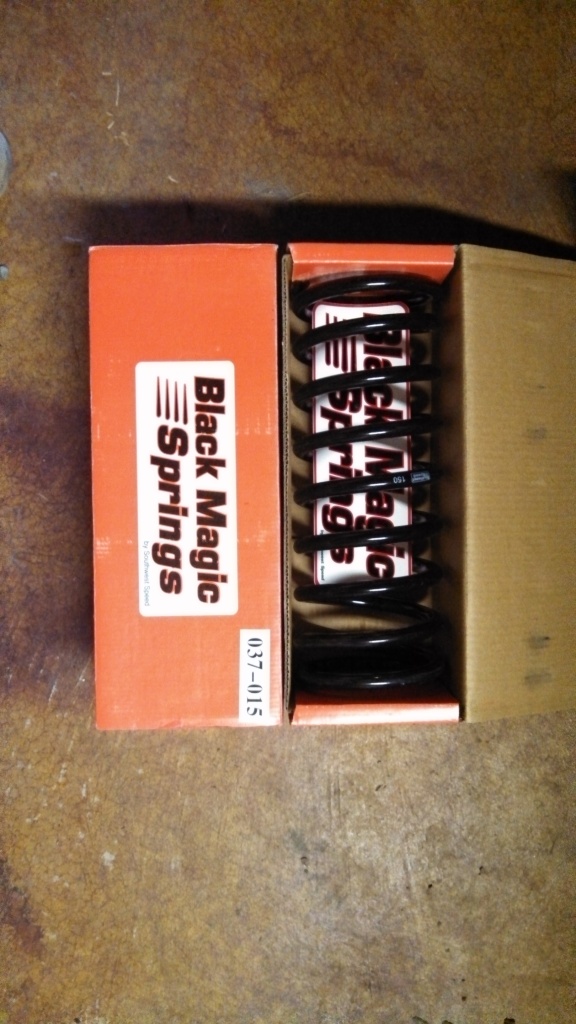
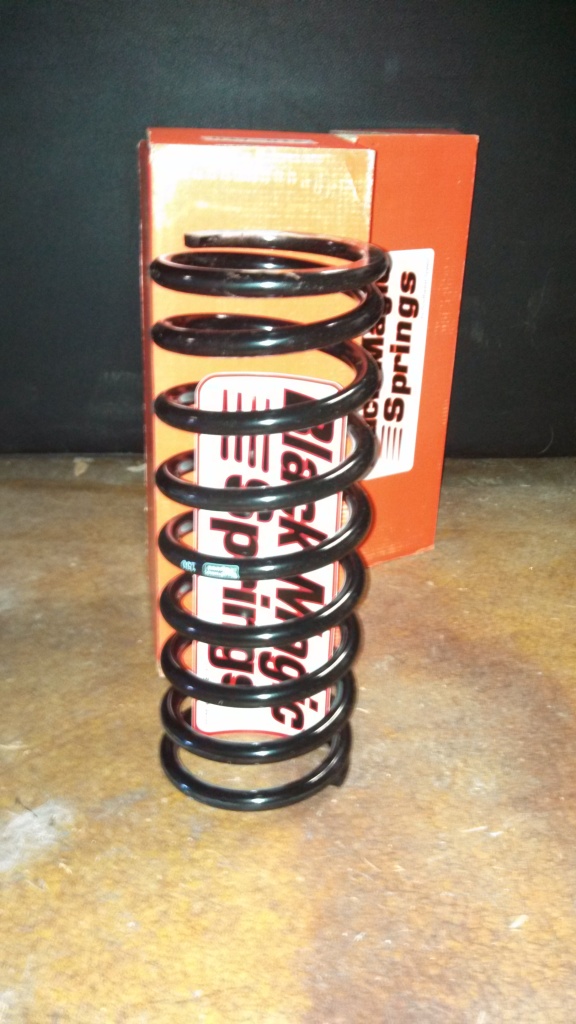
Alrighy, after too much hauling and tired of sagging I have finally decided on the Zuk Mod...I have read through 92Toys thread, Zuk's thread, Junkers88 and many more I have finally decided on the 5"x13"x150lbs Black Magic springs from Southwest Speed.
I do want a little lift and the new shoes from Treadwright are around 33x10 I think the 13" will give a nice look and ride, I went with the 150lbs because I do haul quite a bit but still need a comfortable ride for a 70 mile commute.
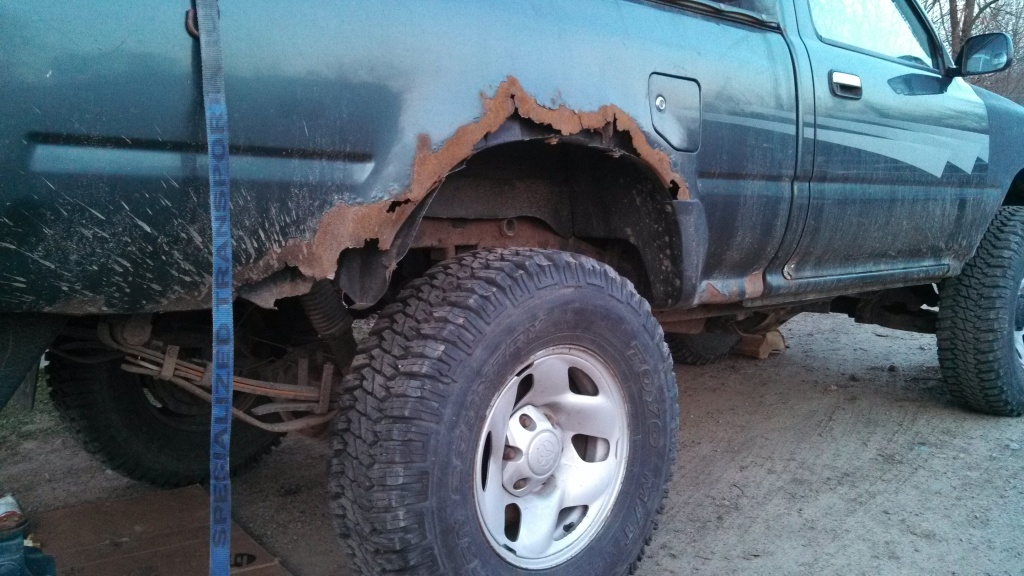
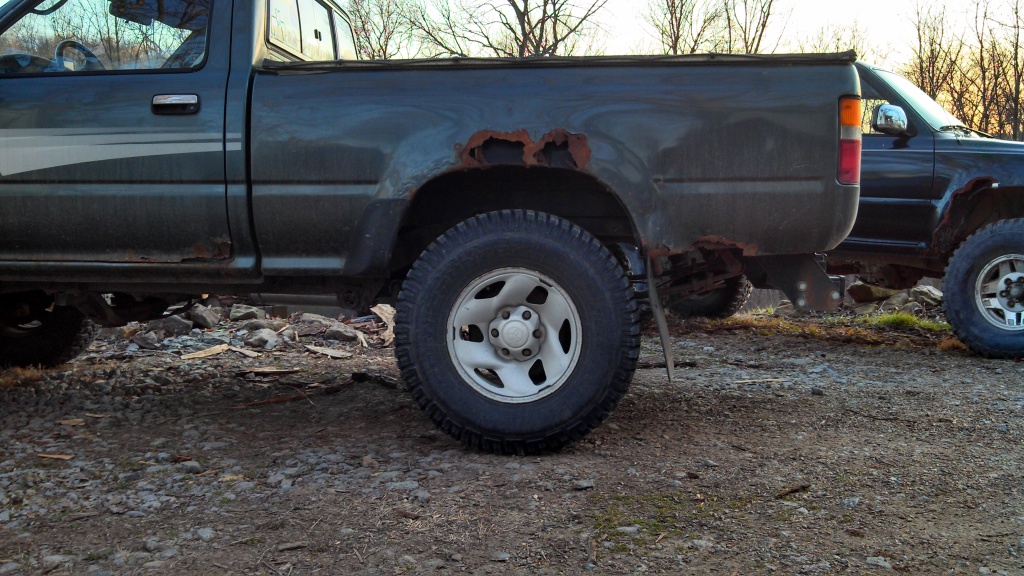
So this is where she sits now, mind you I do have the el-cheap-o 1/2 leaf helpers from Advanced auto on there as well, made the ride stiff as hell but it was a quick fix for the time being.
As she sits now.
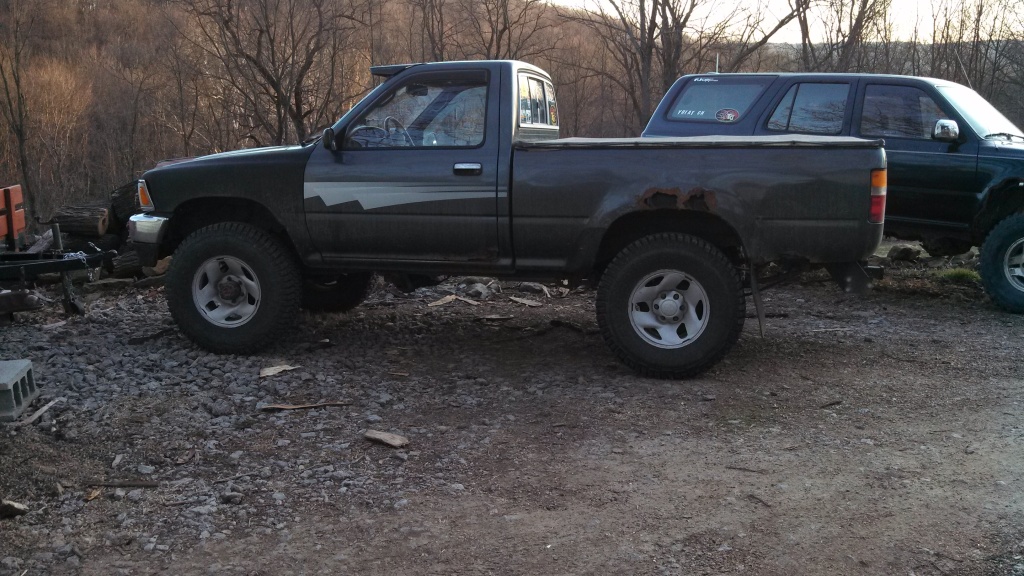
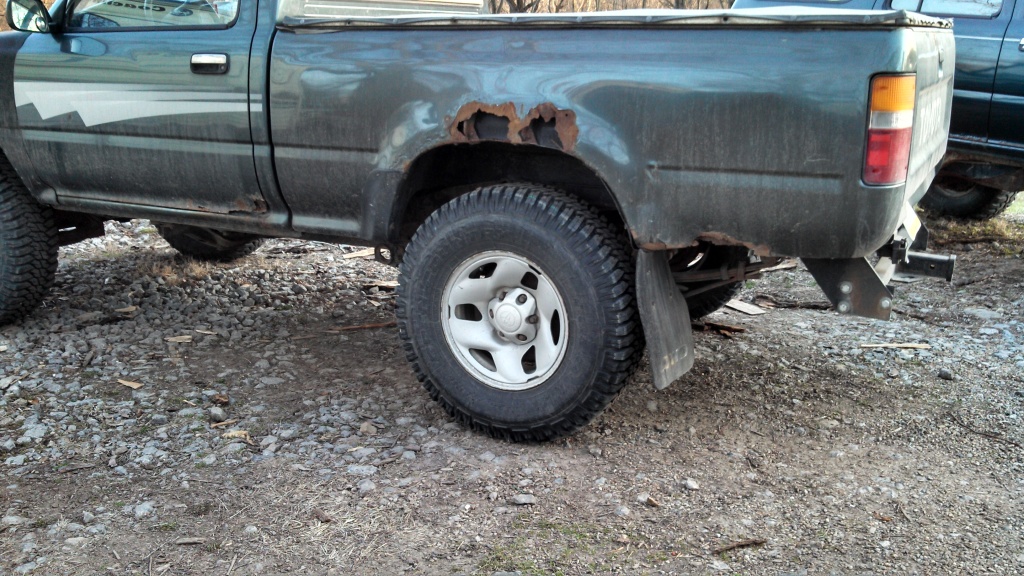
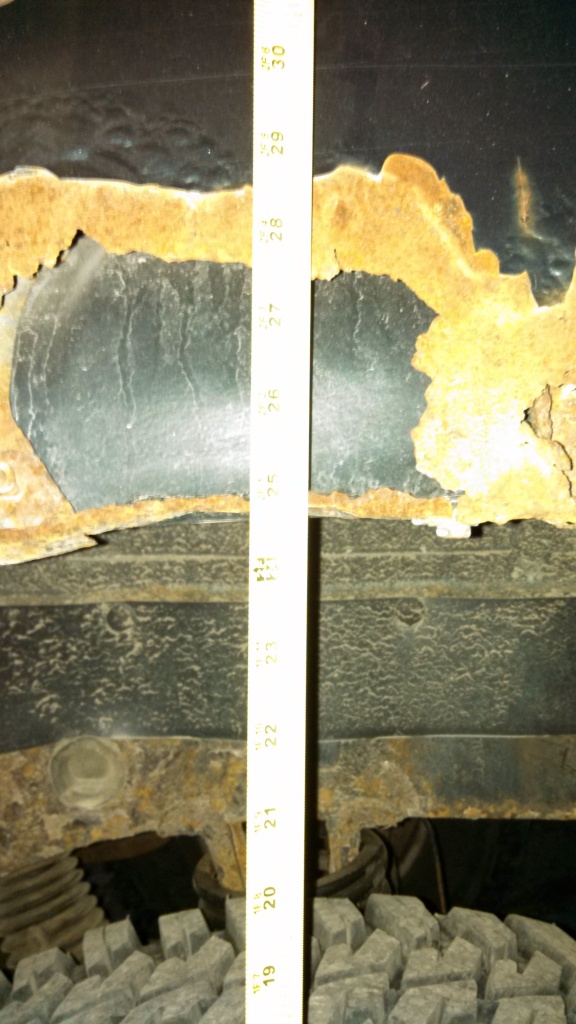
Right now I have about 21 1/4 from center to arch (what's left of it)

From fame to leaf pack is roughly 8 1/2 could be a little less, it's not sitting level but close.

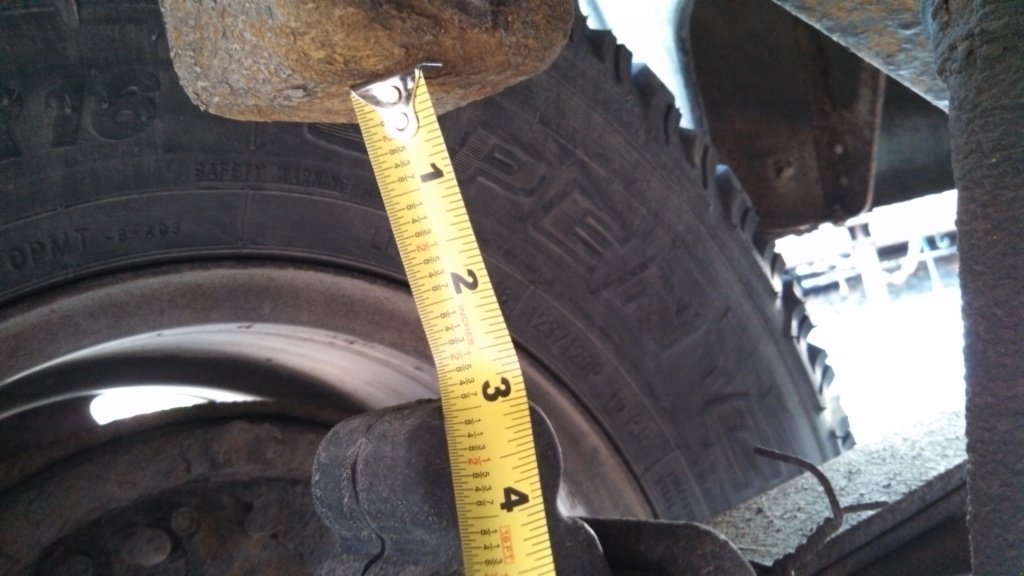
Just under 3 between the bumps. Don't mind the twisted hanger in the background, it's just holding the broken leaf in place....
This weekend they'll go in, I don't have the time to do it in the evenings...Yes I know it doesn't take that long.
I do want a little lift and the new shoes from Treadwright are around 33x10 I think the 13" will give a nice look and ride, I went with the 150lbs because I do haul quite a bit but still need a comfortable ride for a 70 mile commute.
So this is where she sits now, mind you I do have the el-cheap-o 1/2 leaf helpers from Advanced auto on there as well, made the ride stiff as hell but it was a quick fix for the time being.
As she sits now.
Right now I have about 21 1/4 from center to arch (what's left of it)
From fame to leaf pack is roughly 8 1/2 could be a little less, it's not sitting level but close.
Just under 3 between the bumps. Don't mind the twisted hanger in the background, it's just holding the broken leaf in place....
This weekend they'll go in, I don't have the time to do it in the evenings...Yes I know it doesn't take that long.
 04-05-2013, 05:03 PM
#5
Registered User
Thread Starter
And so it begun!!!
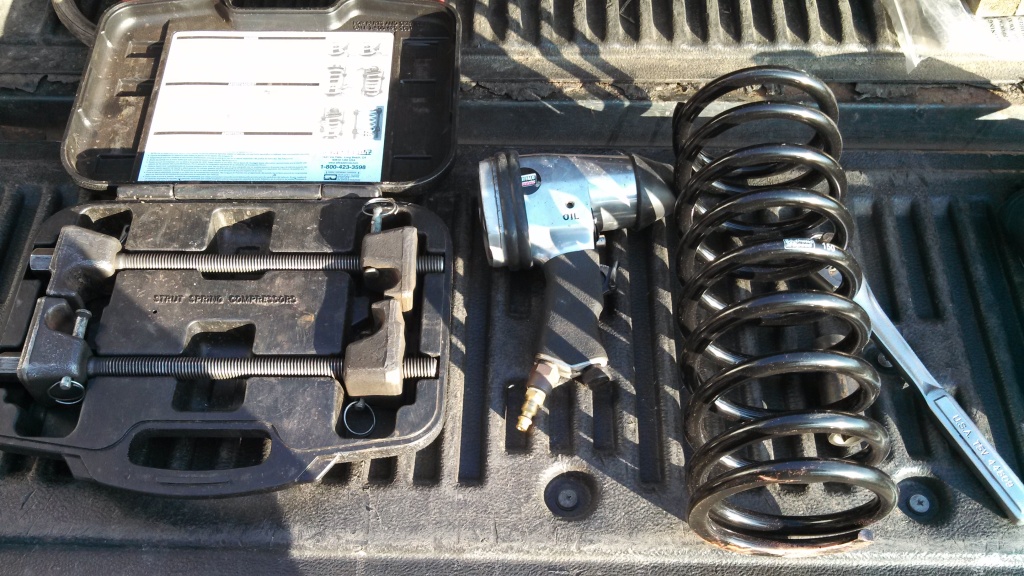
Took just over an hour or so to do. I rented a spring compressor to help me out.
In order to get these in I had to remove the shock, I chose the lower they broke loose quite easily. So I jacked up the truck from the side of the hitch as far as it would go then I used a Toyota bottle jack at the front of the axle to spread it a little further.
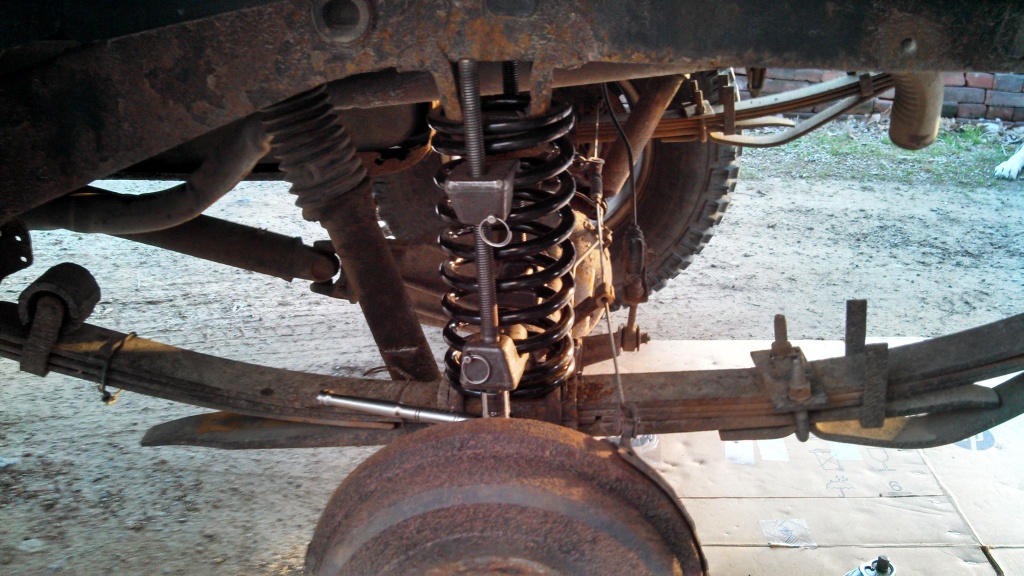
I was not able to get the spring compressed enough so I got it in place around the lower mount and used a heavy ratchet strap. With the spring top facing rear, I ran on end under the front of the axle and to the top of the spring on the inside of the upper mount and the ratchet side to the outside of the spring. As I cranked the strap it further compressed the spring and pulled the top forward. Then with a tap I ended up like this!!!
I started by not removing the shock and left the tire on. I was hoping to do it from underneath...Well that didn't go well. Save yourself some aggravation and just remove 1 shock mount and the tire it will go much smoother.
The first on took about 45 minutes or so the 2nd 20 min tops.

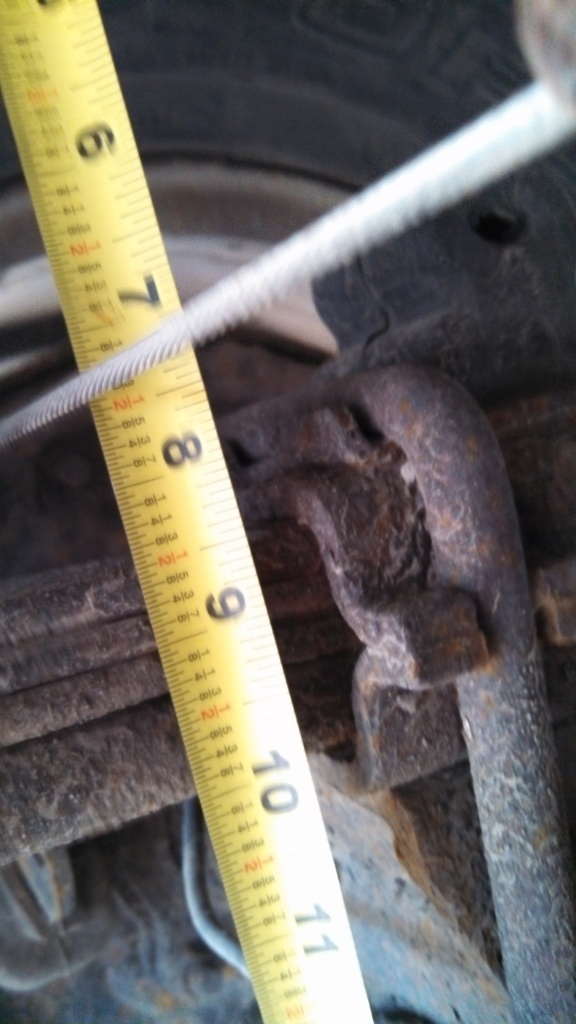
Now this is before...around 8.5"
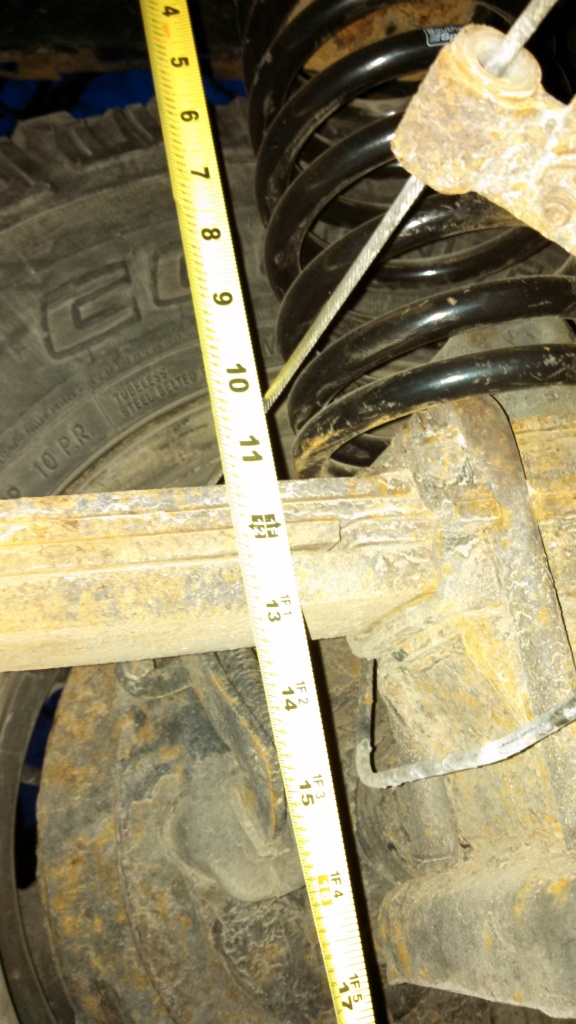
And after...around 11.5"
Before...almost 21.5" to the center.
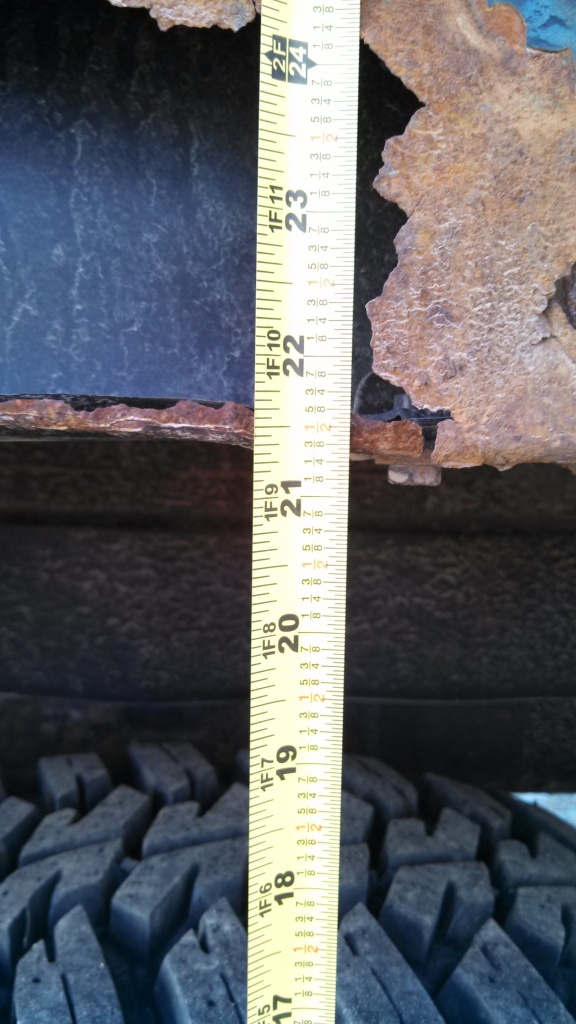
After... around 24.5
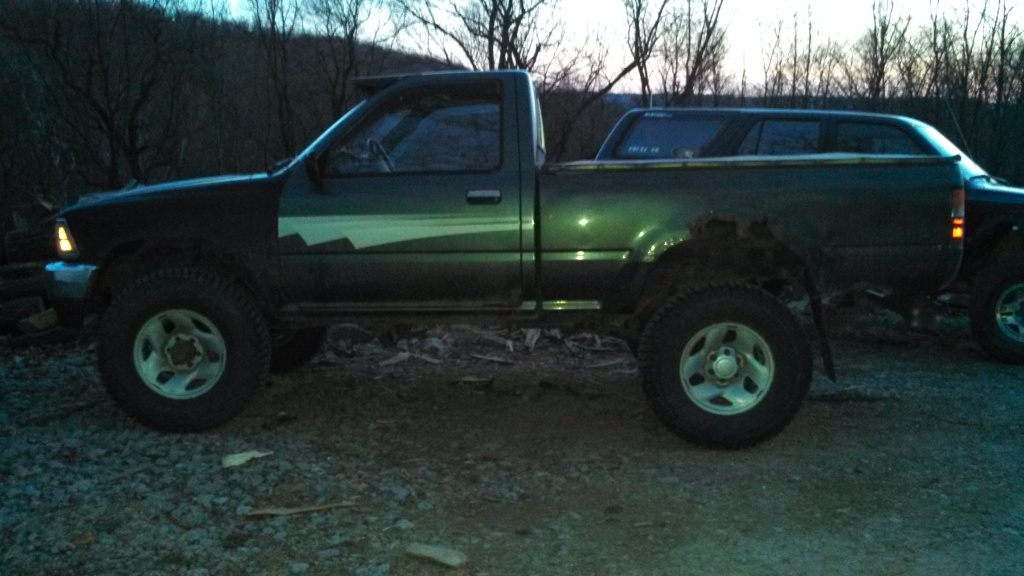
Before...
After...
Yes I know it's a lil dark...I'll get a better tomorrow.
Now I know they will settle a little more probably about 1/2" I'm guessing.
As for the ride it's much better, still rides like a truck but it's not going to knock out your fillings on a lil bump.
From what I have read and just installing these tonight.
If you are looking for just over stock and a better ride.
11" at 100lbs
Lift and smooth ride
13" at 100lbs
Stock and hauling
11" at 150lbs
Slight lift and hauling
13" at 150lbs
Probably getting a load or two of wood tomorrow so I'll know how much it settles and how the ride is loaded.
Took just over an hour or so to do. I rented a spring compressor to help me out.
In order to get these in I had to remove the shock, I chose the lower they broke loose quite easily. So I jacked up the truck from the side of the hitch as far as it would go then I used a Toyota bottle jack at the front of the axle to spread it a little further.
I was not able to get the spring compressed enough so I got it in place around the lower mount and used a heavy ratchet strap. With the spring top facing rear, I ran on end under the front of the axle and to the top of the spring on the inside of the upper mount and the ratchet side to the outside of the spring. As I cranked the strap it further compressed the spring and pulled the top forward. Then with a tap I ended up like this!!!
I started by not removing the shock and left the tire on. I was hoping to do it from underneath...Well that didn't go well. Save yourself some aggravation and just remove 1 shock mount and the tire it will go much smoother.
The first on took about 45 minutes or so the 2nd 20 min tops.
Now this is before...around 8.5"
And after...around 11.5"
Before...almost 21.5" to the center.
After... around 24.5
Before...
After...
Yes I know it's a lil dark...I'll get a better tomorrow.
Now I know they will settle a little more probably about 1/2" I'm guessing.
As for the ride it's much better, still rides like a truck but it's not going to knock out your fillings on a lil bump.
From what I have read and just installing these tonight.
If you are looking for just over stock and a better ride.
11" at 100lbs
Lift and smooth ride
13" at 100lbs
Stock and hauling
11" at 150lbs
Slight lift and hauling
13" at 150lbs
Probably getting a load or two of wood tomorrow so I'll know how much it settles and how the ride is loaded.
 04-06-2013, 05:21 AM
#7
Registered User
Thread Starter
Yes, I know...I'm right on the steel buckle of the rust belt!
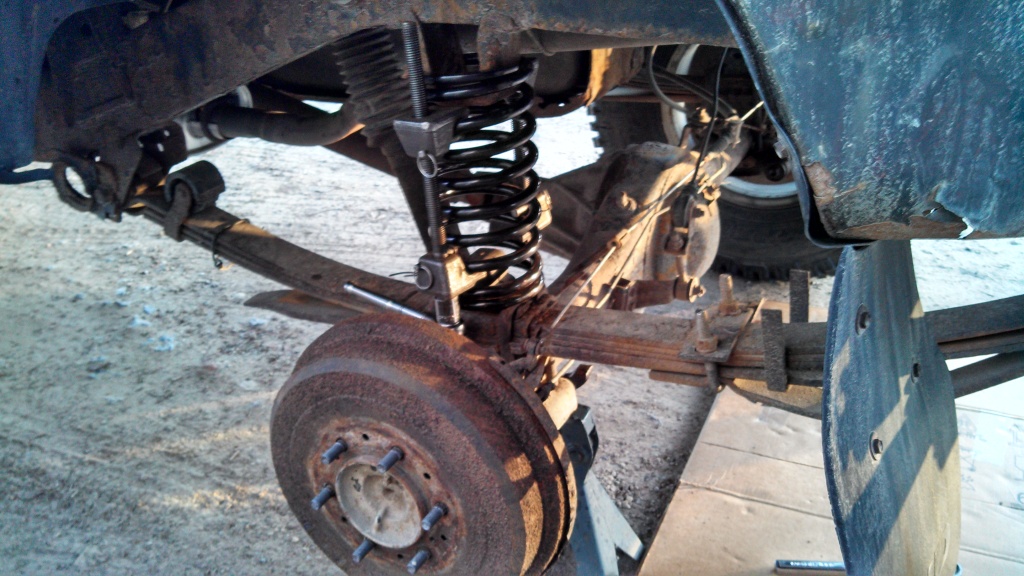
Day time!!!
After
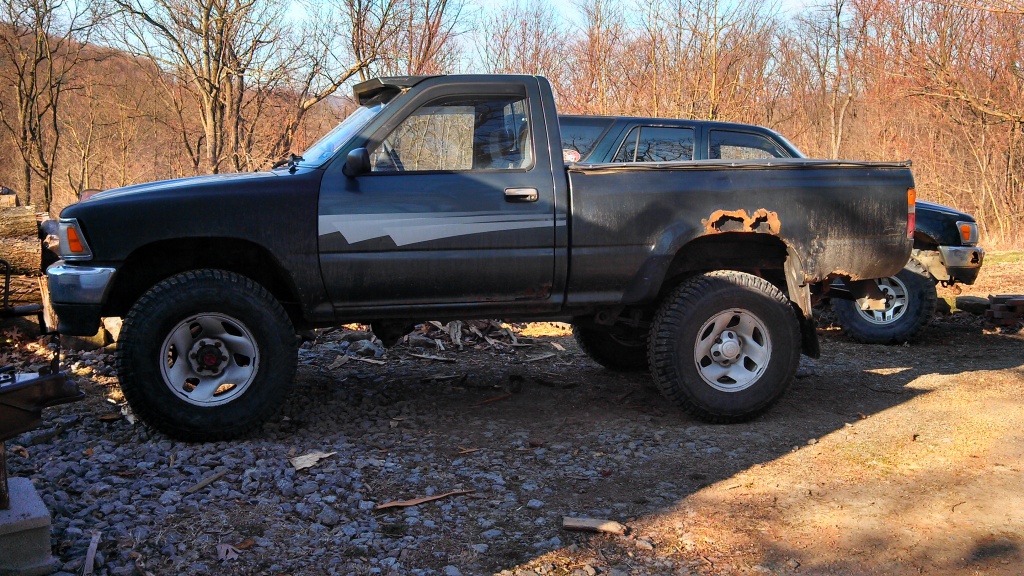
Before
[IMG] [/IMG]
Day time!!!
After
Before
[IMG]
[/IMG]
Last edited by Lumpy; 04-06-2013 at 05:27 AM.
Trending Topics

Thread
Thread Starter
Forum
Replies
Last Post
justdifferentials
Vendors Build-Ups (Build-Up Section)
14
06-11-2017 08:36 PM
LotOMiles
95.5-2004 Tacomas & 96-2002 4Runners
8
09-14-2015 11:45 PM
justdifferentials
Vendors Build-Ups (Build-Up Section)
0
09-05-2015 06:52 PM


