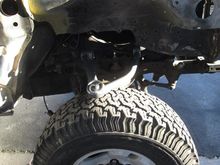
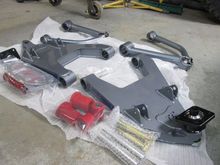
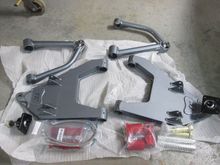
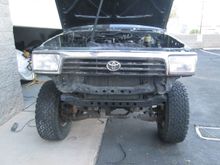
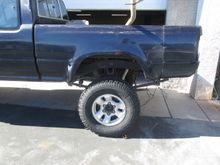
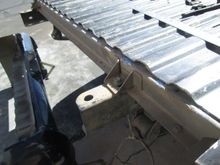
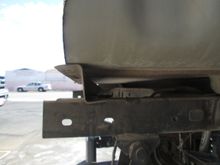
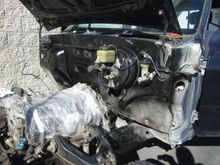
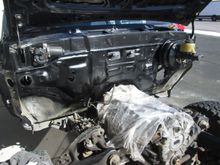
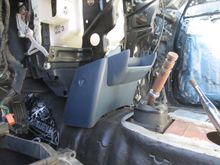
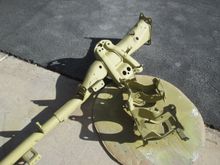
This kit is designed to be a direct bolt-on conversion but due to the engine swap and header choice this will not be an option. The plan is to move the pivot points down and out about an inch so new pivot point will have to be fabricated. This is out of my wheel house so to speak so I'm having a friend who specializes in this sort of thing help me along here. The trouble is he's a few months out from being able to take it on. He's worth the wait though; will have updates once this work