
Retrofit JDM Hilux Surf Tire Carrier
 Dec 19, 2010 | 12:12 AM
#1
Thread Starter
Registered User
Joined: Aug 2002
Posts: 102
Likes: 1
Retrofit JDM Hilux Surf Tire Carrier
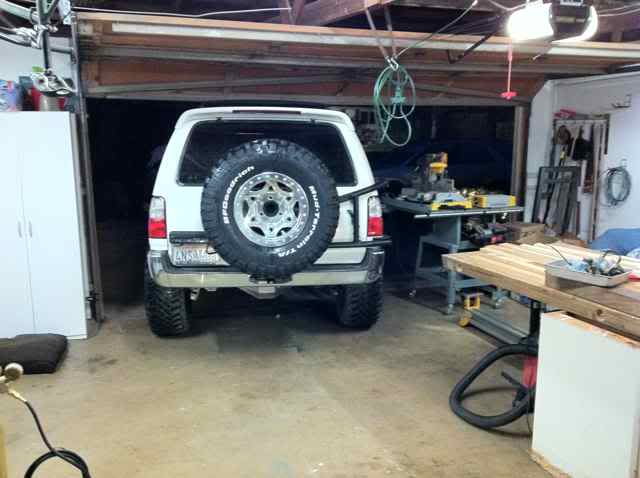
I purchased a Hilux Surf Tire Carrier from Ebay.co.uk, it came off a junkyard vehicle and included the license plate light, rear latch, pressure switch, complete tire carrier and the plastic tailgate valence that replaces our license plate valence. I haven't read of anyone doing this retrofit so I thought I'd share what I have learned. The body panel on the Surf is recessed underneath the taillight to fit the bottom hinge of the carrier. The bottom hinge goes into this recessed area about 1/4" so instead of recessing the sheet metal I added metal to the hinge so that it is flush with the body. The factory mount has the tire offset on the passenger side, I raised and extended the factory tire mount so that my spare was centered in the back of the vehicle. Toyota added a little bit of reinforcing of the D-Pillar for the Surfs, I was surprised how little reinforcing was added by the factory. I went above what Toyota did and tied the whole D-Pillar together where the hinge mounts. This supports the added weight of the 35" tire and the extra leverage of centering it very well. The latching mechanism on the carrier is a double latch like the vehicle doors. I still have some work and I may change a few things but until then enjoy the pics!
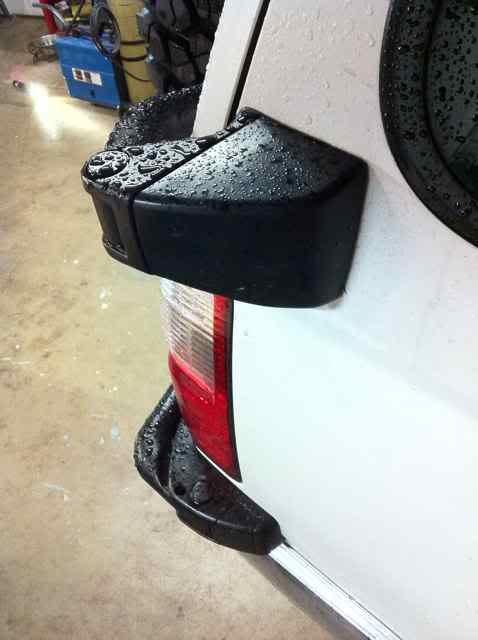
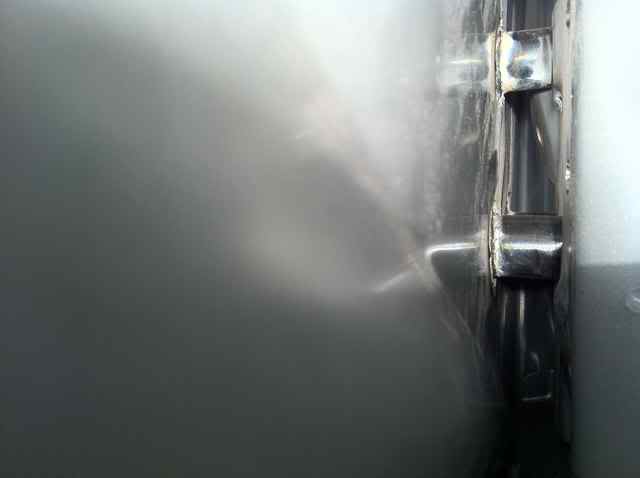
Here you can see the handle to open the carrier and the rubber isolator that goes into the tailgate latch.
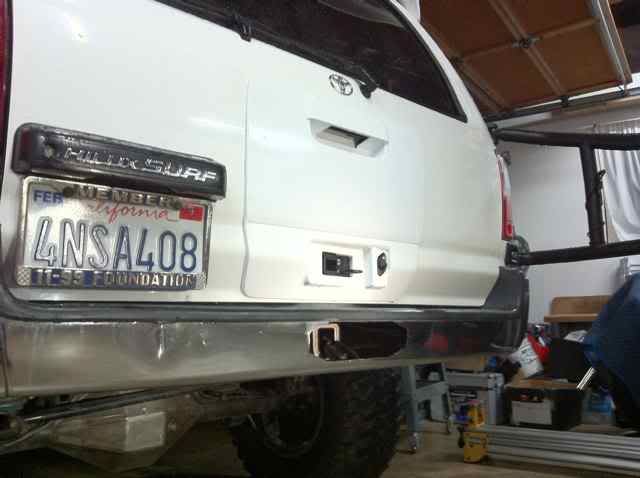
I mounted the license plate lower than a stock Hilux Surf. The new stuff on the tailgate is the hole for the rubber isolator and the latch and the diamond piece is the pressure switch to indicate if the latch is fully closed.
I took a piece of 1/4" steel rod and welded rod around the lower mount instead of recessing the sheet metal. Otherwise there would of been a 1/4" gap between the body and the lower mount.
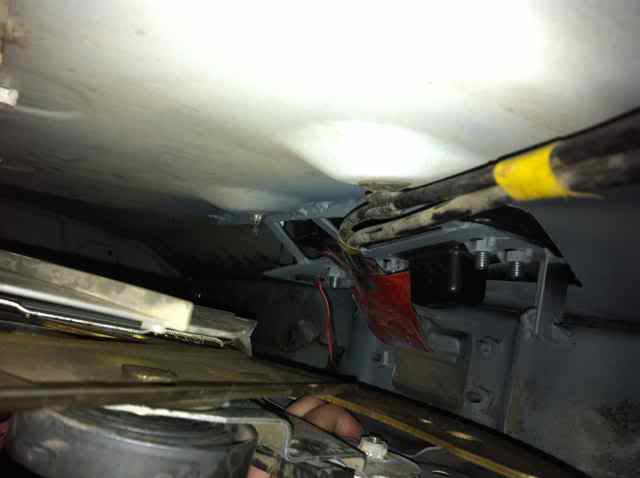
This is tubing added between the outer skin at the upper swing mount and the d-pillar.
Inside the d-pillar at the upper mount.
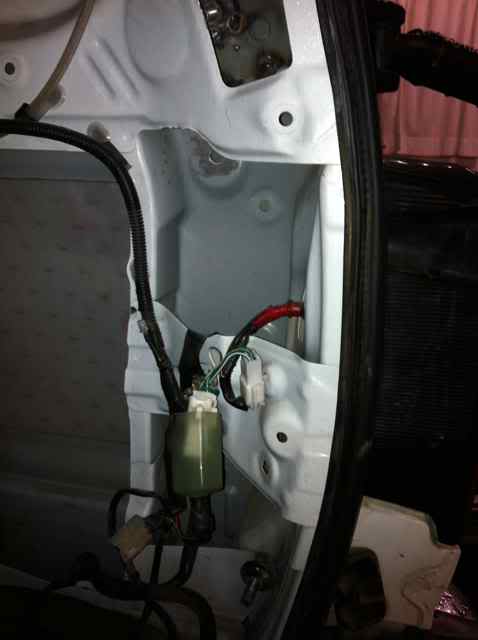
This is inside the tailgate where the latch bolts to. I still need to enclose this with sheet metal. You can see the black box to the left of the two shiny bolts is where the rubber isolator goes in.
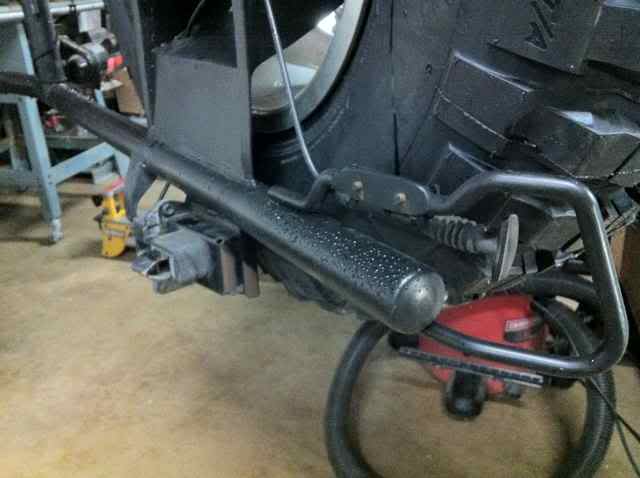
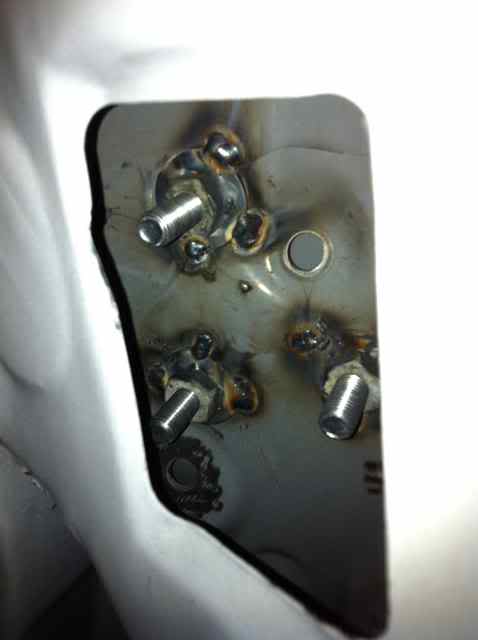
d-pillar. You can see one of the lower swing arm bolts that I used. It had to be 6.5" long in order to tie the whole rear assembly together.
Here you can see the handle to open the carrier and the rubber isolator that goes into the tailgate latch.
I mounted the license plate lower than a stock Hilux Surf. The new stuff on the tailgate is the hole for the rubber isolator and the latch and the diamond piece is the pressure switch to indicate if the latch is fully closed.
I took a piece of 1/4" steel rod and welded rod around the lower mount instead of recessing the sheet metal. Otherwise there would of been a 1/4" gap between the body and the lower mount.
This is tubing added between the outer skin at the upper swing mount and the d-pillar.
Inside the d-pillar at the upper mount.
This is inside the tailgate where the latch bolts to. I still need to enclose this with sheet metal. You can see the black box to the left of the two shiny bolts is where the rubber isolator goes in.
d-pillar. You can see one of the lower swing arm bolts that I used. It had to be 6.5" long in order to tie the whole rear assembly together.
Last edited by Macgyver; Dec 19, 2010 at 08:10 PM.
Dec 19, 2010 | 09:59 AM
#3
Registered User
Joined: Jul 2004
Posts: 384
Likes: 0
From: HB, CA
Dec 19, 2010 | 03:29 PM
#4
I was all gung-ho about doing this a couple years ago but I could never find anyone willing to ship, or if I did it was going to cost $1000 or more. Great job and thanks for posting the pics. One thing though, could you post a little description of what the pics are? In some, it's not really clear what the picture is of or where. More pics when you have time or make changes, especially of the reinforcement in the quarter panel. Great job!
Dec 19, 2010 | 03:37 PM
#5
That's awesome! I've ALWAYS wanted the factory Hilux tire carrier but never saw one on ebay, plus I have no fab skills so what you have going on is "flippin' sweet"! X2 on pic description though, helps to have a bit of detail on what was used/done to that area and what perspective the pic was taken at. ROCK ON!!!
Dec 20, 2010 | 04:09 AM
#7
You know I saw that too but didn't realize it doesn't have that mirror part so I didn't pay much attention to it. I'm with you on it, very nice.
Trending Topics
Jan 12, 2011 | 11:56 AM
#10
Registered User
Joined: May 2007
Posts: 2,175
Likes: 2
From: Denver metro area-CO
nicely done sir-as you can see there are quite a few of us that covet such an upgrade.
You could likely make some fair coin retrofitting others in the manner you have done for yourself.
Appreciate your sharing of the photos and descriptions of what you encountered in doing this.
You could likely make some fair coin retrofitting others in the manner you have done for yourself.
Appreciate your sharing of the photos and descriptions of what you encountered in doing this.

Thread
Thread Starter
Forum
Replies
Last Post
FS[MidWest]: 1989 V6 manual SR5 Hilux Surf/4Runner Part out
Badlander
Vehicles - Parting Out
70
Jun 20, 2016 07:20 AM
defrag4
Vehicles - Trailers (Complete)
0
Jul 31, 2015 10:50 AM


