
My Camping Trailer Project
 Nov 12, 2011 | 05:49 PM
#321
Thread Starter
Registered User
Joined: May 2007
Posts: 1,441
Likes: 0
From: Summit County, Colorado


 Nov 12, 2011 | 07:05 PM
#323
Registered User
Joined: Feb 2010
Posts: 97
Likes: 0
From: NC
Thanks man! I don�t plan on having a dedicated shower, but I do plan on having a water container and pump. It will work for rinsing off, washing dishes, etc. I only plan to be using the trailer for a couple days at a time, it�s more of camping trailer than expedition trailer.
I thought about building an off-road tear drop (and still want to) but it was more work than I wanted. It was also going to be a little heavy and overkill for what I plan on doing. The idea of having a fold out tent built into the factory style camper is sweet. I thought about it for a long time, I even looked at the Wilderness toppers, Flipac and AT set-up for ideas. If I had the fiberglass skills I would have gave it a shot, but I still prefer the idea of having a trailer with all my camping gear in that I can disconnect from the trailer and leave at camp. I�ve wheeled with a truck full of camping gear and it sucks.
I thought about building an off-road tear drop (and still want to) but it was more work than I wanted. It was also going to be a little heavy and overkill for what I plan on doing. The idea of having a fold out tent built into the factory style camper is sweet. I thought about it for a long time, I even looked at the Wilderness toppers, Flipac and AT set-up for ideas. If I had the fiberglass skills I would have gave it a shot, but I still prefer the idea of having a trailer with all my camping gear in that I can disconnect from the trailer and leave at camp. I�ve wheeled with a truck full of camping gear and it sucks.
Nov 13, 2011 | 07:41 PM
#324
Registered User
Joined: May 2008
Posts: 156
Likes: 0
From: Fort Lewis, WA
As always this project is amazing...it is almost done and better than ever. I eventually would like to build my own version...something like that just a little more, I think when I build mine I will go for more expedition type...for longer stays....but this is just amazing!
 Nov 15, 2011 | 08:23 AM
#327
Registered User
Joined: Feb 2010
Posts: 97
Likes: 0
From: NC
As always this project is amazing...it is almost done and better than ever. I eventually would like to build my own version...something like that just a little more, I think when I build mine I will go for more expedition type...for longer stays....but this is just amazing!
Nov 15, 2011 | 08:41 AM
#328
Registered User
Joined: Feb 2010
Posts: 97
Likes: 0
From: NC
Hey man, is the hinge on the front and the latch system on the back, or vice versa? I ask because I was looking at it and thought about what a great place it would be for a spare mount. Right on the front of the firebox. Of course you would have to leave room for either the box lid or latch and I don't know how much space that would leave you to crank the drop wheel handle, but I thought it would look nice and be out of the way there. Just something to think about...I read through the entire thread a few days ago and can't remember where you mentioned the spare tire carrier being located...
 Nov 15, 2011 | 04:01 PM
#329
Thread Starter
Registered User
Joined: May 2007
Posts: 1,441
Likes: 0
From: Summit County, Colorado
 Nov 15, 2011 | 05:26 PM
#330
Thread Starter
Registered User
Joined: May 2007
Posts: 1,441
Likes: 0
From: Summit County, Colorado
As always this project is amazing...it is almost done and better than ever. I eventually would like to build my own version...something like that just a little more, I think when I build mine I will go for more expedition type...for longer stays....but this is just amazing!
In all reality when I plan my future expedition style trips I will have two or three days on the trail, then a day or two in a nice town / hotel, and back to the trail. Repeat that process a couple times and it will be time to head home. For the most part it will be used as a camping trailer on the weekends and I�ll be going through a town on a daily basis where I can get supplies (Moab, BV, etc).
Jan 21, 2012 | 06:39 PM
#332
Thread Starter
Registered User
Joined: May 2007
Posts: 1,441
Likes: 0
From: Summit County, Colorado
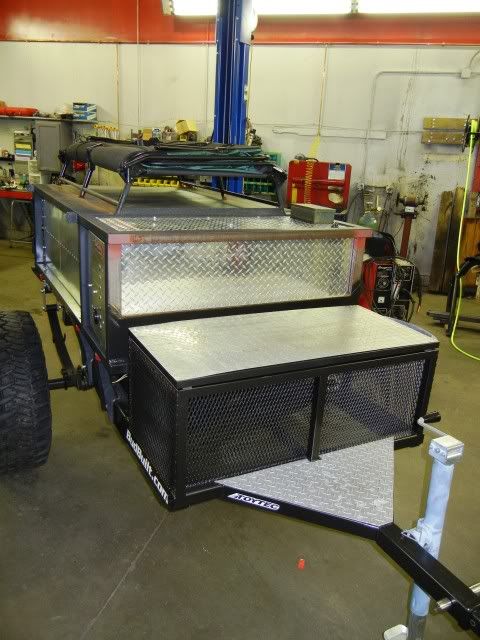
I have not worked on this in a long time, between work and the 4Runner I have not had the time. Well I pulled it in the shop this weekend to dry it out a little, and since it was there I spent a few hours working on it. Nothing major but every little bit counts. I forgot my camera but a took a few pictures with my phone.
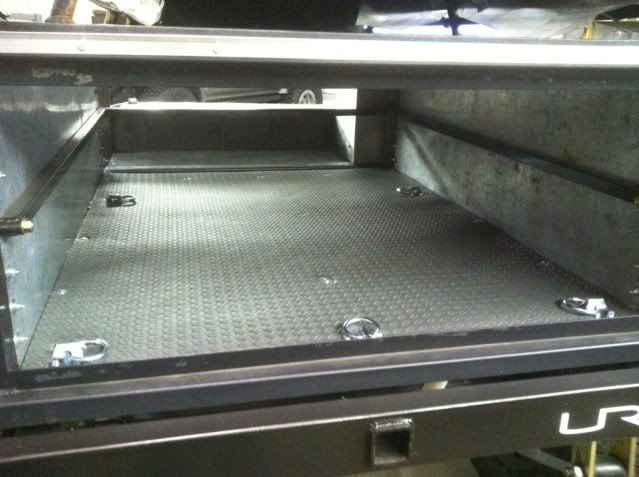
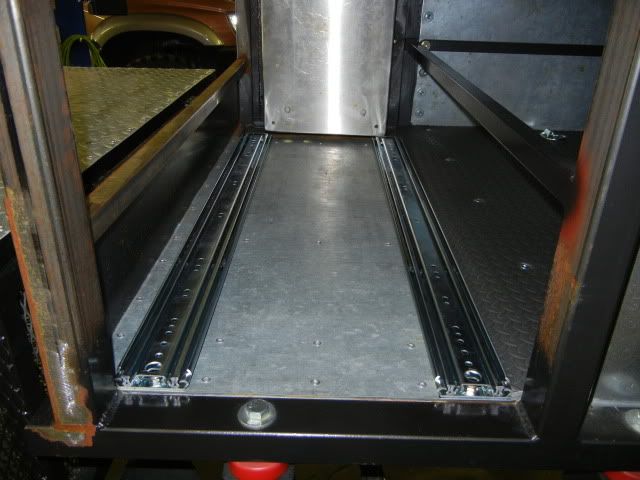
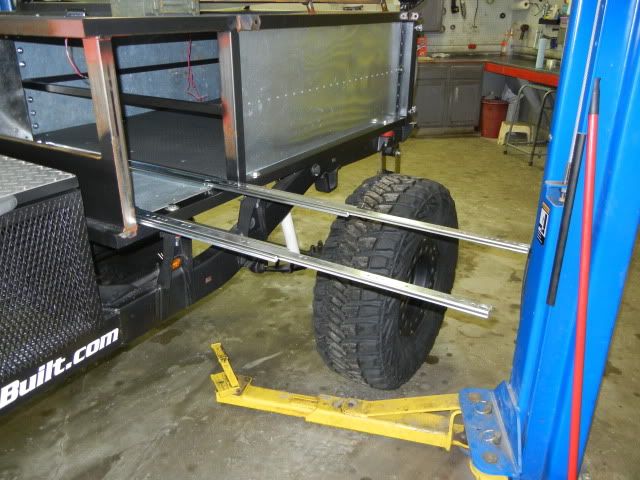
I got the first slider mounted for the cooler and dry food box, with that installed I was able to install the flooring and tie-downs. The flooring is some anti-fatige foam pad that we had around the shop, I think it's around 3/8 think. The tie-downs I got from Northern Tool for cheap, they aren't fancy but they should do the trick.

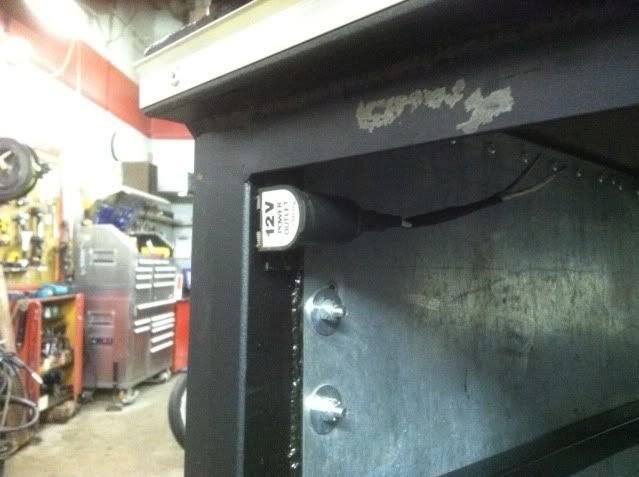
I also found a spot to install the rear 12 volt outlet
With the flooring installed I was able to install the interior LED lights, there's a LED bar on each side of the center cross bar.

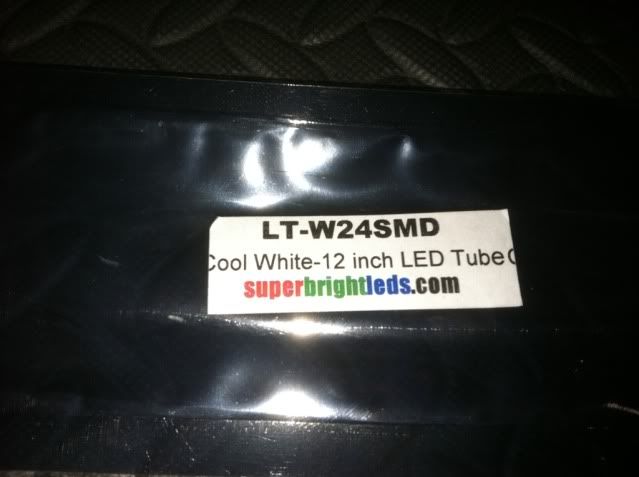
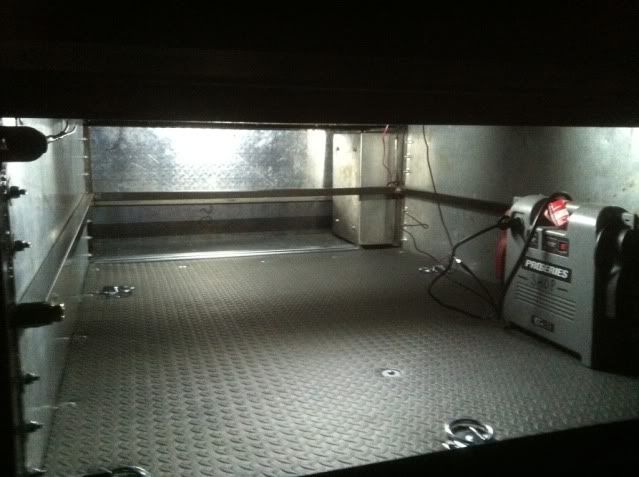
And here it is all lit up. I turned off the shop lights and it was bright enough not to set off the flash on the camera. It's bright, without being too bright or blinding, and it also sends out a nice light pattern into the outside camping area. I have a Coleman lantern, but this will come in handy for setting up camp or when I'm too lazy to fire up the lantern.
I got the first slider mounted for the cooler and dry food box, with that installed I was able to install the flooring and tie-downs. The flooring is some anti-fatige foam pad that we had around the shop, I think it's around 3/8 think. The tie-downs I got from Northern Tool for cheap, they aren't fancy but they should do the trick.
I also found a spot to install the rear 12 volt outlet
With the flooring installed I was able to install the interior LED lights, there's a LED bar on each side of the center cross bar.
And here it is all lit up. I turned off the shop lights and it was bright enough not to set off the flash on the camera. It's bright, without being too bright or blinding, and it also sends out a nice light pattern into the outside camping area. I have a Coleman lantern, but this will come in handy for setting up camp or when I'm too lazy to fire up the lantern.
Last edited by DIRTCO; Jan 21, 2012 at 06:41 PM.
 Jan 22, 2012 | 03:46 PM
#334
Thread Starter
Registered User
Joined: May 2007
Posts: 1,441
Likes: 0
From: Summit County, Colorado
Yes, I was using the jump box to power the lights. I need to install everything before I can start the wiring process. The LED's put out an amazing amount of light compared to how much energy they use. The reflective surfaces inside the trailer also help with the brightness of the light output .
Last edited by DIRTCO; Jan 22, 2012 at 03:55 PM.
Jan 28, 2012 | 05:53 PM
#338
Thread Starter
Registered User
Joined: May 2007
Posts: 1,441
Likes: 0
From: Summit County, Colorado
I got a little more work done on the trailer…
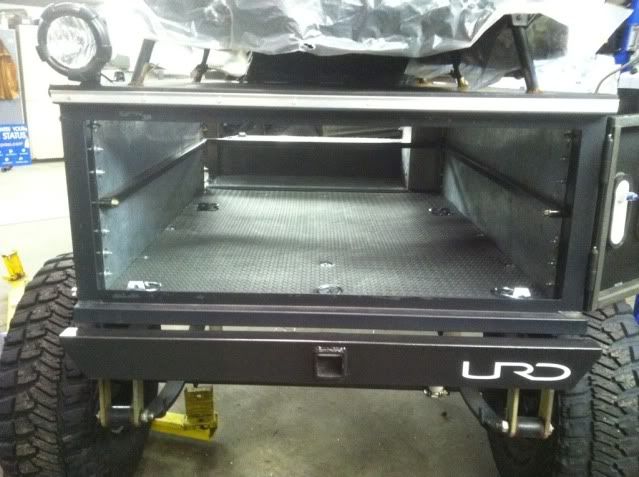
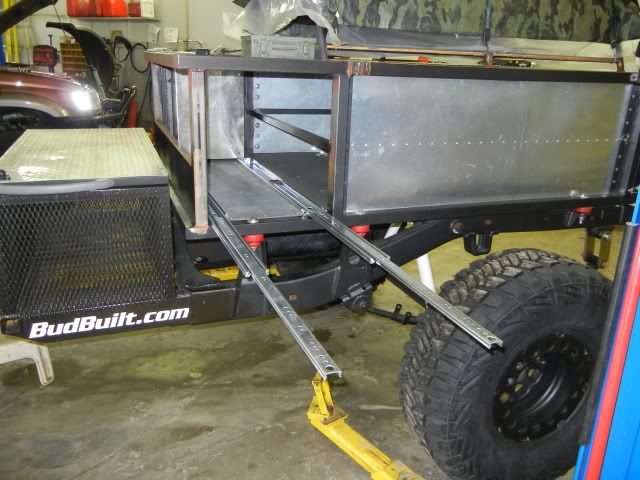
I installed the second drawer slide; this will hold my cooler and dry food box.
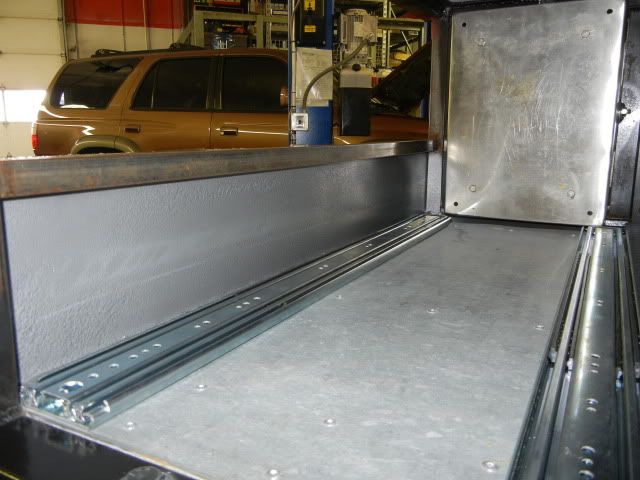
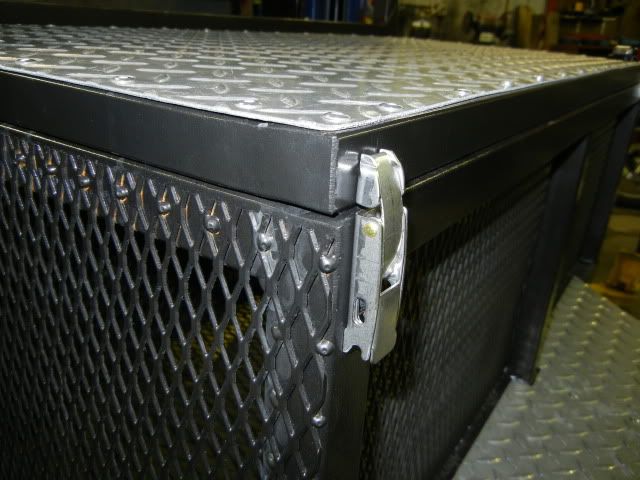
I also found some latches for the firewood / trash box; they are lockable but I’ll probably just use a couple zip-ties, that will keep them popping open when going down rough, bouncy roads.
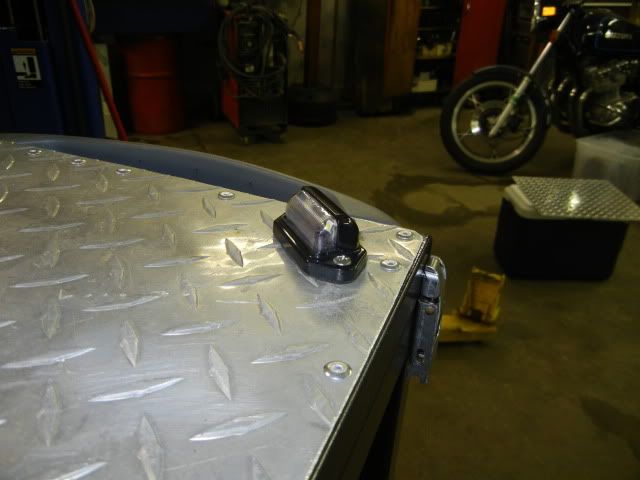
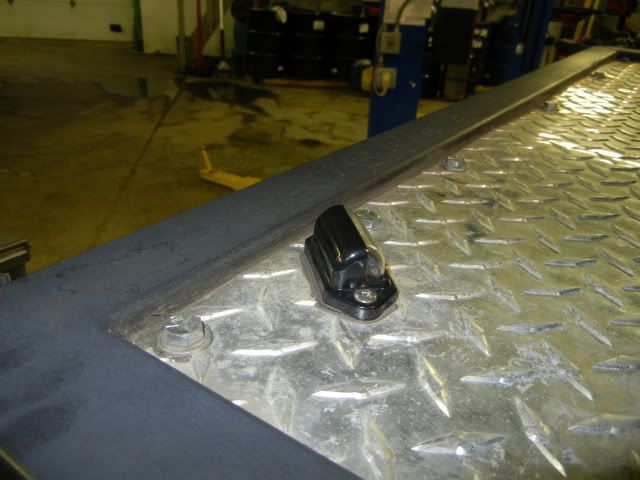
And a picture of the courtesy step lights; there’s one on top of the firewood box and one at the entryway for the tent.
I installed the second drawer slide; this will hold my cooler and dry food box.
I also found some latches for the firewood / trash box; they are lockable but I’ll probably just use a couple zip-ties, that will keep them popping open when going down rough, bouncy roads.
And a picture of the courtesy step lights; there’s one on top of the firewood box and one at the entryway for the tent.
Last edited by DIRTCO; Jan 28, 2012 at 05:56 PM.


