
Custom truck bed toolbox
 Jun 2, 2014 | 09:27 PM
#1
Thread Starter
Registered User
Joined: Dec 2009
Posts: 754
Likes: 0
From: Pearland, Tx
Custom truck bed toolbox
So ive been needing a toolbox for my bed but cant find a good size and all th diamond plate ones are too high dollar.
also taking a 1000 mile per way drive to camp and vacation in colorado and really wanted it for tat time as well.
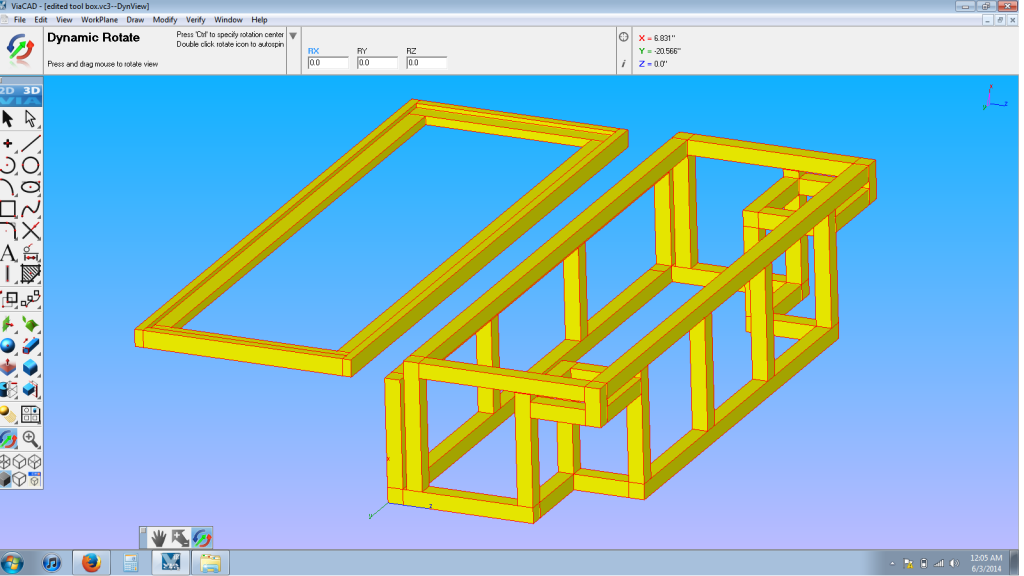
so i have come up with the idea to make my own.
It will be made of wood and the frame will be 2x2''s from lowes and the lid frame 1x2''s.
I will glue and screw every piece of wood that will be touching.
and will be using 3/8 plywood for the shell which will be glued and screwed on.
Tm then going to paint it like i did my bumpers with acoat of valspar stone paint and then rustoleum bedliner after that, bumper paint has held upreally well, and that combo should completely seal the outside edges of plywood from water.
any other ideas?

also taking a 1000 mile per way drive to camp and vacation in colorado and really wanted it for tat time as well.
so i have come up with the idea to make my own.
It will be made of wood and the frame will be 2x2''s from lowes and the lid frame 1x2''s.
I will glue and screw every piece of wood that will be touching.
and will be using 3/8 plywood for the shell which will be glued and screwed on.
Tm then going to paint it like i did my bumpers with acoat of valspar stone paint and then rustoleum bedliner after that, bumper paint has held upreally well, and that combo should completely seal the outside edges of plywood from water.
any other ideas?

 Jun 3, 2014 | 09:23 AM
#2
Registered User
iTrader: (1)
Joined: Nov 2012
Posts: 358
Likes: 0
From: Elko NV, at the foot of the Rubys
I have been making plans for my own toolbox as well using wood. I think you got it dialed in! and to seal the lid you can always get automotive weather stripping at the parts store.
I look forward to seeing the end product! Looks like there would be tons of room.
I look forward to seeing the end product! Looks like there would be tons of room.
Jun 3, 2014 | 07:33 PM
#3
Thread Starter
Registered User
Joined: Dec 2009
Posts: 754
Likes: 0
From: Pearland, Tx
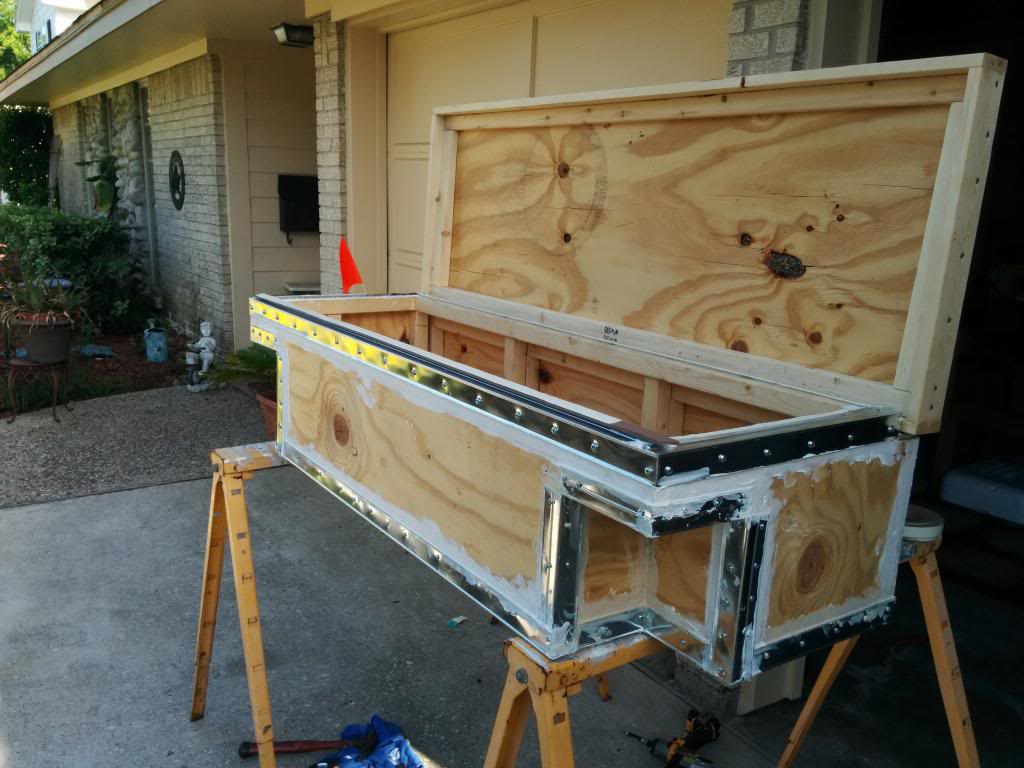
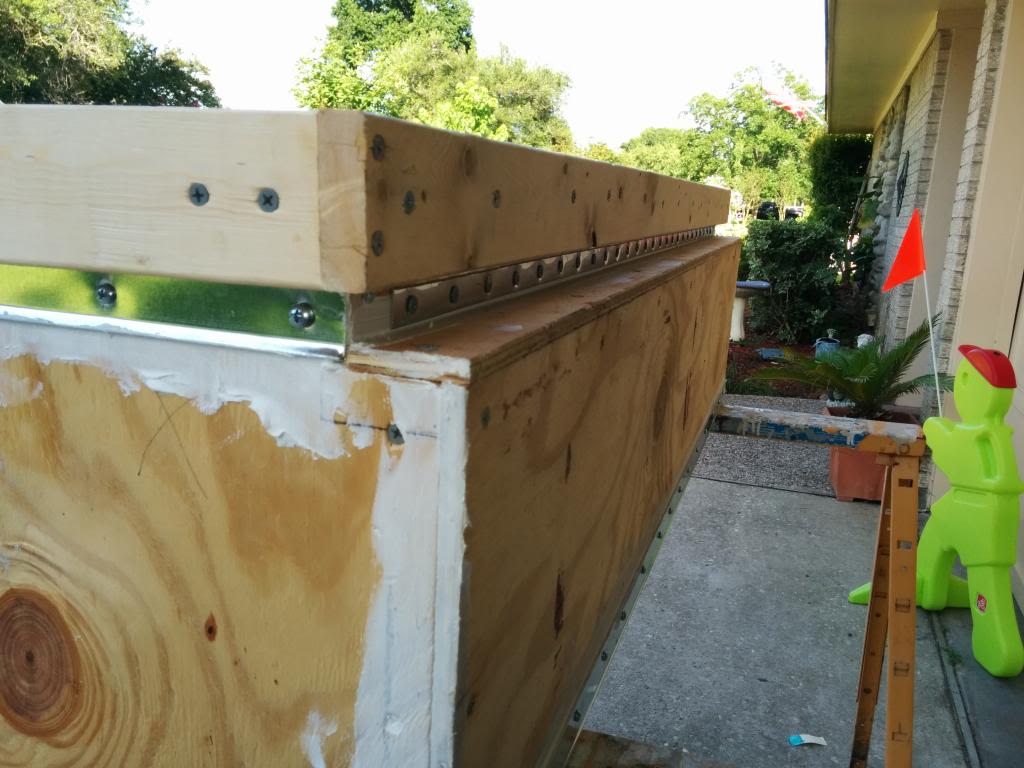
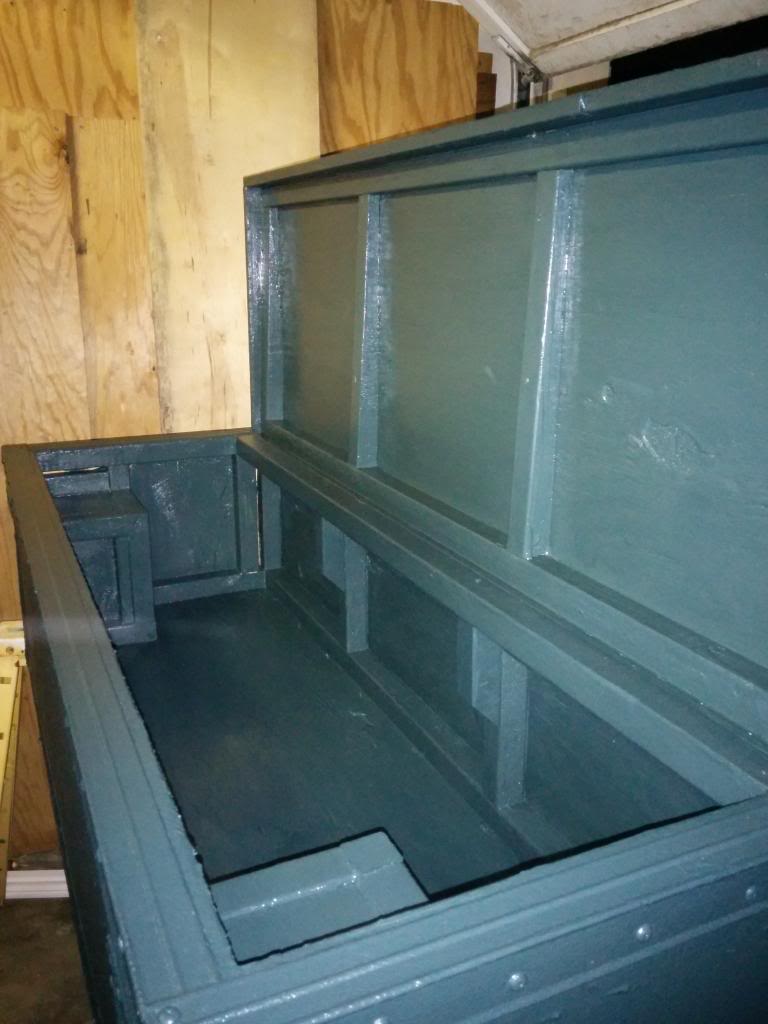
Made some progress today my measurements were way to precise for wood work.
converting 3 decimal places to a fraction that can be seen on a tape measure was tough and had to fit it as I went a little.
Cut my whole frame in the morning then assembled then laid the frame onto the plywood and traced the outline. So far its turning out excellent.
Still have to frame in the wheel well notches. and make the lid.
The lid design has changed a little, not going to draw it but will post pictures when done. I want to put a slant on the lid so that no water will stand on it. And also will have it braced so it can be stood on if necessary. This thing is built like a tank so far! very sturdy and shouldn't have a problem holding up for a very long time once the finish is on it.
found some glue that is guaranteed impervious to water so I will be painting all the knots in the wood and all the edges of the plywood with the glue to avoid de-lamination. Thinking about using a polyurethane caulk and gluing some angle aluminum to the bottom edges of the box to ensure no water can get to the wood since the bed drains are prone to clogging since i wont be able to get to them to clean them out and might get some standing water.
will be using a piano hinge from here.---> http://www.boatoutfitters.com/Hardwa...FXMA7AodtiMA_A
[URL=http://s1359.photobucket.com/user/j
-jones0414/media/Mobile%20Uploads/IMG_20140603_201634_zps197cf578.jpg.html]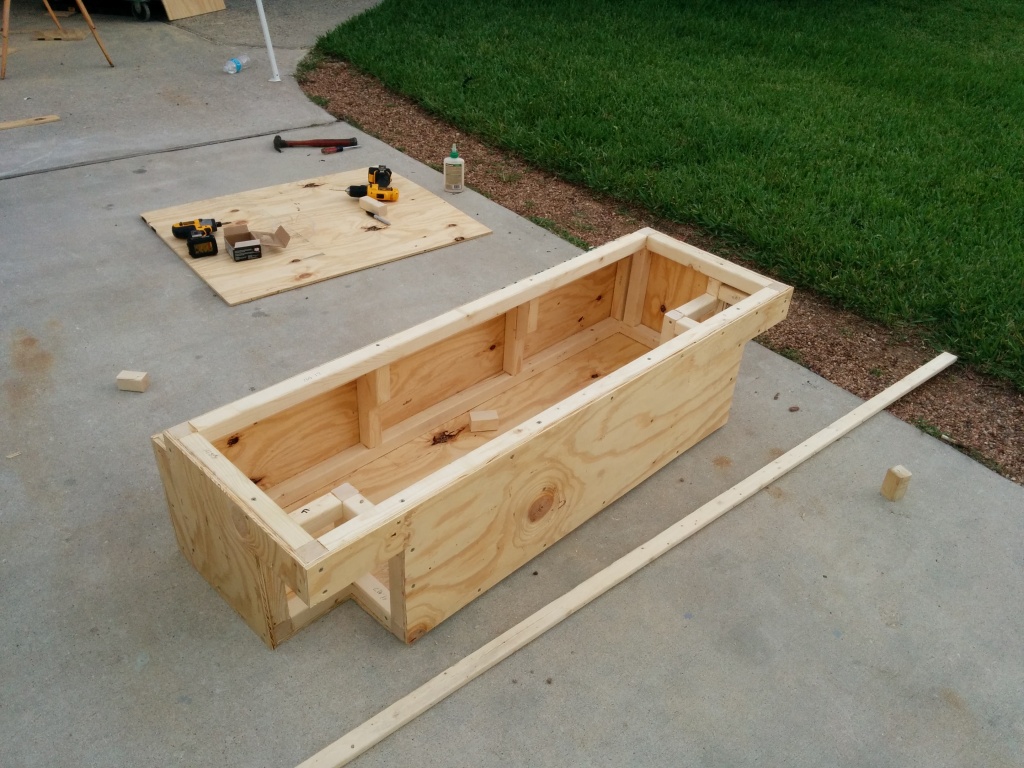 http://s1359.photobucket.com/user/j_jones0414/media/Mobile%20Uploads/IMG_20140603_201649_zps916ecf76.jpg.html][IMG]http://i1359.photobucket.com/albums/...ps916ecf76.jpg[/IMG]" target="_blank" rel="noopener noreferrer nofollow external">http://<br />
<br />
<a href="http:/...</a>[/IMG]
http://s1359.photobucket.com/user/j_jones0414/media/Mobile%20Uploads/IMG_20140603_201649_zps916ecf76.jpg.html][IMG]http://i1359.photobucket.com/albums/...ps916ecf76.jpg[/IMG]" target="_blank" rel="noopener noreferrer nofollow external">http://<br />
<br />
<a href="http:/...</a>[/IMG]

converting 3 decimal places to a fraction that can be seen on a tape measure was tough and had to fit it as I went a little.
Cut my whole frame in the morning then assembled then laid the frame onto the plywood and traced the outline. So far its turning out excellent.
Still have to frame in the wheel well notches. and make the lid.
The lid design has changed a little, not going to draw it but will post pictures when done. I want to put a slant on the lid so that no water will stand on it. And also will have it braced so it can be stood on if necessary. This thing is built like a tank so far! very sturdy and shouldn't have a problem holding up for a very long time once the finish is on it.
found some glue that is guaranteed impervious to water so I will be painting all the knots in the wood and all the edges of the plywood with the glue to avoid de-lamination. Thinking about using a polyurethane caulk and gluing some angle aluminum to the bottom edges of the box to ensure no water can get to the wood since the bed drains are prone to clogging since i wont be able to get to them to clean them out and might get some standing water.
will be using a piano hinge from here.---> http://www.boatoutfitters.com/Hardwa...FXMA7AodtiMA_A
[URL=http://s1359.photobucket.com/user/j
-jones0414/media/Mobile%20Uploads/IMG_20140603_201634_zps197cf578.jpg.html]
http://s1359.photobucket.com/user/j_jones0414/media/Mobile%20Uploads/IMG_20140603_201649_zps916ecf76.jpg.html][IMG]http://i1359.photobucket.com/albums/...ps916ecf76.jpg[/IMG]" target="_blank" rel="noopener noreferrer nofollow external">http://<br />
<br />
<a href="http:/...</a>[/IMG]


 Jun 28, 2014 | 07:25 PM
#7
Thread Starter
Registered User
Joined: Dec 2009
Posts: 754
Likes: 0
From: Pearland, Tx
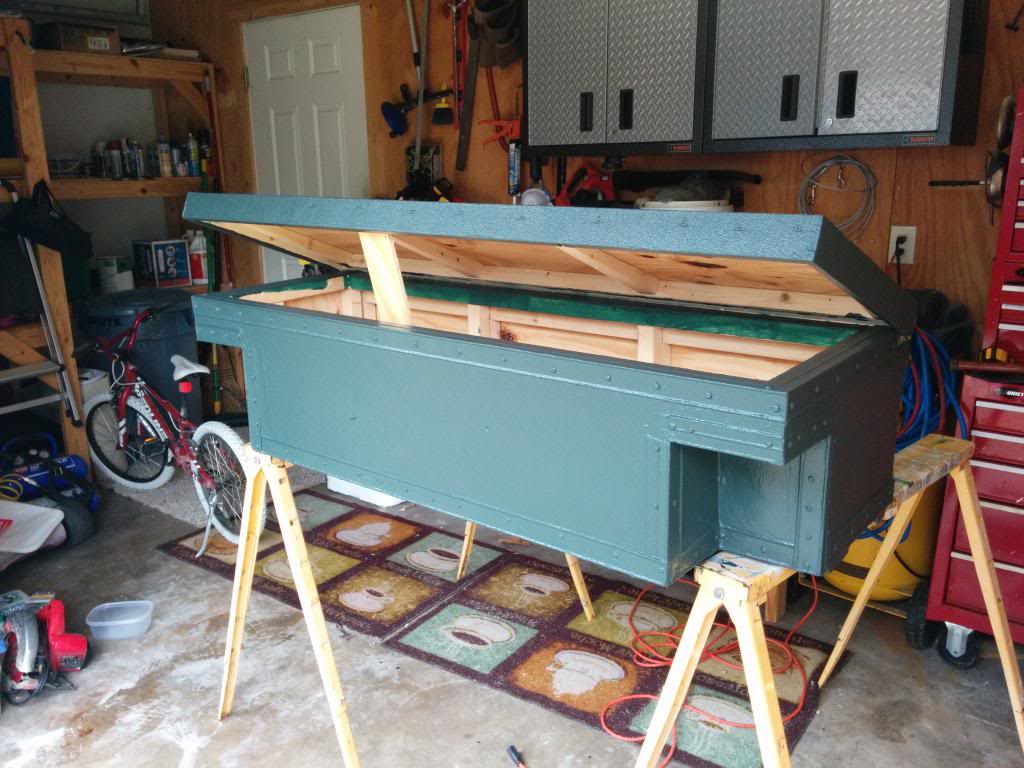
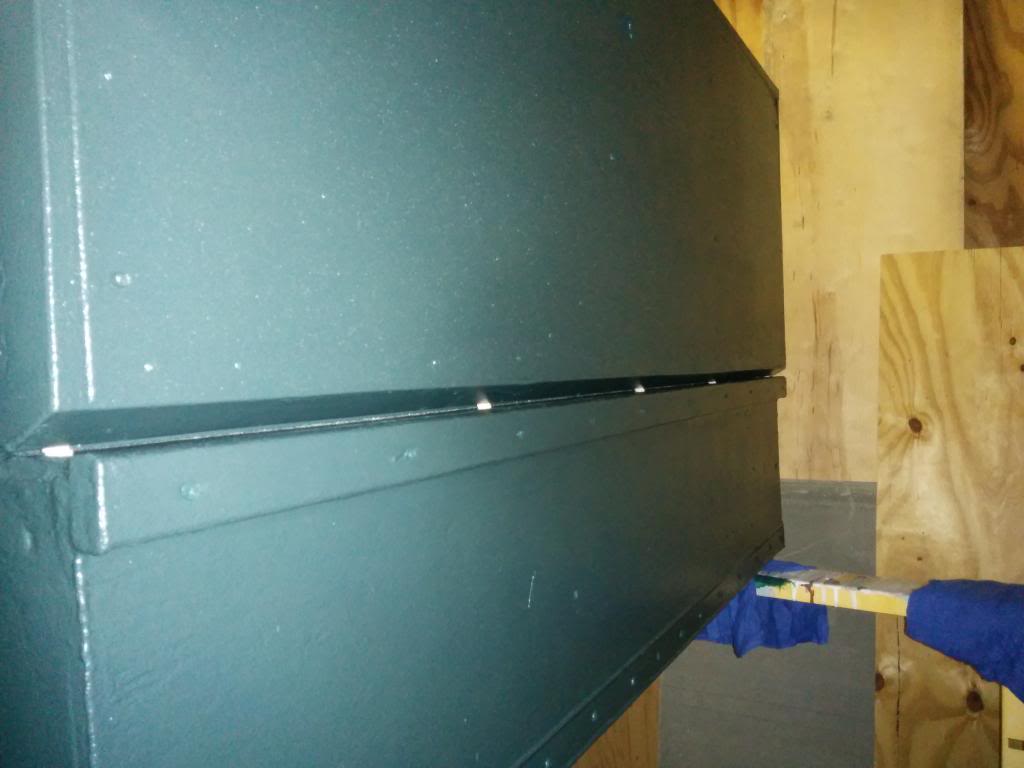
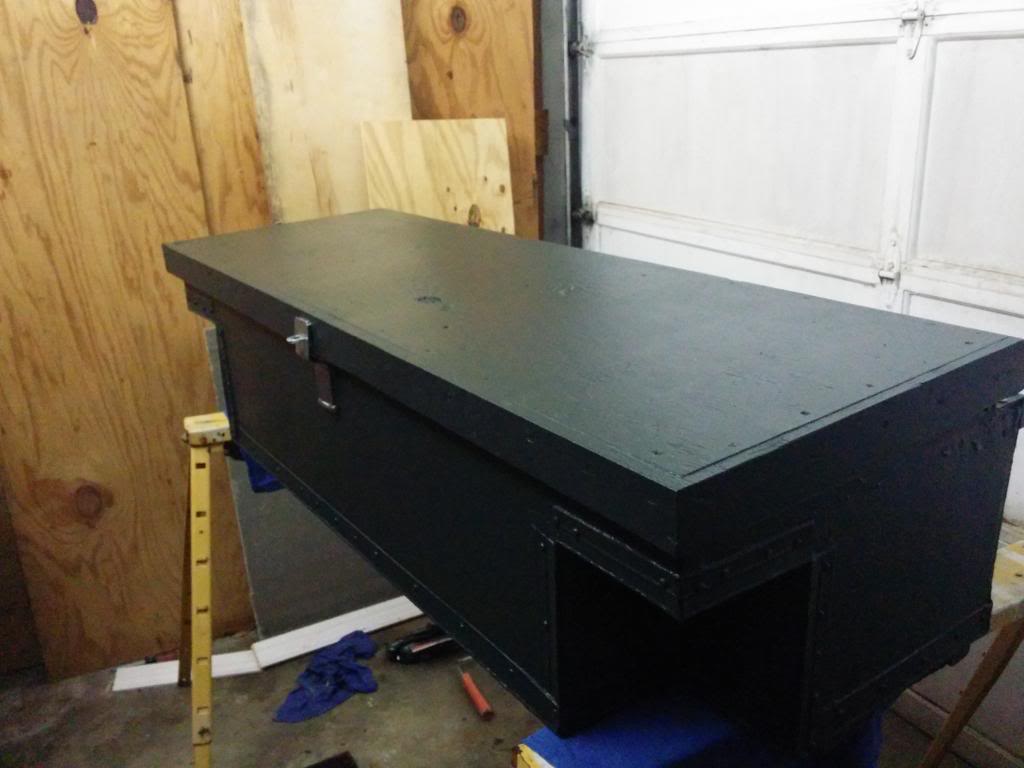
Almost done!!
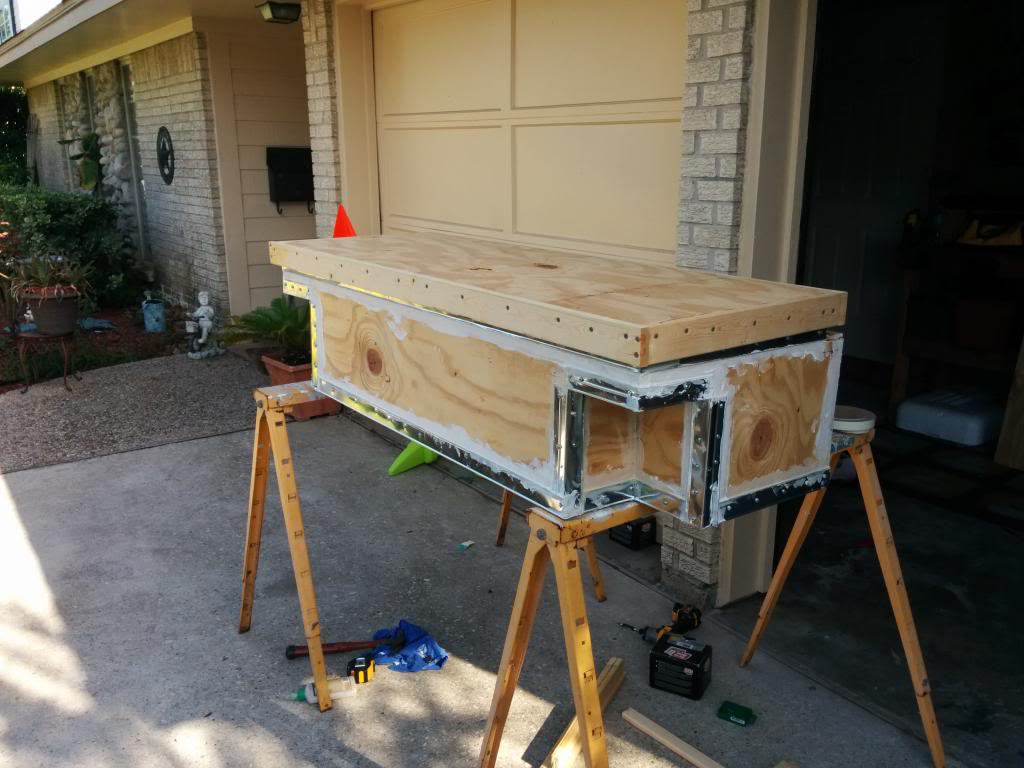
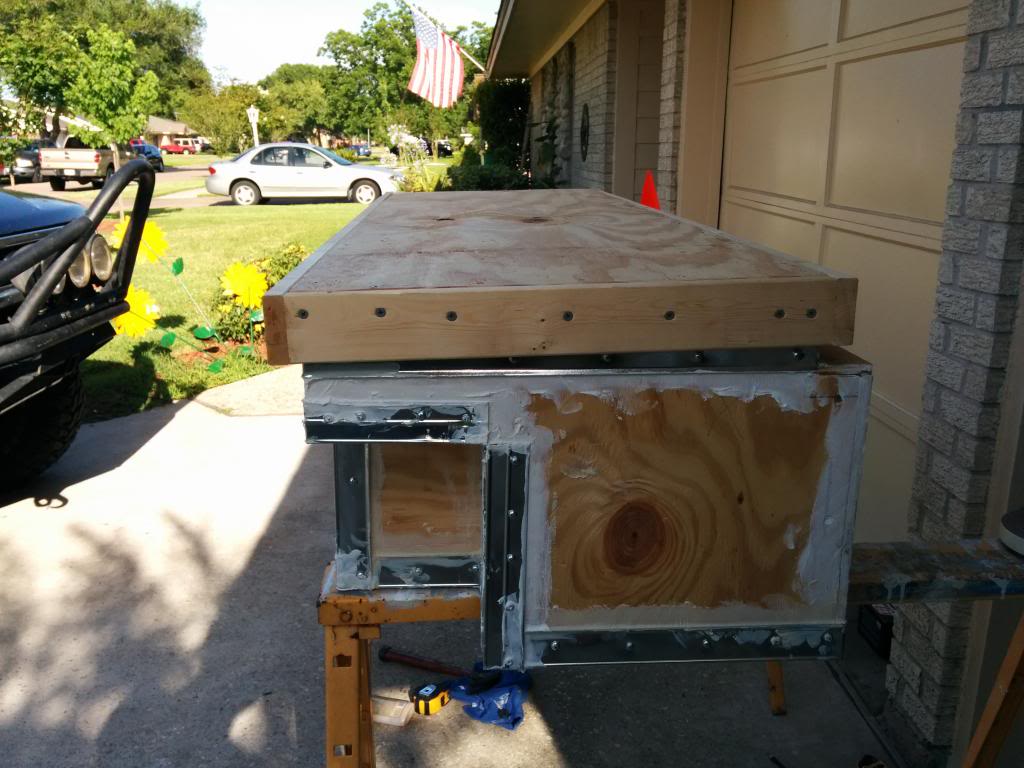
I screwed flashing onto all the edges to protect the end grain of the wood, filled it with caulk and pushed it on the screwed it on.
Every piece of wood that is touching another piece of wood is screwed and glued. I also caulked all the edges where water could possibly get in.
I changed the design and put a slant on top of the lid to avoid standing water.
The paint was a product called Redgard, which is a waterproofing coating. It is a certified to be used as a shower drain pan. Flexible and wont transmit cracks from possible flexing of the wood to the paint. I rolled on a few layers till it was as thick as seemed right.
After the Redgard I used an acrylic-latex paint over that because the Redgard isn't meant for sun exposure, and the Redgard dries a VERY red.
I initially planed it to be black but ended up using a "Forest Canopy" green.
Put a hasp on it, but i had to bend it and modify it a little to it would fit properly.
Its been so humid here recently that the paint isn't dried all the way, i can touch it and work with it, but when I put self adhesive weatherstripping on it but the non-adhesive side of the weatherstripping foam kept sticking to the sealing surface and peeling and tearing off. I believe this is due to the paint still being ever so slightly tacky. Not wet still, but i don't believe its all the way cured.
Also put some felt pads on the back of the lid to keep it from rubbing against itself and the paint getting damaged.
Here are some pictures.
I used so much caulk in the flashing it turned out to be very messy.
Texture came out real nice to!


Trending Topics
Jun 30, 2014 | 08:10 PM
#8
Thread Starter
Registered User
Joined: Dec 2009
Posts: 754
Likes: 0
From: Pearland, Tx
When I get some extra money I plan on putting a hydraulic shock in it open itself when unlocked, and avoid it falling when digging in it.
Last edited by 95blackToy; Jul 2, 2014 at 02:47 AM.

Thread
Thread Starter
Forum
Replies
Last Post
dirtrider0129
Buying & Selling Advice - Feeler/Gauging Interest
10
Jun 24, 2015 12:24 PM


