
Another rear bumper fab
 Jun 29, 2010 | 05:53 PM
#1
Thread Starter
Registered User
Joined: Aug 2009
Posts: 13,574
Likes: 72
From: Wilkes-Barre, PA, USA
Another rear bumper fab
I am gonna start a new thread for this as it might be easier to find than just having it in my truck's build thread. I hope the mods don't mind.
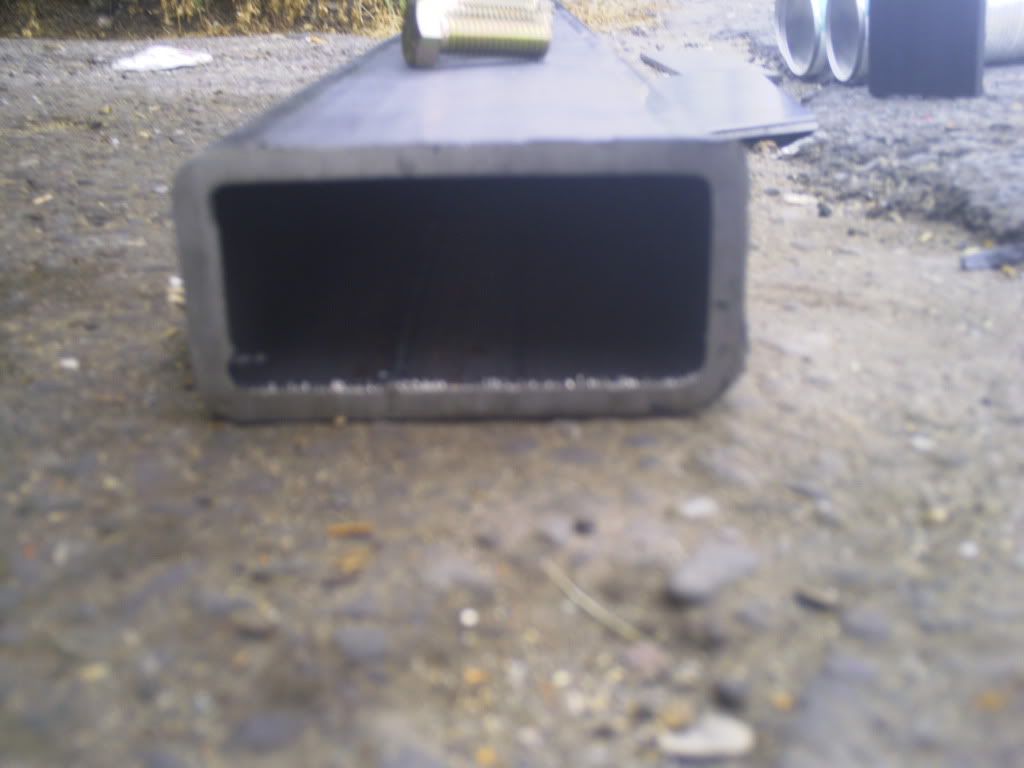
After a recent Rausch Creek off-road trip, I ripped the rest of my bumper off. Plans are to use a piece of 2" X 4" x 1/4" Steel Rectangle tubing as the main part of the bumper and attach straight from the frame using 1/4" plate and 1/4" angle brackets. I am gonna attempt this not knowing how to weld and will try to make it all bolt on. Maybe eventually I will have someone tack/finish weld it later on.
I am also gonna cut the bed back about 6" right to the end of the frame. Which is about where you can see the back 4X4 that my flatbed sits on.
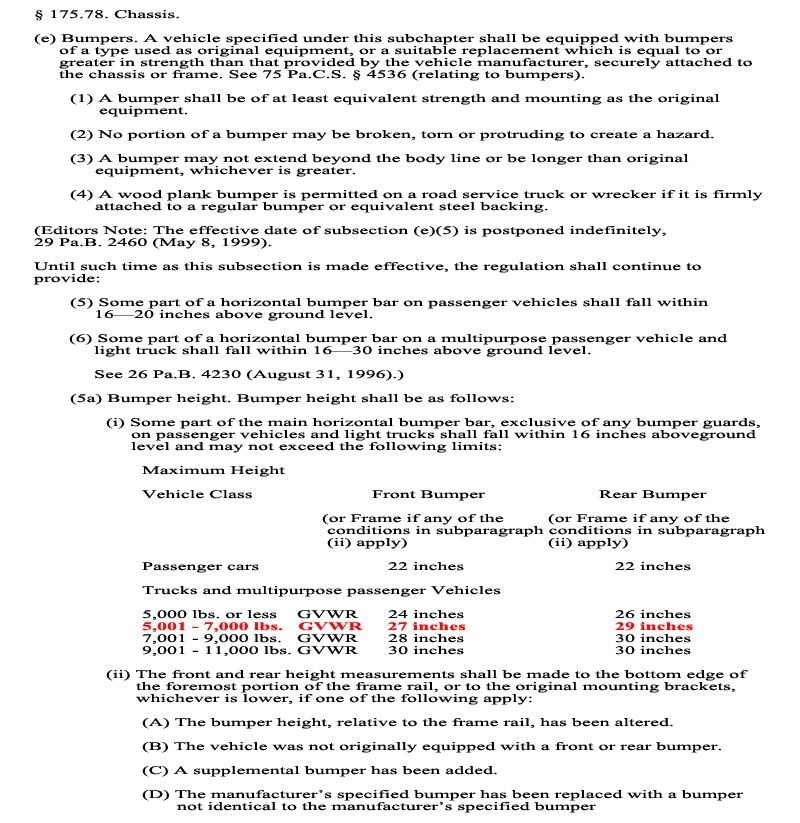
This is the guidelines I have to use as far as PA State inspection goes:
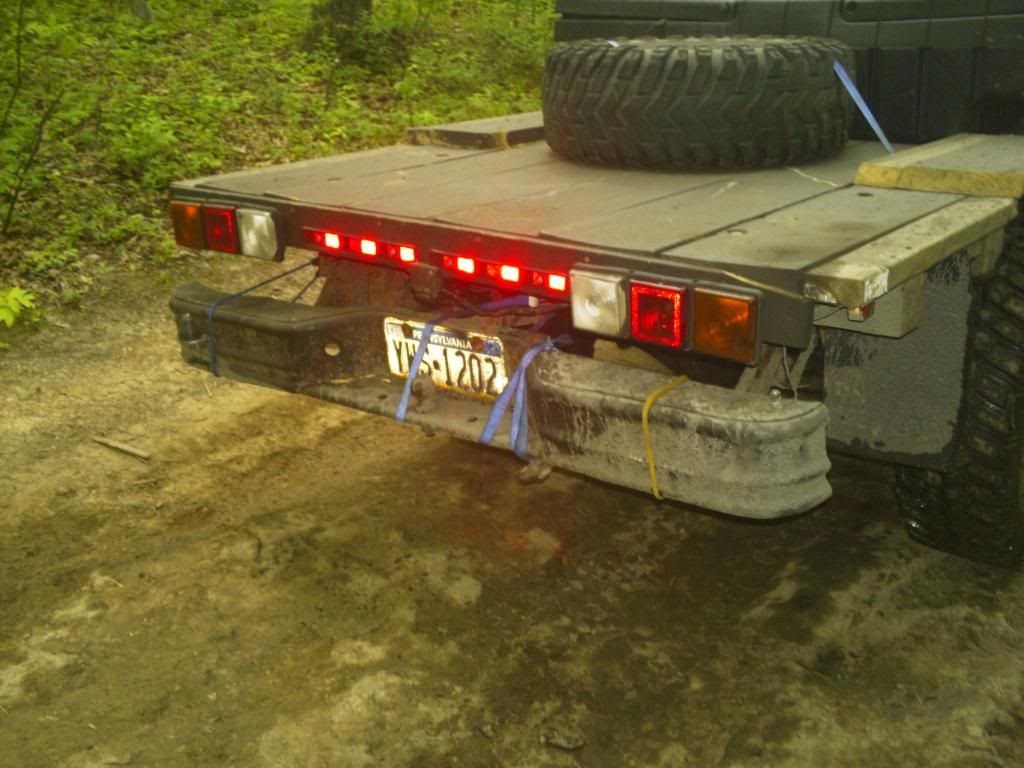
This is what the carnage on the FEY step bumper looked like and how I fixed it on a trail repair.

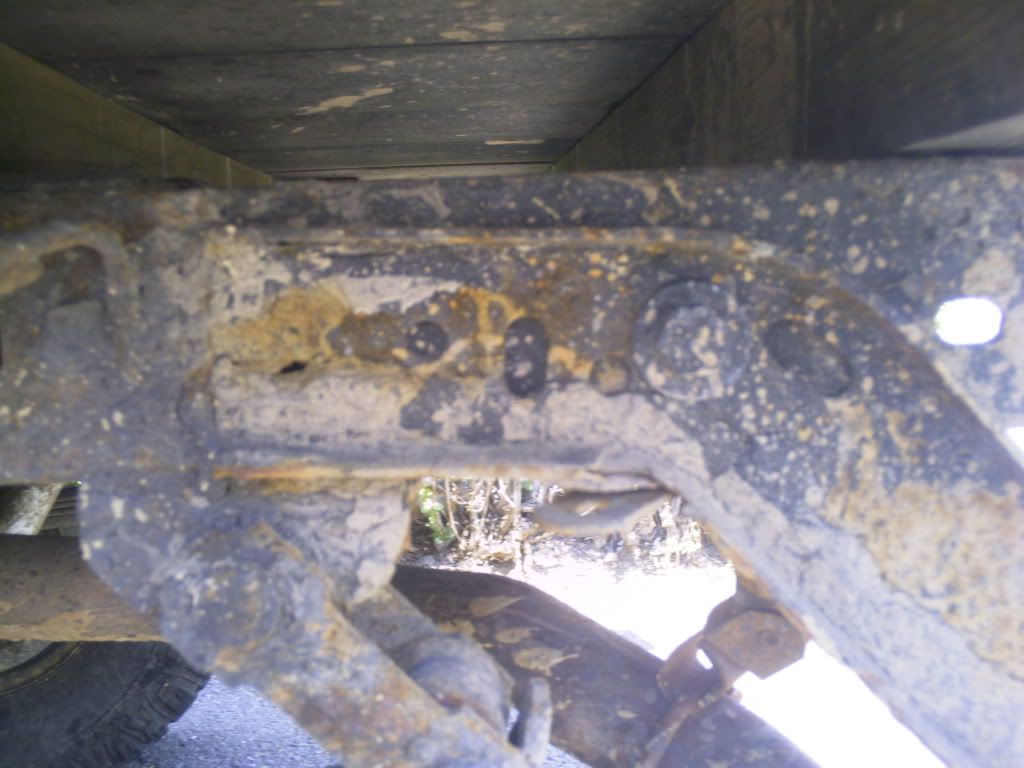
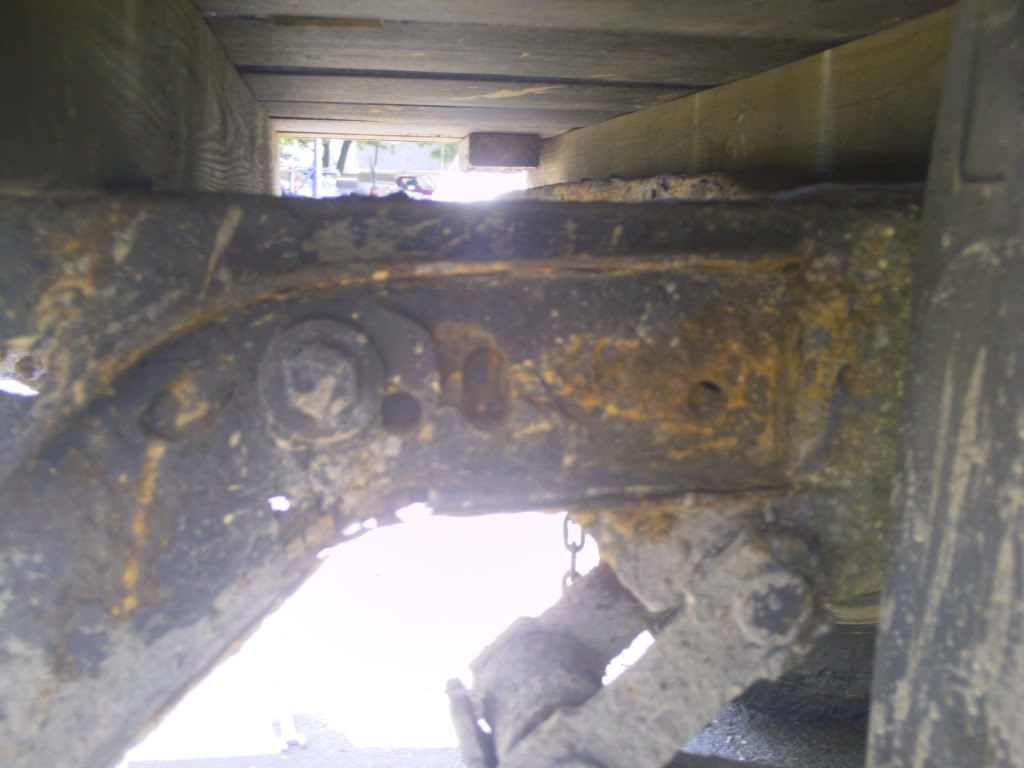
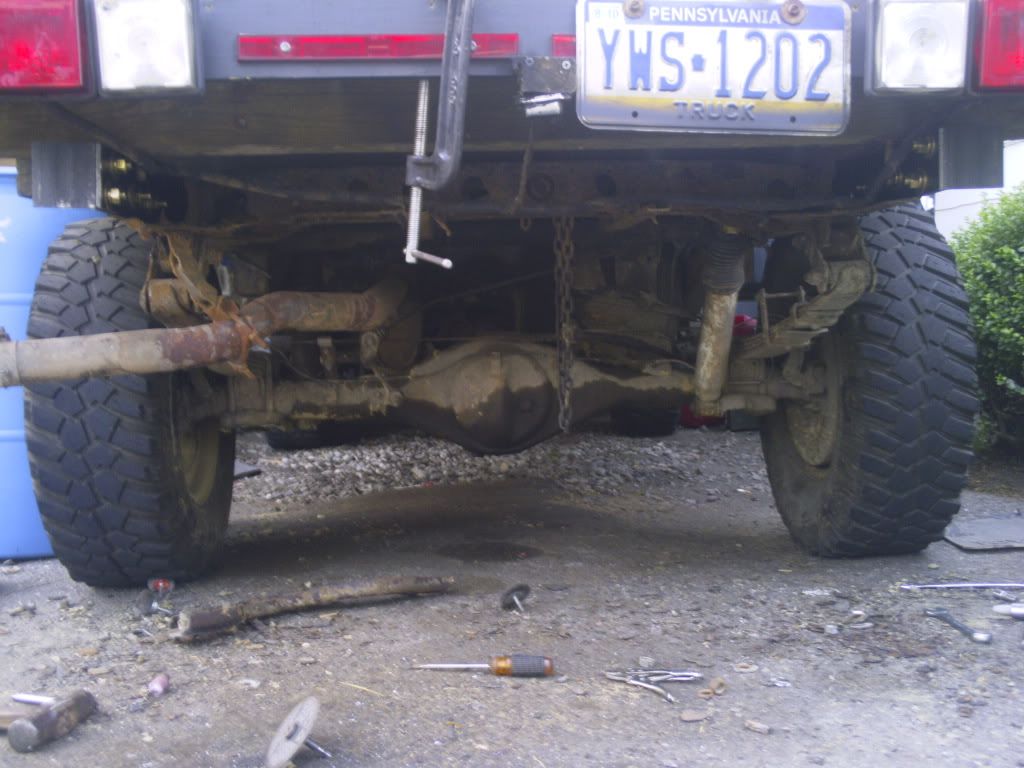
Since the GVWR listed on my door panel is 5081, I am limited to 27" in the front to the bottom of the factory bumper and 29" to the bottom of the factory bumper or in my case the bottom of the frame as measured here (as of right now with flat springs I am at about 24.5") :
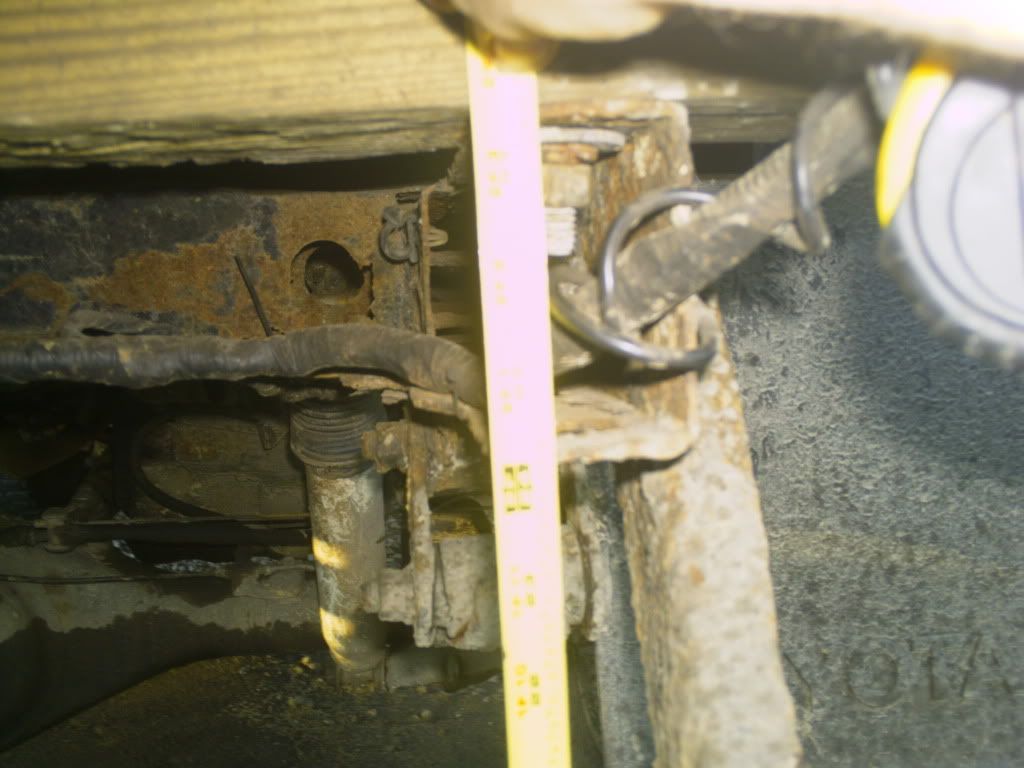
I am going to build it so I can meet the 29" to the bottom of the frame with the 2" rear OME leaf springs and 33" tires.
As of right now I have 4.5" of play. With the 2" lift from the springs and another 1" of lift from the tires size change from my current 31's I have, that gives me 1.5" left that I am probably loosing due to spring sag. I hope the tired factory leaf springs are not sagged anymore than that.
Inspiration for the new bumper is coming from our Trail guide Josh from our last trip to Rausch Creek. I hope he doesn't mind.


After a recent Rausch Creek off-road trip, I ripped the rest of my bumper off. Plans are to use a piece of 2" X 4" x 1/4" Steel Rectangle tubing as the main part of the bumper and attach straight from the frame using 1/4" plate and 1/4" angle brackets. I am gonna attempt this not knowing how to weld and will try to make it all bolt on. Maybe eventually I will have someone tack/finish weld it later on.
I am also gonna cut the bed back about 6" right to the end of the frame. Which is about where you can see the back 4X4 that my flatbed sits on.
This is the guidelines I have to use as far as PA State inspection goes:
This is what the carnage on the FEY step bumper looked like and how I fixed it on a trail repair.
Since the GVWR listed on my door panel is 5081, I am limited to 27" in the front to the bottom of the factory bumper and 29" to the bottom of the factory bumper or in my case the bottom of the frame as measured here (as of right now with flat springs I am at about 24.5") :
I am going to build it so I can meet the 29" to the bottom of the frame with the 2" rear OME leaf springs and 33" tires.
As of right now I have 4.5" of play. With the 2" lift from the springs and another 1" of lift from the tires size change from my current 31's I have, that gives me 1.5" left that I am probably loosing due to spring sag. I hope the tired factory leaf springs are not sagged anymore than that.
Inspiration for the new bumper is coming from our Trail guide Josh from our last trip to Rausch Creek. I hope he doesn't mind.
Last edited by xxxtreme22r; Jun 29, 2010 at 05:55 PM.


 Jul 2, 2010 | 11:03 AM
#3
Thread Starter
Registered User
Joined: Aug 2009
Posts: 13,574
Likes: 72
From: Wilkes-Barre, PA, USA
ok I ordered my steel, all gonna be precut and ready for pickup on Tuesday for me.
I got
1 piece of 4" x 2" x 1/4" x 5 foot in length rectangle tubing $62.90
2 pieces of 3" x 1/4" plate x 1foot in length $12.59
2 pieces of 3" x 3" x 1/4" angle 3 inches in length $10
$85.49 total
I got
1 piece of 4" x 2" x 1/4" x 5 foot in length rectangle tubing $62.90
2 pieces of 3" x 1/4" plate x 1foot in length $12.59
2 pieces of 3" x 3" x 1/4" angle 3 inches in length $10
$85.49 total
 Jul 2, 2010 | 11:24 AM
#5
Thread Starter
Registered User
Joined: Aug 2009
Posts: 13,574
Likes: 72
From: Wilkes-Barre, PA, USA
Jul 5, 2010 | 03:47 PM
#7
Thread Starter
Registered User
Joined: Aug 2009
Posts: 13,574
Likes: 72
From: Wilkes-Barre, PA, USA
ok got some work done on one side. Pardon the shotty job, but considering what I have to work with, the PO (S) replaced the rear bumper with what looks to be 89-95 bumper brackets and because he could only get one bolt to line up they welded not only the back side but the bottom as well making an L-shaped weld. BIG PITA to get off with just a drill w/ grinding and/or cut-off wheel I am using.
this is how it looked before and after I got the one side off. Still have to do the other side, but since I ran out of cut-off wheels well, the other side is gonna have to wait.

this is how it looked before and after I got the one side off. Still have to do the other side, but since I ran out of cut-off wheels well, the other side is gonna have to wait.
Trending Topics

 Jul 6, 2010 | 12:07 PM
#13
Thread Starter
Registered User
Joined: Aug 2009
Posts: 13,574
Likes: 72
From: Wilkes-Barre, PA, USA
Ok material Line up:
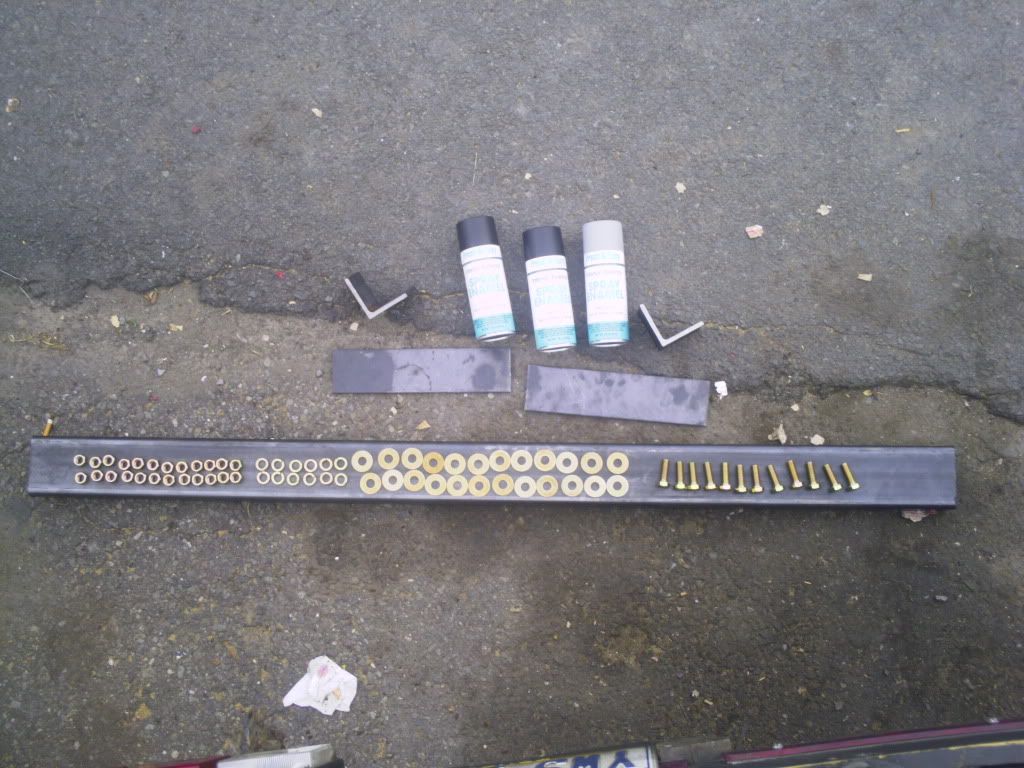
1 piece of 4" x 2" x 1/4" rectangle A500 steel tubing 5 foot in length 44.05 lbs $66.67
2 pieces 3" x 1/4" flat bar stock steel 1 foot in length 5.1 lbs $8.06
2 pieces of 3" x 3" x 1/4" A-36 Steel Angle 3 inches in length 2.45 lbs $8.48
total cost of steel $83.21 including 6% sales tax
3.05 lbs worth of grade 8 hardware $13.86 including
12 pieces 1/2" x 1.5" Hex Bolts
24 pieces 1/2" Flat Washers
12 pieces 1/2" Lock Washers
24 pieces 1/2" Hex Nuts
3 Cans cheapo Paint from Kmart (1 primer, 2 Flat Black) $4.24
Total Cost Of materials $101.31
I don't think I will have any structural problems with the tubing itself
I still have to eventually get some 3/4" Shackles and brackets.
 Jul 6, 2010 | 12:20 PM
#16
we are lucky on the west coast. I lived in NY for a few years...only had my '97 Tacoma back there for 3 years. moved back to the WC, took a look under my Taco and traded it in....even washing the underside once a week didn't help.
looking forward to see how your bumper turns out
edit: just saw your primer....spend a few extra bucks and get some quality self etching primer...you will appreciate it next spring
also be sure to wipe the tube with some form of acetone or something before you paint to remove the oil or whatever is on there...
Last edited by dropzone; Jul 6, 2010 at 12:22 PM.
Jul 6, 2010 | 12:24 PM
#17
Thread Starter
Registered User
Joined: Aug 2009
Posts: 13,574
Likes: 72
From: Wilkes-Barre, PA, USA
the only thing I am really worried about not holding up is the flat stock I am gonna use to mount the bumper to the frame. My thinking though is that it's like what 3-4 time thicker than the c-channeled frame itself, not to mention the original bumper brackets. SO I hope it's just as strong if not stronger.
Last edited by xxxtreme22r; Jul 6, 2010 at 12:25 PM.
Jul 7, 2010 | 02:43 PM
#18
Thread Starter
Registered User
Joined: Aug 2009
Posts: 13,574
Likes: 72
From: Wilkes-Barre, PA, USA
More updates, finally got off my but and got something accomplished today since it's below 95 degrees. I hate woring in extreme heat.
Two holes drilled, 10 more to go. Had the two pieces c-clamped to my flatbed/workbench in order to make sure holes lined up perfectly.
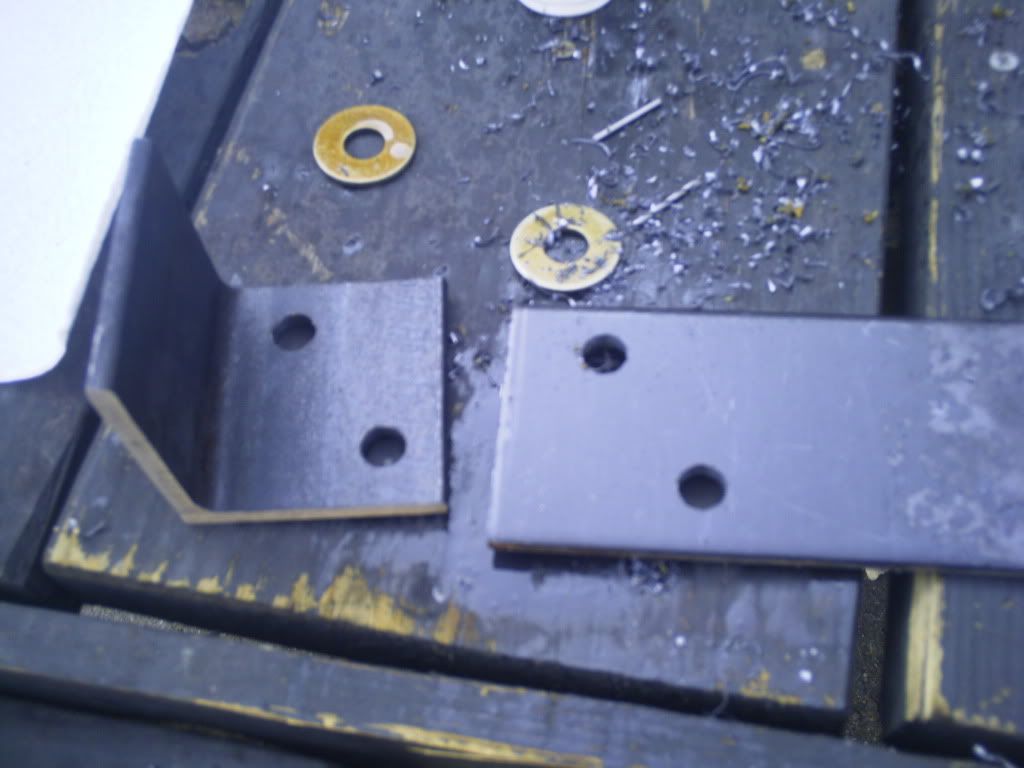
The line up of step up in holes I drilled:
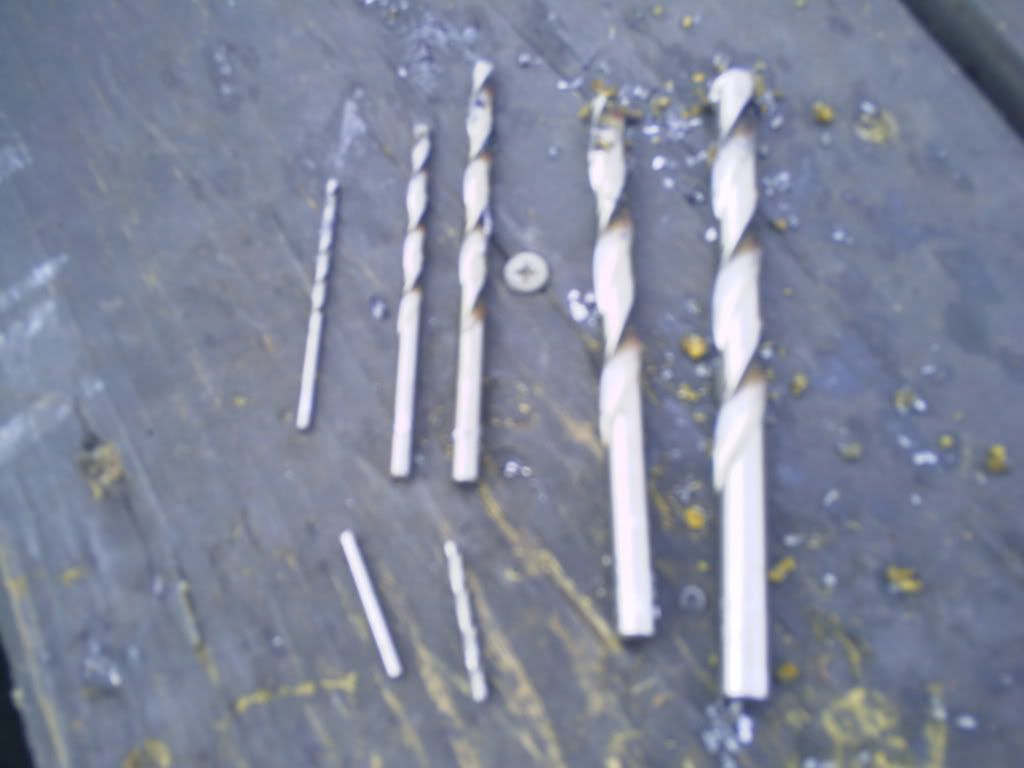
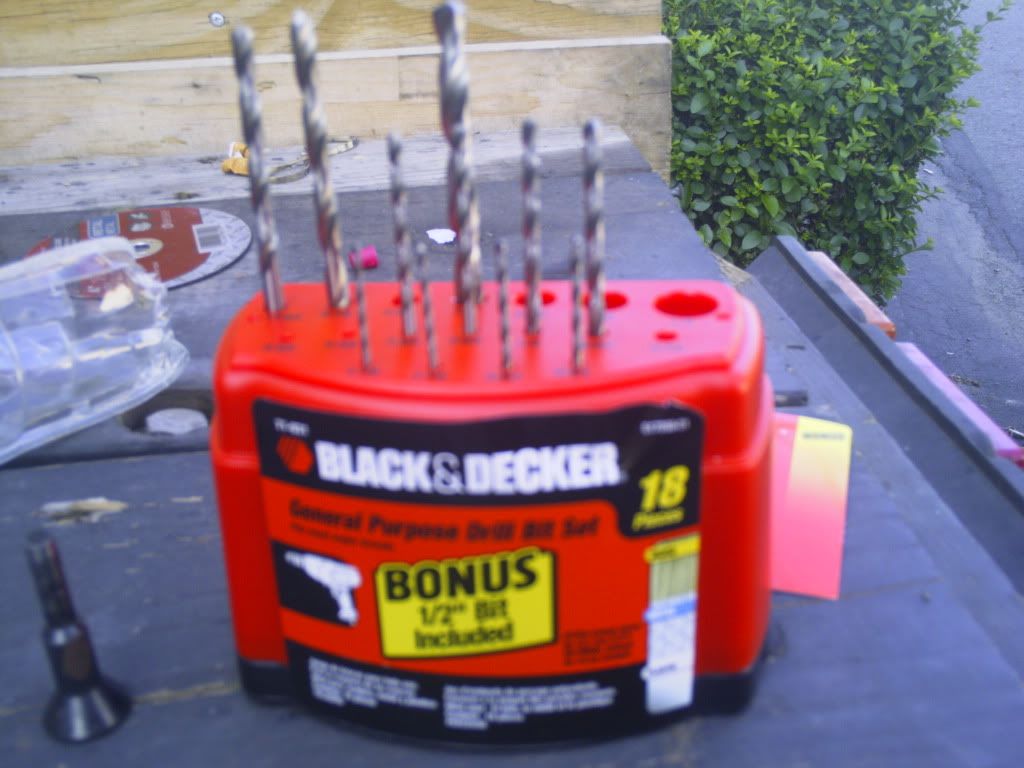
The broken one is what happens when you push too hard on a set of $10 Walmart special Drill bits
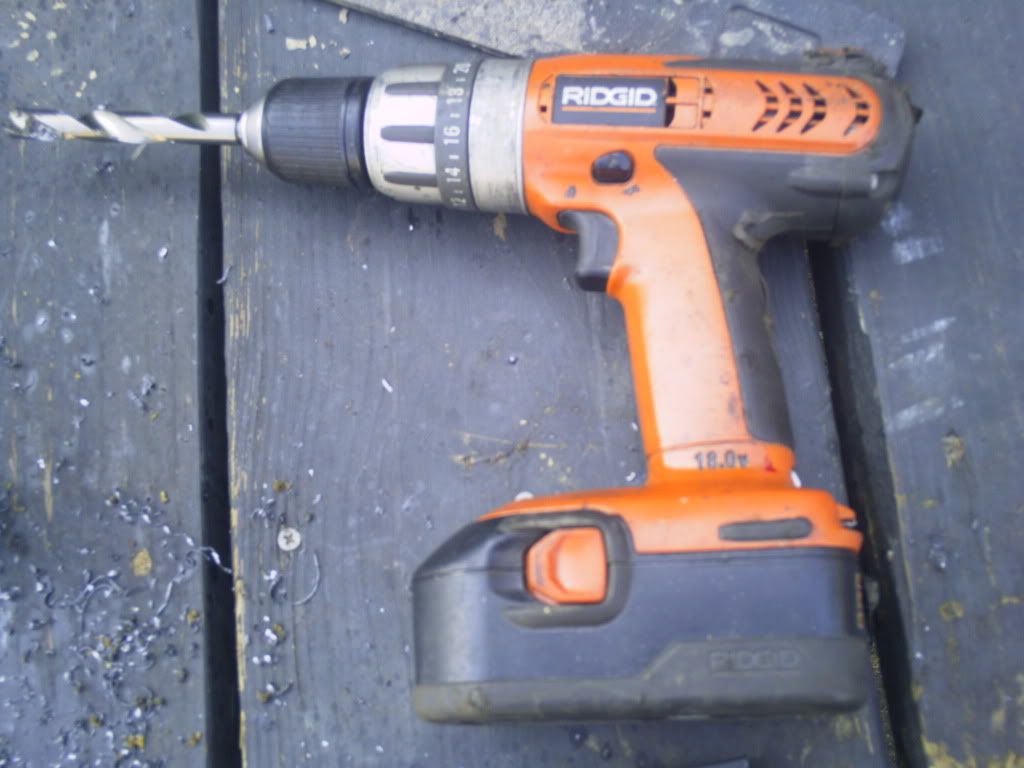
The drill I am using:
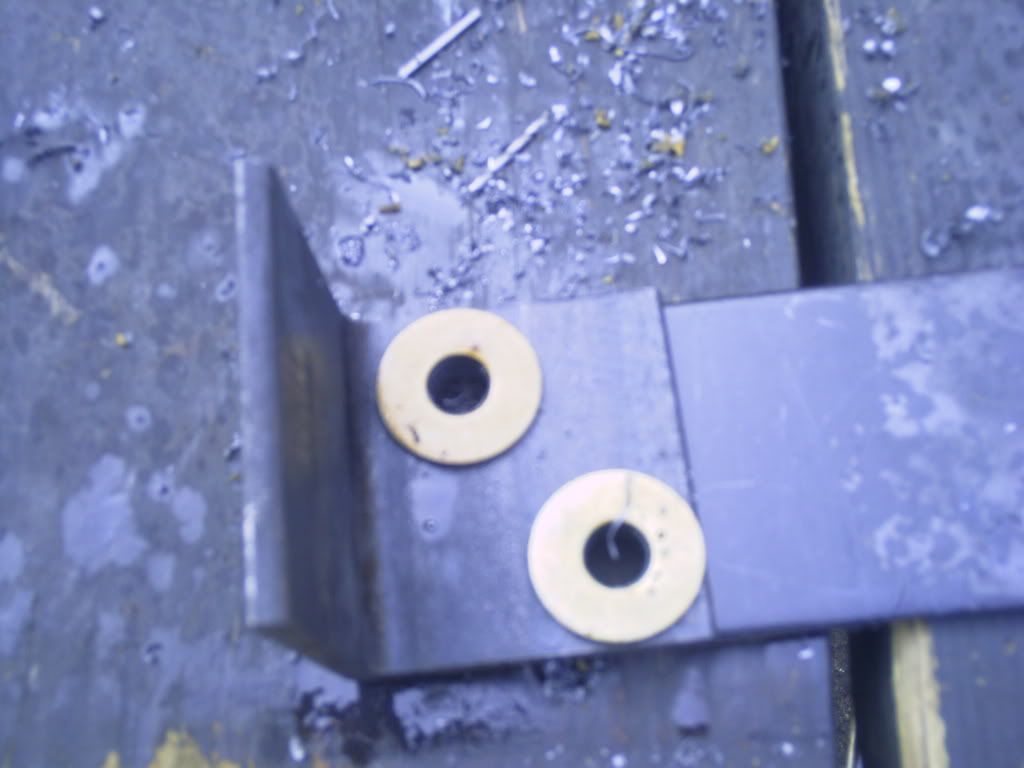
Mock-up bracket:

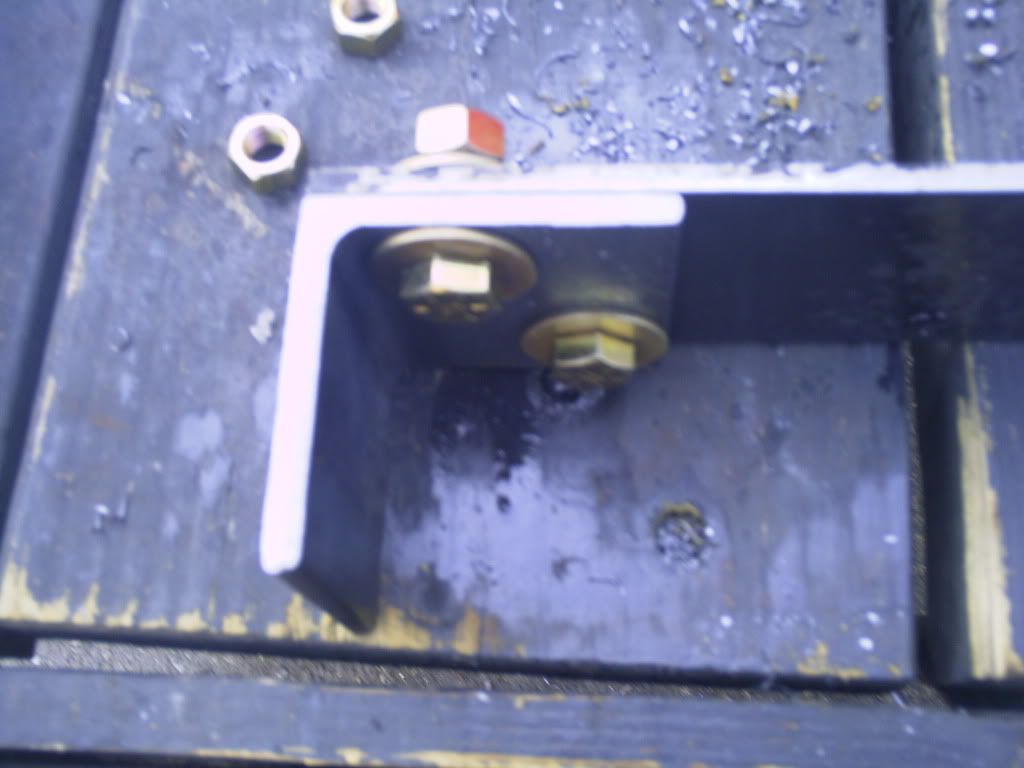
Two more holes will be drilled into the bracket that will line up and use the factory mounting holes in the frame
[IMG]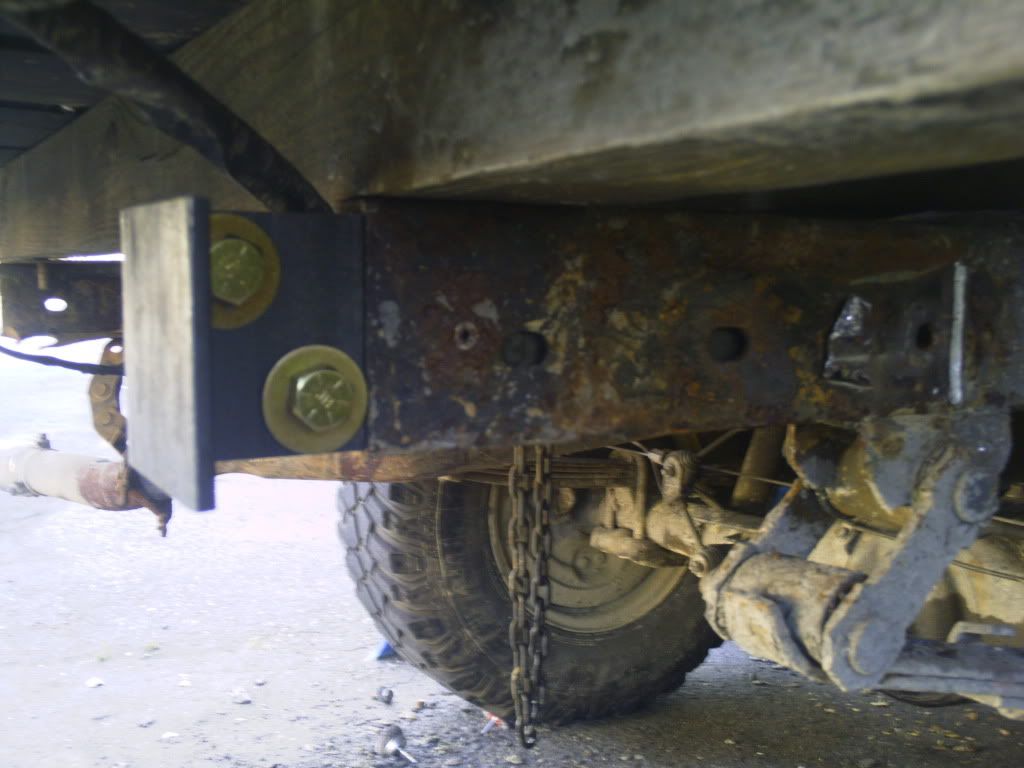
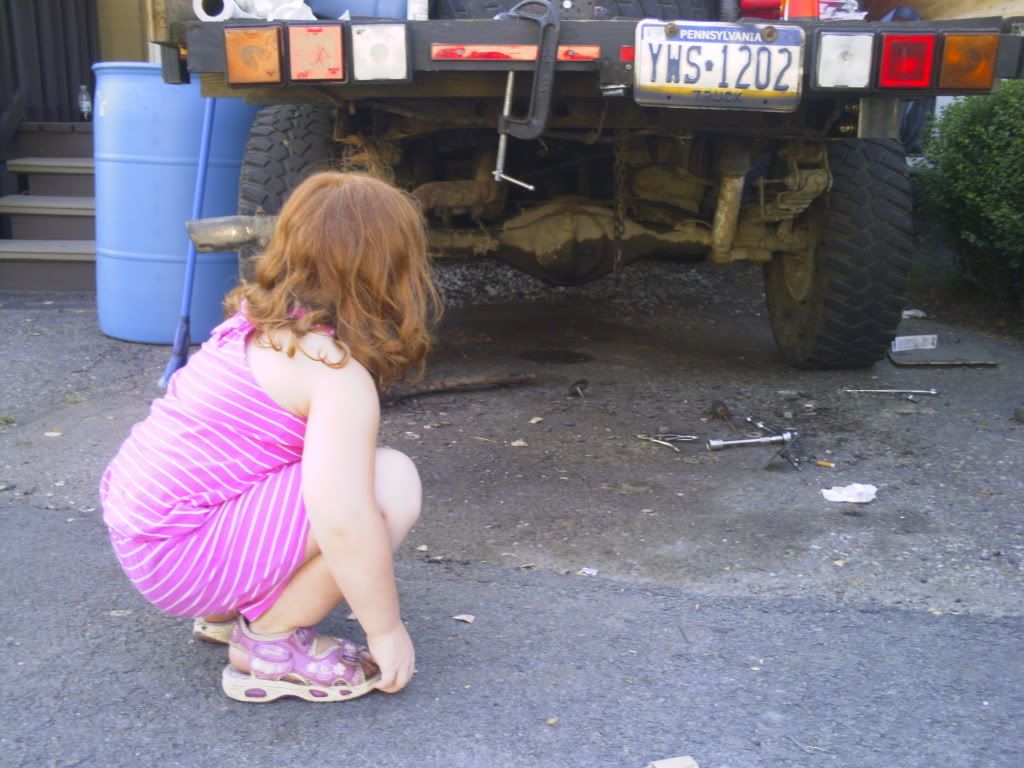
My 4 year old daughter had to give her approval before I moved onto the other side:
Two holes drilled, 10 more to go. Had the two pieces c-clamped to my flatbed/workbench in order to make sure holes lined up perfectly.
The line up of step up in holes I drilled:
The broken one is what happens when you push too hard on a set of $10 Walmart special Drill bits
The drill I am using:
Mock-up bracket:
Two more holes will be drilled into the bracket that will line up and use the factory mounting holes in the frame
[IMG]
My 4 year old daughter had to give her approval before I moved onto the other side:
 Jul 8, 2010 | 03:04 PM
#20
Thread Starter
Registered User
Joined: Aug 2009
Posts: 13,574
Likes: 72
From: Wilkes-Barre, PA, USA
casualty report:
2 3/32" drill bits, a tip off a 7/64", a 5/16" and a 1/2" drill bit, all toast.
Helpful hint when drilling through 1/4" plate, do not use cheap drill bits.
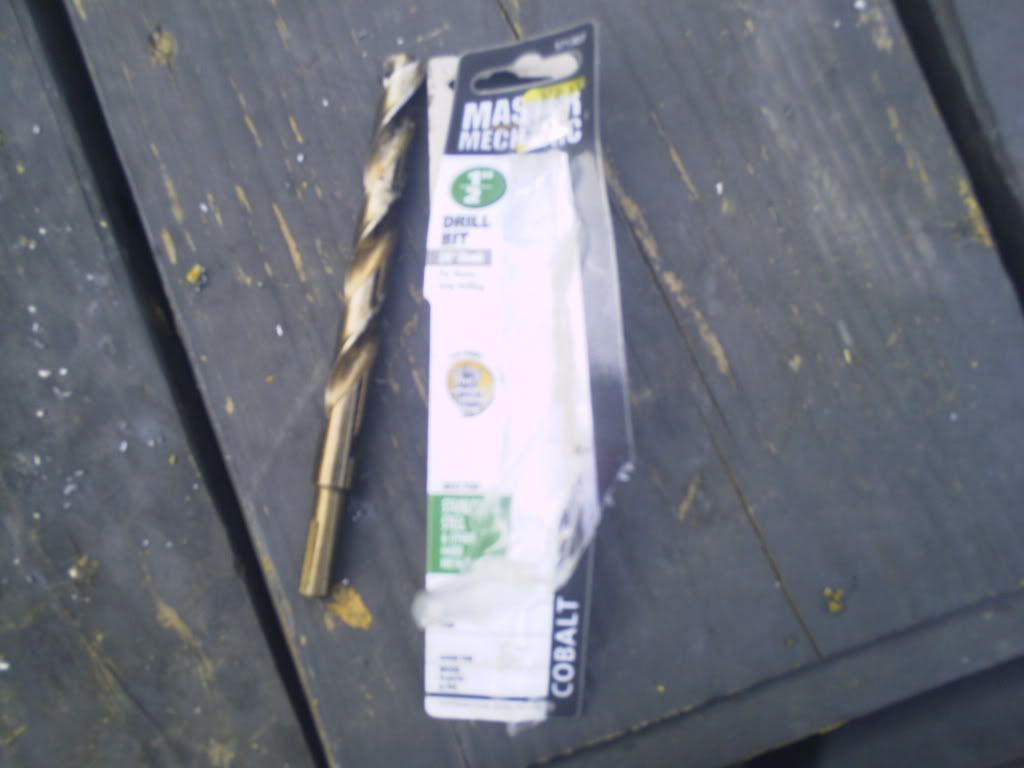
Pic or it didn't happen right?
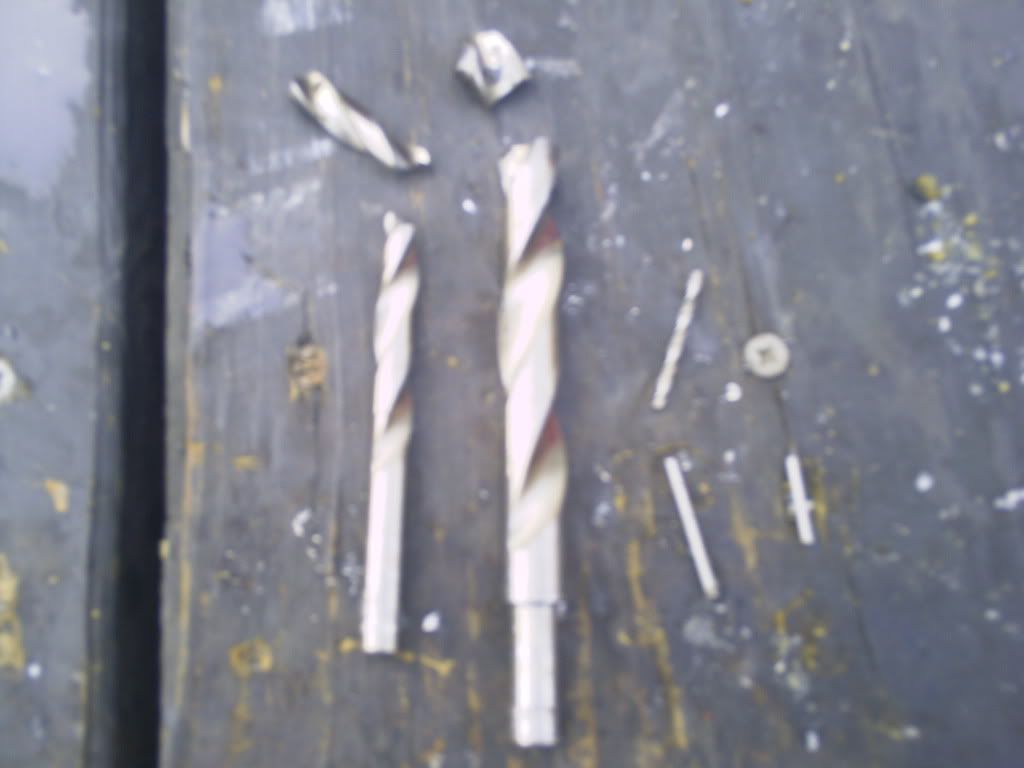
Here is what I got to replace the 1/2". This better hold for the remaining few holes. At least it better for a $19 bit !!!!
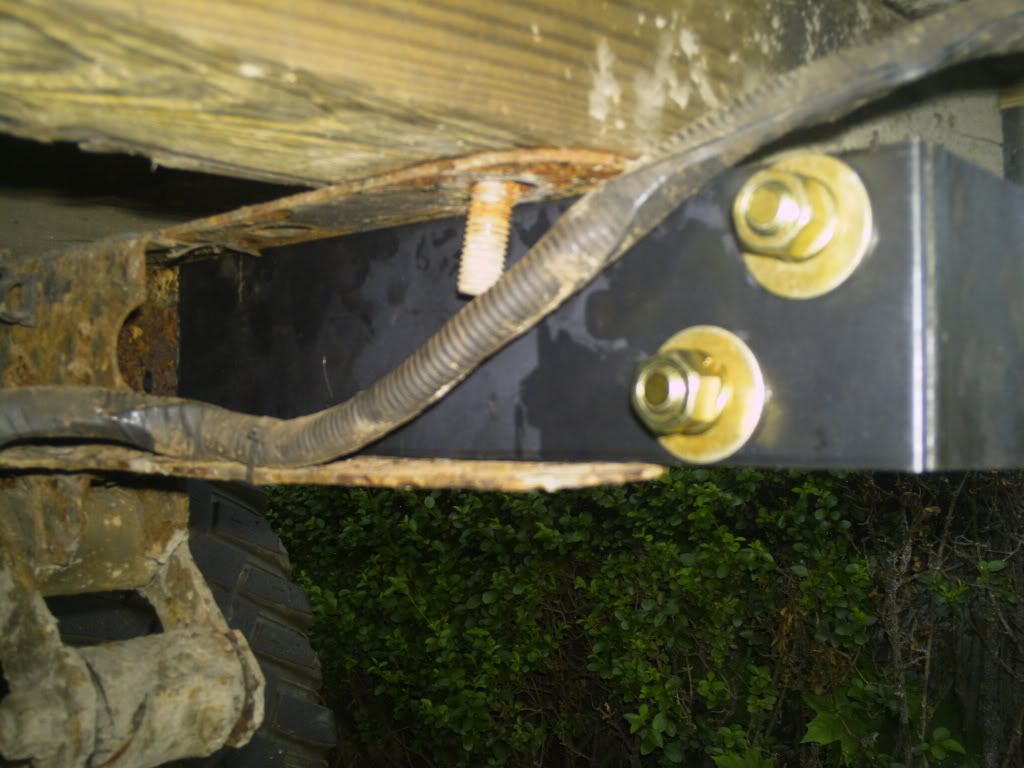
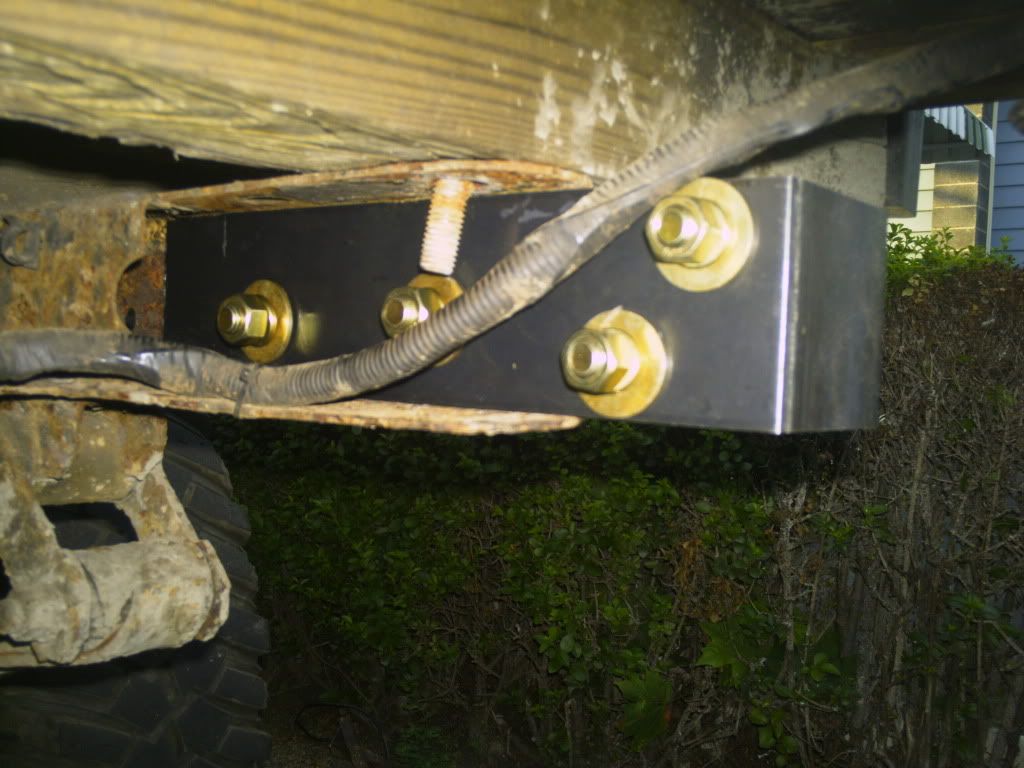
Anyway, other side bracket is done.
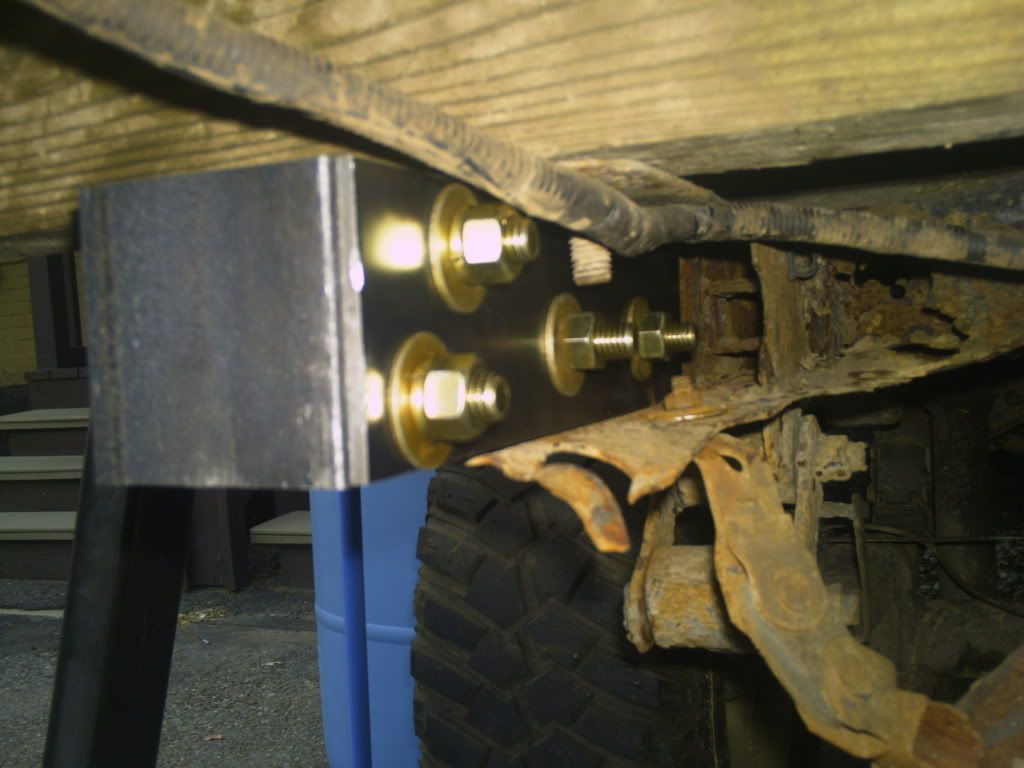
And what it looks like without the tube on. Al tighten down ready to "hang" the tube to mark bracket locations prior to drilling the 4 remaining 1/2" holes.
2 3/32" drill bits, a tip off a 7/64", a 5/16" and a 1/2" drill bit, all toast.
Helpful hint when drilling through 1/4" plate, do not use cheap drill bits.
Pic or it didn't happen right?
Here is what I got to replace the 1/2". This better hold for the remaining few holes. At least it better for a $19 bit !!!!
Anyway, other side bracket is done.
And what it looks like without the tube on. Al tighten down ready to "hang" the tube to mark bracket locations prior to drilling the 4 remaining 1/2" holes.


