
3rd Gen Front Bumper Build, PIC INTENSIVE (just one more)
 Feb 7, 2012 | 05:30 PM
#1
Thread Starter
Registered User
iTrader: (1)
Joined: Jun 2007
Posts: 416
Likes: 0
From: Anne Arundel County, MD
3rd Gen Front Bumper Build, PIC INTENSIVE (just one more)
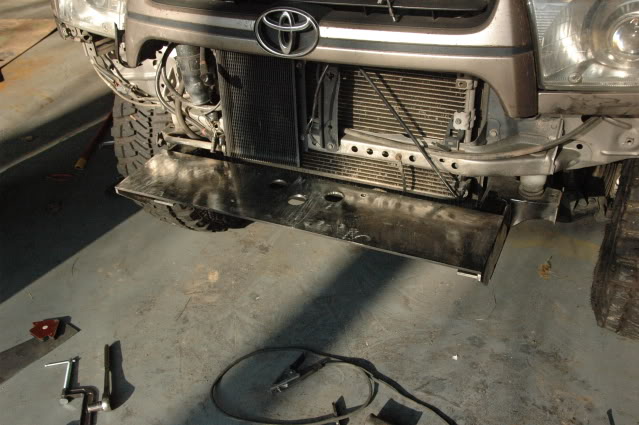
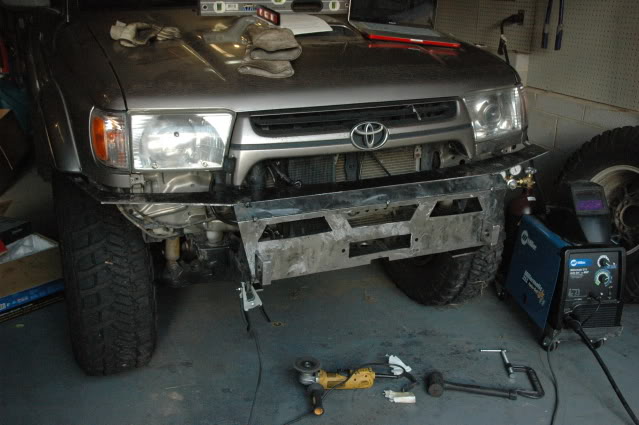
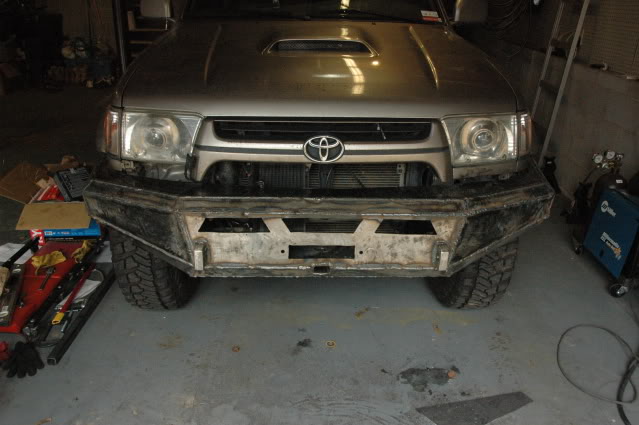
In October of last year I sold my old bumpers to buy a welder and build new ones. I started on the rear but it is not yet finished. The front however is. This was almost all cut out with an angle grinder. The holes were cut out with a plasma cutter at a shop down town.
Costs:
Steel: 300 with some left overs
Gas: 188.08 with buying a larger tank, would have only been 40 if i started with the larger tank and some for a set of sliders and the rear bumper
Disposables(grinding discs, flapper wheels, cutoff discs, tips, wire, drill bits): 148.07
Fasteners all Grade 10.9 M14: 40.88
Total: 677.03
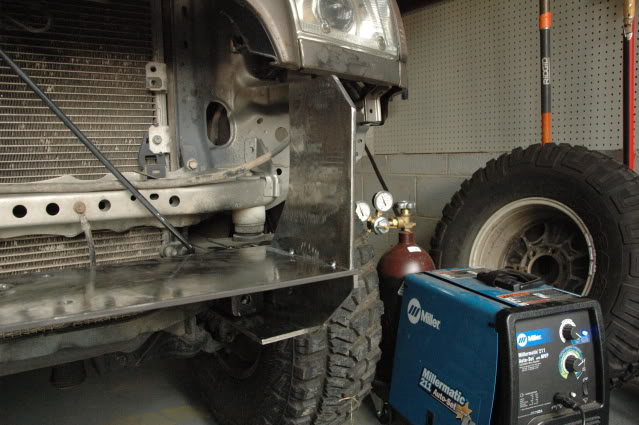
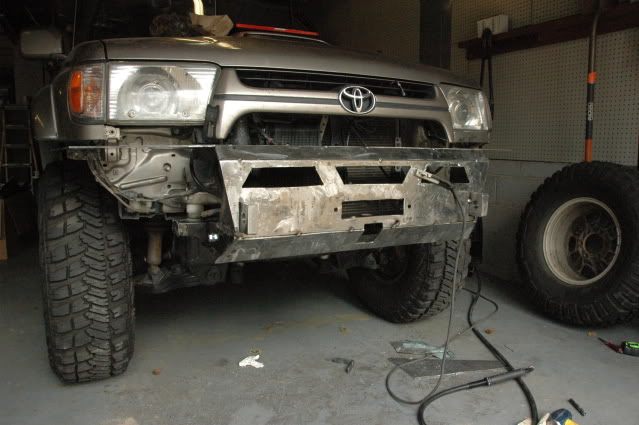
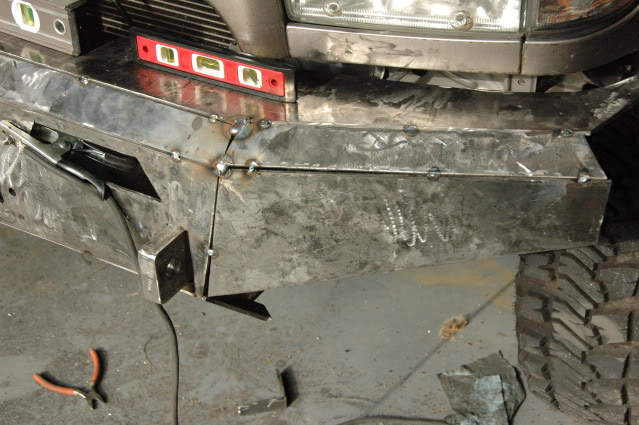
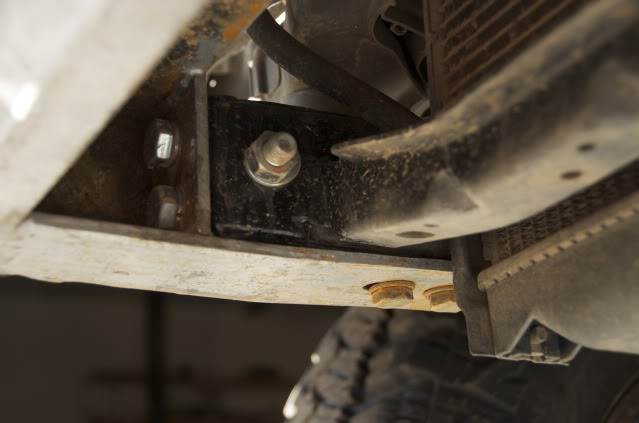
Yea I feel its a little much but I'm ok with it for the first one. It turned out nice. It is held on with 5 bolts on each frame tube. Two in the bottom, two in the end cap, and one going through horizontally. The end cap mod goes into the frame about 5 inches, and is welded entirely around the front of the frame and through four holes in the side. On to the pictures!!!
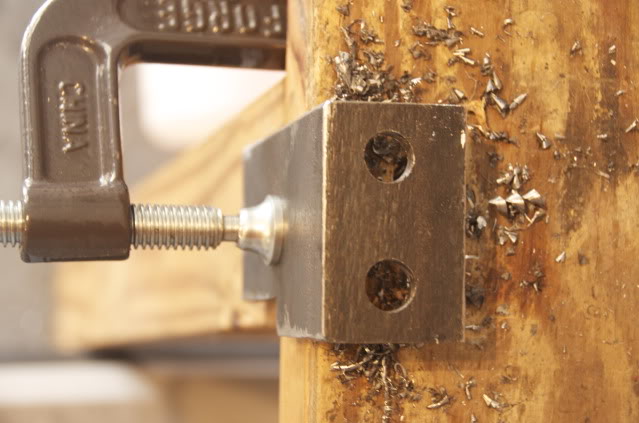
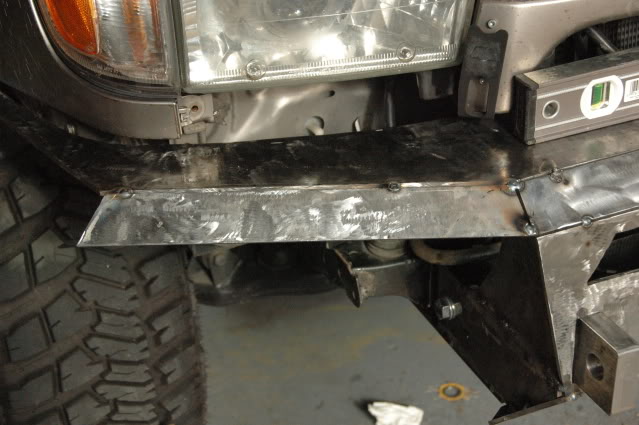
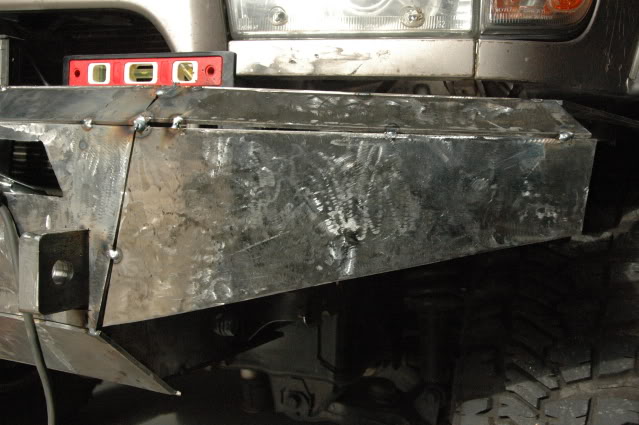
My end cap mod:
From the beefed up same shape as the factory:


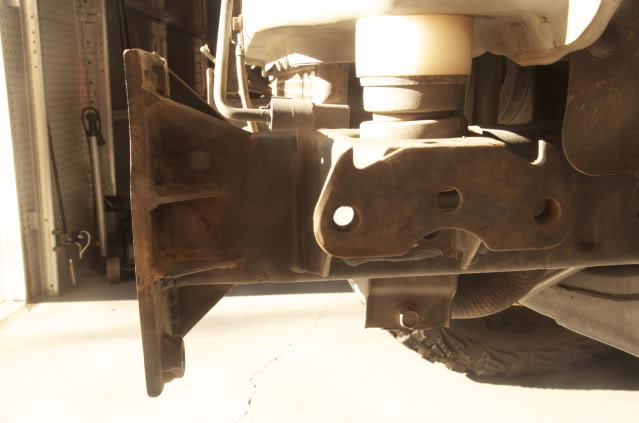
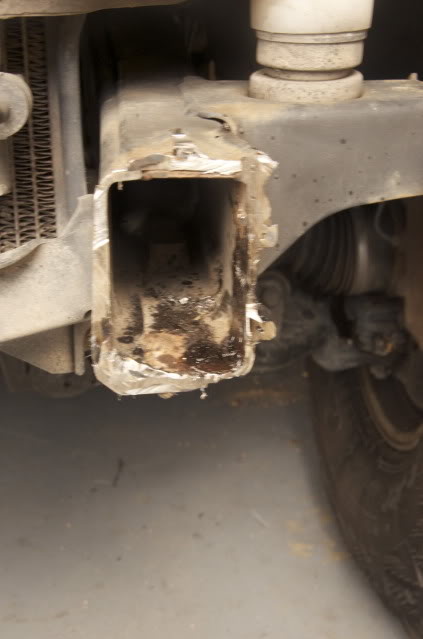
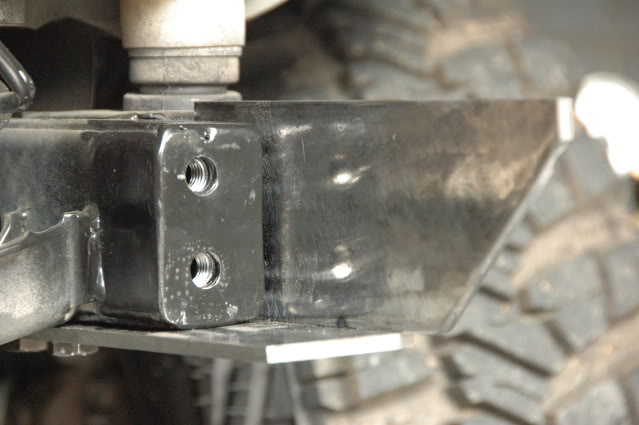
Now cleaned frame

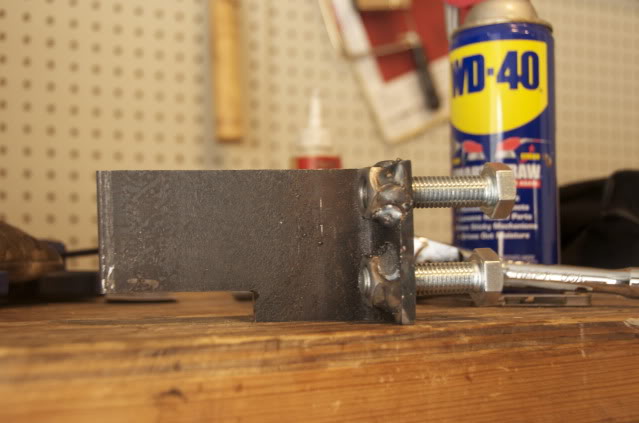
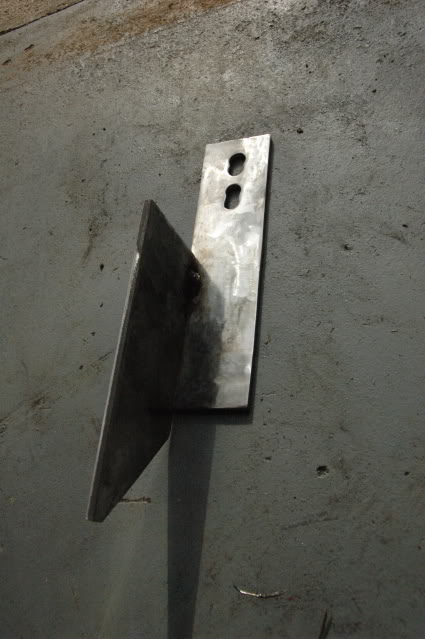
This is the piece that goes into the frame.

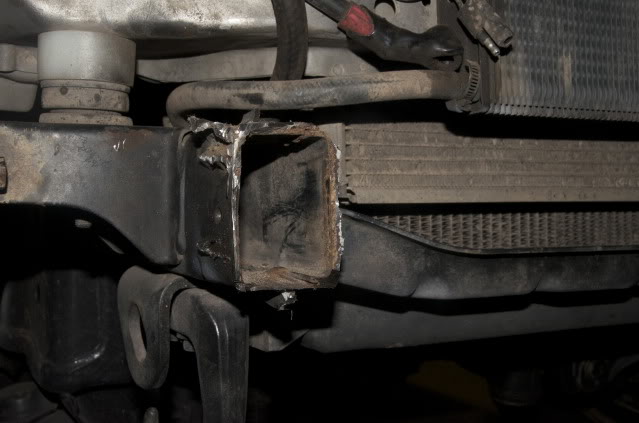
Welded in
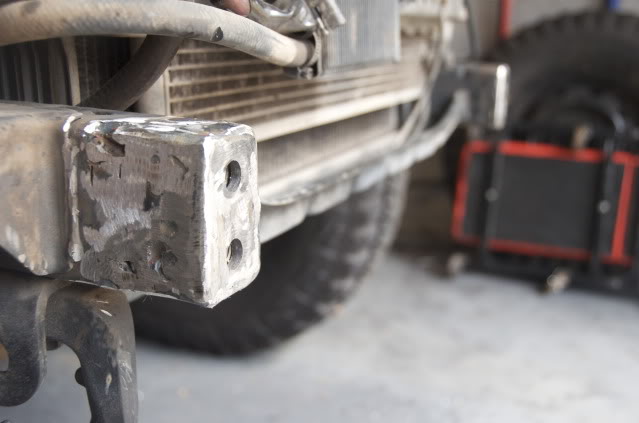
Now onto the front bumper.
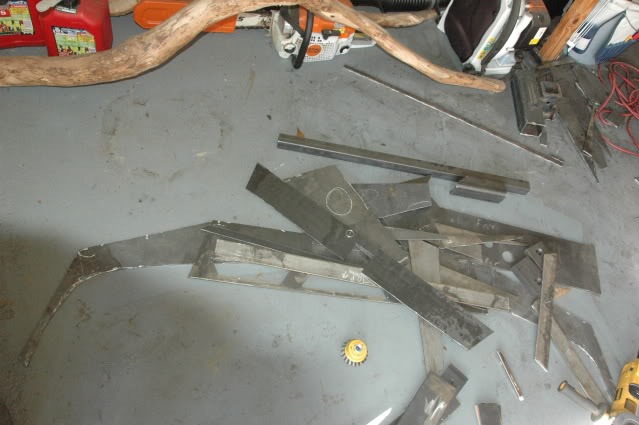
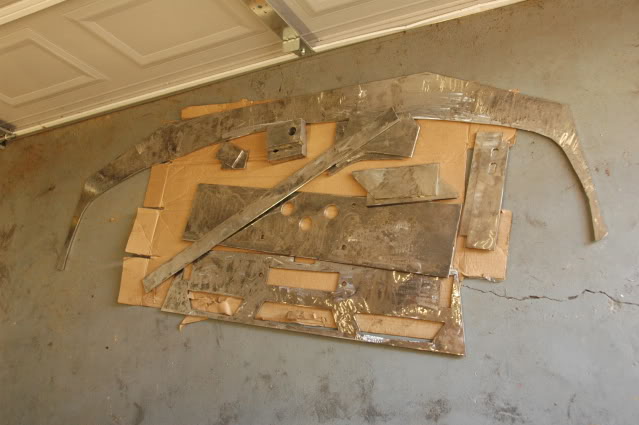
Bumper in pieces!!!!
Dirty
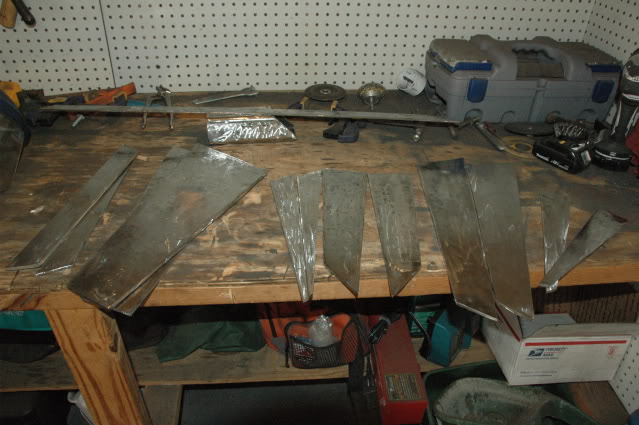
Clean

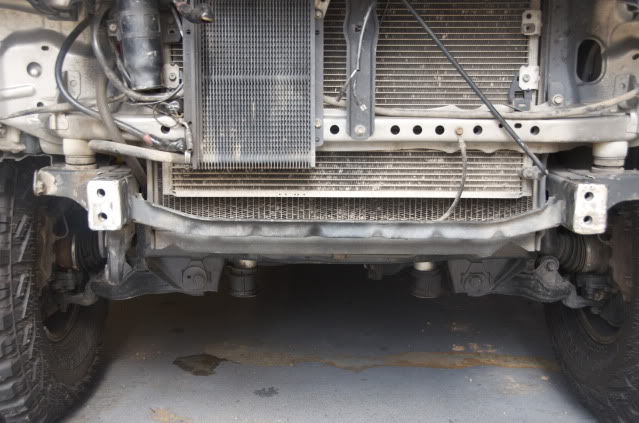
Bottom of mount, it attaches to the two factory bolts for the tow hooks.
Winch Plate
Vertical mount top plate support
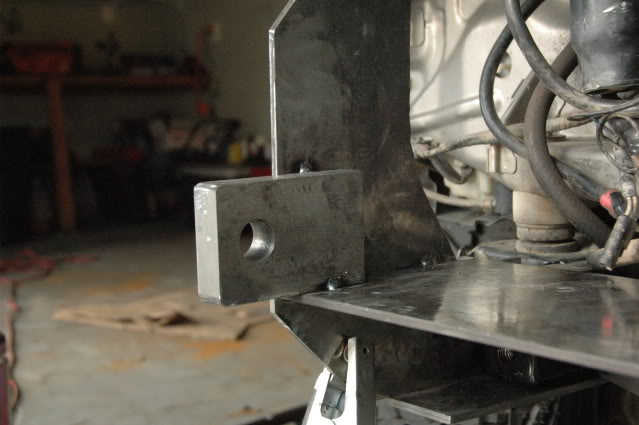
1" Shackle mounts, drilled with a one inch hole saw
Front plate

Top Plate
Bottom Center
Reciever

More Tomorrow
Costs:
Steel: 300 with some left overs
Gas: 188.08 with buying a larger tank, would have only been 40 if i started with the larger tank and some for a set of sliders and the rear bumper
Disposables(grinding discs, flapper wheels, cutoff discs, tips, wire, drill bits): 148.07
Fasteners all Grade 10.9 M14: 40.88
Total: 677.03
Yea I feel its a little much but I'm ok with it for the first one. It turned out nice. It is held on with 5 bolts on each frame tube. Two in the bottom, two in the end cap, and one going through horizontally. The end cap mod goes into the frame about 5 inches, and is welded entirely around the front of the frame and through four holes in the side. On to the pictures!!!
My end cap mod:
From the beefed up same shape as the factory:
Now cleaned frame
This is the piece that goes into the frame.
Welded in
Now onto the front bumper.
Bumper in pieces!!!!
Dirty
Clean
Bottom of mount, it attaches to the two factory bolts for the tow hooks.
Winch Plate
Vertical mount top plate support
1" Shackle mounts, drilled with a one inch hole saw
Front plate
Top Plate
Bottom Center
Reciever
More Tomorrow
Last edited by wyorunner; Feb 7, 2012 at 05:31 PM.
Feb 8, 2012 | 05:08 AM
#4
Thread Starter
Registered User
iTrader: (1)
Joined: Jun 2007
Posts: 416
Likes: 0
From: Anne Arundel County, MD
Here is the rest for now.
Bumper tacked together
Winch that went in after being put back together(it was broken)

All Welded Up
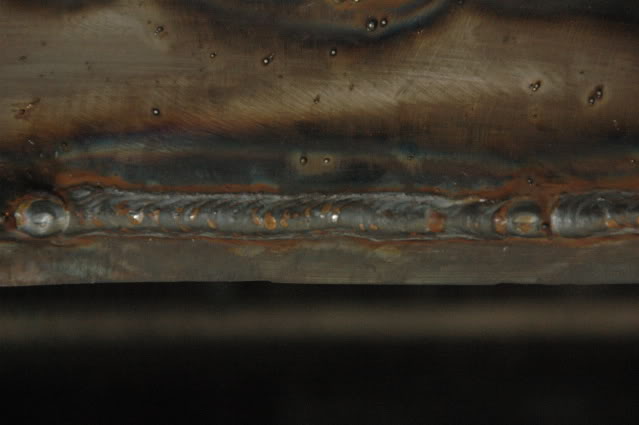
My Welds
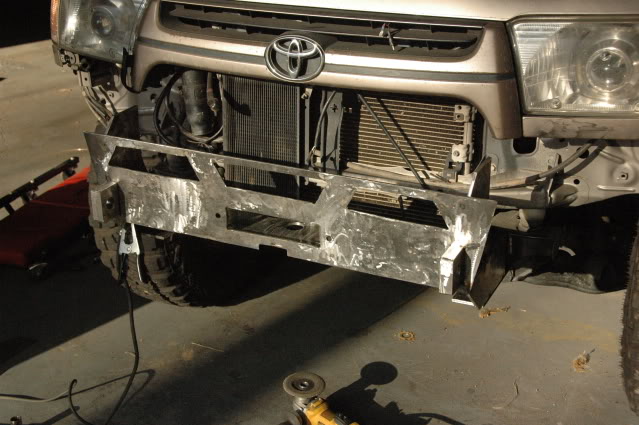
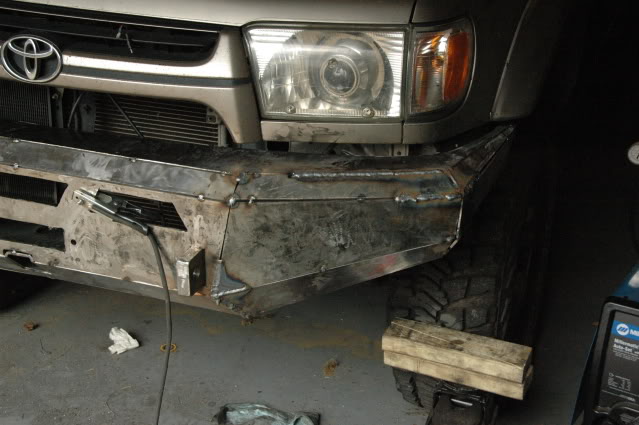
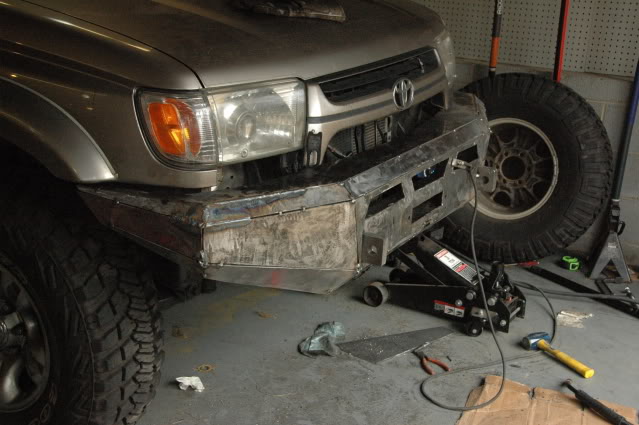
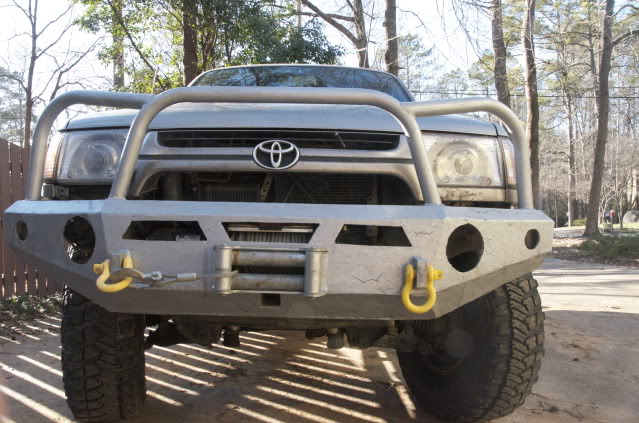
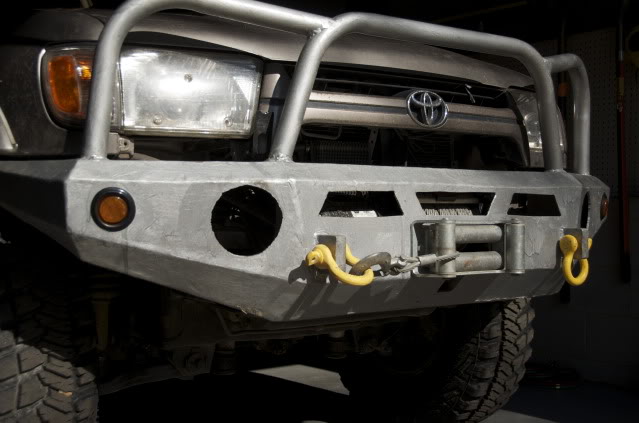
95% Finished Product
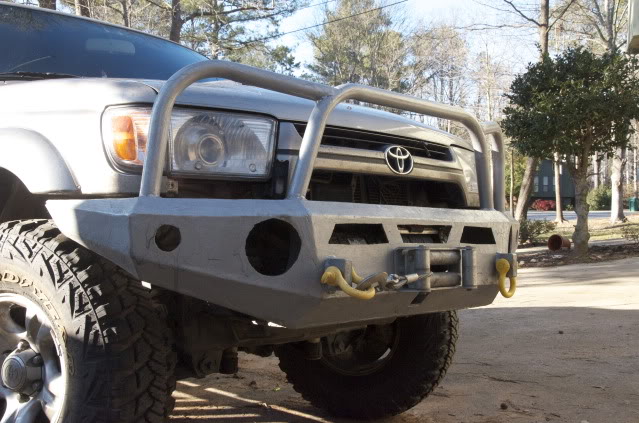
I will get some more pictures today. Some of the mounting bolts, and other bits that are not visible from the above pictures. I also put blinkers in it yesterday. I still have to weld on the side braces and fog light pipe and bracket.
Also, it would not be kind of me to not give credit where credit is due, I used Bandit Runners CAD design for this. He sells the plan as a you build it, however mine looks quite different and doesn't have as much steel removed.
Bumper tacked together
Winch that went in after being put back together(it was broken)
All Welded Up
My Welds
95% Finished Product
I will get some more pictures today. Some of the mounting bolts, and other bits that are not visible from the above pictures. I also put blinkers in it yesterday. I still have to weld on the side braces and fog light pipe and bracket.
Also, it would not be kind of me to not give credit where credit is due, I used Bandit Runners CAD design for this. He sells the plan as a you build it, however mine looks quite different and doesn't have as much steel removed.
Last edited by wyorunner; Feb 8, 2012 at 05:24 AM.
Feb 8, 2012 | 05:11 AM
#5
Thread Starter
Registered User
iTrader: (1)
Joined: Jun 2007
Posts: 416
Likes: 0
From: Anne Arundel County, MD
For paint I used this brush on rustoleum stuff called Hammertone. I like it very much! It can be bought from Lowes for 15 bucks a qt. Its a little pricey but worth the money. I put the paint on at 1030 at night well below recommended temperature application. It still turned out nice. There is a few funs but nothing that can't be fixed the next time it comes off.
Feb 8, 2012 | 06:44 AM
#6
Registered User
Joined: Feb 2007
Posts: 441
Likes: 0
From: Pleasant Grove, Utah
Nice work! I thought the top plate looked familiar - I went through the design process with BanditRunner too, but couldn't dedicate the time without a front bumper. Way to get it done, man
Feb 8, 2012 | 07:01 AM
#7
Thread Starter
Registered User
iTrader: (1)
Joined: Jun 2007
Posts: 416
Likes: 0
From: Anne Arundel County, MD
Thankfully, im a student right now. And an online one at that. So I got my school work done and worked on the bumper. I have about 50-60 hours working on it. I did it over a two week period.
Trending Topics
 Feb 15, 2012 | 09:55 AM
#12
Thread Starter
Registered User
iTrader: (1)
Joined: Jun 2007
Posts: 416
Likes: 0
From: Anne Arundel County, MD
Its going to be a bit before I finish the fog light holes, and a few other bits. But here is a couple other pics I havn't posted.
The five mounting bolts on Passenger side
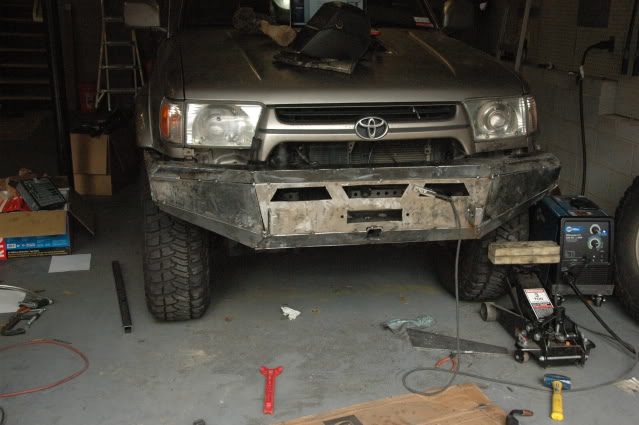
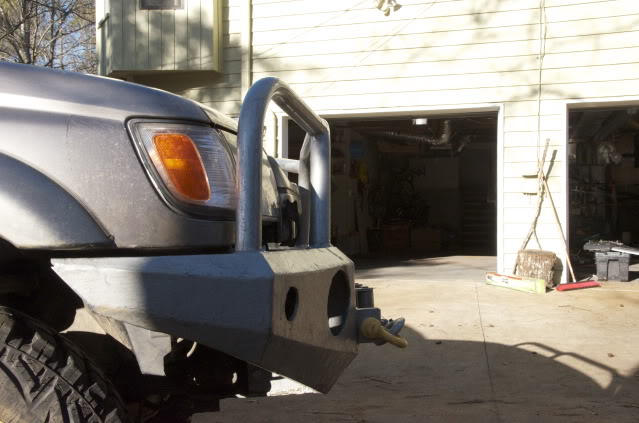
Another front shot with both blinkers

The Side hoops through the top plate, welded to the bottom

The five mounting bolts on Passenger side
Another front shot with both blinkers
The Side hoops through the top plate, welded to the bottom


Thread
Thread Starter
Forum
Replies
Last Post
RedRunner_87
95.5-2004 Tacomas & 96-2002 4Runners (Build-Up Section)
84
Jun 1, 2021 01:51 PM
WTB[WestCanada]: 1989 4runner stock front bumper and other items
lledwod
Items Wanted
1
Aug 30, 2016 01:03 PM
Avenged
95.5-2004 Tacomas & 96-2002 4Runners
4
Jul 9, 2015 07:55 AM
toyoda8488
84-85 Trucks & 4Runners (Build-Up Section)
2
Jul 5, 2015 10:18 PM
Vargntucson
95.5-2004 Tacomas & 96-2002 4Runners
0
Jul 4, 2015 12:15 PM


