When you click on links to various merchants on this site and make a purchase, this can result in this site earning a commission. Affiliate programs and affiliations include, but are not limited to, the eBay Partner Network.
I LOVE POR-15! The stuff is tough as nails and I have yet to have any issues on my frame, nor any on the "test" pieces that have been hanging out in the weather on my fence post for the past TWO YEARS!
Corey, do you topcoat the POR-15 with ChassisCote (made by POR-15 too) or anything else? I know this is just chassis work that doesn't see much sun, but apparently the ChassisCote offers superior UV protection. I used it on my frame and I prefer the satin finish of the ChassisCote over the glossy POR-15. It's also almost a perfect match to the satin black used in engine compartments on a lot of classic vehicles.
Not on this one ... this is more of a "budget build" .. I will be for sale .
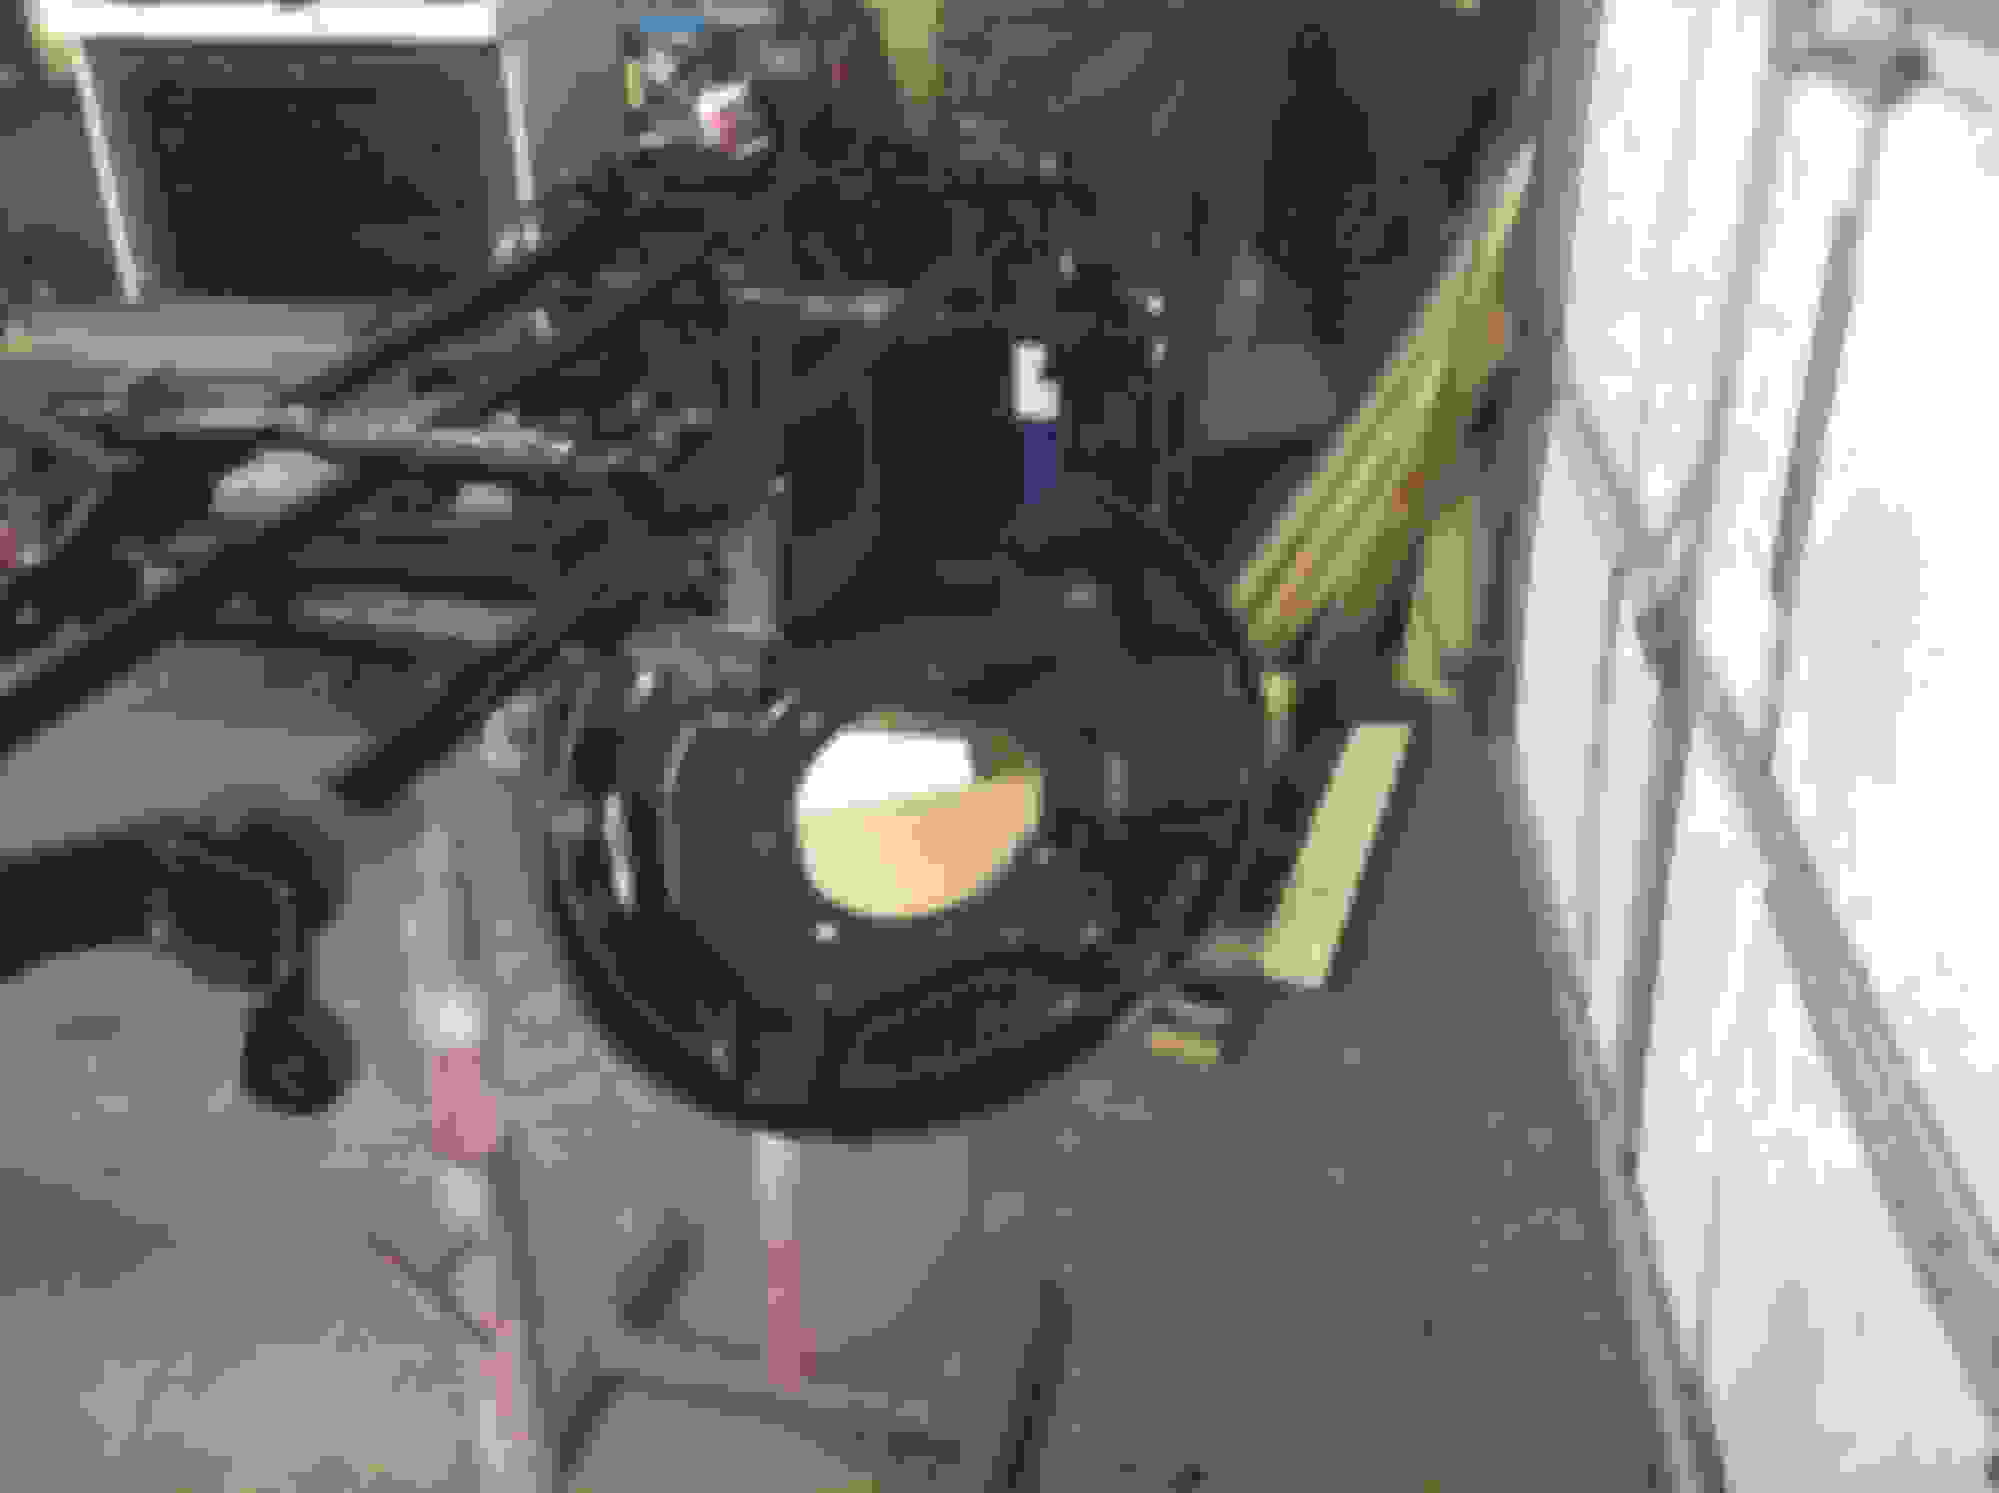
m a super fan of POR15 .. I had some left over from when I did my trekker frame , so instead of throwing it out , I went out and painted my rear bumper on my DD . I never even washed the dirt off ... no washing , no prepping , nothing . painted my rusty rear bumper . I think this is now 6 , maybe 7 years later , and it has a few rust bubbles poking threw . The sun has "chalked" the surface , and is absolutely noticeable ... but wow , from then to now .. I'm SOLD on this product
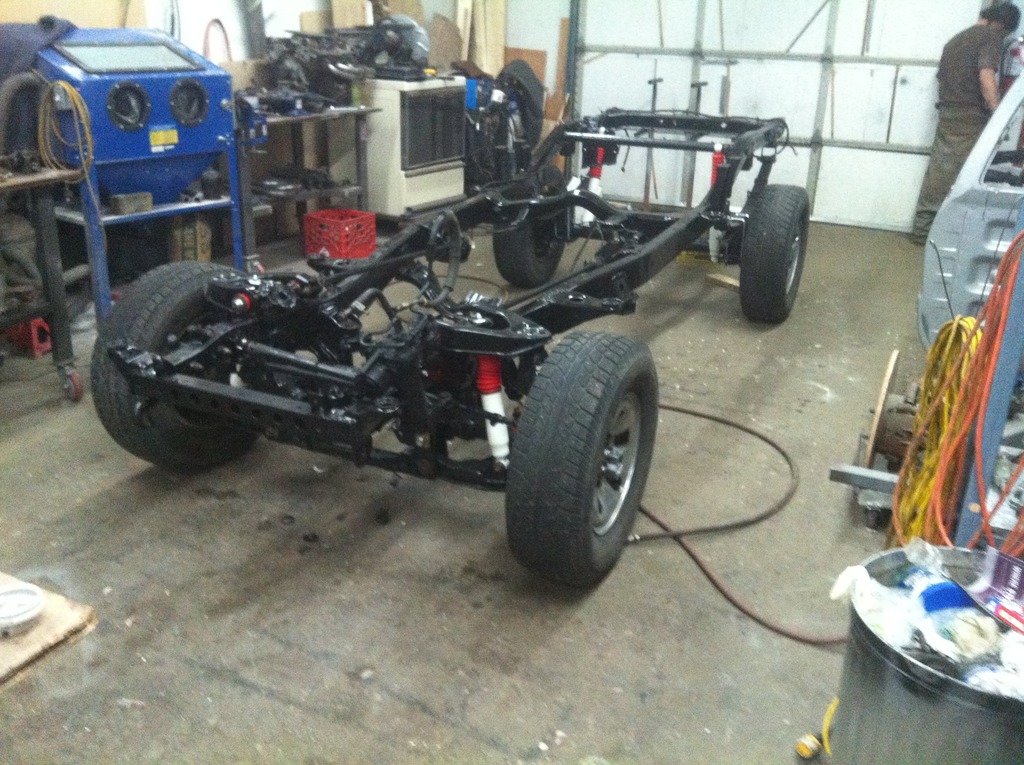
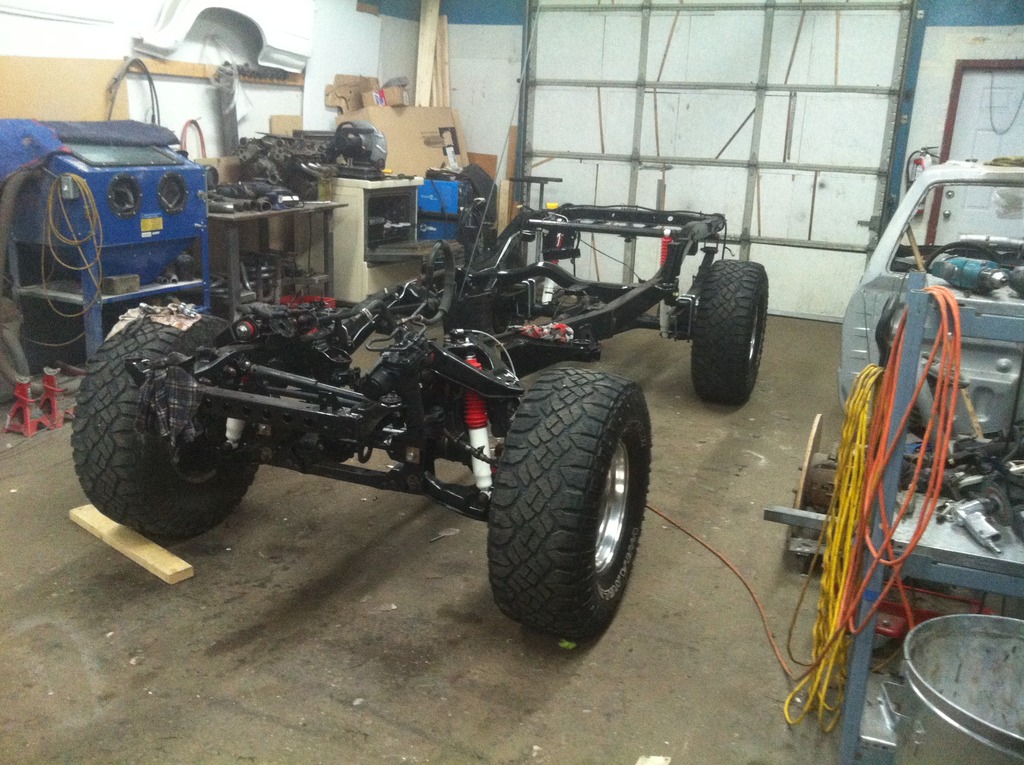
Makes me think of what it would of looked like going down the assembly line all those years ago. Getting one in roller status sure makes it easier for getting it around the shop. Looking good.
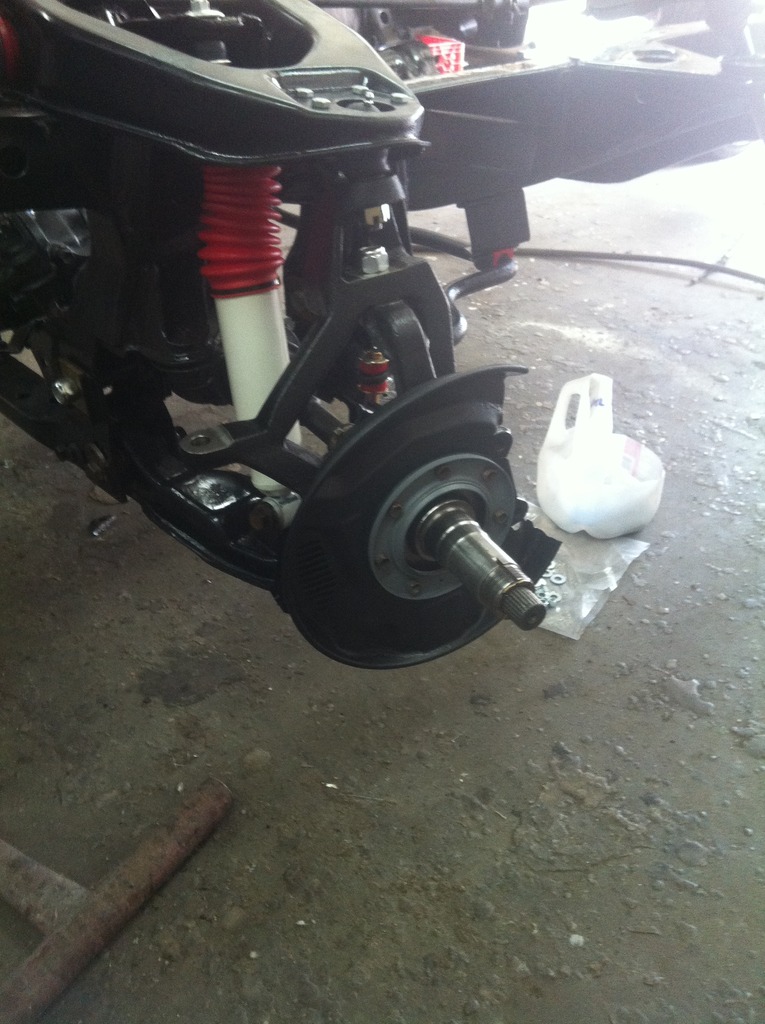
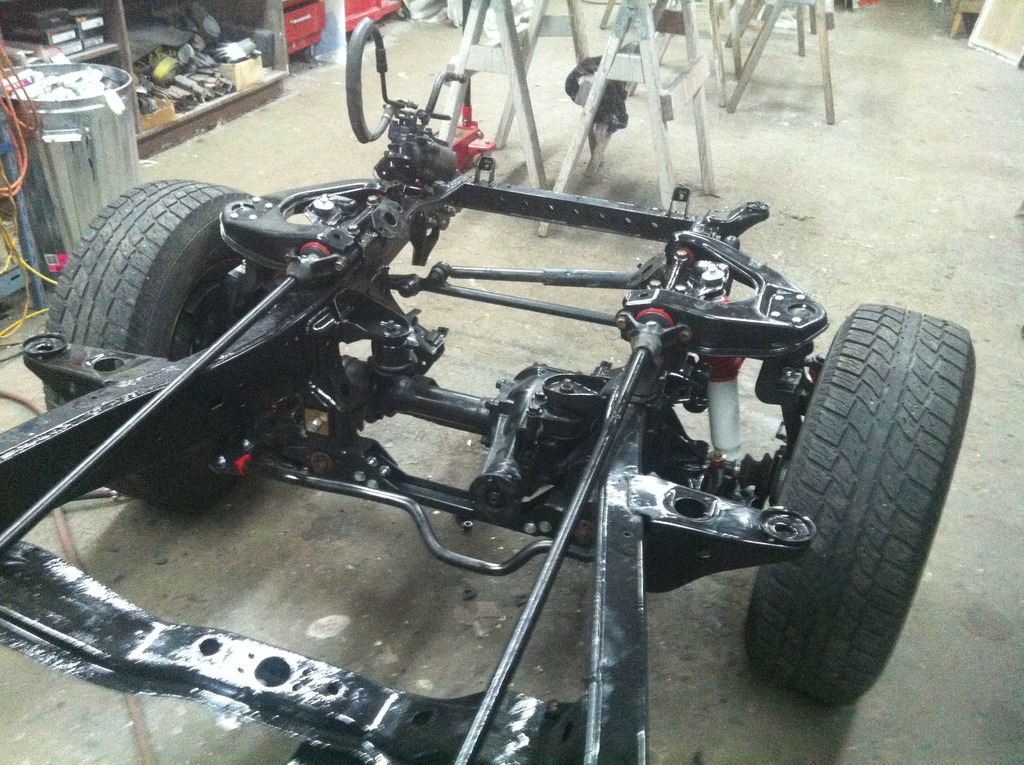
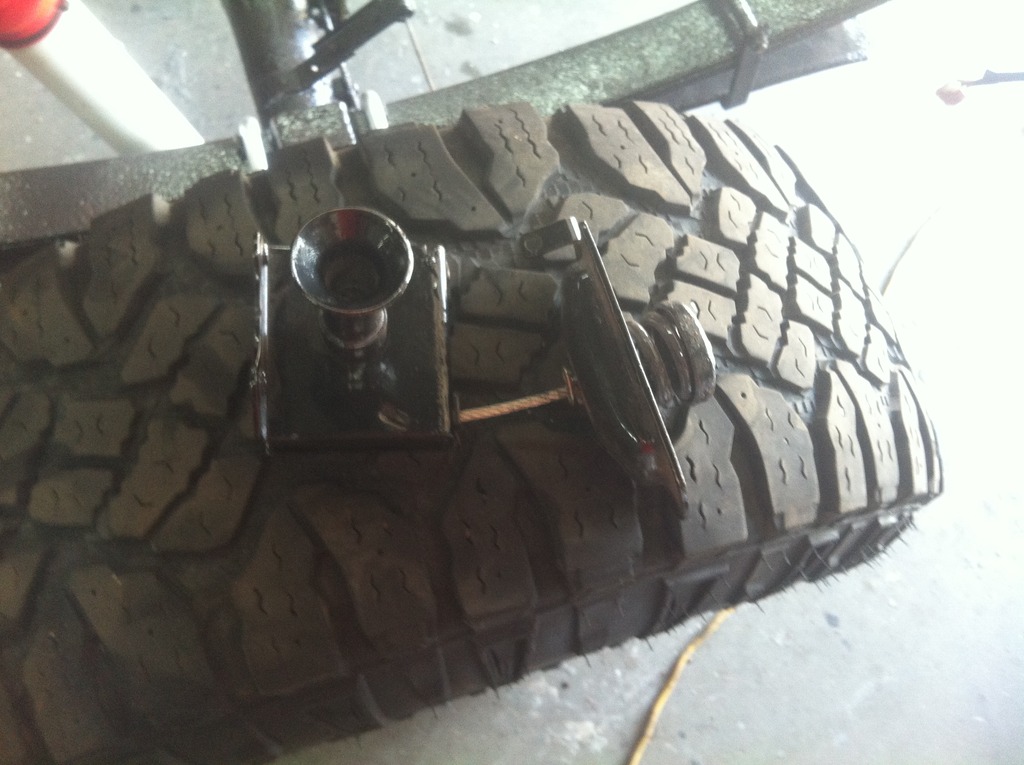
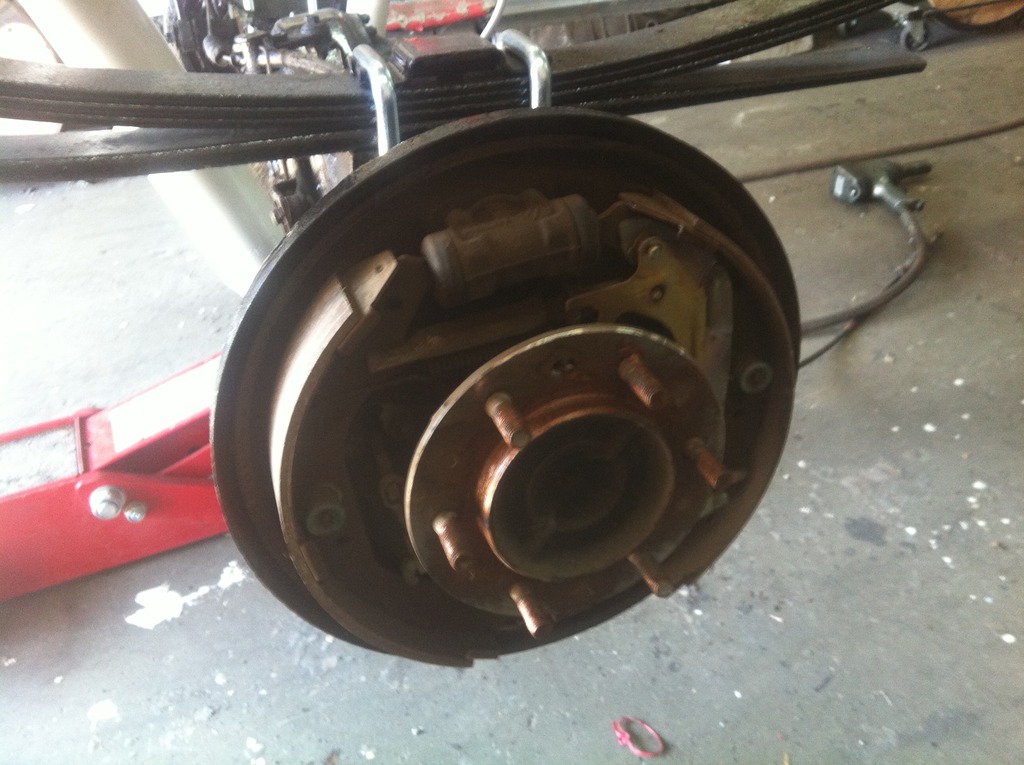
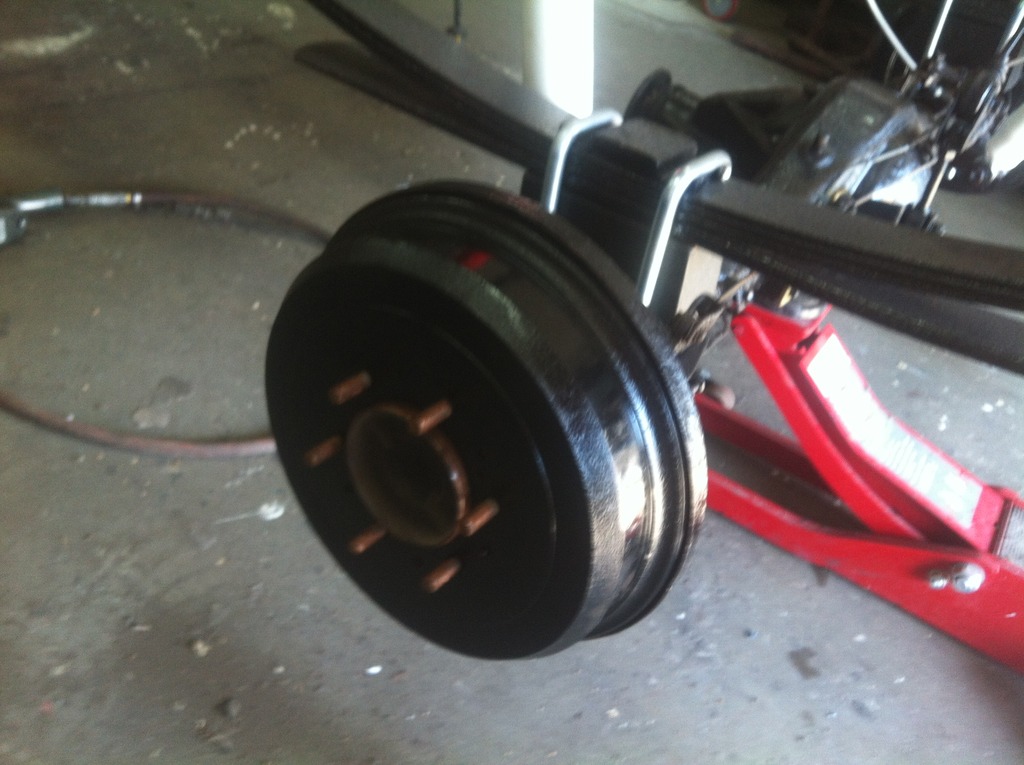
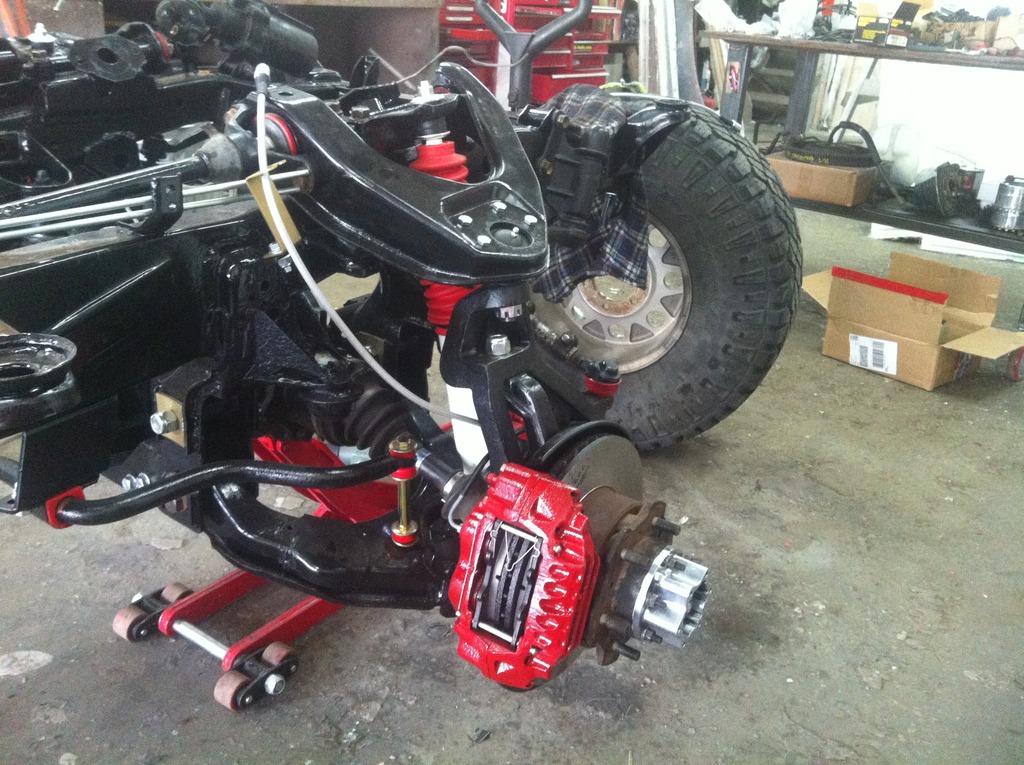
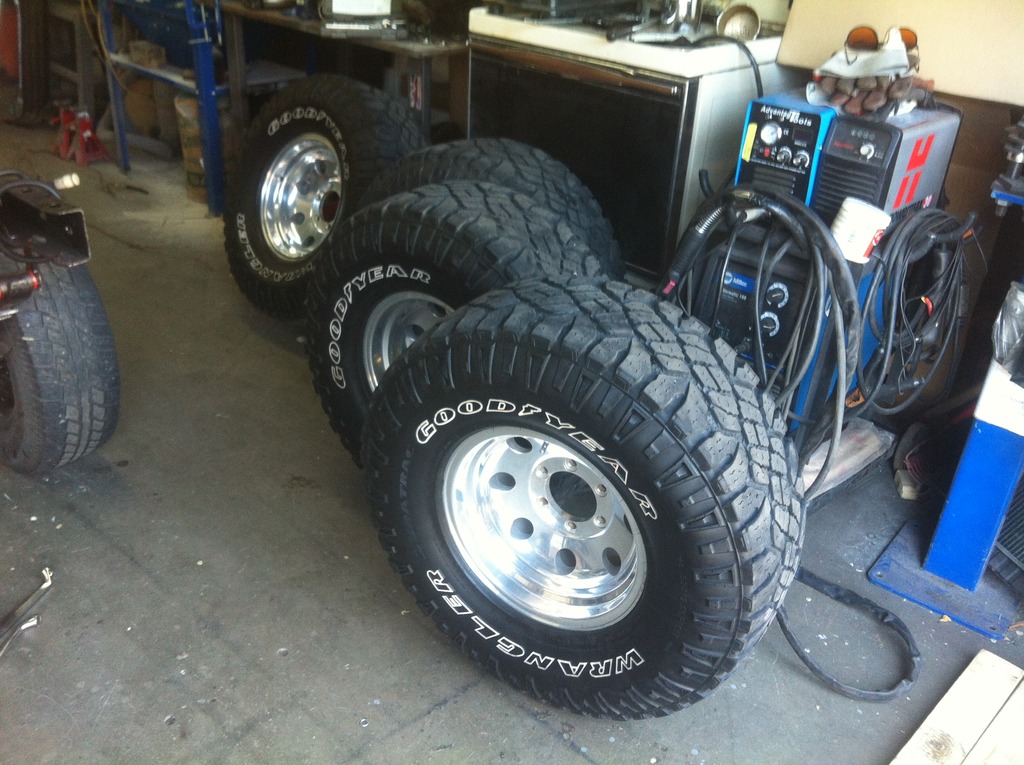
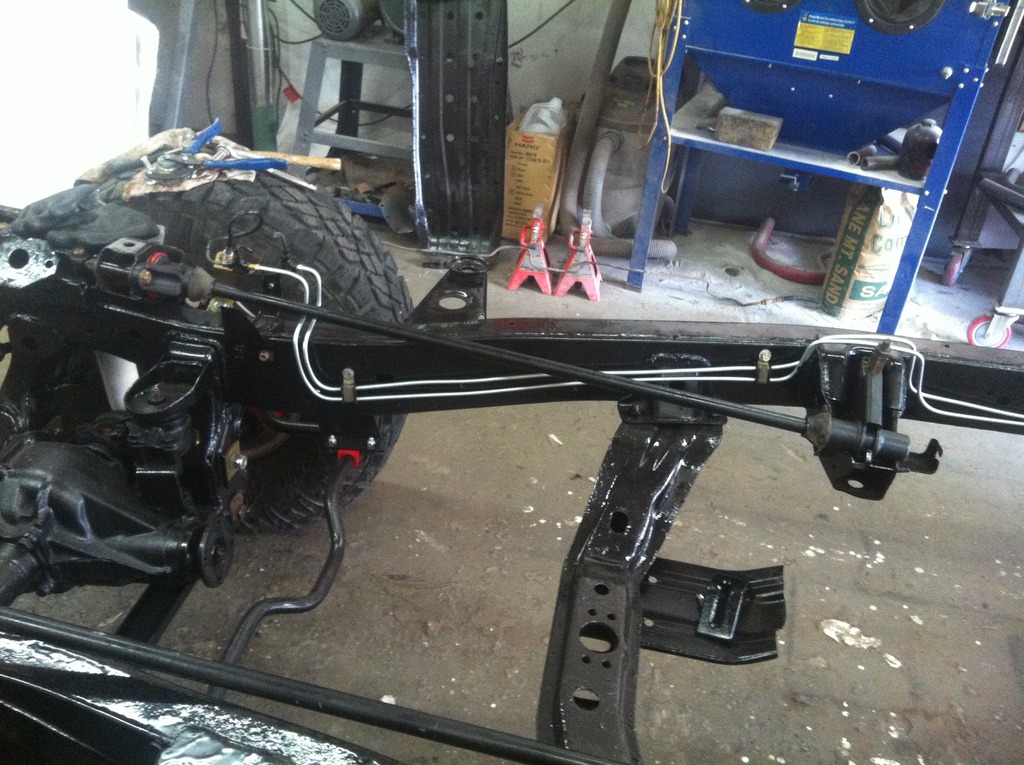
all except the hubs ... those need some powder as well
.
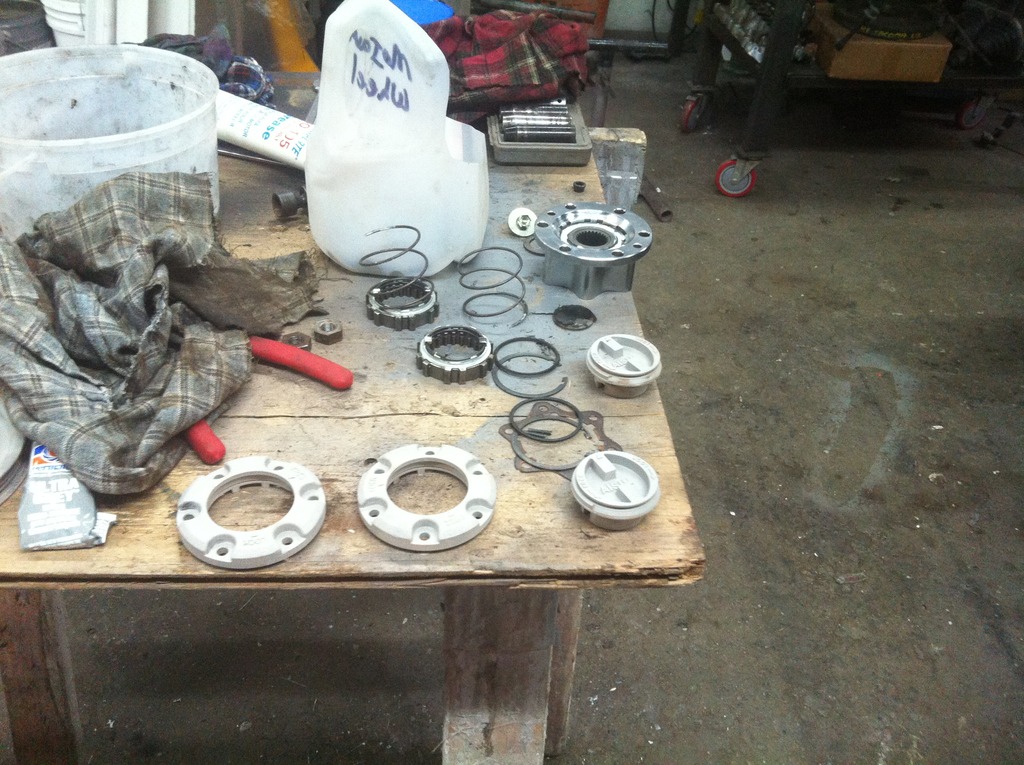
Hey, if you happen to lose those little detent balls in the hubs or need new ones let me know and I'll mail you a few. I managed to lose one when I rebuilt mine and had to order a bag of 100! So needless to say, I have approximately 98 left over...
Hey, if you happen to lose those little detent balls in the hubs or need new ones let me know and I'll mail you a few. I managed to lose one when I rebuilt mine and had to order a bag of 100! So needless to say, I have approximately 98 left over...
hahaha .. funny you should mention that .. I did .. I knew they were there , and how I lost em , I don't know . Joel and I were on our hands and knees and we finally found them .. so I'm good .. thanks though
I have used a ball bearing out of a 1/4 inch ratchet exetention in the past when losing one. Now when I disassemble a hub, I disassemble it while in a 5 gallon bucket. Same for reassembling the hub. That ball bearing has a mind of its own.
I have used a ball bearing out of a 1/4 inch ratchet exetention in the past when losing one. Now when I disassemble a hub, I disassemble it while in a 5 gallon bucket. Same for reassembling the hub. That ball bearing has a mind of its own.
well I guess some select few now , whom have read or read this thread , now know that Dave has LOTS of spares
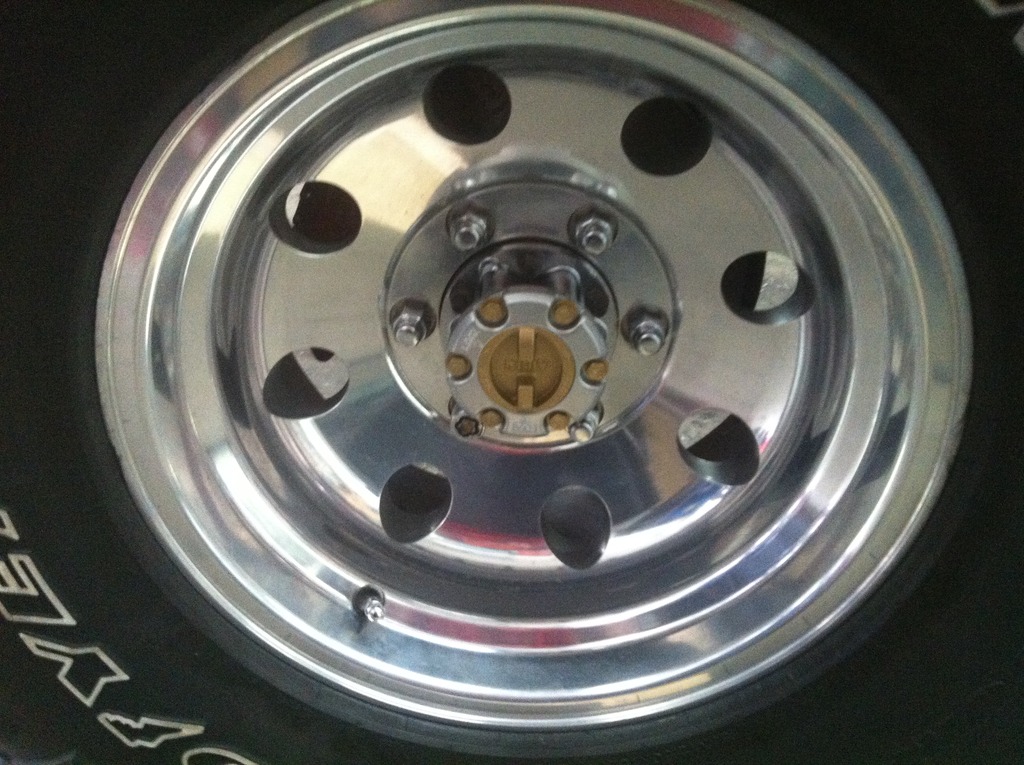
Looks great as usual, and coming along quickly. I like the gold and silver combo, very unique.
I really wish I could get the cab and engine off my project but I'm wire wheeling the frame while laying on my back. Needless to say its been dragging on. I think ive come to terms with not getting it perfect, there are some spots that you just can't get to bare metal. I'll just POR-15 up and overlap onto the original coating and then chassis black the entire frame. Hopefully that will work out. I think I might even have to check the expiry date on my POR.
Thanks for the inspiration and keep up the good work.
yeah .. I really like the powder coat .. I have dropped pieces , and the finish has held up . I have yet to test "brake fluid" on it though .. but so far I'm very please with the outcome .
thanks for the offer on the bushings , but I don't really need them , I already have a small bag of about 15 for "emergency's"
Sure not. A buddy of mine has the truck in his polebarn til im ready again. Been so busy at work doing the tooling and r&d for two new boats. Maybe i will drag it away from him after summer. Til then, I will live vicariously thru your builds. Keep up the great work!
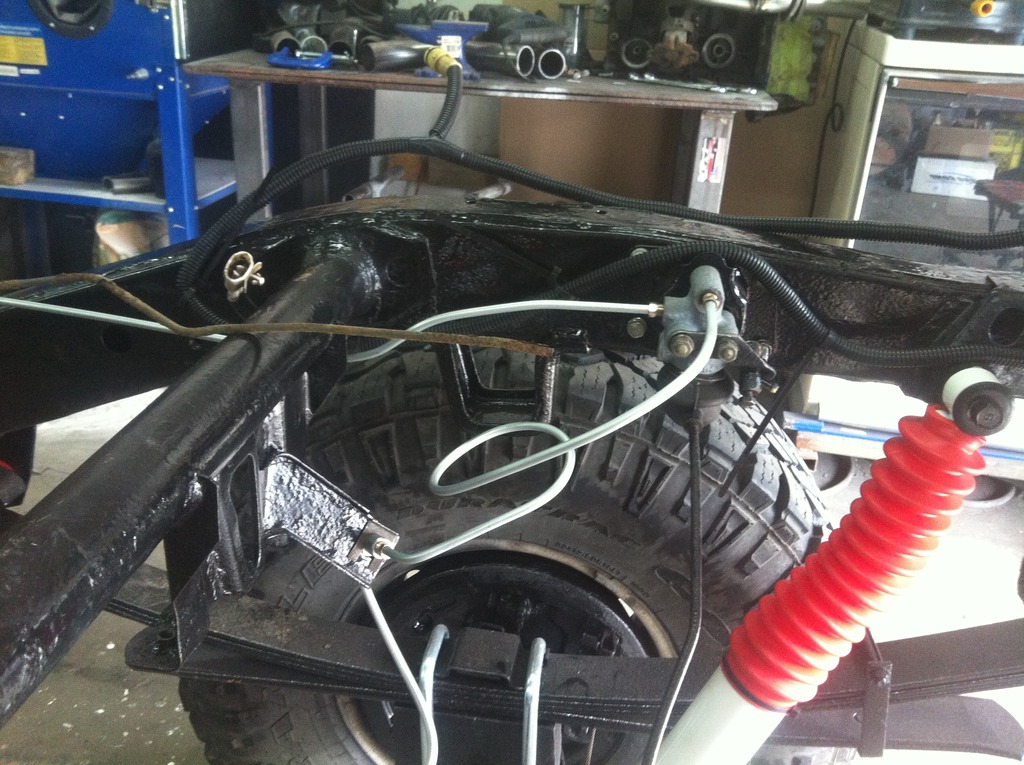
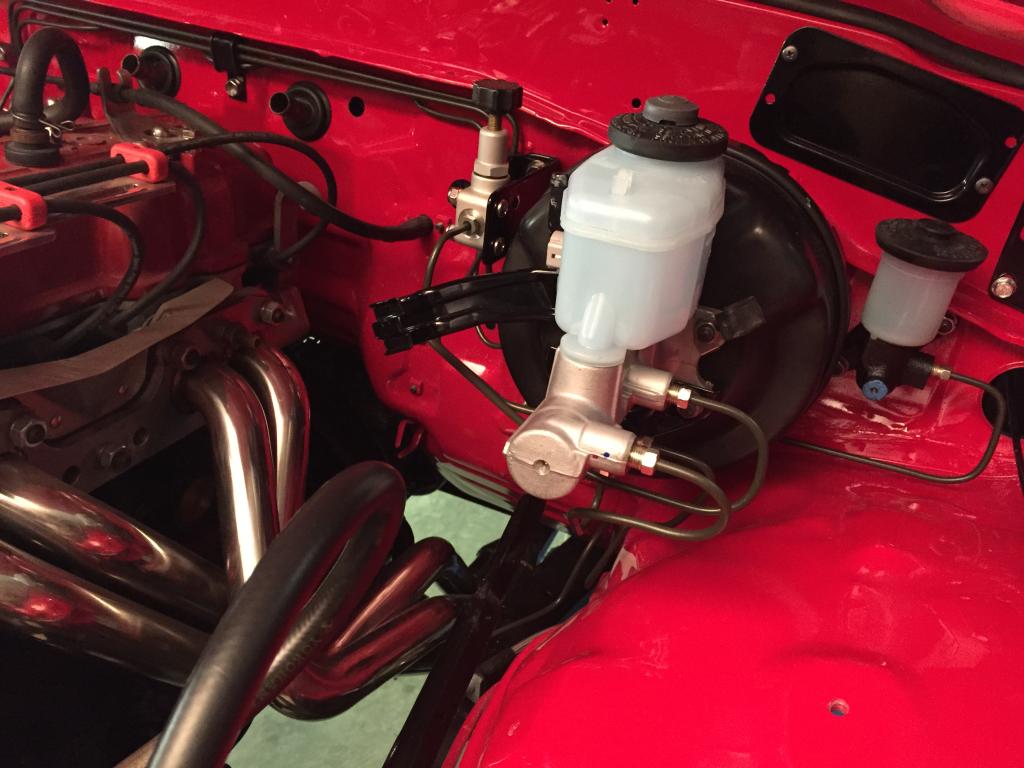
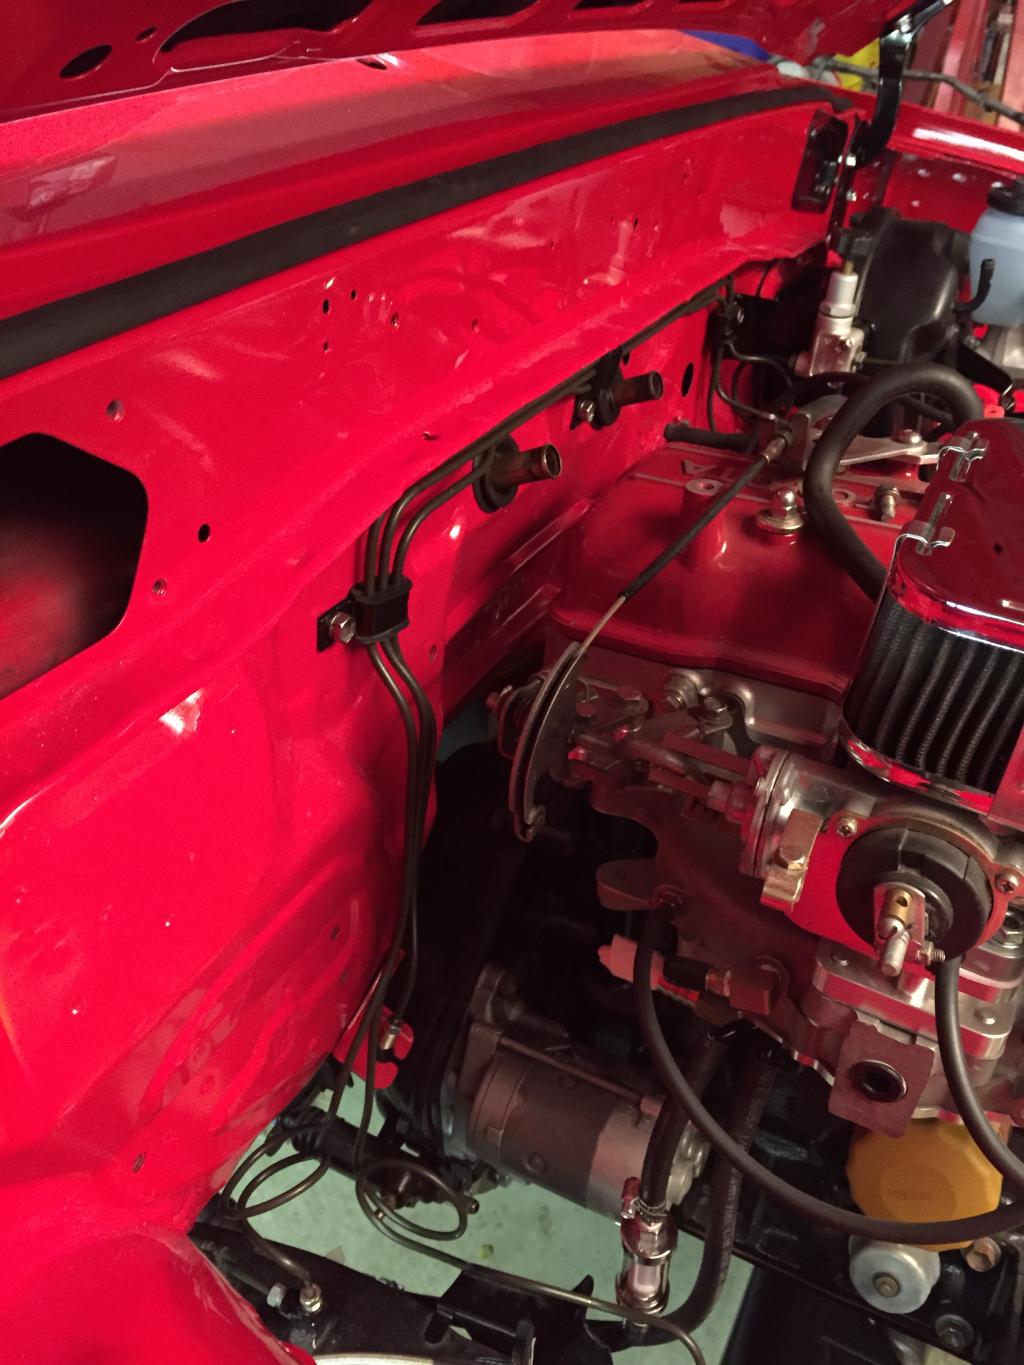
I hate doing brake lines too, but mainly because I am a perfectionist. I have a little trick for duplicating the factory brake lines though. I take the old nasty factory lines off and staple them to a piece of plywood. I then bend the news ones to match the factory shape in "up" and "down" dimensions stapling the new line directly below the factory line as I go. Once I get the up and down dimensions complete I go back and bend the lateral dimensions to fit the frame. Works perfectly for me and I get brake lines that match the factory routing almost exactly.
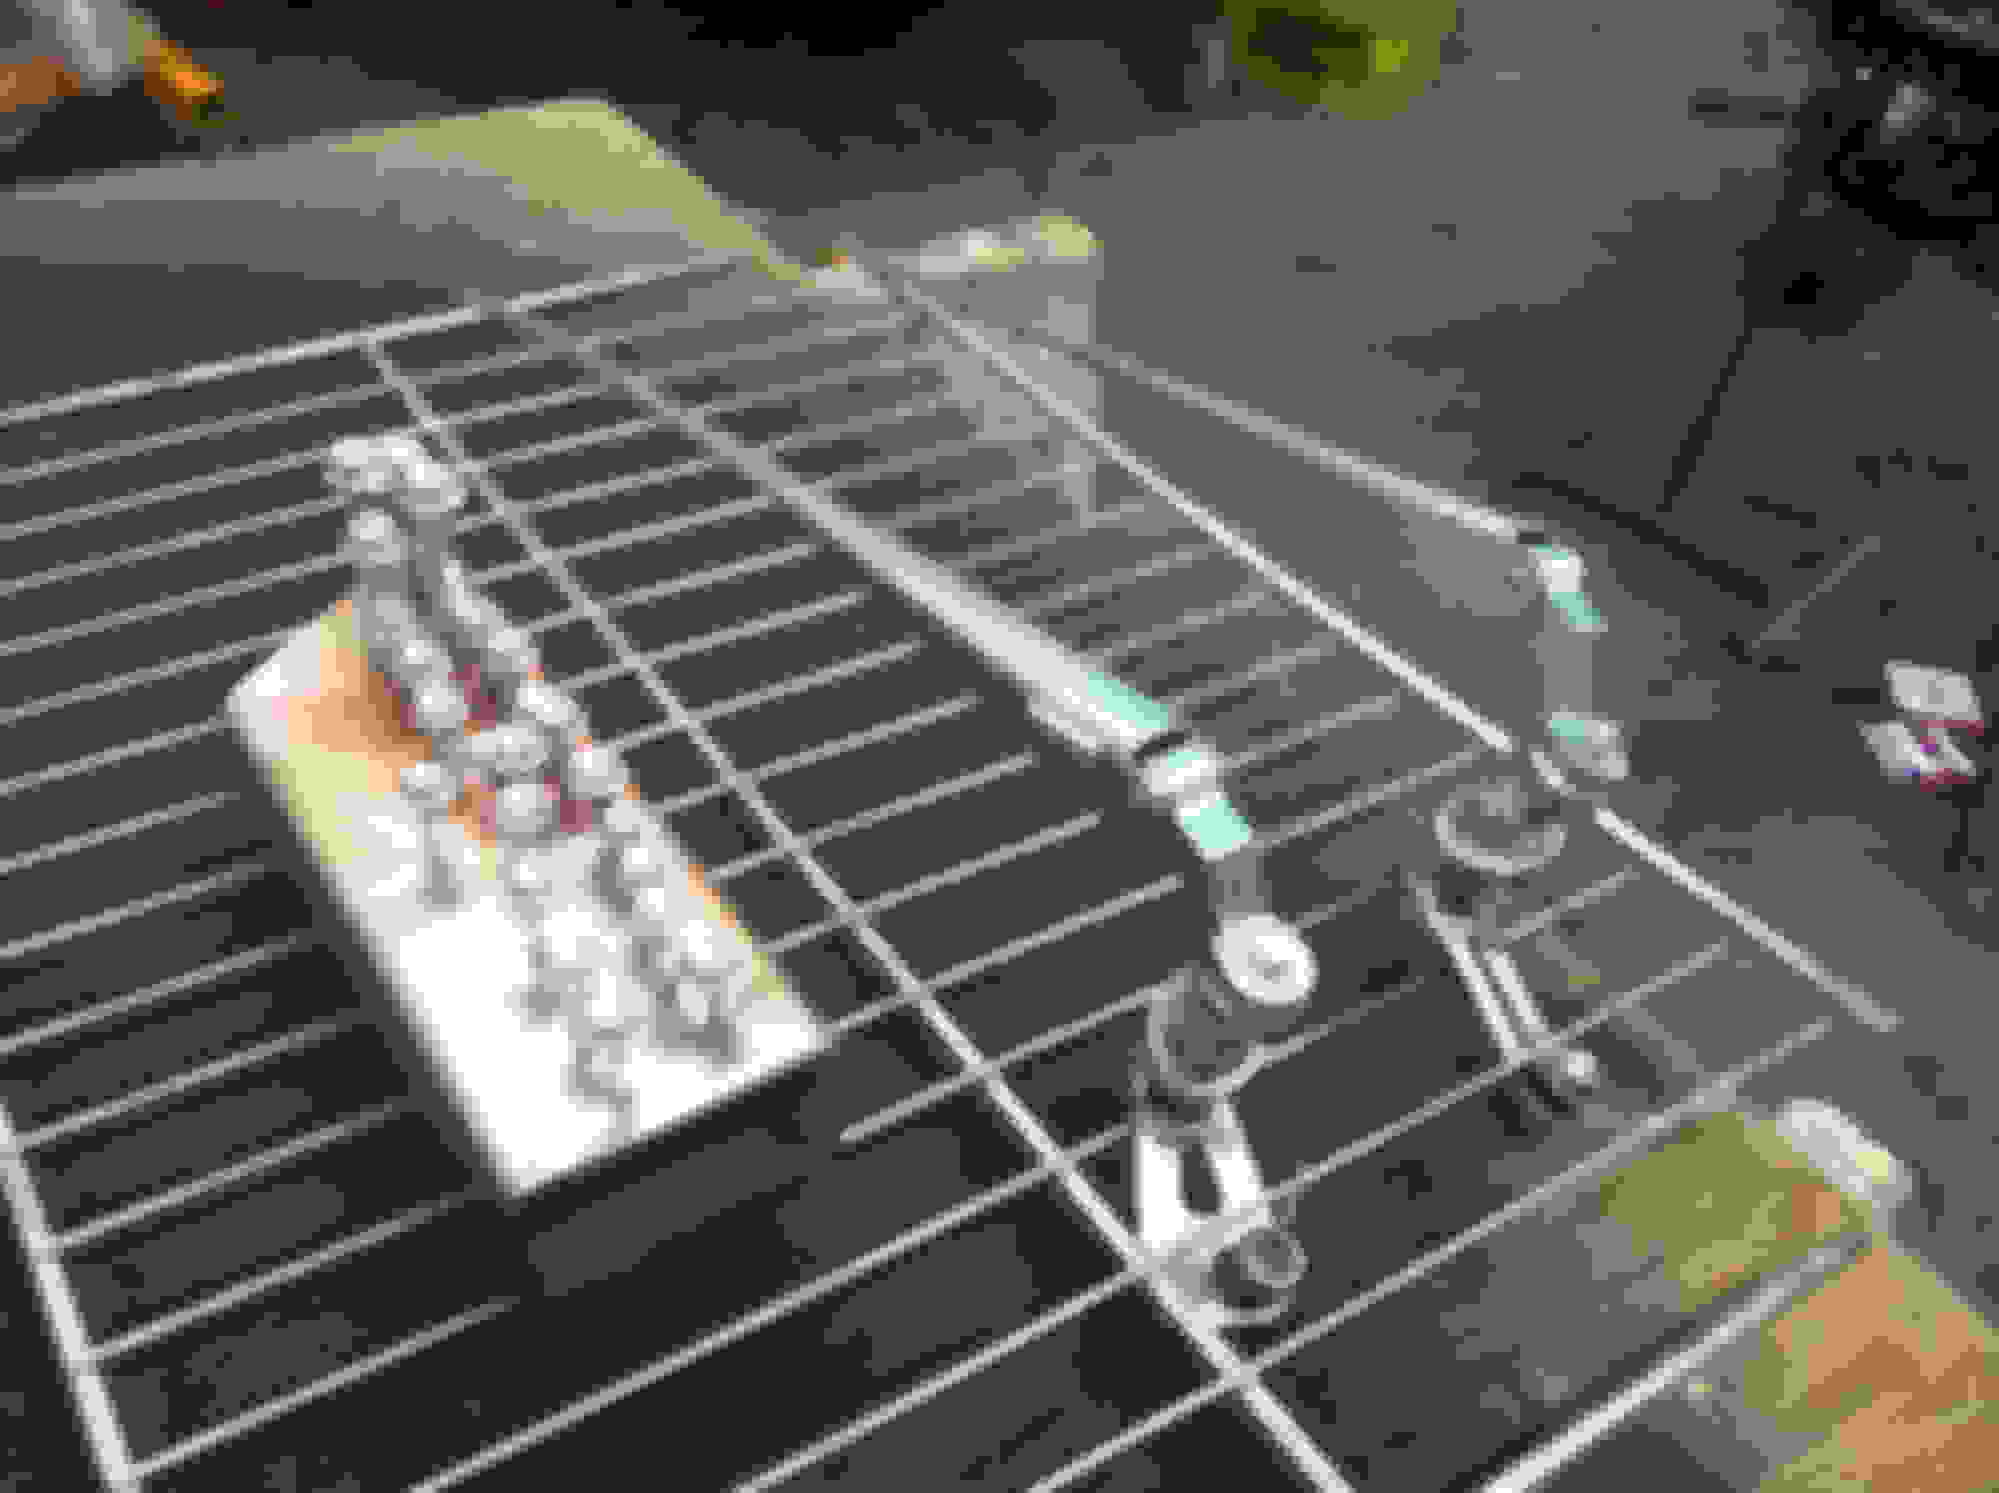
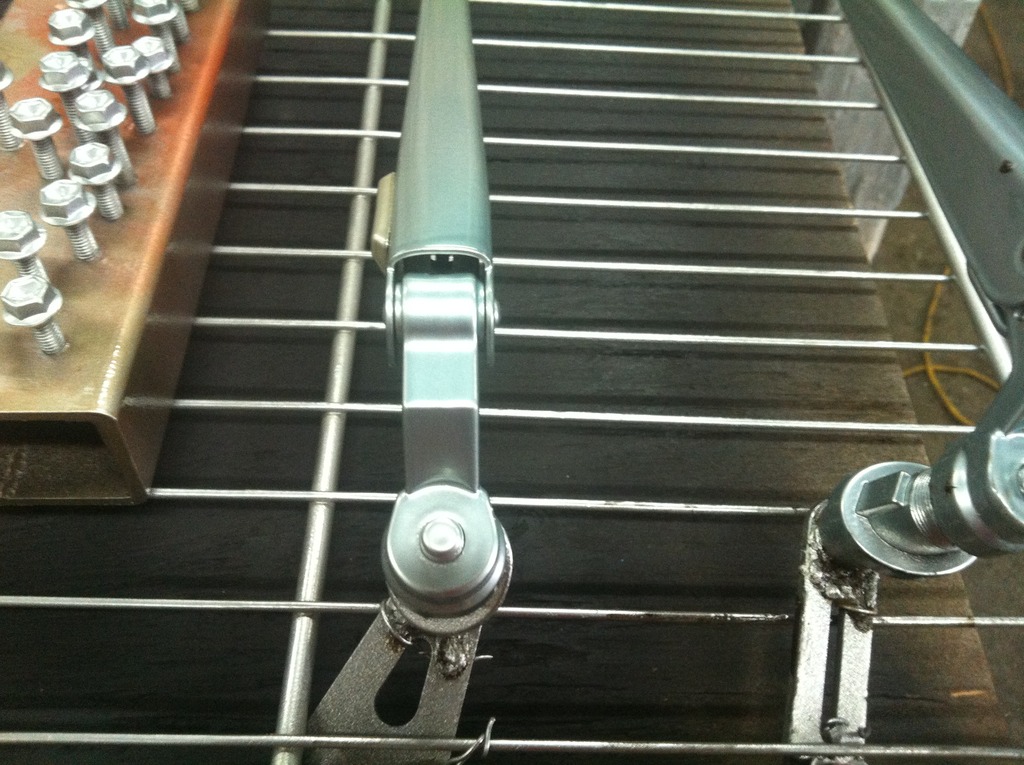
This worked great on my firewall:
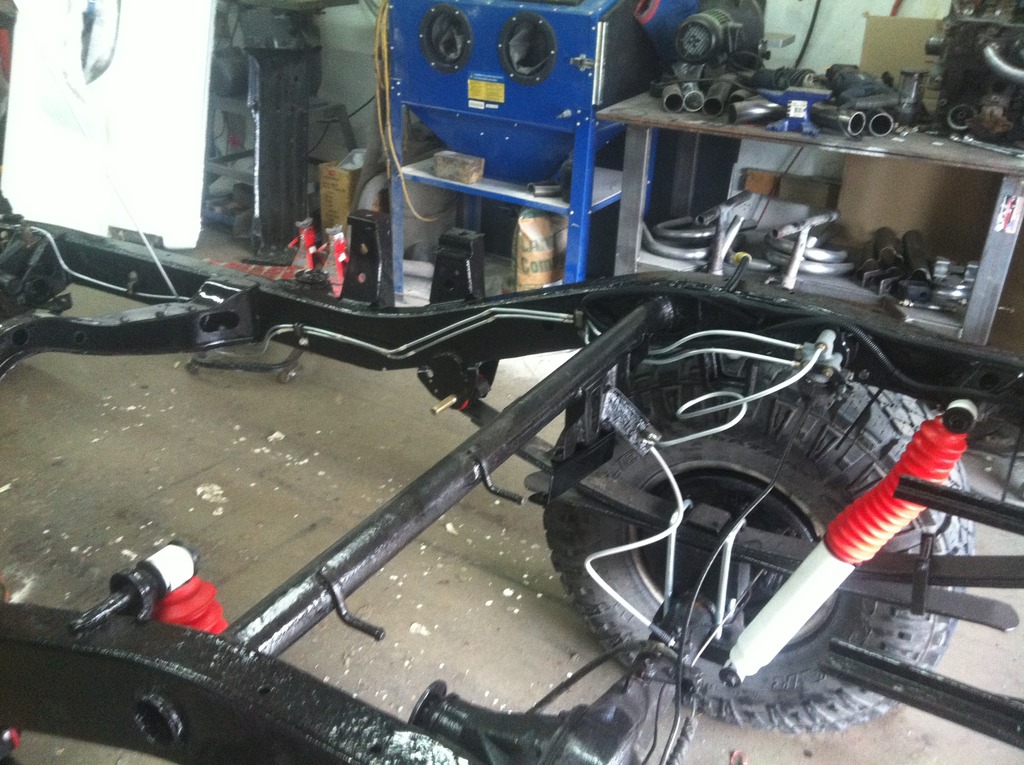
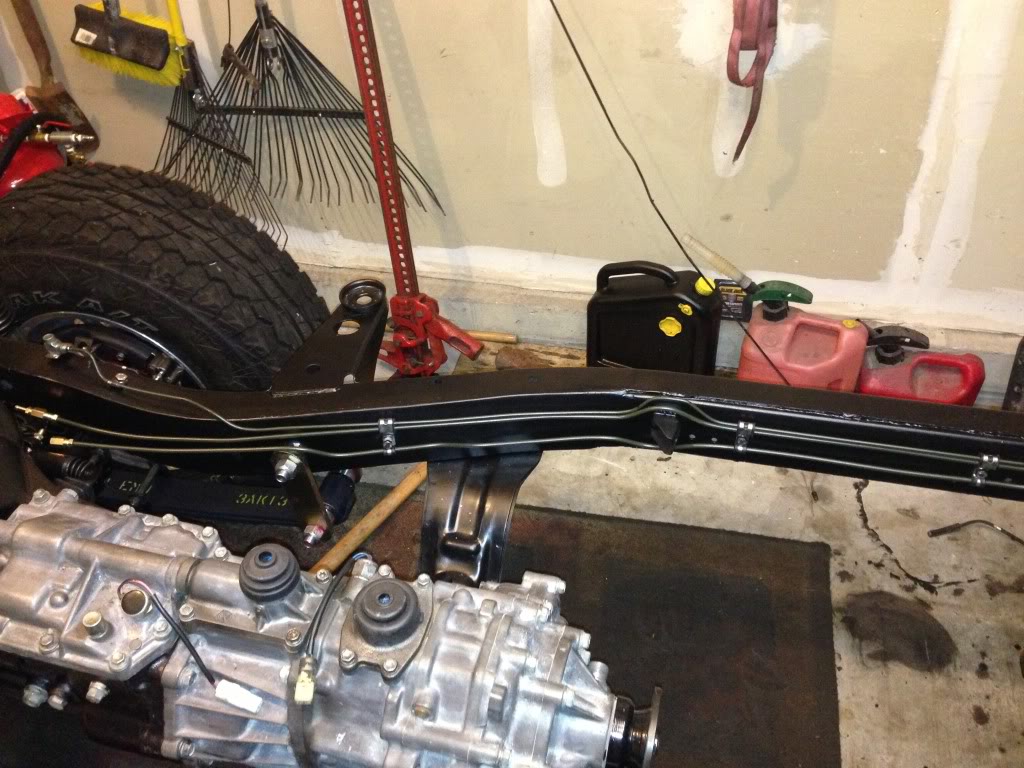
And my frame rails
Last edited by kawazx636; May 18, 2015 at 07:53 PM.
that's basically exactly how I did mine .. well the first one , second one I bent up against the first , as it was installed ..
I bought the line in a bulk roll , and used the eastwood brake line roller .. makes the roll of line straight .. excellent tool ..
I also did 1/4" lines .. I don't know if there is any benefit or not ? I guess I did it cuz I could

 May 11, 2015 | 05:04 PM